ROS编程(ETH)2018更新版习题说明(一)
课程1练习说明
主要内容(围绕这类复习):
- ROS 体系结构
- ROS 主节点和主题
- 控制台命令
- Catkin工作区和编译系统
- 启动(launch)-文件
练习题:
1. 依据网页链接,完成Husky仿真环境配置,并启动。(ROS版本为Kinetic),可能需要源码编译。
说明:国内镜像测试并没有安装包,源码(https://github.com/husky/husky/tree/kinetic-devel)编译如下:
$ catkin build
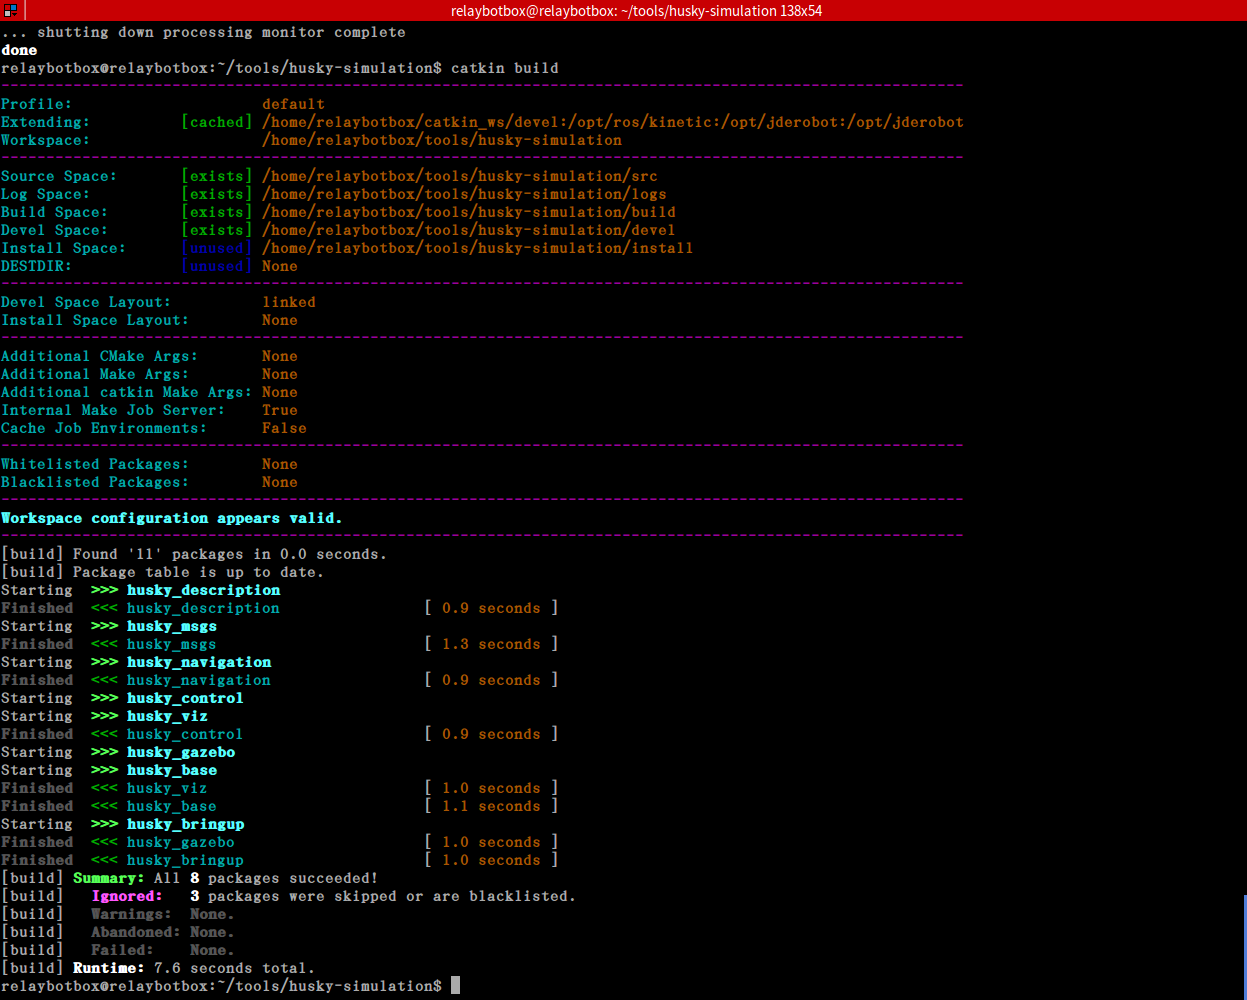
应该不会报错,但是执行时候会有问题,只要将缺失包安装就好。参考wiki说明进行操作。
$ export HUSKY_GAZEBO_DESCRIPTION=$(rospack find husky_gazebo)/urdf/description.gazebo.xacro
$ roslaunch husky_gazebo husky_empty_world.launch
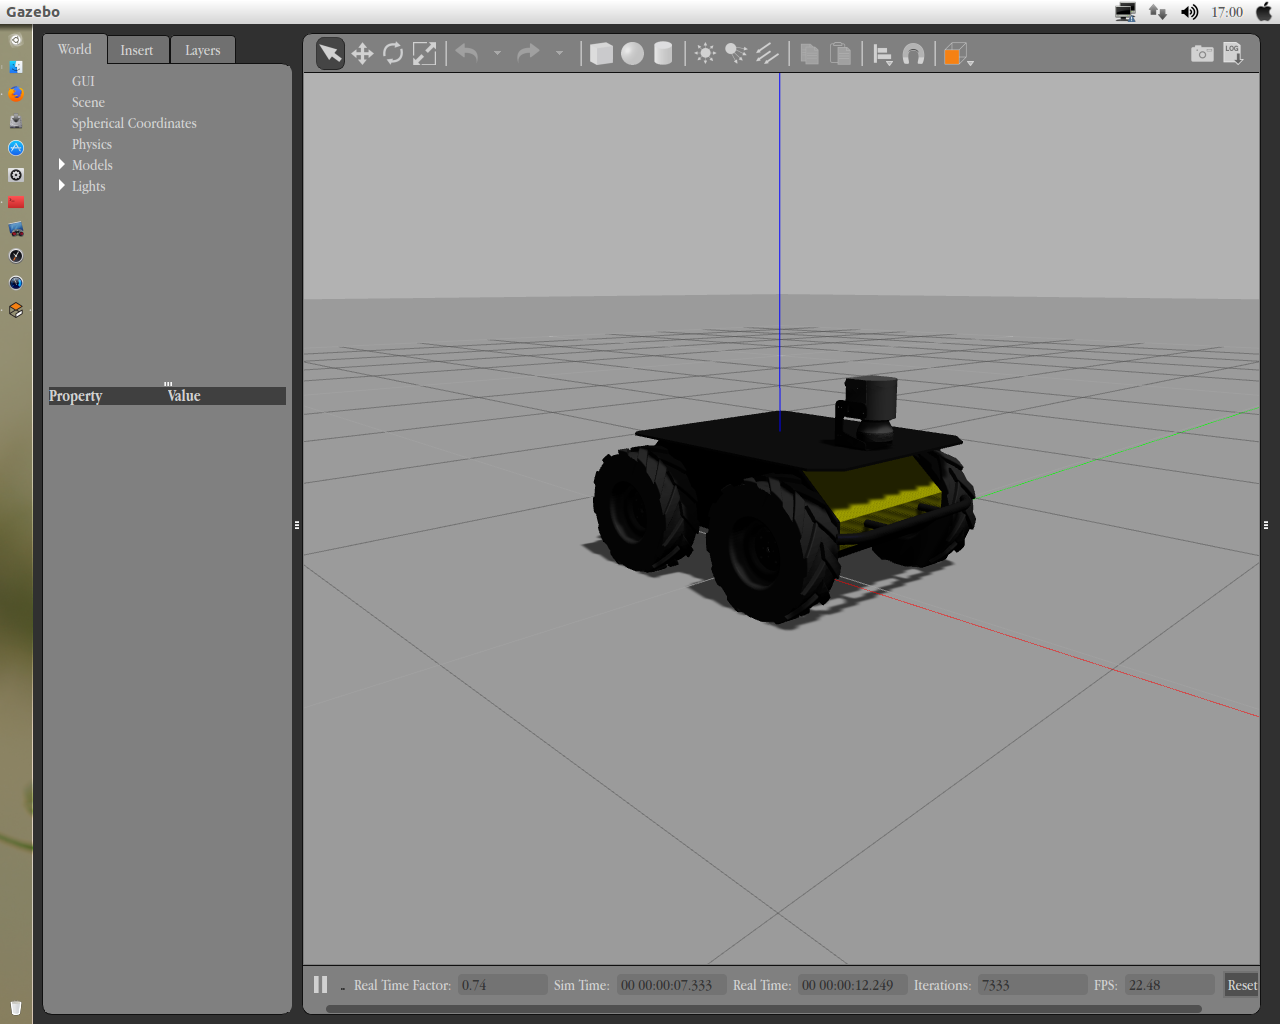
$ roslaunch husky_gazebo husky_playpen.launch
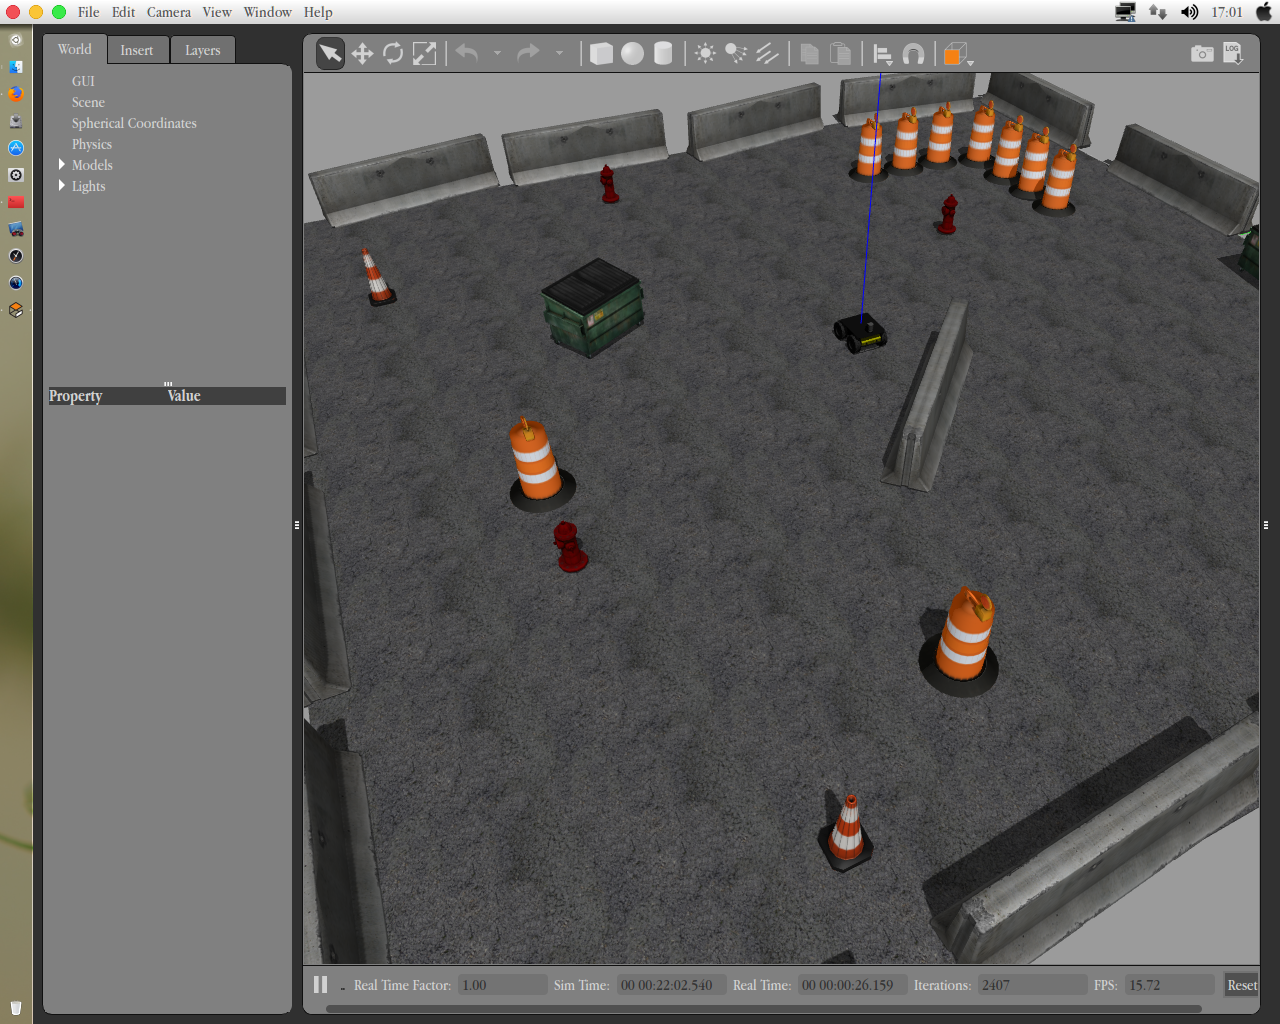
$ roslaunch husky_gazebo husky_empty_world.launch world_name:=worlds/willowgarage.world
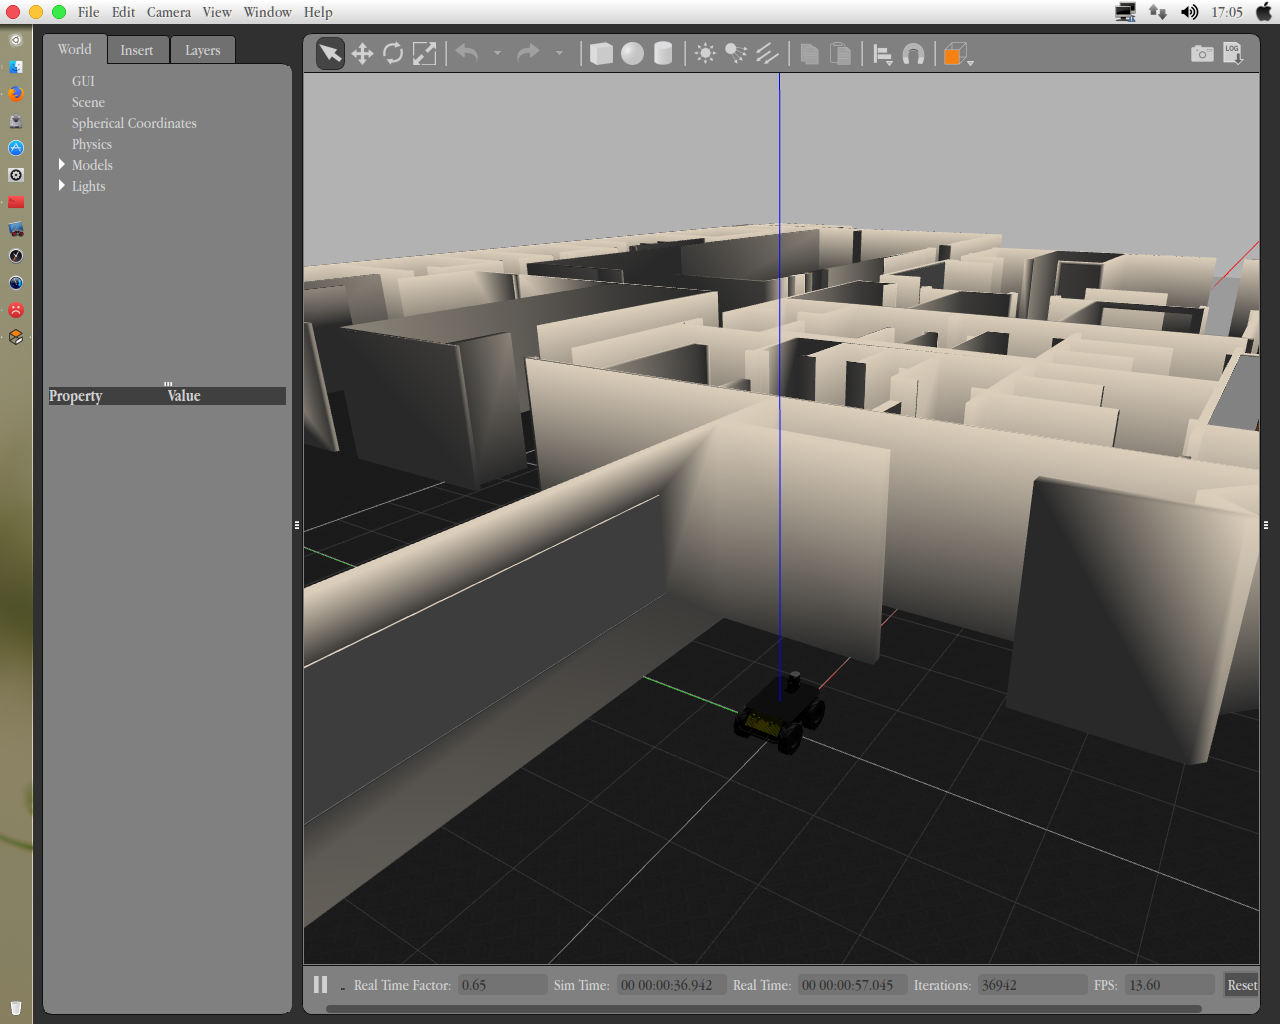
2. 启动其中一个仿真,对下面命令进行练习和操作(对应第一课11-12页)。
rosnode list 、rostopic list 、rostopic echo [TOPIC] 、rostopic hz [TOPIC] 、rqt_graph。
relaybotbox@relaybotbox:~/tools/husky-simulation$ rostopic list
/clock
/cmd_vel
/diagnostics
/e_stop
/gazebo/link_states
/gazebo/model_states
/gazebo/parameter_descriptions
/gazebo/parameter_updates
/gazebo/set_link_state
/gazebo/set_model_state
/husky_velocity_controller/cmd_vel
/husky_velocity_controller/odom
/imu/data
/imu/data/accel/parameter_descriptions
/imu/data/accel/parameter_updates
/imu/data/bias
/imu/data/rate/parameter_descriptions
/imu/data/rate/parameter_updates
/imu/data/yaw/parameter_descriptions
/imu/data/yaw/parameter_updates
/initialpose
/joint_states
/joy_teleop/cmd_vel
/map
/map_metadata
/master_discovery/changes
/master_discovery/linkstats
/move_base/cancel
/move_base/feedback
/move_base/goal
/move_base/result
/move_base/status
/move_base_simple/goal
/navsat/fix
/navsat/fix/position/parameter_descriptions
/navsat/fix/position/parameter_updates
/navsat/fix/status/parameter_descriptions
/navsat/fix/status/parameter_updates
/navsat/fix/velocity/parameter_descriptions
/navsat/fix/velocity/parameter_updates
/navsat/vel
/odometry/filtered
/public/robot/cmd_vel
/public/robot/initialpose
/public/robot/map
/public/robot/map_metadata
/public/robot/move_base/cancel
/public/robot/move_base/feedback
/public/robot/move_base/goal
/public/robot/move_base/result
/public/robot/move_base/status
/public/robot/move_base_simple/goal
/public/robot/odometry/filtered
/public/robot/twist_marker_server/feedback
/public/robot/twist_marker_server/update
/public/robot/twist_marker_server/update_full
/public/tf
/public/tf_static
/rosout
/rosout_agg
/scan
/set_pose
/tf
/tf_static
/twist_marker_server/cmd_vel
/twist_marker_server/feedback
/twist_marker_server/update
/twist_marker_server/update_full
3. 通过终端发送一个速度指令给机器人rostopic pub [TOPIC](对应第一课13页)。
$ rostopic pub -r 10 /cmd_vel geometry_msgs/Twist "linear: x: 0.8 y: 0.0 z: 0.0
angular: x: 0.0 y: 0.0 z: 0.6"
4. 编写代码使用键盘或者手柄遥控机器人运动(对应第一课22-26页)。
$ rosrun teleop_twist_keyboard teleop_twist_keyboard.py
5. 新建launch文件使用robotcup环境,并且使用键盘控制机器人运动。
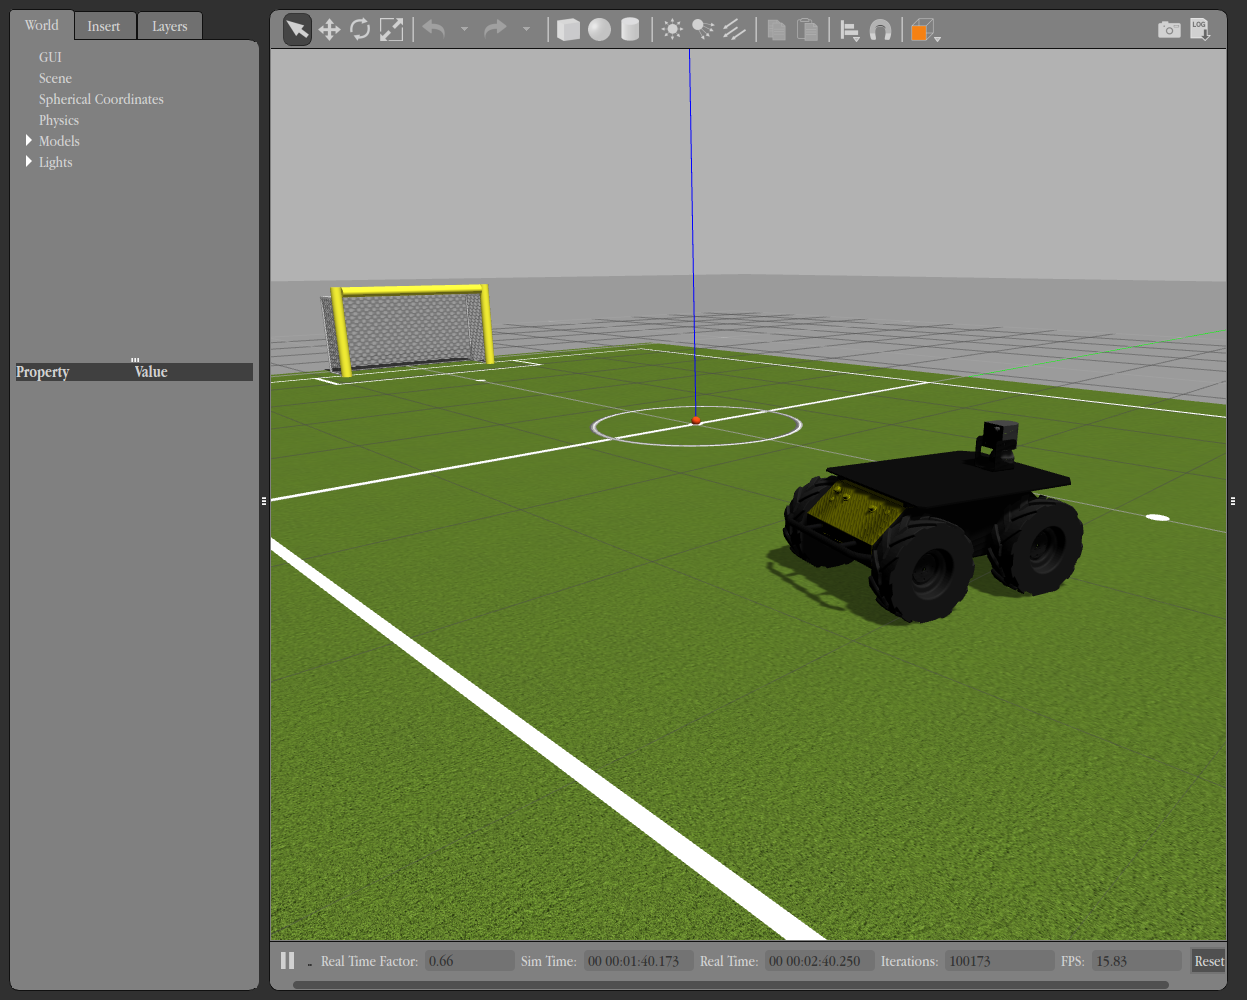
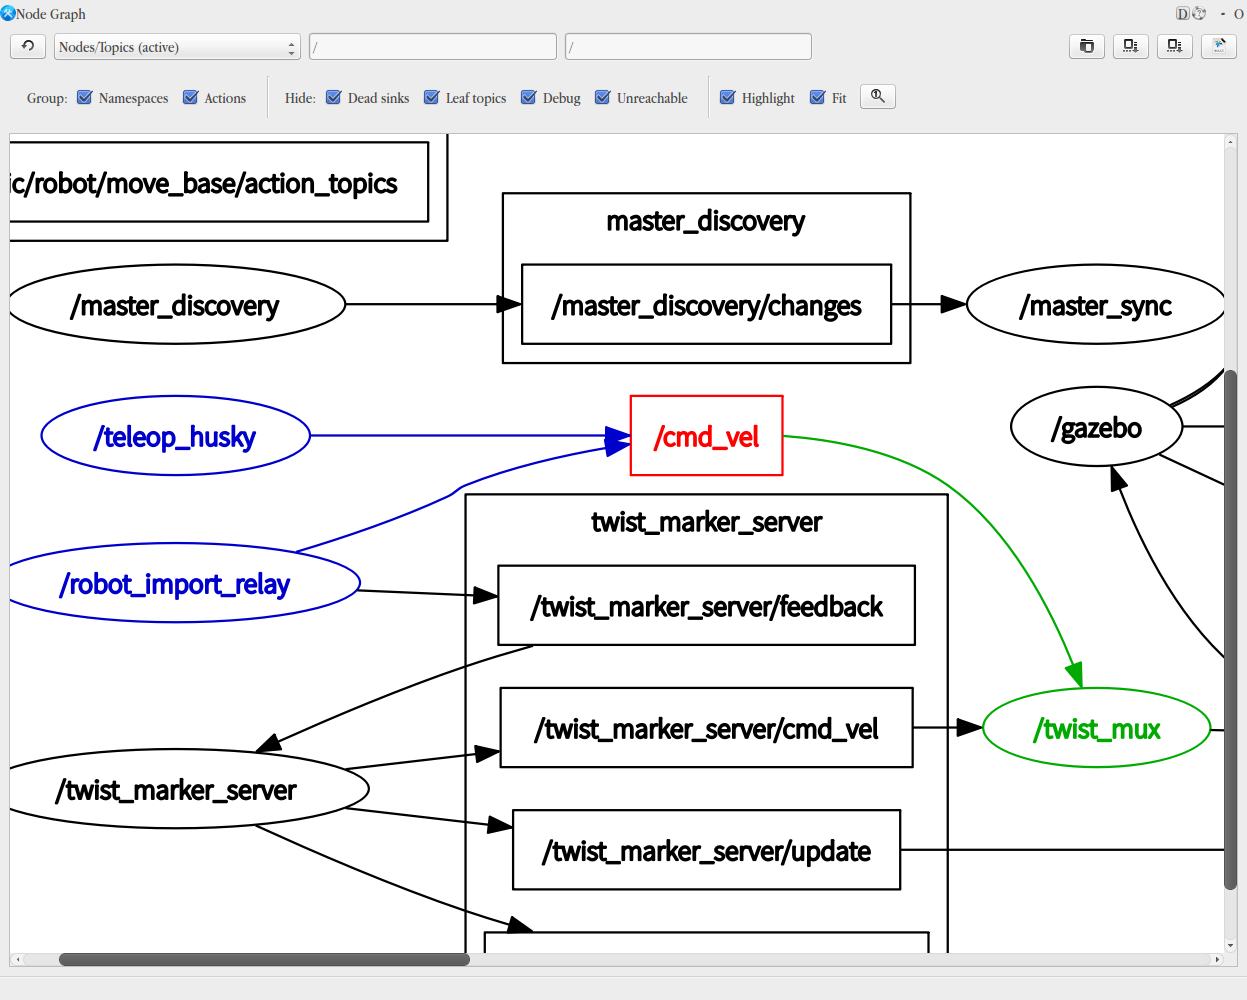
$ roslaunch husky_gazebo husky_robocup14.launch
-
<?xml version="1.0"?>
-
<!--
-
-->
-
<launch>
-
-
<arg name="world_name" default="/usr/share/gazebo-7/worlds/robocup14_spl_field.world"/>
-
-
<arg name="laser_enabled" default="true"/>
-
<arg name="kinect_enabled" default="false"/>
-
-
<include file="$(find gazebo_ros)/launch/empty_world.launch">
-
<arg name="world_name" value="$(arg world_name)"/> <!-- world_name is wrt GAZEBO_RESOURCE_PATH environment variable -->
-
<arg name="paused" value="false"/>
-
<arg name="use_sim_time" value="true"/>
-
<arg name="gui" value="true"/>
-
<arg name="headless" value="false"/>
-
<arg name="debug" value="false"/>
-
</include>
-
-
<include file="$(find husky_gazebo)/launch/spawn_husky.launch">
-
<arg name="laser_enabled" value="$(arg laser_enabled)"/>
-
<arg name="kinect_enabled" value="$(arg kinect_enabled)"/>
-
</include>
-
-
<node pkg="teleop_twist_keyboard" name="teleop_husky" type="teleop_twist_keyboard.py"/>
-
-
</launch>
评分标准和提示,参考英文原文。
------
附录:习题原文
Exercise Session 1
Theory
- ROS architecture
- ROS master, nodes, and topics
- Console commands
- Catkin workspace and build system
- Launch-files
Exercise
Get to knowROS by inspecting the simulation of a Husky robot.
1. Setup the Husky simulation:http://wiki.ros.org/husky_gazebo/Tutorials/Simulating%20HuskyRemember, our pre-installed ROS distro version (<distro>) is kinetic.
2. Launch the simulation and inspect the created nodes and their topicsusing (Lecture 1 Slides 11/12):
rosnode list rostopic list
rostopic echo [TOPIC] rostopic hz [TOPIC] rqt_graph
For more information take a look at the slides or: http://wiki.ros.org/rostopichttp://wiki.ros.org/rosnode
3. Command a desired velocity to the robot from the terminal (rostopic pub [TOPIC]) (Lecture 1 Slide 13)
4. Use teleop_twist_keyboard tocontrol your robot using the keyboard. Find it online and compile it fromsource! Use git clone to clone the repository to the folder
~/git. (Lecture 1 Slides 22-26)
For a short gitoverview see:
http://rogerdudler.github.io/git-guide/files/git_cheat_sheet.pdf
5. Write a launch file with thefollowing content (Lecture 1 Slides 27-30):
- husky simulation with a differentworld:
Include husky_empty_world.launchfile and change the world_name Argument, e.g. worlds/robocup14_spl_field.world aworld from the directory /usr/share/gazebo-7/worlds.
Note: theworld_name is with respect to /usr/share/gazebo-7/
-
teleop_twist_keyboard node
Evaluation
❏ Check if teleop_twist_keyboardis compiled from source (roscd teleop_twist_keyboard should show the catkin_ws folder) [40%]
❏ Start the launch file. Thisshould bring everything up that’s needed to drive Husky with the keyboard asshown in the above image. [60%]
Hints
● If the robot stops again after sending the velocity command, specifythe rate of the publisher. Check out rostopic pub --help.
------
文章来源: zhangrelay.blog.csdn.net,作者:zhangrelay,版权归原作者所有,如需转载,请联系作者。
原文链接:zhangrelay.blog.csdn.net/article/details/79463992
- 点赞
- 收藏
- 关注作者


评论(0)