【愚公系列】2022年06月 .NET架构班 069-分布式中间件 Elasticsearch集群的搭建

【摘要】 一、Elasticsearch集群的搭建 1.Master准备 1.1 先创建Elasticsearch Master节点 1.2 然后在Elasticsearch中config目录中,找到elasticsearch.yml文件 1.3 然后elasticsearch.yml内添加内容cluster.name: es-clusternode.name: node-1node.master:...
一、Elasticsearch集群的搭建
1.Master准备
1.1 先创建Elasticsearch Master节点

1.2 然后在Elasticsearch中config目录中,找到elasticsearch.yml文件
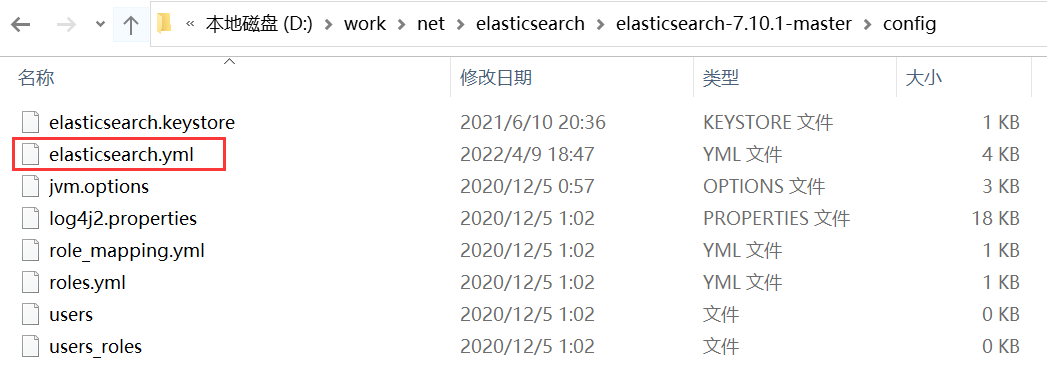
1.3 然后elasticsearch.yml内添加内容
cluster.name: es-cluster
node.name: node-1
node.master: true
node.attr.rack: r1
network.host: localhost
http.port: 9201
transport.tcp.port: 9301
discovery.seed_hosts: ["localhost:9301", "localhost:9302", "localhost:9303"]
cluster.initial_master_nodes: ["node-1","node-2","node-3"]
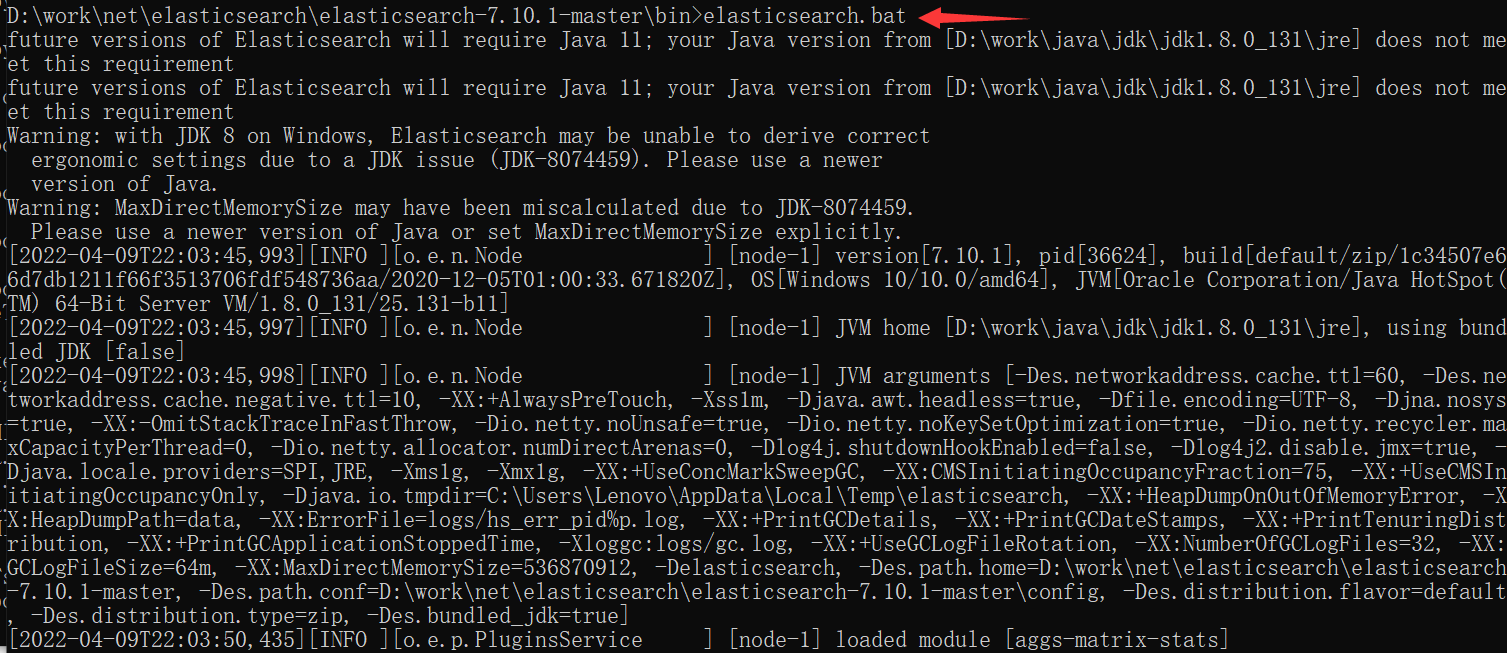
1.4 然后进入Elasticsearch bin目录中启动
elasticsearch.bat
2.Elasticsearch DataNode节点1准备
2.1 先创建Elasticsearch DataNode节点

2.2 然后在Elasticsearch中config目录中,找到elasticsearch.yml文件
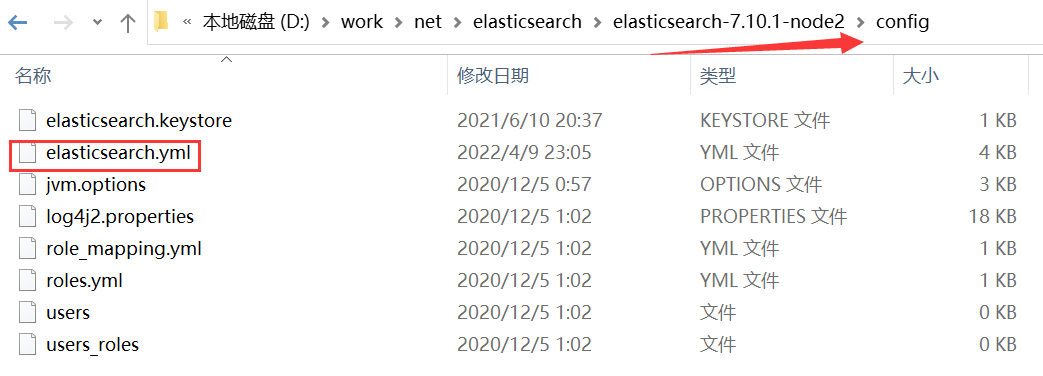
2.3 然后在elasticsearch.yml内添加内容
cluster.name: es-cluster
node.name: node-2
node.master: false
#node.master: true
node.attr.rack: r1
bootstrap.memory_lock: false
network.host: localhost
http.port: 9202
transport.tcp.port: 9302
discovery.seed_hosts: ["localhost:9301", "localhost:9302", "localhost:9303"]
cluster.initial_master_nodes: ["node-1","node-2","node-3"]
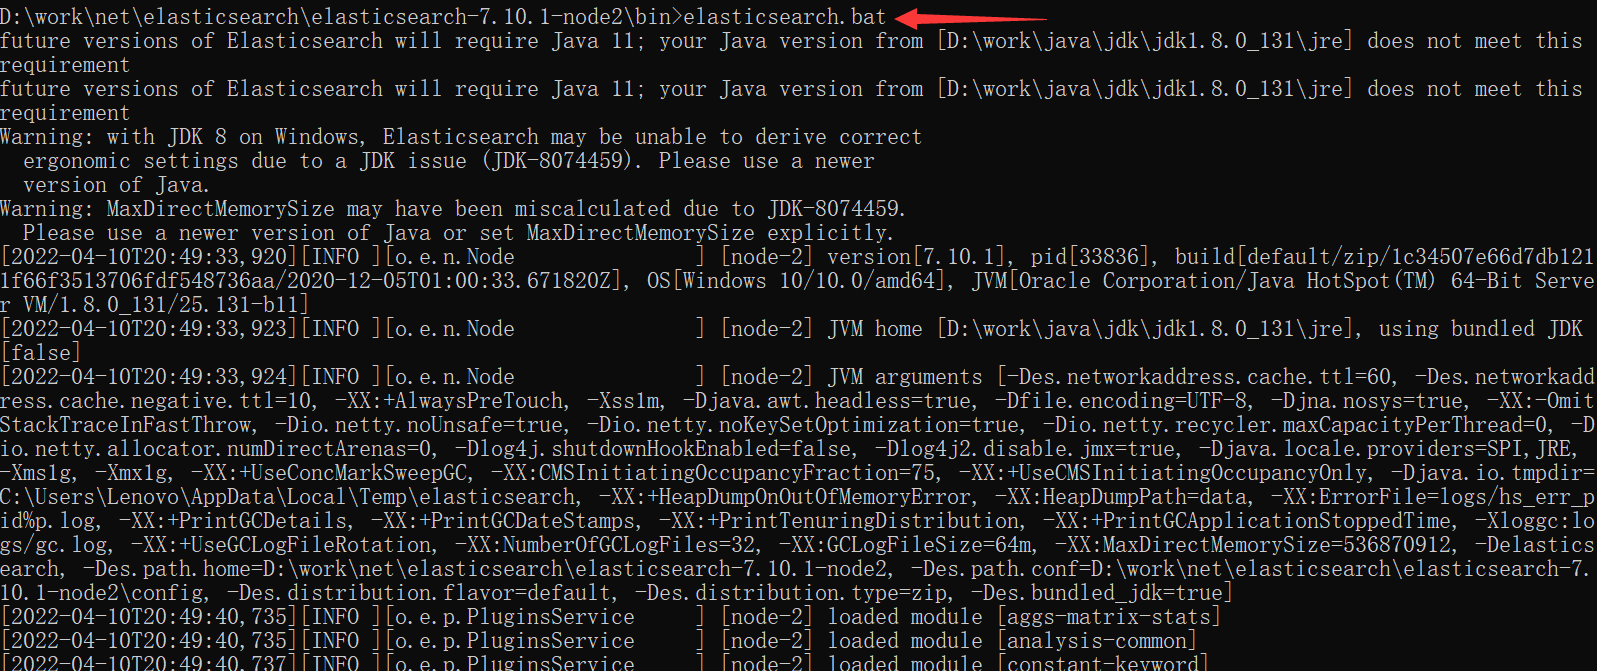
2.4 然后进入Elasticsearch bin目录中启动
elasticsearch.bat
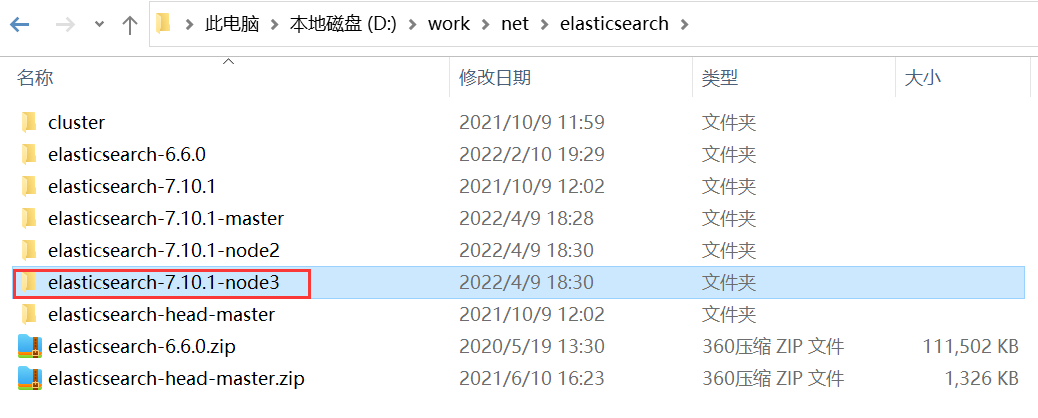
3.Elasticsearch DataNode节点2准备
3.1 先创建Elasticsearch DataNode节点
3.2 然后在Elasticsearch中config目录中,找到elasticsearch.yml文件

3.3 然后在elasticsearch.yml内添加内容
cluster.name: es-cluster
node.name: node-3
node.master: false
#node.master: true
node.attr.rack: r1
bootstrap.memory_lock: false
network.host: localhost
http.port: 9203
transport.tcp.port: 9303
discovery.seed_hosts: ["localhost:9301", "localhost:9302", "localhost:9303"]
cluster.initial_master_nodes: ["node-1","node-2","node-3"]
3.4 然后进入Elasticsearch bin目录中启动
elasticsearch.bat

4.elasticsearch-head-master准备
4.1 elasticsearch-head-master前提
node.js 运行环境:http://nodejs.cn/download/
elasticsearch-head-master下载地址:https://github.com/mobz/elasticsearch-head/archive/refs/heads/master.zip
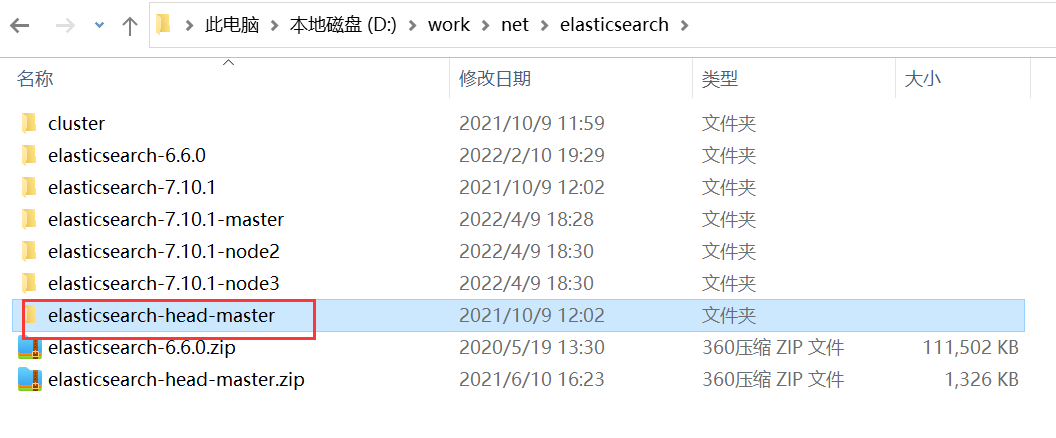
4.2 elasticsearch-head-master安装
4.1.1 进入到elasticsearch-head-master目录中

4.2.2 然后使用cmd输入npm install,进行安装

4.3 elasticsearch-head-master运行
然后使用cmd输入npm run start,进行运行

4.4 elasticsearch-head-master访问
进入到浏览器输入http://localhost:9100进行访问

elasticsearch-head-master说明
- green:绿色,代表搭建成功
- red:红色,搭建失败
- yellow:黄色,只有一个节点可用,也算搭建失败
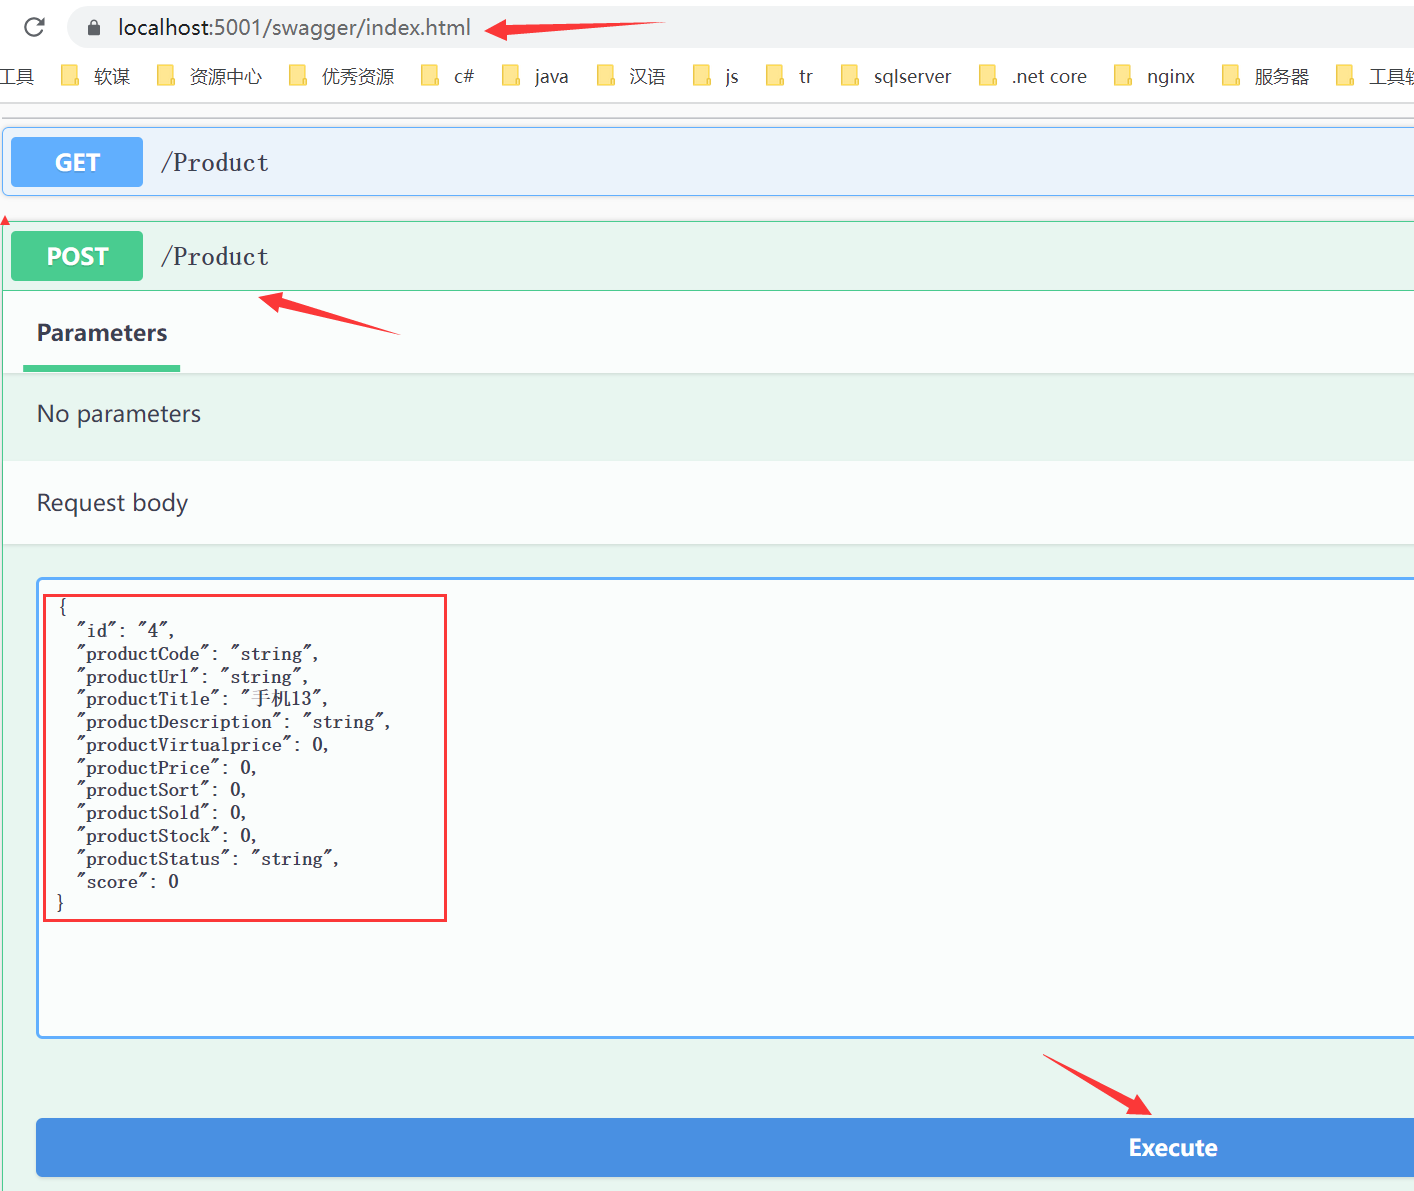
二、Elasticsearch集群的使用
Elasticsearch集群在微服务项目集成
   /// <summary>
    /// 商品服务实现
    /// </summary>
    public class ProductService : IProductService
    {
        private readonly ElasticClient elasticClient;
   public ProductService(/*IConfiguration configuration*/IOptions<ProductMongoDBOptions> options)
    {
        /* ProductMongoDBOptions productMongoDBOptions = options.Value;
         // 1、建立MongoDB连接
         var client = new MongoClient(productMongoDBOptions.ConnectionString);

         // 2、获取商品库
         var database = client.GetDatabase("productdb");

         // 3、获取商品表(集合)
         _products = database.GetCollection<Product>("Product");*/
        #region 1、单实例连接
        {
           /* var node = new Uri("http://localhost:9200");
            // var defaultIndex = "products";

            var settings = new ConnectionSettings(node);
            //.DefaultIndex(defaultIndex);

            elasticClient = new ElasticClient(settings);*/
        }
        #endregion

        #region 2、集群连接
        {
            var nodes = new Uri[]
            {
                new Uri("http://localhost:9201"),
                new Uri("http://localhost:9202"),
                new Uri("http://localhost:9203"),
            };
            var pool = new StaticConnectionPool(nodes);
            var settings = new ConnectionSettings(pool);

            elasticClient = new ElasticClient(settings);
        }
        #endregion

    }
}
进入到浏览器进行访问
然后进入elasticsearch-head-master中,查看数据


【声明】本内容来自华为云开发者社区博主,不代表华为云及华为云开发者社区的观点和立场。转载时必须标注文章的来源(华为云社区)、文章链接、文章作者等基本信息,否则作者和本社区有权追究责任。如果您发现本社区中有涉嫌抄袭的内容,欢迎发送邮件进行举报,并提供相关证据,一经查实,本社区将立刻删除涉嫌侵权内容,举报邮箱:
cloudbbs@huaweicloud.com
- 点赞
- 收藏
- 关注作者
评论(0)