还在手动写单元测试?

【摘要】 # JUnitGenerator安装在Idea市场里安装JUnitGenerator插件如图,重启后生效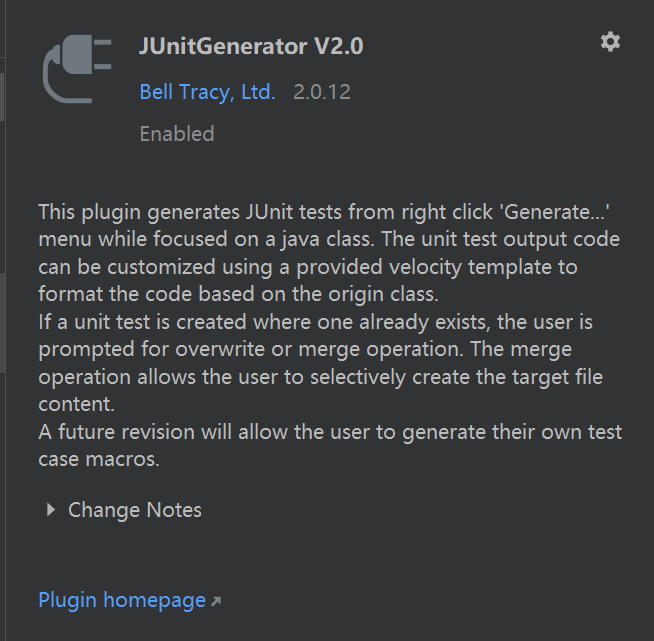# 设置生成路径及模板Output Path: ${SOURCEPATH}/..//../test/ja...
# JUnitGenerator安装
在Idea市场里安装JUnitGenerator插件如图,重启后生效

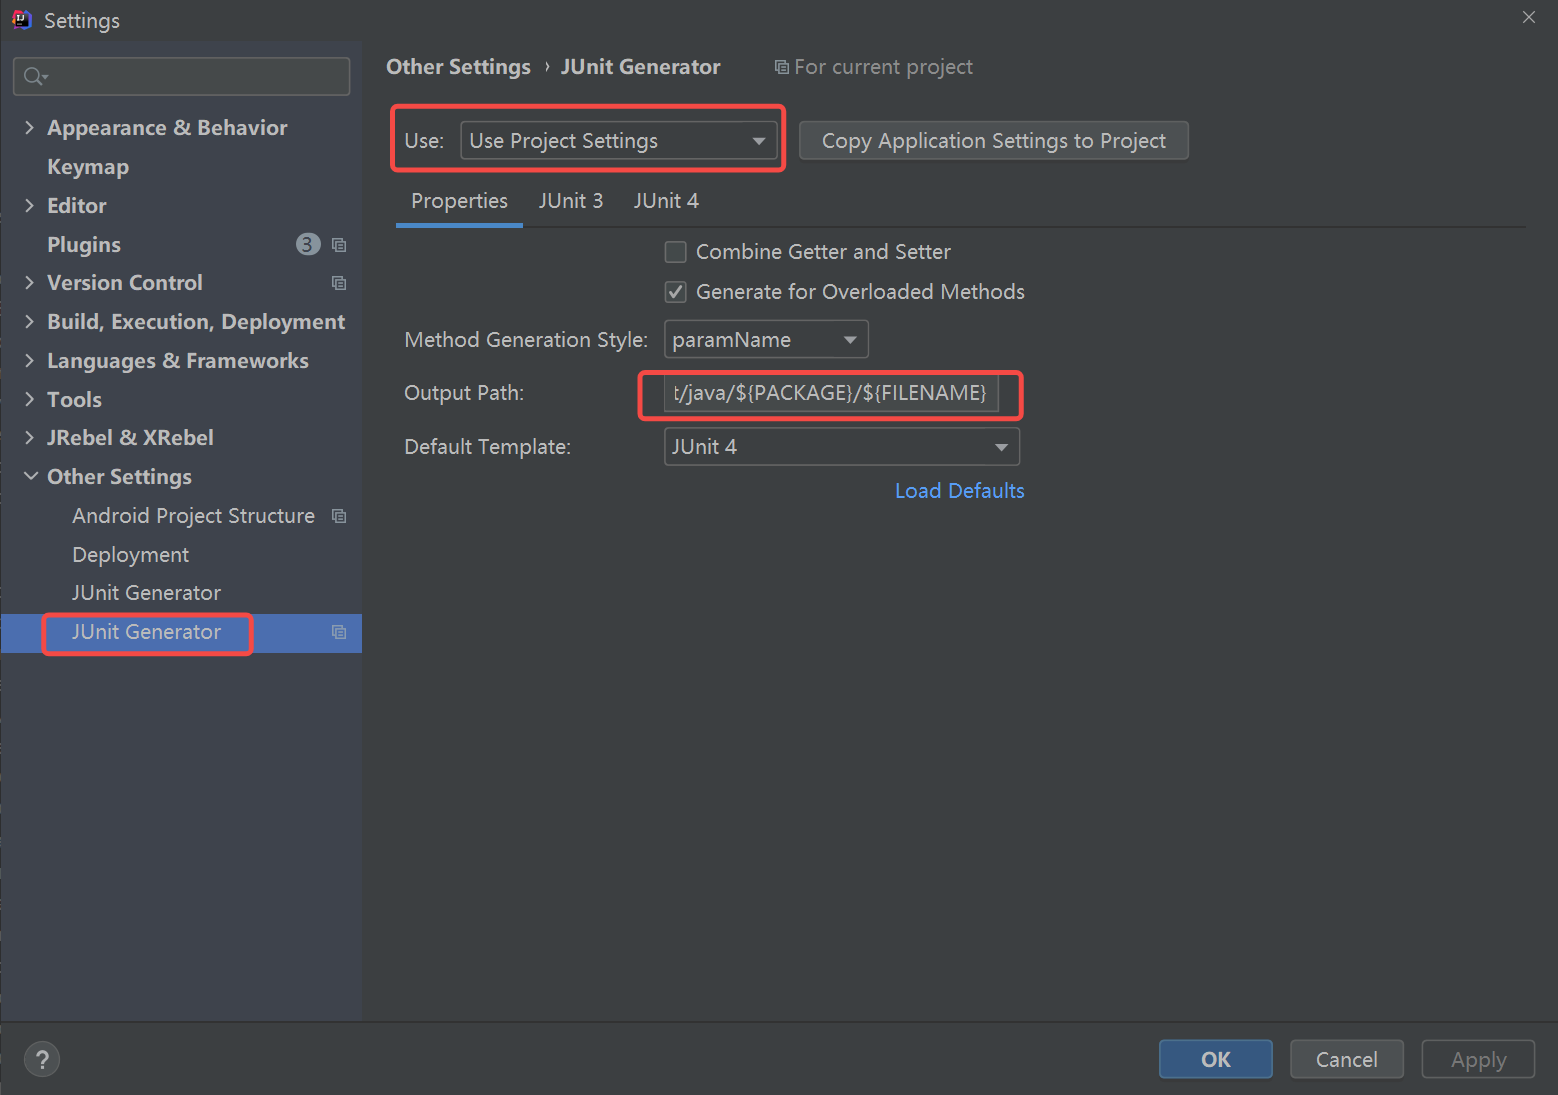
# 设置生成路径及模板
Output Path: ${SOURCEPATH}/..//../test/java/${PACKAGE}/${FILENAME}
注:根据实际项目结构调整,设置为默认模板,另需要在Project Structure-->Modules中设置Test文件目录,可改造为自启动,随容器启动,
# 设置Junit4 生成模板
支持 CommonResponse 或 Wrapper
```java
#macro (cap $strIn)$strIn.valueOf($strIn.charAt(0)).toUpperCase()$strIn.substring(1)#end
#foreach ($entry in $entryList)
#set( $testClass="${entry.className}Test")
package $entry.packageName;
import java.util.*;
import org.junit.Test;
import org.junit.Before;
import org.junit.After;
import org.springframework.http.ResponseEntity;
/**
* BSF+Junit4
* @Creator zhaokk
* @CreateDate ${Date}
* @DESC
*/
@SuppressWarnings("all")
public class $testClass {
public final String ipAndPort="localhost:8080/";
public final String token="login-token";
public final String extend = "extend";
private static HttpHeaders requestHeaders;
@Before
public void before() throws Exception {
requestHeaders = new HttpHeaders();
requestHeaders.add("token", token);
requestHeaders.add("", "");
JunitUtils.setRequestHeaders(requestHeaders);
}
@After
public void after() throws Exception {
}
#foreach($method in $entry.methodList)
/**
*
* Method: $method.signature
*
*/
@Test
public void test#cap(${method.name})() throws Exception {
//Make request
TestEntity testEntity=JunitUtils.checkRequest(ipAndPort,token);
//Show Controller & Mehtod
//FIXME new $entry.packageName.${entry.className}().${method.name}();
//Model 1 (Parameter is url)
//Map<String,String> objectRequest=new HashMap();
//objectRequest.put("{id}","1000000157729");
//testEntity.setRequestObj(objectRequest);
//Model 2 (Parameter is Object)
//UserLoginReq objectRequest = new UserLoginReq();//JSON.parseObject("jsonString",UserLoginReq.class)
//objectRequest.setUsername("18311140968");
//objectRequest.setPassword("aa123456");
//testEntity.setRequestObj(objectRequest);
//Model 3 (Parameter is url & Object)
//Map<String,String> urlMap=new HashMap();
//urlMap.put("{pageNo}","1");
//urlMap.put("{pageSize}","10");
//UserLoginReq objectRequest = new UserLoginReq();//JSON.parseObject("jsonString",UserLoginReq.class)
//objectRequest.setUsername("18311140968");
//objectRequest.setPassword("aa123456");
//testEntity.setRequestObj(objectRequest);
//model 1 and model 2 (ResponseEntity)
ResponseEntity<CommonResponse> responseResponseEntity=JunitUtils.getResponseEntity(testEntity);
//model 3 (ResponseEntity)
//ResponseEntity<CommonResponse> responseResponseEntity=JunitUtils.getResponseEntity(urlMap,testEntity);
//ResponseEntity To Object
//CommonResponse<UserResp> response = responseResponseEntity.getBody();
//Check CommonResponse code is 200000
JunitUtils.checkResponse(responseResponseEntity.getBody());
}
#end
#foreach($method in $entry.privateMethodList)
/**
*
* Method: $method.signature
*
*/
@Test
public void test#cap(${method.name})() throws Exception {
//TODO: Test goes here...
#foreach($string in $method.reflectionCode)
$string
#end
}
#end
}
#end
代码块1:根据ipAndPort和token 拼装基础的URL和请求头
代码块2:工具块,方便快速跳转到本方法的源头
代码块3:模式1参数封装,一般用于GET 和DELETE 请求,纯URL
代码块4:模式2参数封装,一般用于POST和PUT 请求,纯对象。支持Json字符串,如下:
UpdateUserByPKReq objectRequest = JunitUtils.jsonToObject("{\"name\":\"接口测试-勿删\",\"userNumber\":\"1573195928331\"",UpdateUserByPKReq.class);
代码块5:模式1和模式2的组合,拼装URL+对象
代码块6:适用于模式1和模式2,进行具体的请求并获得响应结果
代码块7:适用于模式3,进行具体的请求并获得响应结果
代码块8:检查响应结果,默认200000为成功,如果非200000失败。如有多个状态码均为成功,可以增加成功状态码进行入参,
如下:JunitUtils.checkResponse(responseResponseEntity.getBody(),600220)
```
这里可自行改造为
```java
/**
* @author zhaokk
* @create ${Date}
*/
@RunWith(SpringJUnit4ClassRunner.class)
@SpringBootTest(classes = com.xxx.class)
@Slf4j
workspace.xml中加入
<component name="PropertiesComponent">
<property name="dynamic.classpath" value="true" />
<!-- -->
```
# 不知道大家有没有用有道云笔记的没有,经常性的新打开的笔记会在首行,但除了阅读之外,应该在最后一行继续编辑,所有大多情况下需要鼠标滑动到行尾,搜索过很多方法,不如Ctrl+A,然后→右箭头好用。mark

【声明】本内容来自华为云开发者社区博主,不代表华为云及华为云开发者社区的观点和立场。转载时必须标注文章的来源(华为云社区)、文章链接、文章作者等基本信息,否则作者和本社区有权追究责任。如果您发现本社区中有涉嫌抄袭的内容,欢迎发送邮件进行举报,并提供相关证据,一经查实,本社区将立刻删除涉嫌侵权内容,举报邮箱:
cloudbbs@huaweicloud.com
- 点赞
- 收藏
- 关注作者
评论(0)