Element-UI登录页面案例分享(Demo)

【摘要】
【辰兮要努力】:hello你好我是辰兮,很高兴你能来阅读,昵称是希望自己能不断精进,向着优秀程序员前行! 博客来源于项目以及编程中遇到的问题总结,偶尔会有读书分享,我会陆续更新Java前端、后台、...
【辰兮要努力】:hello你好我是辰兮,很高兴你能来阅读,昵称是希望自己能不断精进,向着优秀程序员前行!
博客来源于项目以及编程中遇到的问题总结,偶尔会有读书分享,我会陆续更新Java前端、后台、数据库、项目案例等相关知识点总结,感谢你的阅读和关注,希望我的博客能帮助到更多的人,分享获取新知,大家一起进步!
吾等采石之人,应怀大教堂之心,愿你们奔赴在各自的热爱中…
最近打算系统的整理一下一个vue + element-ui框架的简单应用。分模块整理一下demo,以及部分基础知识,分享给初学者,同时自己也多反思学习。
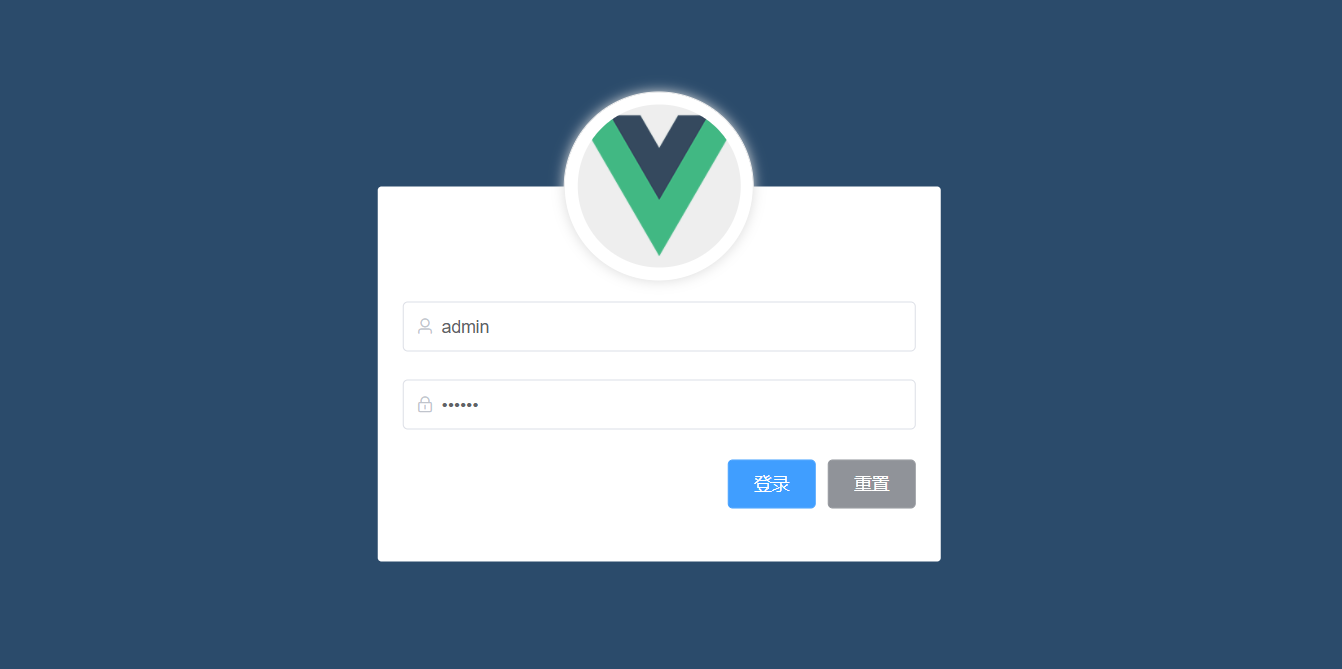
简单的分享一个登录vue + element-ui逻辑
注意事项:
1、正则表达式的相关校验(电话号码,邮箱登录校验等等)
2、登录 如果成功路由跳转到下一个页面 如果失败弹出提示
相关页面的详情,我在如下代码写了很详细的备注,一起学习,共同进步
<template>
  <div class="login_container">
    <div class="login_box">
      <!-- 头像 -->
      <div class="avatar_box">
        <img src="../assets/logo.png" alt="">
      </div>
      <!-- 表单 -->
      <el-form ref="LoginFormRef" :model="loginForm" label-width="0" :rules="LoginFormRules" class="login_form">
        <el-form-item prop="username">
      <!-- 用户名-->
          <el-input v-model="loginForm.username" prefix-icon="el-icon-user"></el-input>
        </el-form-item>
      <!-- 密码-->
        <el-form-item prop="password">
          <el-input v-model="loginForm.password" prefix-icon="el-icon-lock" type="password"></el-input>
        </el-form-item>
        <el-form-item class="btns">
          <el-button type="primary" @click="login">登录</el-button>
          <el-button type="info" @click="resetLoginForm">重置</el-button>
        </el-form-item>
      </el-form>
    </div>
  </div>
</template>

<script>
  export default {
    data() {
      return {
        // 登录的初始化数据:备注默认应该是空
        loginForm:{
          username:'',
          password:''
        },
        // 正则表达式的相关校验
        LoginFormRules:{
          username:[
            { required: true, message: '请输入用户名', trigger: 'blur' },
          ],
          password:[
            { required: true, message: '请输入密码', trigger: 'blur' },
          ]
        }
      }
    },
    methods: {
      // 清空表单的校验
      resetLoginForm() {
        this.$refs.LoginFormRef.resetFields()
      },
      //登录的方法:登录逻辑写里面
      login() {
        //首先是校验如果正则的校验通过 -->> 执行数据传输
        this.$refs['LoginFormRef'].validate(async (valid) => {
          if (valid) {

            //简单的在main.js里面配置了一下如下
            //Vue.prototype.$http = axios
            //axios.defaults.baseURL = 'https://localhost:8080/api/private/v1/'

            //执行数据的交互过程 --即对服务端对应接口进行访问
            const {data:res} = await this.$http.post('login',this.loginForm)

            //正常这里是要分情况写: 1.如果成功 登录到首页面 2.如果失败 弹出对应的提示
            if (res.meta.status==200){
              this.$message({
                message:'登录成功',
                type:'success'
              })
              //如果登录成功存储token
              window.sessionStorage.setItem('token',res.data.token)
              //跳到首页面 这里是根据路由跳转
              this.$router.push('/home')
            }else{
              this.$message({
                message:res.meta.msg,
                type:'error'
              })
            }
          } else {
            return false
          }
        })
      }
    }
  }
</script>

<style lang="less" scoped>
  .login_container{
    background-color: #2b4b6b;
    height: 100%;
  }

  .login_box{
    width: 450px;
    height: 300px;
    background-color: #fff;
    border-radius: 3px;
    position: absolute;
    left: 50%;
    top: 50%;
    transform: translate(-50%,-50%)
  }

  .avatar_box{
    width: 130px;
    height: 130px;
    border: 1px solid #eee;
    border-radius: 50%;
    padding: 10px;
    box-shadow: 0 0 10px #ddd;
    position: absolute;
    left:50%;
    transform: translate(-50%,-50%);
    background-color: #fff;
    img{
      width: 100%;
      height: 100%;
      border-radius: 50%;
      background-color: #eee;
    }
  }

  .login_form{
    position: absolute;
    bottom: 0;
    width: 100%;
    padding: 20px;
    box-sizing: border-box;
  }

  .btns{
    display: flex;
    justify-content:flex-end;
  }
</style>>

- 1
- 2
- 3
- 4
- 5
- 6
- 7
- 8
- 9
- 10
- 11
- 12
- 13
- 14
- 15
- 16
- 17
- 18
- 19
- 20
- 21
- 22
- 23
- 24
- 25
- 26
- 27
- 28
- 29
- 30
- 31
- 32
- 33
- 34
- 35
- 36
- 37
- 38
- 39
- 40
- 41
- 42
- 43
- 44
- 45
- 46
- 47
- 48
- 49
- 50
- 51
- 52
- 53
- 54
- 55
- 56
- 57
- 58
- 59
- 60
- 61
- 62
- 63
- 64
- 65
- 66
- 67
- 68
- 69
- 70
- 71
- 72
- 73
- 74
- 75
- 76
- 77
- 78
- 79
- 80
- 81
- 82
- 83
- 84
- 85
- 86
- 87
- 88
- 89
- 90
- 91
- 92
- 93
- 94
- 95
- 96
- 97
- 98
- 99
- 100
- 101
- 102
- 103
- 104
- 105
- 106
- 107
- 108
- 109
- 110
- 111
- 112
- 113
- 114
- 115
- 116
- 117
- 118
- 119
- 120
- 121
- 122
- 123
- 124
- 125
- 126
- 127
- 128
- 129
- 130
- 131
- 132
- 133
- 134
- 135
- 136
- 137
- 138
下期Element-UI案例见!
非常感谢你阅读到这里,如果这篇文章对你有帮助,希望能留下你的点赞👍 关注❤️ 分享👥 留言💬thanks!!!
2021年2月27日21:54:31 愿你们奔赴在自己的热爱里!
文章来源: blessing.blog.csdn.net,作者:辰兮要努力,版权归原作者所有,如需转载,请联系作者。
原文链接:blessing.blog.csdn.net/article/details/114194678

【版权声明】本文为华为云社区用户转载文章,如果您发现本社区中有涉嫌抄袭的内容,欢迎发送邮件进行举报,并提供相关证据,一经查实,本社区将立刻删除涉嫌侵权内容,举报邮箱:
cloudbbs@huaweicloud.com
- 点赞
- 收藏
- 关注作者
评论(0)