jQuery的ajax提交表单

【摘要】
jQuery的ajax提交表单
1、表单
<form id="ff" method="post"> <div class="input-group"> <span class="input-group-addon"><i class="glyph...
jQuery的ajax提交表单
1、表单

-
<form id="ff" method="post">
-
<div class="input-group">
-
<span class="input-group-addon"><i class="glyphicon glyphicon-user"></i></span>
-
<input id="password" class="form-control" type="text" name="password" placeholder="输入新密码"/>
-
</div>
-
<div class="input-group" style="margin-top: 5px;">
-
<span class="input-group-addon"><i class="glyphicon glyphicon-lock"></i></span>
-
<input id="repassword" class="form-control" type="text" name="repassword"
-
placeholder="再次输入新密码"/>
-
</div>
-
<br/>
-
<div class="form-group">
-
<div class="text-center">
-
<a href="javascript:changePassword()" class="btn btn-success btn-block"
-
onclick="return checkPassword()">确定</a>
-
</div>
-
</div>
-
</form>
2、脚本
-
<script type="text/javascript">
-
function changePassword() {
-
$.post('/user/changePassword', {"password":$("#password").val()}, function (data) {
-
if (data.success) {
-
alert("恭喜,密码更改成功!");
-
$('#password').val("");
-
$('#repassword').val("");
-
} else {
-
alert("遗憾,密码更改失败!");
-
}
-
});
-
}
-
</script>
3、控制器
-
package net.hw.shop.webmvc;
-
-
import net.hw.shop.bean.Category;
-
import net.hw.shop.bean.Order;
-
import net.hw.shop.bean.Product;
-
import net.hw.shop.bean.User;
-
import net.hw.shop.service.CategoryService;
-
import net.hw.shop.service.OrderService;
-
import net.hw.shop.service.ProductService;
-
import net.hw.shop.service.UserService;
-
import org.springframework.stereotype.Controller;
-
import org.springframework.ui.Model;
-
import org.springframework.web.bind.annotation.RequestMapping;
-
import org.springframework.web.bind.annotation.RequestParam;
-
import org.springframework.web.bind.annotation.ResponseBody;
-
import sun.misc.resources.Messages_pt_BR;
-
-
import javax.annotation.Resource;
-
import javax.servlet.http.HttpSession;
-
import java.sql.Timestamp;
-
import java.util.HashMap;
-
import java.util.List;
-
import java.util.Map;
-
-
/**
-
* Created by howard on 2017/4/28.
-
*/
-
@Controller
-
@RequestMapping("/user")
-
public class UserController {
-
@Resource
-
private UserService userService;
-
-
@RequestMapping("/changePassword")
-
@ResponseBody
-
public Map<String, Object> changePassword(@RequestParam("password") String password,
-
HttpSession session) {
-
String username = (String) session.getAttribute("username");
-
User userParam = new User();
-
userParam.setUsername(username);
-
User user = userService.findList(userParam).get(0);
-
user.setPassword(password);
-
int count = userService.save(user);
-
Map<String, Object> map = new HashMap<String, Object>();
-
if (count > 0) {
-
map.put("success", true);
-
}
-
return map;
-
}
-
}
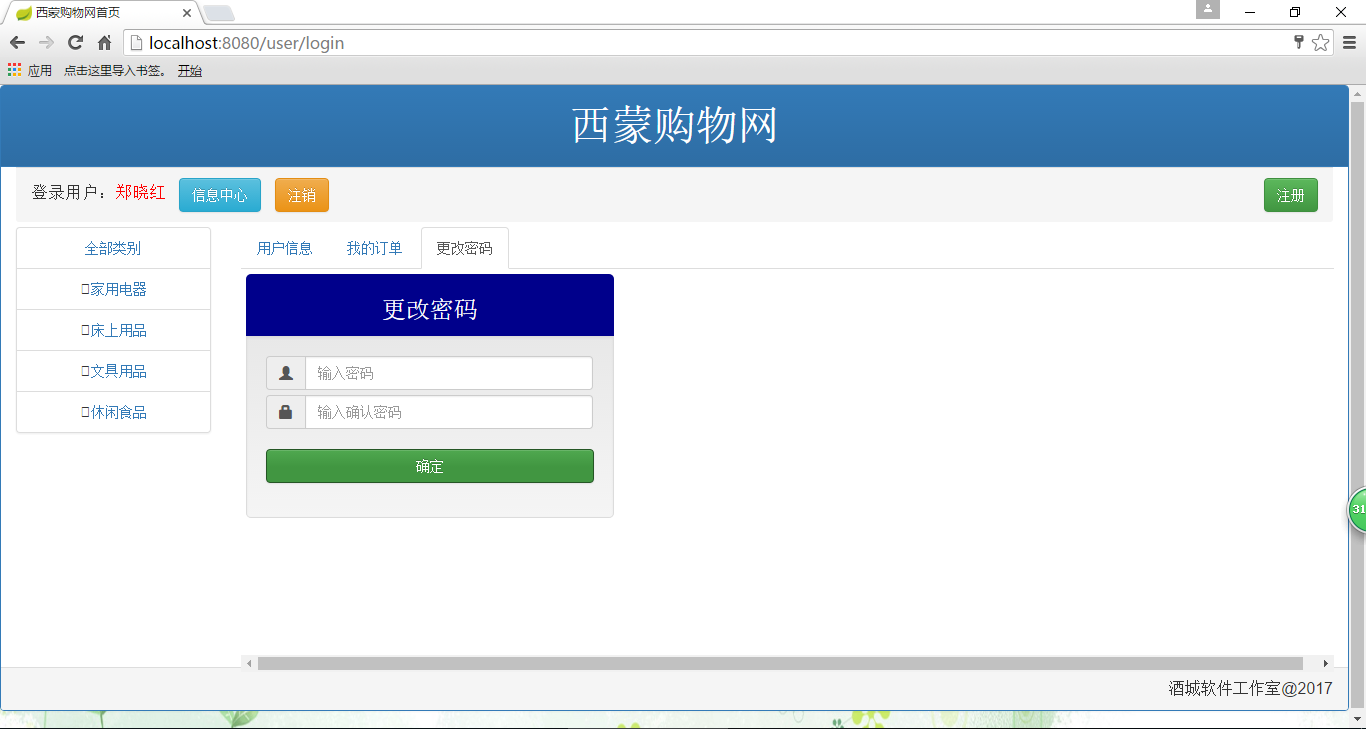
4、运行效果

文章来源: howard2005.blog.csdn.net,作者:howard2005,版权归原作者所有,如需转载,请联系作者。
原文链接:howard2005.blog.csdn.net/article/details/79362297

【版权声明】本文为华为云社区用户转载文章,如果您发现本社区中有涉嫌抄袭的内容,欢迎发送邮件进行举报,并提供相关证据,一经查实,本社区将立刻删除涉嫌侵权内容,举报邮箱:
cloudbbs@huaweicloud.com
- 点赞
- 收藏
- 关注作者
评论(0)