PIL如何批量给图片添加文字水印?

【摘要】 1 简单引入平常我们想给某些图片添加文字水印,方法有很多,也有很多的工具可以方便的进行;今天主要是对PIL库的应用,结合Python语言批量对图片添加水印;这里需要注意的是图片的格式,不能为JPG或JPEG,因为这两种格式的图片不支持透明度设置。 2 关于PIL之前有的文章已经详细介绍过,这里不再赘述了。PIL是Python的一个图像处理库,支持多种文件格式;PIL提供强大的图像处理和图形...
1 简单引入
- 平常我们想给某些图片添加文字水印,方法有很多,也有很多的工具可以方便的进行;
- 今天主要是对
PIL库的应用,结合Python语言批量对图片添加水印; - 这里需要注意的是图片的格式,不能为JPG或JPEG,因为这两种格式的图片不支持透明度设置。
2 关于PIL
之前有的文章已经详细介绍过,这里不再赘述了。
PIL是Python的一个图像处理库,支持多种文件格式;PIL提供强大的图像处理和图形处理能力;- 可完成对图像的缩放、裁剪、叠加以及图像添加线条、图像和文字等操作。
- 安装的话,使用以下命令:
pip install Pillow
3 本文涉及的PIL的几个类
| 模块或类 | 说明 |
|---|---|
image模块 |
用于对图像就行处理 |
ImageDraw |
2D图像对象 |
ImageFont |
存储字体 |
ImageEnhance |
图像增强 |
4 实现原理
本文主要目的是批量对某个文件夹下的图片进行添加水印,原理如下:
- 对水印内容设置;
- 使用
Image对象的open()方法打开原始图片; - 使用
Image对象的new()方法新建存储水印图片对象; - 使用
Image.Draw.Draw对象的text()绘制水印文字; - 使用
ImageEnhance中的Brightness中的enhance()设置水印透明度。
5 实现过程
5.1 原始图片
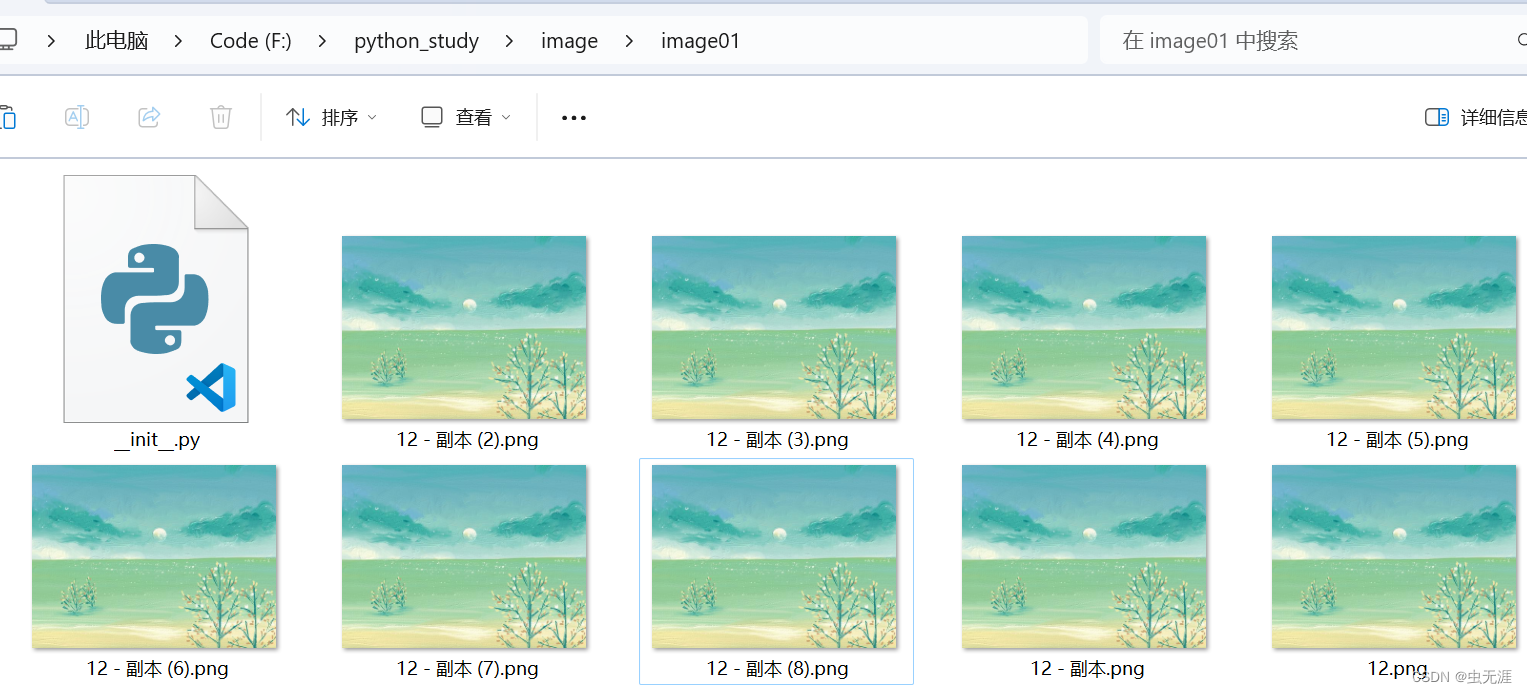
- 我们设置一个原始图片的存储目录,比如:
F:\python_study\image\image01
- 这个文件夹中存放了多个
png格式的图片:

- 这里的一个原始图片为:

5.2 导入相关模块
- 导入需要的几个
PIL中的模块或类:
from PIL import Image, ImageDraw, ImageFont, ImageEnhance
import os
5.3 初始化数据
- 我们这里预想的是,通过用户自己手动输入相关信息,比如图片的存储路径,需要设置的水印文字,通过输入的方式设置水印的位置,设置水印的透明度等;
class TestText():
    def __init__(self):
        super(TestText, self).__init__()
        self.pic_path = input('图片路径:')
        self.pic_text = input('水印文字:')
        self.p_flag = int(input('水印位置(1:左上角,2:左下角,3:右上角,4:右下角,5:居中):'))
        self.a = float(input('水印透明度(0—1之间的1位小数):'))
5.4 水印字体设置
- 这里我们先看下
ImageFont.truetype源码:
def truetype(font=None, size=10, index=0, encoding="", layout_engine=None):
    """
    Load a TrueType or OpenType font from a file or file-like object,
    and create a font object.
    This function loads a font object from the given file or file-like
    object, and creates a font object for a font of the given size.

    Pillow uses FreeType to open font files. On Windows, be aware that FreeType
    will keep the file open as long as the FreeTypeFont object exists. Windows
    limits the number of files that can be open in C at once to 512, so if many
    fonts are opened simultaneously and that limit is approached, an
    ``OSError`` may be thrown, reporting that FreeType "cannot open resource".
    A workaround would be to copy the file(s) into memory, and open that instead.

    This function requires the _imagingft service.

    :param font: A filename or file-like object containing a TrueType font.
                 If the file is not found in this filename, the loader may also
                 search in other directories, such as the :file:`fonts/`
                 directory on Windows or :file:`/Library/Fonts/`,
                 :file:`/System/Library/Fonts/` and :file:`~/Library/Fonts/` on
                 macOS.

    :param size: The requested size, in pixels.
    :param index: Which font face to load (default is first available face).
    :param encoding: Which font encoding to use (default is Unicode). Possible
                     encodings include (see the FreeType documentation for more
                     information):
- 它的大意就是从系统中的字体库中读取字体;
- 那我们的系统字体在哪里呢?
- 系统字体在
C:\Windows\Fonts
- 如下:
- 我们随便选一个自己喜欢的字体,复制下名字即可:
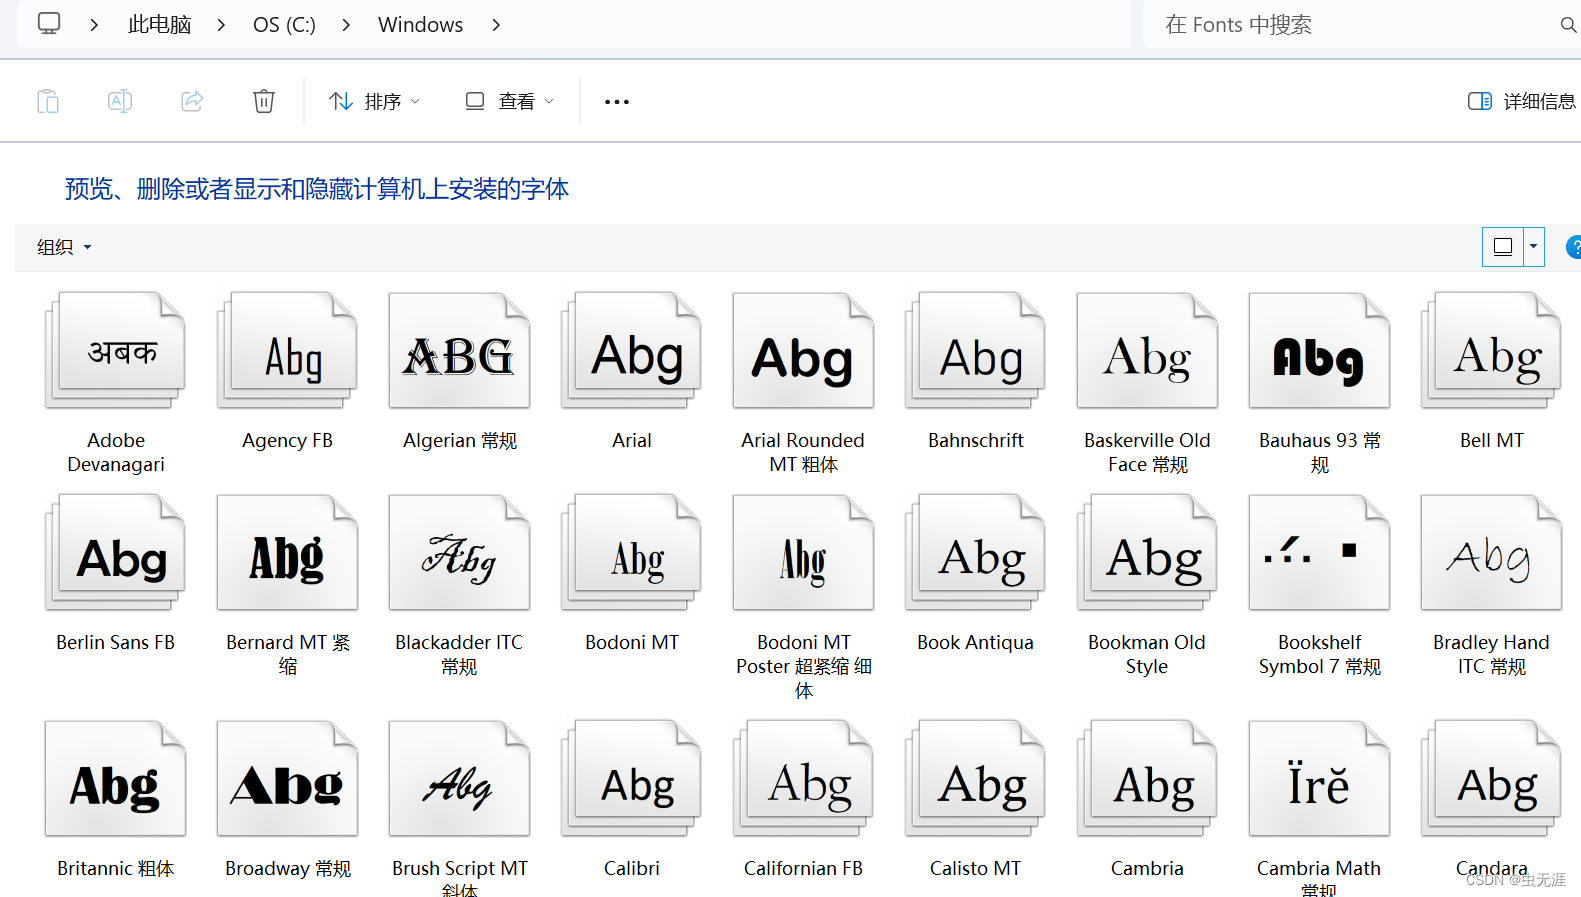
self.font = ImageFont.truetype("cambriab.ttf", size=35)
5.5 打开原始图片并新建存储对象
- 打开原始图片,并转换为
RGB:
image = Image.open(img).convert('RGBA')
- 创建绘制对象:
new_img = Image.new('RGBA', image.size, (255, 255, 255, 0))
image_draw = ImageDraw.Draw(new_img)
5.6 计算图片和水印的大小
- 图片大小:
w, h = image.size
- 文字大小:
w1 = self.font.getsize(self.pic_text)[0]  # 获取字体宽度
h1 = self.font.getsize(self.pic_text)[1]  # 获取字体高度
5.7 选择性设置水印文字
- 通过
if语句来实现:
 if self.p_flag == 1:  # 左上角
      location = (0, 0)
 elif self.p_flag == 2:  # 左下角
      location = (0, h - h1)
 elif self.p_flag == 3:  # 右上角
      location = (w - w1, 0)
 elif self.p_flag == 4:  # 右下角
      location = (w - w1, h - h1)
 elif self.p_flag == 5:  # 居中
      location = (h/2, h/2)
5.8 绘制文字并设置透明度
- 绘制文字:
image_draw.text(location, self.pic_text, font=self.font, fill="blue")
- 设置透明度
 transparent = new_img.split()[3]
 transparent = ImageEnhance.Brightness(transparent).enhance(self.a)
 new_img.putalpha(transparent)

 Image.alpha_composite(image, new_img).save(img)
5.9 遍历获取图片文件并调用绘制方法
 text_pic = TestText()
    try:
        file_list = os.listdir(text_pic.pic_path)
        for i in range(0, len(file_list)):
            filepath = os.path.join(text_pic.pic_path, file_list[i])
            if os.path.isfile(filepath):
                filetype = os.path.splitext(filepath)[1]
                if filetype == '.png':
                    text_pic.test_text(filepath)
                else:
                    print("图片格式有误,无法添加水印,请使用png格式图片")
        print('批量添加水印完成')
    except:
        print('输入的文件路径有误,请检查~~')
6 完整源码
# -*- coding:utf-8 -*-
# 作者:虫无涯
# 日期:2023/11/21
# 文件名称:test_text_pic.py
# 作用:批量给图片添加文字水印和图片水印
# 联系:VX(NoamaNelson)
# 博客:https://blog.csdn.net/NoamaNelson


from PIL import Image, ImageDraw, ImageFont, ImageEnhance
import os


class TestText():
    def __init__(self):
        super(TestText, self).__init__()
        self.pic_path = input('图片路径:')
        self.pic_text = input('水印文字:')
        self.p_flag = int(input('水印位置(1:左上角,2:左下角,3:右上角,4:右下角,5:居中):'))
        self.a = float(input('水印透明度(0—1之间的1位小数):'))

        # 设置字体
        self.font = ImageFont.truetype("cambriab.ttf", size=35)

    # 文字水印
    def test_text(self, img):
        global location
        image = Image.open(img).convert('RGBA')
        new_img = Image.new('RGBA', image.size, (255, 255, 255, 0))
        image_draw = ImageDraw.Draw(new_img)
        w, h = image.size  # 图片大小
        w1 = self.font.getsize(self.pic_text)[0]  # 字体宽度
        h1 = self.font.getsize(self.pic_text)[1]  # 字体高度

        # 设置水印文字位置
        if self.p_flag == 1:  # 左上角
            location = (0, 0)
        elif self.p_flag == 2:  # 左下角
            location = (0, h - h1)
        elif self.p_flag == 3:  # 右上角
            location = (w - w1, 0)
        elif self.p_flag == 4:  # 右下角
            location = (w - w1, h - h1)
        elif self.p_flag == 5:  # 居中
            location = (h/2, h/2)
        # 绘制文字
        image_draw.text(location, self.pic_text, font=self.font, fill="blue")

        # 设置透明度
        transparent = new_img.split()[3]
        transparent = ImageEnhance.Brightness(transparent).enhance(self.a)
        new_img.putalpha(transparent)

        Image.alpha_composite(image, new_img).save(img)


if __name__ == "__main__":
    text_pic = TestText()
    try:
        file_list = os.listdir(text_pic.pic_path)
        for i in range(0, len(file_list)):
            filepath = os.path.join(text_pic.pic_path, file_list[i])
            if os.path.isfile(filepath):
                filetype = os.path.splitext(filepath)[1]
                if filetype == '.png':
                    text_pic.test_text(filepath)
        print('批量添加水印完成')
    except:
        print('输入的文件路径有误,请检查~~')
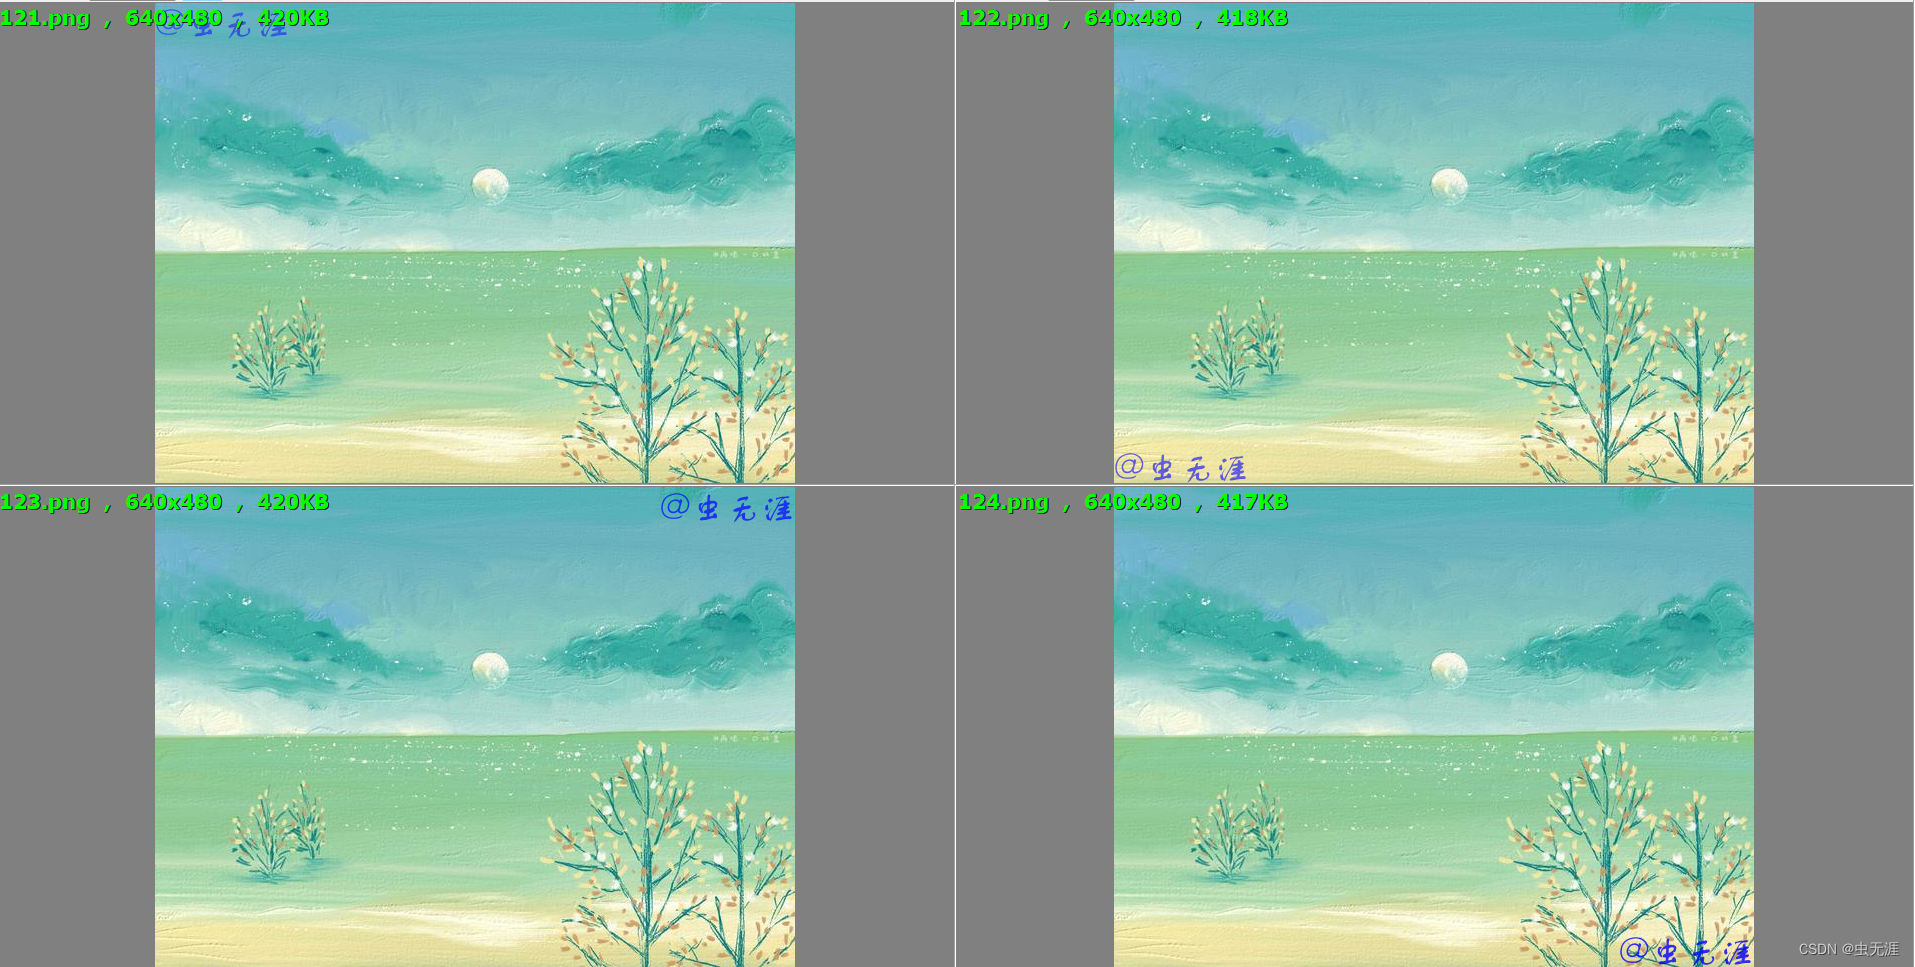
7 显示效果
- 运行过程:
D:\Python37\python.exe F:/python_study/python_project/test_text_pic.py
图片路径:F:\python_study\image\image01
水印文字:@虫无涯
水印位置(1:左上角,2:左下角,3:右上角,4:右下角,5:居中):1
水印透明度(0—1之间的1位小数):0.5
F:/python_study/python_project/test_text_pic.py:32: DeprecationWarning: getsize is deprecated and will be removed in Pillow 10 (2023-07-01). Use getbbox or getlength instead.
  w1 = self.font.getsize(self.pic_text)[0]  # 获取字体宽度
F:/python_study/python_project/test_text_pic.py:33: DeprecationWarning: getsize is deprecated and will be removed in Pillow 10 (2023-07-01). Use getbbox or getlength instead.
  h1 = self.font.getsize(self.pic_text)[1]  # 获取字体高度
批量添加水印完成
- 不同位置的水印效果:
- 居中效果:

【版权声明】本文为华为云社区用户原创内容,转载时必须标注文章的来源(华为云社区)、文章链接、文章作者等基本信息, 否则作者和本社区有权追究责任。如果您发现本社区中有涉嫌抄袭的内容,欢迎发送邮件进行举报,并提供相关证据,一经查实,本社区将立刻删除涉嫌侵权内容,举报邮箱:
cloudbbs@huaweicloud.com
- 点赞
- 收藏
- 关注作者
评论(0)