Docker实践:使用Docker部署OnlyOffice办公套件工具

一、ONLYOFFICE Document Server介绍
ONLYOFFICE Document Server是一款功能强大且实用的在线办公套件,它集文本、电子表格和演示文稿的查看器与编辑器于一体,对常见的Office Open XML格式(如.docx、.xlsx、.pptx等)提供了全面的兼容性支持,而且还具备实时协作编辑功能,这使得团队成员能够在不同的地点同时对文档进行编辑操作,极大地提高了办公效率和协同工作的便捷性,为多人协作办公场景提供了有力的支持。
二、检查系统版本
在部署ONLYOFFICE Document Server之前,确认系统的版本信息是很关键的一步,这有助于确保系统环境满足后续部署的要求。通过执行以下命令来查看系统版本:
[root@node lighthttpd]# cat /etc/os-release
NAME="CentOS Linux"
VERSION="7 (Core)"
ID="centos"
ID_LIKE="rhel fedora"
VERSION_ID="7"
PRETTY_NAME="CentOS Linux 7 (Core)"
ANSI_COLOR="0;31"
CPE_NAME="cpe:/o:centos:centos:7"
HOME_URL="https://www.centos.org/"
BUG_REPORT_URL="https://bugs.centos.org/"

CENTOS_MANTISBT_PROJECT="CentOS-7"
CENTOS_MANTISBT_PROJECT_VERSION="7"
REDHAT_SUPPORT_PRODUCT="centos"
REDHAT_SUPPORT_PRODUCT_VERSION="7"
从上述命令的执行结果可以明确,当前系统是CentOS Linux 7 (Core)。
三、检查docker状态
鉴于ONLYOFFICE Document Server采用docker容器化的部署方式,因此在部署前需要确认docker服务是否正常运行。使用以下命令来检查docker的状态:
[root@node lighthttpd]# systemctl status docker
● docker.service - Docker Application Container Engine
   Loaded: loaded (/usr/lib/systemd/system/docker.service; enabled; vendor preset: disabled)
   Active: active (running) since Fri 2022-11-04 09:12:32 CST; 9h ago
     Docs: https://docs.docker.com
 Main PID: 10162 (dockerd)
    Tasks: 49
   Memory: 910.2M
   CGroup: /system.slice/docker.service
           ├─10162 /usr/bin/dockerd -H fd:// --containerd=/run/containerd/containerd.sock
           ├─21803 /usr/bin/docker-proxy -proto tcp -host-ip 0.0.0.0 -host-port 27217 -container-ip 172.17.0.2 -container-port 27017
           ├─21808 /usr/bin/docker-proxy -proto tcp -host-ip :: -host-port 27217 -container-ip 172.17.0.2 -container-port 27017
           ├─33495 /usr/bin/docker-proxy -proto tcp -host-ip 0.0.0.0 -host-port 3548 -container-ip 172.17.0.3 -container-port 3306
           ├─33501 /usr/bin/docker-proxy -proto tcp -host-ip :: -host-port 3548 -container-ip 172.17.0.3 -container-port 3306
           ├─43634 /usr/bin/docker-proxy -proto tcp -host-ip 0.0.0.0 -host-port 8080 -container-ip 172.17.0.4 -container-port 80
           └─43640 /usr/bin/docker-proxy -proto tcp -host-ip :: -host-port 8080 -container-ip 172.17.0.4 -container-port 80

Nov 04 10:00:54 node dockerd[10162]: time="2022-11-04T10:00:54.645415843+08:00" level=info msg="Attempting next endpoint for pull after...unknown"
Nov 04 11:46:29 node dockerd[10162]: time="2022-11-04T11:46:29.261326827+08:00" level=info msg="Attempting next endpoint for pull after...unknown"
Nov 04 11:47:04 node dockerd[10162]: time="2022-11-04T11:47:04.769147449+08:00" level=info msg="Download failed, retrying (1/5): net/htt...timeout"
Nov 04 11:51:16 node dockerd[10162]: time="2022-11-04T11:51:16.548891252+08:00" level=error msg="Not continuing with pull after error: c...anceled"
Nov 04 11:55:42 node dockerd[10162]: time="2022-11-04T11:55:42.370401579+08:00" level=info msg="ignoring event" container=ac860c2aa163e2...kDelete"
Nov 04 14:31:26 node dockerd[10162]: time="2022-11-04T14:31:26.826919720+08:00" level=warning msg="reference for unknown type: applicati...:latest"
Nov 04 14:31:27 node dockerd[10162]: time="2022-11-04T14:31:27.105606415+08:00" level=warning msg="Error persisting manifest" digest="sha256:f2e...
Nov 04 14:31:27 node dockerd[10162]: time="2022-11-04T14:31:27.105748609+08:00" level=warning msg="Image docker.io/romainlecomte/lighthttpd-dock...
Nov 04 14:45:39 node dockerd[10162]: time="2022-11-04T14:45:39.628278832+08:00" level=error msg="Not continuing with pull after error: m...unknown"
Nov 04 14:45:39 node dockerd[10162]: time="2022-11-04T14:45:39.628408475+08:00" level=error msg="Handler for POST /v1.41/images/create r...unknown"
Hint: Some lines were ellipsized, use -l to show in full.
从输出结果可知,docker服务处于活跃(active)运行状态,这意味着系统的docker环境正常,为后续的部署工作提供了良好的基础。
四、下载ONLYOFFICE Document Server镜像
使用docker pull命令从docker官方仓库下载ONLYOFFICE Document Server镜像,执行以下命令:
[root@node ~]# docker pull onlyoffice/documentserver
Using default tag: latest
latest: Pulling from onlyoffice/documentserver
f3ef4ff62e0d: Pull complete
d07cf79b5f7d: Pull complete
e5395a39b9a5: Pull complete
e6010a09edba: Pull complete
30fedd4b1d62: Pull complete
Digest: sha256:7e4a36f99966640fa7d0298ec3334309331229f61bdce7280667575ba9c8f7f6
Status: Downloaded newer image for onlyoffice/documentserver:latest
docker.io/onlyoffice/documentserver:latest
执行该命令后,系统会从docker官方仓库拉取ONLYOFFICE Document Server的最新版本镜像,并实时显示镜像的拉取进度,直至完成拉取并提示下载成功。
五、部署ONLYOFFICE Document Server
1. 创建数据目录
为了确保ONLYOFFICE Document Server在运行过程中产生的日志和数据能够被妥善存储,需要创建相应的数据目录,并为其设置合适的权限。执行以下命令来创建数据目录并赋予读写权限:
[root@node ~]# mkdir -p  /data/onlyoffice/DocumentServer/logs
[root@node ~]# mkdir -p /data/onlyoffice/DocumentServer/data
[root@node ~]# chmod -R 777 /data/onlyoffice/DocumentServer/
上述命令的作用分别是创建用于存储日志的/data/onlyoffice/DocumentServer/logs目录和用于存储数据的/data/onlyoffice/DocumentServer/data目录,然后将整个/data/onlyoffice/DocumentServer/目录及其子目录和文件的权限设置为777,这样所有用户都拥有对这些目录和文件的读写执行权限。
2. 创建ONLYOFFICE Document Server容器
通过docker run命令来创建并启动ONLYOFFICE Document Server容器,在启动过程中,将容器的80端口映射到主机的8098端口,同时将本地创建的数据目录挂载到容器内相应的目录,以实现日志和数据的持久化存储。具体命令如下:
docker run  -d --name mydoc -p 8098:80 \
    -v /data/onlyoffice/DocumentServer/logs:/var/log/onlyoffice  \
    -v /data/onlyoffice/DocumentServer/data:/var/www/onlyoffice/Data  onlyoffice/documentserver
参数说明:
-d:表示让容器在后台运行,不影响当前终端的操作。--name mydoc:为创建的容器指定一个名称为mydoc,方便后续对容器进行管理和操作。-p 8098:80:将容器内部的80端口映射到主机的8098端口,这样通过访问主机的8098端口,就能够访问到容器内运行的ONLYOFFICE Document Server服务。-v /data/onlyoffice/DocumentServer/logs:/var/log/onlyoffice:将本地的/data/onlyoffice/DocumentServer/logs目录挂载到容器内的/var/log/onlyoffice目录,确保容器产生的日志能够存储到本地指定目录。-v /data/onlyoffice/DocumentServer/data:/var/www/onlyoffice/Data:将本地的/data/onlyoffice/DocumentServer/data目录挂载到容器内的/var/www/onlyoffice/Data目录,实现数据的持久化存储。
3. 查看ONLYOFFICE Document Server容器状态
使用docker ps命令来查看刚刚创建的容器是否正常运行,执行命令及输出结果如下:
[root@node DocumentServer]# docker ps
CONTAINER ID   IMAGE                                    COMMAND                  CREATED          STATUS          PORTS                                            NAMES
e7fc82c2c5ee   onlyoffice/documentserver                "/app/ds/run-documen…"   23 seconds ago   Up 22 seconds   443/tcp, 0.0.0.0:8098->80/tcp, :::8098->80/tcp   mydoc
从输出结果可以清晰地看到,容器已经成功创建并且处于运行状态,端口映射也正常,这表明容器创建和启动过程顺利。
4. 查看ONLYOFFICE Document Server容器日志
通过docker logs命令查看容器的运行日志,以确认服务是否正常启动。执行命令及输出结果如下:
[root@node DocumentServer]# docker logs mydoc
 * Starting PostgreSQL 12 database server
  ...done.
 * Starting RabbitMQ Messaging Server rabbitmq-server
从日志输出内容可以得知,PostgreSQL 12数据库服务器和RabbitMQ消息服务器正在启动,这说明容器内的服务正在按照预期进行初始化。
六、开启测试用例
为了验证ONLYOFFICE Document Server的各项功能是否正常,需要开启测试用例。通过执行以下命令来启动测试用例,并设置其自动启动:
sudo docker exec e7fc82c2c5ee sudo supervisorctl start ds:example
sudo docker exec e7fc82c2c5ee sudo sed 's,autostart=false,autostart=true,' -i /etc/supervisor/conf.d/ds-example.conf
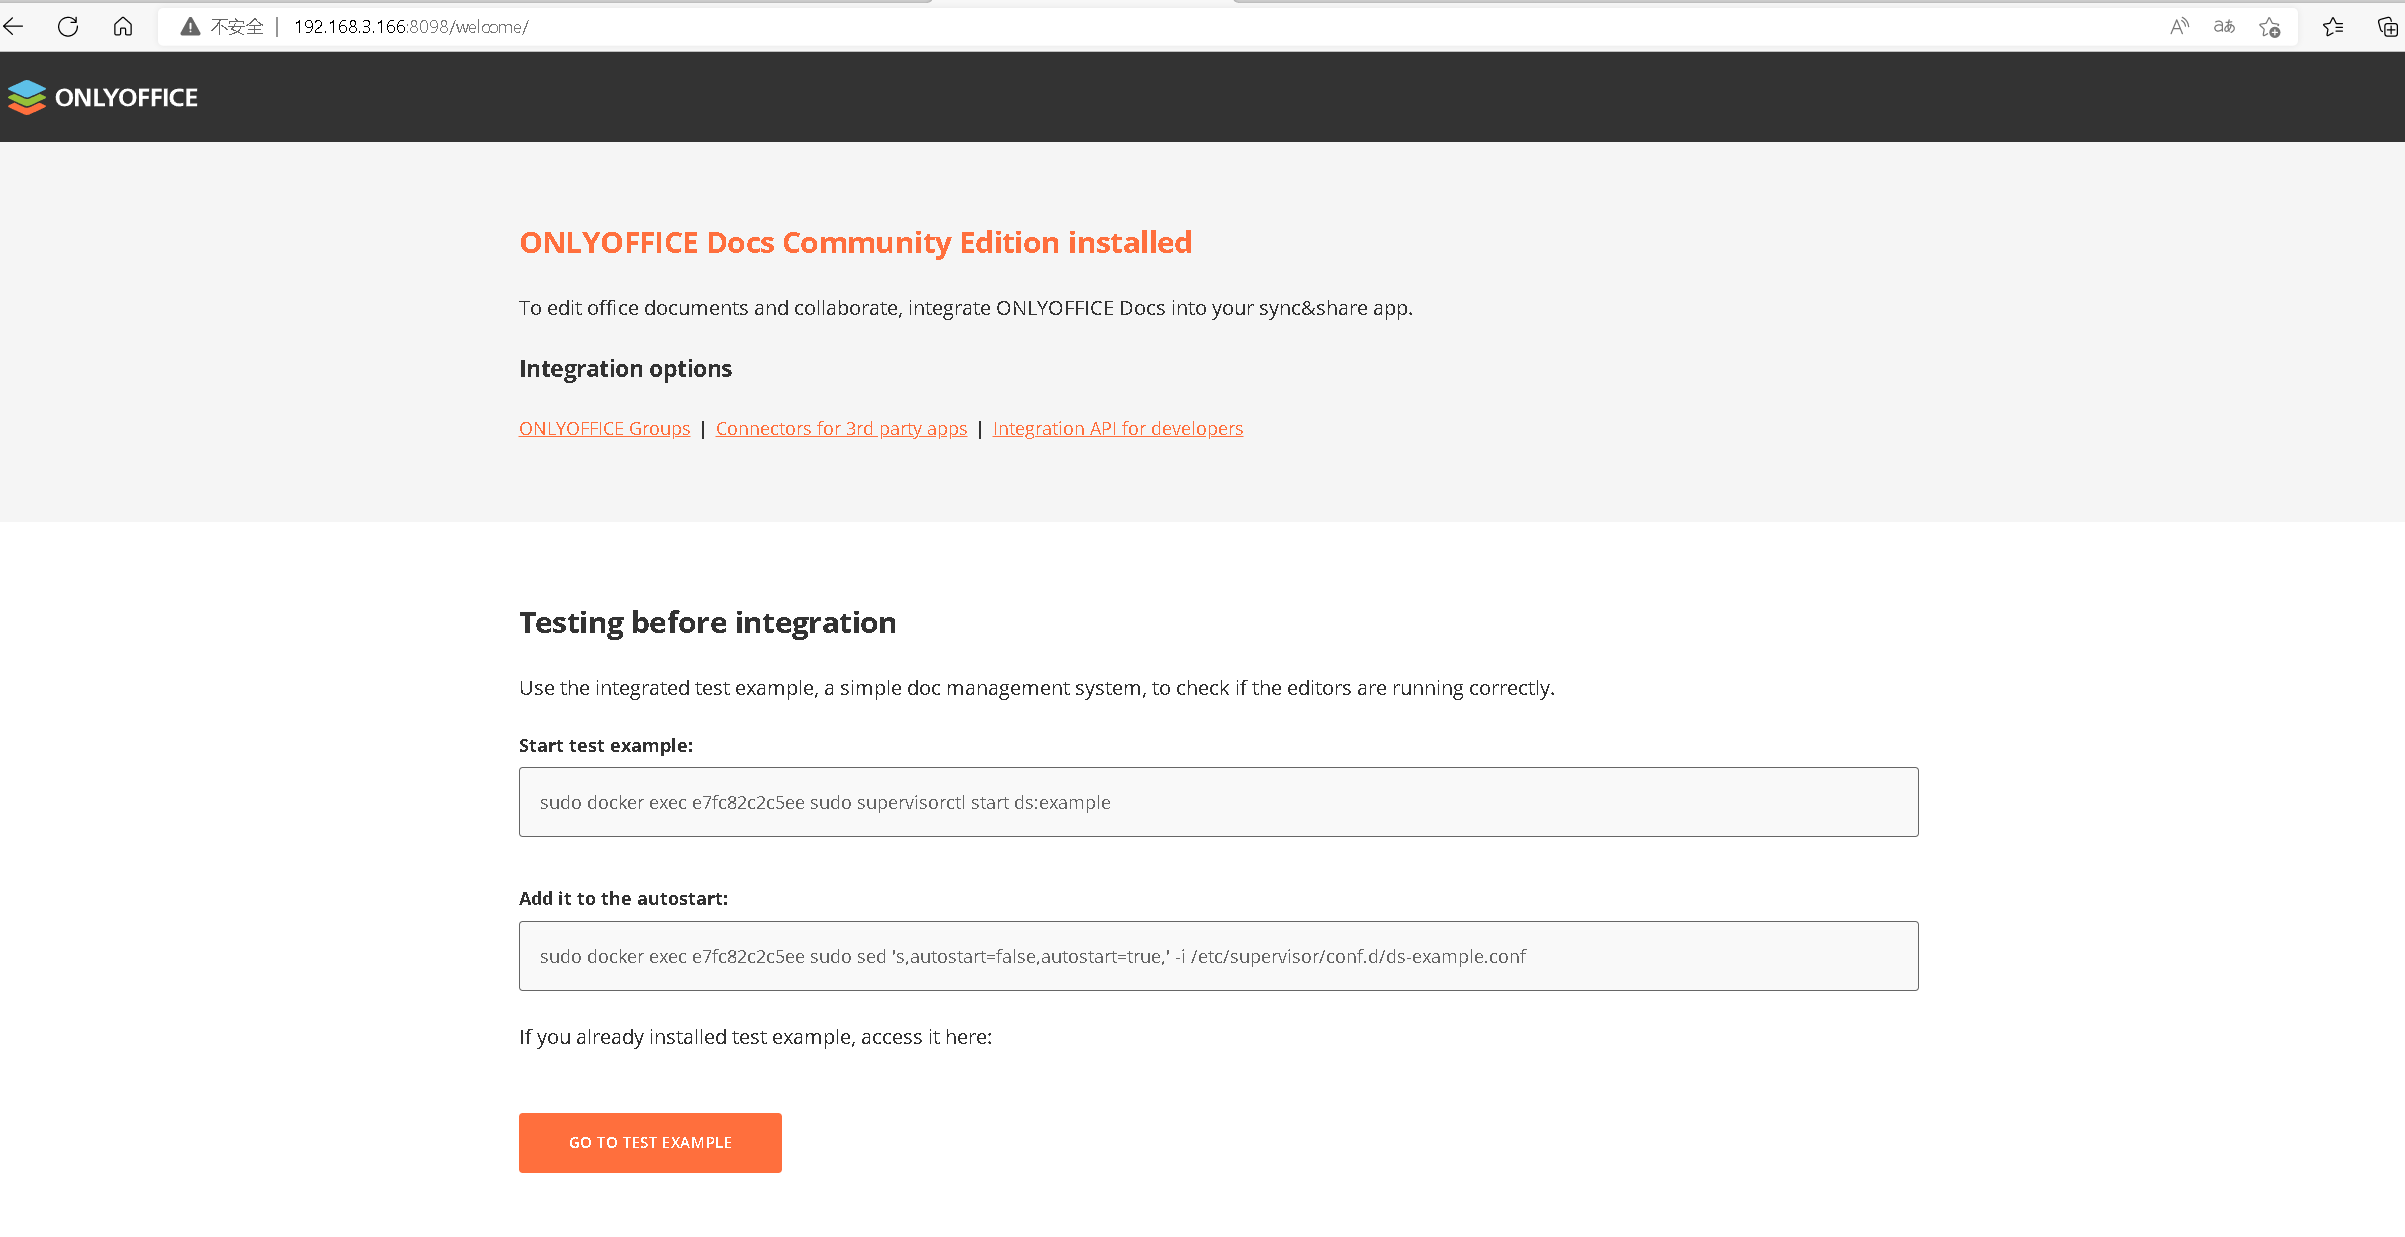
上述第一条命令用于启动测试用例,第二条命令则是修改配置文件,使测试用例在容器启动时能够自动启动。
开启测试用例相关展示:
七、测试使用ONLYOFFICE Document Server
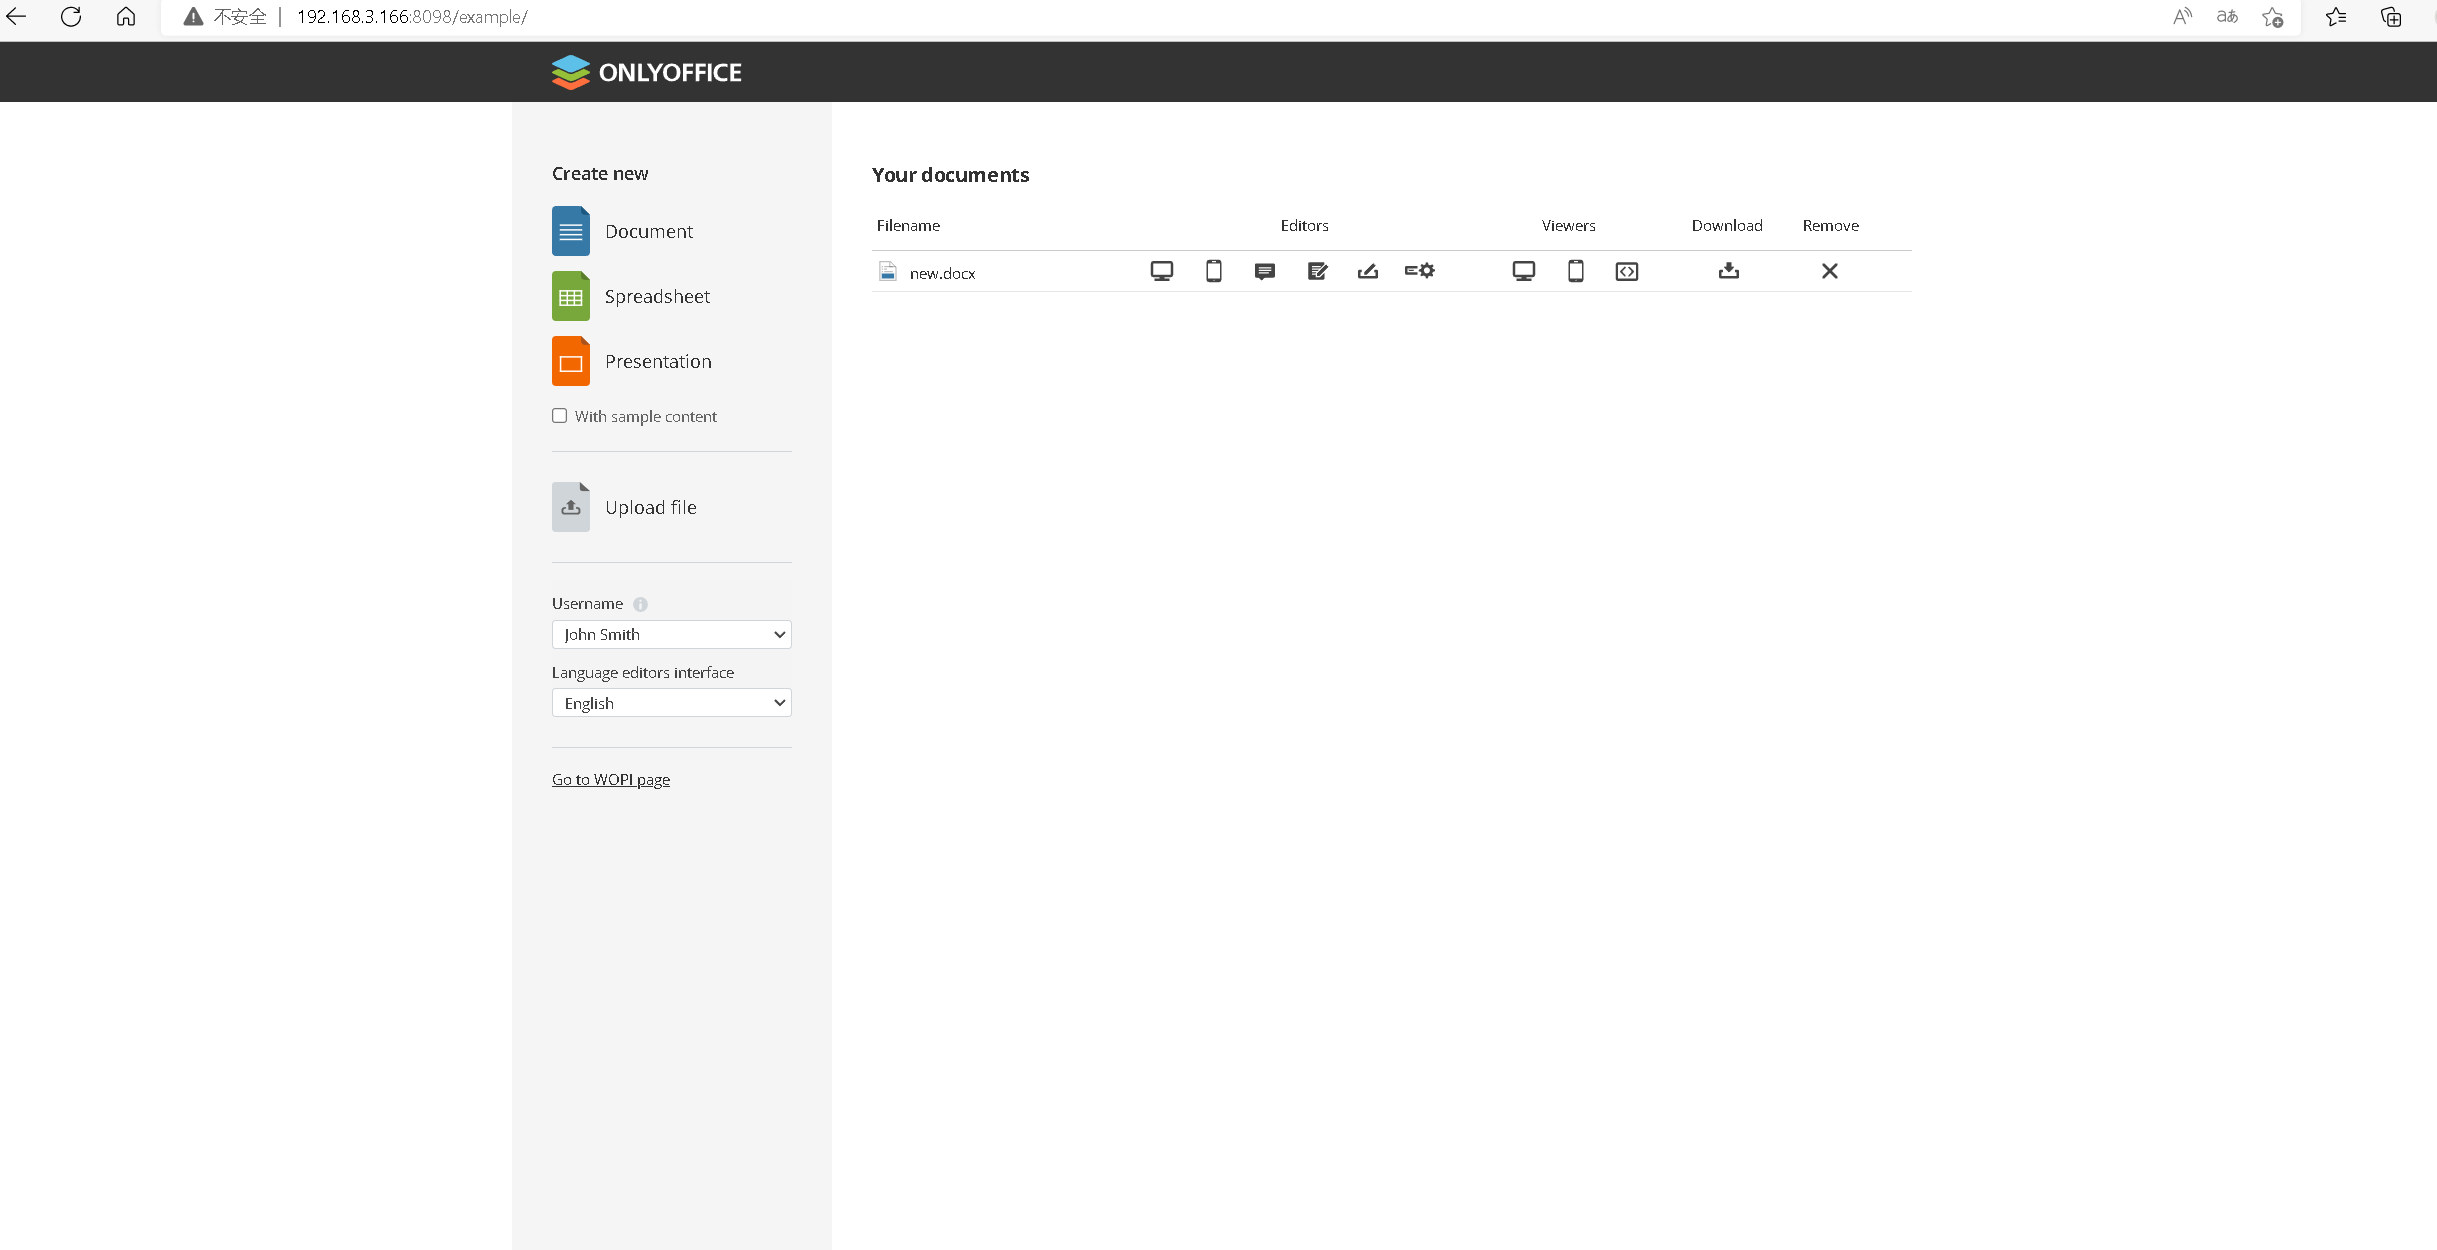
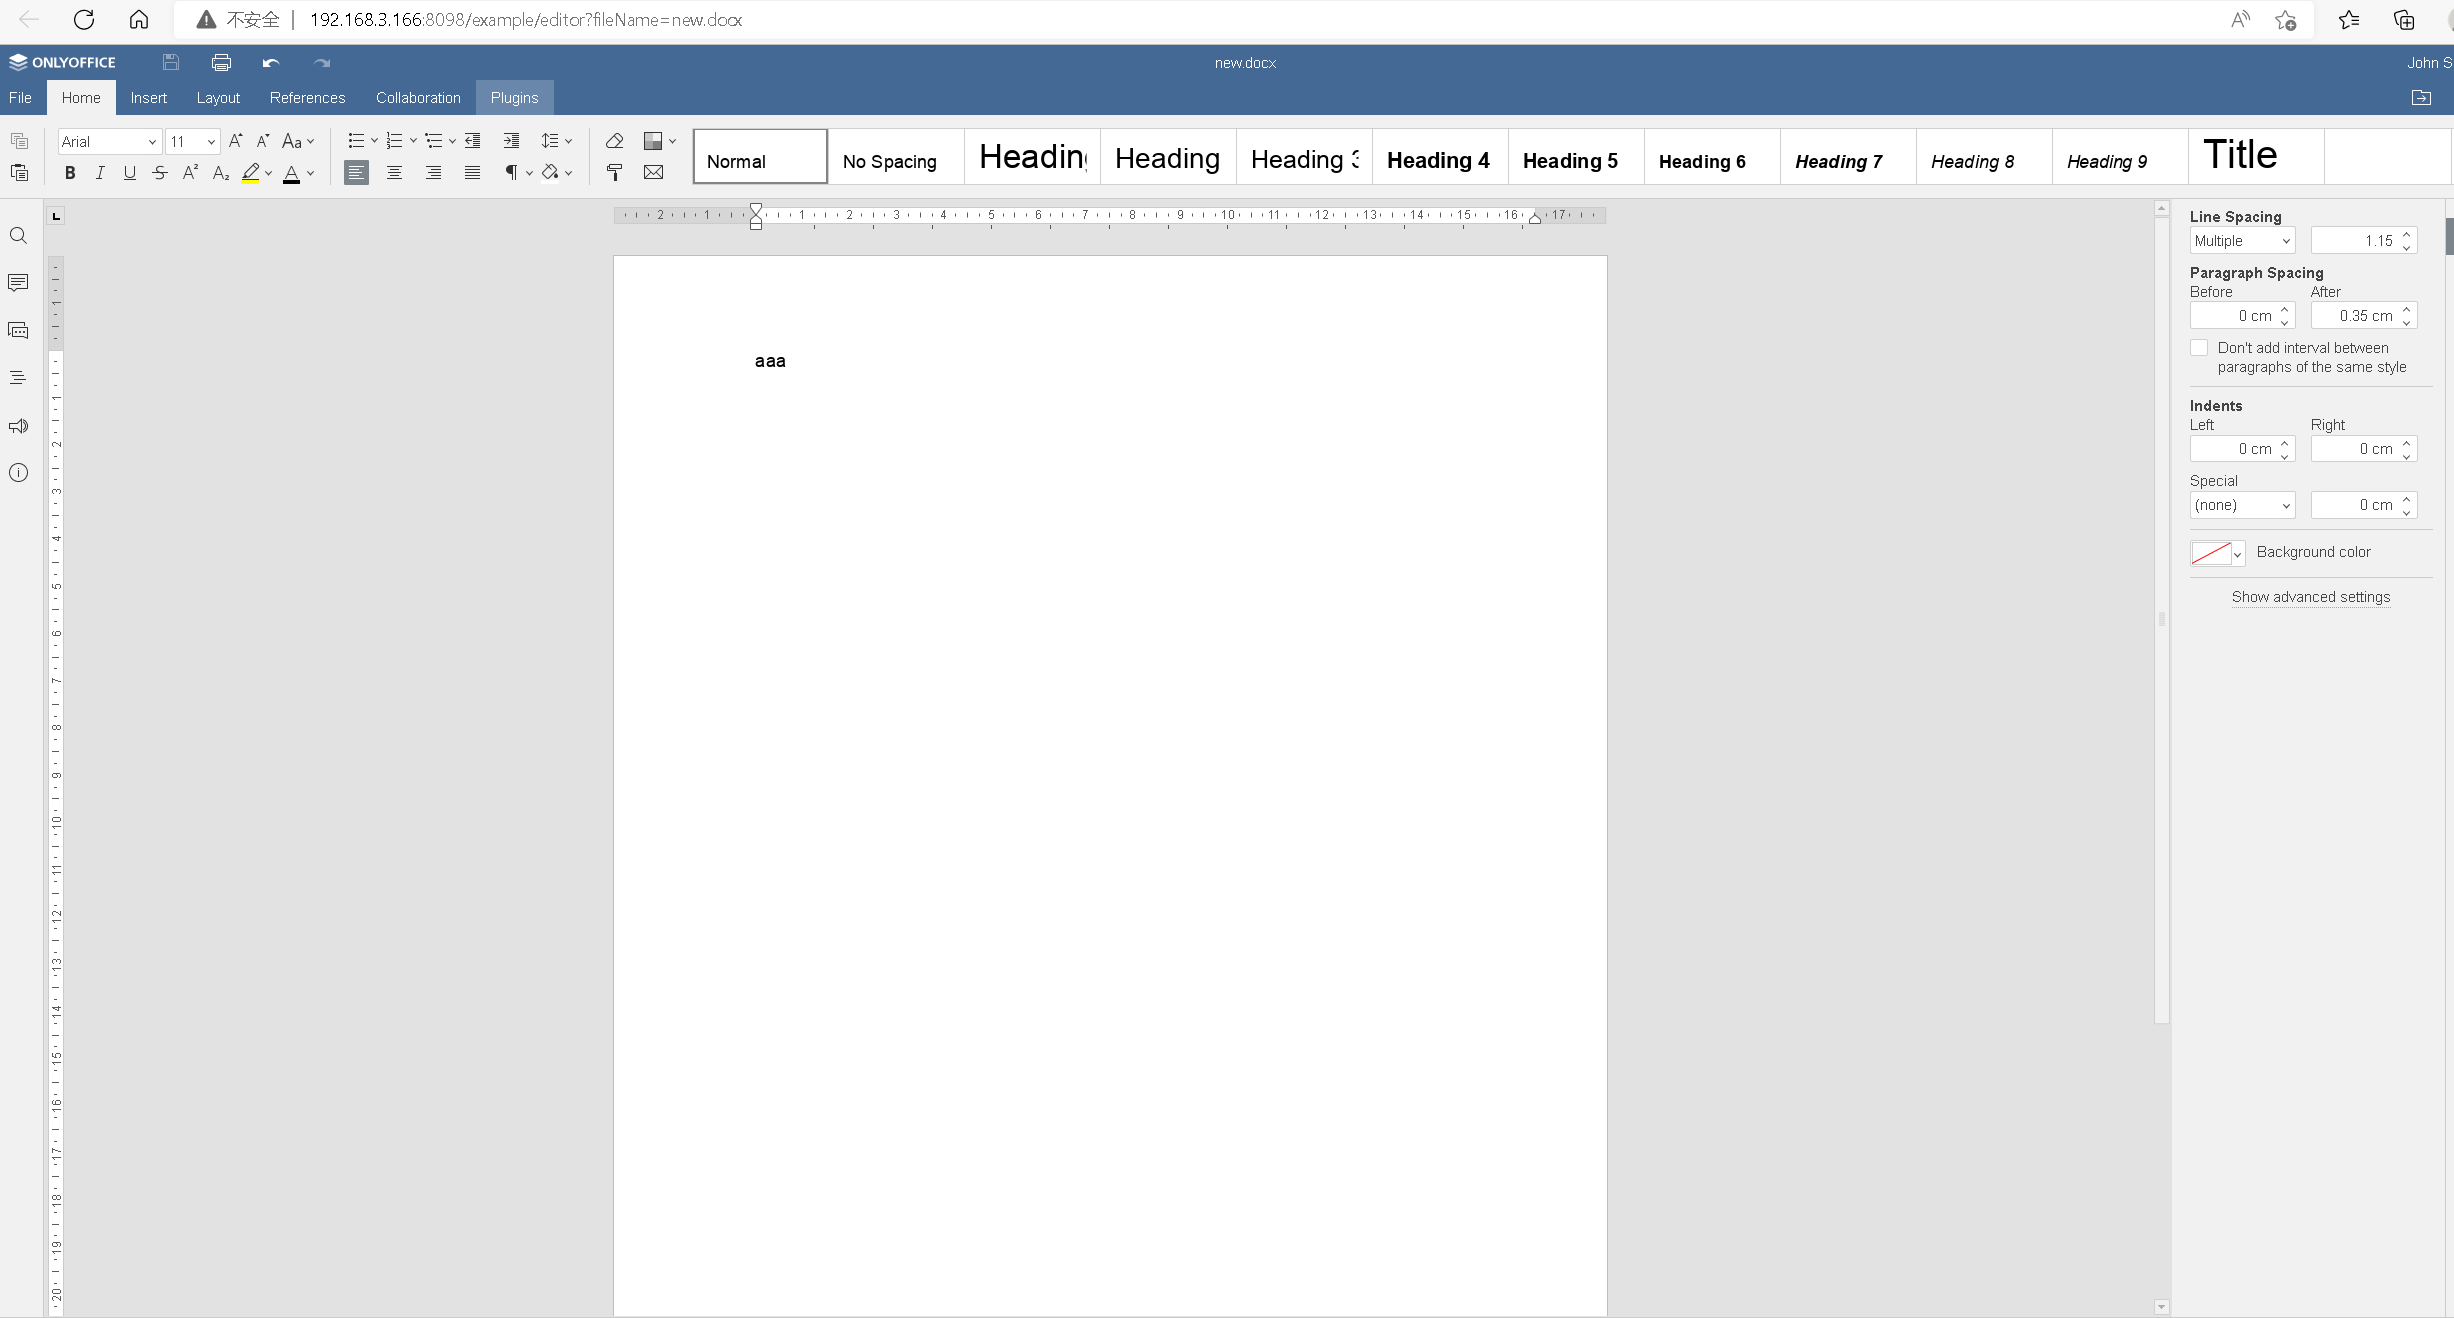
经过上述一系列步骤,ONLYOFFICE Document Server已经成功部署并开启了测试用例。接下来,可以通过访问主机的8098端口来对服务进行测试。具体的测试效果可以通过访问相应的页面来观察。测试过程中,可以验证文本、电子表格和演示文稿的查看和编辑功能,以及实时协作编辑功能是否正常运行。
测试相关展示:
至此,ONLYOFFICE Document Server的部署和测试流程全部完成。通过以上步骤,能够在CentOS 7系统上基于docker成功部署并测试ONLYOFFICE Document Server服务,为后续的办公使用提供了有力的支持。

- 点赞
- 收藏
- 关注作者
评论(0)