Linux系统之安装BullshitGenerator废话生成器
【摘要】 Linux系统之安装BullshitGenerator废话生成器
一、BullshitGenerator介绍
1.1 BullshitGenerator简介
"Bullshit Generator"废话生成器(又名狗屁不通文章生成器)是一个有趣的开源项目,它能够根据用户输入的主题自动生成看似正式但实际上没有实际意义的文章。这个项目的初衷可能是为了娱乐或展示自然语言处理技术的局限性,同时也可能被用来测试文本处理工具、演示无意义内容的生成等。
1.2 项目特点
- 自动内容生成:用户只需要提供一个主题词,系统就能生成一篇长文。
- 多版本支持:除了原始的Python版本外,还有在线版和其他变体。
- 语言风格:生成的文章通常包含复杂的句子结构和高级词汇,但整体上缺乏逻辑连贯性和实际意义。
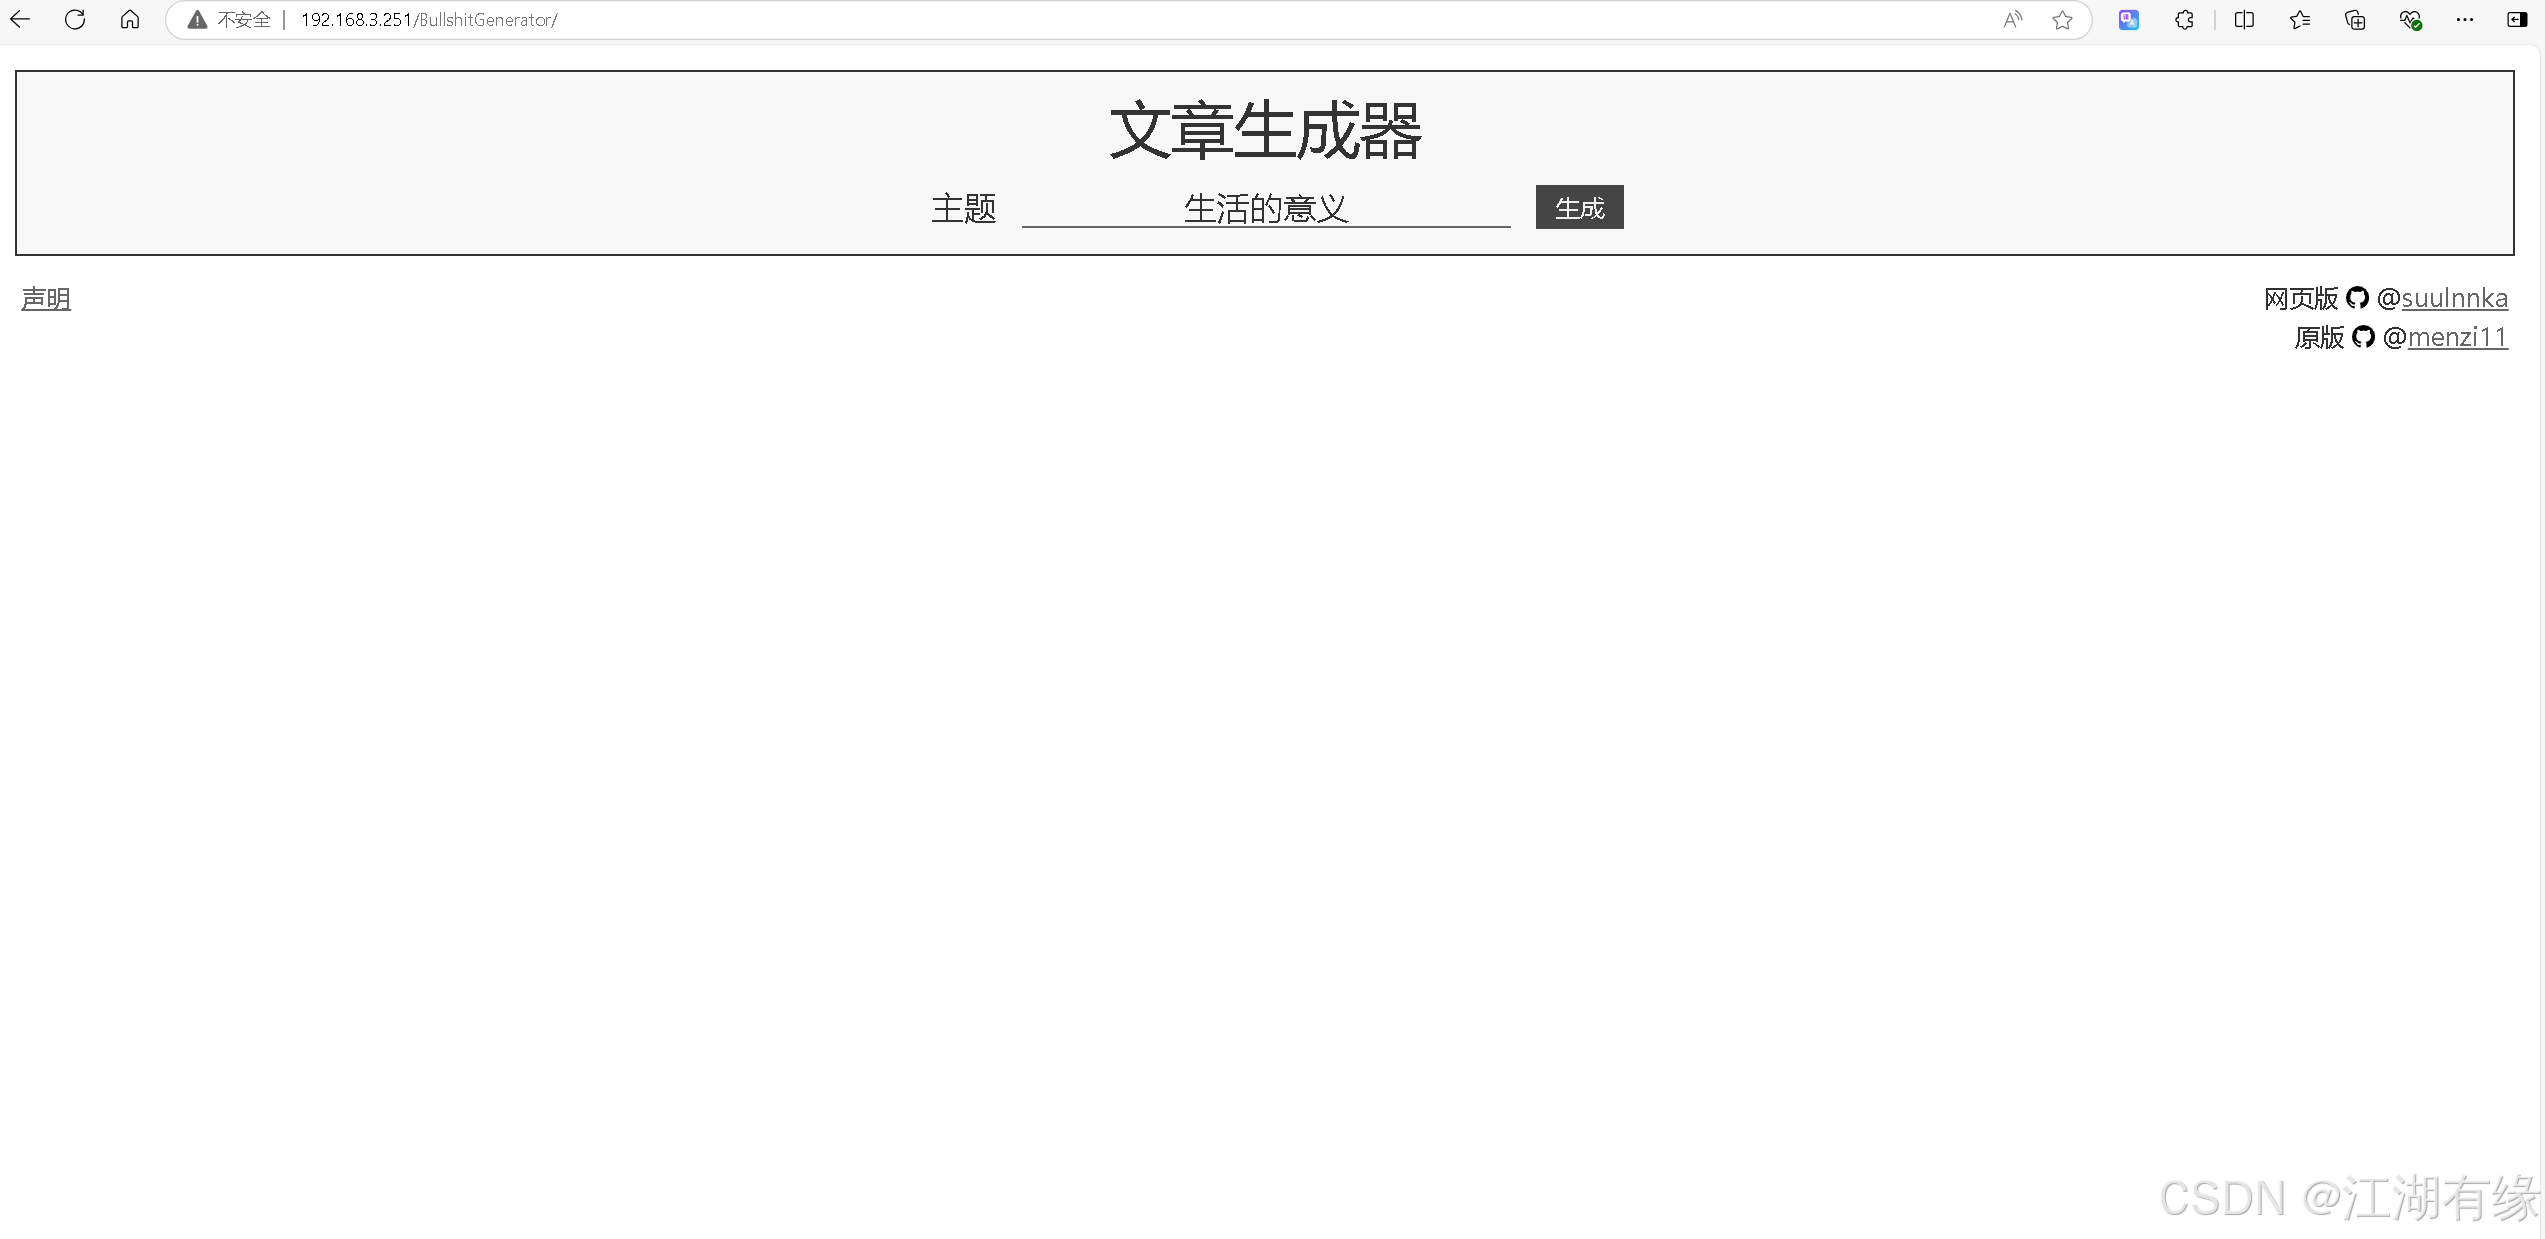
1.2 项目预览
- 可以看下部署好的项目预览
二、本次实践介绍
2.1 本地环境规划
本次实践为个人测试环境,操作系统版本为centos7.6。
| hostname | IP地址 | 操作系统版本 | 内核版本 |
|---|---|---|---|
| ubuntu-001 | 192.168.3.251 | Ubuntu 22.04.1 LTS | 5.15.0-105-generic |
2.2 本次实践介绍
1.本次实践环境为个人测试环境,生产环境请谨慎;
2.在ubuntu环境下安装BullshitGenerator废话生成器。
三、检查系统镜像源
3.1 检查系统镜像源
对于Ubuntu 22.04.1 LTS版本,将镜像源配置文件/etc/apt/sources.list修改内容如下。
deb https://mirrors.aliyun.com/ubuntu/ jammy main restricted universe multiverse
deb-src https://mirrors.aliyun.com/ubuntu/ jammy main restricted universe multiverse

deb https://mirrors.aliyun.com/ubuntu/ jammy-security main restricted universe multiverse
deb-src https://mirrors.aliyun.com/ubuntu/ jammy-security main restricted universe multiverse

deb https://mirrors.aliyun.com/ubuntu/ jammy-updates main restricted universe multiverse
deb-src https://mirrors.aliyun.com/ubuntu/ jammy-updates main restricted universe multiverse

# deb https://mirrors.aliyun.com/ubuntu/ jammy-proposed main restricted universe multiverse
# deb-src https://mirrors.aliyun.com/ubuntu/ jammy-proposed main restricted universe multiverse

deb https://mirrors.aliyun.com/ubuntu/ jammy-backports main restricted universe multiverse
deb-src https://mirrors.aliyun.com/ubuntu/ jammy-backports main restricted universe multiverse
3.2 更新软件列表
执行以下命令,更新软件列包表。
root@ubuntu-001:~# apt update
Hit:1 https://mirrors.aliyun.com/ubuntu jammy InRelease
Hit:2 https://mirrors.aliyun.com/ubuntu jammy-security InRelease
Hit:3 https://mirrors.aliyun.com/ubuntu jammy-updates InRelease
Hit:4 https://mirrors.aliyun.com/ubuntu jammy-backports InRelease
Hit:5 https://mirrors.aliyun.com/docker-ce/linux/ubuntu jammy InRelease
Reading package lists... Done
Building dependency tree... Done
Reading state information... Done
116 packages can be upgraded. Run 'apt list --upgradable' to see them.
四、安装apache2服务
4.1 安装apache2
可以使用以下命令,直接安装 apache2。
apt install apache2 -y

4.2 启动apache2服务
启动 apache2服务,并设置开机自启。
systemctl enable --now apache2
4.3 查看apache2服务状态
- 检查apache2服务状态
root@ubuntu-001:~# systemctl status apache2
● apache2.service - The Apache HTTP Server
     Loaded: loaded (/lib/systemd/system/apache2.service; enabled; vendor preset: enabled)
     Active: active (running) since Sat 2024-10-12 06:23:26 UTC; 5min ago
       Docs: https://httpd.apache.org/docs/2.4/
   Main PID: 44658 (apache2)
      Tasks: 55 (limit: 9345)
     Memory: 5.1M
        CPU: 38ms
     CGroup: /system.slice/apache2.service
             ├─44658 /usr/sbin/apache2 -k start
             ├─44659 /usr/sbin/apache2 -k start
             └─44660 /usr/sbin/apache2 -k start

Oct 12 06:23:26 ubuntu-001 systemd[1]: Starting The Apache HTTP Server...
Oct 12 06:23:26 ubuntu-001 apachectl[44657]: AH00558: apache2: Could not reliably determine the server's fully qualified domain name, using 127.0.1.1. Set th>
Oct 12 06:23:26 ubuntu-001 systemd[1]: Started The Apache HTTP Server.
4.4 安全设置
- 设置防火墙
systemctl stop firewalld && systemctl disable firewalld
-
- 关闭selinux服务
setenforce 0
sed -i 's/SELINUX=enforcing/SELINUX=disabled/' /etc/selinux/config
五、安装relationship应用
5.1 进入网站根目录
进入网站根目录/var/www/html
root@ubuntu-001:~# cd /var/www/html/
root@ubuntu-001:/var/www/html# ls
index.html
5.2 拉取relationship项目
拉取relationship项目,内容如下所示:
git clone https://github.com/suulnnka/BullshitGenerator.git
5.3 查看项目内容
- BullshitGenerator项目如下:
root@ubuntu-001:/var/www/html# tree -L 2 ./BullshitGenerator
./BullshitGenerator
├── index.html
├── LICENSE
├── LICENSE_CN
├── README.md
├── 声明.txt
└── 自动狗屁不通文章生成器.py

0 directories, 6 files
- 重启apache2
systemctl restart apache2
六、访问BullshitGenerator服务

填写主题生成即可,效果如下:

七、总结
在Linux系统上安装并运行BullshitGenerator后,我发现只需输入一个主题词就能快速生成一篇看似正式但内容空洞的文章,过程非常简便。生成的文章结构复杂、用词高级,却毫无实际意义,令人感到既好笑又惊讶。这个工具非常适合用于测试文本编辑器和排版软件,同时也可帮助学生学习如何识别和避免撰写空洞无物的文章。此外,它还提供了一种幽默的方式来生成看似专业的无意义内容。
【声明】本内容来自华为云开发者社区博主,不代表华为云及华为云开发者社区的观点和立场。转载时必须标注文章的来源(华为云社区)、文章链接、文章作者等基本信息,否则作者和本社区有权追究责任。如果您发现本社区中有涉嫌抄袭的内容,欢迎发送邮件进行举报,并提供相关证据,一经查实,本社区将立刻删除涉嫌侵权内容,举报邮箱:
cloudbbs@huaweicloud.com
- 点赞
- 收藏
- 关注作者


评论(0)