【ModelArts Course6】Custom Algorithm for Image Recongnition

Introduction
ModelArts is a one-stop AI development platform that supports the entire development process, including data processing, algorithm development and model training, management, and deployment.

This article describes how to upload local images to ModelArts and implement image classification using custom mirrors on ModelArts.
1. Create a Custom Algorithm
1.1 Creating an OBS File Directory
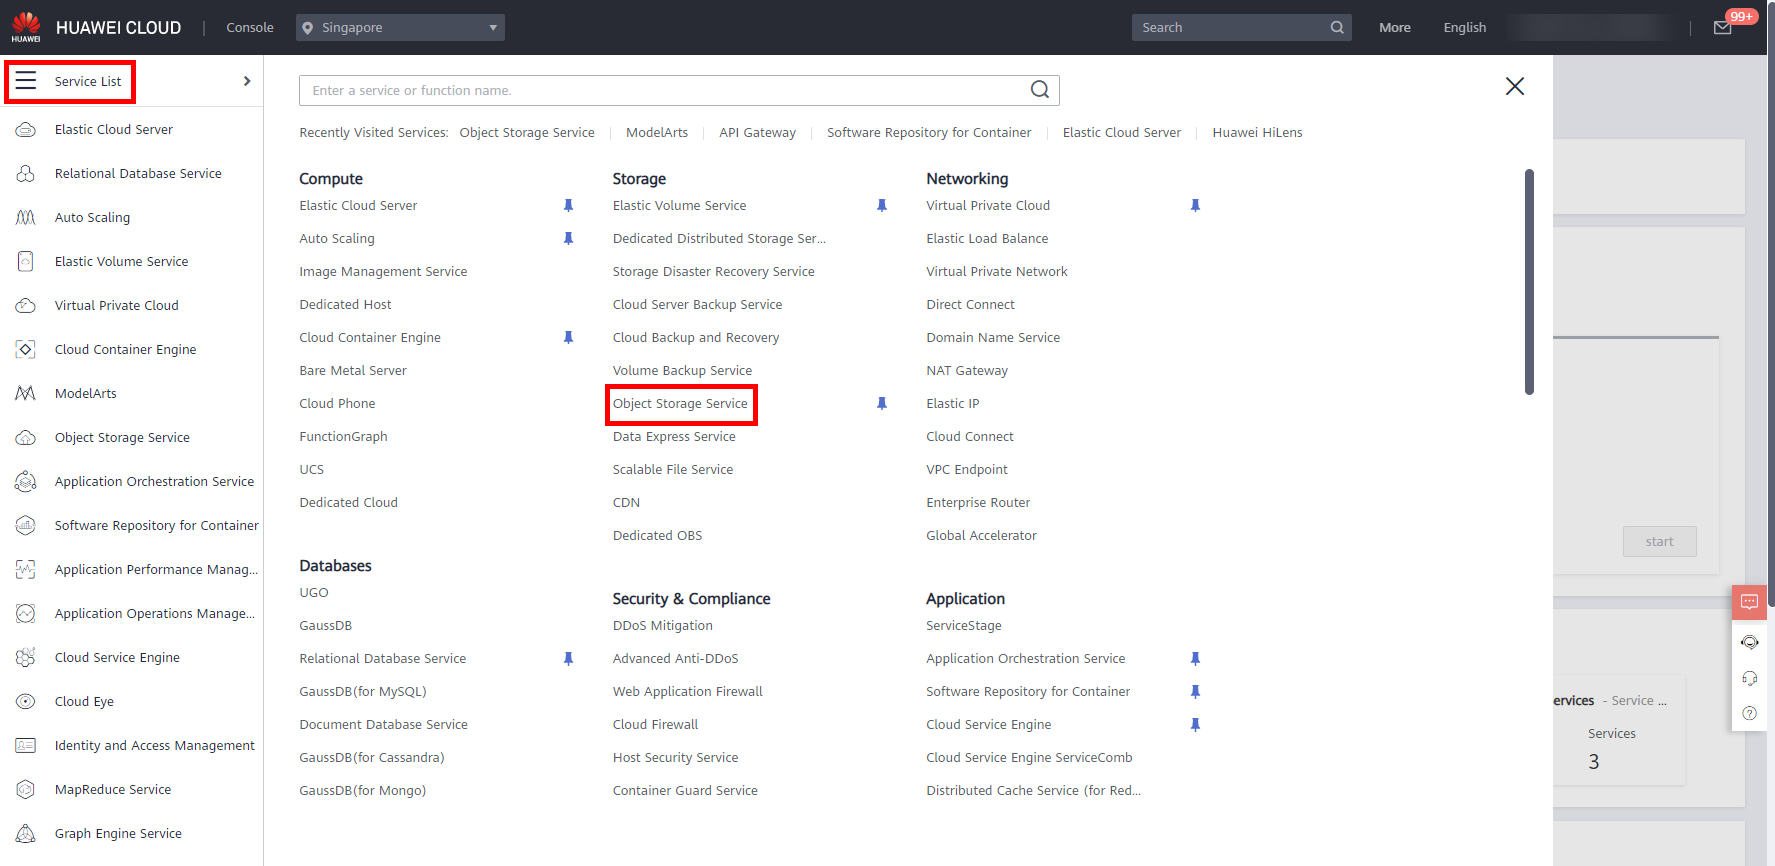
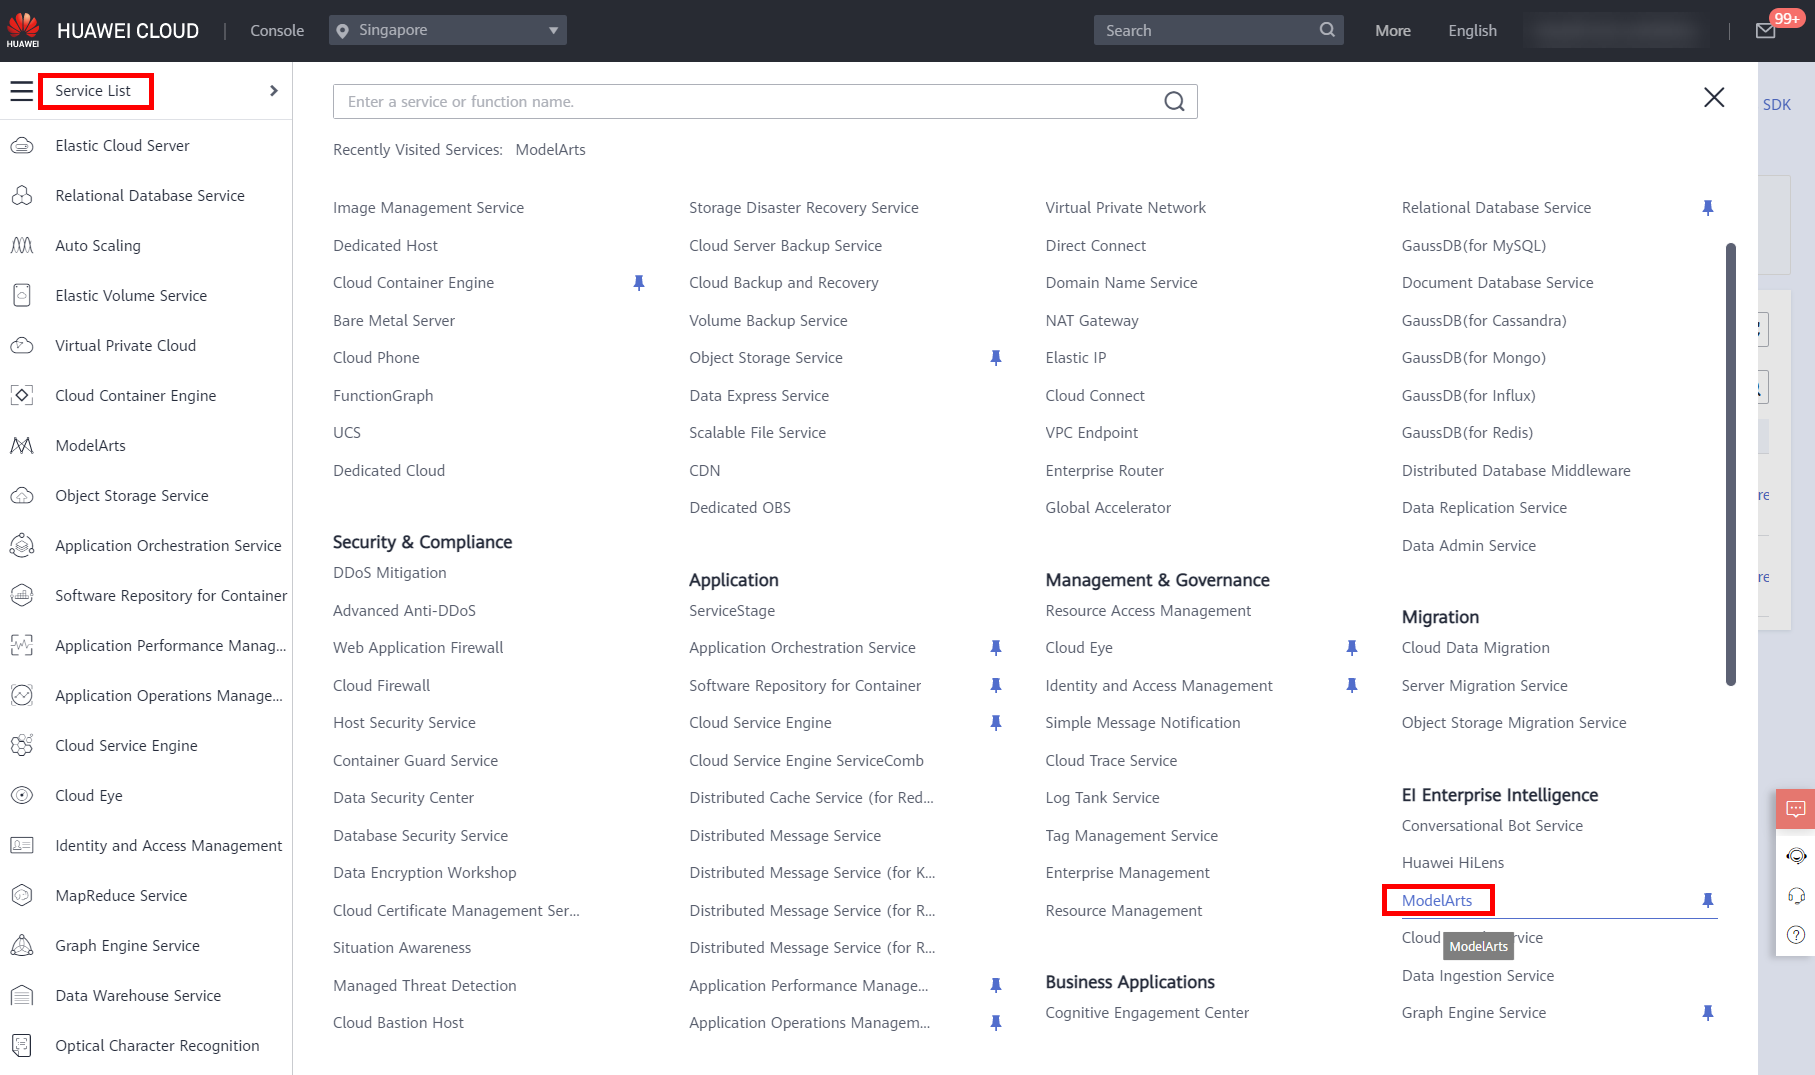
- On the HUAWEI CLOUD console, move the cursor to the left sidebar, and in the pop-up menu bar,click Service List -> Storage -> Object Storage Service, as shown below.

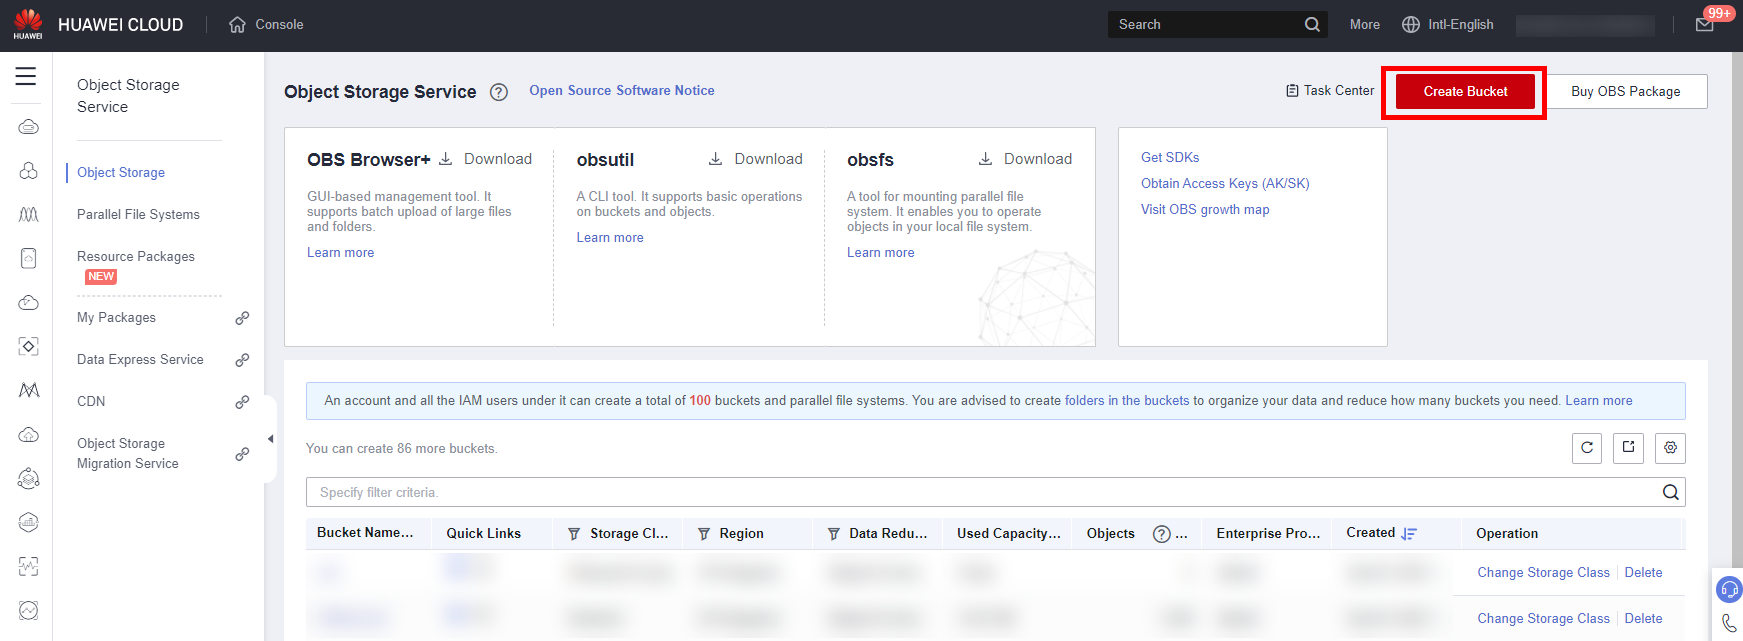
- In the navigation pane on the left, choose Bucket List and click Create Bucket under Dashboard. As shown in the following figure:
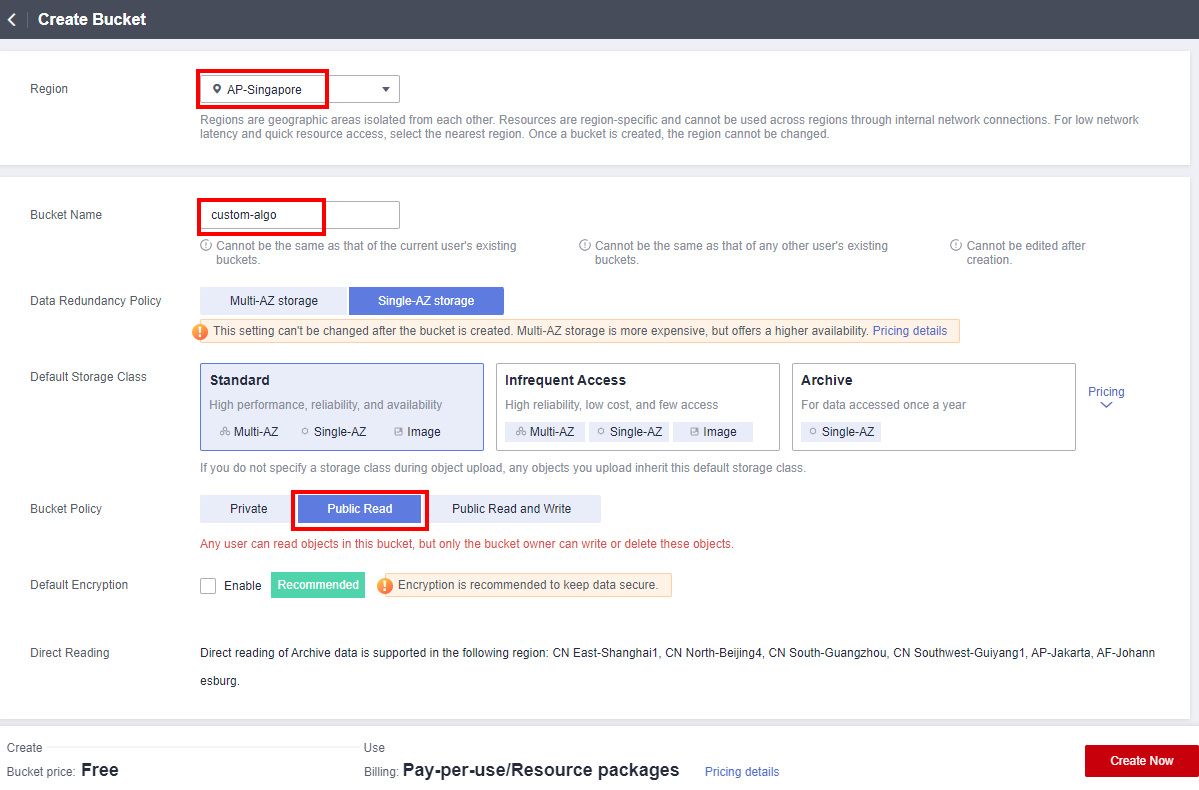
- On the Create Bucket page, perform the following configurations and retain the default values for other parameters:
Region: Select AP-Singapore.
Bucket Name: User-defined. In this example, custom-algo is used.
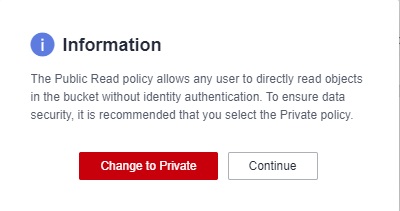
Bucket policy: Select Public Read and click Continue in the dialog box that is displayed.
- Click Create Now. As shown in the following figure:
In the displayed dialog box, click OK. As shown in the following figure:
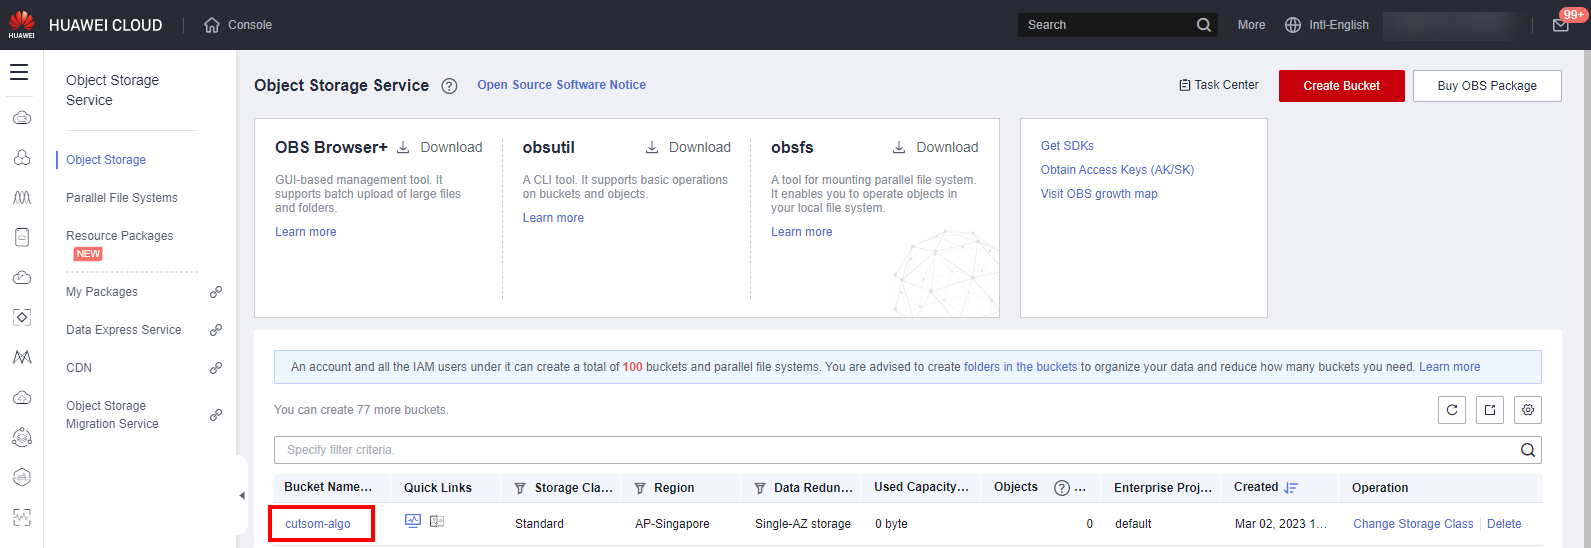
- The bucket is successfully created and displayed in the bucket list. Click the bucket name to go to the details page. As shown in the following figure:
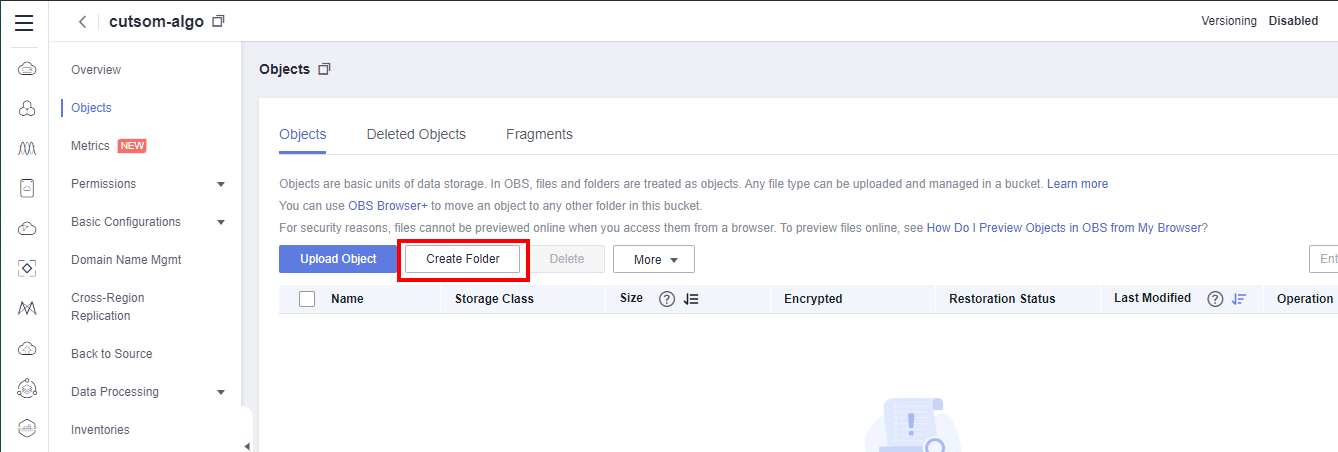
- Click Object > New Folder. As shown in the following figure:
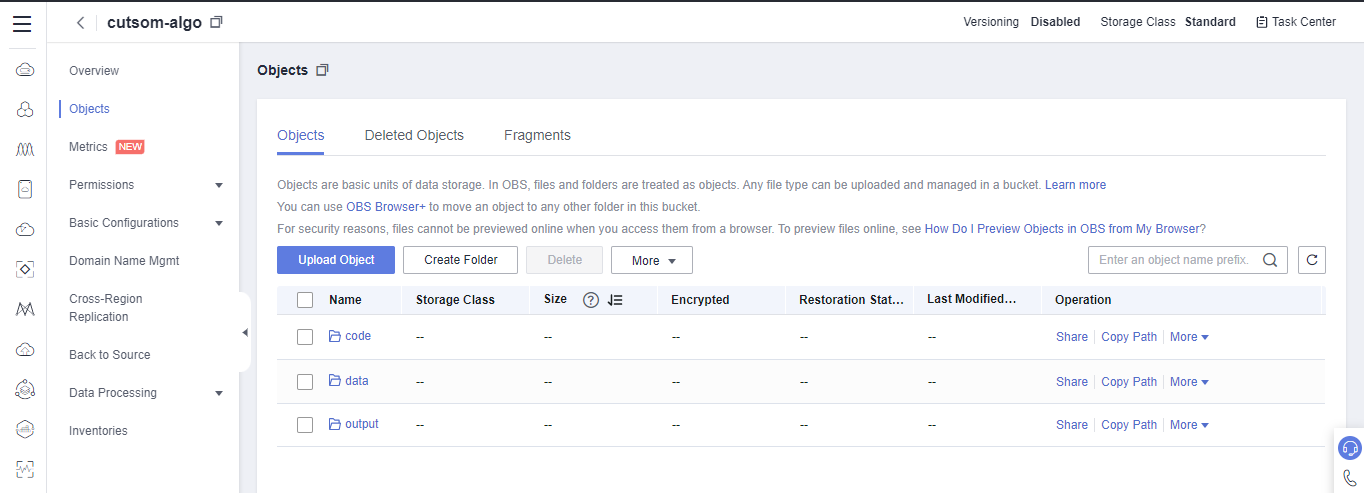
Create three folders, named data, code, and output in sequence to store data, code, and exported training models, respectively. The following figure shows the creation.


1.2 Downloading Dataset
detection(1|8|152|2||10|14|*|RUNNING|modelarts.vm.cpu.2u|)
- Log in to the HUAWEI CLOUD console, move the cursor to the left navigation bar, and choose Service List > EI Enterprise Intelligence > ModelArts, as shown below.
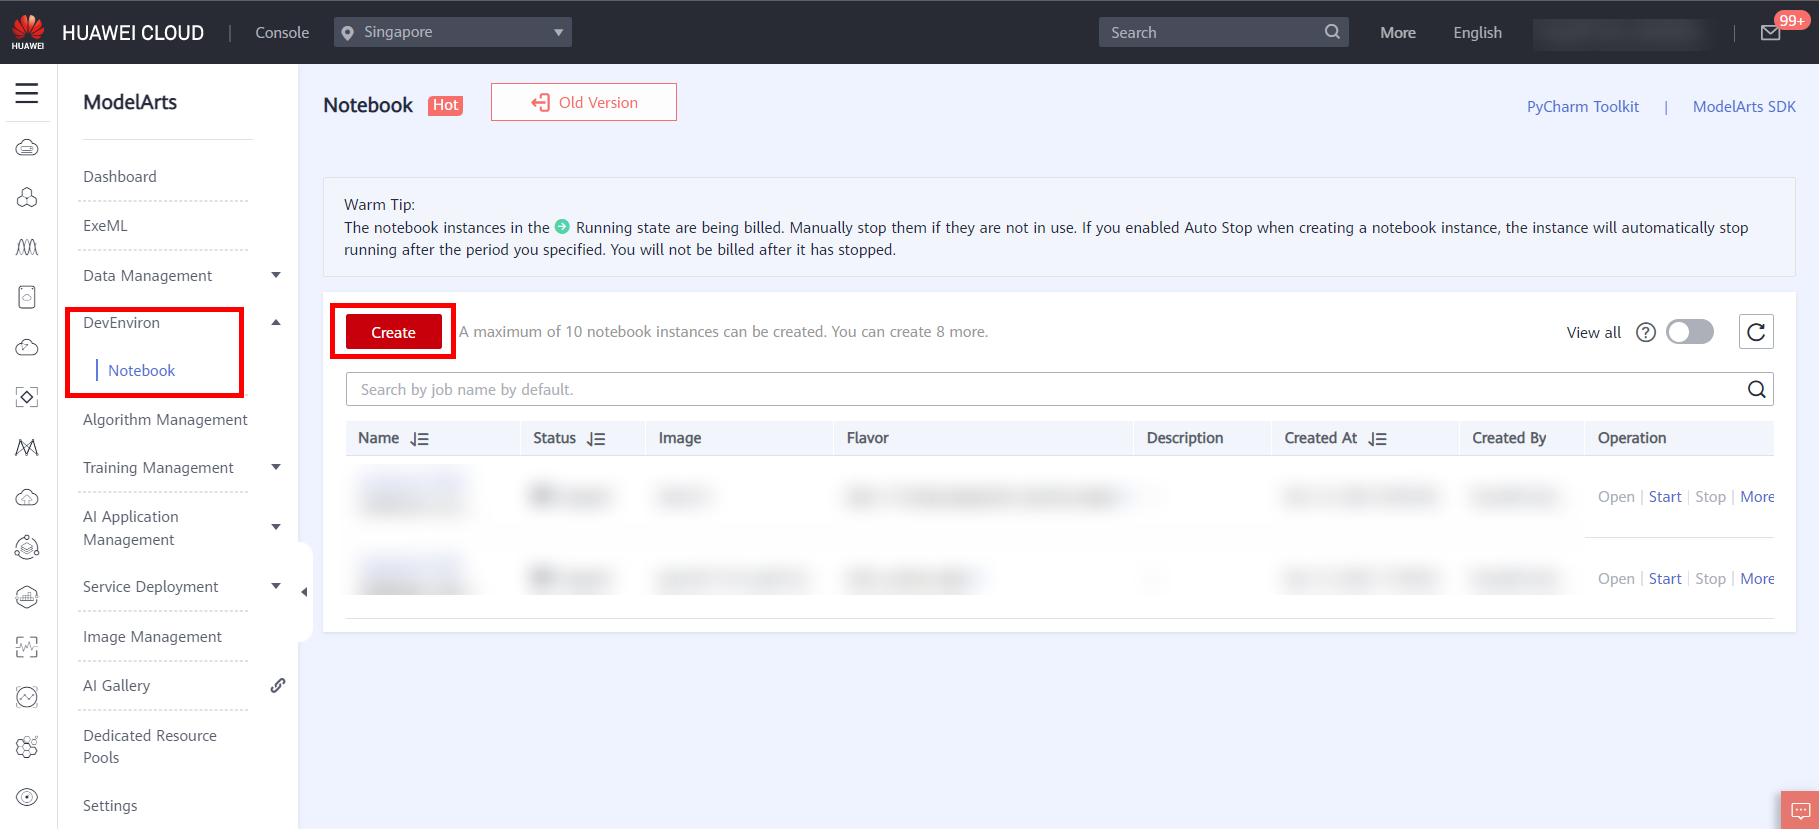
- On the ModelArts management console, click DevEnviron > Notebook in the navigation bar on the left. The Notebook list page is displayed, as shown below.
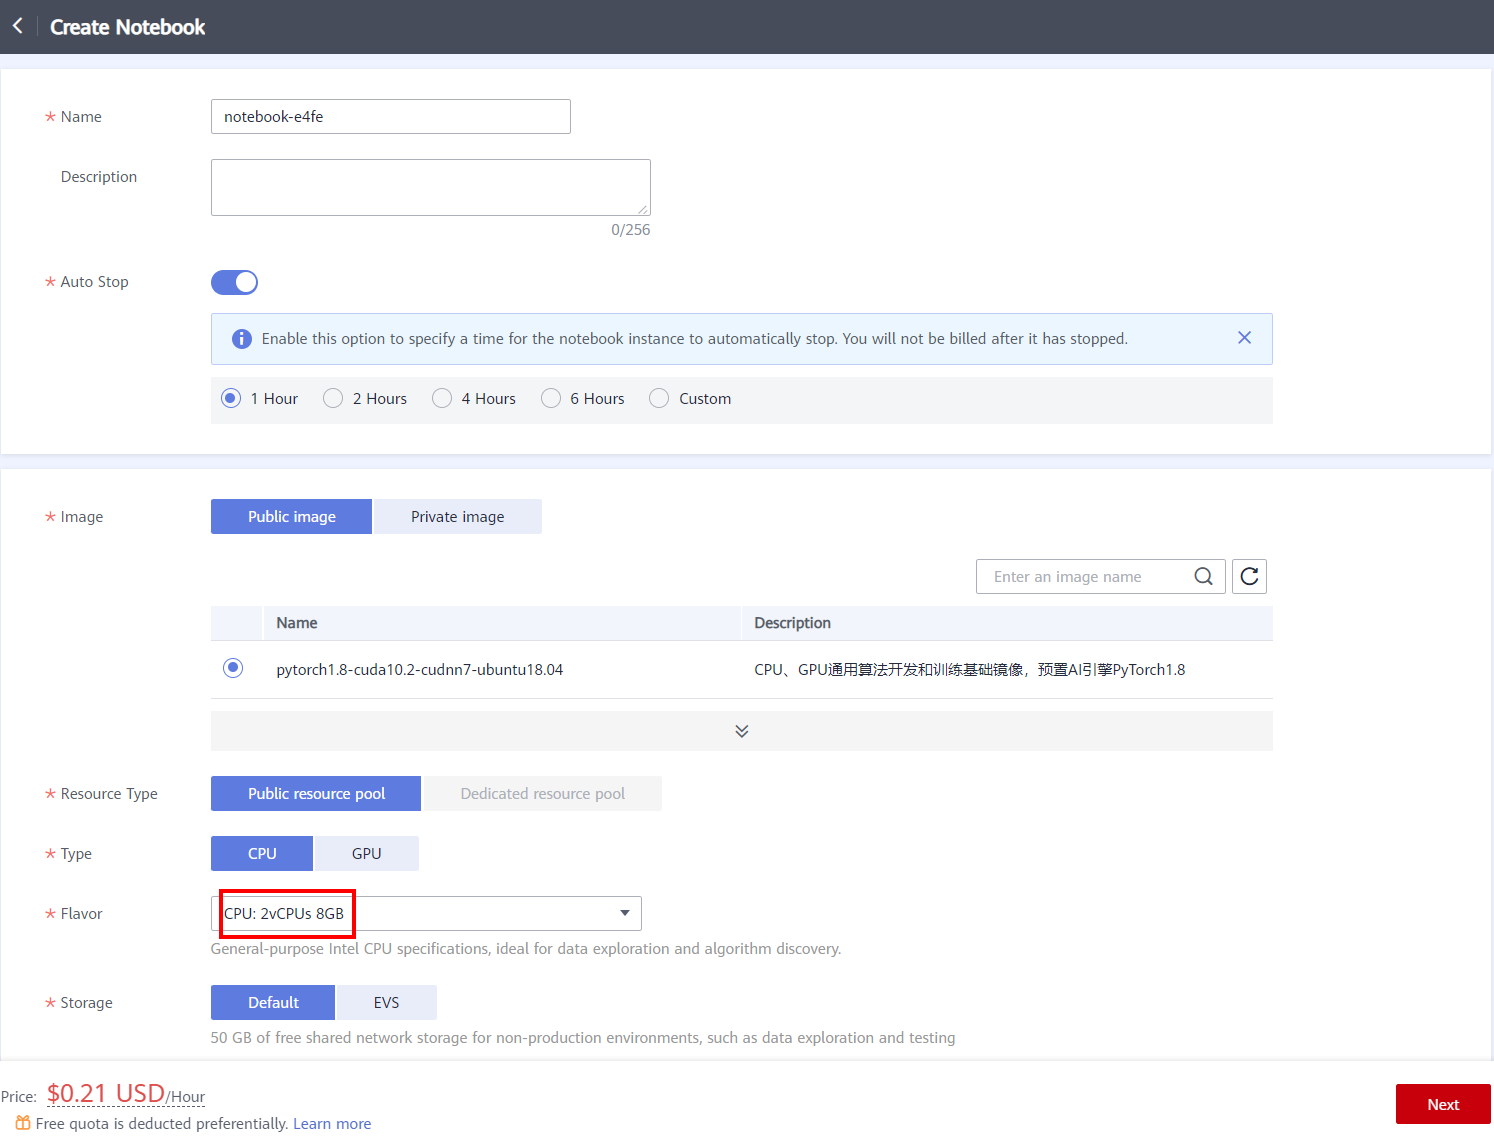
- Click Create in the upper left corner of the page to create a notebook and set parameters, as shown below.
After setting the parameters, click Next, confirming the product specifications, and then click Submit to complete the creation of the notebook. - Return to the notebook list page, after the status of the new Notebook changes to Running, click Operation > Open to access the notebook.
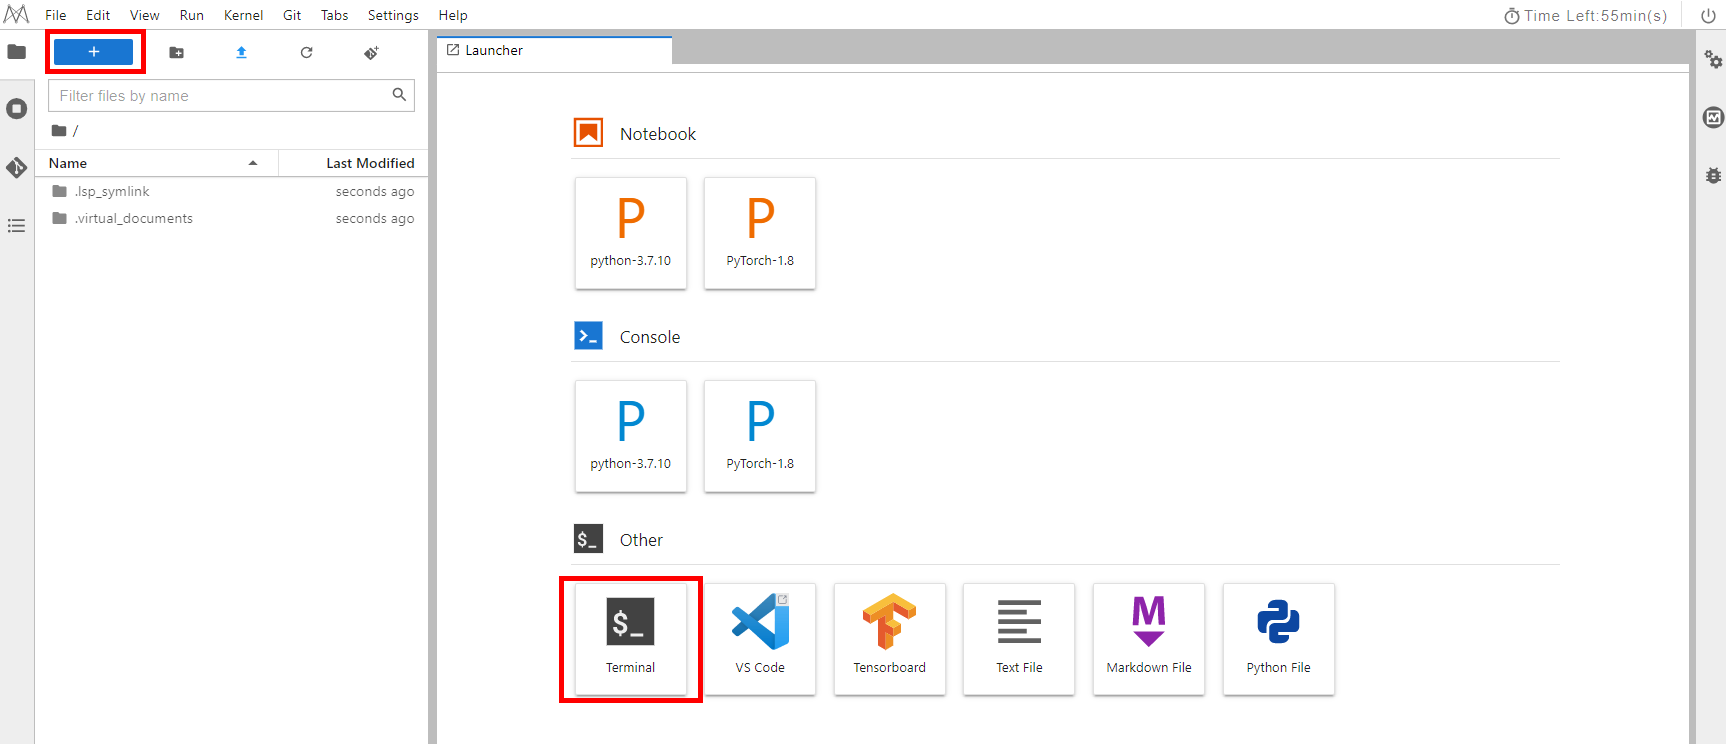
- On the Notebook page,click Launcher -> Terminal, as shown below.
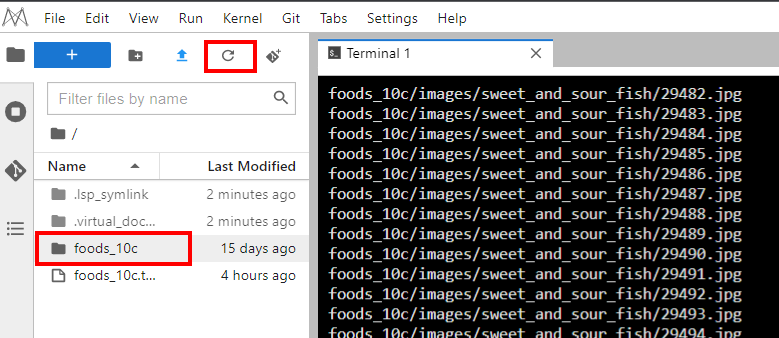
Run the following command to download the dataset: foods_10c. The dataset contains ten categories of food images with 500 images of each category and 5000 images in total.
# download data
wget https://koolabsfiles.obs.ap-southeast-3.myhuaweicloud.com/20230302/foods_10c.tar.gz
After downloading, decompress it.
# decompress file
tar -zxvf foods_10c.tar.gz
Then you can click Refresh button, and you will view the decompressed folder.
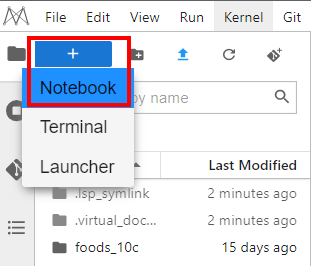
- Now, you need to upload the local dataset to the created OBS bucket in the previous step. Click Add button to create a Notebook.
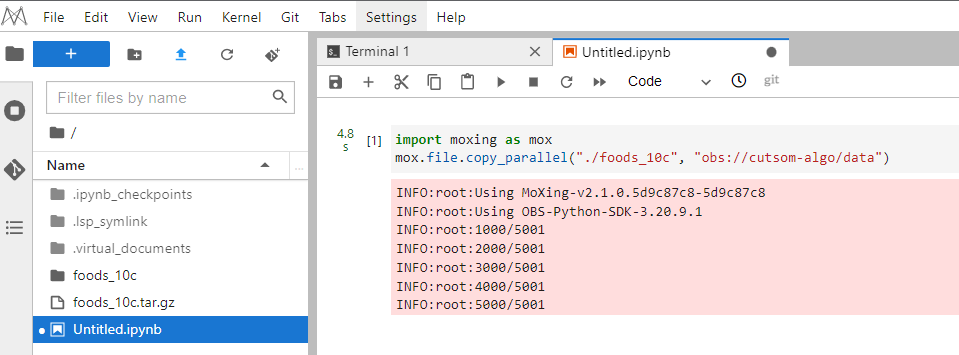
- Complete the following code, and then run it to complete the dataset upload.
import moxing as mox
mox.file.copy_parallel(${notebook_path}, ${obs_datat_path})
NOTICE:
● ${notebook_path} indicates the dataset storage path(./foods_10c) in the notebook.
● ${obs_data_path} indicates path for storing datasets in OBS.
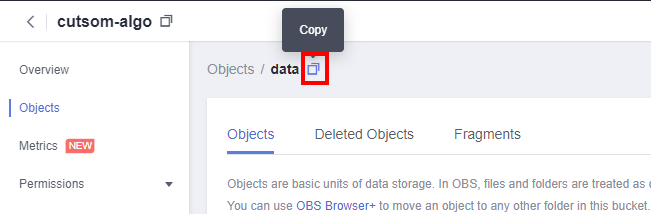
You can copy the OBS path here.
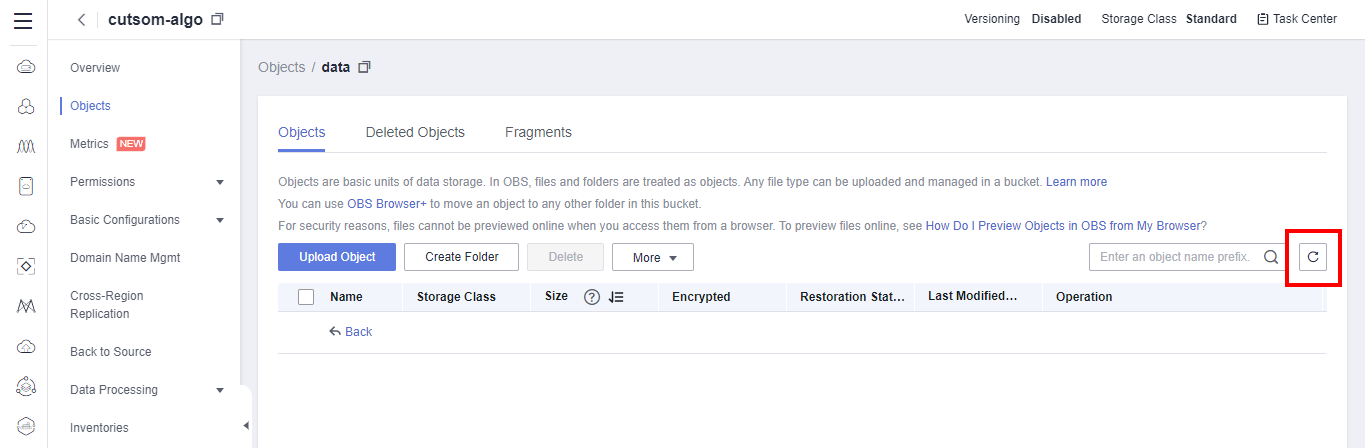
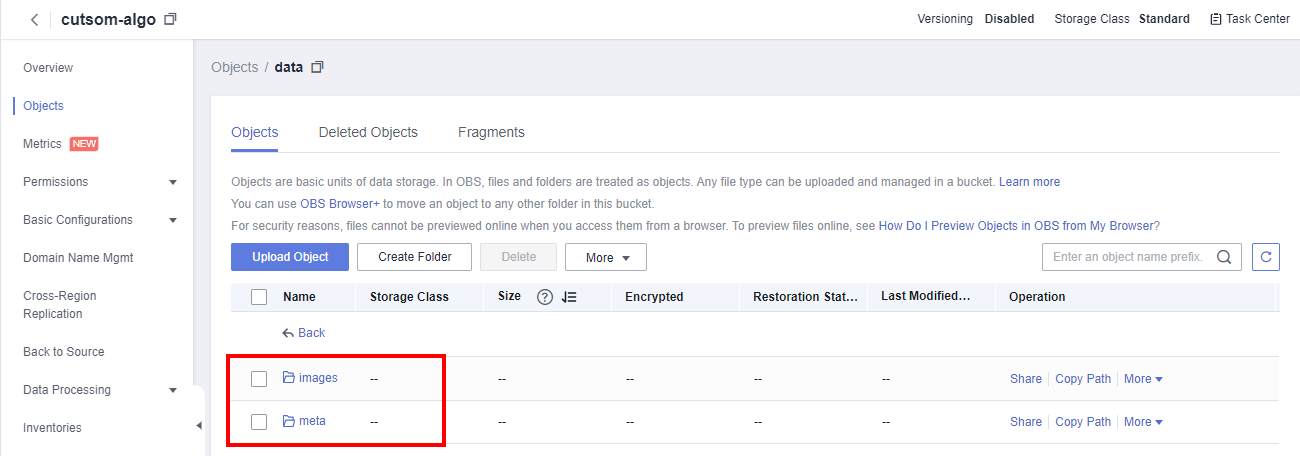
- After running the code, return to OBS and click refresh button the page. You can see files in the data folder.
1.3 Obtaining and Uploading Code
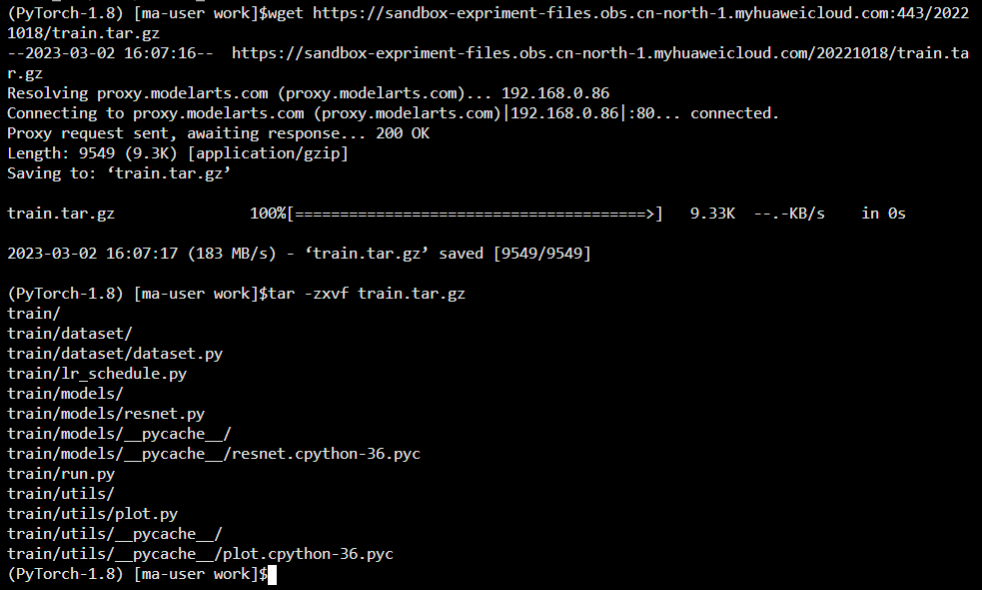
- Run the following command to download the training code in terminal on notebook:
wget https://sandbox-expriment-files.obs.cn-north-1.myhuaweicloud.com:443/20221018/train.tar.gz
Then run the following command to decompress the code file:
tar -zxvf train.tar.gz
The following figure shows the execution result.
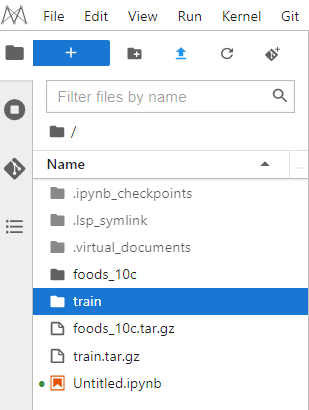
Then you can click Refresh button, and you will view the decompressed folder.
- Back to the Notebook page, add a cell, Complete the following code, and then run it to complete the code upload.
import moxing as mox
mox.file.copy_parallel(${notebook_path}, ${obs_code_path})
NOTICE:
● ${notebook_path} indicates the code storage path(./train) in the notebook.
● ${obs_code_path} indicates path for storing code in OBS.

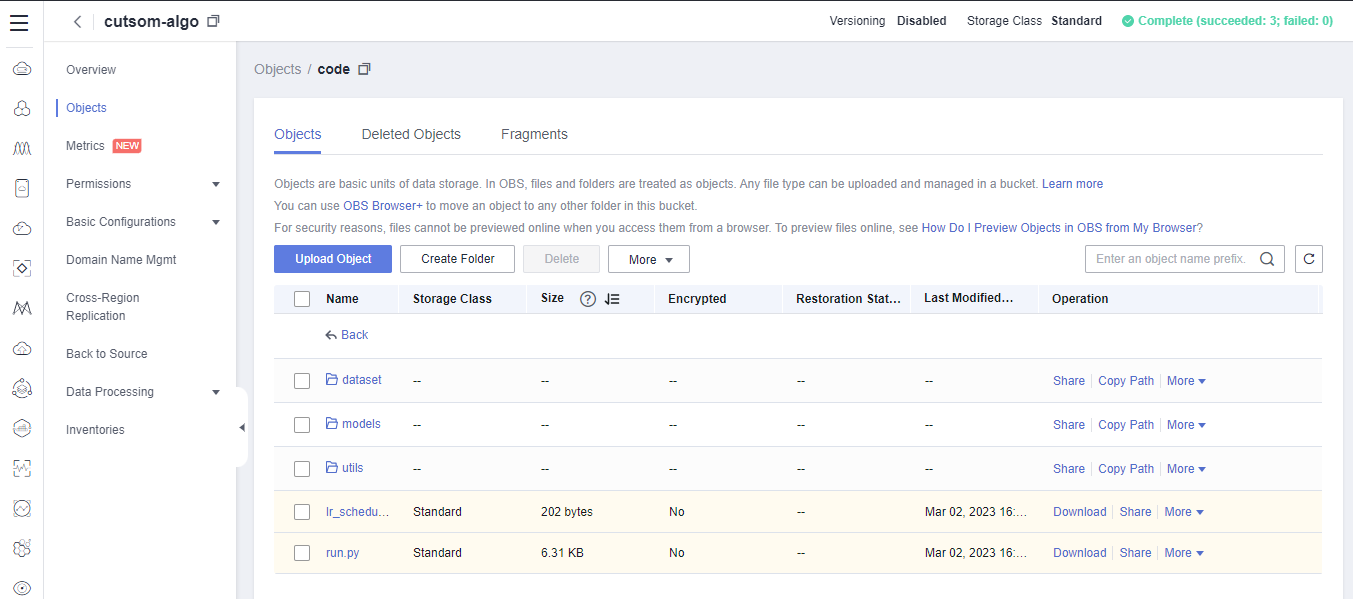
Then you can back to the OBS path, and refresh page to view the code.
1.4 Creating an Algorithm
detection(1|8|48|2||10|16|algorithm-custom)
- On the HUAWEI CLOUD console, move the cursor to the left navigation bar, and choose Service List > EI Enterprise Intelligence > ModelArts, as shown below.
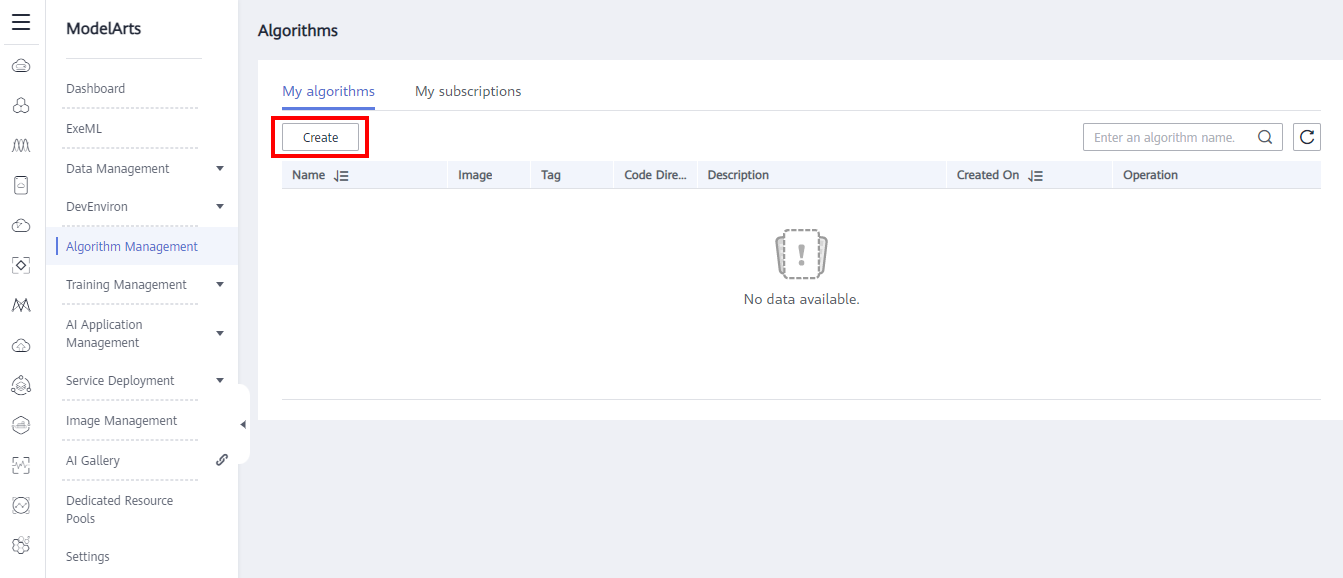
- In the navigation pane, choose Algorithm Management. On the displayed page, click Create. As shown in the following figure:
- On the creation page, perform the following configurations:
Name: Please use algorithm-custom,Otherwise, the test cannot be performed.
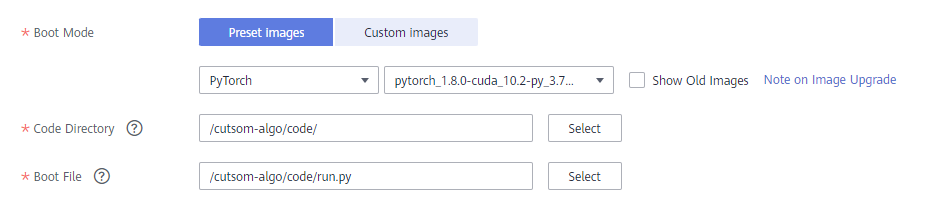
Boot Mode: Select the Pytorch image.
Code directory: Select the train directory under the uploaded code directory.
Boot File: Select the run.py file in the train directory.
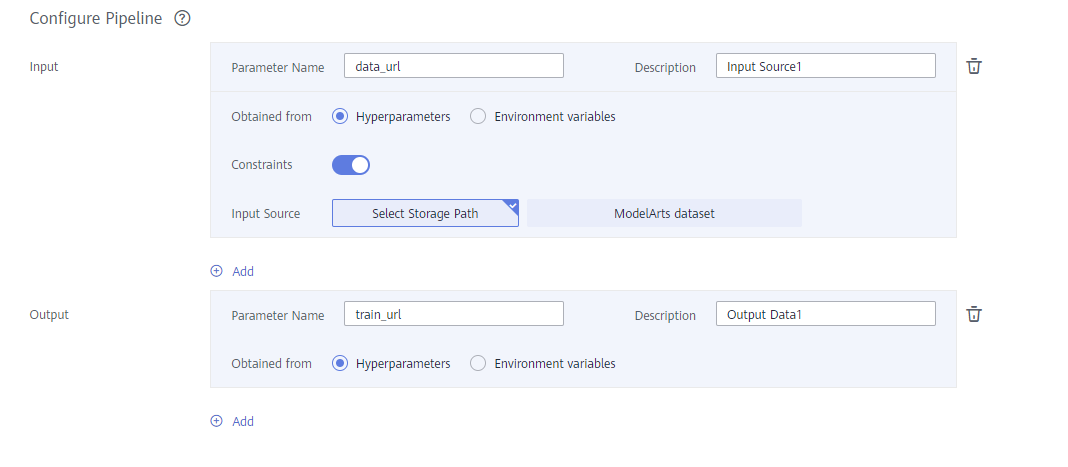
Configure Pipeline: The startup code run.py contains two parameters: data_url and train_url, which are used to specify the path of input data and the path of model output, respectively. As shown in the following figure:
-Input: Set Parameter Name to data_url, open Constraints, and Set Input Source to Select Storage Path.
-Output: Set Parameter Name to train_url and set Obtaining from Hyperparameters.
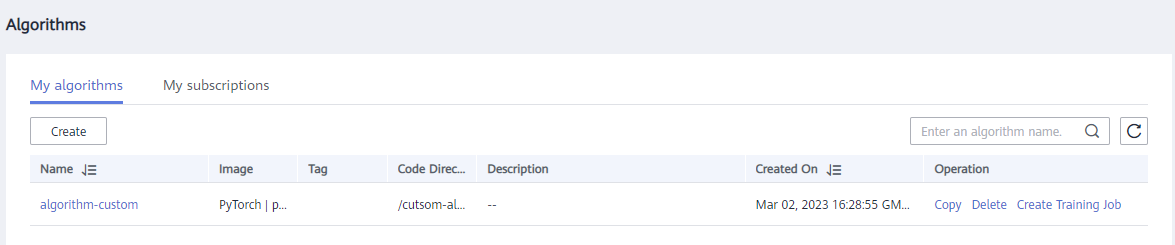
- Click Submit to submit the customized algorithm. As shown in the following figure:
After the operation is complete, the following figure is displayed:


2. Create a training job
2.1 Creating a Training Job Using a Custom Algorithm
detection(1|8|49|2||10|12|Completed|1)
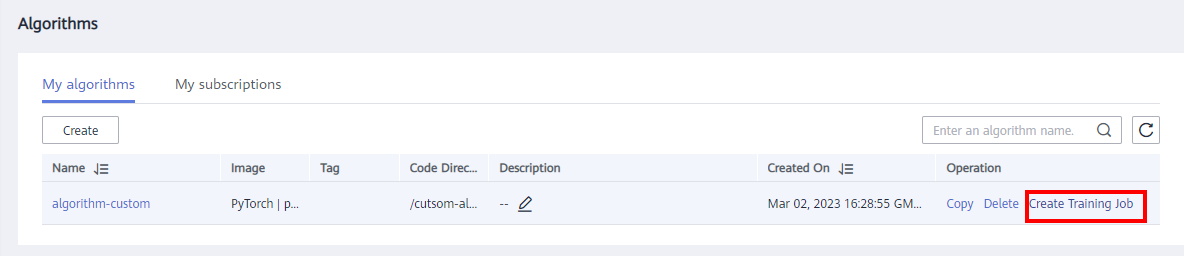
- On the Algorithm page, click Create Training Job. As shown in the following figure:
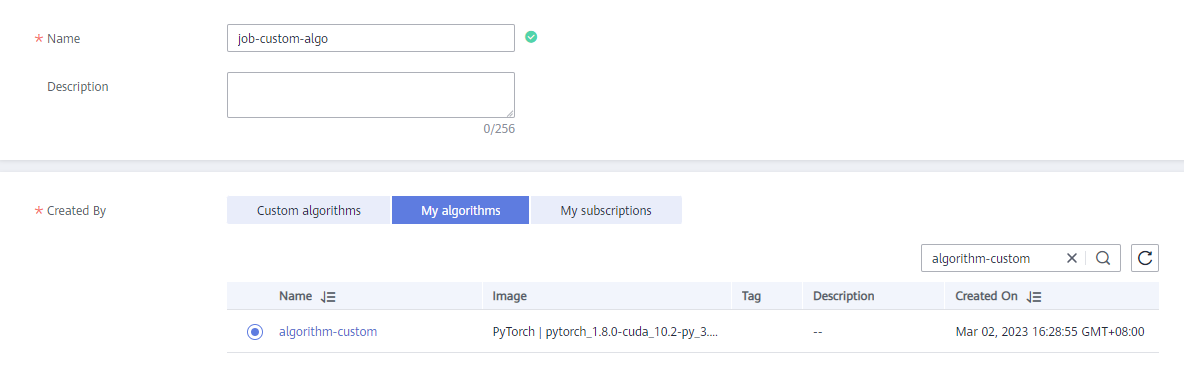
- On the Create Training Job page, perform the following operations:
Name: User-defined. In this example, job-custom-algo is used.
Creation By: Retain the default value-My algorithms.
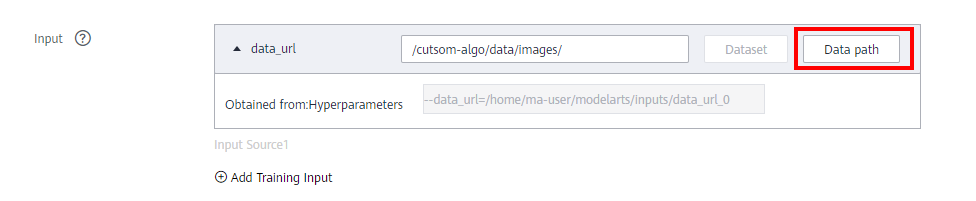
Input: Specify the data storage path. Data will be automatically synchronized to the path specified by data_url.
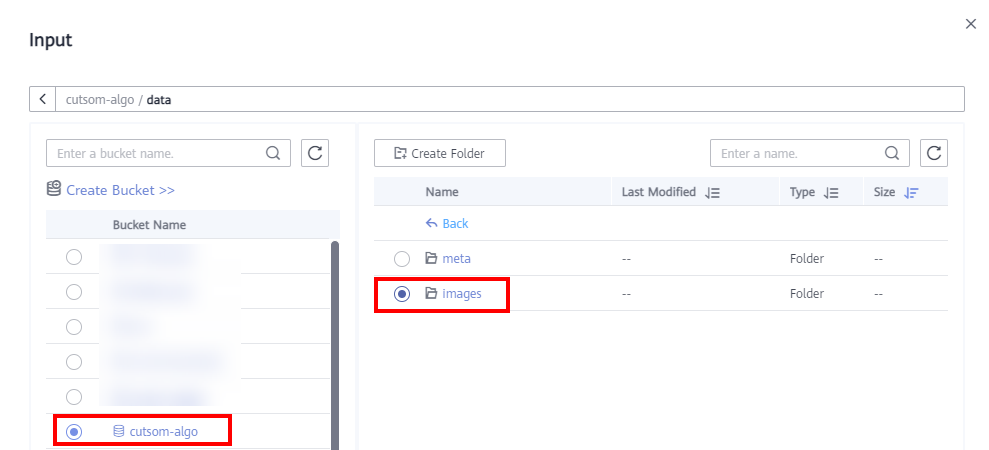
Select the created bucket > data > images.
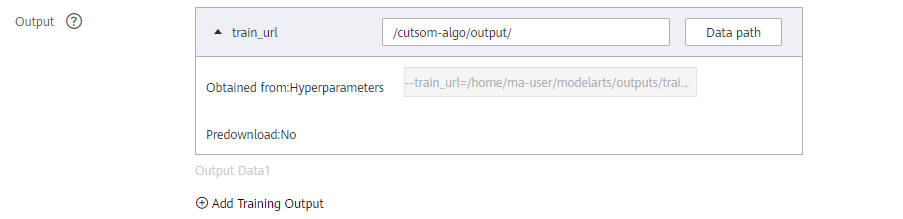
Output: Specify the output path. The background automatically synchronizes the data corresponding to train_url to the specified OBS path. In this example, the data storage path is the output folder created in OBS. As shown in the following figure:
Hyperparameters: Set the hyperparameter train_epochs. Due to the time limit, the number of training epochs is set to 2. If better results are required in actual development, try to increase the number of training epochs.
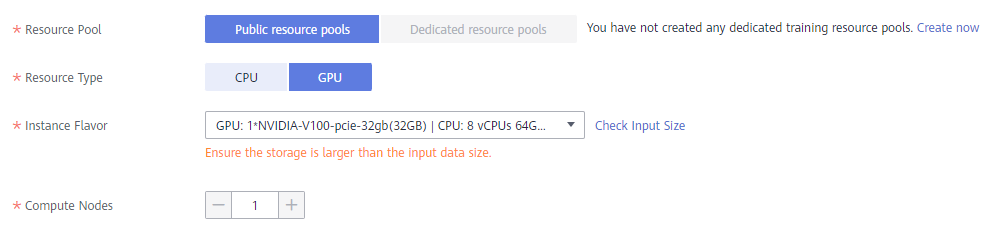
Resource Pool: Public resource pools
Resource Type: GPU
Instance Flavor: GPU: 1*NVIDIA-V100-pice-32gb(32GB)|CPU:8 vCPUs 64GB 780GB.
Persisent Log Saving: Enable. Select the output folder of the OBS bucket.
Retain the default values for other parameters. - Click Submit.
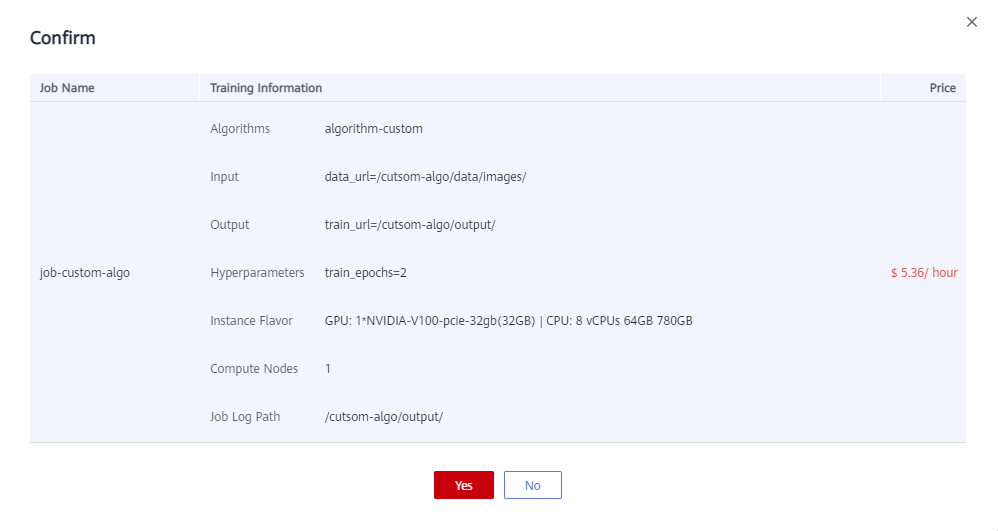
Confirm the information and click Yes to create a training job.
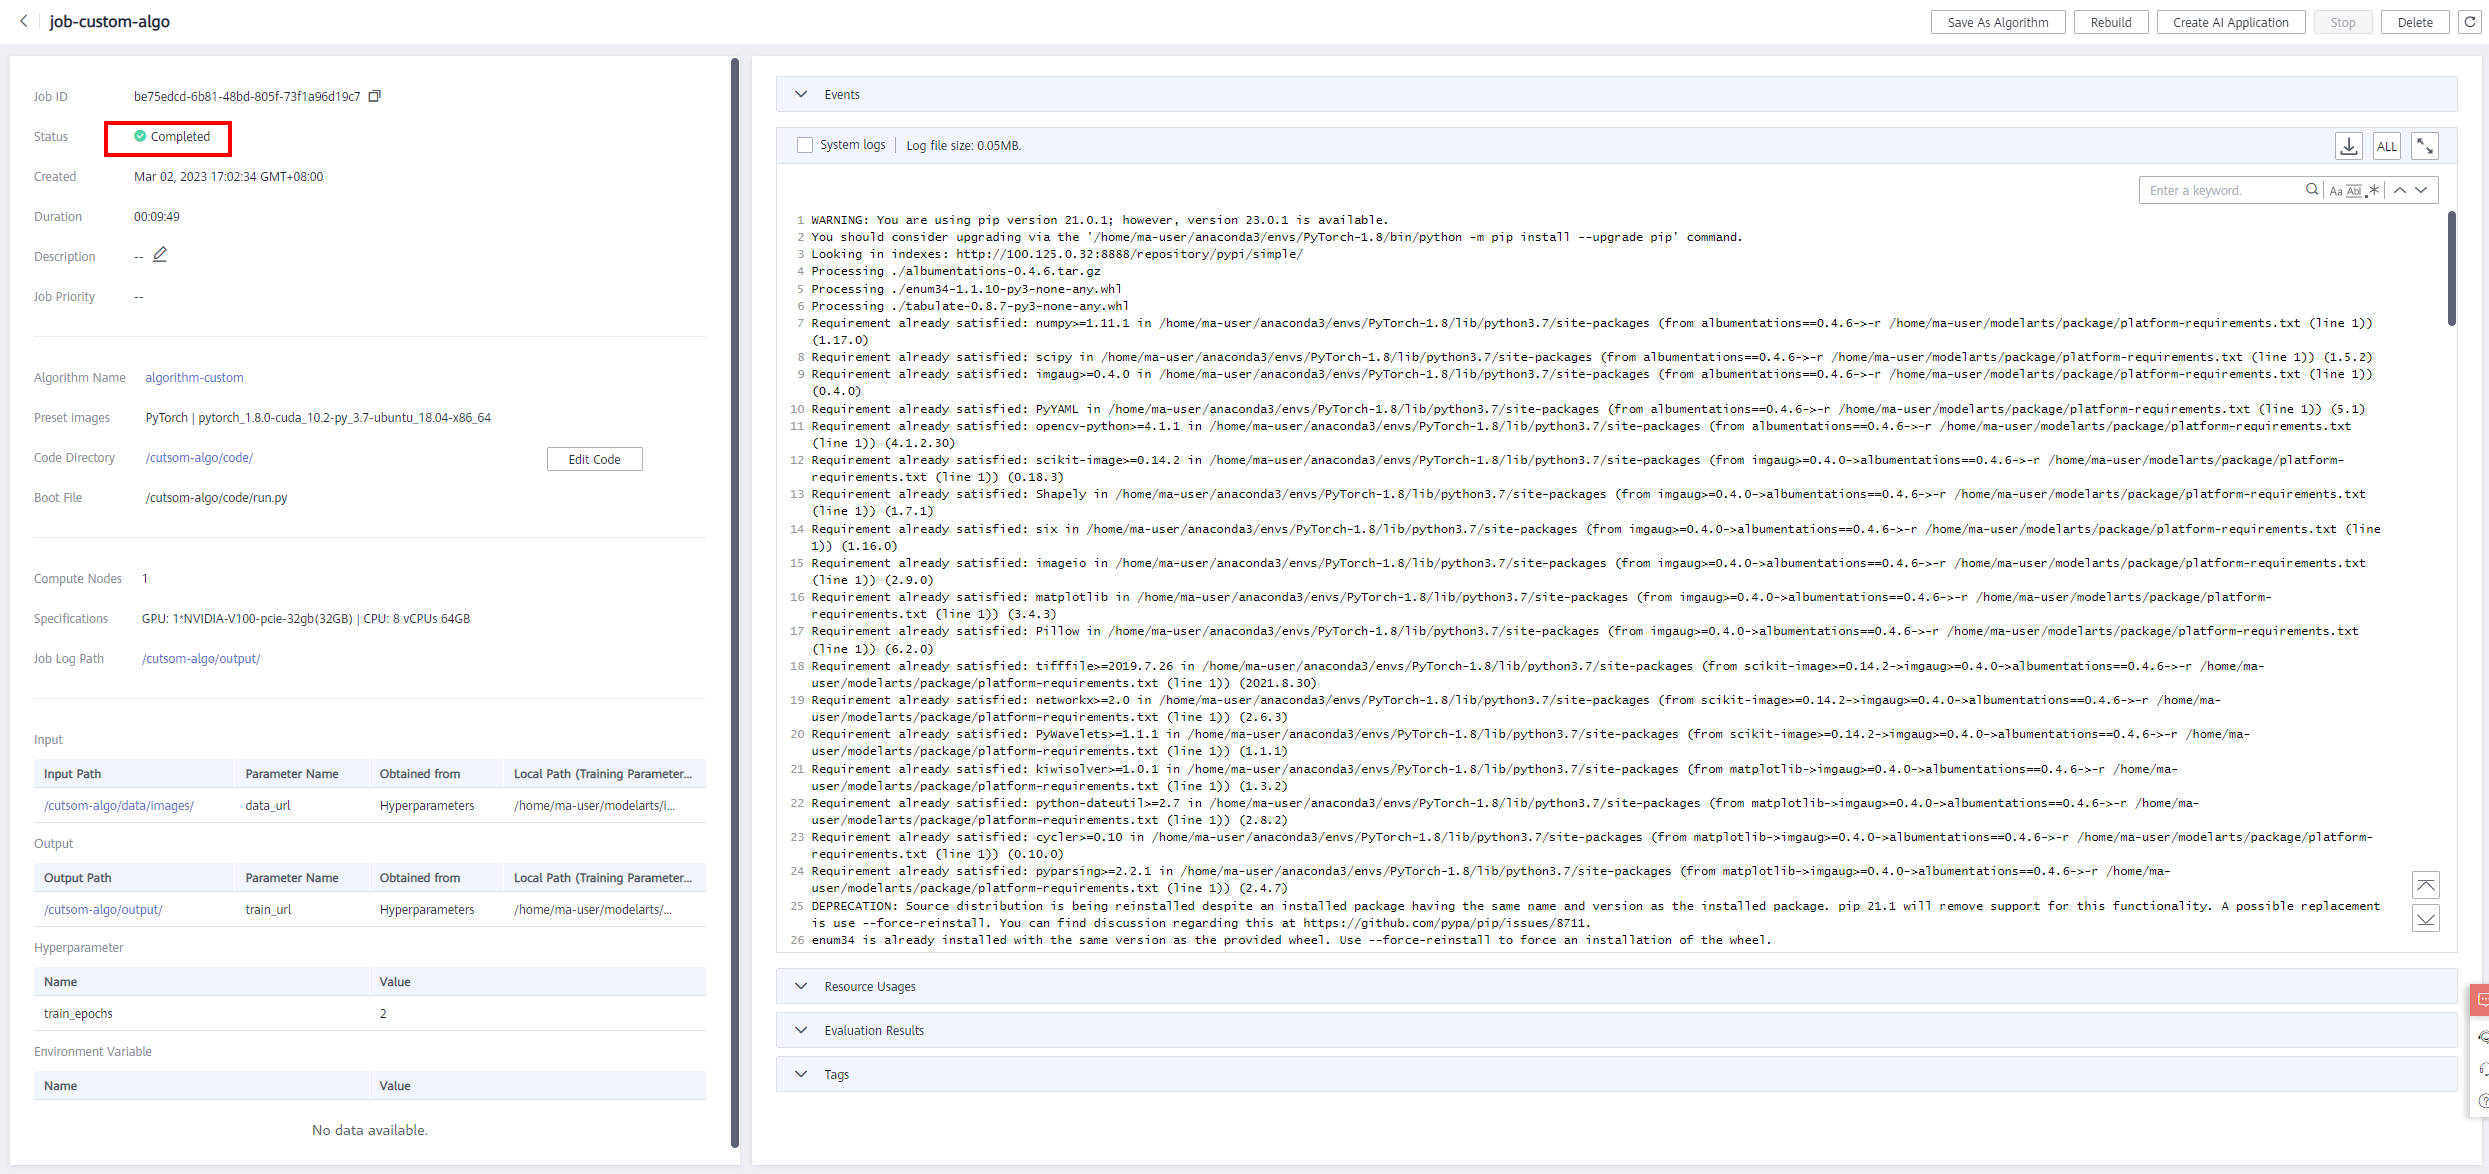
After the job is created, click the job name to view the job details. As shown in the following figure:
When the training is complete, the status is displayed as Completed. As shown in the following figure:
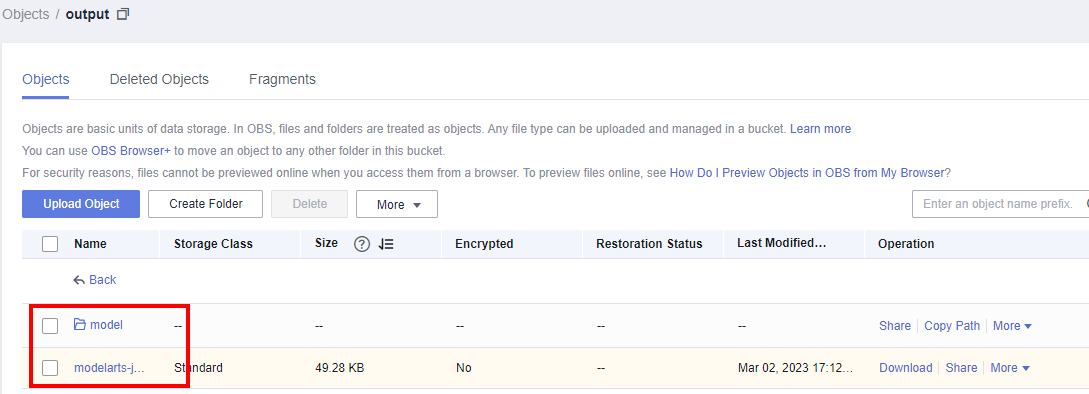
Check whether logs and model files are generated in the output directory of the OBS bucket. As shown in the following figure:


3. Service deployment
3.1 Preparing the Inference Code
Back to the Notebook page. Open the terminal, run the following command to download the training code:
wget https://sandbox-expriment-files.obs.cn-north-1.myhuaweicloud.com:443/20221018/deploy.tar.gz
Run the following command to decompress the code file:
tar -zxvf train.tar.gz
Back to the Notebook, add a cell, Complete the following code, and then run it to complete the code upload.
import moxing as mox
mox.file.copy_parallel(${notebook_deploy_path}, ${obs_deploy_path})
NOTICE:
● ${notebook_deploy_path} indicates the code storage path(./train) in the notebook.
● ${obs_deploy_path} indicates path for storing code in OBS.

3.2 Uploading Inference Code to OBS
Then you can back to the OBS path, and refresh page to view the code.
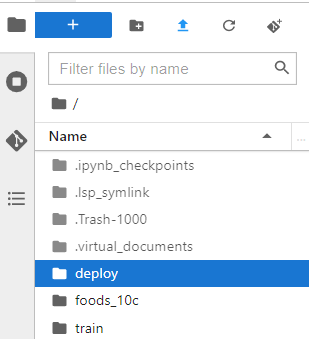
customize_service.py is the main entry of the inference program. The content is as follows:
# -*- coding: utf-8 -*-
import os
import sys
import torch
from models.resnet import *
import numpy as np
import cv2
from collections import OrderedDict
import time
import copy
import datetime

from torchvision import transforms
from PIL import Image
from model_service.pytorch_model_service import PTServingBaseService


class ModelClass(PTServingBaseService):
    def __init__(self, model_name='', model_path=r'./best_model.pth'):
        """
        TODO Add the process of building models and loading weights in this method. Different models can be customized and modified as required.
        :param model_name: This parameter must be reserved. You can transfer a random character string value.
        :param model_path: Path where the model is located. For example, xxx/xxx.h5 and xxx/xxx.pth are the model names in the model package.
        """
        self.model_name = model_name  # The line code must be retained and does not need to be modified.
        self.model_path = model_path  # The line code must be retained and does not need to be modified.

        self.device = torch.device("cuda" if torch.cuda.is_available() else "cpu")

        # image transform
        self.transform = transforms.Compose(
                [
                    transforms.Resize((224, 224)),
                    transforms.ToTensor(),
                    transforms.Normalize(mean=[0.485, 0.456, 0.406],
                                         std=[0.229, 0.224, 0.225])
                ]
        )

        self.model = torch.load(self.model_path).to(self.device)
        self.model.eval()
        # The following is what I use to classify, show the English class name.
        self.label_id_name_dict = {
                "0": "sandwich",
                "1": "ice_cream",
                "2": "mashed_potato",
                "3": "millet_congee",
                "4": "sweet_and_sour_fish",
                "5": "barbecue_chilled_noodles",
                "6": "cream_polenta_cake",
                "7": "donuts",
                "8": "mango_pancake",
                "9": "egg_pudding",
            }

    def _preprocess(self, data):
        """
        Preprocess,transform
        """
        preprocessed_data = {}
        for k, v in data.items():
            for file_name, file_content in v.items():
                img = Image.open(file_content)
                img = img.convert('RGB')
                images = self.transform(img)
                images = torch.unsqueeze(images, 0).to(self.device)
                preprocessed_data[k] = images
        return preprocessed_data

    def _inference(self, data):
        """
        TODO Implement the model inference process in this function. Different models can be customized and modified as required.
        """
        src_img = data['images']  # Does images look familiar? I define the data in the request in config.json.

        # Mine is a category. Only the Chinese name of the class with the highest probability is returned.
        with torch.no_grad():
            output = self.model(src_img)
        _, pred = output.topk(1, 1, True, True)

        result = self.label_id_name_dict[str(pred.cpu().numpy()[0][0])]
        return result
config is the input and output configuration file of the API interface.
{
    "model_algorithm": "image_classification",
    "model_type": "PyTorch",
    "runtime": "python3.6",
    "metrics": {
        "f1": 0,
        "accuracy": 0.6253,
        "precision": 0,
        "recall": 0
    },
    "apis": [
        {
            "procotol": "http",
            "url": "/",
            "method": "post",
            "request": {
                "Content-type": "multipart/form-data",
                "data": {
                    "type": "object",
                    "properties": {
                        "images": {"type": "file"}
                    },
                    "required": ["images"]
                }
            },
            "response": {
                "Content-type": "multipart/form-data",
                "data": {
                    "type": "object",
                    "properties": {
                        "result": {"type": "string"}
                    },
                    "required": ["result"]
                }
            }
        }
    ],
    "dependencies": [
        {
            "installer": "pip",
            "packages": [
                {
                    "package_name": "Pillow",
                    "package_version": "5.0.0",
                    "restraint": "ATLEAST"
                }
            ]
        }
    ]
}
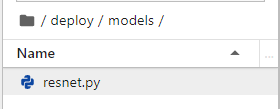
Related dependency code is stored in the models directory.
3.3 Creating an AI Application
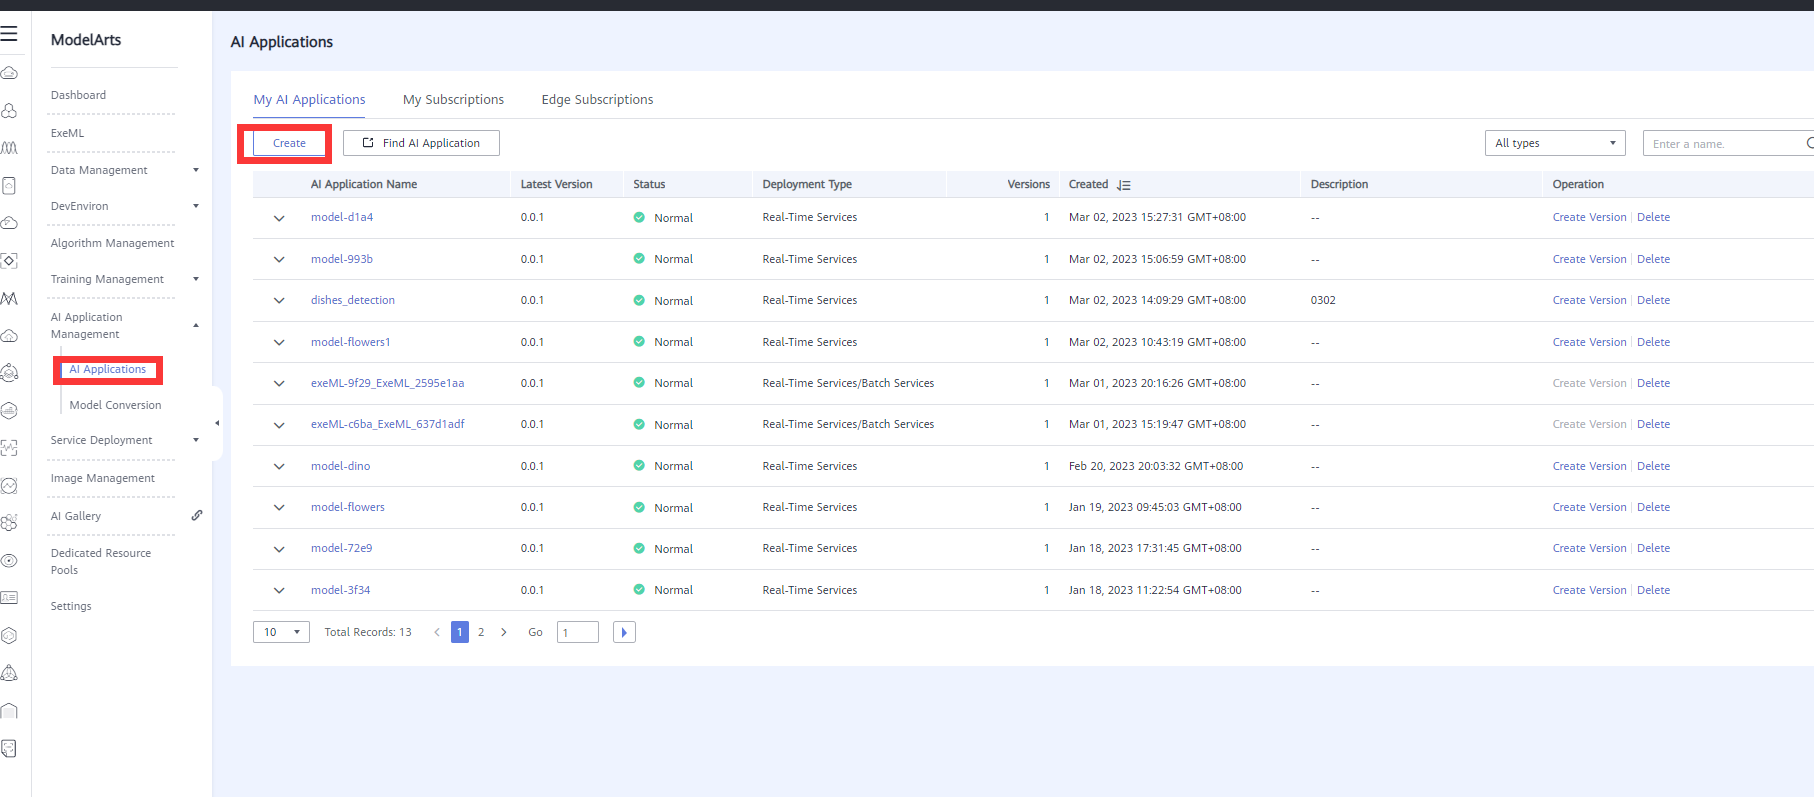
- Log in to the ModelArts console. In the navigation pane, choose AI Application Management > AI Application. On the displayed page, click Create AI Application. As shown in the following figure:
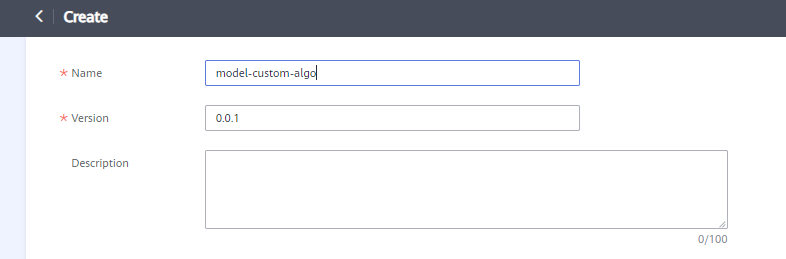
- On the Create AI Application page, perform the following configurations and retain the default settings for other parameters:
Name: In this example, model-custom-algo is used.
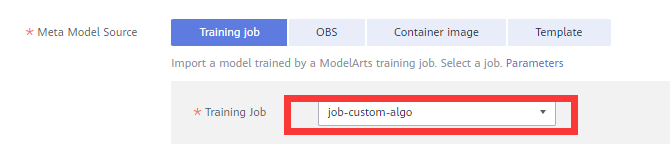
Meta Model Source: Select the created training job.
AI Engine: Select PyTorch 1.8.
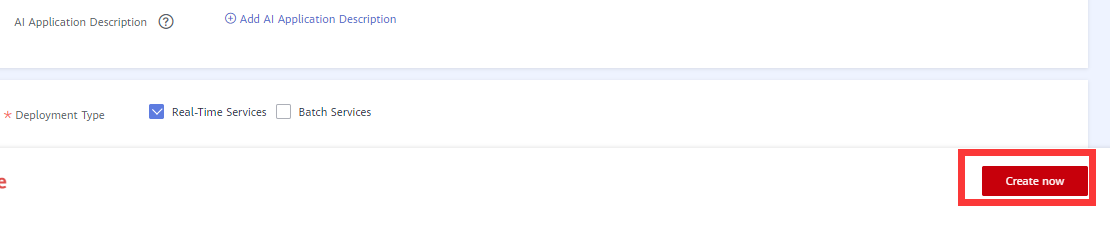
- Click Create Now. As shown in the following figure:
- After the submission, the status is Importing. As shown in the following figure:
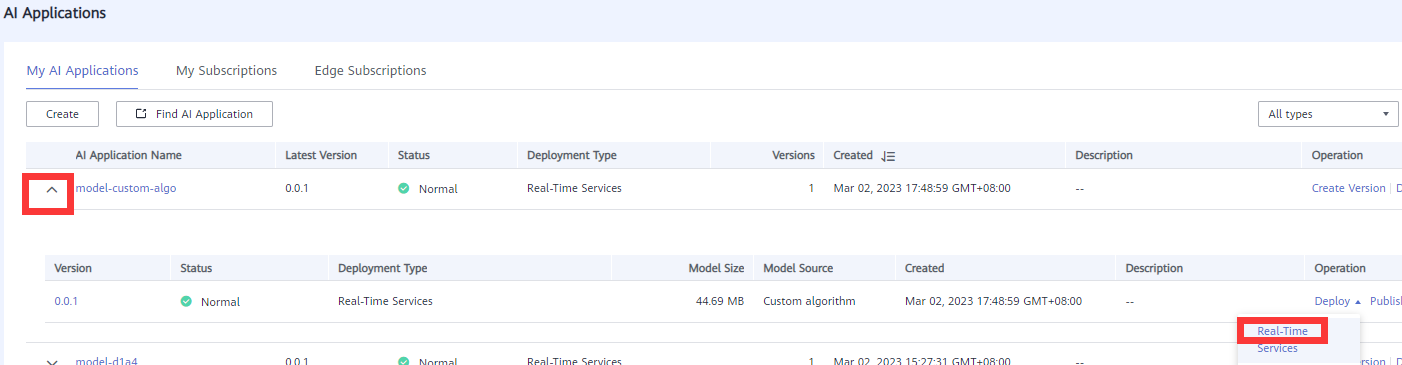
The build is successful and the status is Normal. As shown in the following figure:


3.4 Deploying Real-Time Services
detection(1|8|151|2||10|51|service-custom-algo|0)
- Expand the Application page and choose Deploy > Real-Time Services. As shown in the following figure:
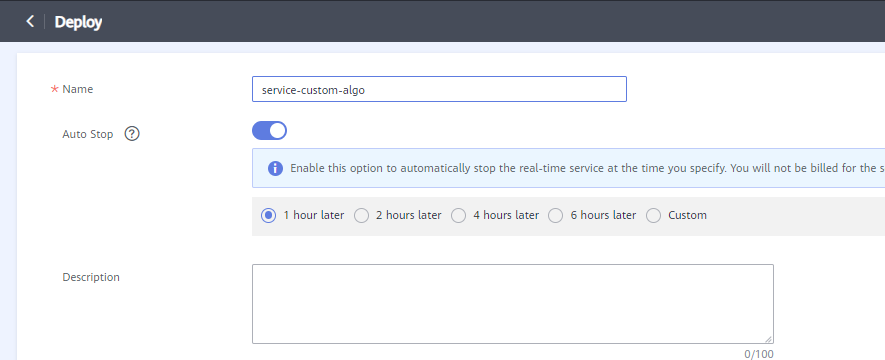
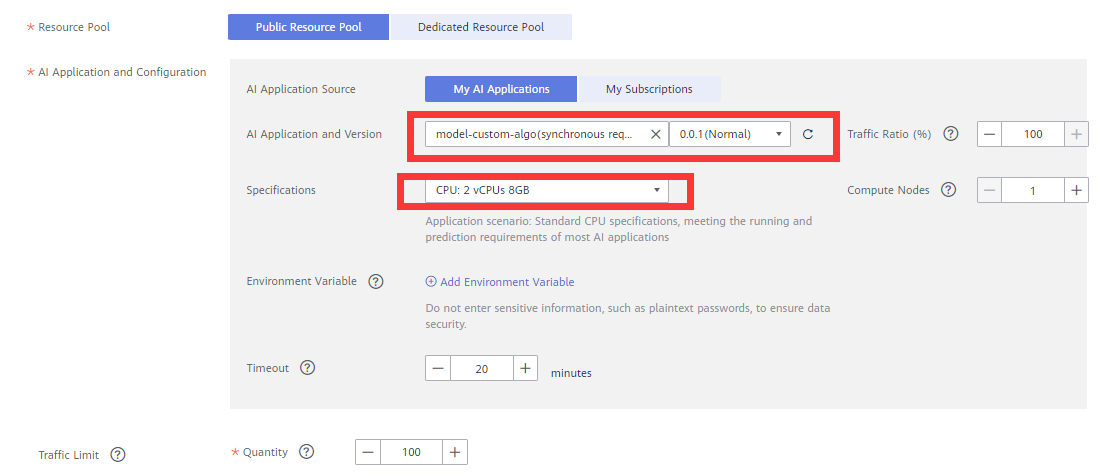
- Set the parameters as follows:
Name: please rename as service-custom-algo.
Resource Pool: Select Public Resource Pool.
AI Application and Configuration: Select My AI Applications, model-custom-algo (sync request), and 0.0.1 (normal). Specofications: CPU: 2vCPUs 8GB.
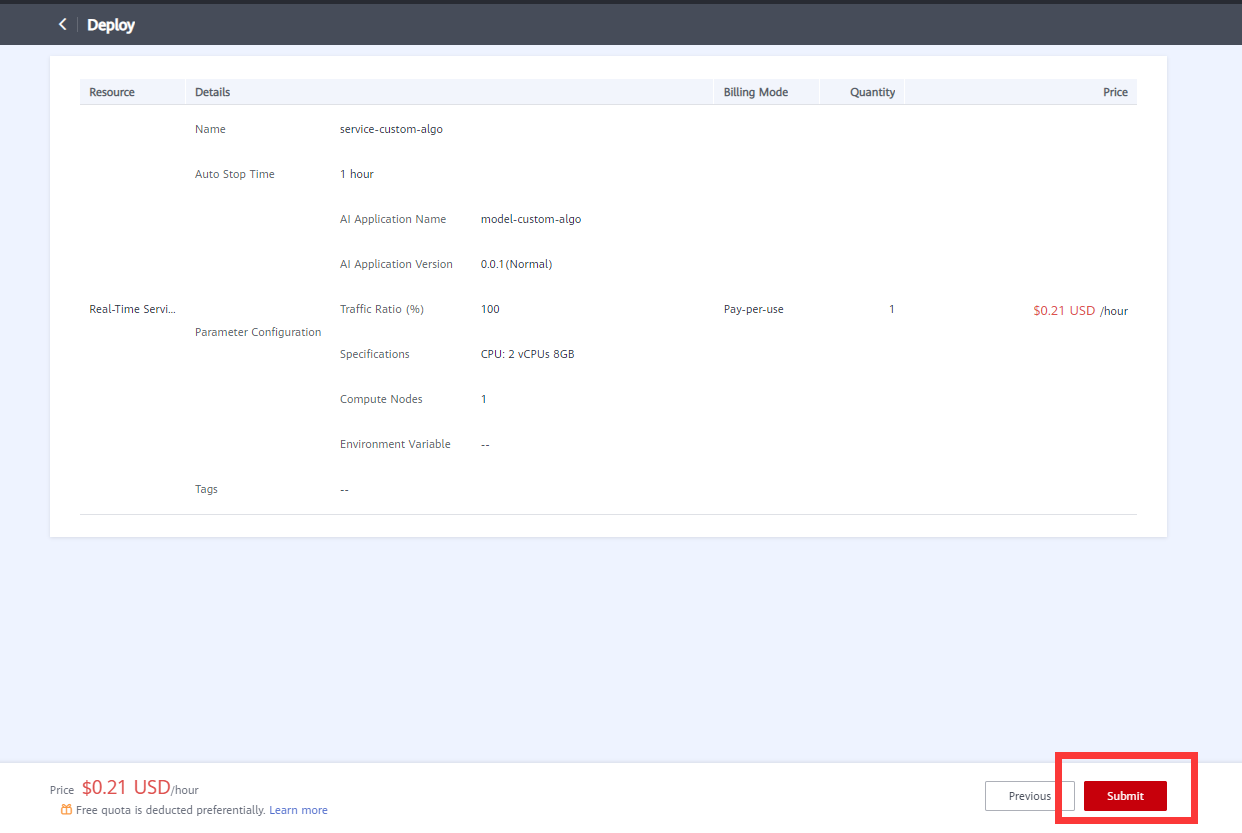
- Click Next. As shown in the following figure:
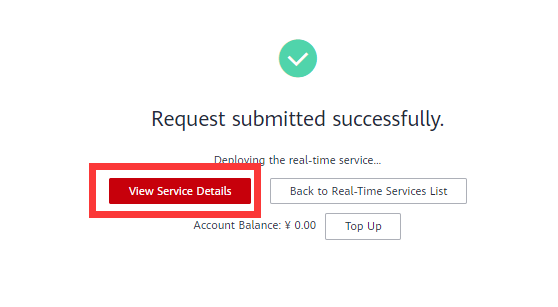
Then click Submit. As shown in the following figure:
Click View Service Details. As shown in the following figure:
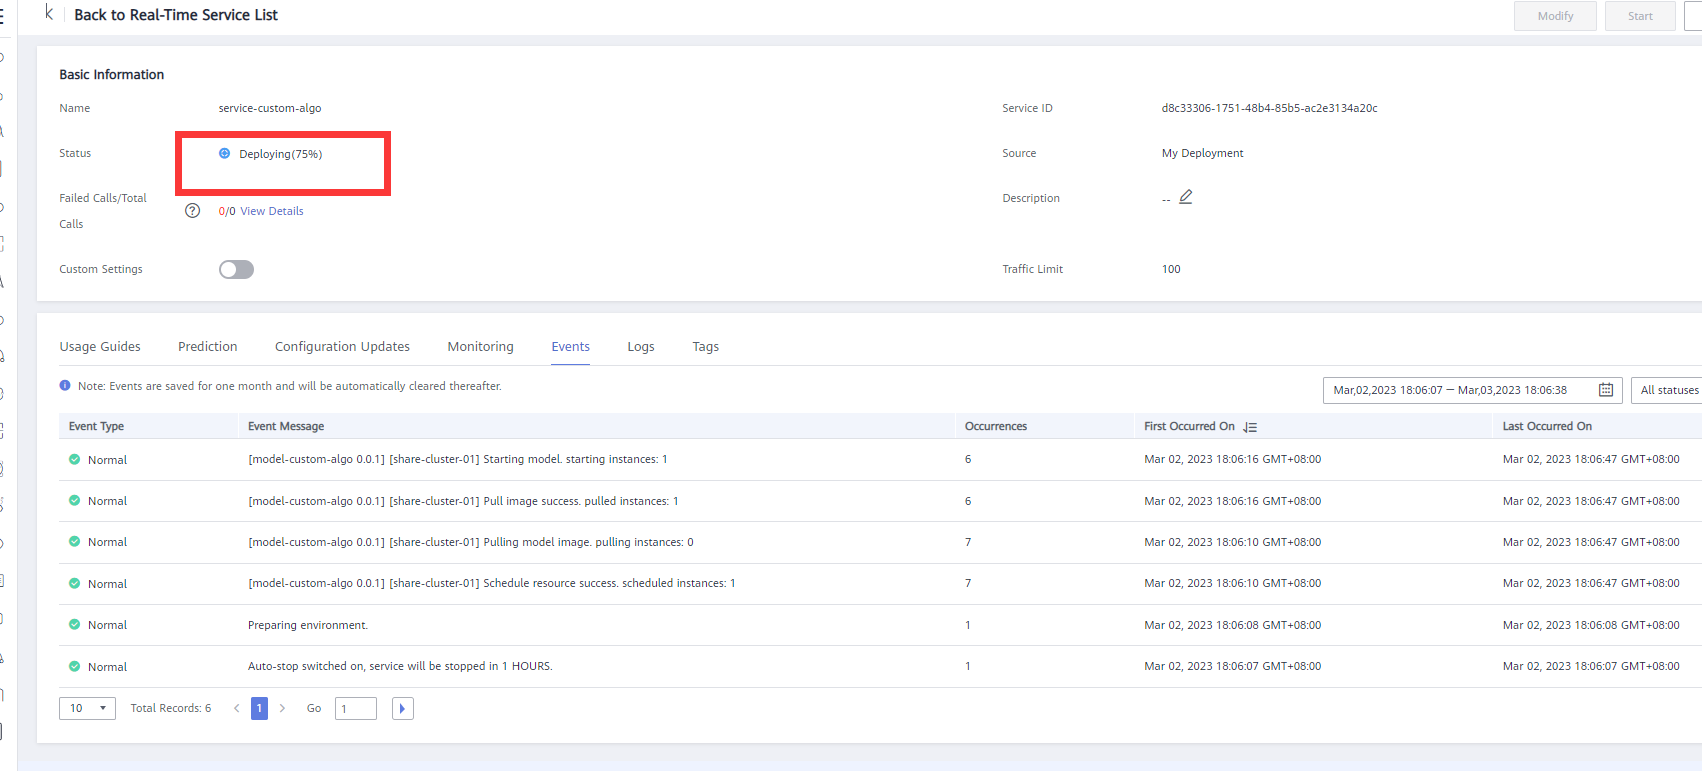
- The status is Deploying. As shown in the following figure:
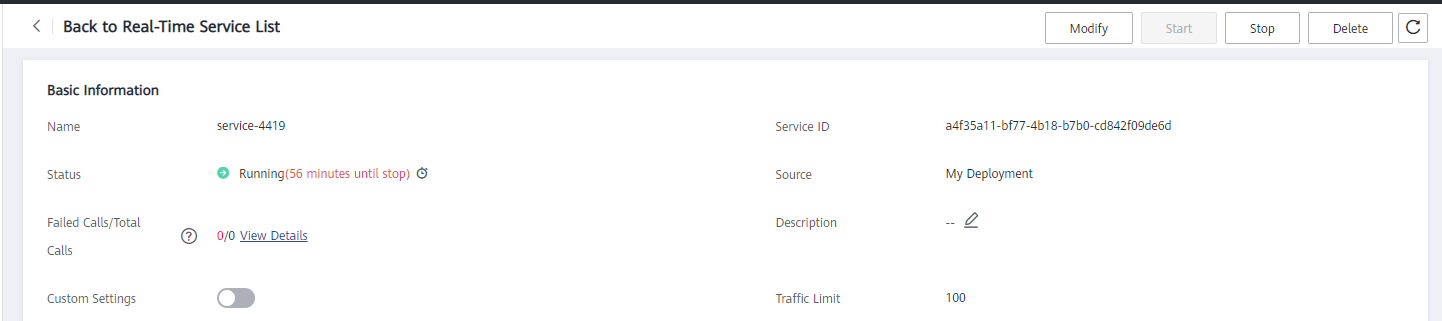
The deployment is successful and the status is Running. As shown in the following figure:

4. Upload test image and predict the result.
detection(1|8|151|2||10|51|service-custom-algo|1)
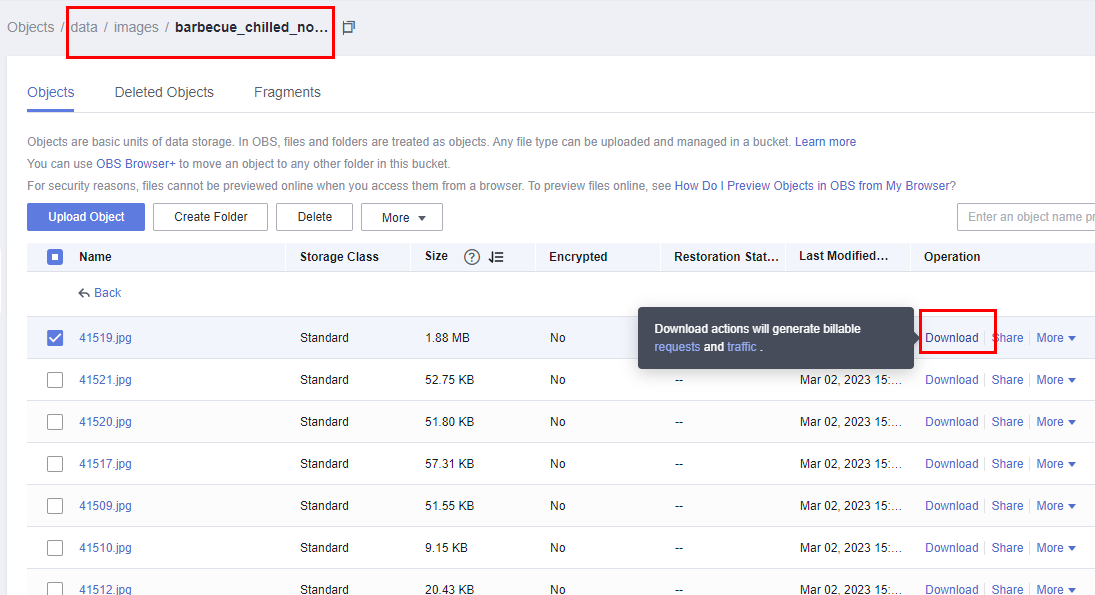
- Download any image from the OBS data directory. As shown in the following figure:
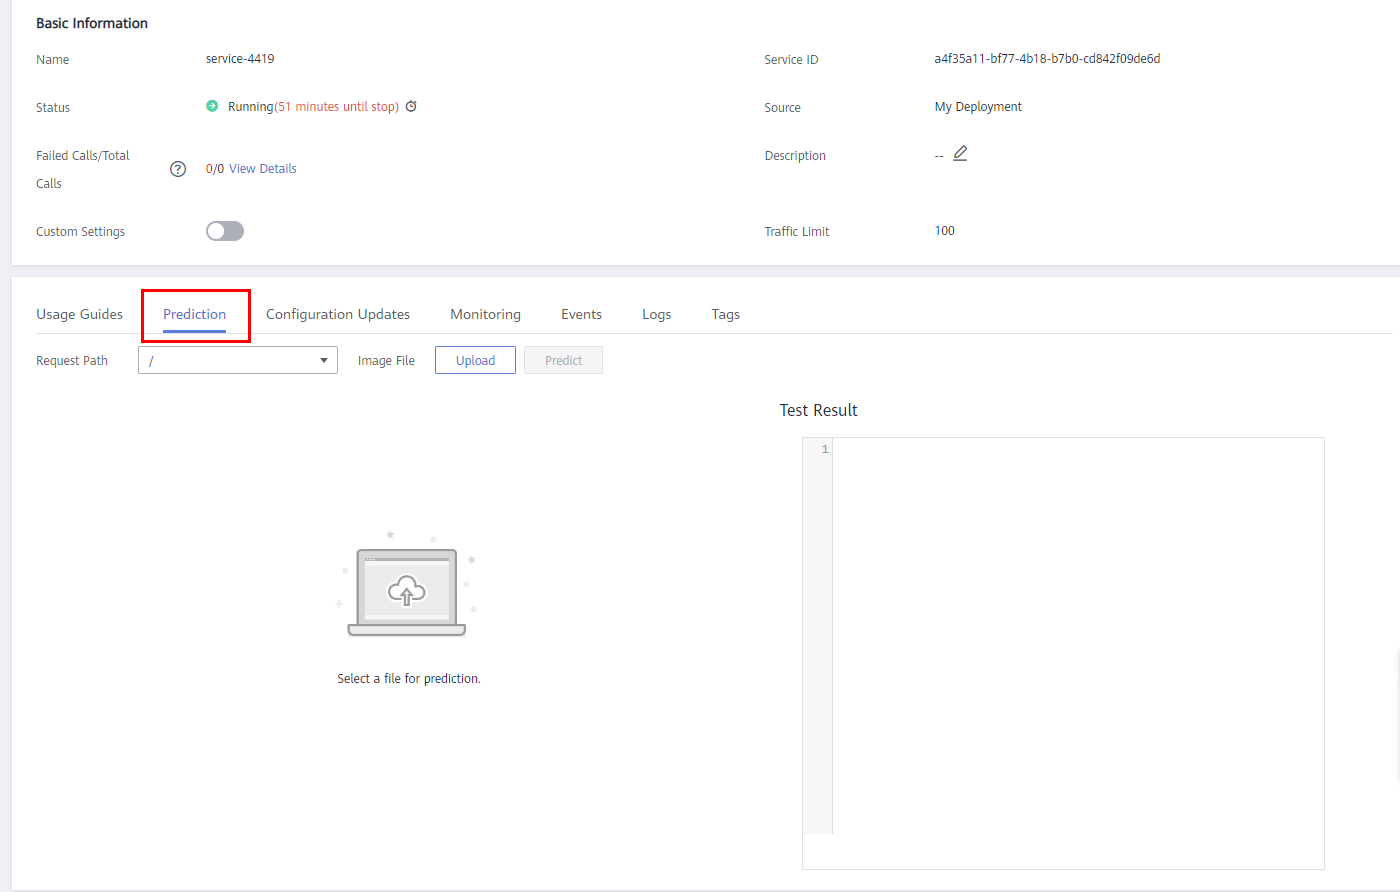
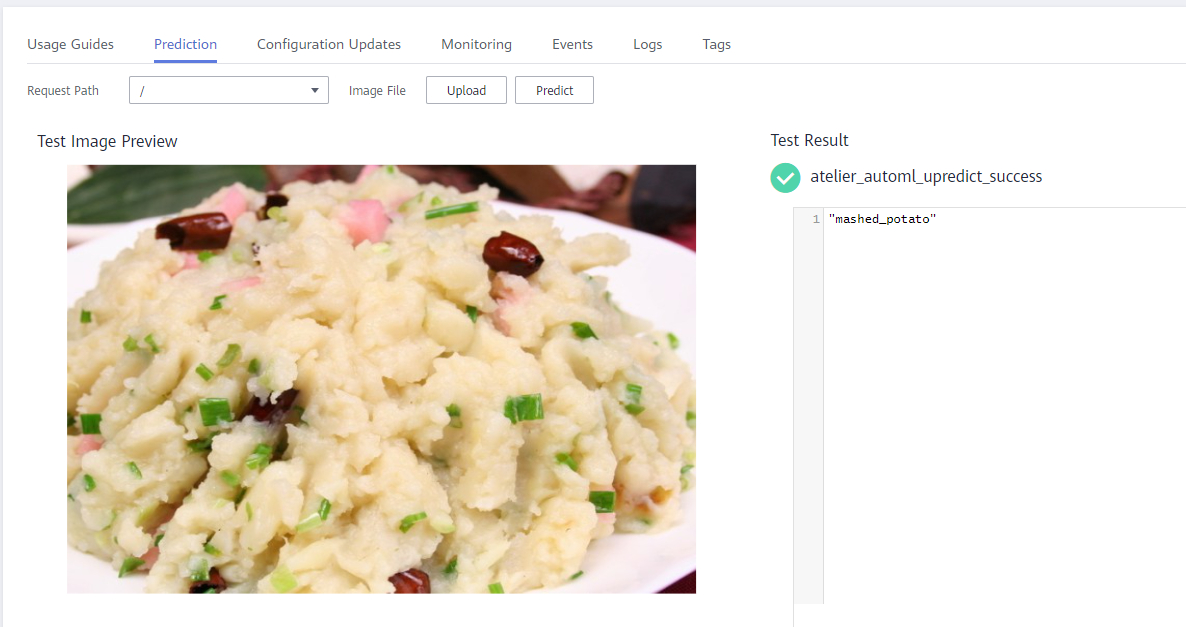
- Upload an image on the Service Prediction page and perform the test. As shown in the following figure:
Click Upload to select the test image, and then click Predict. You can view the test result on the right.

- 点赞
- 收藏
- 关注作者
评论(0)