selenium源码通读·10 |webdriver/common/proxy.py-Proxy类分析

【摘要】 1 源码路径selenium/webdriver/common/proxy.py 2 功能说明使用代理来规避一些反爬虫策略; 3 引入原因selenium webdriver测试或进行爬虫时,如果未在目标服务的白名单内,随着爬取的频率增多会被禁止访问目标服务;目标服务的反爬虫策略相对完善的情况下,容易将selenium的爬取给禁止;采用分布式selenium爬取方式时,也会很容易的被禁止爬...
1 源码路径
selenium/webdriver/common/proxy.py
2 功能说明
- 使用代理来规避一些反爬虫策略;
3 引入原因
selenium webdriver测试或进行爬虫时,如果未在目标服务的白名单内,随着爬取的频率增多会被禁止访问目标服务;- 目标服务的反爬虫策略相对完善的情况下,容易将selenium的爬取给禁止;
- 采用分布式selenium爬取方式时,也会很容易的被禁止爬取;
综上,所以Proxy类提供了一些反爬虫策略,
4 代理类型
- 源码:
class ProxyType:
    """
    Set of possible types of proxy.

    Each proxy type has 2 properties:
       'ff_value' is value of Firefox profile preference,
       'string' is id of proxy type.
    """

    DIRECT = ProxyTypeFactory.make(0, 'DIRECT')  # Direct connection, no proxy (default on Windows).
    MANUAL = ProxyTypeFactory.make(1, 'MANUAL')  # Manual proxy settings (e.g., for httpProxy).
    PAC = ProxyTypeFactory.make(2, 'PAC')  # Proxy autoconfiguration from URL.
    RESERVED_1 = ProxyTypeFactory.make(3, 'RESERVED1')  # Never used.
    AUTODETECT = ProxyTypeFactory.make(4, 'AUTODETECT')  # Proxy autodetection (presumably with WPAD).
    SYSTEM = ProxyTypeFactory.make(5, 'SYSTEM')  # Use system settings (default on Linux).
    UNSPECIFIED = ProxyTypeFactory.make(6, 'UNSPECIFIED')  # Not initialized (for internal use).
- 说明:
| 代理类型 | 说明 |
|---|---|
DIRECT |
直接连接,无代理(Windows上的默认设置 |
MANUAL |
手动代理设置(例如,对于httpProxy) |
PAC |
来自URL的代理自动配置 |
RESERVED_1 |
从未使用过 |
AUTODETECT |
代理自动检测(可能是WPAD) |
SYSTEM |
使用系统设置(Linux上的默认设置) |
UNSPECIFIED |
未初始化(供内部使用) |
5 代理类型模式或属性
class ProxyTypeFactory:
    """
    Factory for proxy types.
    """

    @staticmethod
    def make(ff_value, string):
        return {'ff_value': ff_value, 'string': string}
| 参数 | 说明 |
|---|---|
ff_value |
Firefox配置文件首选项的值 |
string |
代理类型的ID |
6 各种代理实现
- 源码:
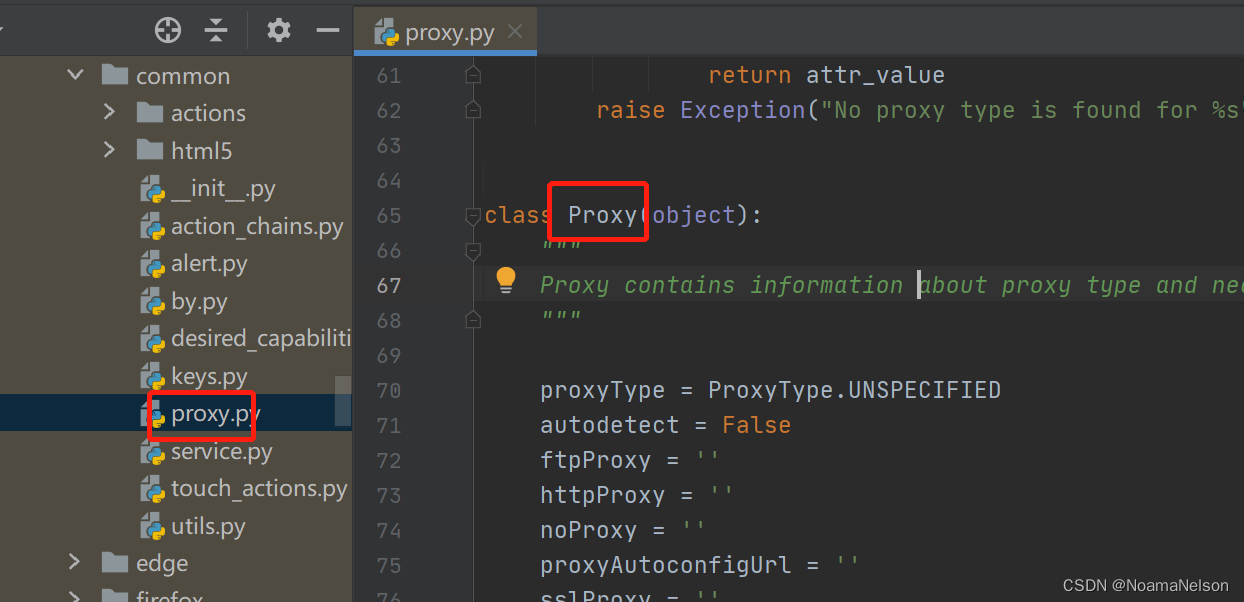
class Proxy(object):
    """
    Proxy contains information about proxy type and necessary proxy settings.
    """

    proxyType = ProxyType.UNSPECIFIED
    autodetect = False
    ftpProxy = ''
    httpProxy = ''
    noProxy = ''
    proxyAutoconfigUrl = ''
    sslProxy = ''
    socksProxy = ''
    socksUsername = ''
    socksPassword = ''
- 说明:每种代理,都是通过两个方法来实现,先返回代理设置,然后再对代理进行具体的值设置,如下:
@property
    def http_proxy(self):
        """
        Returns http proxy setting.
        """
        return self.httpProxy

    @http_proxy.setter
    def http_proxy(self, value):
        """
        Sets http proxy setting.

        :Args:
         - value: The http proxy value.
        """
        self._verify_proxy_type_compatibility(ProxyType.MANUAL)
        self.proxyType = ProxyType.MANUAL
        self.httpProxy = value
7 实例说明
from selenium import webdriver
from selenium.webdriver.firefox.firefox_profile import FirefoxProfile

profile = FirefoxProfile()
# 设置成手动代理
profile.set_preference("network.proxy.type", 1)
# 设置代理ip
profile.set_preference("network.proxy.http", "ip")
# 设置代理端口
profile.set_preference("network.proxy.http_port", port)
# 协议默认共用此ip、端口
profile.set_preference("network.proxy.share_proxy_settings", True)
# 启动配置
driver= webdriver.Firefox(profile)
# 打开浏览器
driver.get('xxxxx')

【声明】本内容来自华为云开发者社区博主,不代表华为云及华为云开发者社区的观点和立场。转载时必须标注文章的来源(华为云社区)、文章链接、文章作者等基本信息,否则作者和本社区有权追究责任。如果您发现本社区中有涉嫌抄袭的内容,欢迎发送邮件进行举报,并提供相关证据,一经查实,本社区将立刻删除涉嫌侵权内容,举报邮箱:
cloudbbs@huaweicloud.com
- 点赞
- 收藏
- 关注作者
评论(0)