手把手教你在centos8操作系统上部署zabbix6.0

【摘要】
实验环境
[itlaoxin@localhost ~]$ cat /etc/redhat-release
CentOS Stream release 8
[itlaoxin@localhost ~]$...
实验环境
[itlaoxin@localhost ~]$ cat /etc/redhat-release
CentOS Stream release 8
[itlaoxin@localhost ~]$ uname -r
4.18.0-365.el8.x86_64
[itlaoxin@localhost ~]$ free -m
              total        used        free      shared  buff/cache   available
Mem:           3704        1110        1434          21        1159        2334
Swap:          2047           0        2047
[itlaoxin@localhost ~]$

[itlaoxin@localhost ~]$ cat /proc/cpuinfo |grep "cpu cores"
cpu cores	: 2
cpu cores	: 2
- 1
- 2
- 3
- 4
- 5
- 6
- 7
- 8
- 9
- 10
- 11
- 12
- 13
- 14
- 15
可以看到,当前所用的系统是 centos-stream 8 , CPU是2核的, 内存是 4G
部署底层环境LAMP
注意: zabbix 6.0 需要 安装10.6.5以上的Mariadb,而系统自带的为10.5,所以需要安装额外源
cat <<EOF > /etc/yum.repos.d/mariadb.repo
# MariaDB 10.6 CentOS repository list - created 2022-01-16 15:10 UTC
# https://mariadb.org/download/
[mariadb]
name = MariaDB
baseurl = https://mirrors.cloud.tencent.com/mariadb/yum/10.6/centos8-amd64
module_hotfixes=1
gpgkey=https://mirrors.cloud.tencent.com/mariadb/yum/RPM-GPG-KEY-MariaDB
gpgcheck=1
EOF
- 1
- 2
- 3
- 4
- 5
- 6
- 7
- 8
- 9
- 10
开始安装 底层环境
[root@localhost itlaoxin]# dnf install mariadb mariadb-server httpd httpd-tools php php-cli php-json php-gd php-mbstring php-pdo php-xml php-mysqlnd php-pecl-zip wget -y
- 1
配置zabbix源
[itlaoxin@localhost ~]$ sudo su


[sudo] itlaoxin 的密码:
[root@localhost itlaoxin]#
[root@localhost itlaoxin]# rpm -Uvh https://repo.zabbix.com/zabbix/6.0/rhel/8/x86_64/zabbix-release-6.0-1.el8.noarch.rpm
获取https://repo.zabbix.com/zabbix/6.0/rhel/8/x86_64/zabbix-release-6.0-1.el8.noarch.rpm
警告:/var/tmp/rpm-tmp.k7Xsgd: 头V4 RSA/SHA512 Signature, 密钥 ID a14fe591: NOKEY
Verifying...                          ################################# [100%]
准备中...                          ################################# [100%]
正在升级/安装...
   1:zabbix-release-6.0-1.el8         ################################# [100%]
- 1
- 2
- 3
- 4
- 5
- 6
- 7
- 8
- 9
- 10
- 11
- 12
安装zabbix
dnf install zabbix-server-mysql zabbix-web-mysql zabbix-apache-conf zabbix-sql-scripts zabbix-selinux-policy zabbix-agent2 -y
- 1
配置MySQL
root@localhost itlaoxin]# systemctl start mariadb && systemctl enable mariadb
Created symlink /etc/systemd/system/multi-user.target.wants/mariadb.service → /usr/lib/systemd/system/mariadb.service.

[root@localhost itlaoxin]# mysql
Welcome to the MariaDB monitor.  Commands end with ; or \g.
Your MariaDB connection id is 3
Server version: 10.6.7-MariaDB MariaDB Server

Copyright (c) 2000, 2018, Oracle, MariaDB Corporation Ab and others.

Type 'help;' or '\h' for help. Type '\c' to clear the current input statement.

MariaDB [(none)]>
- 1
- 2
- 3
- 4
- 5
- 6
- 7
- 8
- 9
- 10
- 11
- 12
- 13
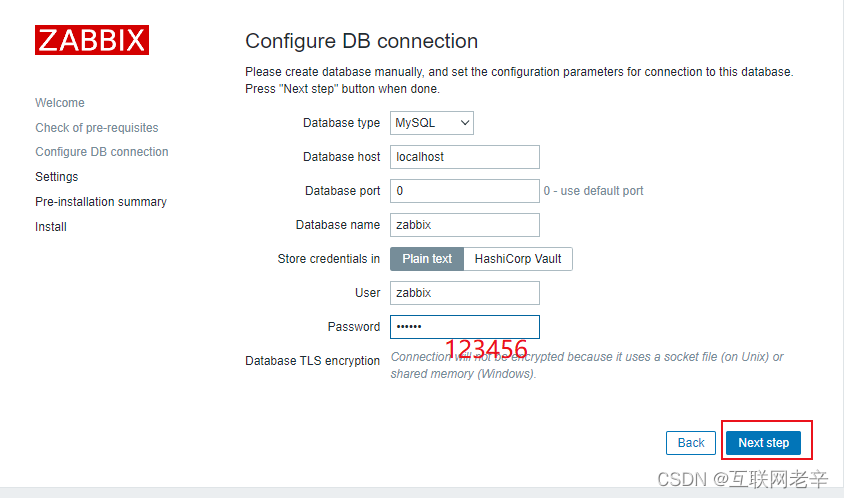
设置 数据库名: zabbix
用户名:zabbix
密码: 123456
让用户zabbix,能够通过本地访问数据库zabbix,使用123456作为密码
MariaDB [(none)]> create database zabbix character set utf8 collate utf8_bin;
Query OK, 1 row affected (0.001 sec)

MariaDB [(none)]> grant all on zabbix.* to zabbix@'localhost' identified by '123456';
Query OK, 0 rows affected (0.001 sec)

MariaDB [(none)]> flush privileges;
Query OK, 0 rows affected (0.001 sec)

MariaDB [(none)]> quit
Bye
- 1
- 2
- 3
- 4
- 5
- 6
- 7
- 8
- 9
- 10
- 11
- 12
导入初始架构和数据
[root@localhost zabbix-server-mysql]# zcat /usr/share/doc/zabbix-sql-scripts/mysql/server.sql.gz | mysql -uzabbix -p zabbix
- 1
- 2
为zabbix server配置数据库
[root@itlaoxin ~]# vim /etc/zabbix/zabbix_server.conf
124 DBPassword=123456

[root@localhost zabbix-server-mysql]# grep DBPassword /etc/zabbix/zabbix_server.conf |grep -v ^#
DBPassword=123456
- 1
- 2
- 3
- 4
- 5
启动Zabbix server和agent进程
systemctl restart zabbix-server zabbix-agent2 httpd php-fpm
systemctl enable zabbix-server zabbix-agent2 httpd php-fpm
- 1
- 2
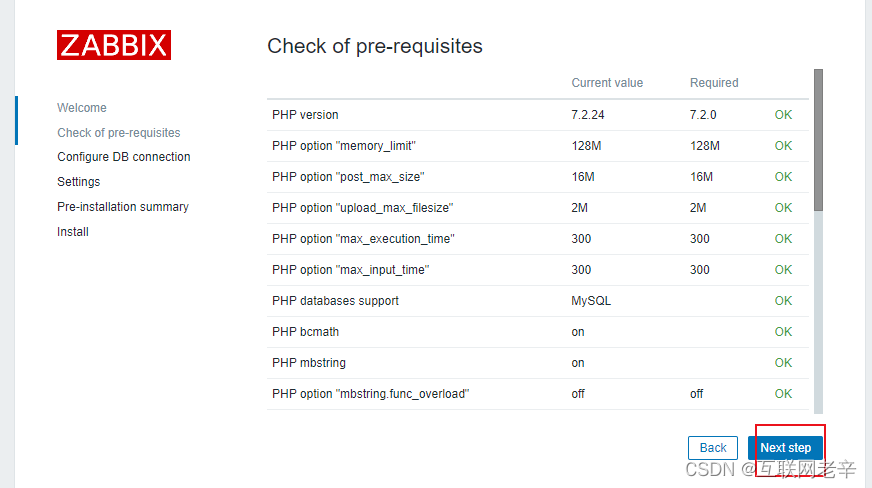
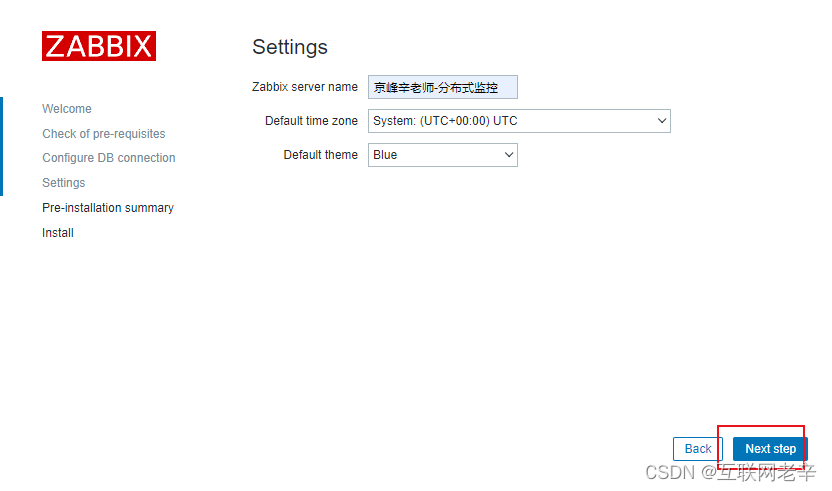
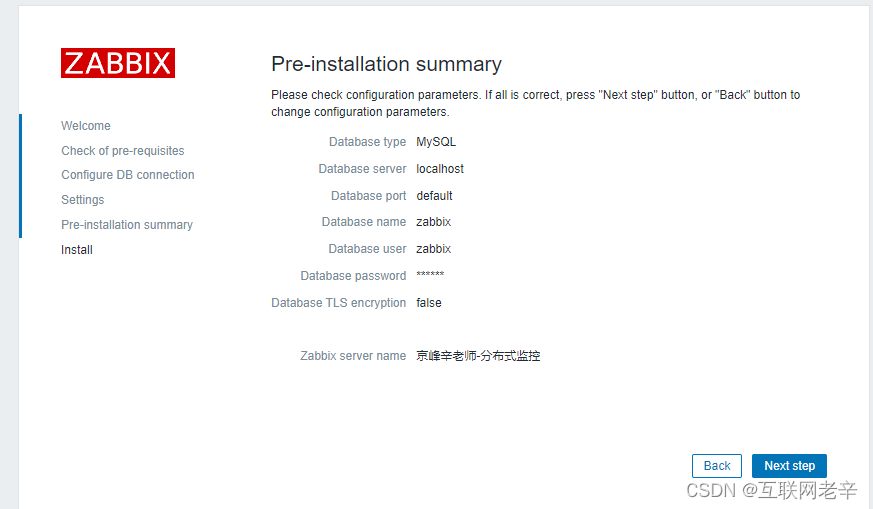
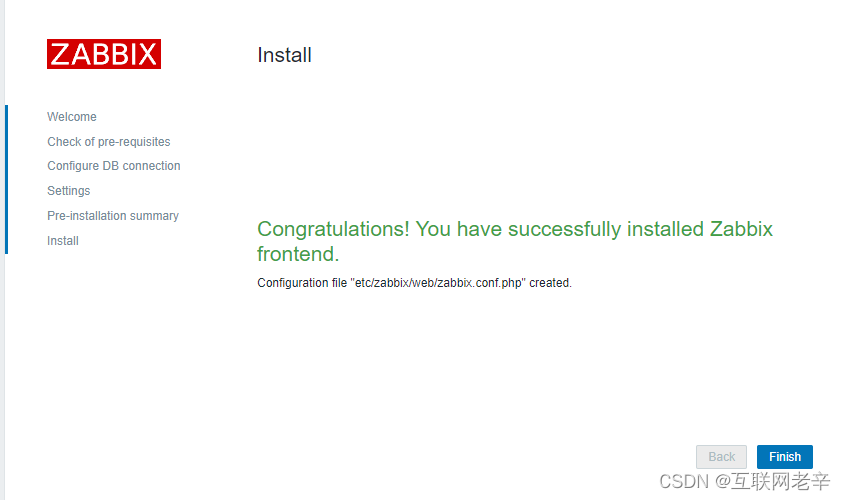
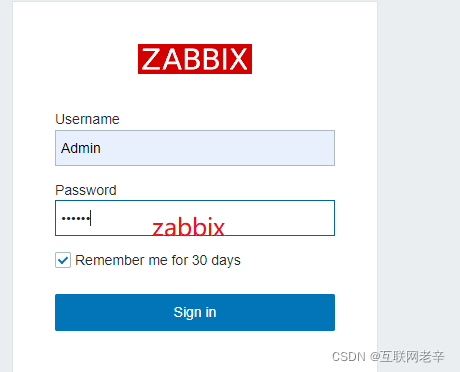
前端配置
关闭防火墙和selinux
root@localhost zabbix-server-mysql]# setenforce 0
[root@localhost zabbix-server-mysql]# systemctl stop firewalld.service
[root@localhost zabbix-server-mysql]#
- 1
- 2
- 3
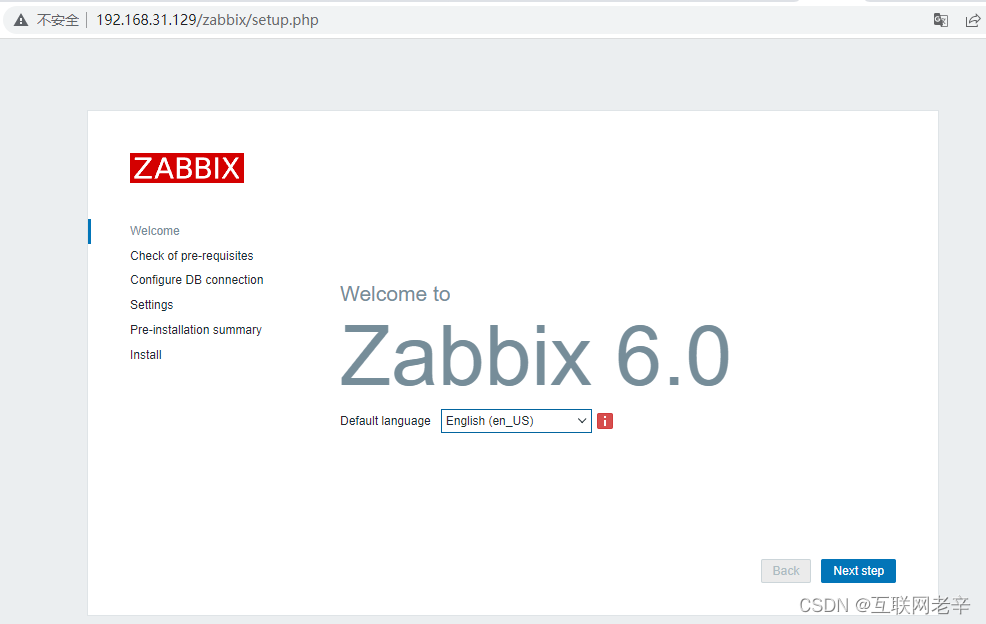

修改语言:
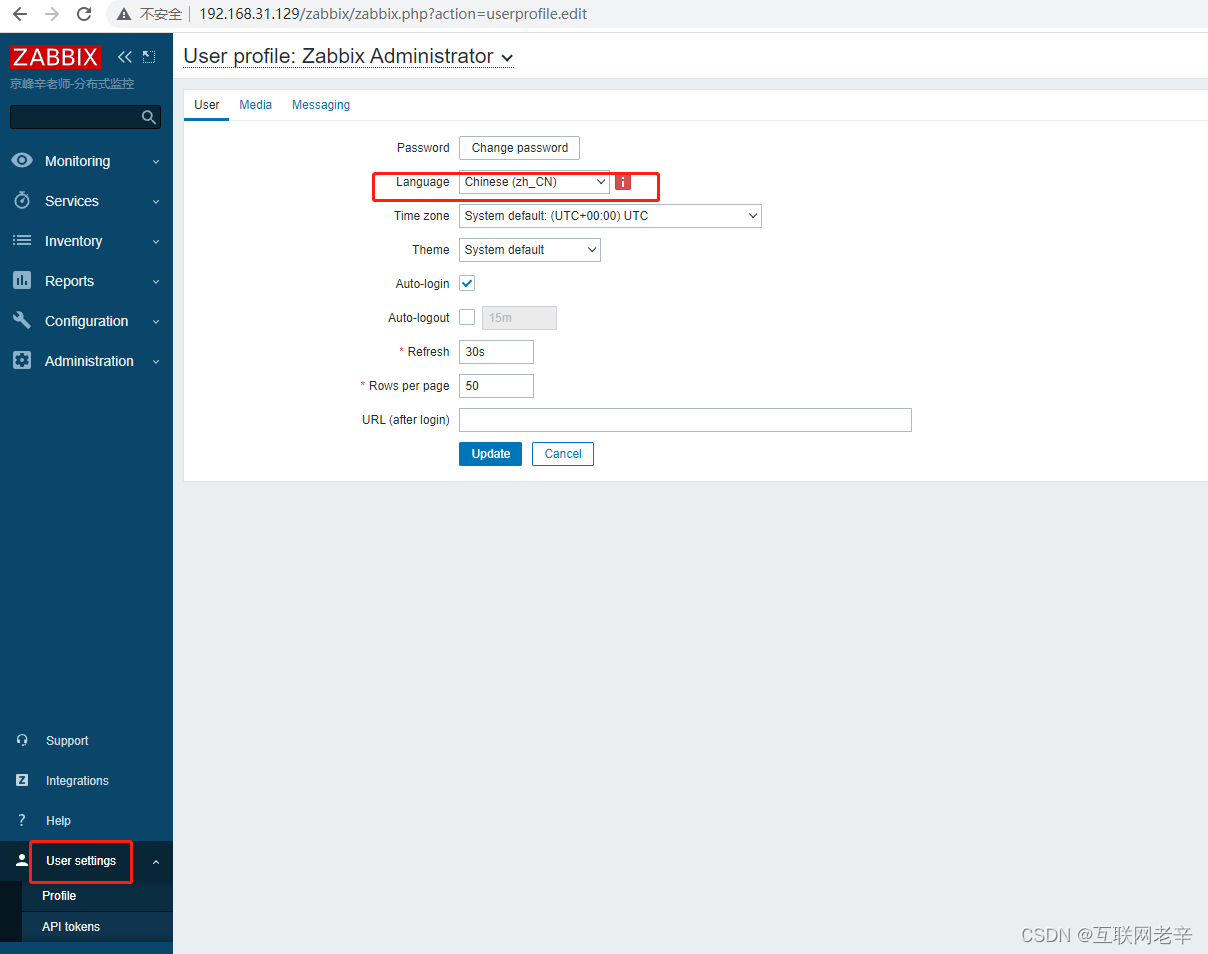
注意:
Zabbix 6.0 LTS 的安装相对之前的版本没有太多的区别,主要是数据库架构文件发生了调整,create.sql.gz --> server.sql.gz,其他基本保持一致,后续的版本都会以 6.0 为主了,所以要尽快学习。
文章来源: zmedu.blog.csdn.net,作者:互联网老辛,版权归原作者所有,如需转载,请联系作者。
原文链接:zmedu.blog.csdn.net/article/details/123197982

【版权声明】本文为华为云社区用户转载文章,如果您发现本社区中有涉嫌抄袭的内容,欢迎发送邮件进行举报,并提供相关证据,一经查实,本社区将立刻删除涉嫌侵权内容,举报邮箱:
cloudbbs@huaweicloud.com
- 点赞
- 收藏
- 关注作者
评论(0)