如何将Chrome本地安装的扩展应用导出到本地

有时由于种种原因,我们不能直接使用Chrome web store进行Chrome扩展应用的安装,这时可以让一位已经安装了某Chrome扩展应用的朋友将他的应用导出到本地成为.crx文件,然后发给你,这样你就可以通过.crx文件进行离线安装了。这种方式也可以用来作为Chrome扩展应用的备份。
我们先在线安装SAP UI5 inspector这个扩展应用:
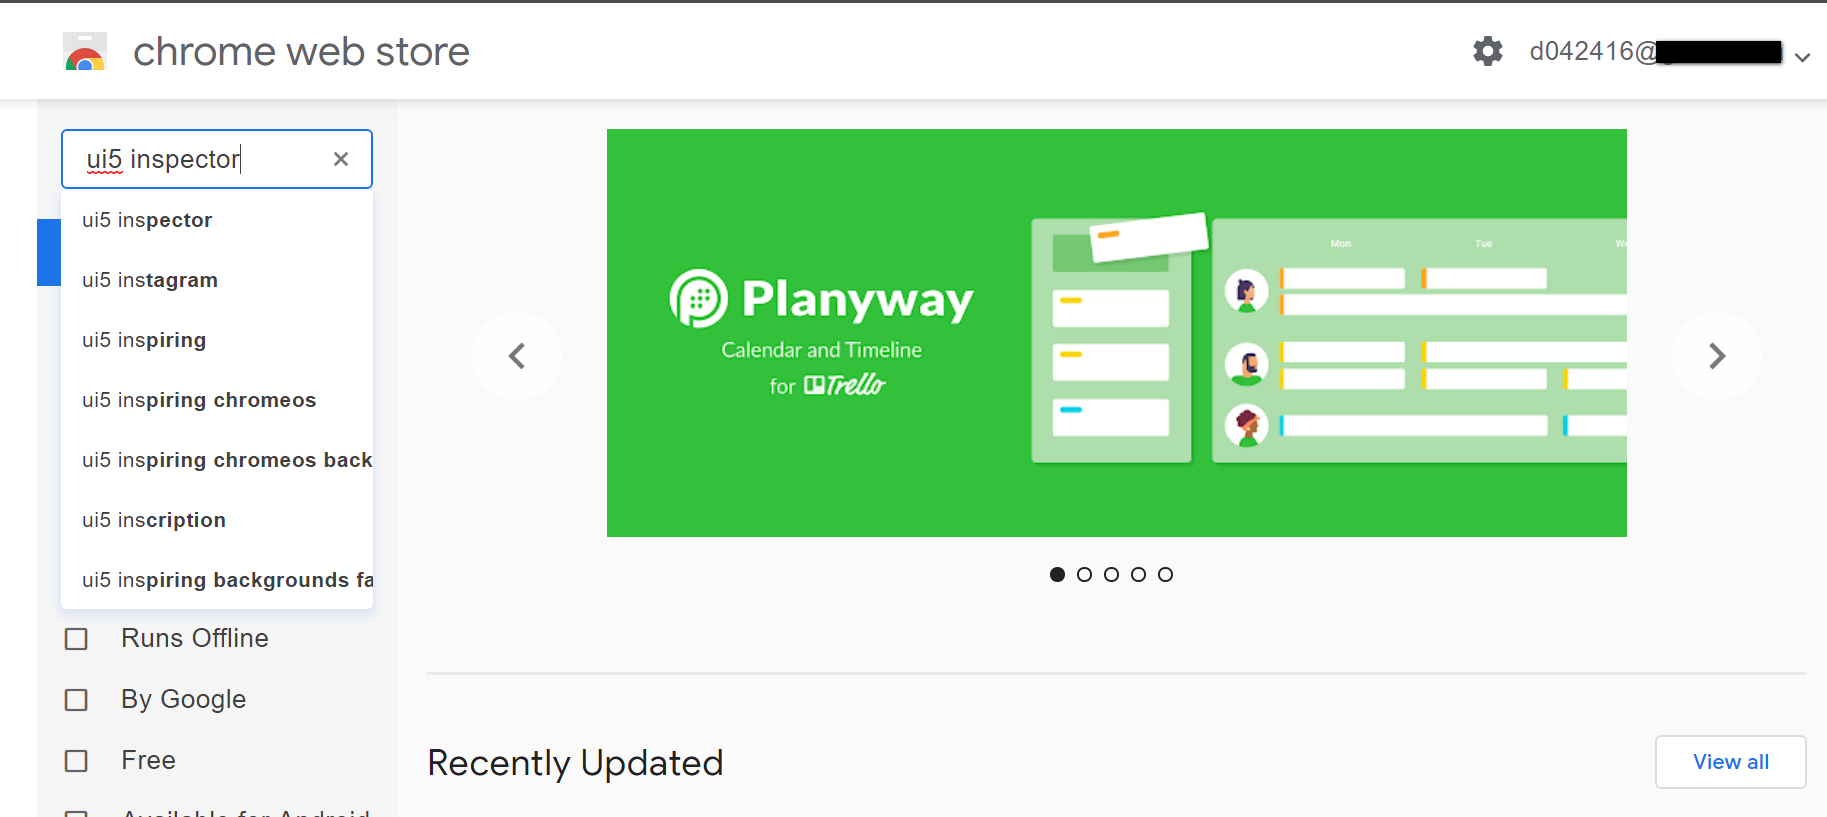
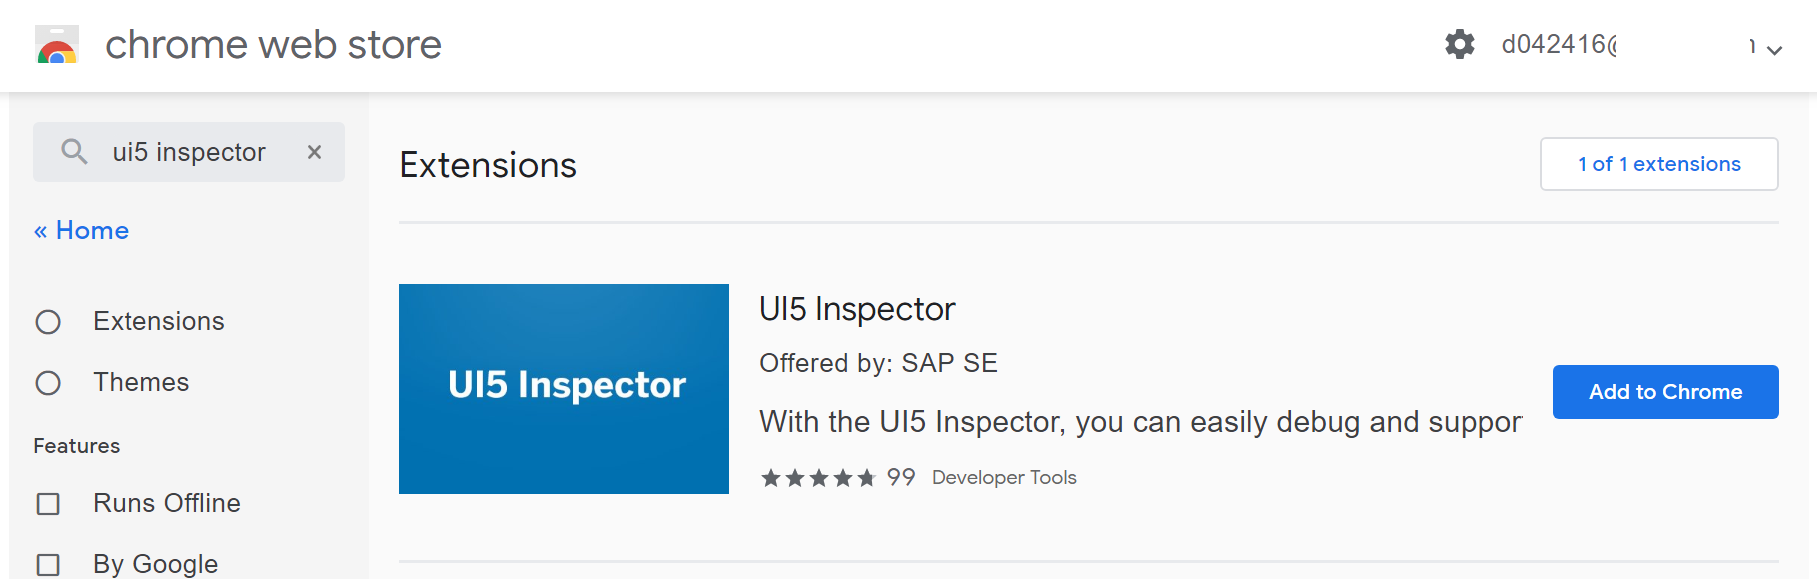
根据ui5 inspector这个关键字进行搜索,在结果列表里选中,点击Add to Chrome:
安装完毕后,打开Chrome extension即扩展应用管理器的开发者模式,抄下UI5 inspector的ID:
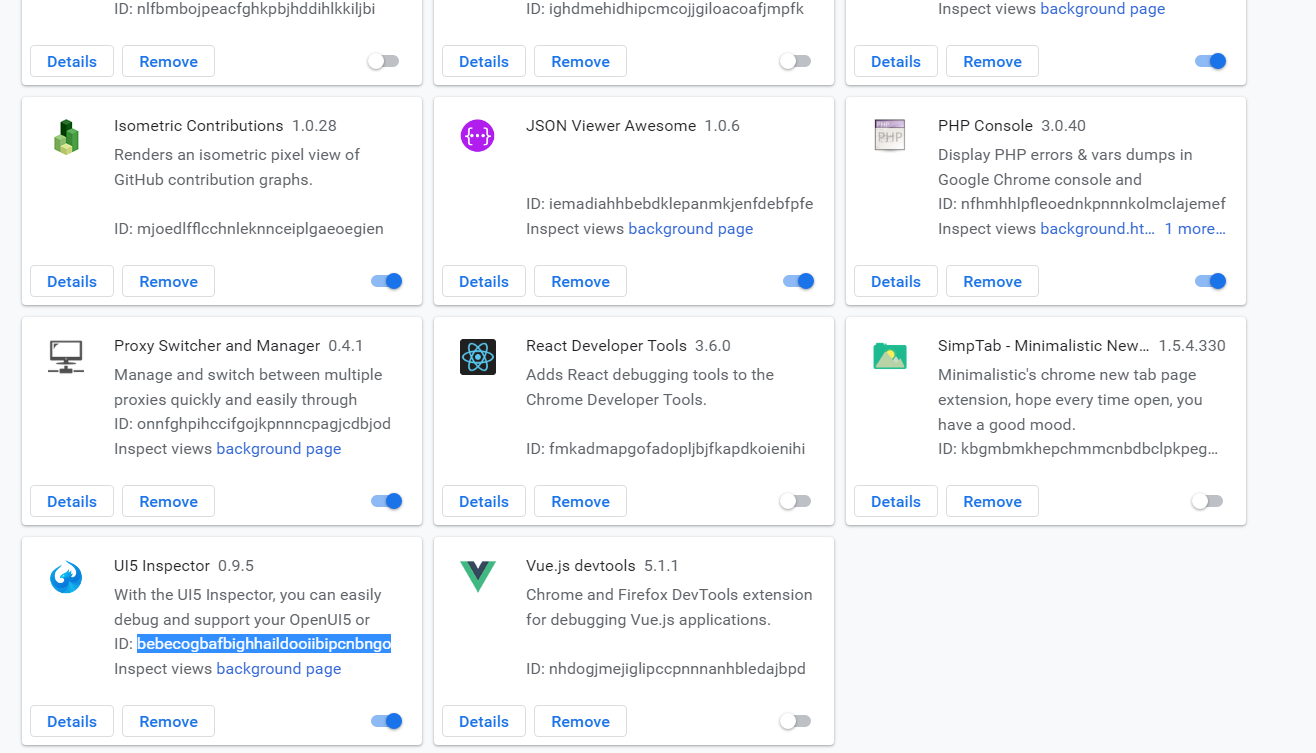
通过这个ID,我们通过进入如下的路径,能发现安装好的UI5 inspector本地文件:

C:\Users\i042416\AppData\Local\Google\Chrome\User Data\Default\Extensions\bebecogbafbighhaildooiibipcnbngo\0.9.5_0
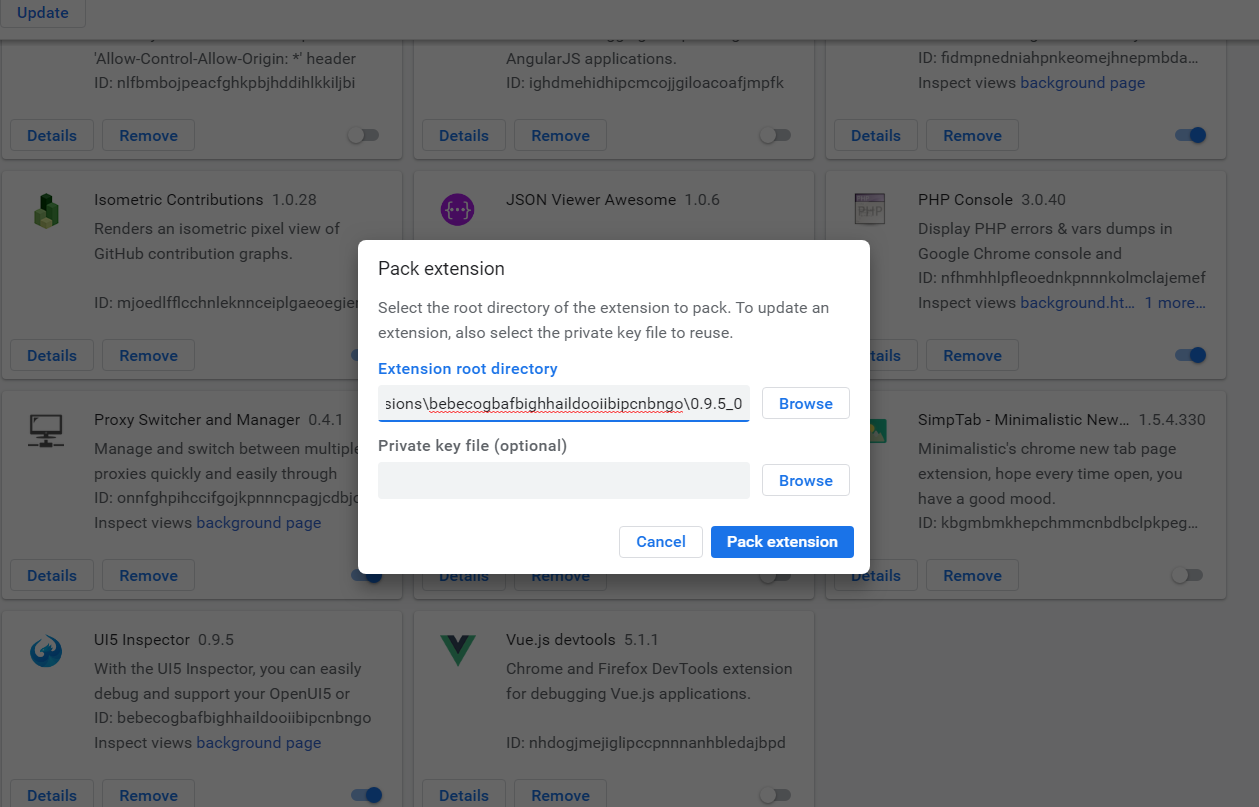
这时就可以把这些文件夹进行打包导出了,点击Pack extension:
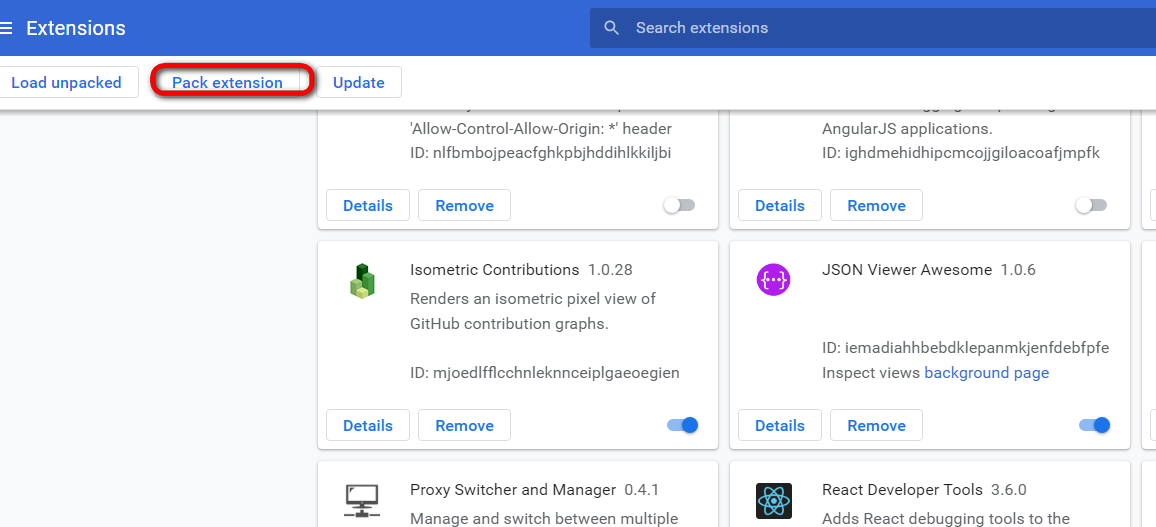
输入路径C:\Users\i042416\AppData\Local\Google\Chrome\User Data\Default\Extensions\bebecogbafbighhaildooiibipcnbngo\0.9.5_0,点击Pack Extension:
得到打包好的.crx文件。
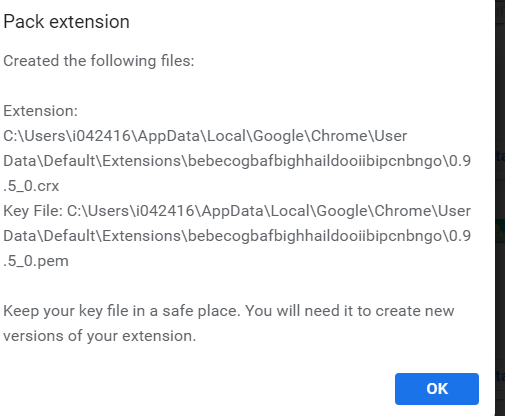
发给你的朋友,他就可以进行离线安装了。

我们在SAP WebIDE里进行UI5应用开发时,当然也希望能将开发的代码纳入到github版本管理中去。
步骤其实非常简单。
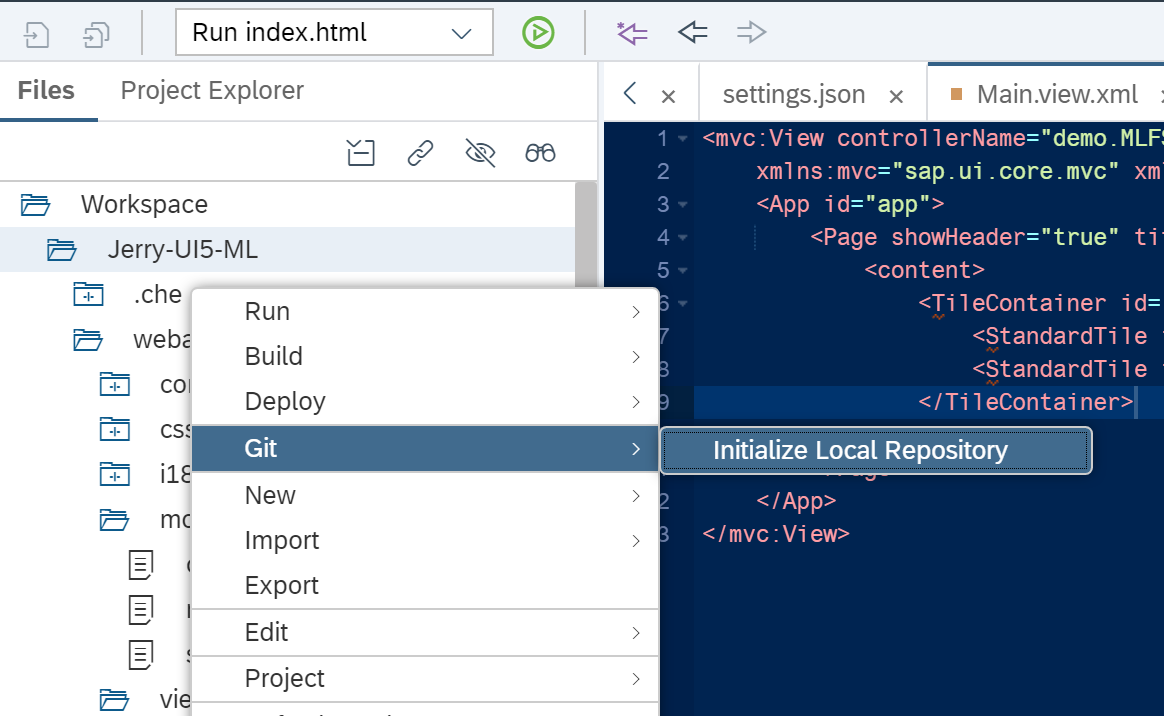
右键点击WebIDE里UI5应用,git->Initialize Local Repository:
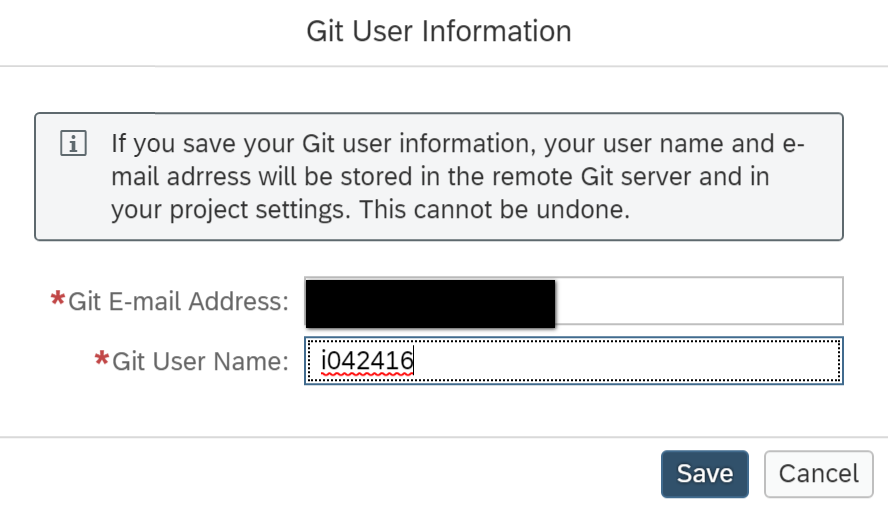
输入github上的用户名和密码,稍后WebIDE会用这个credential与Github建立连接。
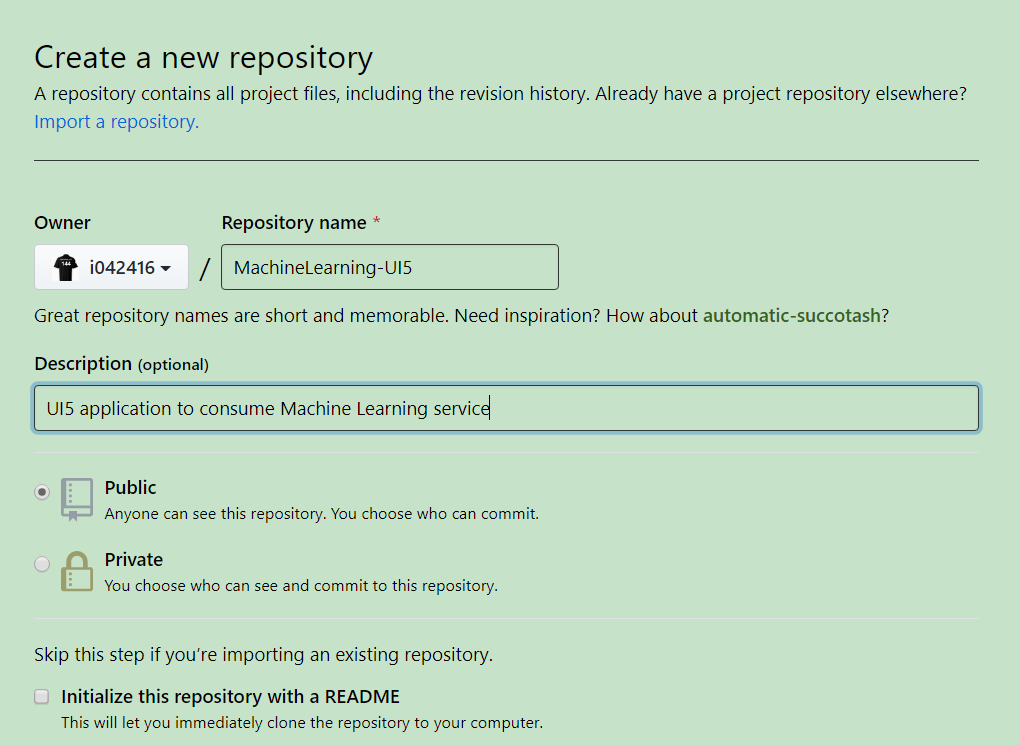
在Github上新建一个空的代码仓库:
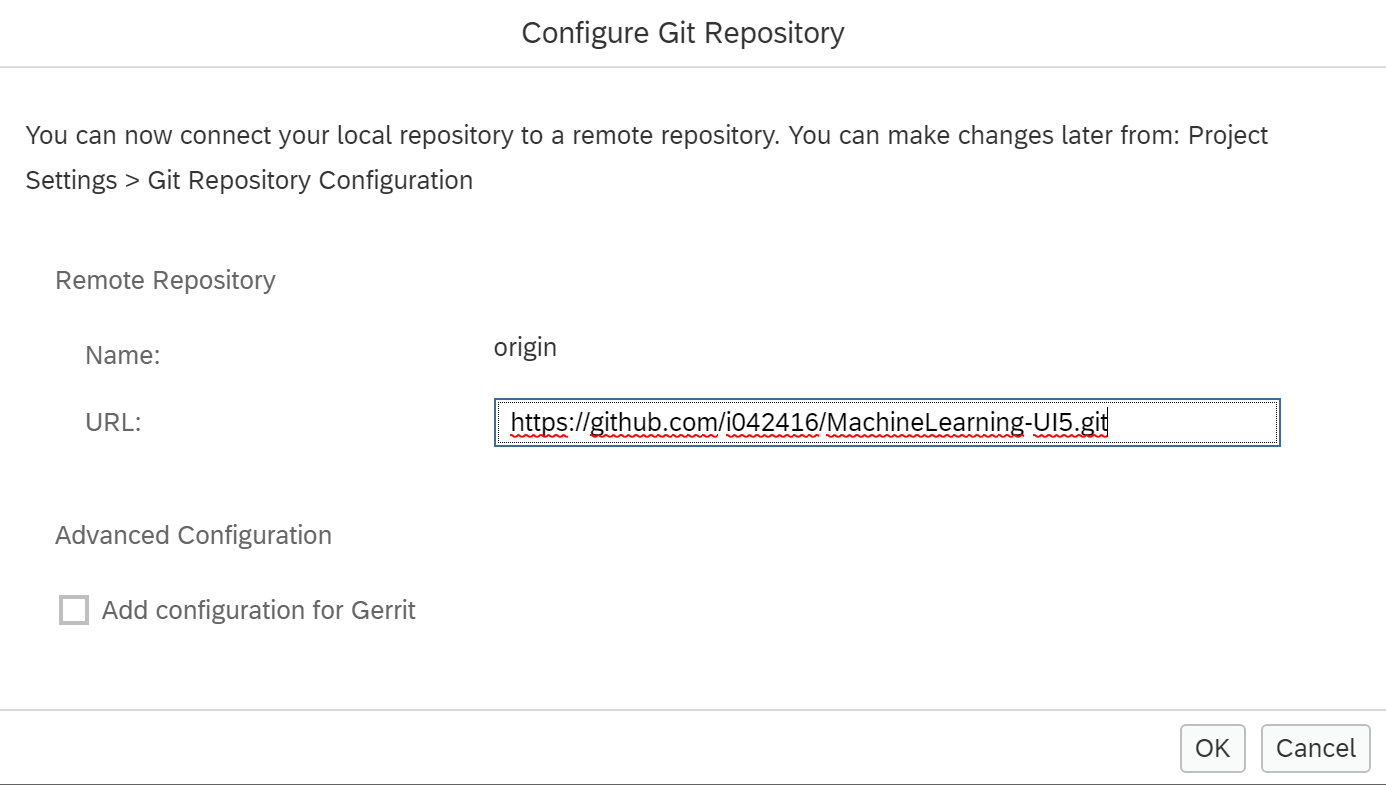
把生成的url复制下来,粘贴到SAP WebIDE的git repository配置对话框中:
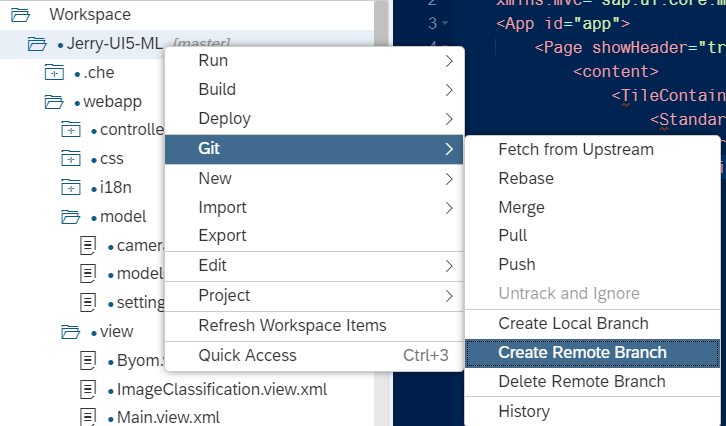
然后再使用右键菜单创建一个远端branch,取名Master:
之后,利用右侧的git面板提供的各种命令,即可进行常规的commit,pull,push等操作。
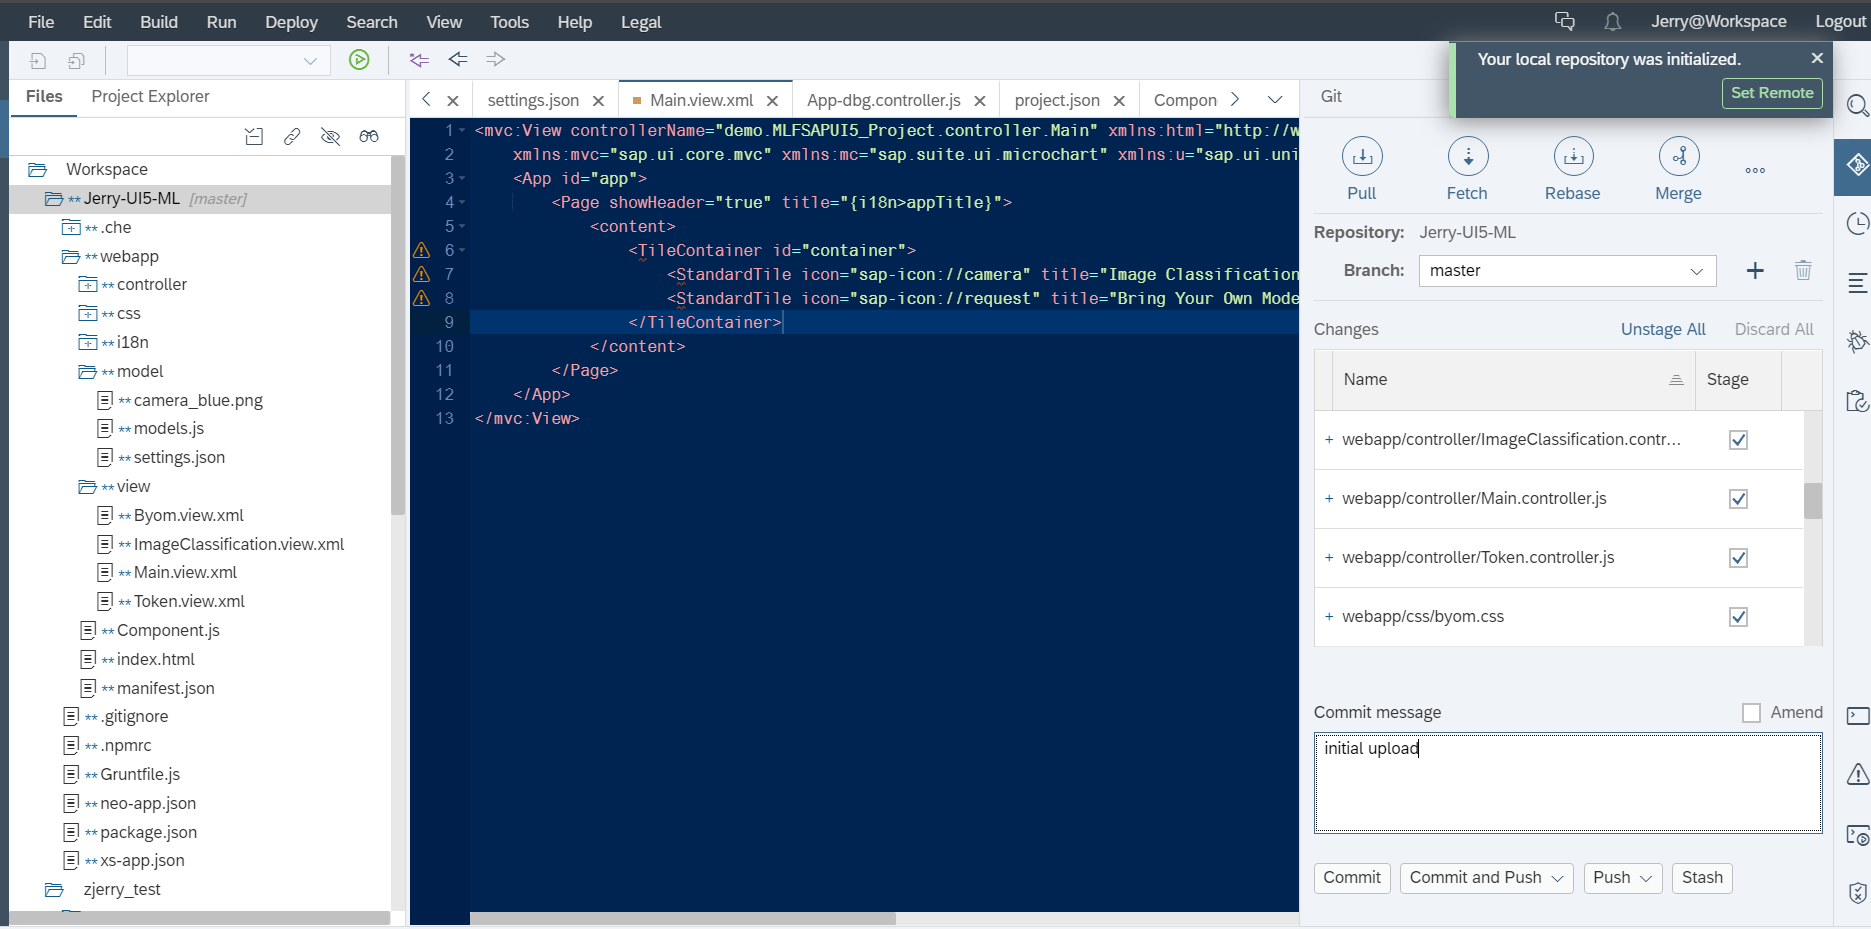
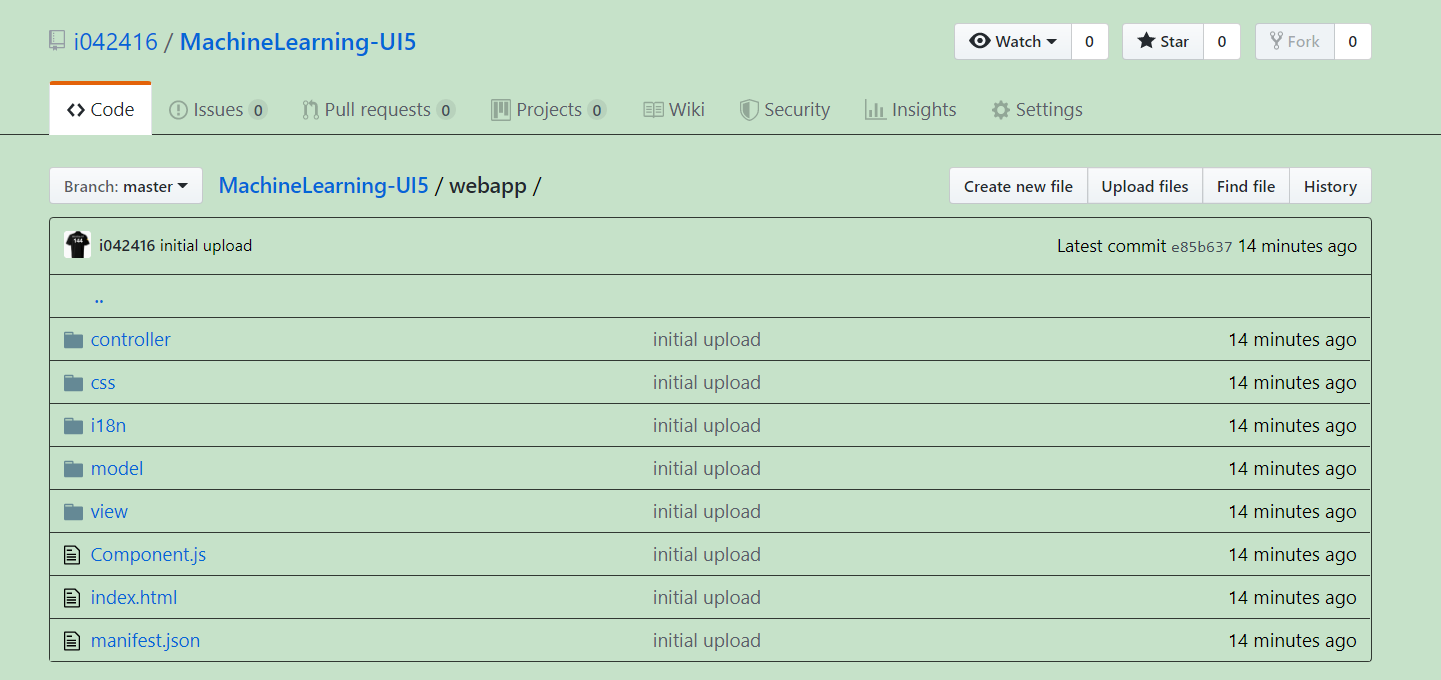
在WebIDE里触发的Github操作成功施加到了Github的仓库里

- 点赞
- 收藏
- 关注作者
评论(0)