Marketing Cloud的contact merge机制

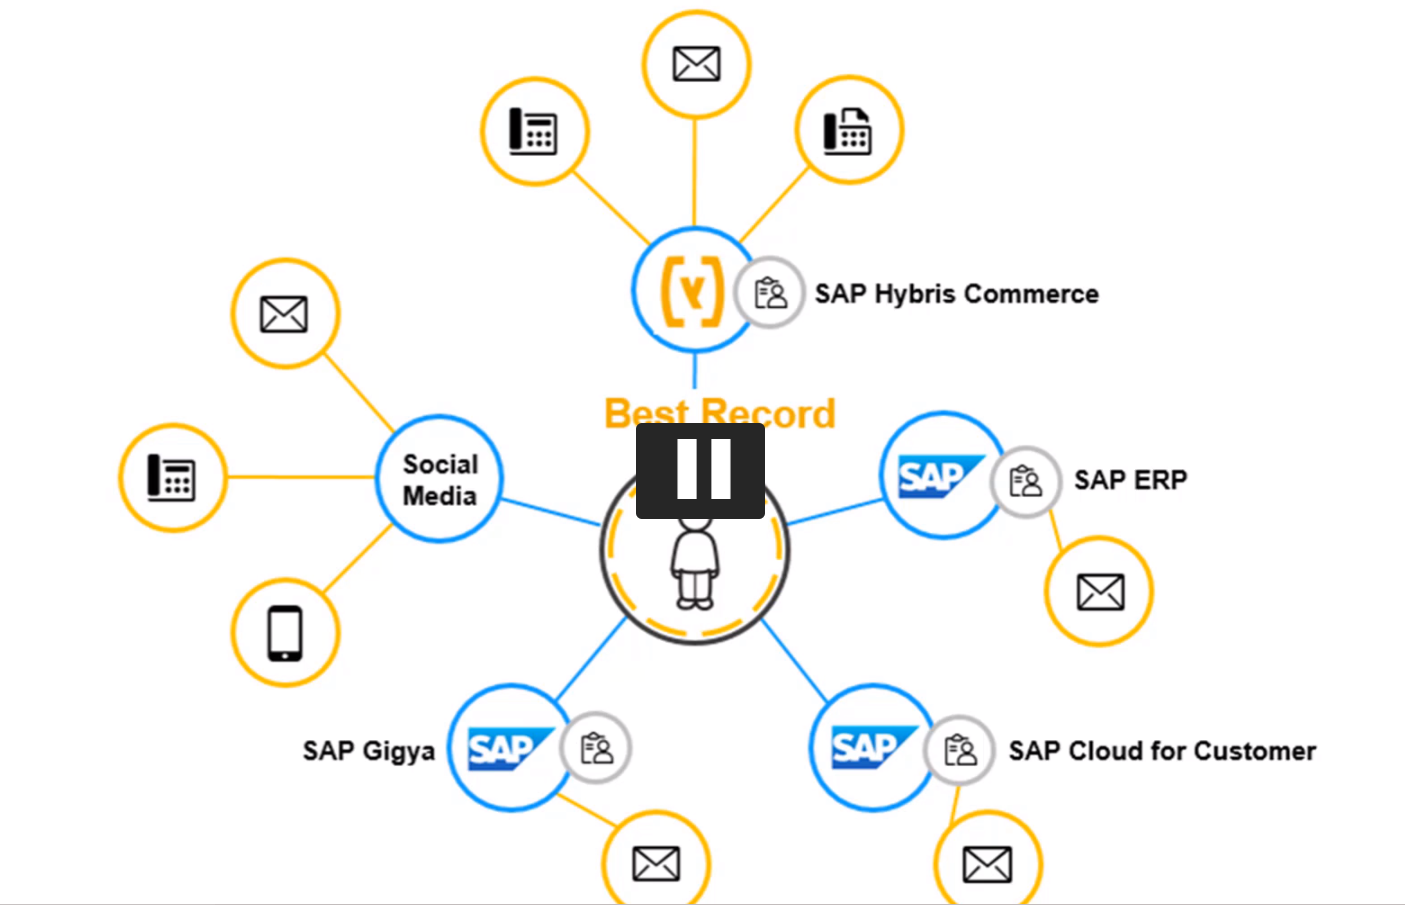
Marketing Cloud的contact支持多种多样的数据源,如下图所示:
SAP Hybris Commerce
SAP ERP
SAP Cloud for Customer
SAP Gigya
external social media
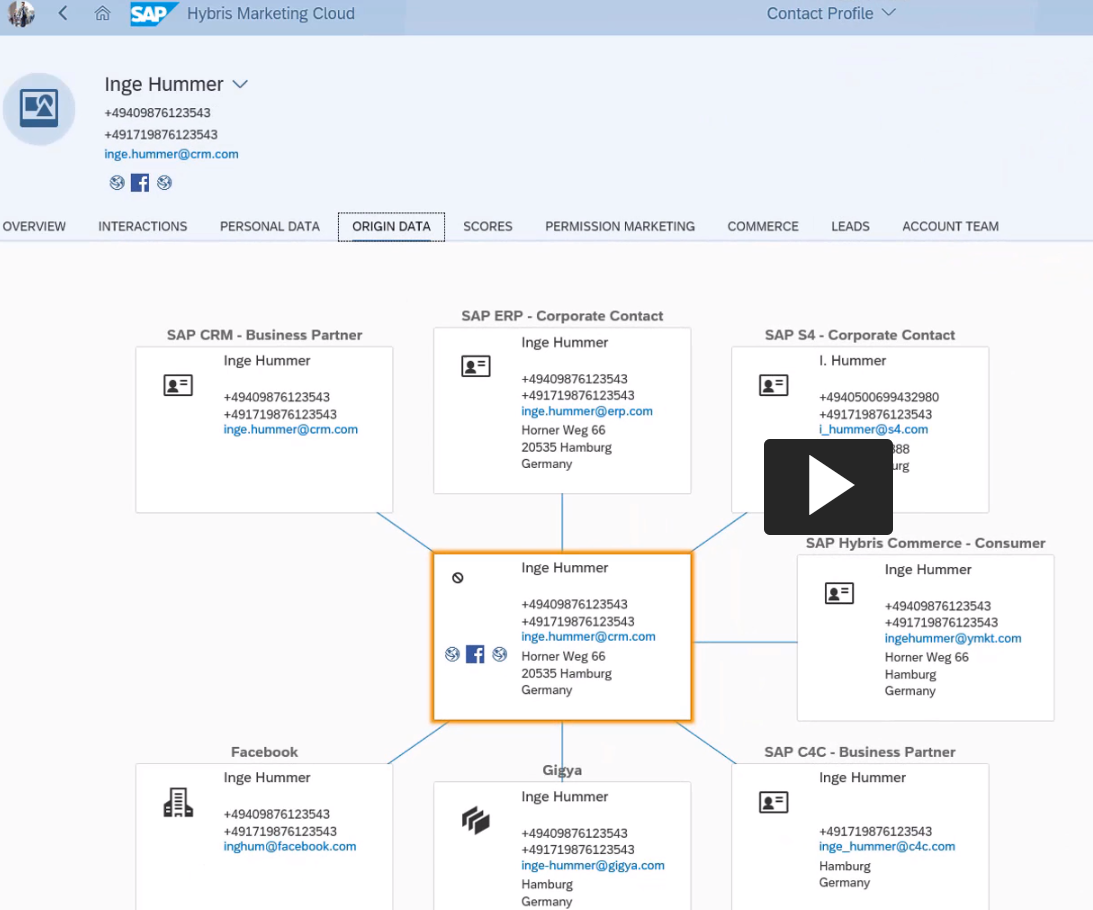
在系统的Origin data标签页里能看到一个merge后的contact的所有数据源:
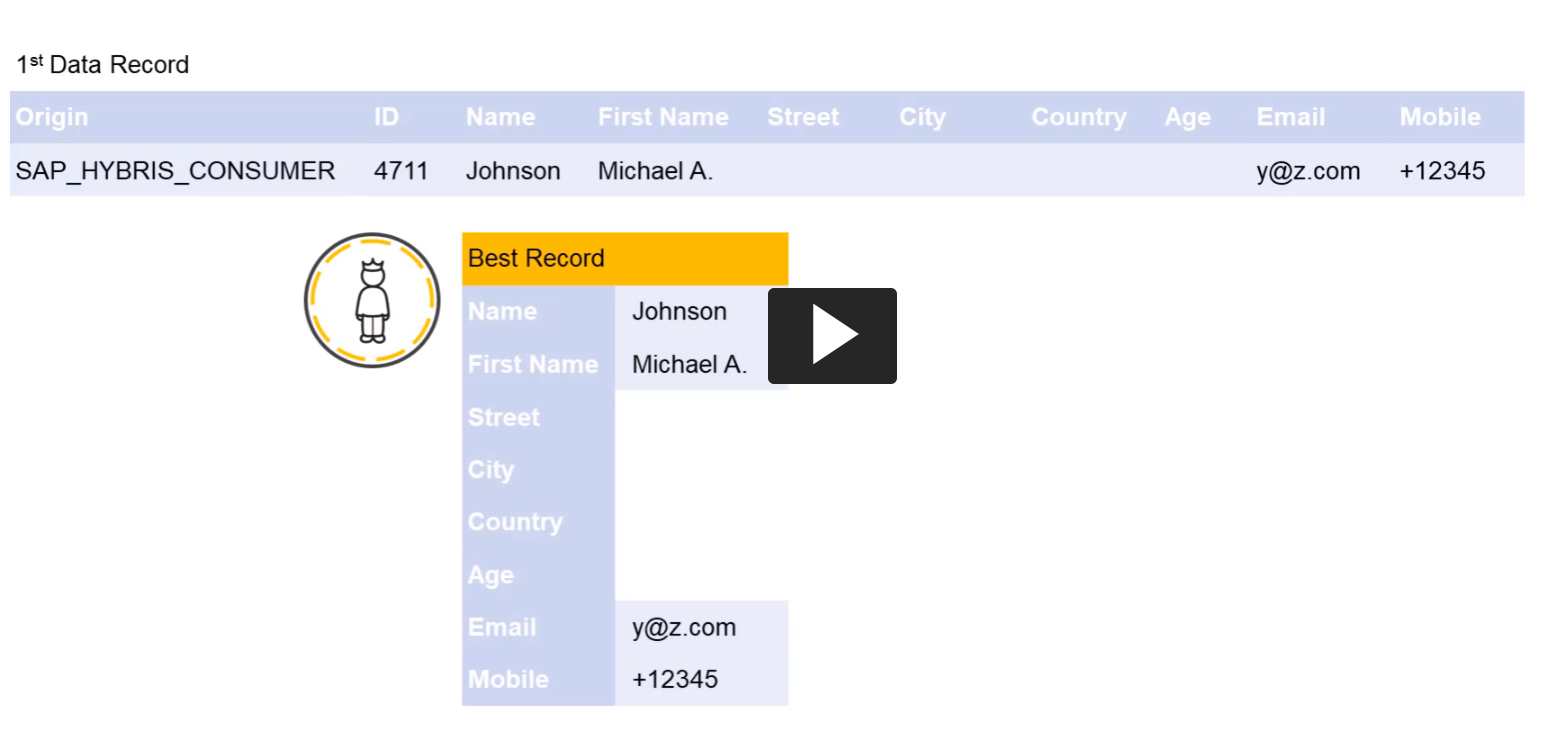
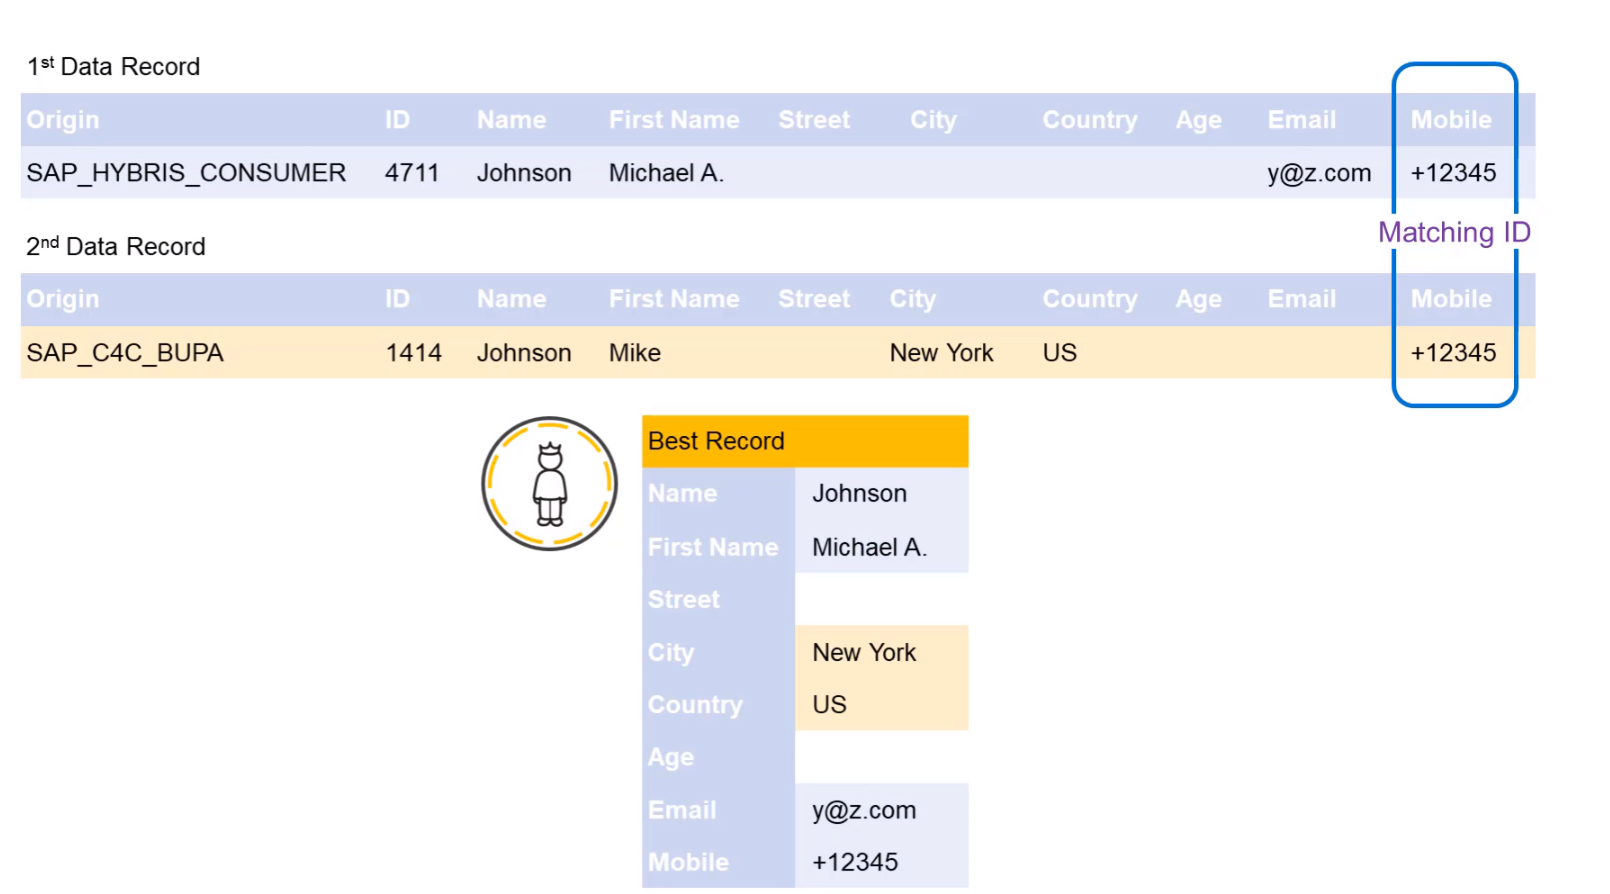
看一些例子。初次从Hybris commerce里导入,Marketing Cloud系统里不存在ID为4711,mobile为12345的contact,所以自动创建一条主数据。
第二次从SAP Cloud for Customer里导入,因为待导入的contact和系统里已经存在的一条记录的mobile ID相同,故Marketing Cloud认为这是同一个人,因此做属性的merge:
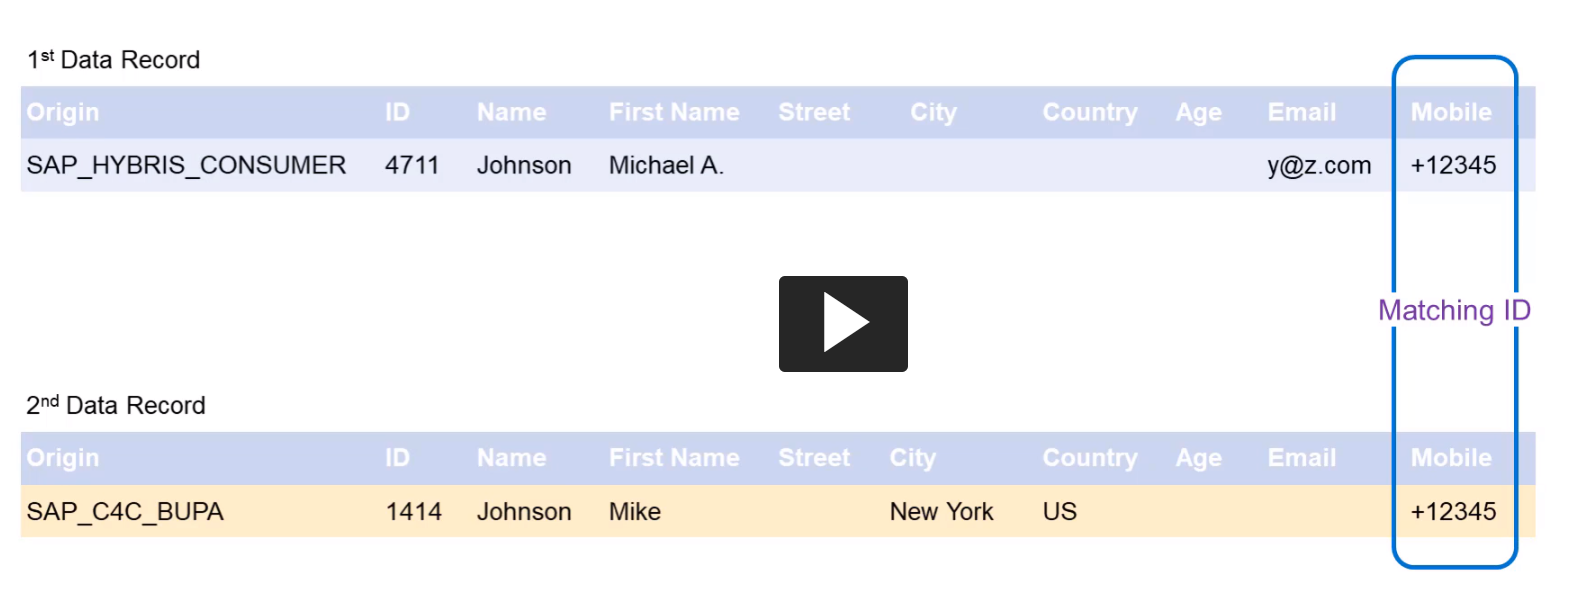
merge之后,来自Cloud for Customer的city和country字段被合并进了系统。
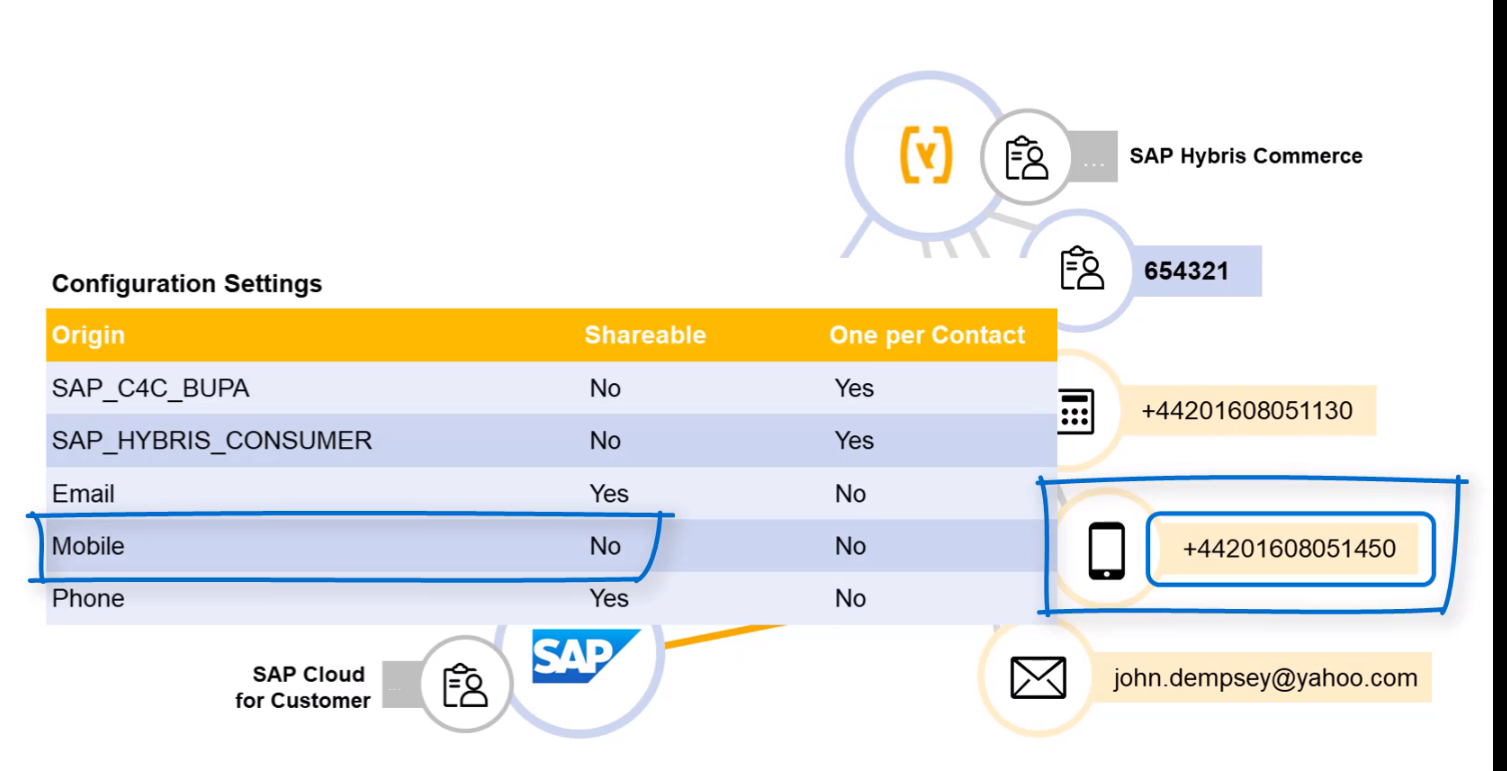
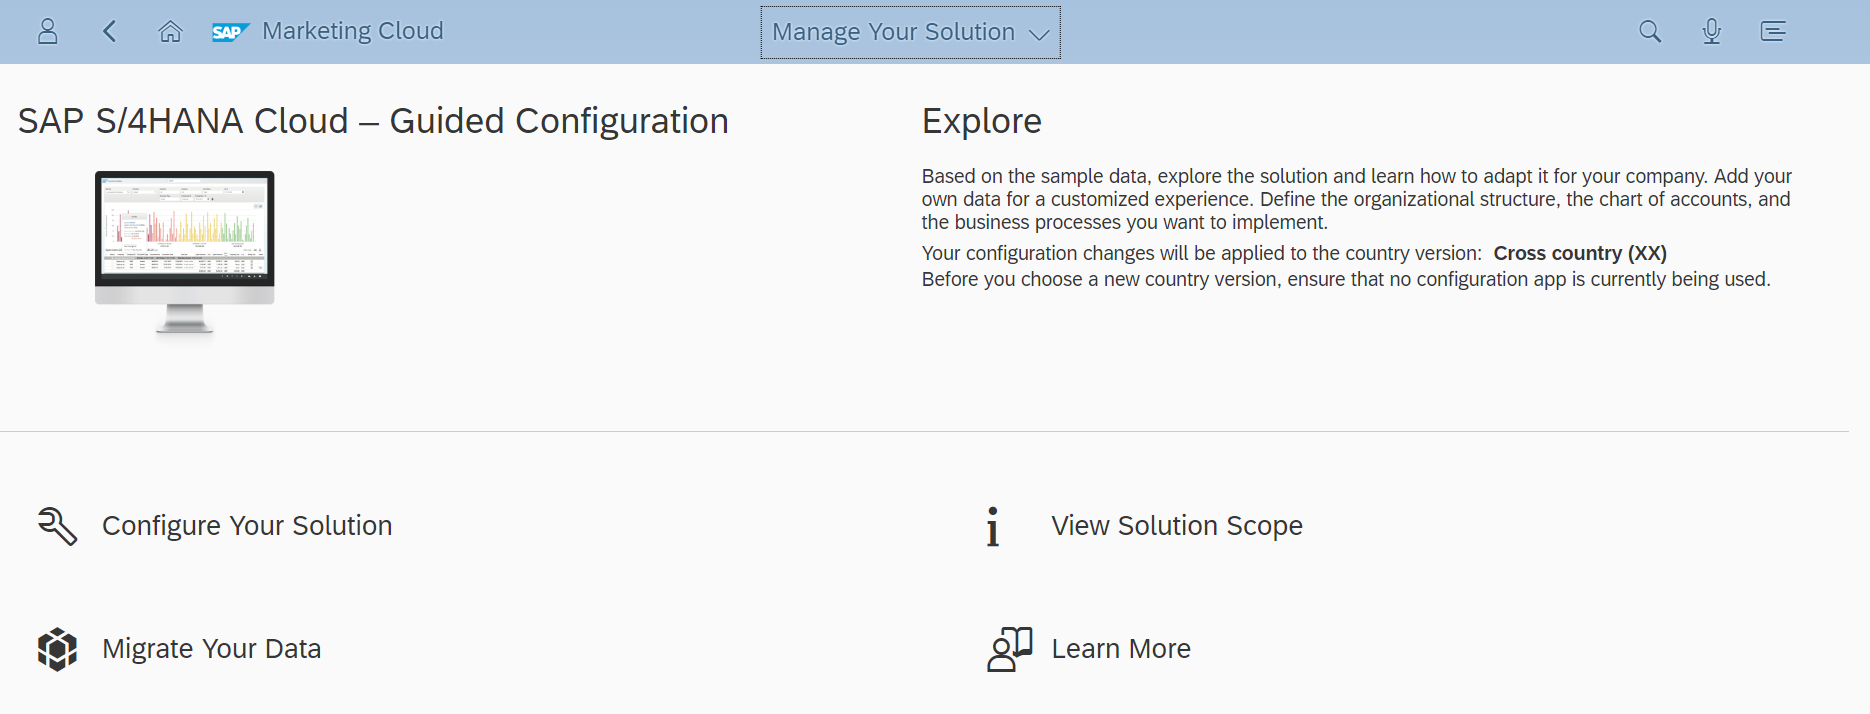
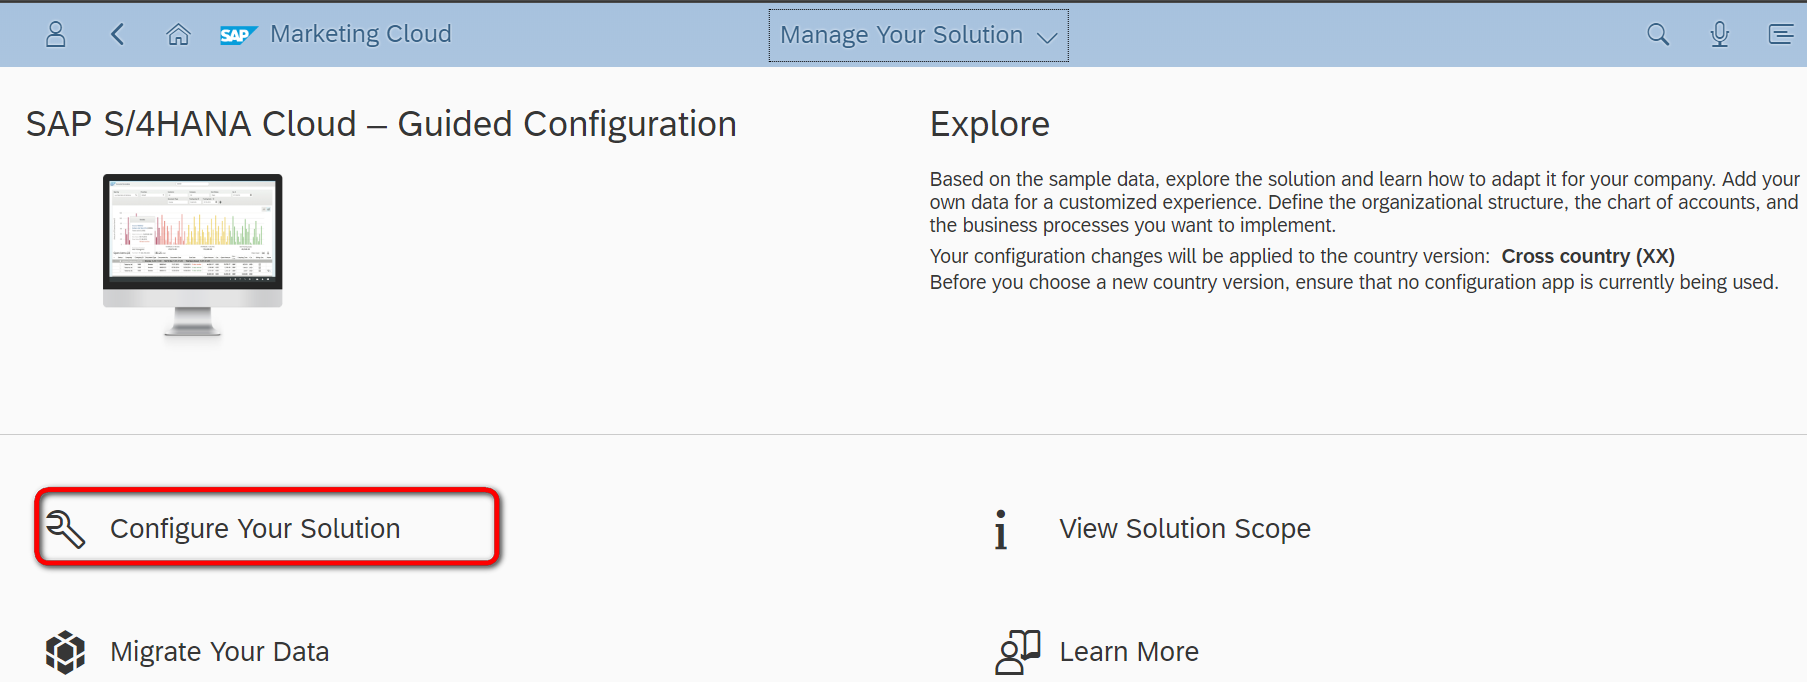
从这里出发进行Marketing Cloud里contact merge相关的配置customizing:

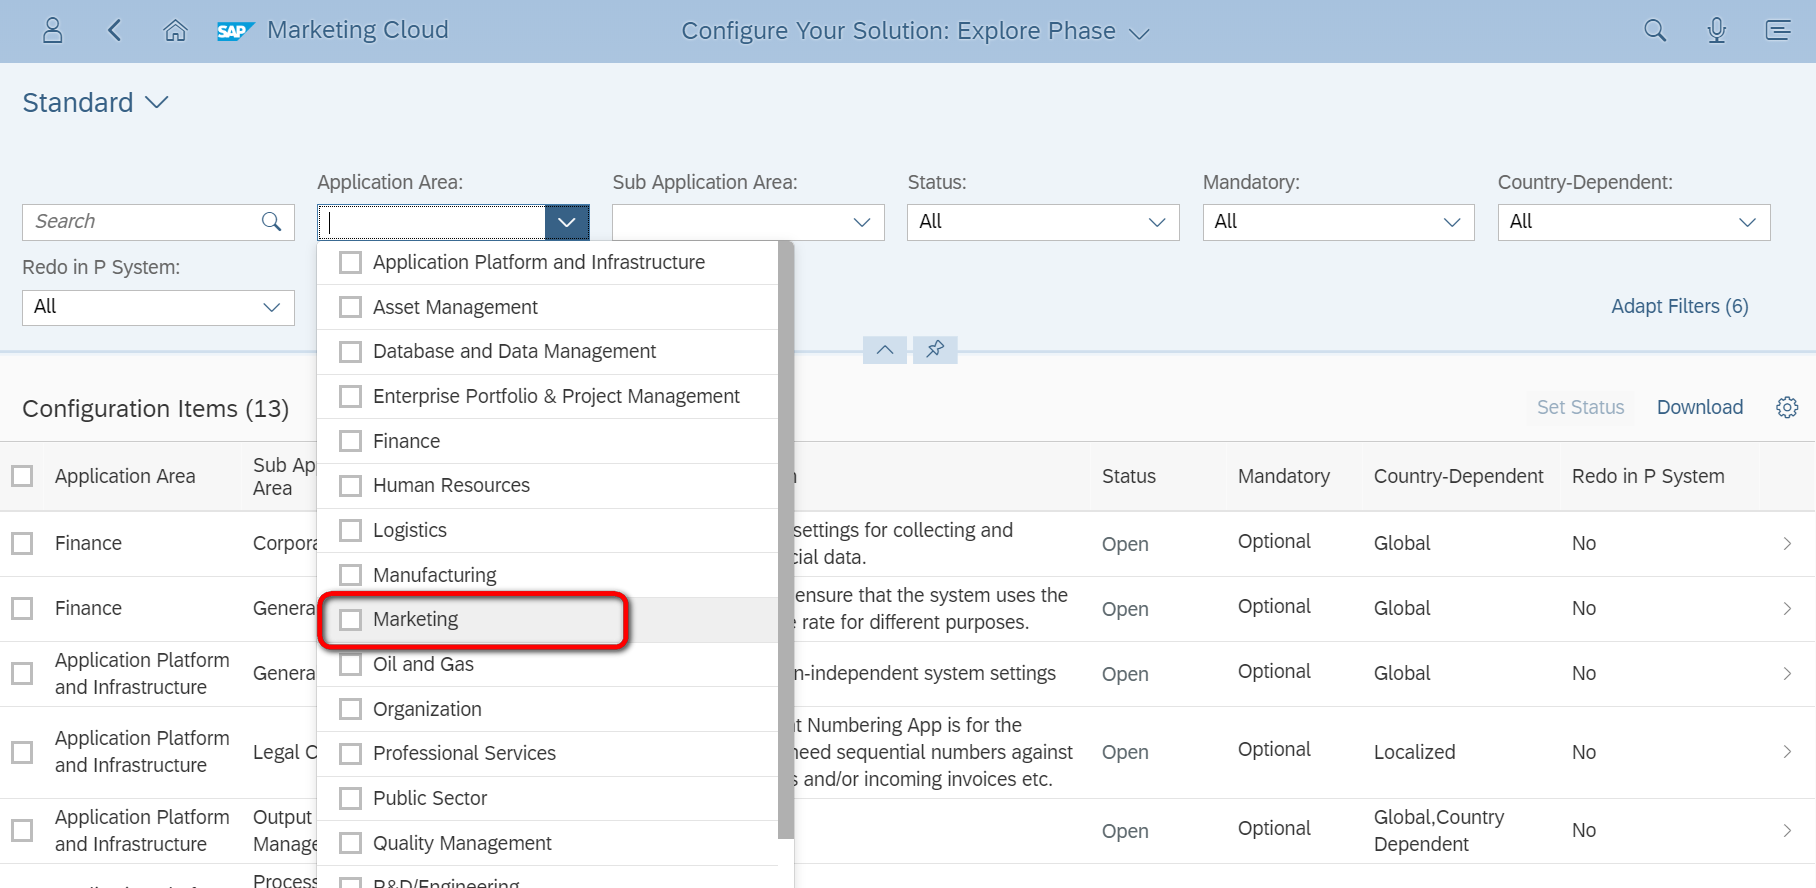
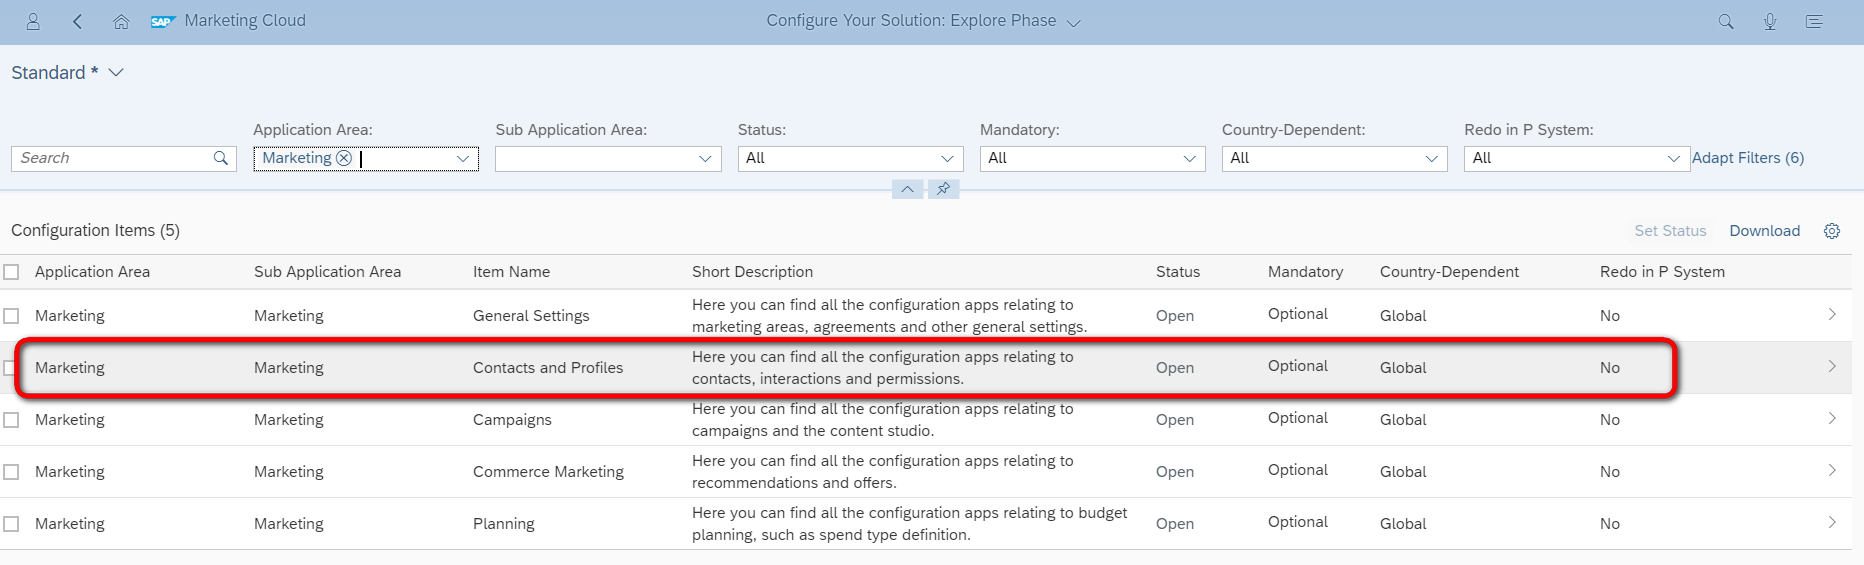
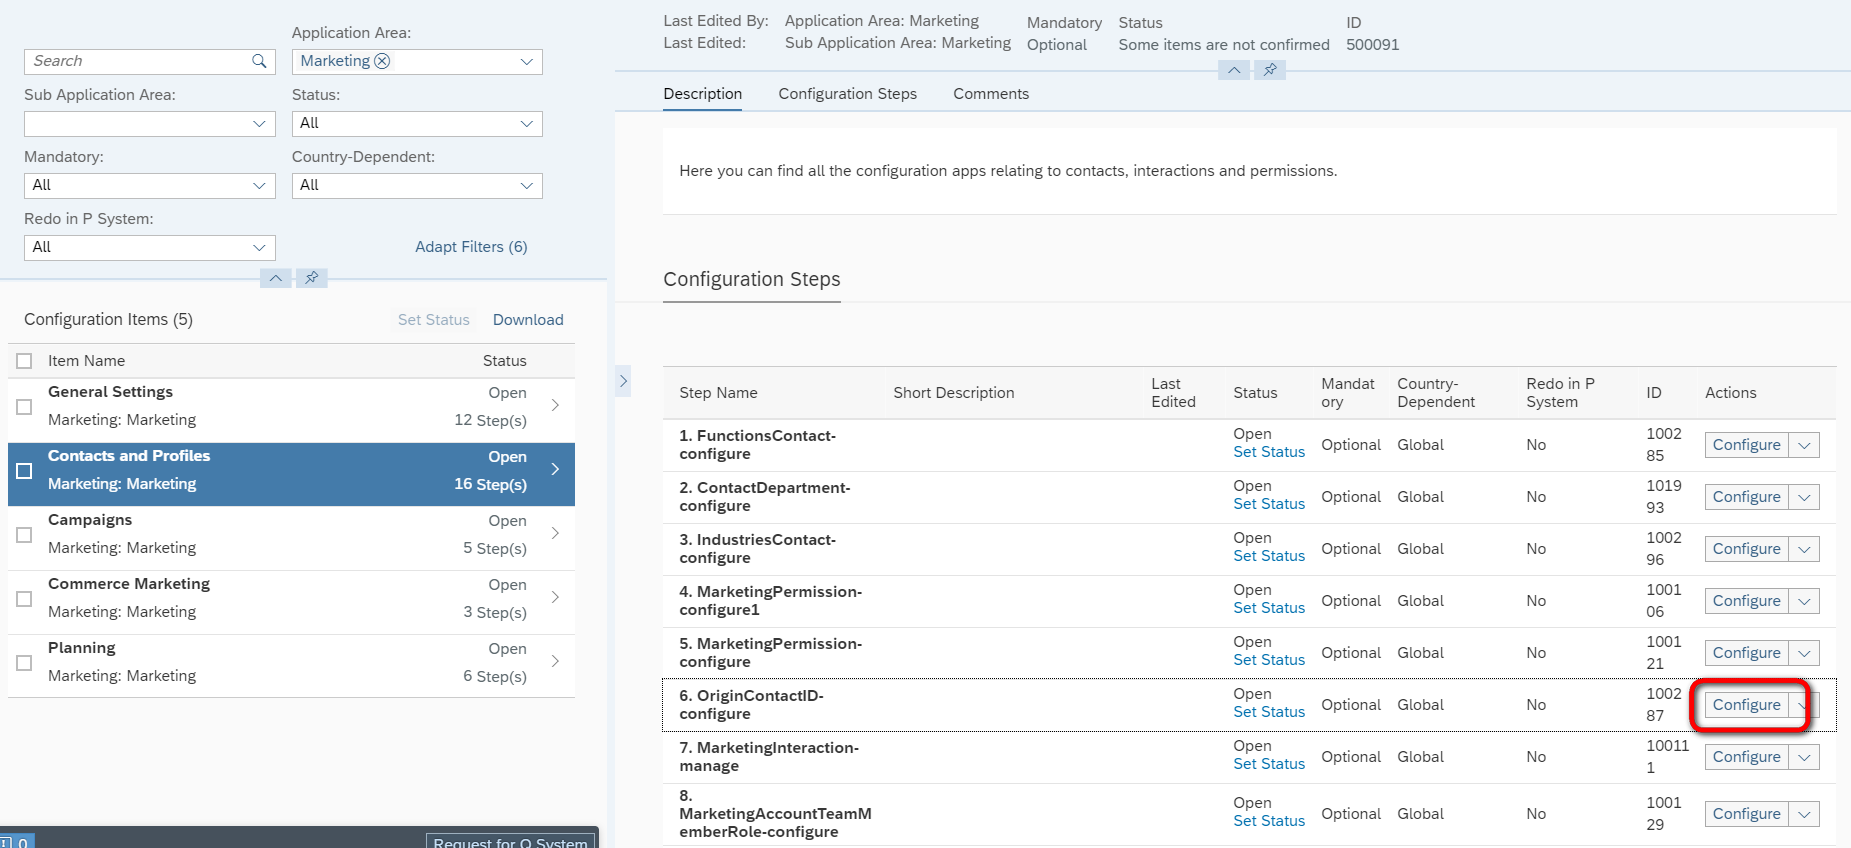
这里可以指定进行merge检测时基于的字段,这些字段既有SAP Marketing Cloud的标准字段,也允许用户自定义新的字段。
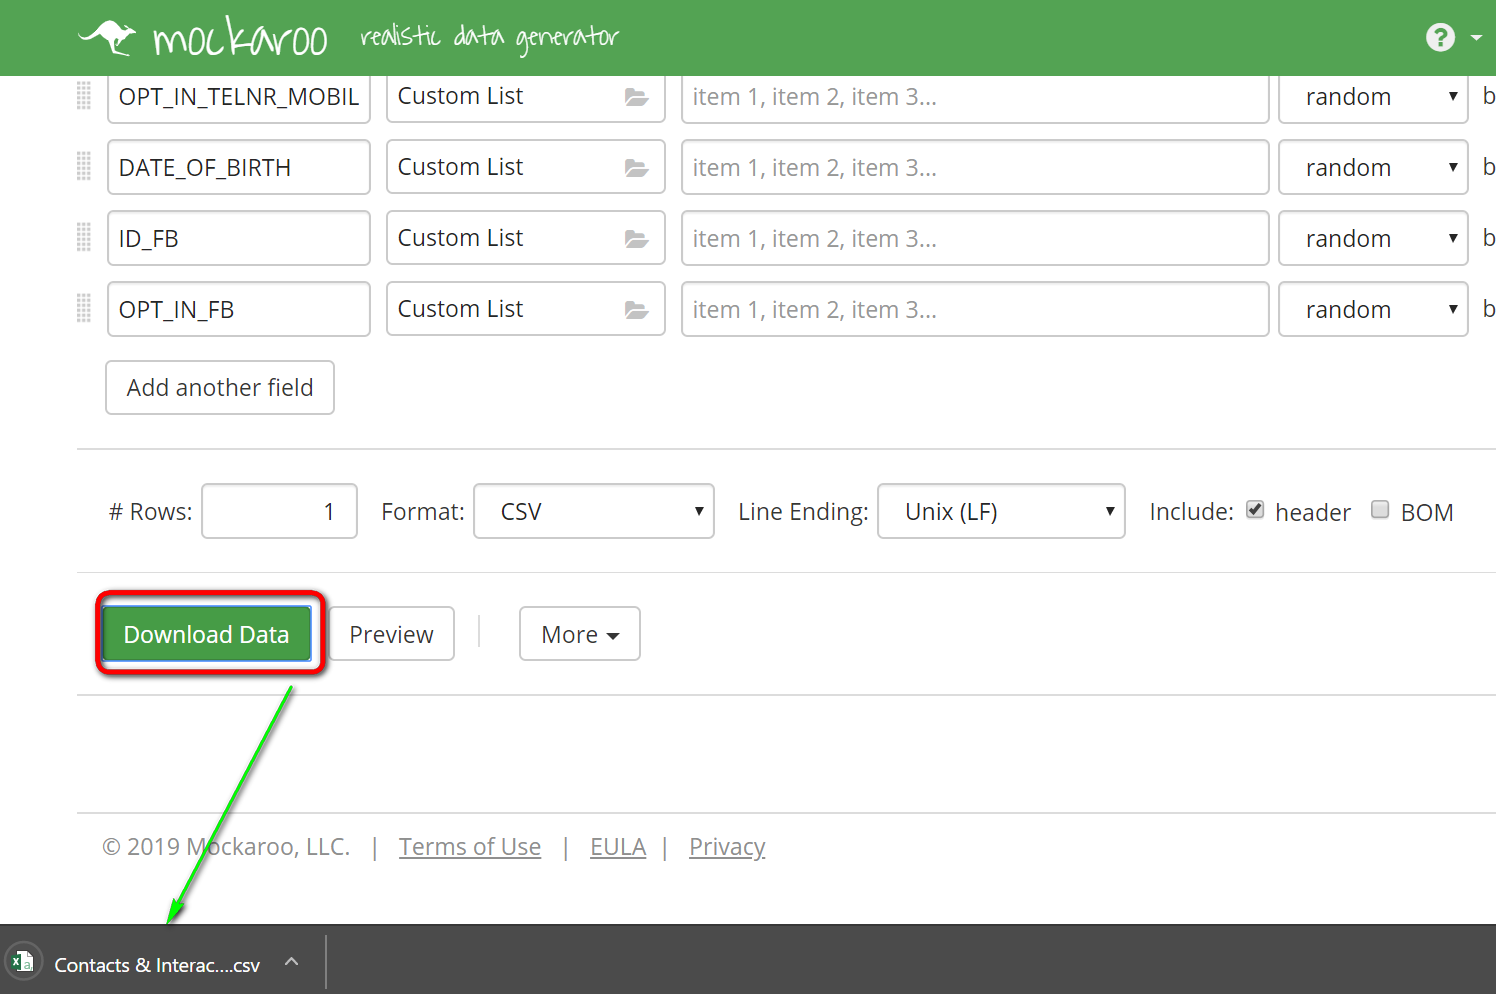
使用这个mock数据生成器网站https://www.mockaroo.com/b6790790,创建一个基于Marketing Cloud contact schema的csv文件。
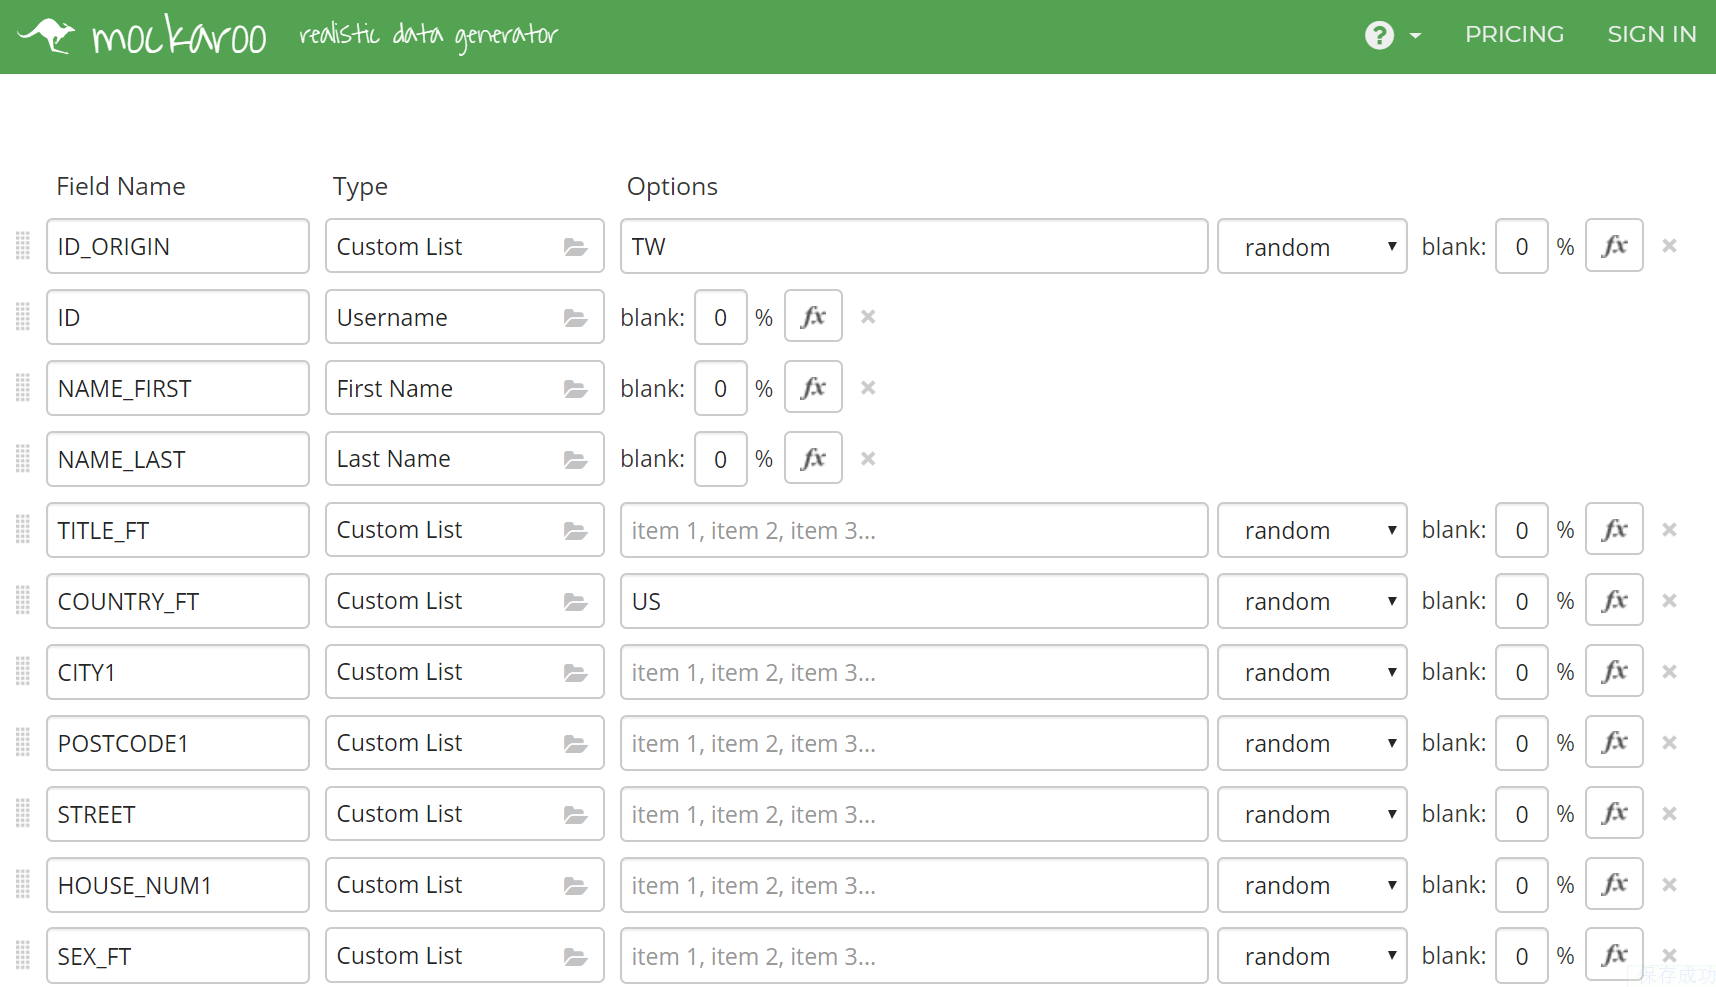
如果偷懒的话,每个contact字段的值都可以选择随机生成。点Download Data下载到本地。
打开csv文件之后,还可以用文本编辑器对值进行微调。

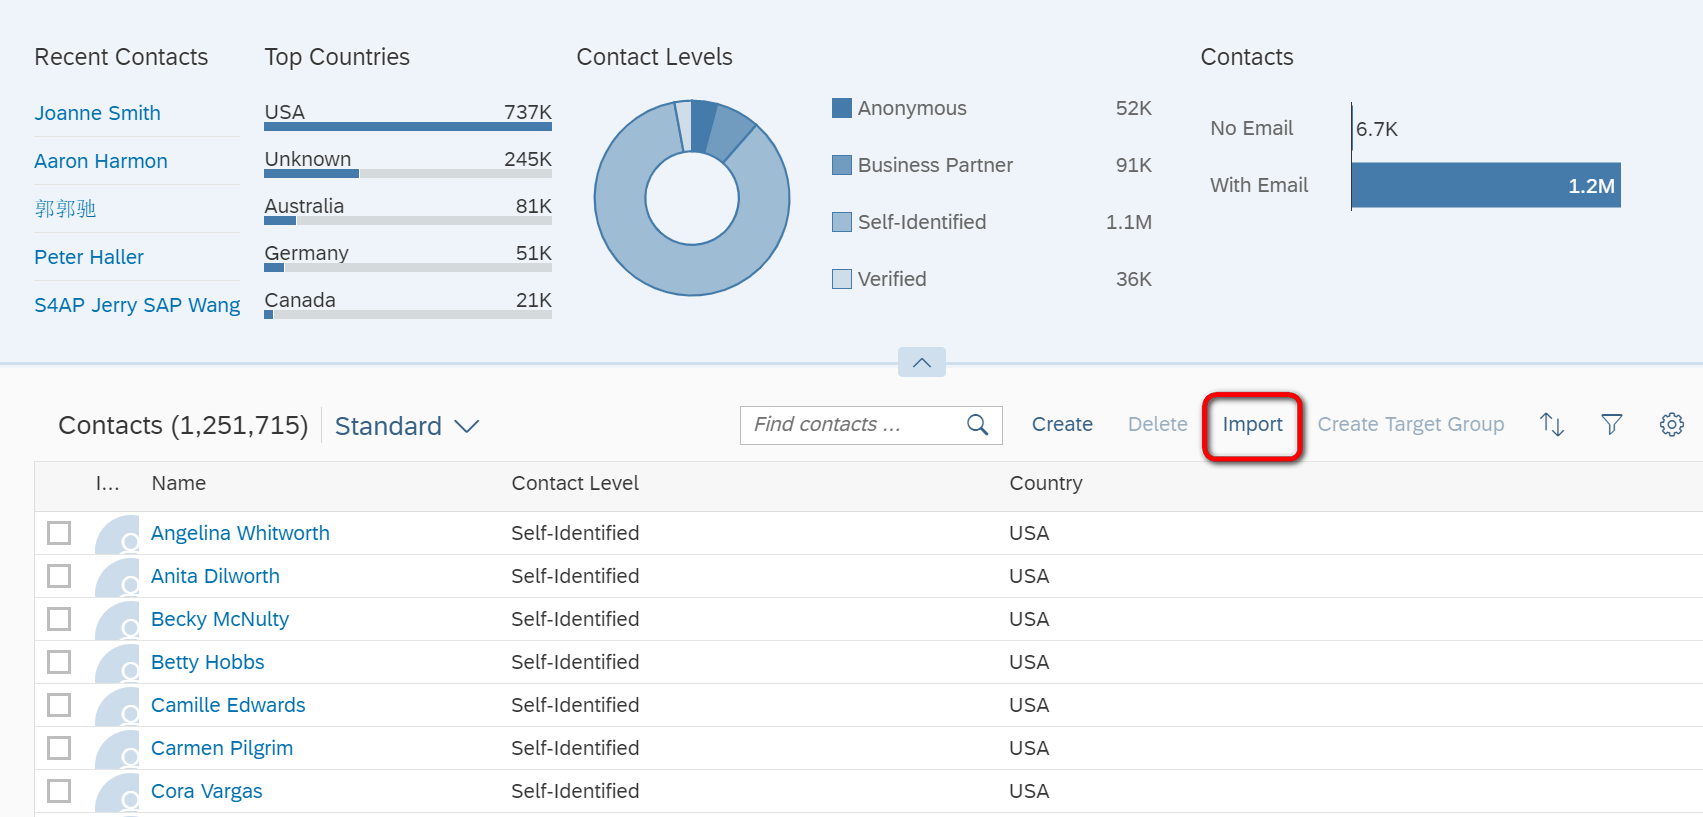
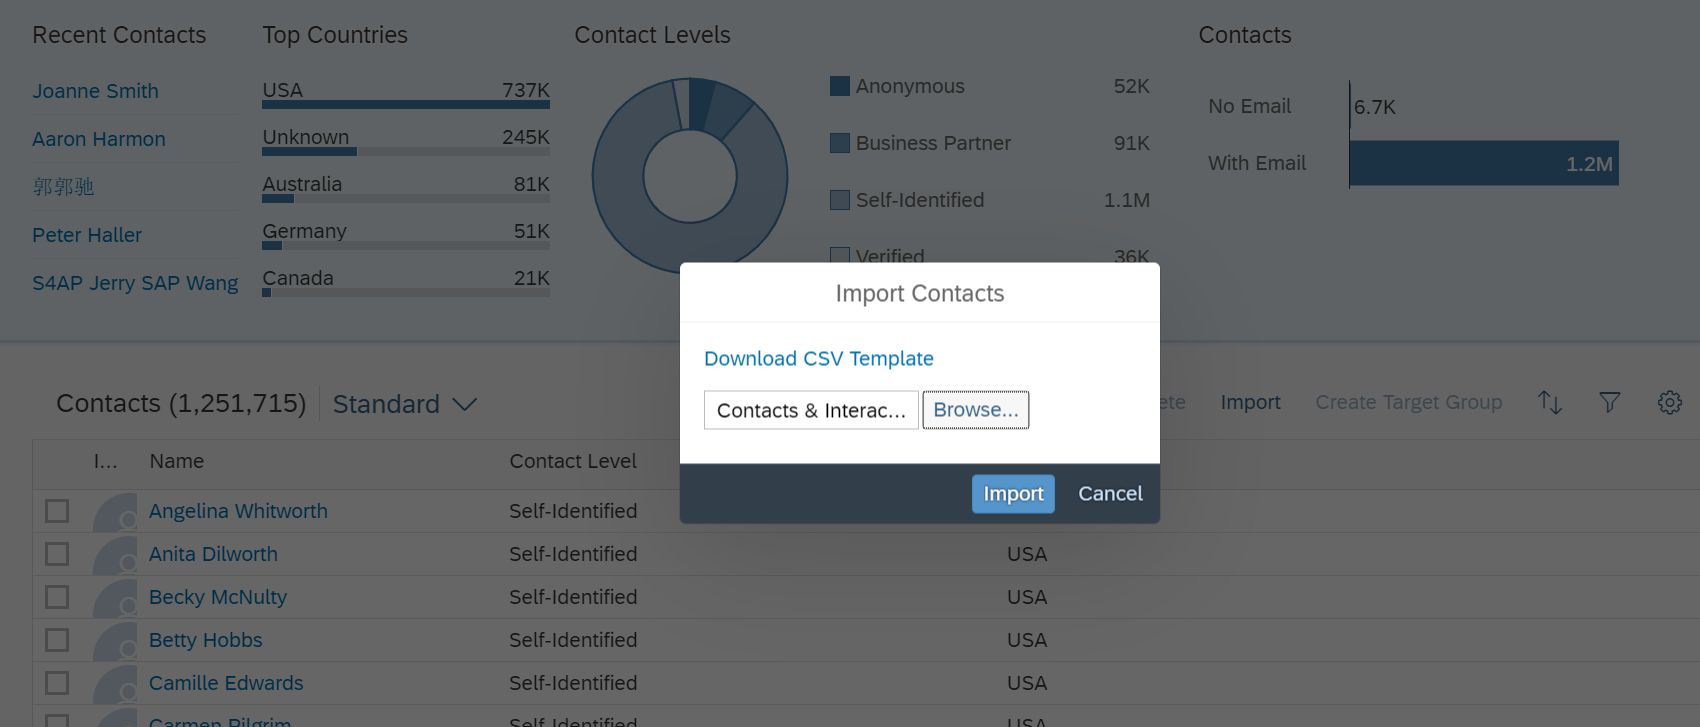
进入Marketing Cloud,点Import进行导入:
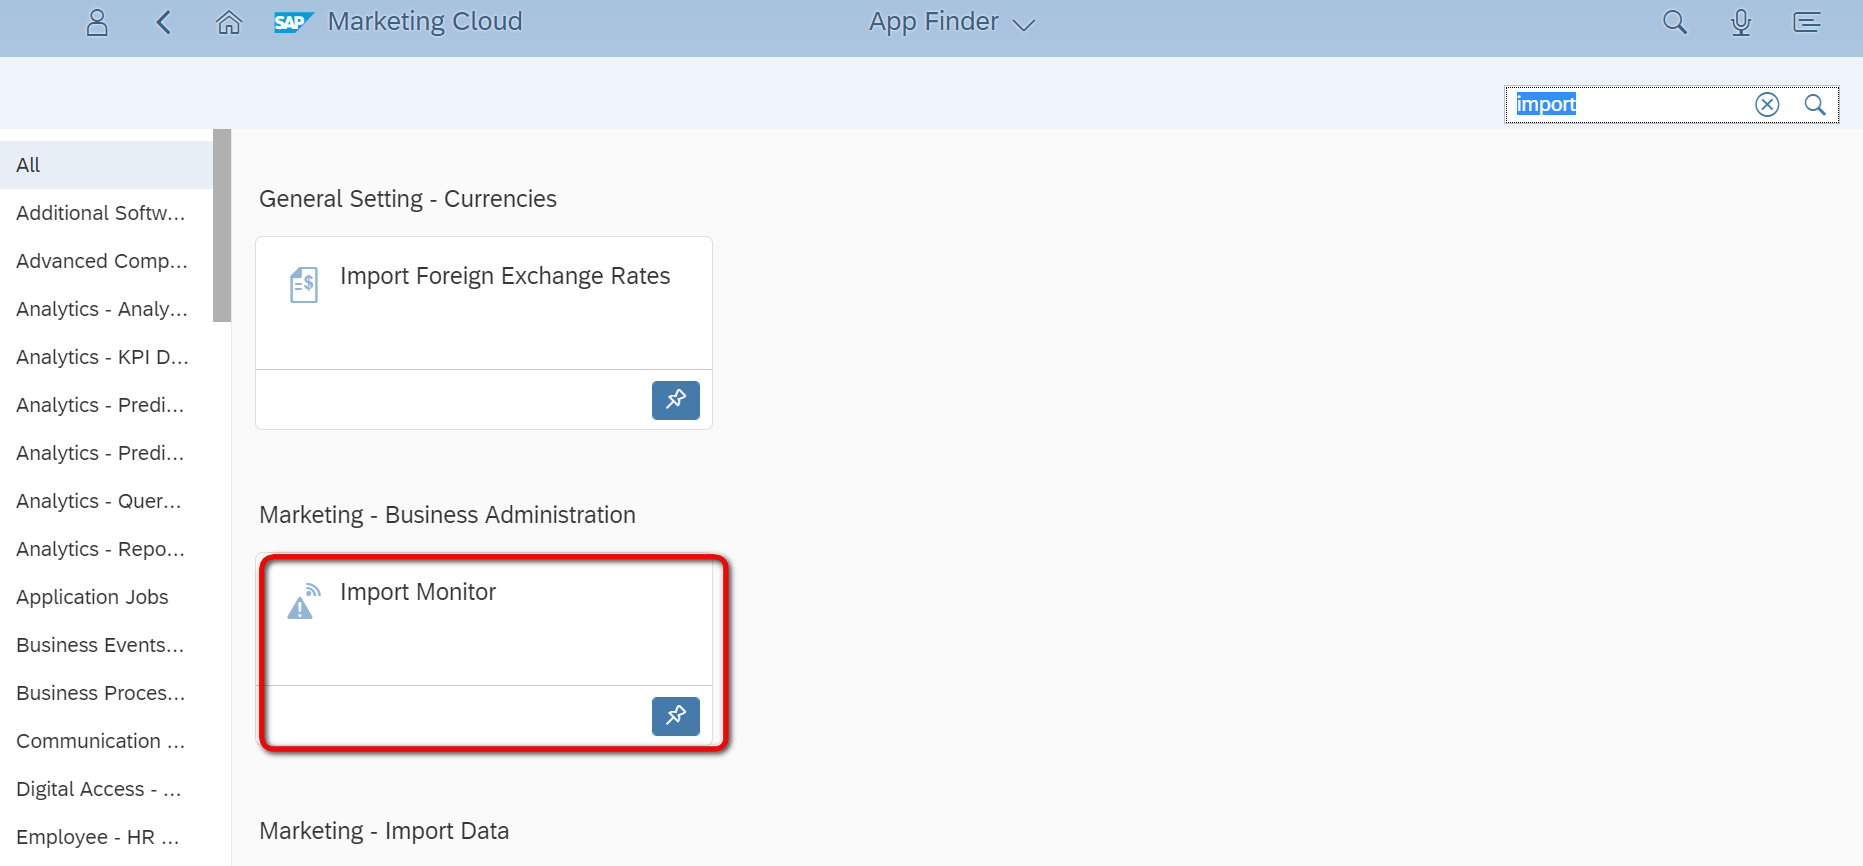
在business administration这个catalog里的import monitor对导入过程进行监控:

导入成功:


导入的数据可以在Marketing Cloud里使用了:

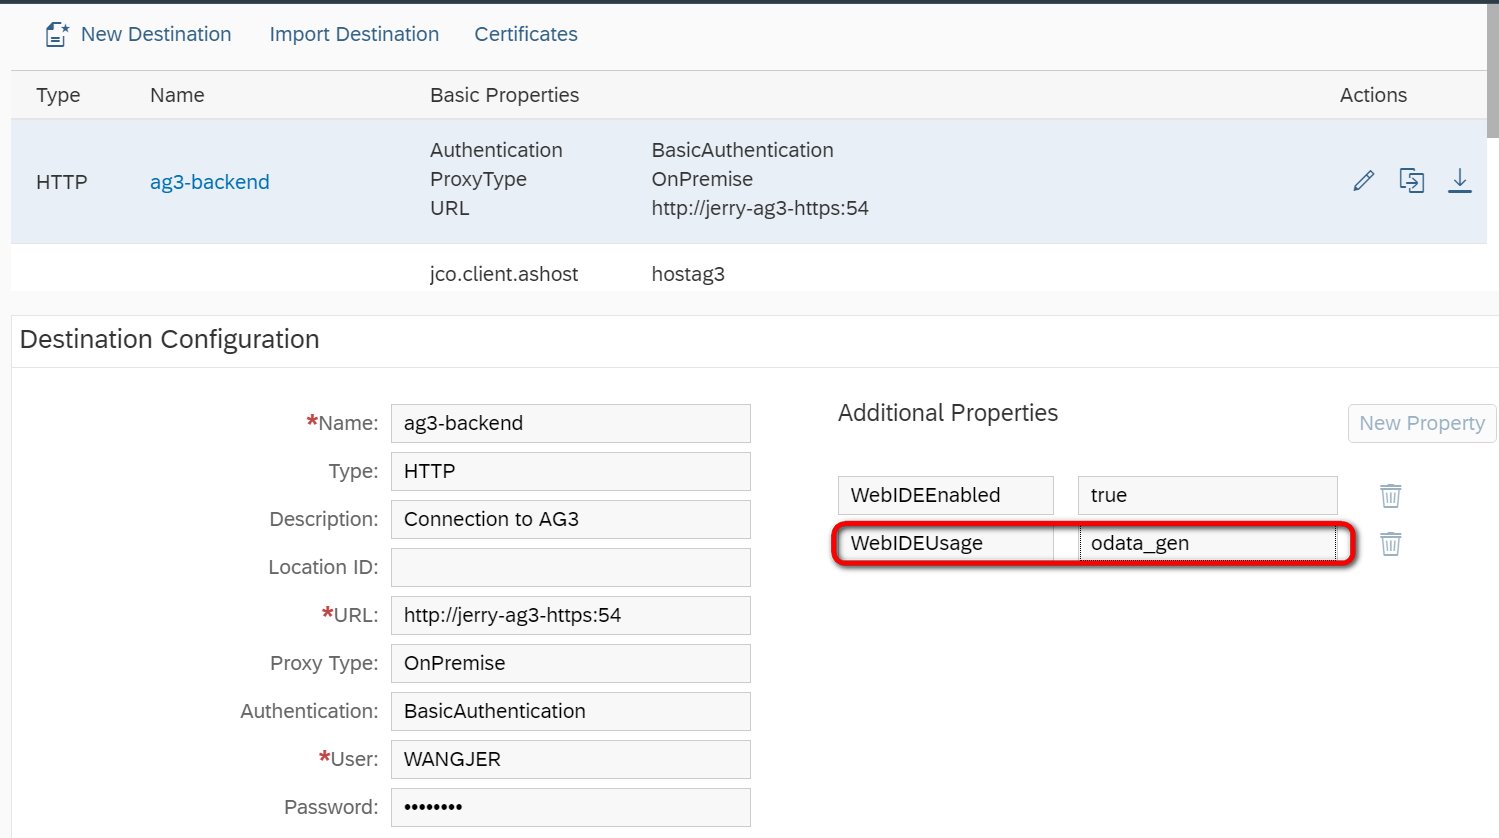
今天工作发现,SAP Cloud Platform上创建Destination维护的WebIDEUsage属性很有讲究:
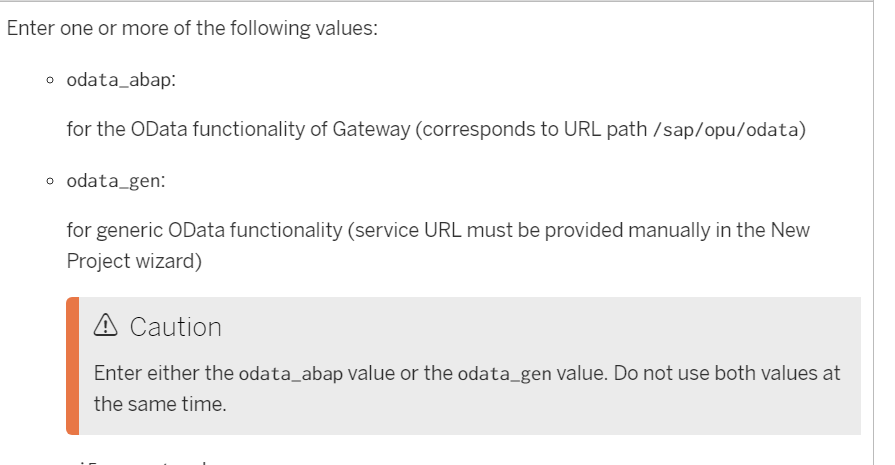
这个属性的枚举值:

看个例子。
我维护的是odata_gen:
根据标准文档描述,拥有odata_abap属性的Destination指向的是一个gateway系统,将在SAP webIDE创建UI5应用的向导中的service catalog界面出现,如下图所示:
意思是终端用户可以通过Service Catalog界面,任意选择该Destination指向的gateway系统上激活的service。

odata_abap: 目标是个SAP gateway系统

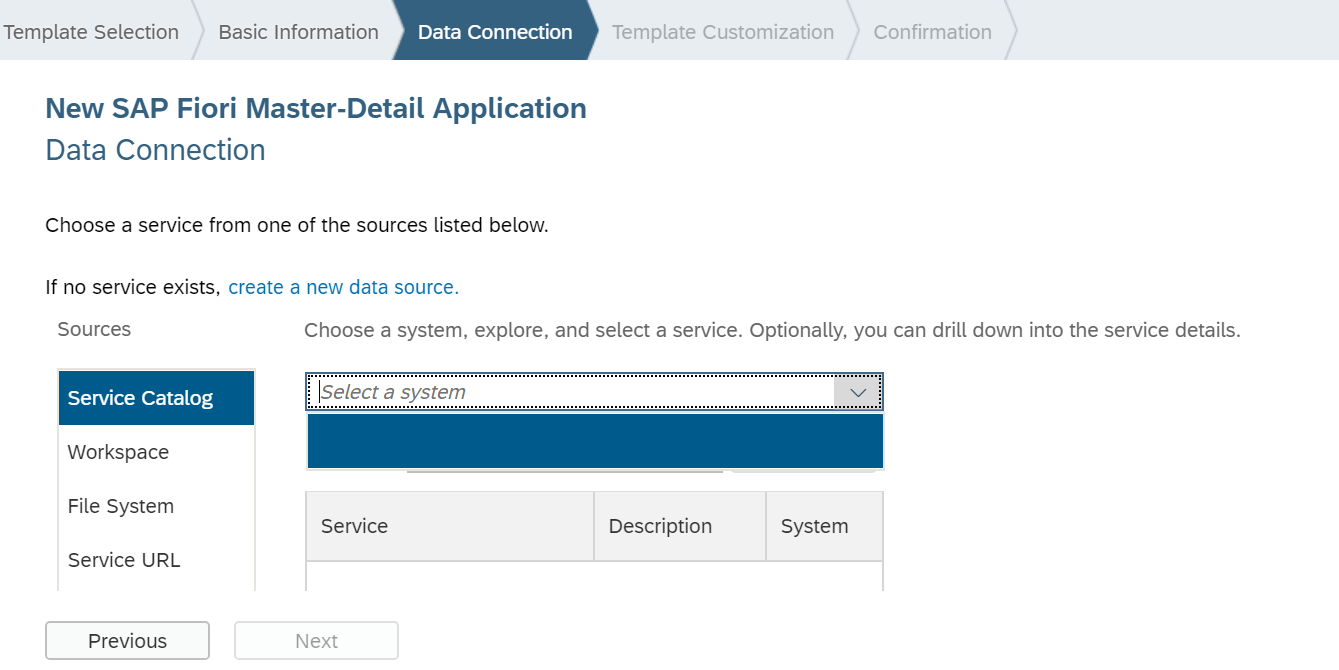
而另一方面,如果把Destination的属性改成odata_gen:
此时该Destination不会出现在Service Catalog的下拉菜单里:
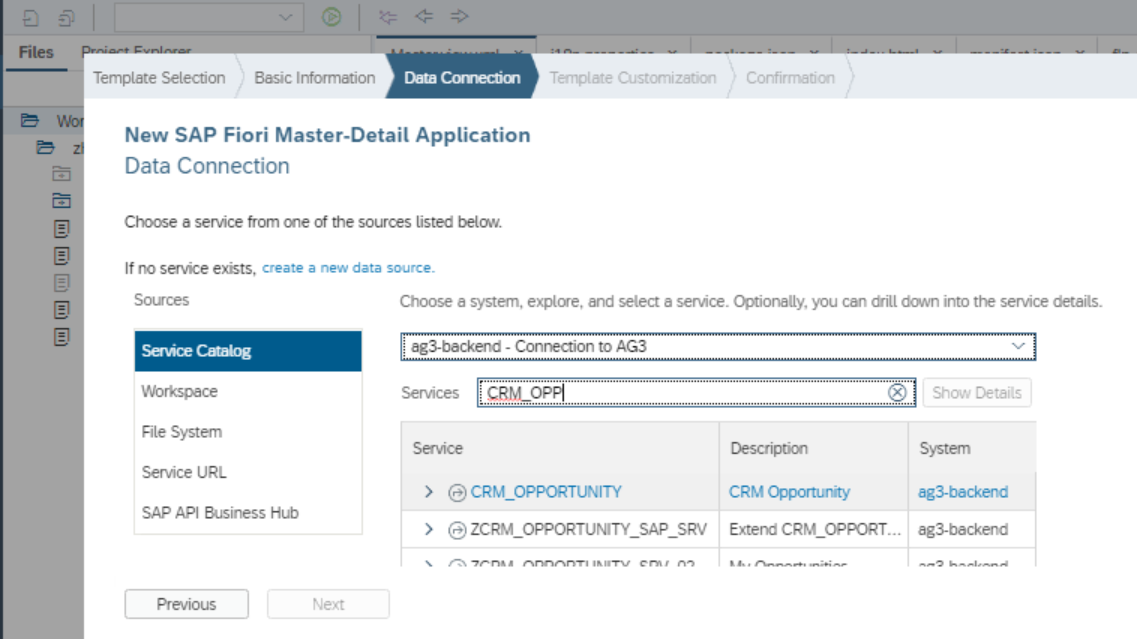
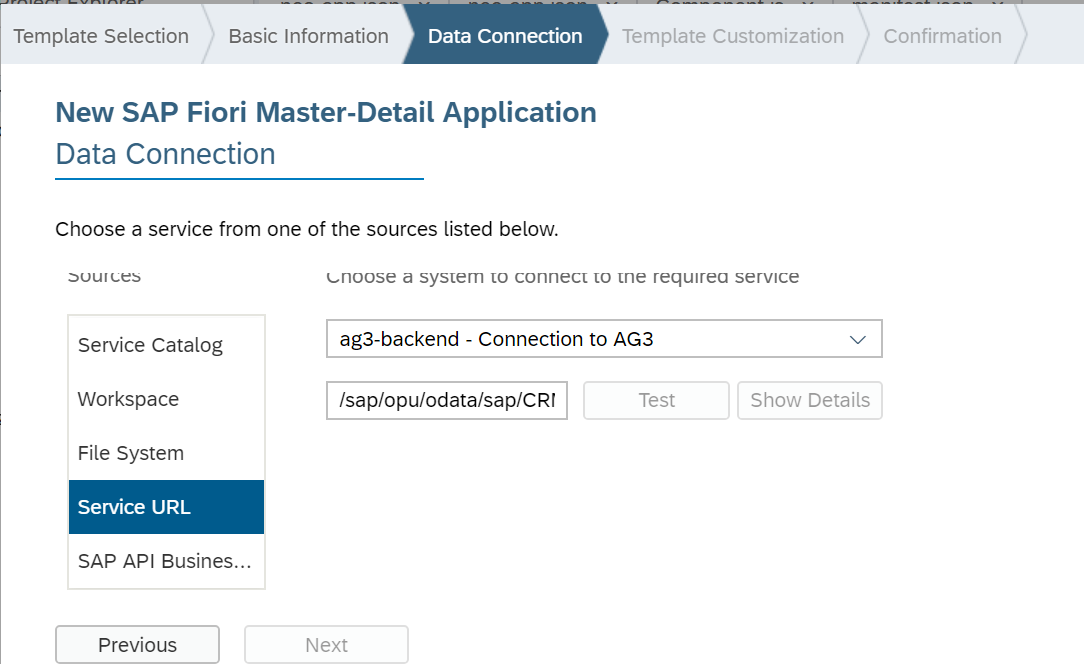
取而代之的是它会出现在service url里:
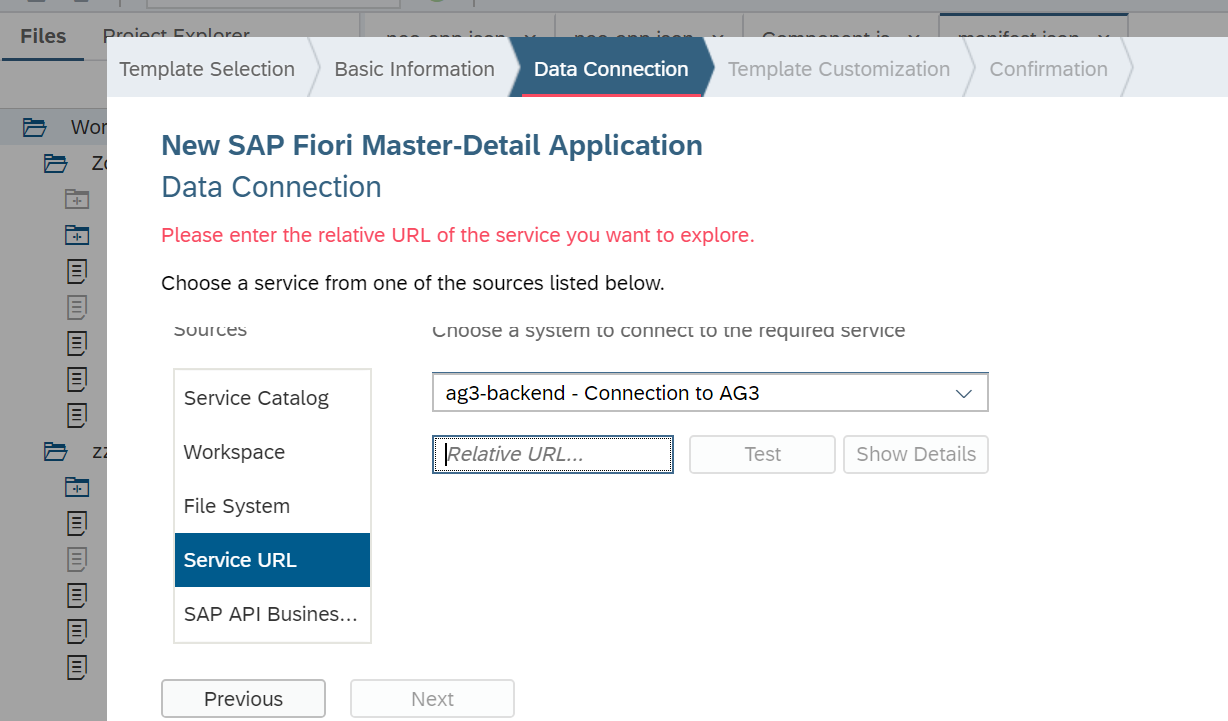
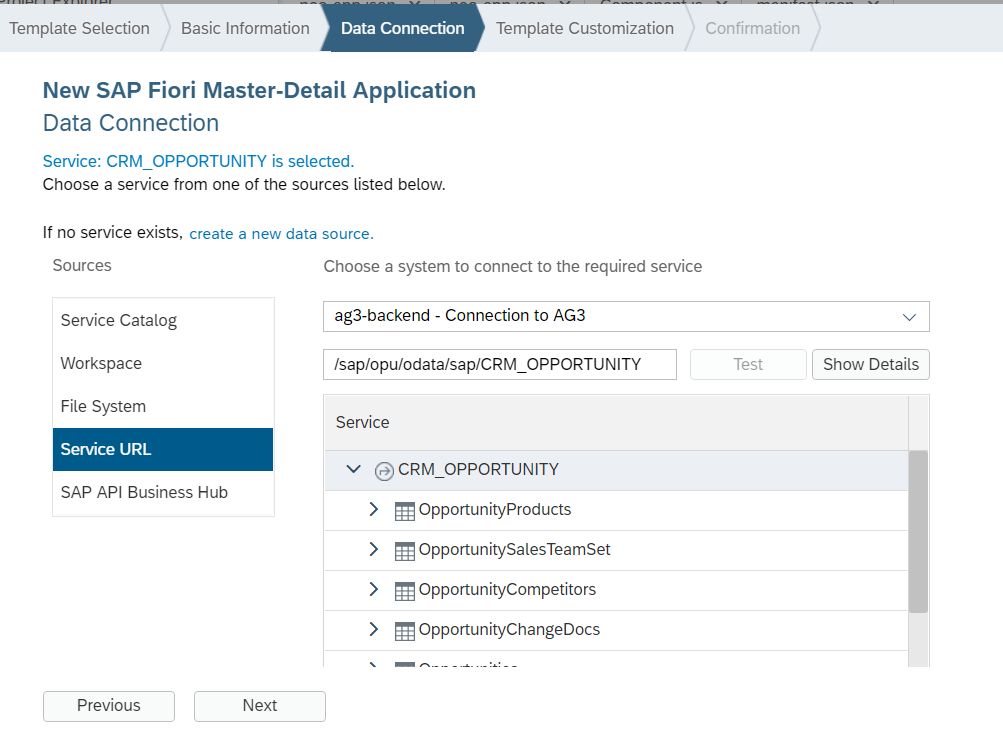
而我们必须手动维护某一个具体OData服务的地址:
/sap/opu/odata/sap/CRM_OPPORTUNITY

- 点赞
- 收藏
- 关注作者
评论(0)