DenseNet实战:tensorflow2.X版本,DenseNet121图像分类任务(大数据集)

摘要
本例提取了猫狗大战数据集中的部分数据做数据集,演示tensorflow2.0以上的版本如何使用Keras实现图像分类,分类的模型使用DenseNet121。本文实现的算法有一下几个特点:
1、自定义了图片加载方式,更加灵活高效,节省内存
2、加载模型的预训练权重,训练时间更短。
3、数据增强选用albumentations。
训练
第一步 导入需要的数据包,设置全局参数
import numpy as np
from tensorflow.keras.optimizers import Adam
import cv2
from tensorflow.keras.preprocessing.image import img_to_array
from sklearn.model_selection import train_test_split
from tensorflow.python.keras.callbacks import ModelCheckpoint, ReduceLROnPlateau
from tensorflow.keras.applications import DenseNet121
from tensorflow.keras.applications.resnet import ResNet50
import os
import tensorflow as tf
from tensorflow.python.keras.layers import Dense
from tensorflow.python.keras.models import Sequential


import albumentations
norm_size = 224
datapath = 'data/train'
EPOCHS = 20
INIT_LR = 1e-3
labelList = []
dicClass = {'cat': 0, 'dog': 1}
classnum = 2
batch_size = 4
np.random.seed(42)
这里可以看出tensorflow2.0以上的版本集成了Keras,我们在使用的时候就不必单独安装Keras了,以前的代码升级到tensorflow2.0以上的版本将keras前面加上tensorflow即可。
tensorflow说完了,再说明一下几个重要的全局参数:
-
norm_size = 100 设置输入图像的大小,图像的大小根据自己的需求设置,别太大,够用就行了(DenseNet121默认的图片尺寸是224×224,我们在这里并没有按照默认的)。
-
datapath = ‘data/train’ 设置图片存放的路径,在这里要说明一下如果图片很多,一定不要放在工程目录下,否则Pycharm加载工程的时候会浏览所有的图片,很慢很慢。
-
EPOCHS = 100 epochs的数量,关于epoch的设置多少合适,这个问题很纠结,一般情况设置300足够了,如果感觉没有训练好,再载入模型训练。
-
INIT_LR = 1e-3 学习率,一般情况从0.001开始逐渐降低,也别太小了到1e-6就可以了。
-
classnum = 2 类别数量,数据集有两个类别,所有就分为两类。
-
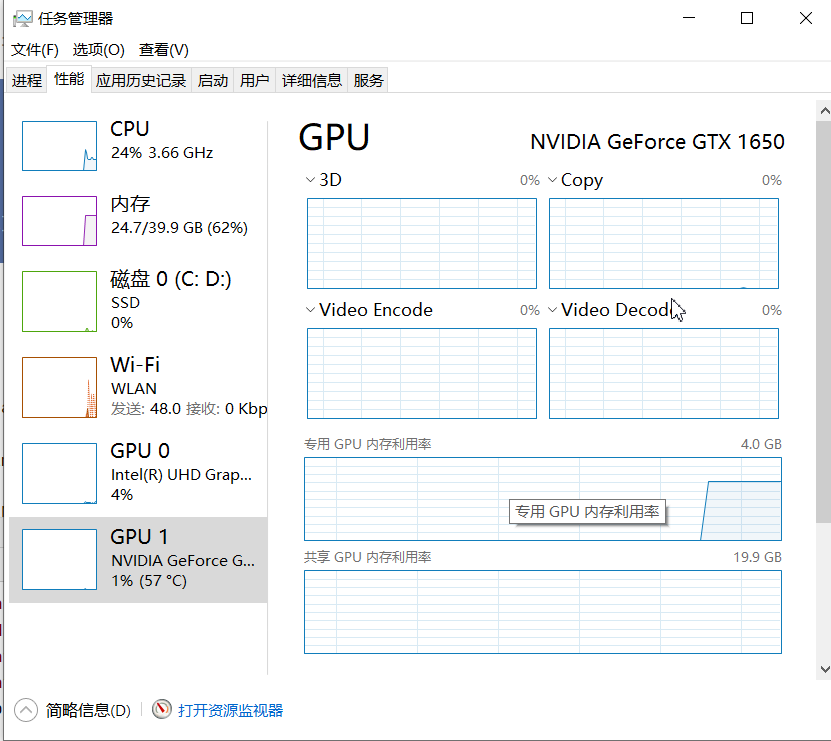
batch_size = 16 batchsize,根据硬件的情况和数据集的大小设置,太小了loss浮动太大,太大了收敛不好,根据经验来,一般设置为2的次方。windows可以通过任务管理器查看显存的占用情况。

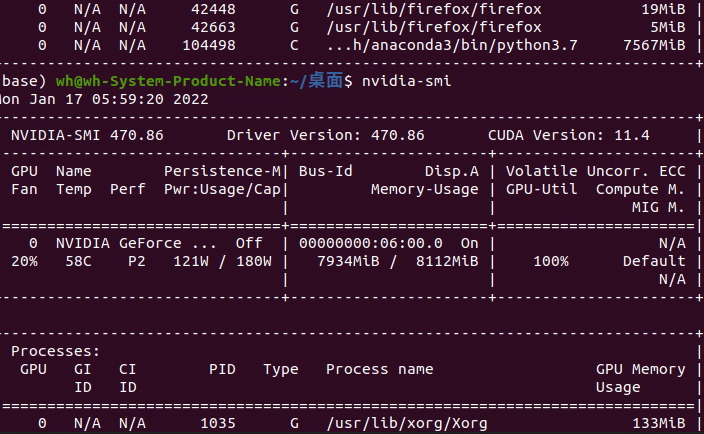
Ubuntu可以使用nvidia-smi查看显存的占用。
-
定义numpy.random的随机因子。这样就可以固定随机的index
第二步 加载图片
和以前做法不同的是,这里不再处理图片,而是只返回图片路径的list列表。
具体做法详见代码:
def loadImageData():
    imageList = []
    listImage = os.listdir(datapath)
    for img in listImage:
        labelName = dicClass[img.split('.')[0]]
        print(labelName)
        labelList.append(labelName)
        dataImgPath = os.path.join(datapath, img)
        print(dataImgPath)
        imageList.append(dataImgPath)
    return imageList


print("开始加载数据")
imageArr = loadImageData()
labelList = np.array(labelList)
print("加载数据完成")
print(labelList)
做好数据之后,我们需要切分训练集和测试集,一般按照4:1或者7:3的比例来切分。切分数据集使用train_test_split()方法,需要导入from sklearn.model_selection import train_test_split 包。例:
trainX, valX, trainY, valY = train_test_split(imageArr, labelList, test_size=0.2, random_state=42)
第三步 图像增强
train_transform = albumentations.Compose([
        albumentations.OneOf([
            albumentations.RandomGamma(gamma_limit=(60, 120), p=0.9),
            albumentations.RandomBrightnessContrast(brightness_limit=0.2, contrast_limit=0.2, p=0.9),
            albumentations.CLAHE(clip_limit=4.0, tile_grid_size=(4, 4), p=0.9),
        ]),
        albumentations.OneOf([
            albumentations.Blur(blur_limit=4, p=1),
            albumentations.MotionBlur(blur_limit=4, p=1),
        ], p=0.5),
        albumentations.HorizontalFlip(p=0.5),
        albumentations.ShiftScaleRotate(shift_limit=0.2, scale_limit=0.2, rotate_limit=20,
                                        interpolation=cv2.INTER_LINEAR, border_mode=cv2.BORDER_CONSTANT, p=1),
        albumentations.Normalize(mean=(0.485, 0.456, 0.406), std=(0.229, 0.224, 0.225), max_pixel_value=255.0, p=1.0)
    ])
这个随意写的,具体的设置可以参考我以前写的文章:
图像增强库Albumentations使用总结_AI浩-CSDN博客_albumentations
第四步 定义图像处理的方法
generator的主要作用是处理图像,并迭代的方式返回一个batch的图像以及对应的label。
思路:
在while循环:
-
初始化input_samples和input_labels,连个list分别用来存放image和image对应的标签。
-
循环batch_size次数:
-
- 随机一个index
- 分别从file_pathList和labels,得到图片的路径和对应的label
- 读取图片
- 如果是训练就增强
- resize图片
- 将image转数组
- 将图像和label分别放到input_samples和input_labels
-
将input_samples缩放到0-1之间,将input_labels转为数组
-
返回一次迭代
def generator(file_pathList,labels,batch_size,train_action=False):
    L = len(file_pathList)
    while True:
        input_labels = []
        input_samples = []
        for row in range(0, batch_size):
            temp = np.random.randint(0, L)
            X = file_pathList[temp]
            Y = labels[temp]
            image = cv2.imdecode(np.fromfile(X, dtype=np.uint8), -1)
            if train_action:
                image=train_transform(image=image)['image']
            image = cv2.resize(image, (norm_size, norm_size), interpolation=cv2.INTER_LANCZOS4)
            image = img_to_array(image)
            input_samples.append(image)
            input_labels.append(Y)
        batch_x = np.asarray(input_samples)/255.0
        batch_y = np.asarray(input_labels)
        yield (batch_x, batch_y)
第五步 保留最好的模型和动态设置学习率
ModelCheckpoint:用来保存成绩最好的模型。
语法如下:
keras.callbacks.ModelCheckpoint(filepath, monitor='val_loss', verbose=0, save_best_only=False, save_weights_only=False, mode='auto', period=1)
该回调函数将在每个epoch后保存模型到filepath
filepath可以是格式化的字符串,里面的占位符将会被epoch值和传入on_epoch_end的logs关键字所填入
例如,filepath若为weights.{epoch:02d-{val_loss:.2f}}.hdf5,则会生成对应epoch和验证集loss的多个文件。
参数
- filename:字符串,保存模型的路径
- monitor:需要监视的值
- verbose:信息展示模式,0或1
- save_best_only:当设置为True时,将只保存在验证集上性能最好的模型
- mode:‘auto’,‘min’,‘max’之一,在save_best_only=True时决定性能最佳模型的评判准则,例如,当监测值为val_acc时,模式应为max,当检测值为val_loss时,模式应为min。在auto模式下,评价准则由被监测值的名字自动推断。
- save_weights_only:若设置为True,则只保存模型权重,否则将保存整个模型(包括模型结构,配置信息等)
- period:CheckPoint之间的间隔的epoch数
ReduceLROnPlateau:当评价指标不在提升时,减少学习率,语法如下:
keras.callbacks.ReduceLROnPlateau(monitor='val_loss', factor=0.1, patience=10, verbose=0, mode='auto', epsilon=0.0001, cooldown=0, min_lr=0)
当学习停滞时,减少2倍或10倍的学习率常常能获得较好的效果。该回调函数检测指标的情况,如果在patience个epoch中看不到模型性能提升,则减少学习率
参数
- monitor:被监测的量
- factor:每次减少学习率的因子,学习率将以lr = lr*factor的形式被减少
- patience:当patience个epoch过去而模型性能不提升时,学习率减少的动作会被触发
- mode:‘auto’,‘min’,‘max’之一,在min模式下,如果检测值触发学习率减少。在max模式下,当检测值不再上升则触发学习率减少。
- epsilon:阈值,用来确定是否进入检测值的“平原区”
- cooldown:学习率减少后,会经过cooldown个epoch才重新进行正常操作
- min_lr:学习率的下限
本例代码如下:
checkpointer = ModelCheckpoint(filepath='weights_best_Deset_model.hdf5',
                               monitor='val_accuracy', verbose=1, save_best_only=True, mode='max')

reduce = ReduceLROnPlateau(monitor='val_accuracy', patience=10,
                           verbose=1,
                           factor=0.5,
                           min_lr=1e-6)
第六步 建立模型并训练
#model = DenseNet121(weights="imagenet",input_shape=(224,224,3),include_top=False, classes=classnum) #include_top=False 去掉最后的全连接层
model = Sequential()
model.add(DenseNet121(include_top=False, pooling='avg', weights='imagenet'))
model.add(Dense(classnum, activation='softmax'))
# 如果想指定classes,有两个条件:include_top:True, weights:None。否则无法指定classes
optimizer = Adam(learning_rate=INIT_LR)
model.compile(optimizer=optimizer, loss='sparse_categorical_crossentropy', metrics=['accuracy'])

history = model.fit(generator(trainX,trainY,batch_size,train_action=True),
                              steps_per_epoch=len(trainX) / batch_size,
                              validation_data=generator(valX,valY,batch_size,train_action=False),
                              epochs=EPOCHS,
                              validation_steps=len(valX) / batch_size,
                              callbacks=[checkpointer, reduce])
model.save('my_model_Desnet.h5')
上篇博文中没有使用预训练模型,这篇在使用的时候,出现了错误,经过查阅资料发现了这种方式是错误的,如下:
#model = DenseNet121(weights="imagenet",input_shape=(224,224,3),include_top=False, classes=classnum) #include_top=False 去掉最后的全连接层
如果想指定classes,有两个条件:include_top:True, weights:None。否则无法指定classes。
所以指定classes就不能用预训练了,所以采用另一种方式:
model = Sequential()
model.add(DenseNet121(include_top=False, pooling='avg', weights='imagenet'))
model.add(Dense(classnum, activation='softmax'))
另外,上篇文章使用的是fit_generator,新版本中fit支持generator方式,所以改为fit。
第六步 保留训练结果,并将其生成图片
loss_trend_graph_path = r"WW_loss.jpg"
acc_trend_graph_path = r"WW_acc.jpg"
import matplotlib.pyplot as plt

print("Now,we start drawing the loss and acc trends graph...")
# summarize history for accuracy
fig = plt.figure(1)
plt.plot(history.history["accuracy"])
plt.plot(history.history["val_accuracy"])
plt.title("Model accuracy")
plt.ylabel("accuracy")
plt.xlabel("epoch")
plt.legend(["train", "test"], loc="upper left")
plt.savefig(acc_trend_graph_path)
plt.close(1)
# summarize history for loss
fig = plt.figure(2)
plt.plot(history.history["loss"])
plt.plot(history.history["val_loss"])
plt.title("Model loss")
plt.ylabel("loss")
plt.xlabel("epoch")
plt.legend(["train", "test"], loc="upper left")
plt.savefig(loss_trend_graph_path)
plt.close(2)
print("We are done, everything seems OK...")
# #windows系统设置10关机
os.system("shutdown -s -t 10")
测试部分
单张图片预测
1、导入依赖
import cv2
import numpy as np
from tensorflow.keras.preprocessing.image import img_to_array
from  tensorflow.keras.models import load_model
import time
2、设置全局参数
这里注意,字典的顺序和训练时的顺序保持一致
norm_size=224
imagelist=[]
emotion_labels = {
    0: 'cat',
    1: 'dog'
}
3、加载模型
emotion_classifier=load_model("my_model_Desnet.h5")
t1=time.time()
4、处理图片
处理图片的逻辑和训练集也类似,步骤:
- 读取图片
- 将图片resize为norm_size×norm_size大小。
- 将图片转为数组。
- 放到imagelist中。
- imagelist整体除以255,把数值缩放到0到1之间。
image = cv2.imdecode(np.fromfile('test/8.jpg', dtype=np.uint8), -1)
# load the image, pre-process it, and store it in the data list
image = cv2.resize(image, (norm_size, norm_size), interpolation=cv2.INTER_LANCZOS4)
image = img_to_array(image)
imagelist.append(image)
imageList = np.array(imagelist, dtype="float") / 255.0
5、预测类别
预测类别,并获取最高类别的index。
pre=np.argmax(emotion_classifier.predict(imageList))
emotion = emotion_labels[pre]
t2=time.time()
print(emotion)
t3=t2-t1
print(t3)
批量预测
批量预测和单张预测的差别主要在读取数据上,以及预测完成后,对预测类别的处理。其他的没有变化。
步骤:
- 加载模型。
- 定义测试集的目录
- 获取目录下的图片
- 循环循环图片
- 读取图片
- resize图片
- 转数组
- 放到imageList中
- 缩放到0到255.
- 预测
emotion_classifier=load_model("my_model_Desnet.h5")
t1=time.time()
predict_dir = 'data/test'
test11 = os.listdir(predict_dir)
for file in test11:
    filepath=os.path.join(predict_dir,file)

    image = cv2.imdecode(np.fromfile(filepath, dtype=np.uint8), -1)
    # load the image, pre-process it, and store it in the data list
    image = cv2.resize(image, (norm_size, norm_size), interpolation=cv2.INTER_LANCZOS4)
    image = img_to_array(image)
    imagelist.append(image)
imageList = np.array(imagelist, dtype="float") / 255.0
out = emotion_classifier.predict(imageList)
print(out)
pre = [np.argmax(i) for i in out]
print(pre)
完整代码:
https://download.csdn.net/download/hhhhhhhhhhwwwwwwwwww/76935225

- 点赞
- 收藏
- 关注作者
评论(0)