[Linux][2_远程操作]
Putty
PuTTY: a free SSH and Telnet client
PuTTY is a free implementation of SSH and Telnet for Windows and Unix platforms, along with an xterm terminal emulator. It is written and maintained primarily by Simon Tatham.
进行Putty安装
在Putty官网下载安装包。

在安装界面点击Next进行下一步,进行到如下界面时按照默认选项即可。

最后点击Finish完成安装
打开Putty进行配置
依次点击1, 点击默认设置 2, 加载设置 3, 在Host Name中输入远程Linux的IP地址 4, 保存设置

在弹出的窗口中点击Accept

在窗口输入用户名和密码后出现如下界面代表登录成功

WinSCP
以下关于WinSCP的简介和安装教程均转载自WinSCP官网(https://winscp.net/)
WinSCP is an open source free SFTP client, FTP client, WebDAV client, S3 client and SCP client for Windows. Its main function is file transfer between a local and a remote computer. Beyond this, WinSCP offers scripting and basic file manager functionality.
Installation
1, Open the installation program by double clicking on its icon.
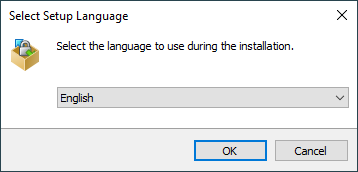
2, If your Windows language is not supported by the installer, select an alternative language you want to use (both for installation and later when using WinSCP).

1, On the License Agreement screen click Accept after reviewing the license.
2, You will be prompted to select a setup type. For a basic setup, choose Typical installation.
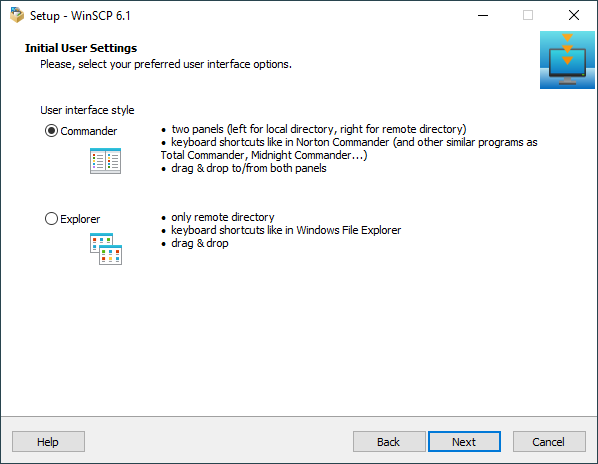
3, Then you will be prompted for Initial User Settings. This allows you to select user interface style. If you have used (and enjoyed) file managers like Total Commander, Altap Salamander or Norton Commander before, keep default Commander interface. Otherwise you will probably be more familiar with Explorer interface.

1, After you select the interface, the Ready to Install screen opens. On this screen, you can review the installation options you’ve selected. Click Install to start the installation.
2, A brief installation process will take place. You may have to restart Windows File Explorer or your computer. If you choose not to restart, some WinSCP functions may not be available until you do so.
- 点赞
- 收藏
- 关注作者


评论(0)