ESP8266和ROS收发消息读取模拟量控制LED亮度ESP8266和ROS调试一些问题汇总

【摘要】 如果需要ESP8266和ROS通信先阅读如下博客:
ESP8266和ROS调试一些问题汇总 https://zhangrelay.blog.csdn.net/article/details/108762844
这里测试环境melodic和noetic都可行。
源代码如下:
#if (ARDUINO >= 100) #include <Arduino....
如果需要ESP8266和ROS通信先阅读如下博客:
-
ESP8266和ROS调试一些问题汇总
这里测试环境melodic和noetic都可行。
源代码如下:
-
#if (ARDUINO >= 100)
-
#include <Arduino.h>
-
#else
-
#include <WProgram.h>
-
#endif
-
#include <ESP8266WiFi.h>
-
#include <ros.h>
-
#include <std_msgs/String.h>
-
#include <std_msgs/Int16.h>
-
#include <std_msgs/Float64.h>
-
#include <Servo.h>
-
#include <rosserial_arduino/Adc.h>
-
-
//
-
// WiFi Definitions //
-
//
-
const char* ssid = "HUAWEI_WiFi";
-
const char* password = "cslgcslg";
-
-
IPAddress server(192, 168, 3, 153); // ip of your ROS server
-
IPAddress ip_address;
-
int status = WL_IDLE_STATUS;
-
-
WiFiClient client;
-
-
class WiFiHardware {
-
-
public:
-
WiFiHardware() {};
-
-
void init() {
-
// do your initialization here. this probably includes TCP server/client setup
-
client.connect(server, 11411);
-
}
-
-
// read a byte from the serial port. -1 = failure
-
int read() {
-
// implement this method so that it reads a byte from the TCP connection and returns it
-
// you may return -1 is there is an error; for example if the TCP connection is not open
-
return client.read(); //will return -1 when it will works
-
}
-
-
// write data to the connection to ROS
-
void write(uint8_t* data, int length) {
-
// implement this so that it takes the arguments and writes or prints them to the TCP connection
-
for(int i=0; i<length; i++)
-
client.write(data[i]);
-
}
-
-
// returns milliseconds since start of program
-
unsigned long time() {
-
return millis(); // easy; did this one for you
-
}
-
};
-
-
Servo s;
-
int i;
-
-
void chatterCallback(const std_msgs::String& msg) {
-
i = atoi(msg.data);
-
s.write(i);
-
}
-
-
-
std_msgs::String str_msg;
-
rosserial_arduino::Adc adc_msg;
-
ros::Publisher chatter("chatter", &str_msg);
-
ros::Publisher p("adc", &adc_msg);
-
ros::Subscriber<std_msgs::String> sub("message", &chatterCallback);
-
ros::NodeHandle_<WiFiHardware> nh;
-
char hello[20] = "ESP8266 wifi alive!";
-
-
-
void setupWiFi()
-
{
-
WiFi.begin(ssid, password);
-
Serial.print("\nConnecting to "); Serial.println(ssid);
-
uint8_t i = 0;
-
while (WiFi.status() != WL_CONNECTED && i++ < 20) delay(500);
-
if(i == 21){
-
Serial.print("Could not connect to"); Serial.println(ssid);
-
while(1) delay(500);
-
}
-
Serial.print("Ready! Use ");
-
Serial.print(WiFi.localIP());
-
Serial.println(" to access client");
-
}
-
-
int averageAnalog(int pin){
-
int v=0;
-
for(int i=0; i<2; i++) v+= analogRead(pin);
-
return v/2;
-
}
-
-
void setup() {
-
Serial.begin(115200);
-
setupWiFi();
-
delay(2000);
-
s.attach(13); // PWM pin
-
nh.initNode();
-
nh.advertise(chatter);
-
nh.subscribe(sub);
-
nh.advertise(p);
-
}
-
-
void loop() {
-
str_msg.data = hello;
-
chatter.publish( &str_msg );
-
adc_msg.adc0 = averageAnalog( 0 );
-
p.publish( &adc_msg );
-
nh.spinOnce();
-
delay( 10 );
-
}
简单解释一下,发布节点chatter,adc,订阅节点message。
- message提取数值作为PWM波送到13脚控制LED亮度(占空比);
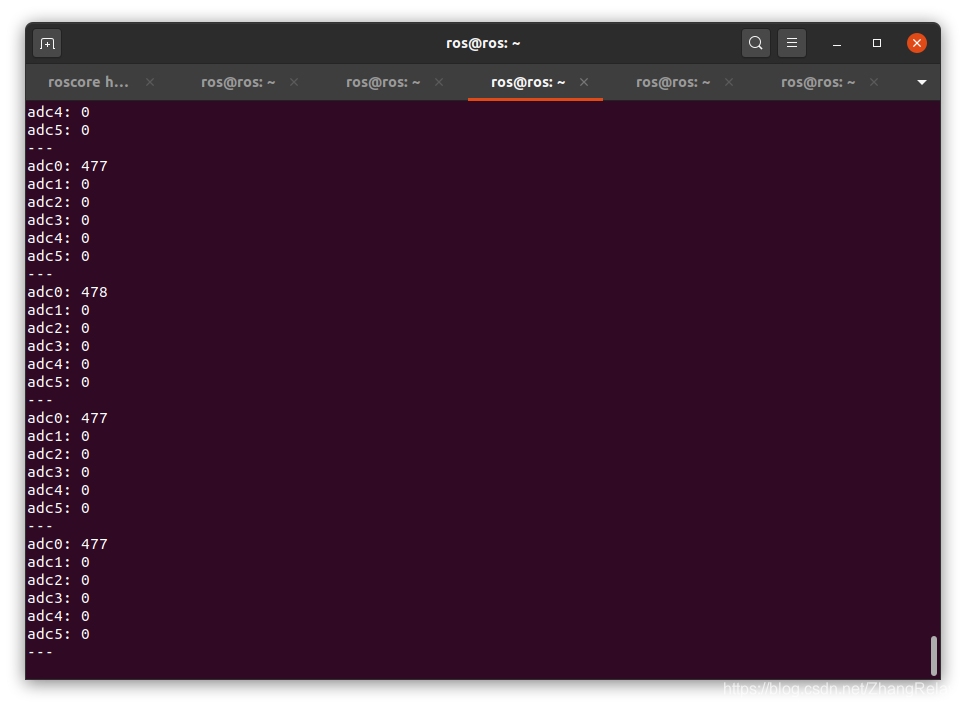
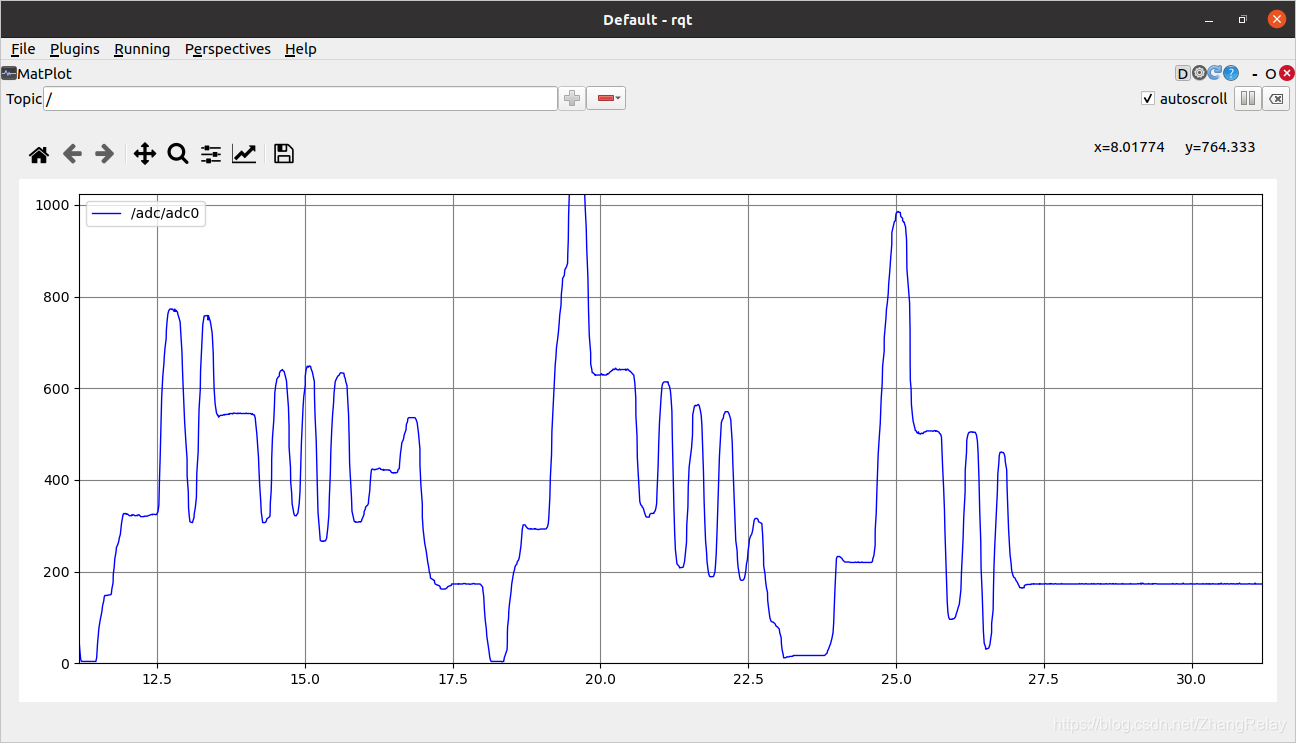
- adc采集模拟量绘制曲线;
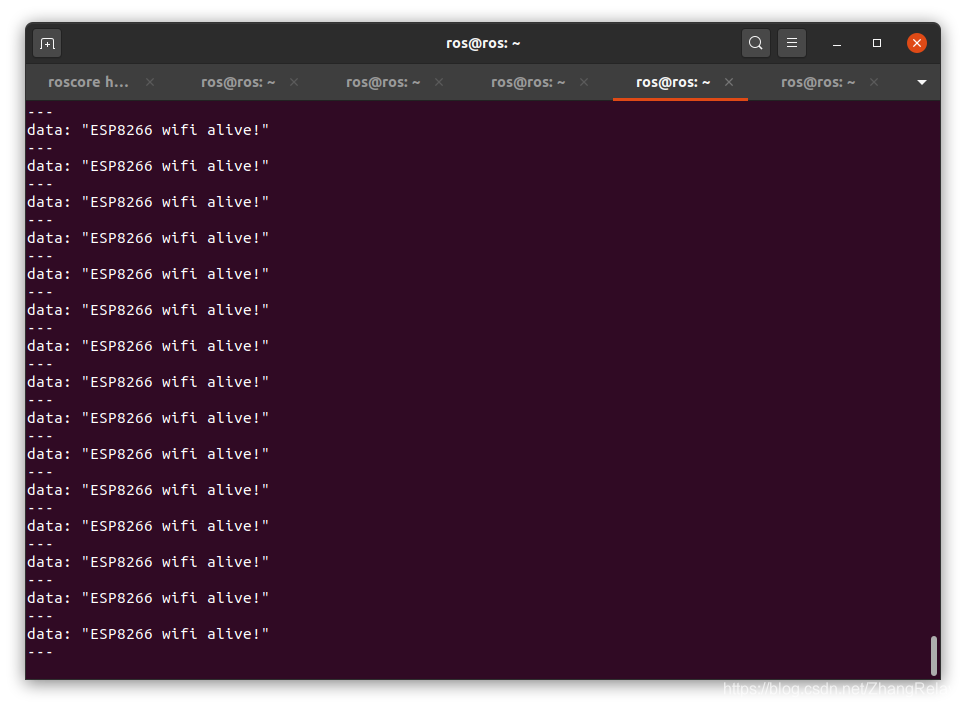
- chatter只用作发布消息,告知主机连接成功。
使用如下命令启动wemos D1和ROS:
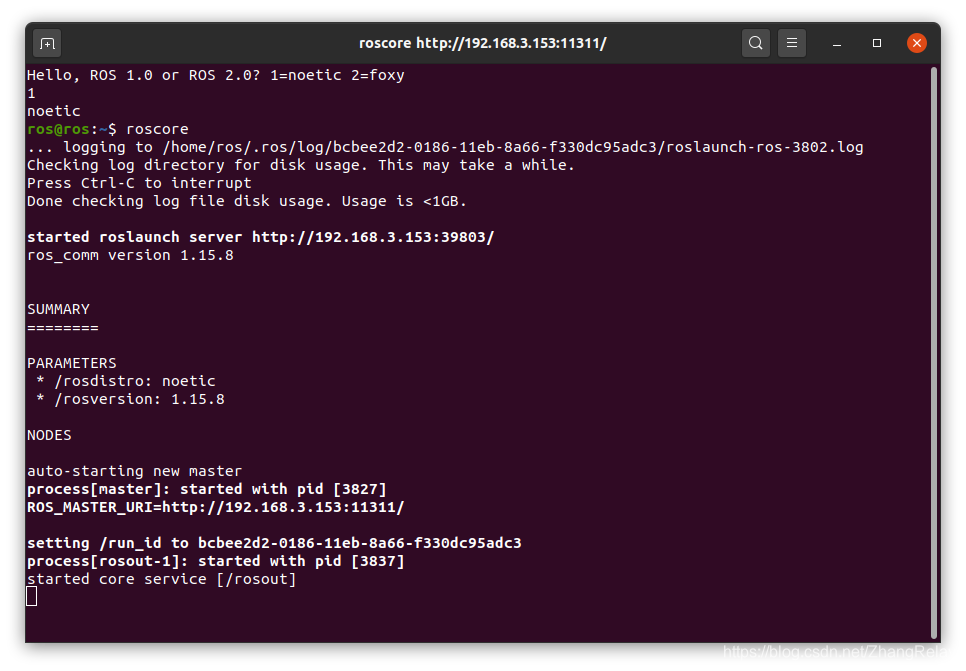
- roscore
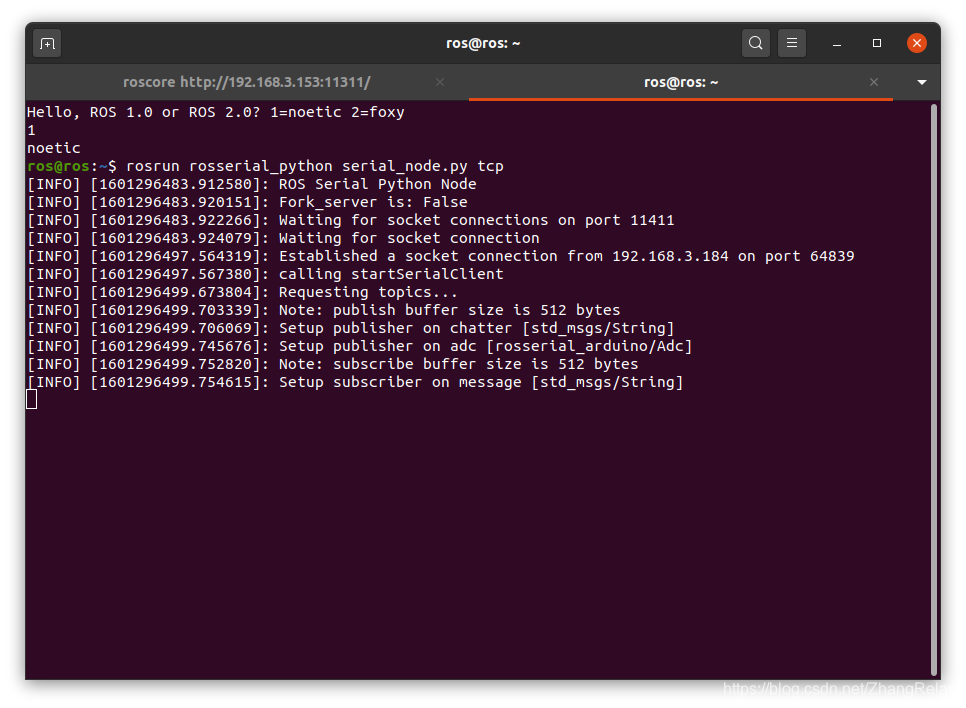
- rosrun rosserial_python serial_node.py tcp
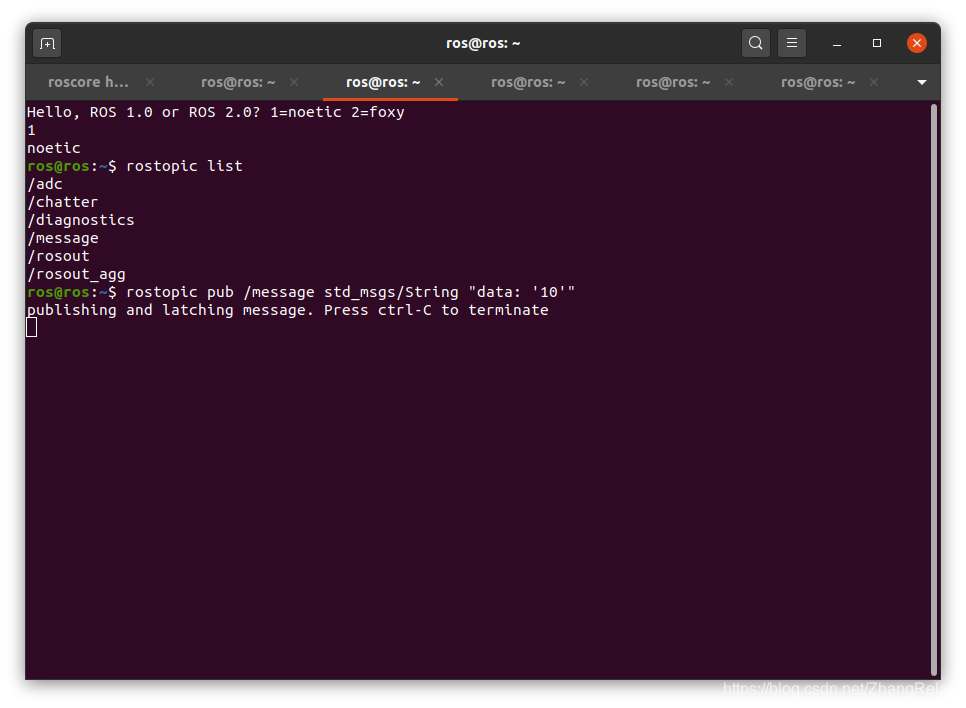
- rostopic pub /message std_msgs/String "data: '10'"
- rostopic echo /adc
- rostopic echo /chatter
过程如下:
roscore
rosrun rosserial_python serial_node.py tcp
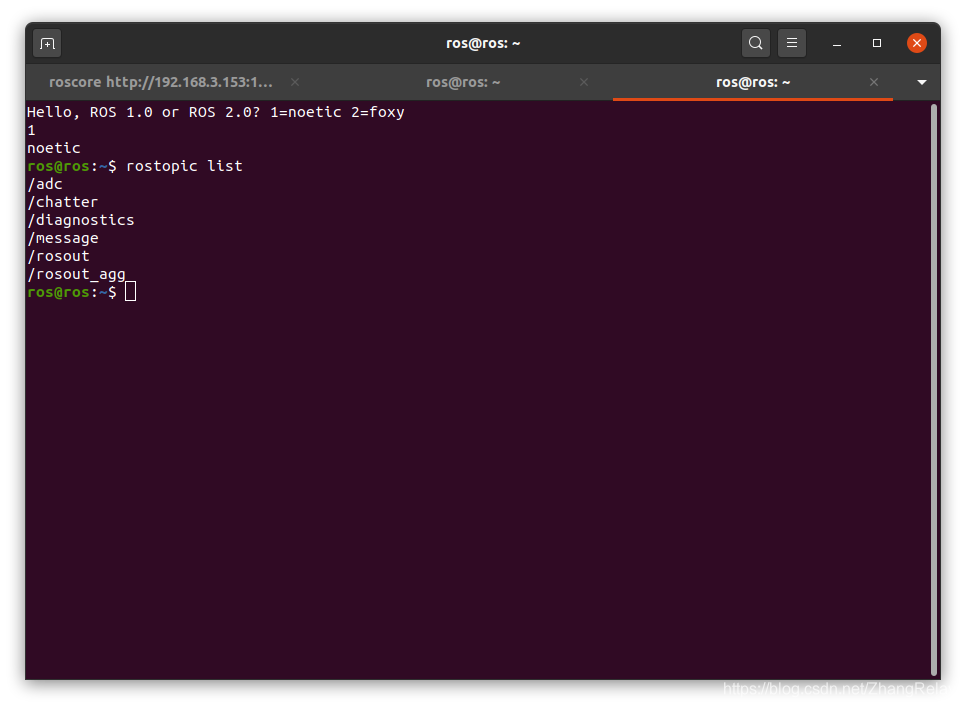
主题列表:
rostopic pub /message std_msgs/String "data: '10'"
使用rqt_graph查看所有节点状态:

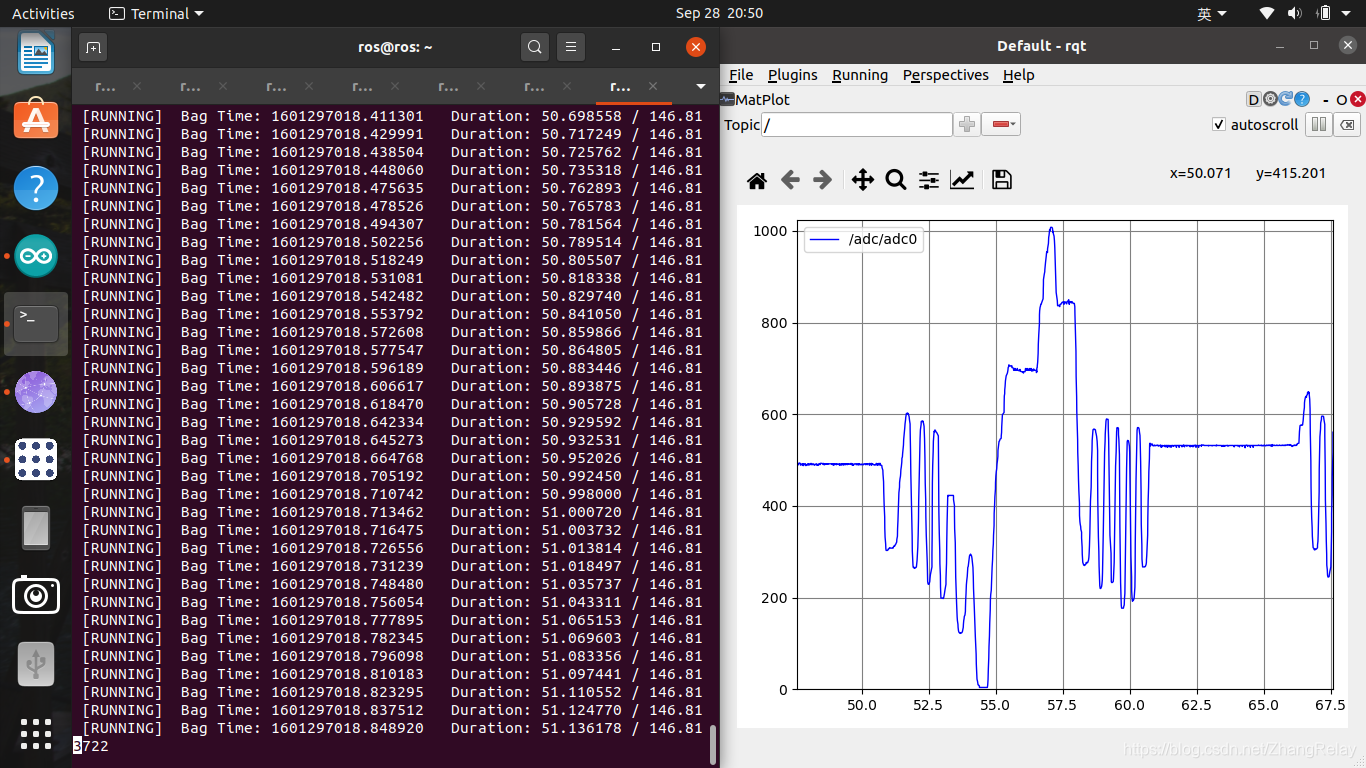
使用rosbag记录ADC数据并使用plot查看曲线:
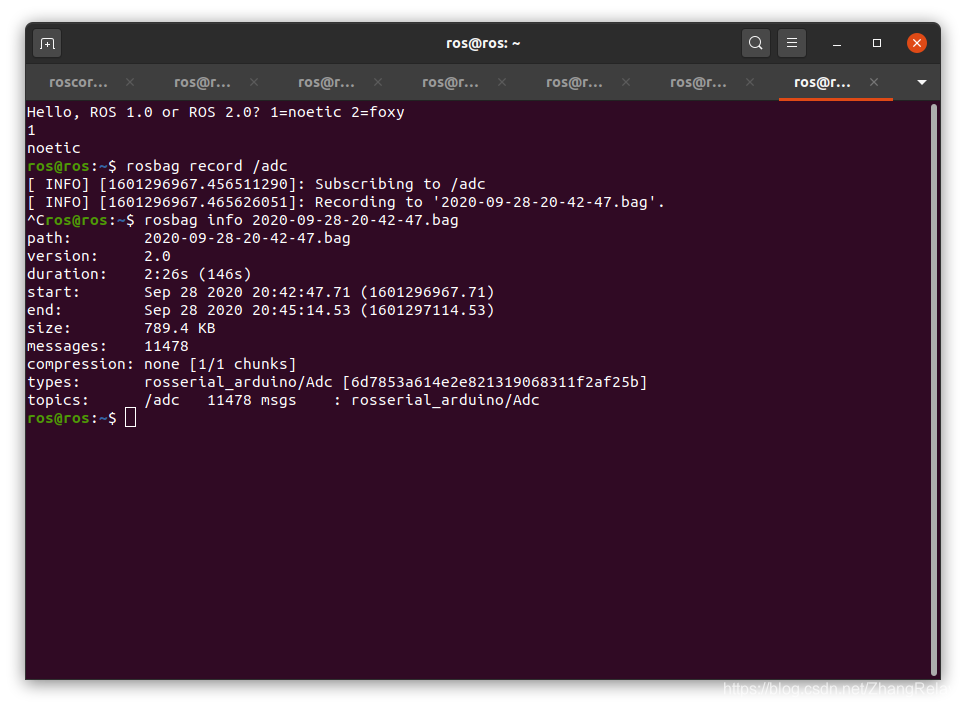
关闭所有节点,只留下roscore,使用rosbag play查看记录数据:

所有Arduino,stm32等单片机都可以借助ROS实现物联网硬件功能。
-Fin-
文章来源: zhangrelay.blog.csdn.net,作者:zhangrelay,版权归原作者所有,如需转载,请联系作者。
原文链接:zhangrelay.blog.csdn.net/article/details/108856947

【版权声明】本文为华为云社区用户转载文章,如果您发现本社区中有涉嫌抄袭的内容,欢迎发送邮件进行举报,并提供相关证据,一经查实,本社区将立刻删除涉嫌侵权内容,举报邮箱:
cloudbbs@huaweicloud.com
- 点赞
- 收藏
- 关注作者
评论(0)