KNN、MOG2和GMG

【摘要】
KNN、MOG2和GMG
好像能判断物体移开,花屏效果不好,mouse也不能检测。
mog2:
# coding:utf-8 import cv2 # 获取摄像头对象cap = cv2.VideoCapture(0)# 背景分割器对象mog = cv2.createBackgroundSubtractorMOG2() while True: ret, f...
KNN、MOG2和GMG
好像能判断物体移开,花屏效果不好,mouse也不能检测。
mog2:
-
# coding:utf-8
-
-
import cv2
-
-
# 获取摄像头对象
-
cap = cv2.VideoCapture(0)
-
# 背景分割器对象
-
mog = cv2.createBackgroundSubtractorMOG2()
-
-
while True:
-
ret, frame = cap.read()
-
fgmask = mog.apply(frame)
-
cv2.imshow("frame", fgmask)
-
if cv2.waitKey(5) & 0xff == ord("q"):
-
break
-
-
cap.release()
-
cv2.destroyAllWindows()
knn:10ms以内,人是完整的,人走消失的挺快
-
import time
-
-
import cv2
-
import numpy as np
-
-
camera = cv2.VideoCapture(0) # 参数0表示第一个摄像头
-
bs = cv2.createBackgroundSubtractorKNN(detectShadows=True)
-
es = cv2.getStructuringElement(cv2.MORPH_ELLIPSE, (3, 3))
-
while True:
-
grabbed, frame_lwpCV = camera.read()
-
start=time.time()
-
frame_lwpCV = cv2.GaussianBlur(frame_lwpCV, (5, 5), 0)
-
fgmask = bs.apply(frame_lwpCV) # 背景分割器,该函数计算了前景掩码
-
# 二值化阈值处理,前景掩码含有前景的白色值以及阴影的灰色值,在阈值化图像中,将非纯白色(244~255)的所有像素都设为0,而不是255
-
th = cv2.threshold(fgmask.copy(), 244, 255, cv2.THRESH_BINARY)[1]
-
# 下面就跟基本运动检测中方法相同,识别目标,检测轮廓,在原始帧上绘制检测结果
-
dilated = cv2.dilate(th, es, iterations=2) # 形态学膨胀
-
image, contours, hierarchy = cv2.findContours(dilated, cv2.RETR_EXTERNAL, cv2.CHAIN_APPROX_SIMPLE) # 该函数计算一幅图像中目标的轮廓
-
for c in contours:
-
if cv2.contourArea(c) > 1600:
-
(x, y, w, h) = cv2.boundingRect(c)
-
cv2.rectangle(frame_lwpCV, (x, y), (x + w, y + h), (255, 255, 0), 2)
-
-
print(time.time()-start,frame_lwpCV.shape)
-
cv2.imshow('mog', fgmask)
-
cv2.imshow('thresh', th)
-
cv2.imshow('detection', frame_lwpCV)
-
key = cv2.waitKey(1) & 0xFF
-
# 按'q'健退出循环
-
if key == ord('q'):
-
break
-
# When everything done, release the capture
-
camera.release()
-
cv2.destroyAllWindows()
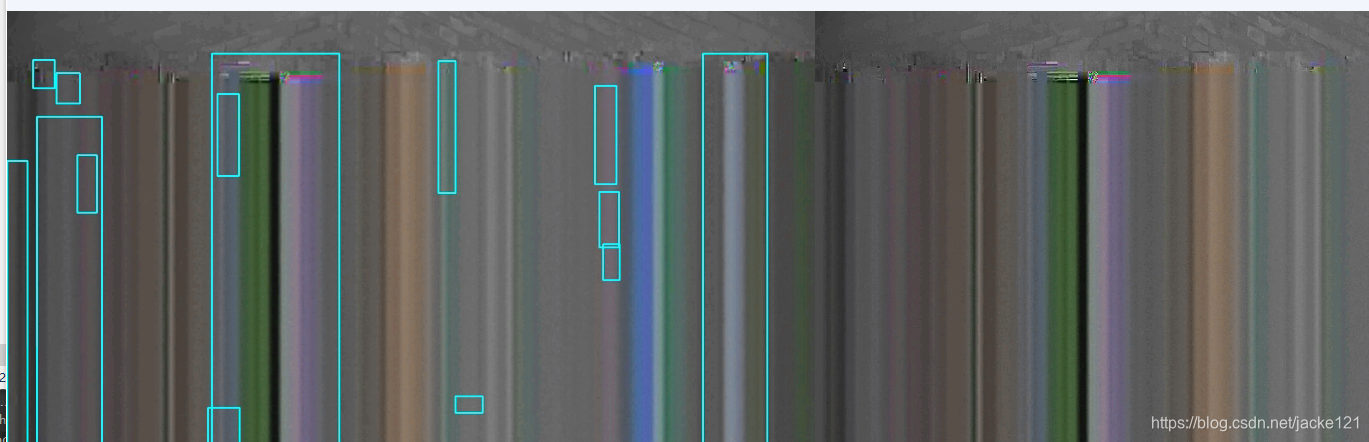
花屏部分检测比较具体:不能屏蔽花屏
加了椭圆检测器:
-
import time
-
-
import cv2
-
import numpy as np
-
-
'''
-
retval = cv.createBackgroundSubtractorKNN([, history[, dist2Threshold[, detectShadows]]])
-
Parameters
-
history Length of the history.
-
dist2Threshold Threshold on the squared distance between the pixel and the sample to decide whether a pixel is close to that sample. This parameter does not affect the background update.
-
detectShadows If true, the algorithm will detect shadows and mark them. It decreases the speed a bit, so if you do not need this feature, set the parameter to false.
-
'''
-
# KNN背景分割器
-
knn = cv2.createBackgroundSubtractorKNN(detectShadows=True)
-
-
camera = cv2.VideoCapture(0)
-
-
-
def drawCnt(fn, cnt):
-
if cv2.contourArea(cnt) > 1600:
-
(x, y, w, h) = cv2.boundingRect(cnt)
-
cv2.rectangle(fn, (x, y), (x + w, y + h), (255, 255, 0), 2)
-
-
-
while True:
-
ret, frame = camera.read()
-
if not ret:
-
break
-
start=time.time()
-
fgmask = knn.apply(frame)
-
th = cv2.threshold(np.copy(fgmask), 244, 255, cv2.THRESH_BINARY)[1]
-
-
es = cv2.getStructuringElement(cv2.MORPH_ELLIPSE, (3, 3))
-
dilated = cv2.dilate(th, es, iterations=2)
-
-
image, contours, hierarchy = cv2.findContours(dilated, cv2.RETR_EXTERNAL, cv2.CHAIN_APPROX_SIMPLE)
-
for c in contours:
-
drawCnt(frame, c)
-
print("time",time.time()-start,frame.shape)
-
cv2.imshow("knn", fgmask)
-
cv2.imshow("thresh", th)
-
cv2.imshow("detection", frame)
-
-
if cv2.waitKey(100) & 0xff == ord("q"):
-
break
-
-
camera.release()
-
cv2.destroyAllWindows()
gmg,初始化很慢:人进入会引起小的图,
-
import time
-
-
import numpy as np
-
import cv2
-
-
'''
-
retval = cv.bgsegm.createBackgroundSubtractorGMG( [, initializationFrames[, decisionThreshold]] )
-
Parameters
-
initializationFrames number of frames used to initialize the background models.
-
decisionThreshold Threshold value, above which it is marked foreground, else background.
-
'''
-
# GMG背景分割器
-
fgbg = cv2.bgsegm.createBackgroundSubtractorGMG()
-
-
camera = cv2.VideoCapture(0)
-
-
ret, frame = camera.read()
-
-
while ret:
-
start=time.time()
-
fgmask = fgbg.apply(frame)
-
th = cv2.threshold(np.copy(fgmask), 244, 255, cv2.THRESH_BINARY)[1]
-
th = cv2.erode(th, cv2.getStructuringElement(cv2.MORPH_ELLIPSE, (3, 3)), iterations=2)
-
dilated = cv2.dilate(th, cv2.getStructuringElement(cv2.MORPH_ELLIPSE, (8, 3)), iterations=2)
-
image, contours, hier = cv2.findContours(dilated, cv2.RETR_EXTERNAL, cv2.CHAIN_APPROX_SIMPLE)
-
for c in contours:
-
if cv2.contourArea(c) > 1000:
-
(x, y, w, h) = cv2.boundingRect(c)
-
cv2.rectangle(frame, (x, y), (x + w, y + h), (255, 255, 0), 2)
-
-
print("time",time.time()-start)
-
cv2.imshow("GMG", fgmask)
-
cv2.imshow("thresh", th)
-
cv2.imshow("diff", frame & cv2.cvtColor(fgmask, cv2.COLOR_GRAY2BGR))
-
cv2.imshow("detection", frame)
-
ret, frame = camera.read() # 读取视频帧数据
-
if cv2.waitKey(100) & 0xff == ord("q"):
-
break
-
-
camera.release()
-
cv2.destroyAllWindows()
文章来源: blog.csdn.net,作者:网奇,版权归原作者所有,如需转载,请联系作者。
原文链接:blog.csdn.net/jacke121/article/details/95661082

【版权声明】本文为华为云社区用户转载文章,如果您发现本社区中有涉嫌抄袭的内容,欢迎发送邮件进行举报,并提供相关证据,一经查实,本社区将立刻删除涉嫌侵权内容,举报邮箱:
cloudbbs@huaweicloud.com
- 点赞
- 收藏
- 关注作者
评论(0)