使用konvajs三步实现一个小球游戏

【摘要】 记得以前玩过一个很简单的小游戏,一个球在动,然后底下一个板来接,如果没接住撞到底边游戏就结束了,虽然忘了它叫什么名字,但一直心心念念,魂牵梦萦,刚好最近临过年需求不饱和、刚好之前一直想做但是没动手,刚好这两天在学习konvajs,刚好就有了这篇小文章,很简单,只要三步,包你三分钟学会。 konvajs简介konvajs就像jquery之于DOM、Snap.svg之与svg一样之于canvas...
记得以前玩过一个很简单的小游戏,一个球在动,然后底下一个板来接,如果没接住撞到底边游戏就结束了,虽然忘了它叫什么名字,但一直心心念念,魂牵梦萦,刚好最近临过年需求不饱和、刚好之前一直想做但是没动手,刚好这两天在学习konvajs,刚好就有了这篇小文章,很简单,只要三步,包你三分钟学会。
konvajs简介
konvajs就像jquery之于DOM、Snap.svg之与svg一样之于canvas,可以方便的实现canvas的图形交互效果,使用它,你可以快速绘制常用图形,并能方便的给它添加样式、各种事件、动画效果等等,妈妈再也不用担心我自己来检测鼠标位置了。文档:https://konvajs.org/。
使用konvajs基本上也分为三步,第一步是创建一个"舞台":
import { Stage } from 'konva'
const stage = new Stage({
    container: 'container',// 容器元素的id
    width: 500,
    height: 500
})
第二步是创建一个“图层”,添加到“舞台”里:
import { Layer } from 'konva'
const layer = new Layer()
stage.add(layer)
一个layer对应着一个canvas元素。
第三步就是创建各种图形添加到“图层里”。
第一步
来一个小球和挡板。
直接复制官方文档上的圆和矩形的示例代码,小球:
import { Circle } from 'konva'
createCircle () {
    // 小球的中心坐标
    this.centerX = this.stage.width() / 2
    this.centerY = 100
    this.circle = new Circle({
        x: this.centerX,
        y: this.centerY,
        radius: this.radius,
        fill: 'red',
        stroke: 'black',
        strokeWidth: 4
    })
    this.layer.add(this.circle)
    this.layer.draw()// 重新绘制,每次修改后都需要调用该方法
}
挡板:
import { Rect } from 'konva'
createRect () {
    this.rect = new Rect({
        x: (this.stage.width() - 100) / 2,
        y: this.height - 50,
        width: 100,
        height: 10,
        fill: 'green',
        stroke: 'black',
        strokeWidth: 4,
        draggable: true,// 允许拖动
        dragBoundFunc: function (pos) {// 控制只能水平拖动
            return {
                x: pos.x,
                y: this.absolutePosition().y// 获取y的绝对位置
            }
        }
    })
    this.layer.add(this.rect)
    this.layer.draw()
}

第二步
让球动起来,给球一个初始速度,一个加速度,撞墙后速度反向,速度逐渐加快,用来增加游戏难度:
this.speedX = Math.random() * 3
this.speedY = Math.random() * 3
this.speedStep = 0.01

runCircle () {
    // 修改小球位置
    this.centerX += this.speedX
    this.centerY += this.speedY
    this.circle.x(this.centerX)
    this.circle.y(this.centerY)
    // 撞墙检测
    if (this.centerX - this.radius <= 0 || this.centerX + this.radius >= this.width) {// 左侧和右侧的墙
        this.speedX = -this.speedX// 水平速度反向
    }
    if (this.centerY - this.radius <= 0) {// 只判断顶部的墙,底部的墙用来结束游戏
        this.speedY = -this.speedY
    }
    // 撞板检测,第三步再说
    this.collisionCheck()
    // 游戏结束检测
    if (this.centerY + this.radius >= this.height) {// 撞到底部的墙游戏就结束了
        return this.gameOver()
    }
    // 加速度
    // 还没达到最大速度则增加速度
    if (Math.abs(this.speedX) < this.maxSpeed) {
        this.speedX > 0 ? this.speedX += this.speedStep : this.speedX -= this.speedStep
    }
    if (Math.abs(this.speedY) < this.maxSpeed) {
        this.speedY > 0 ? this.speedY += this.speedStep : this.speedY -= this.speedStep
    }
}
然后使用requestAnimationFrame来不断刷新:
update () {
    window.requestAnimationFrame(() => {
        this.runCircle()
        this.update()
        this.layer.draw()
    })
}
第三步
检测小球和挡板的是否碰撞,撞到了则速度反向,原理是找到矩形四周离小球的圆心最近的点,然后判断这个点和小球圆心的距离是否小于小球半径,这个点怎么确定也很简单,如果圆心在矩形的左侧,那么这个点一定在矩形的左侧边上,点x的值也就是rect.x,如果在矩形的右侧,点x的值一定在矩形的右侧边上,也就是rect.x + rect.width,如果在矩形之间的话,因为最近的点和圆心的连线肯定是重置于矩形的边,所以点x的值就是圆心的x,点y的计算和x一样。
collisionCheck () {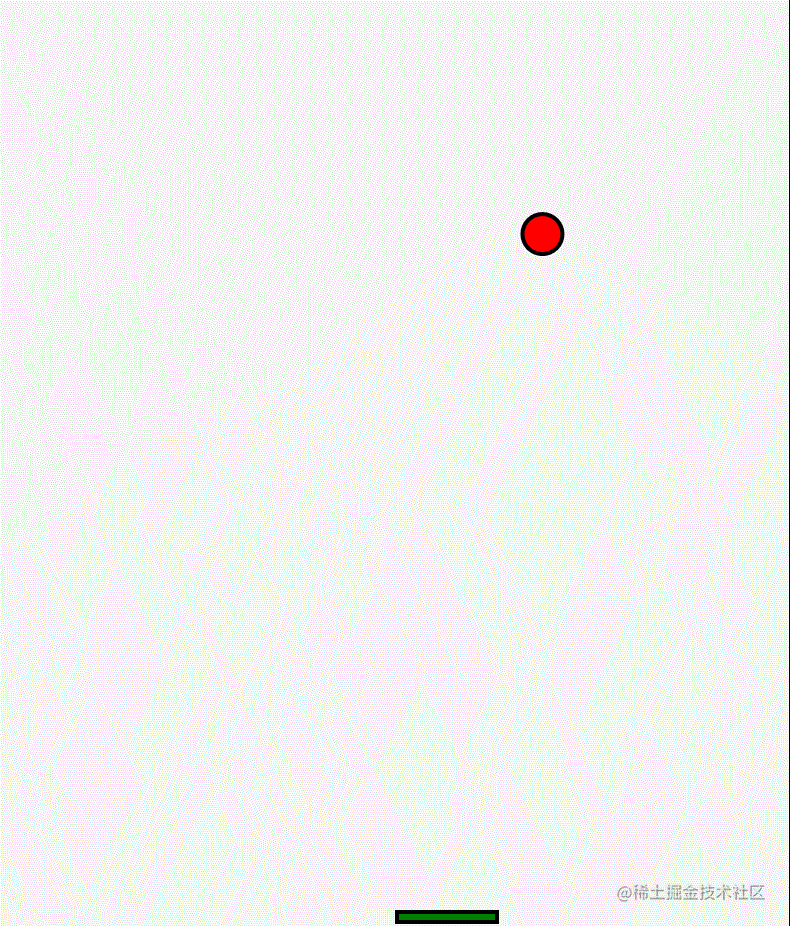
let minx = 0
let miny = 0
let rectX = this.rect.x()
let rectY = this.rect.y()
let rectWidth = this.rect.width()
let rectHeight = this.rect.height()
// 确定矩形上离小球最近的点的x坐标
if (this.centerX < rectX) {// 在矩形左侧
minx = rectX
} else if (this.centerX > rectX + rectWidth) {// 在矩形右侧
minx = rectX + rectWidth
} else {// 在矩形左右之间
minx = this.centerX
}
// 确定矩形上离小球最近的点的y坐标
if (this.centerY < rectY) {// 在矩形上面
miny = rectY
} else if (this.centerY > rectY + rectHeight) {// 在矩形下面
miny = rectY + rectHeight
} else {// 在矩形上下之间
miny = this.centerY
}
// 如果距离小于半径则代表发生了碰撞
if (this.getTwoPointDistance(minx, miny, this.centerX, this.centerY) <= this.radius) {
// 撞到了左侧或右侧,那么水平速度x反向
if (minx === rectX || minx === rectX + rectWidth) {
this.speedX = -this.speedX
}
// 撞到了矩形上面则垂直速度y反向
if (miny === rectY) {
this.speedY = -this.speedY
}
}
}
到这里就结束了,可以愉快的开玩了:
【版权声明】本文为华为云社区用户原创内容,转载时必须标注文章的来源(华为云社区)、文章链接、文章作者等基本信息, 否则作者和本社区有权追究责任。如果您发现本社区中有涉嫌抄袭的内容,欢迎发送邮件进行举报,并提供相关证据,一经查实,本社区将立刻删除涉嫌侵权内容,举报邮箱:
cloudbbs@huaweicloud.com
- 点赞
- 收藏
- 关注作者
评论(0)