大模型部署手记(25)Ubuntu+VisualGLM

【摘要】 大模型部署手记(25)Ubuntu+VisualGLM

1.简介:
组织机构:
模型:THUDM/VisualGLM-6B
下载:
modelscope下载:
硬件环境:暗影精灵7Plus
Ubuntu版本:18.04
内存 32G
GPU显卡:Nvidia GTX 3080 Laptop (16G)
显卡坞:NVidia GeoForce GTX4060Ti(16G)
2.代码和模型下载:
下载代码仓:
git clone https://github.com/THUDM/VisualGLM-6B

通过两条命令手工下载模型
python
from model.visualglm import VisualGLMModel
model, args = VisualGLMModel.from_pretrained('visualglm-6b')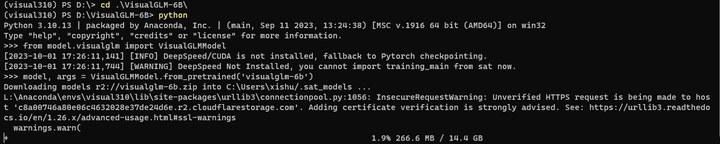
下载进度:

坚持下来。

居然下载完了,赶紧备份到别的地方:

3.安装依赖
conda create -n visual310 python=3.10
conda activate visual310
pip install -r requirements.txt -i https://pypi.tuna.tsinghua.edu.cn/simple
检查pytorch是否支持GPU:
python
import
torch.__version__
torch.cuda.is_available()

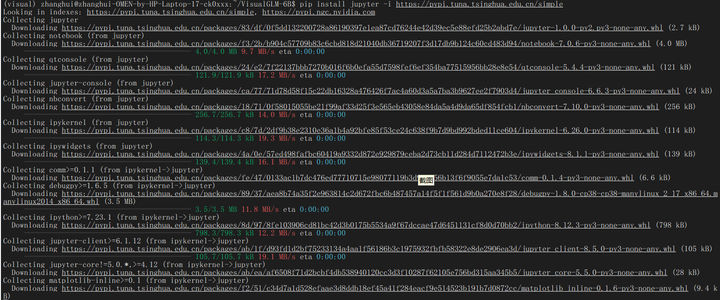
pip install jupyter -i https://pypi.tuna.tsinghua.edu.cn/simple

pip install transformers==4.33.2
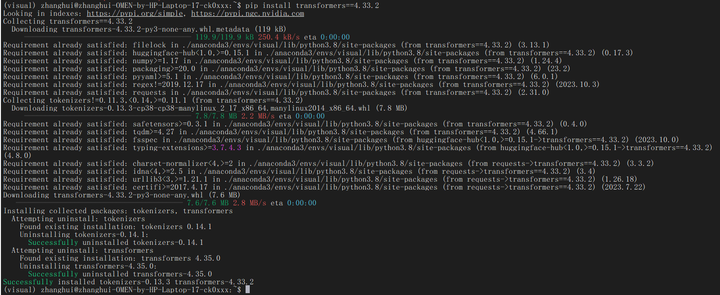
安装旧版本的transformers是为了解决:'ChatGLMTokenizer' object has no attribute 'sp_tokenizer' 这个报错问题。参考:www.bilibili.com/read/cv27049141/
4.部署验证
cd ~/VisualGLM-6B
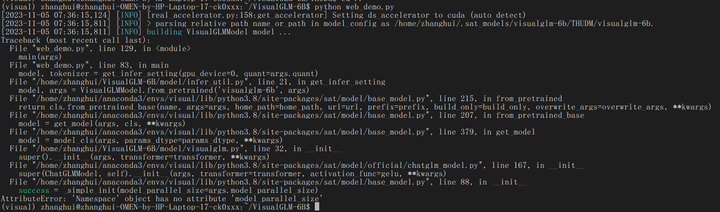
python web_demo.py
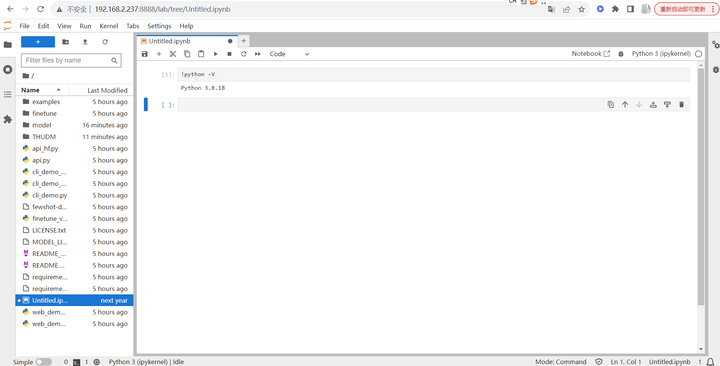
jupyter lab --no-browser

浏览器打开:http://192.168.2.237:8888/lab
上传一张奥黛丽赫本的照片:

刷新浏览器后依次执行以下脚本:
!python -V
from transformers import AutoTokenizer, AutoModel
tokenizer = AutoTokenizer.from_pretrained("./THUDM/visualglm-6b", trust_remote_code=True)
model = AutoModel.from_pretrained("./THUDM/visualglm-6b", trust_remote_code=True).half().cuda()
image_path = "heben1.png"
response, history = model.chat(tokenizer, image_path, "描述这张图片。", history=[])
print(response)
response, history = model.chat(tokenizer, image_path, "这张图片可能是在什么场所拍摄的?", history=history)
print(response)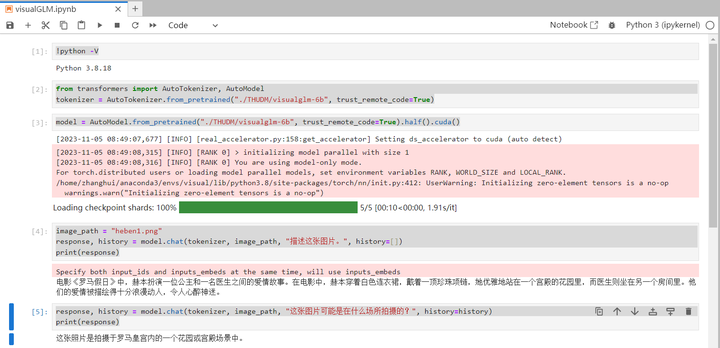
VisualGLM是可以完成推理的。
看看显卡使用情况:

推理的时候在后台看看:
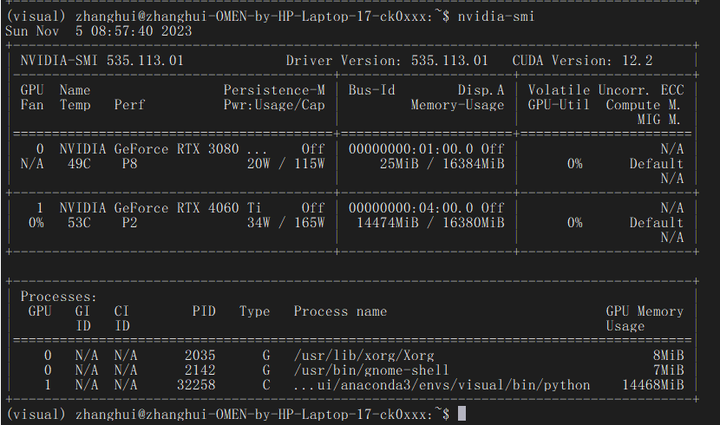
不过这个暂时没有实现多GPU推理,只是用到了4060Ti的显卡坞。

【声明】本内容来自华为云开发者社区博主,不代表华为云及华为云开发者社区的观点和立场。转载时必须标注文章的来源(华为云社区)、文章链接、文章作者等基本信息,否则作者和本社区有权追究责任。如果您发现本社区中有涉嫌抄袭的内容,欢迎发送邮件进行举报,并提供相关证据,一经查实,本社区将立刻删除涉嫌侵权内容,举报邮箱:
cloudbbs@huaweicloud.com
- 点赞
- 收藏
- 关注作者
评论(0)