【Vue3】什么是路由?Vue中的路由基本切换~

文章目录
🍀什么是路由?
网络的角度:
网络中的路由:在网络中,路由是指确定数据包从源到目的地的路径的过程。路由器是负责执行这一过程的设备,它们根据网络中的路由表来选择最佳路径将数据包传输到目的地。网络中的路由是指网络数据包的传输路径选择
Vue3的角度:
在Vue.js中,路由是指管理应用程序中不同页面之间导航的方式。Vue Router是Vue.js官方提供的路由管理器,它允许您在单页应用程序(SPA)中定义路由,然后根据用户的操作在不同的页面之间进行切换。Vue中的路由是指前端应用程序中页面之间的导航管理
🍀介绍Vue3中的路由
在介绍本节的内容之前,我们首先还是老样子,准备好需要的代码,准备好必要的html代码,方便后面的操作,这里我们写了三个a标签,学过前端的都知道,我这是要创建链接,这就引出了路由和路径的关联
<template>

<div class="app">
    <!--导航区-->
    <h2 class="title">路由测试</h2>
    <div class="navigate">
      <ul>
        <li><a href="">首页</a></li>
        <li><a href="">娱乐</a></li>
        <li><a href="">帮助</a></li>
      </ul>
    </div>
    <!--展示区-->
    <div class="main-contain">
      敬请期待
    </div>
  </div>
</template>
<script lang='ts' setup name="App">
  import person from './components/person.vue'

</script>


<style>
 /* App */
.title {
 text-align: center;
 word-spacing: 5px;
 margin: 30px 0;
 height: 70px;
 line-height: 70px;
 background-image: linear-gradient(45deg, gray, white);
 border-radius: 10px;
 box-shadow: 0 0 2px;
 font-size: 30px;
}
.navigate {
 display: flex;
 justify-content: space-around;
 margin: 0 100px;
}
.navigate a {
 display: block;
 text-align: center;
 width: 90px;
 height: 40px;
 line-height: 40px;
 border-radius: 10px;
 background-color: gray;
 text-decoration: none;
 color: white;
 font-size: 18px;
 letter-spacing: 5px;
}
.navigate a.xiaozhupeiqi {
 background-color: #64967E;
 color: #ffc268;
 font-weight: 900;
 text-shadow: 0 0 1px black;
 font-family: 微软雅黑;
}
.main-content {
 margin: 0 auto;
 margin-top: 30px;
 border-radius: 10px;
 width: 90%;
 height: 400px;
 border: 1px solid;
}
</style>

接下来我们需要先安装一下路由器,打开你的终端
npm i vue-router
接下来我们就静静等着就好了
之后我们创建一个router文件夹在src下级,同时创建一个文件index.ts
🍀创建路由
上节我们已经安装好我们需要的vue-router,接下来我们就需要导入了
import {createRouter} from 'vue-router'
第二步,就是正式创建路由了,path是路径,component是模板
const router = createRouter({
  routes:[
    {
      path:'/home',
      component:Home
    },
    {
      path:'/plays',
      component:Play
    },
    {
      path:'/about',
      component:About
    },
  ]
})
但是我们还没有对应的模版,所以我们需要在模版文件夹创建三个.vue文件
之后就是要引入要呈现的组件
import Home from '@/components/Home.vue'
import Play from '@/components/Play.vue'
import About from '@/components/About.vue'
最后我们就需要将路由暴漏出去,以便在应用程序的其他地方可以引入并使用该实例
export default router
如果粘贴代码的小伙伴会发现,代码飘红,这是因为Vue3在创建路由的时候,要明确工作模式,所以我们需要引入一下
import {createRouter,createWebHistory} from 'vue-router'
const router = createRouter({
  history:createWebHistory(),
  routes:[
    {
      path:'/home',
      component:Home
    },
    {
      path:'/plays',
      component:Play
    },
    {
      path:'/about',
      component:About
    },
  ]
})
最后我们需要在main.ts里面导入router并使用
import router from './router'
// 创建一个应用
const app = createApp(App)
// 使用路由器
app.use(router)
// 挂载整个应用到app容器中
app.mount('#app')
之后我们将Home、About、Play三个文件代码补全
<template>
  <div class="home">
    <img src="" alt="">
  </div>
</template>

<script setup lang="ts" name="Home">

</script>

<style scoped>
  .home {
    display: flex;
    justify-content: center;
    align-items: center;
    height: 100%;
  }
</style>
<template>
  <div class="about">
    <h2>关于</h2>
  </div>
</template>

<script setup lang="ts" name="About">

</script>

<style scoped>
.about {
  display: flex;
  justify-content: center;
  align-items: center;
  height: 100%;
  color: rgb(85, 84, 84);
  font-size: 18px;
}
</style>
<template>
  <div class="plays">
    <ul>
      <li><a href="#">篮球</a></li>
      <li><a href="#">足球</a></li>
      <li><a href="#">羽毛球</a></li>
      <li><a href="#">乒乓球</a></li>
    </ul>
  </div>
</template>

<script setup lang="ts" name="plays">

</script>

<style scoped>
/* 娱乐 */
.news {
  padding: 0 20px;
  display: flex;
  justify-content: space-between;
  height: 100%;
}
.news ul {
  margin-top: 30px;
  list-style: none;
  padding-left: 10px;
}
.news li>a {
  font-size: 18px;
  line-height: 40px;
  text-decoration: none;
  color: #64967E;
  text-shadow: 0 0 1px rgb(0, 84, 0);
}
.news-content {
  width: 70%;
  height: 90%;
  border: 1px solid;
  margin-top: 20px;
  border-radius: 10px;
}
</style>
现在到这里我们其实点击还是没有任何反应,这是因为我们还没有在App.vue中呈现
我们需要在App.vue一个RouterView
import {RouterView} from 'vue-router'

 <div class="main-content">
      <RouterView></RouterView>
    </div>
这样我们就可以显示了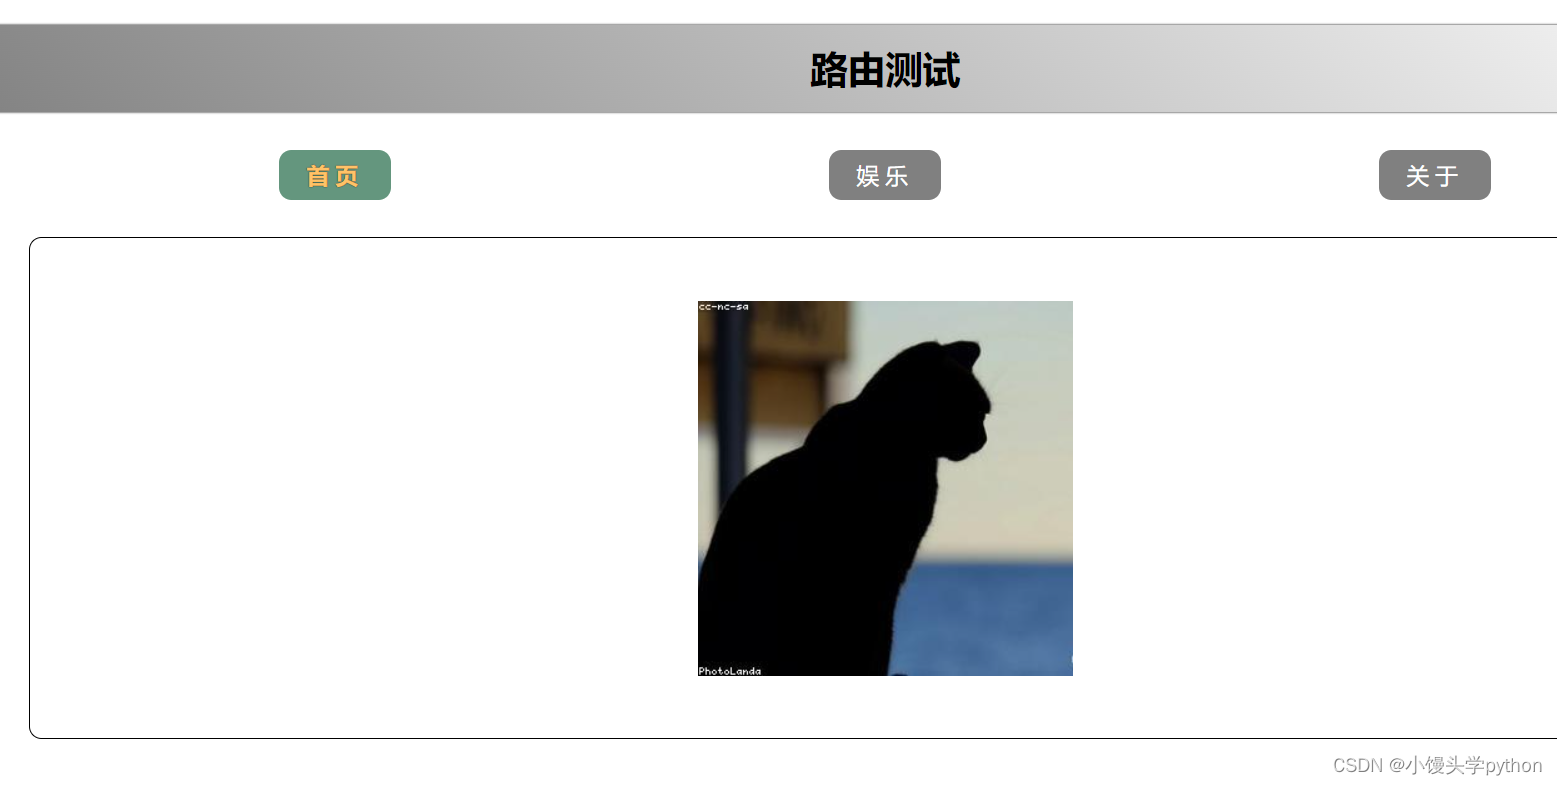
但是我们这样是需要在地址栏修改路径,如果点击首页而修改路径该怎么做,这时候就需要我们引入RouterLink
完整代码如下:
<template>

<div class="app">
    <!--导航区-->
    <h2 class="title">路由测试</h2>
    <div class="navigate">
        <RouterLink to="/home" active-class="MT">首页</RouterLink>
      <RouterLink to="/plays" active-class="MT">娱乐</RouterLink>
      <RouterLink to="/about" active-class="MT">关于</RouterLink>
    </div>
    <!--展示区-->
    <div class="main-content">
      <RouterView></RouterView>
    </div>
  </div>
</template>
<script lang='ts' setup name="App">
import {RouterView,RouterLink} from 'vue-router'
</script>


<style>
    /* App */
  .title {
    text-align: center;
    word-spacing: 5px;
    margin: 30px 0;
    height: 70px;
    line-height: 70px;
    background-image: linear-gradient(45deg, gray, white);
    border-radius: 10px;
    box-shadow: 0 0 2px;
    font-size: 30px;
  }
  .navigate {
    display: flex;
    justify-content: space-around;
    margin: 0 100px;
  }
  .navigate a {
    display: block;
    text-align: center;
    width: 90px;
    height: 40px;
    line-height: 40px;
    border-radius: 10px;
    background-color: gray;
    text-decoration: none;
    color: white;
    font-size: 18px;
    letter-spacing: 5px;
  }
  .navigate a.MT {
    background-color: #64967E;
    color: #ffc268;
    font-weight: 900;
    text-shadow: 0 0 1px black;
    font-family: 微软雅黑;
  }
  .main-content {
    margin: 0 auto;
    margin-top: 30px;
    border-radius: 10px;
    width: 90%;
    height: 400px;
    border: 1px solid;
  }
</style>
运行效果如下
🍀总结
本节简单介绍了一下路由的基本切换,下一节我们接着介绍~

- 点赞
- 收藏
- 关注作者
评论(0)