大模型部署手记(21)Windows+ChatGLM3

【摘要】 大模型部署手记(21)Windows+ChatGLM3

听说 ChatGLM3发布了。张小白就想着在Windows上试一试:
先安装Git Large File Storage:
打开 git-lfs.github.com
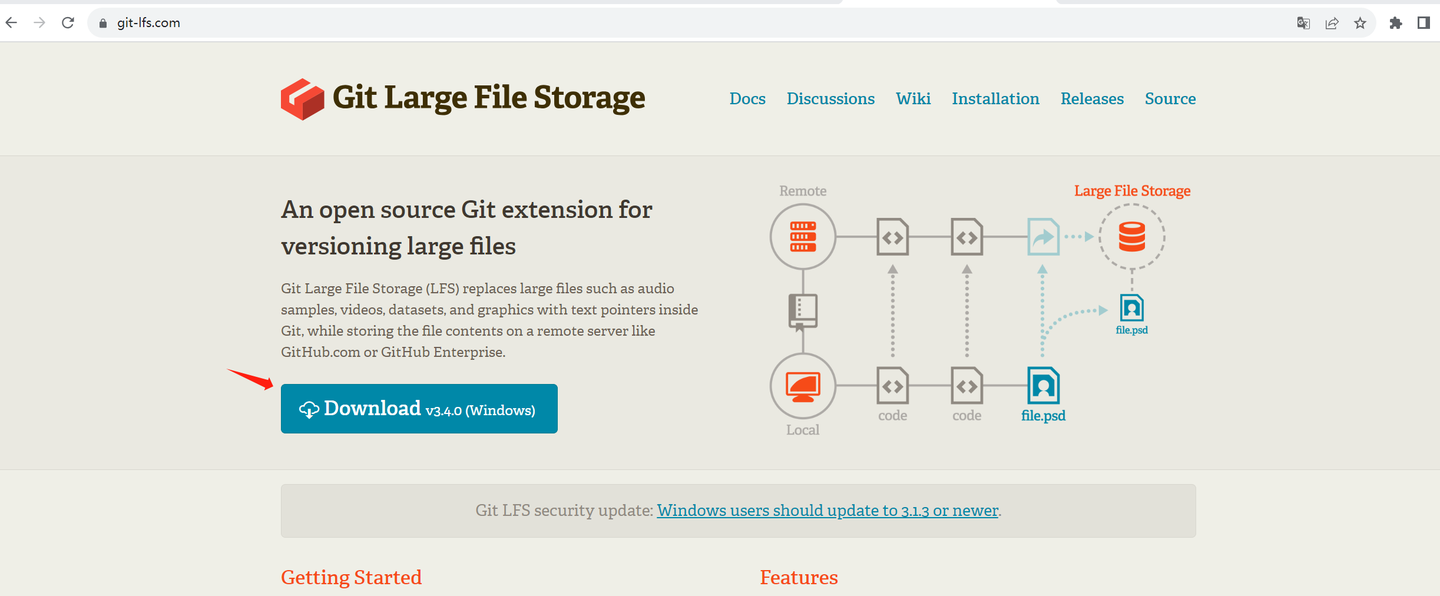
点击Download
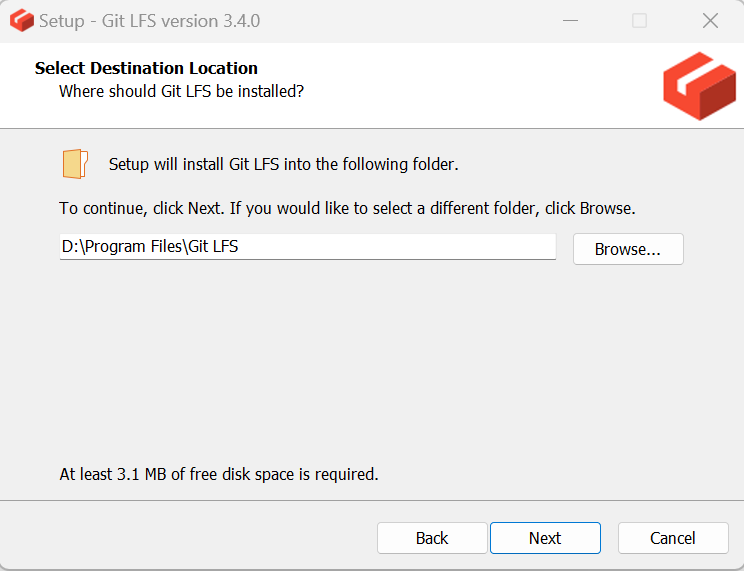
安装下载好的文件:
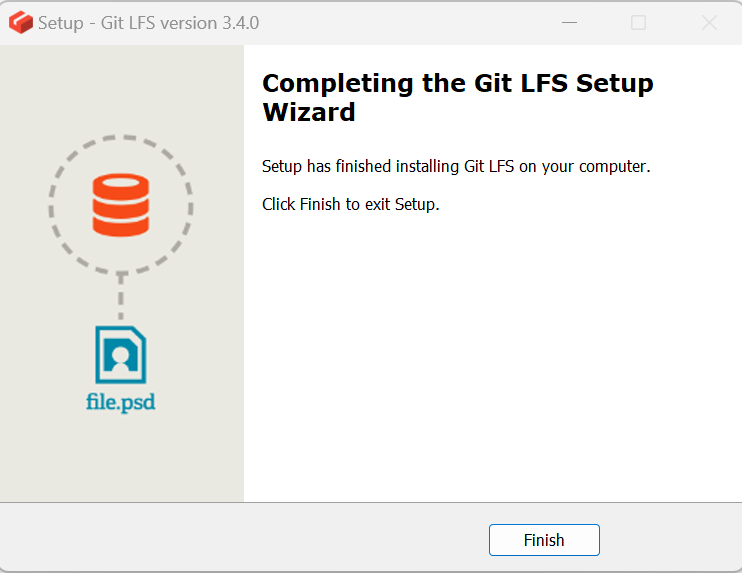
打开Git Bash:
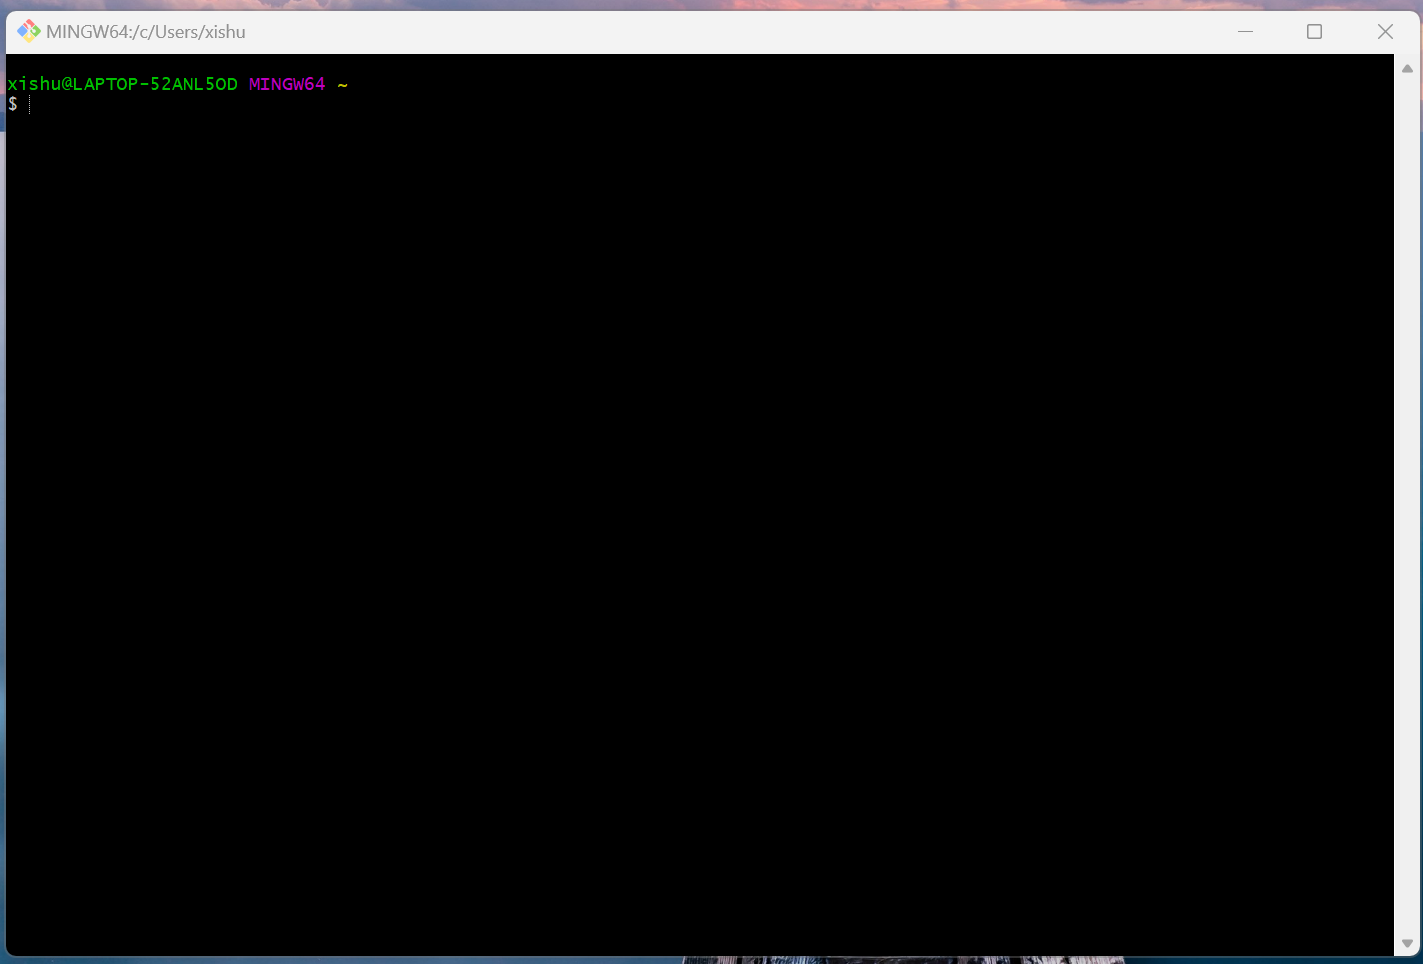
执行:git lfs install

至此,Git LFS安装成功。
cd /f/
git clone https://huggingface.co/THUDM/chatglm3-6b

由于众所周知的原因,这条路不通。
只能从modelscope走走看了:
打开 Anaconda PowerShell Prompt
conda activate model310
F:
进入python命令行,执行:
from modelscope import snapshot_download
model_dir = snapshot_download("ZhipuAI/chatglm3-6b", revision = "v1.0.0")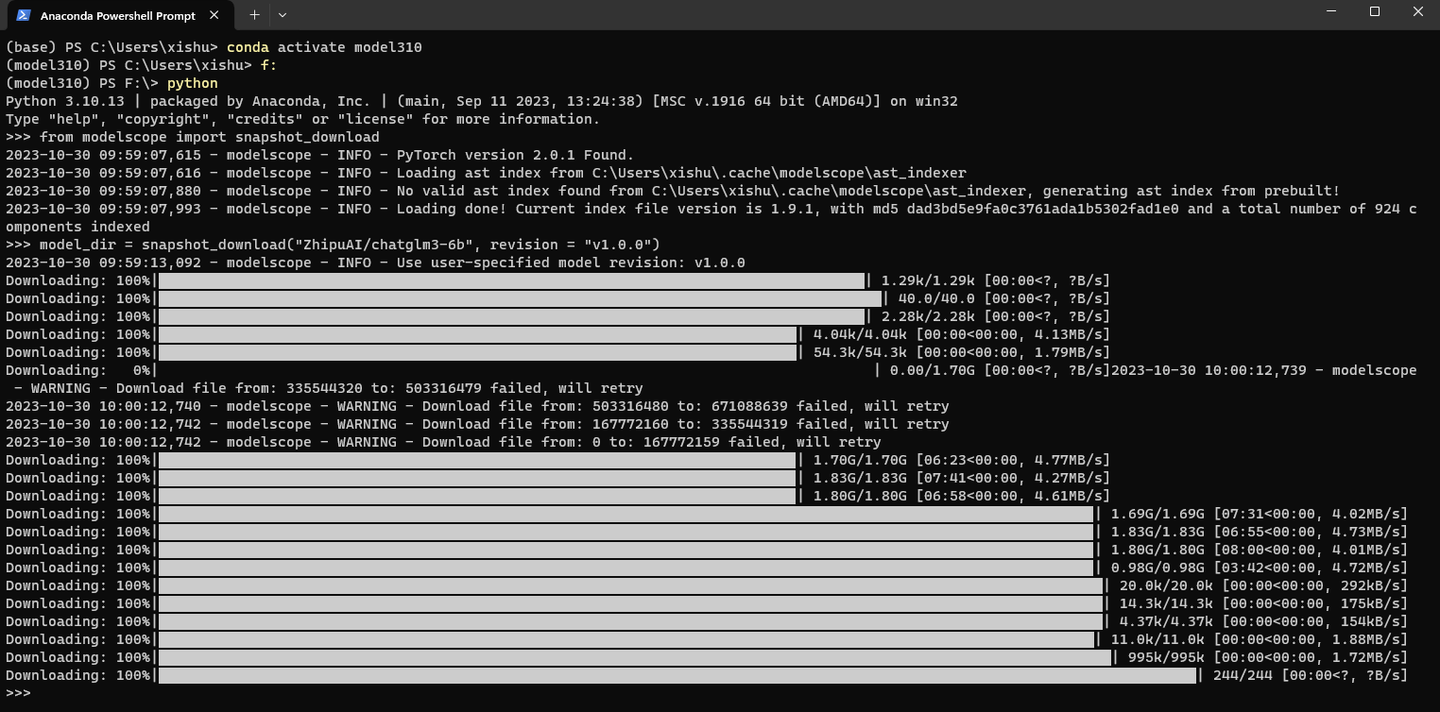
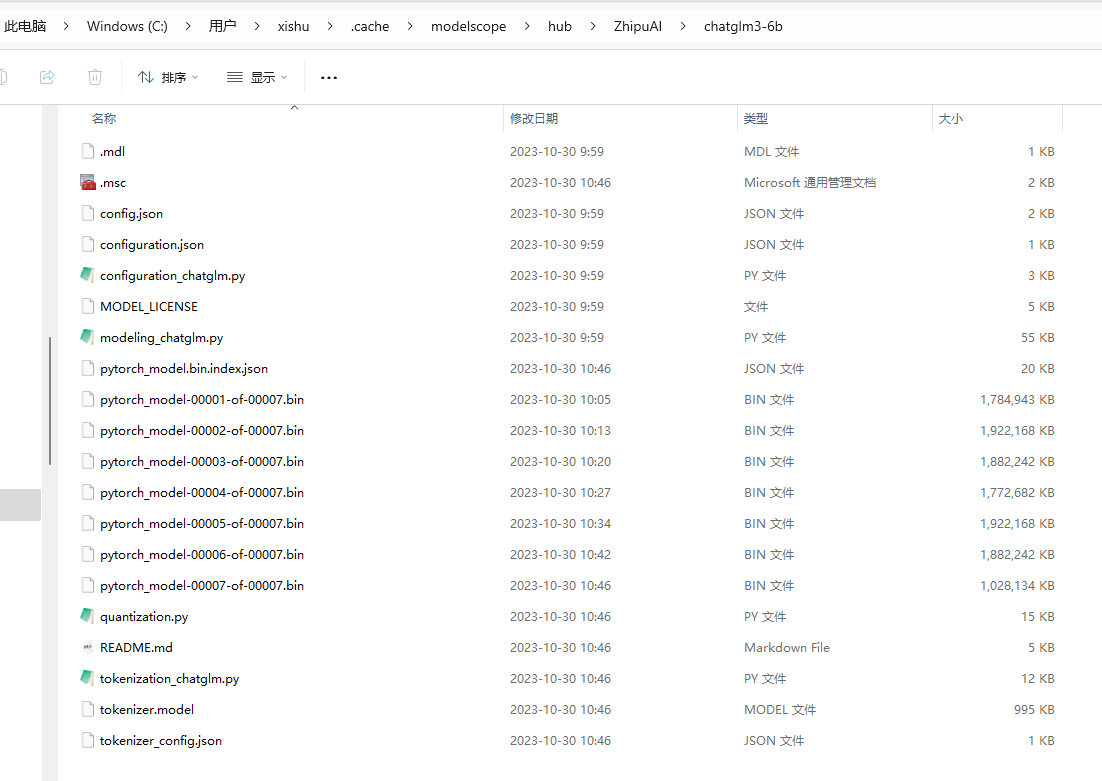
下载好的模型文件放到了 C:\Users\xishu\.cache\modelscope\hub\ZhipuAI\chatglm3-6b
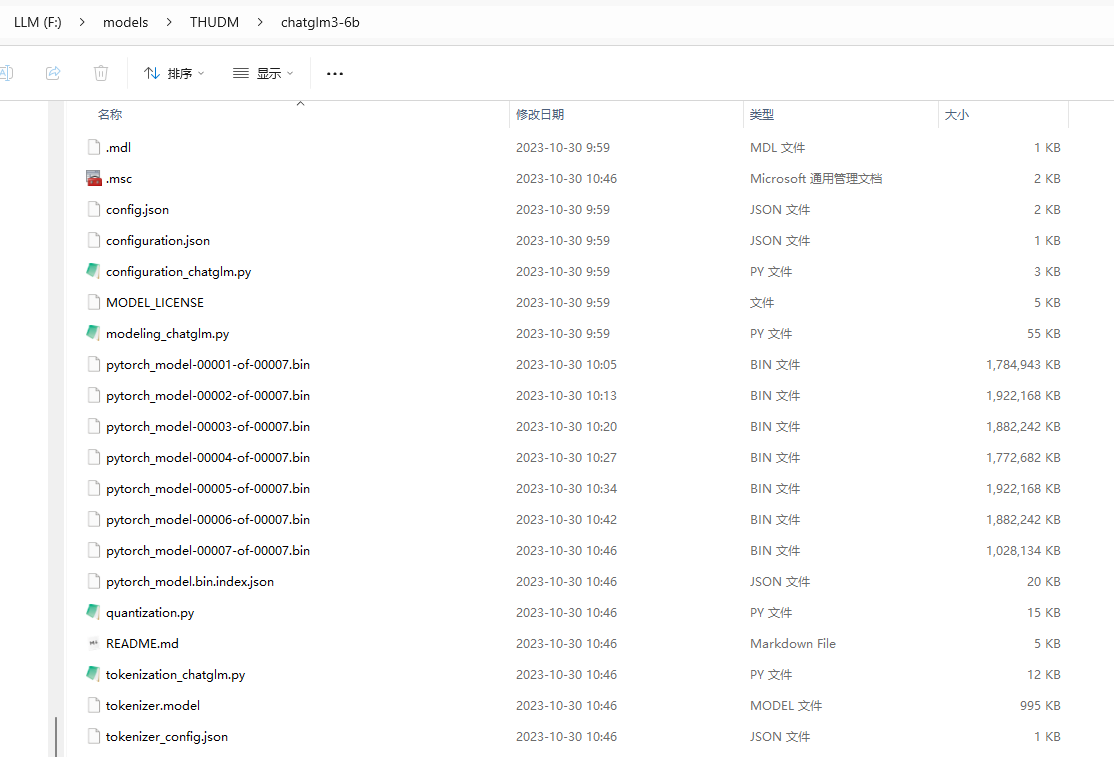
将其挪到 F:\models\THUDM\chatglm3-6b
回到 F:\
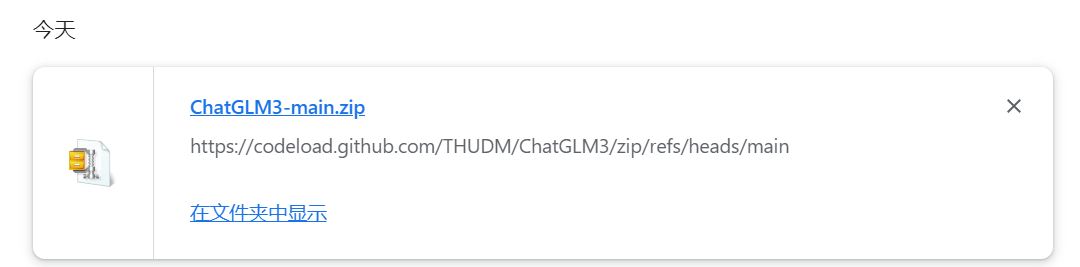
git clone https://github.com/THUDM/ChatGLM3

没办法,只好下载zip包后解压:
cd F:\ChatGLM3-main
conda deactivate

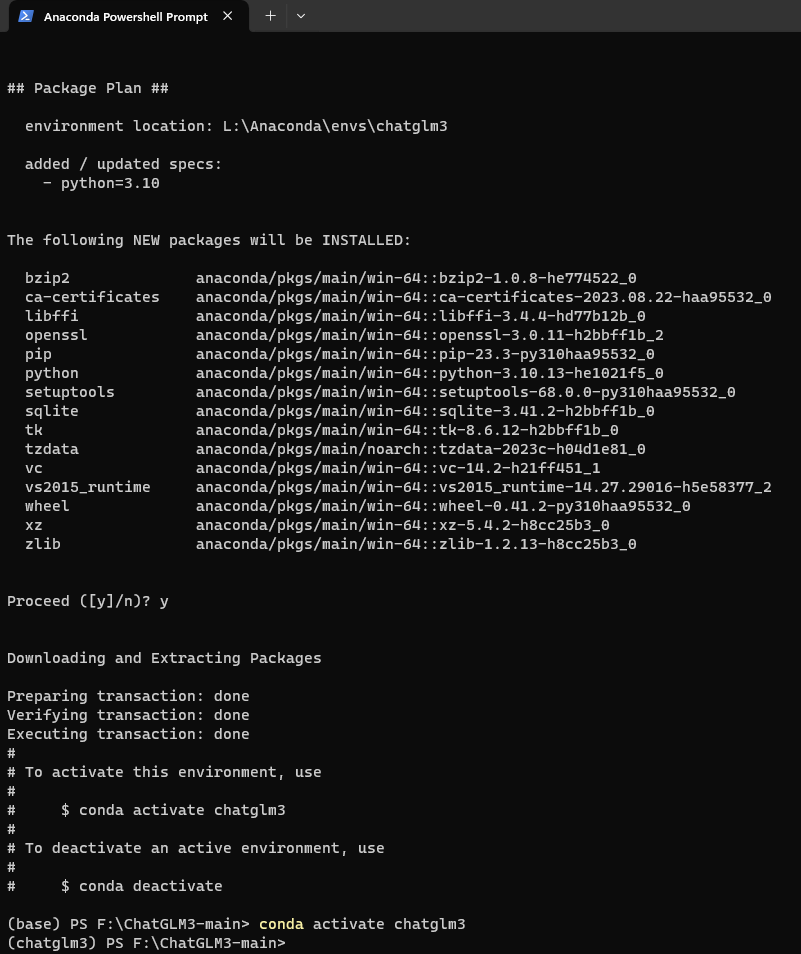
conda create -n chatglm3 python=3.10
conda activate chatglm3
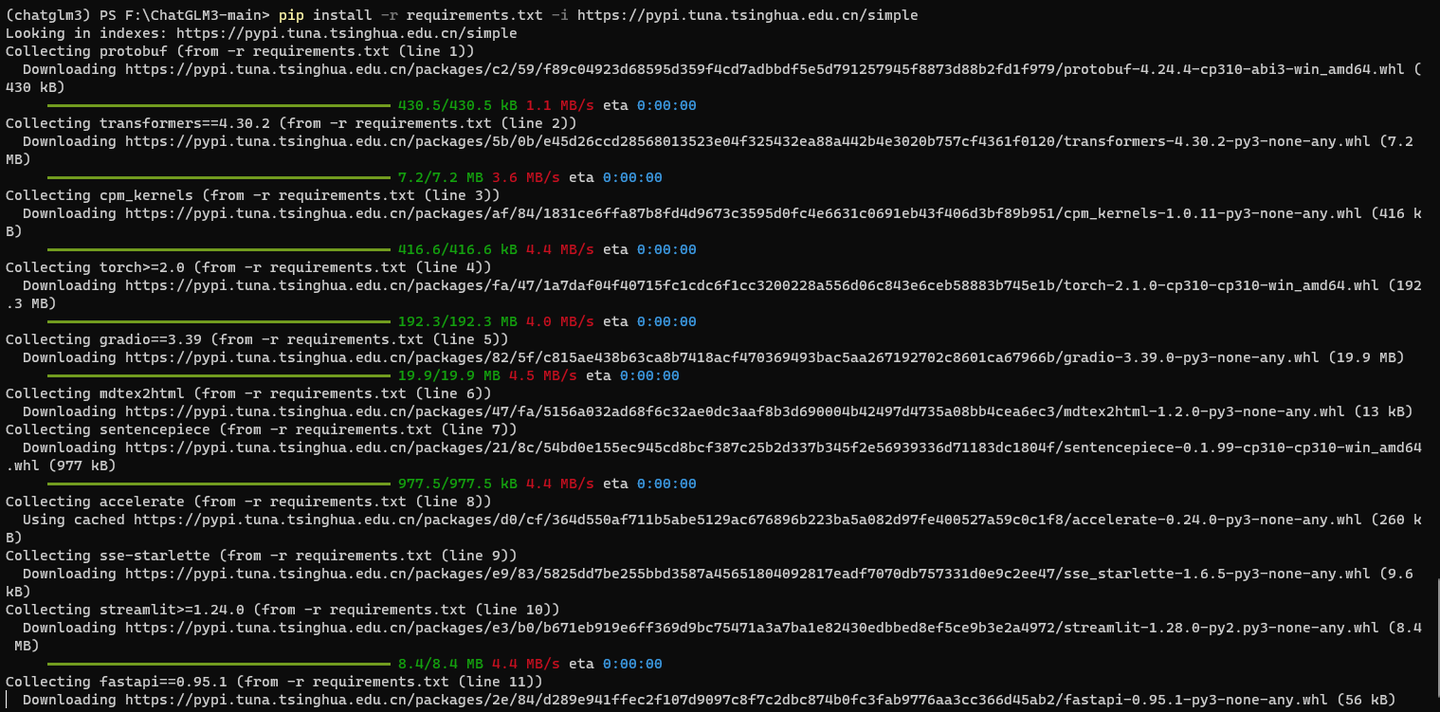
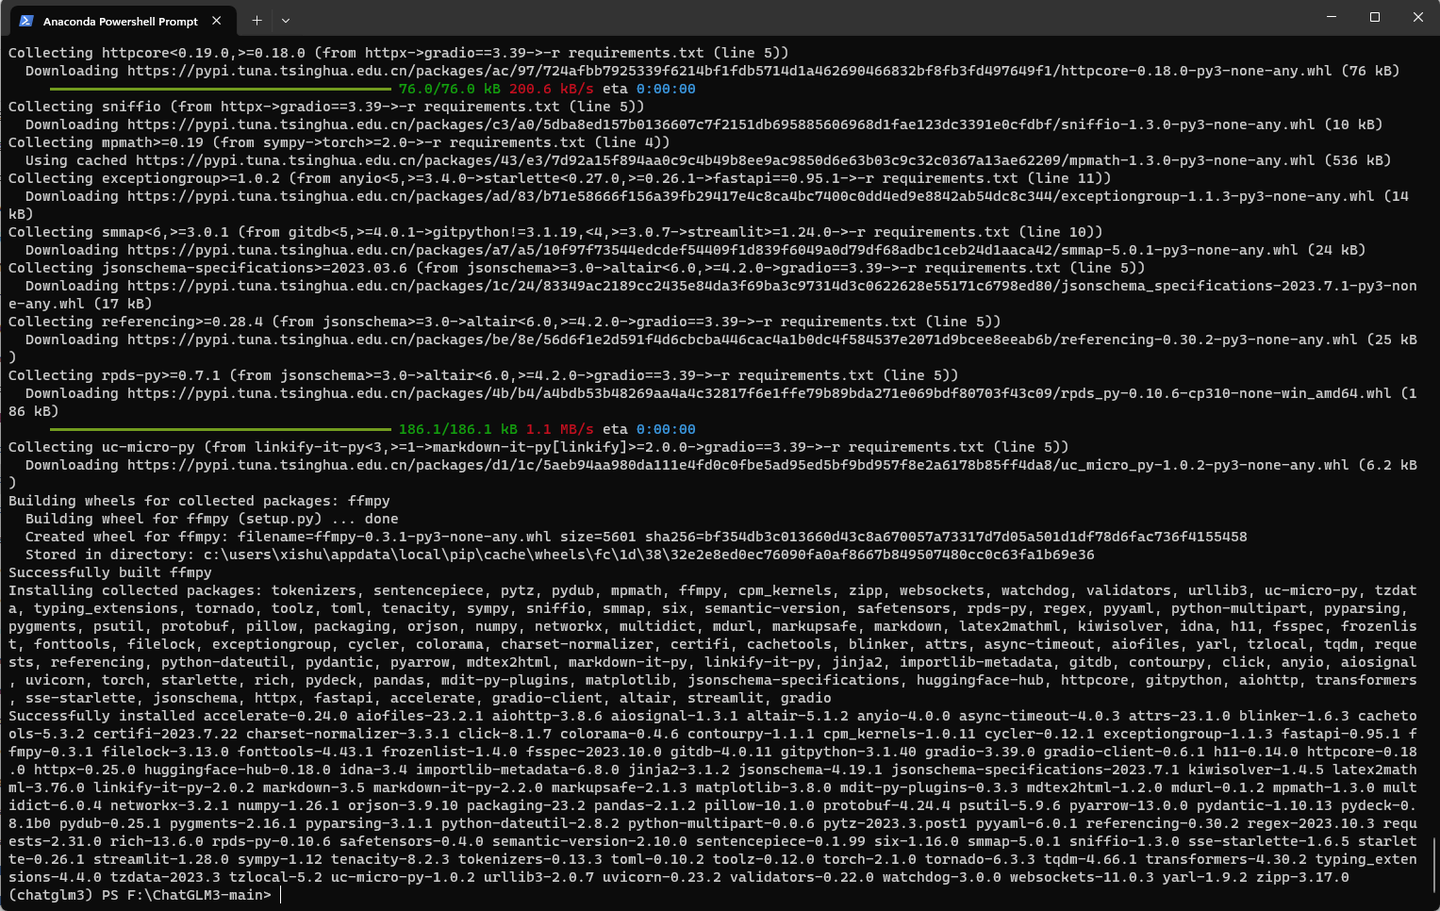
pip install -r requirements.txt -i https://pypi.tuna.tsinghua.edu.cn/simple
这里肯定安装了torch 2.1.0的CPU版本,记得要用 conda改成 GPU版本。
打开
根据:
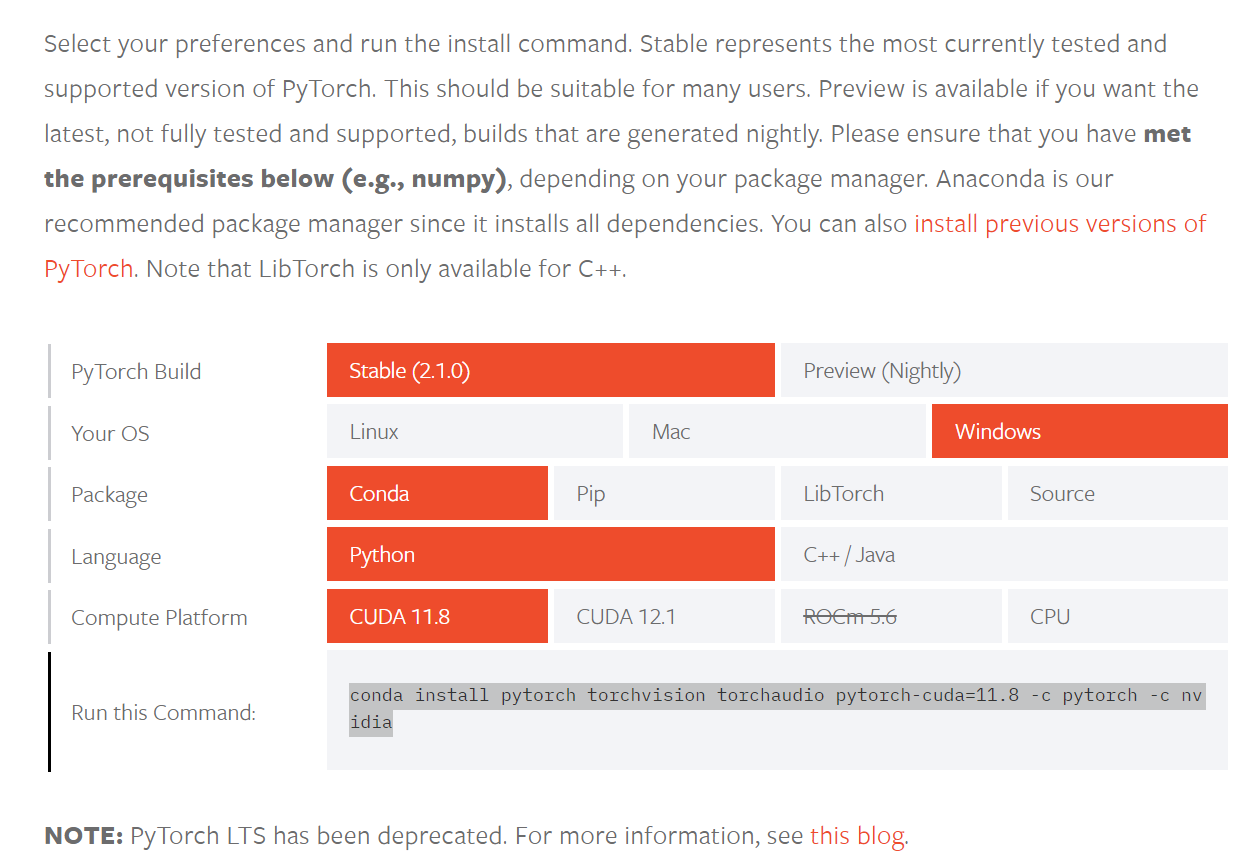
conda install pytorch torchvision torchaudio pytorch-cuda=11.8 -c pytorch -c nvidia


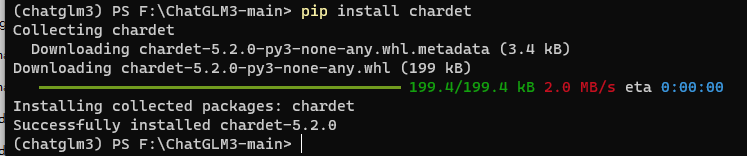
pip install chardet
在Python命令行执行以下脚本:
from transformers import AutoTokenizer, AutoModel
tokenizer = AutoTokenizer.from_pretrained("\\models\\THUDM\\chatglm3-6b", trust_remote_code=True)
model = AutoModel.from_pretrained("\\models\\THUDM\\chatglm3-6b", trust_remote_code=True, device='cuda')
model = model.eval()
response, history = model.chat(tokenizer, "你好", history=[])
print(response)
response, history = model.chat(tokenizer, "你能做什么", history=history)
print(response)
response, history = model.chat(tokenizer, "告诉我阿甘正传是一部什么电影", history=history)
print(response)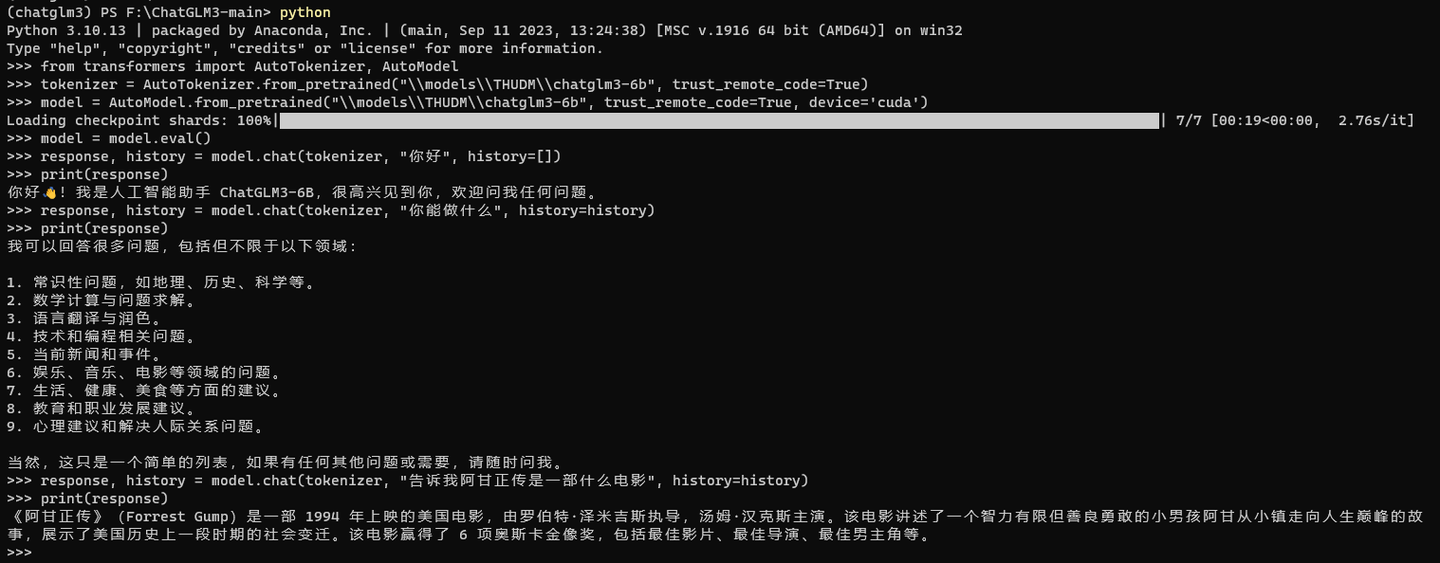
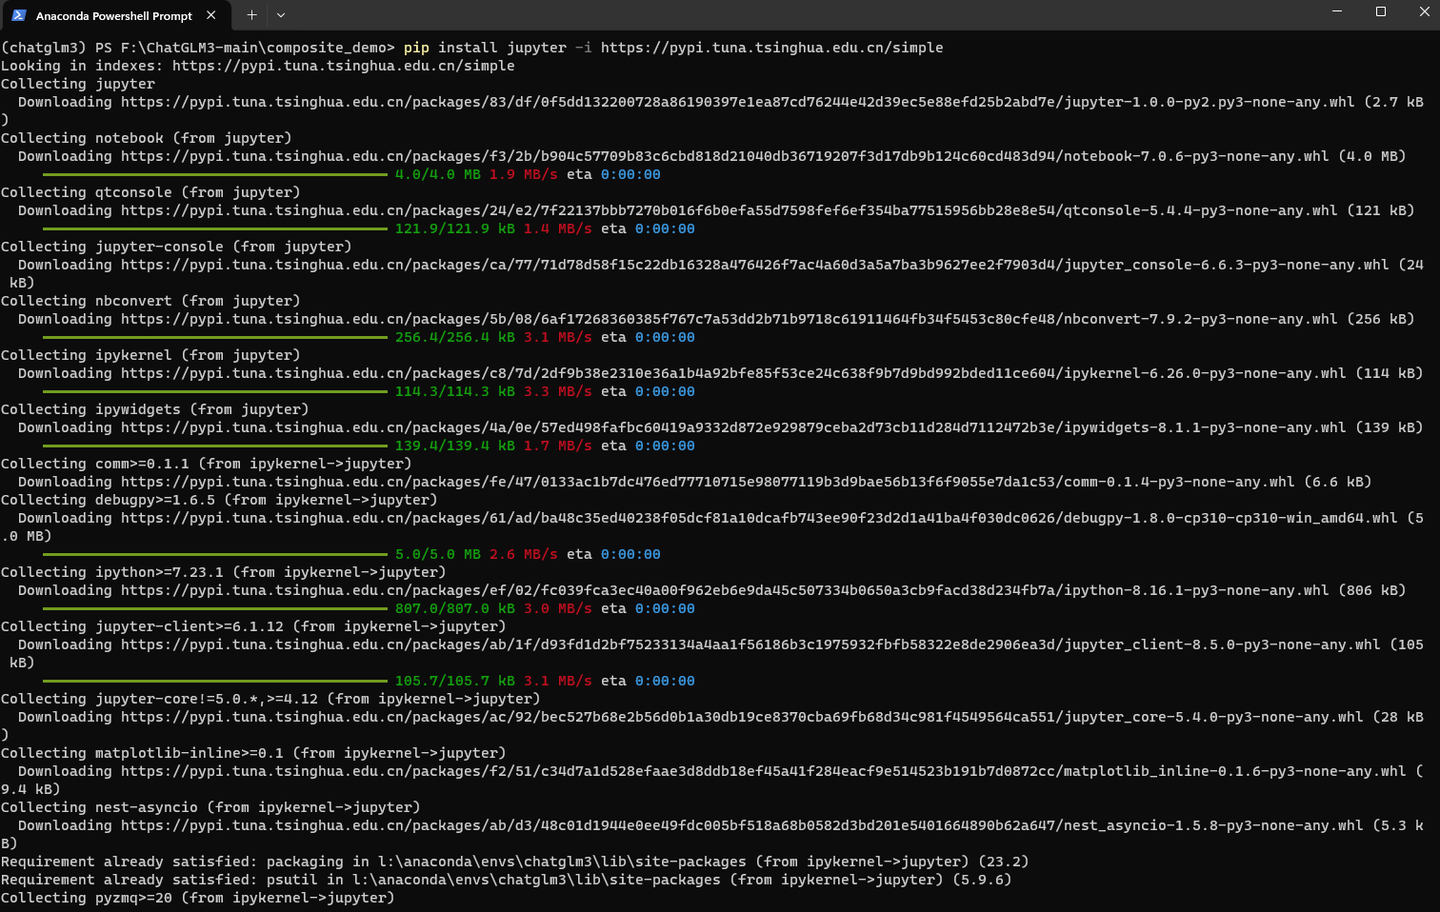
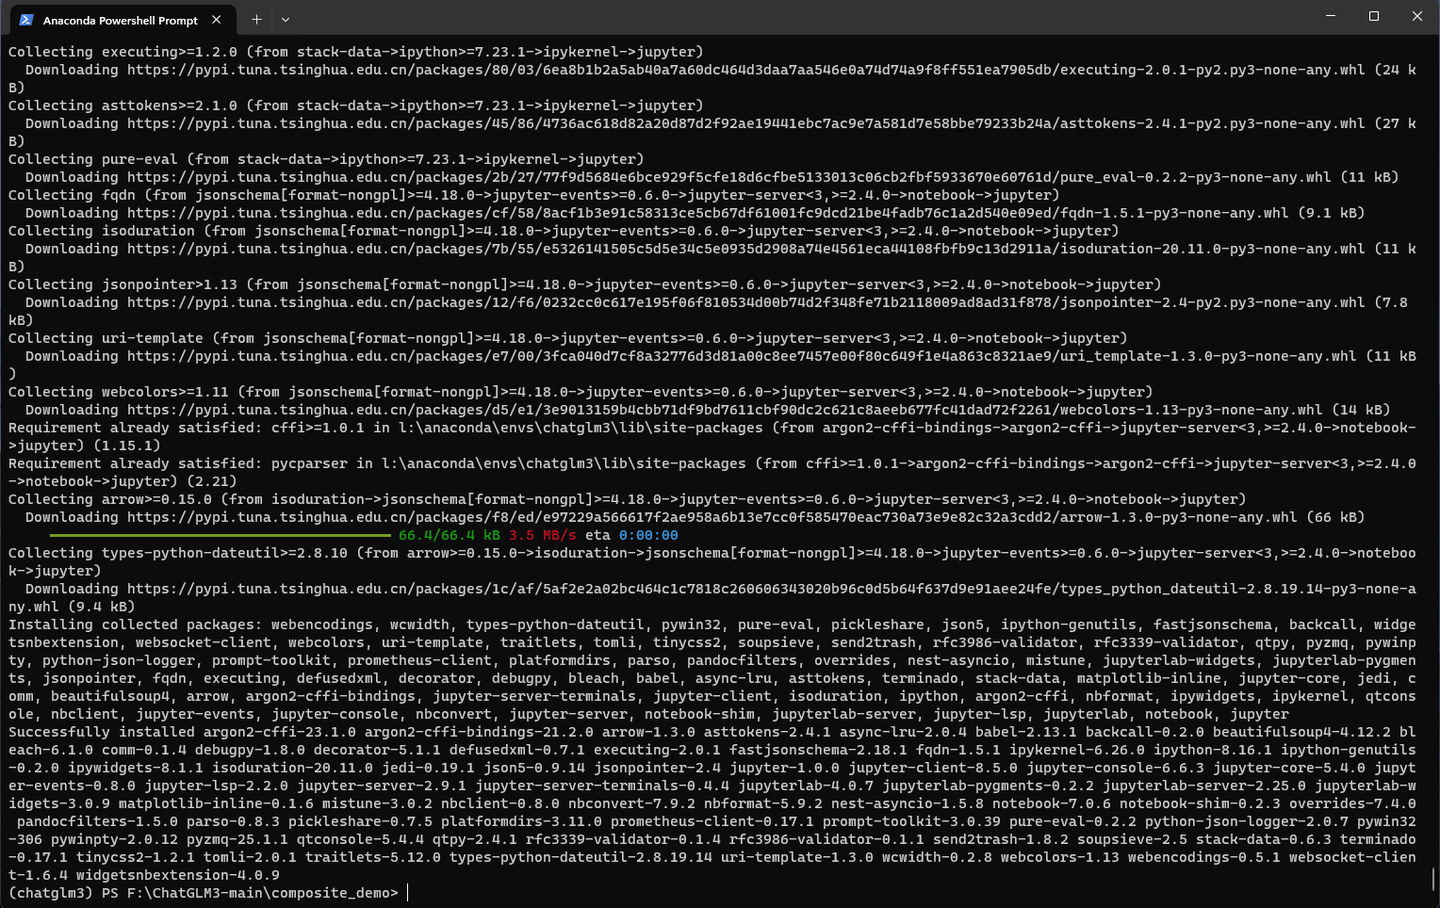
pip install jupyter -i https://pypi.tuna.tsinghua.edu.cn/simple
pip install jupyterlab -i https://pypi.tuna.tsinghua.edu.cn/simple
cd composite_demo
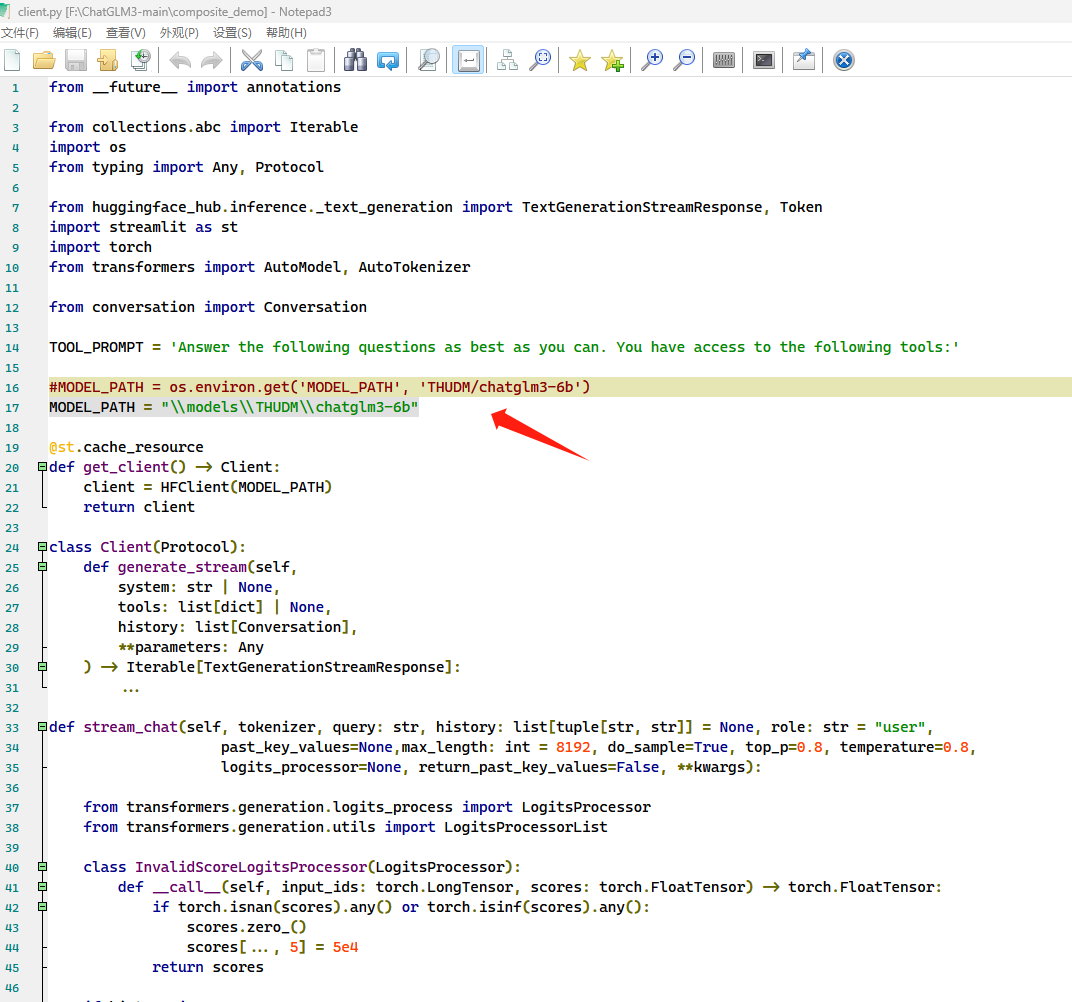
修改client.py
将
MODEL_PATH = os.environ.get('MODEL_PATH', 'THUDM/chatglm3-6b')
改为
MODEL_PATH = "\\models\\THUDM\\chatglm3-6b"
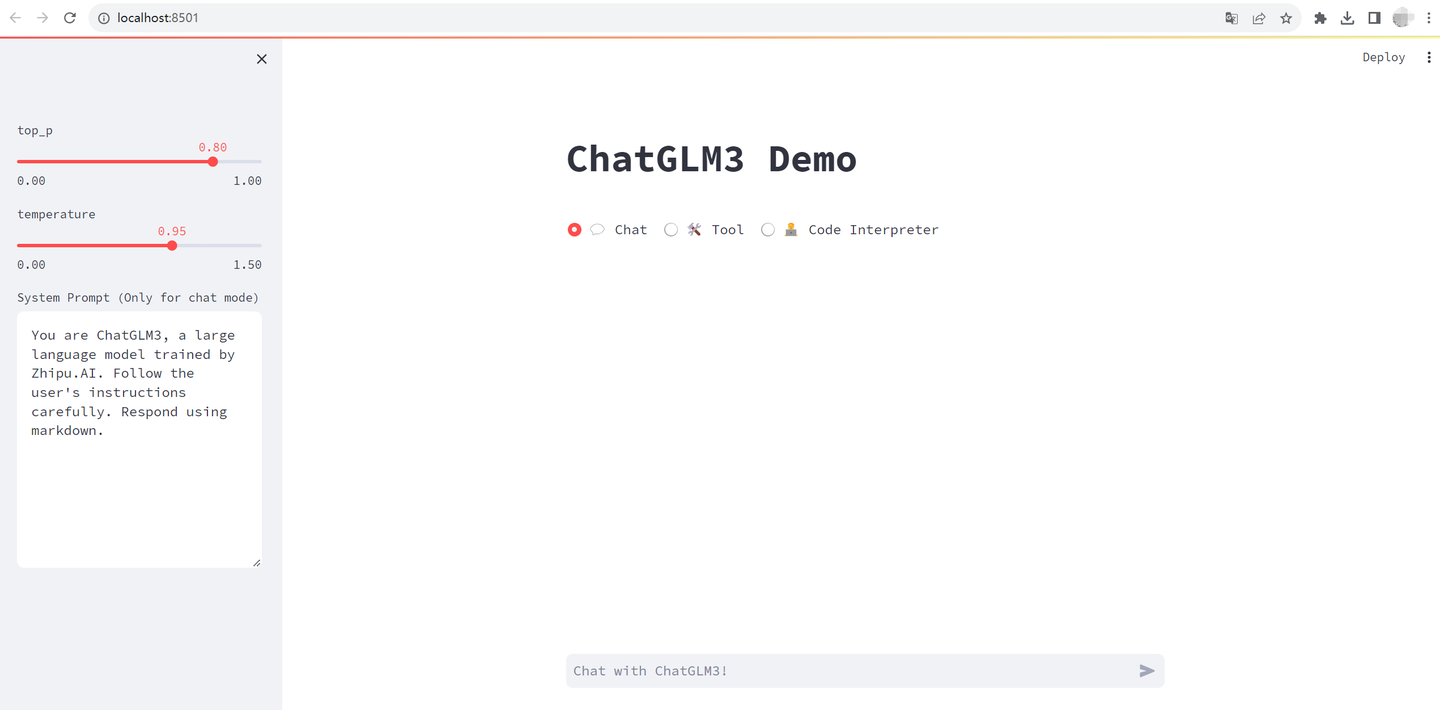
streamlit run main.py
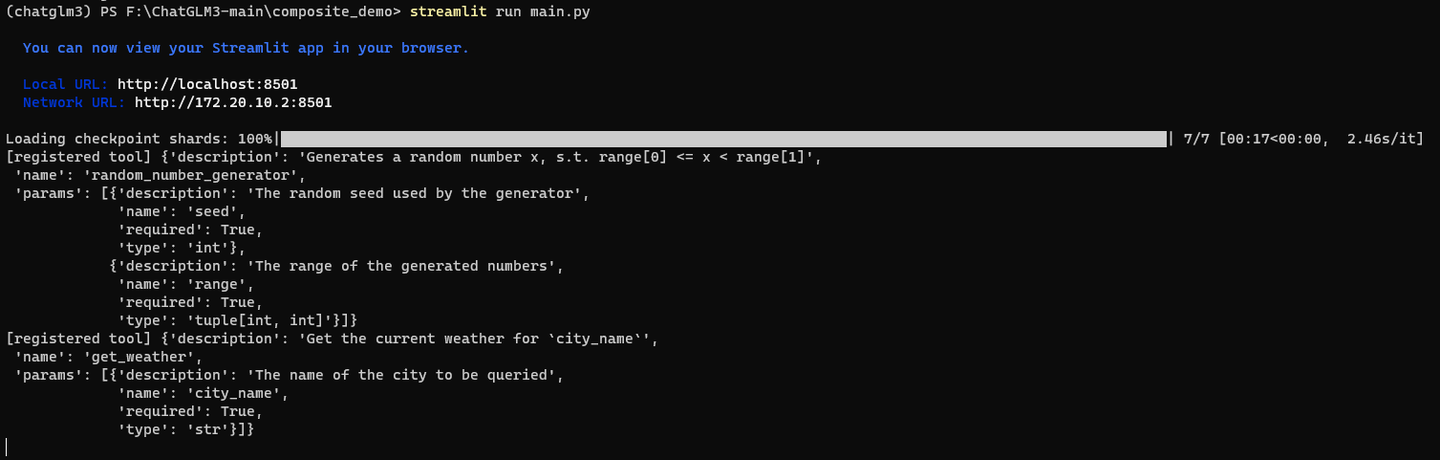
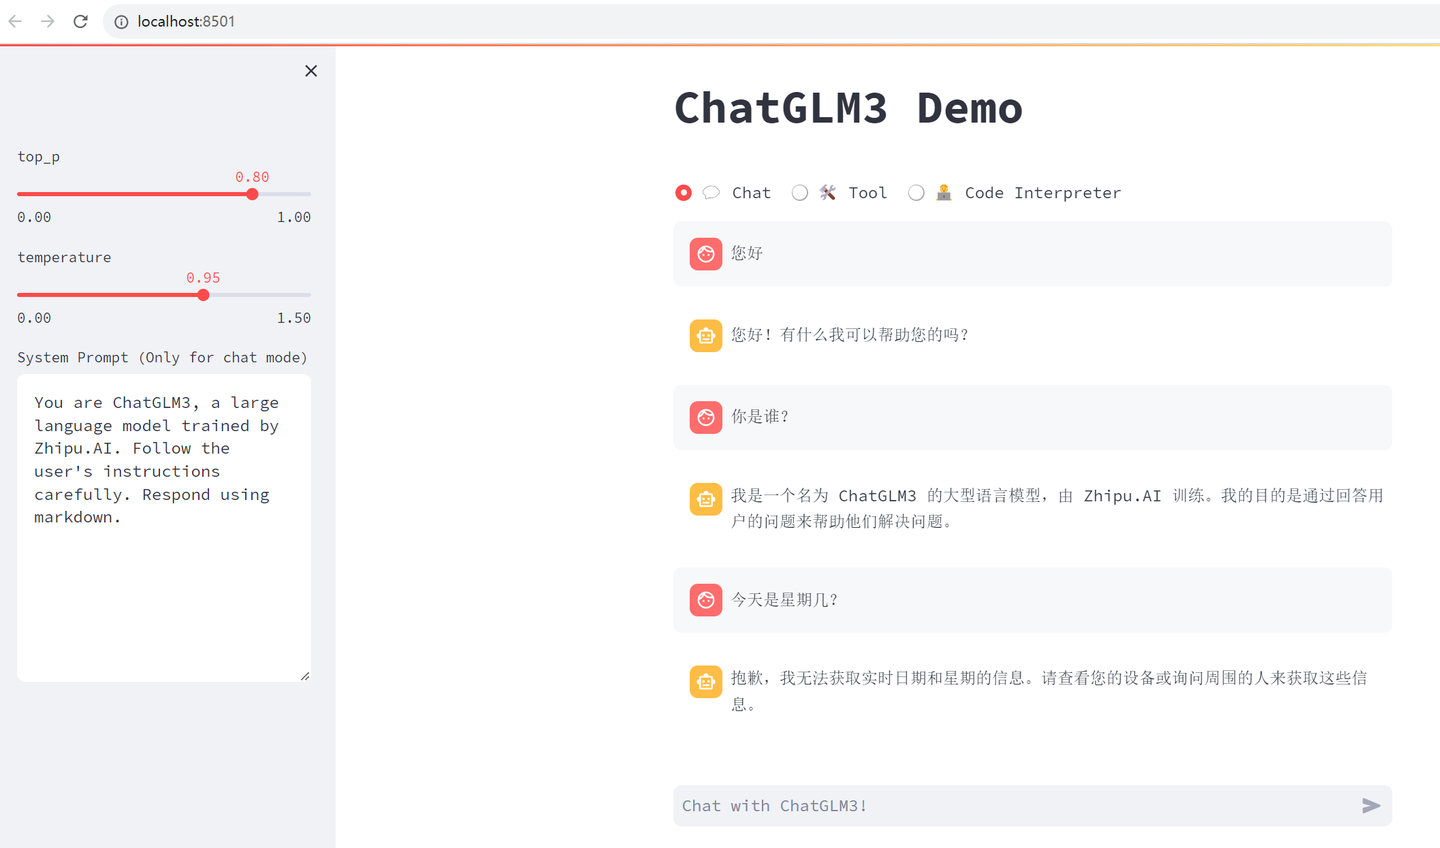
浏览器自动弹出:
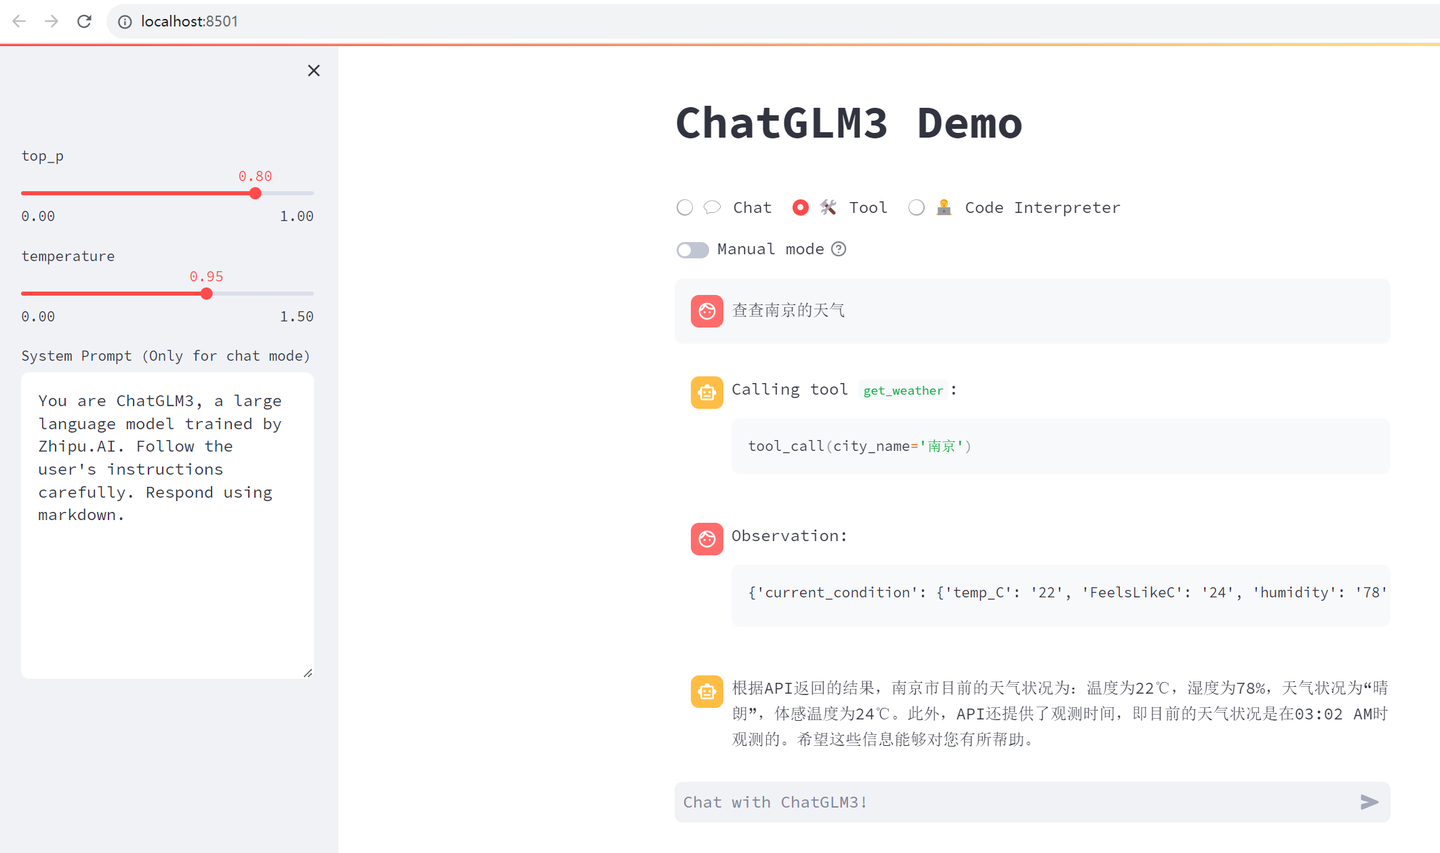
切换到Tool:
下面来试一下ChatGLM3能否嵌入到 LongChain-ChatChat中。
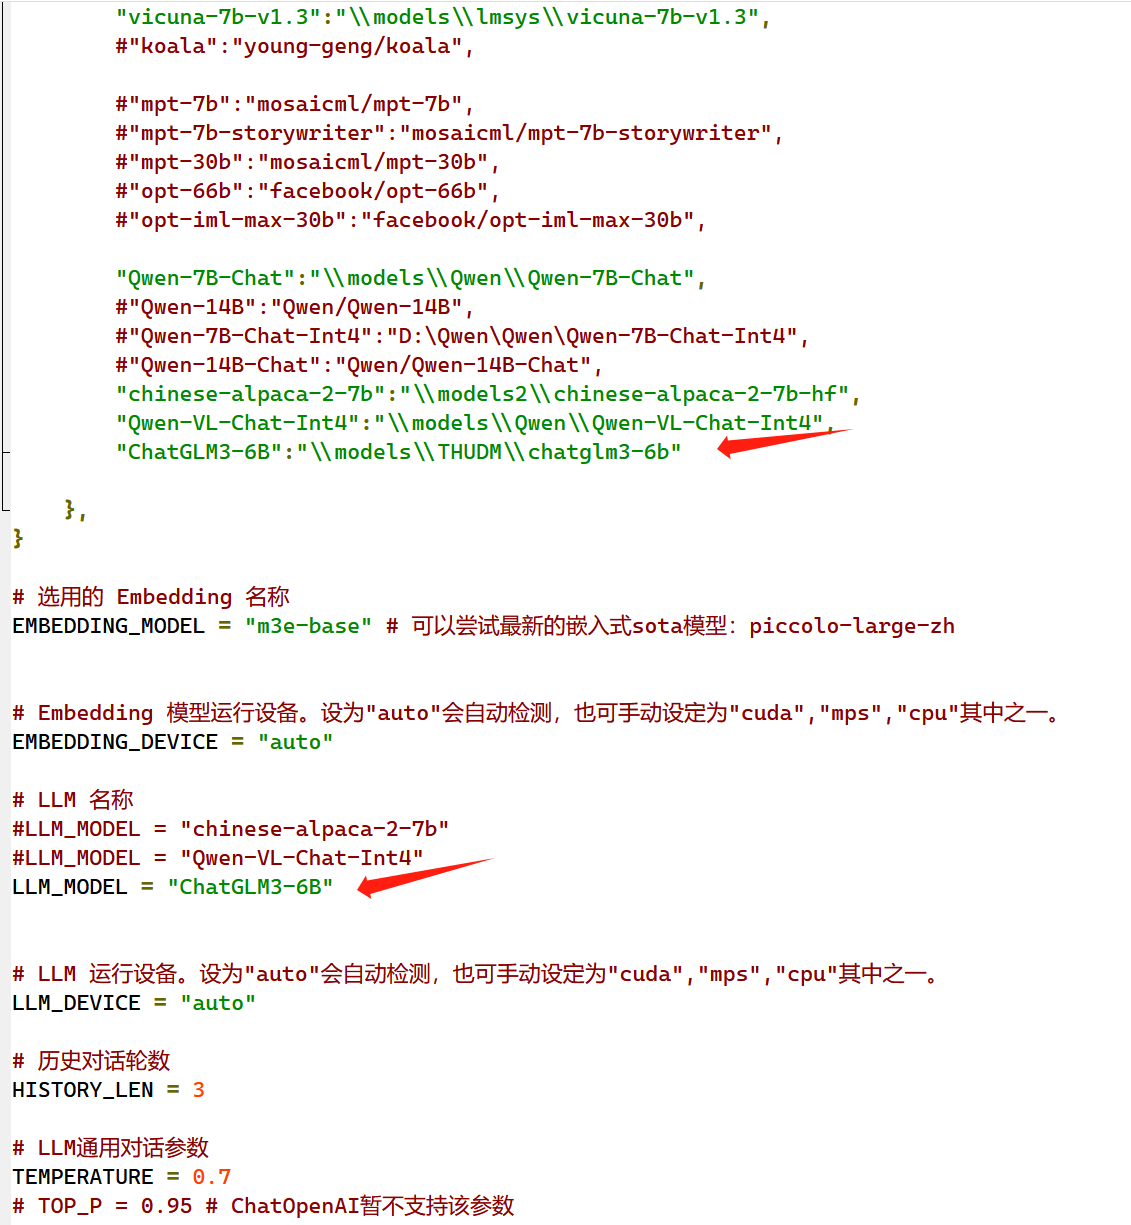
打开配置文件 F:\Langchain-Chatchat\configs\model_config.py
增加以下内容:
切换到chatchat conda环境
conda deactivate
conda activate chatchat
F:
cd \Langchain-Chatchat
python startup.py --all-webui
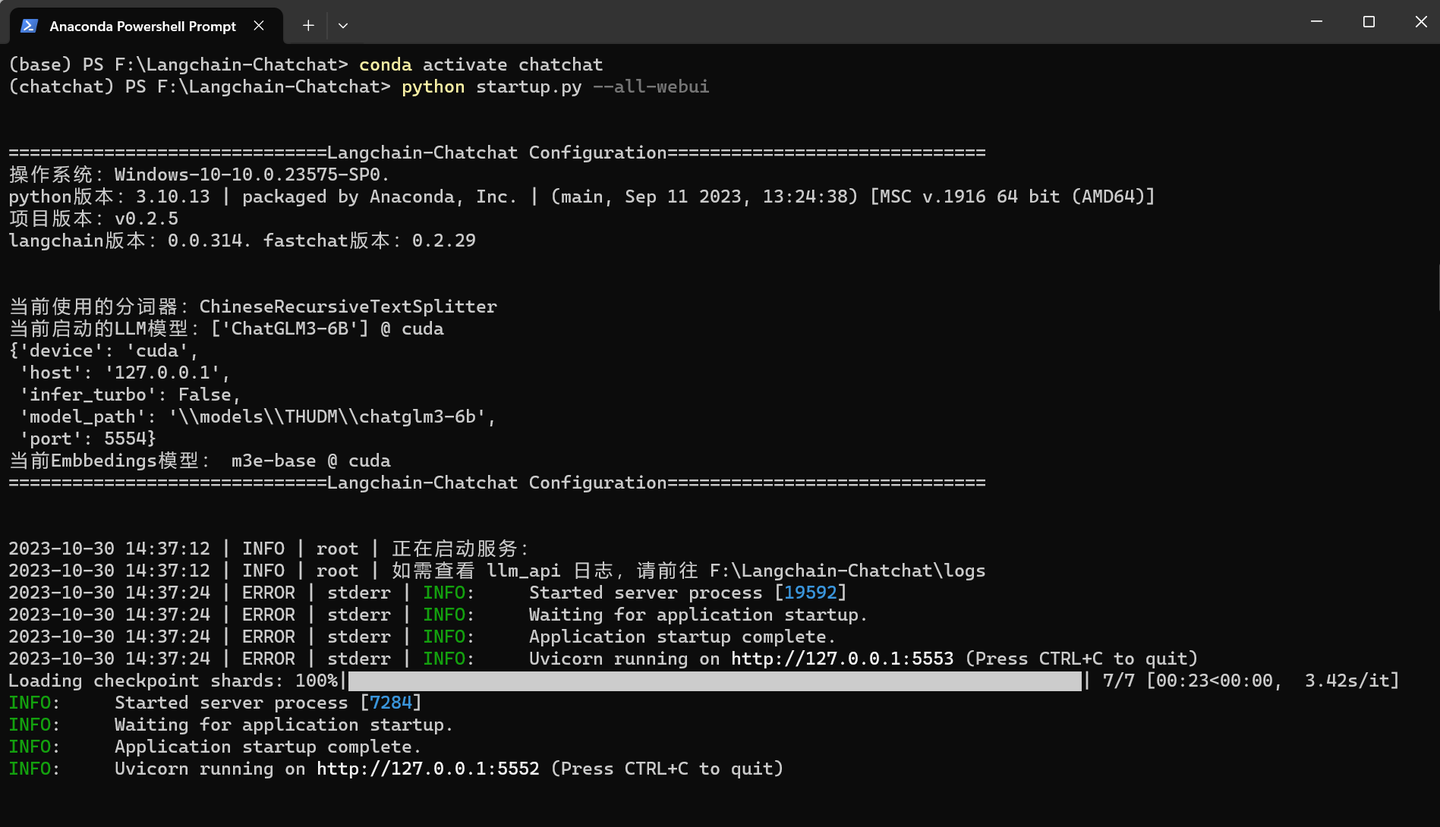
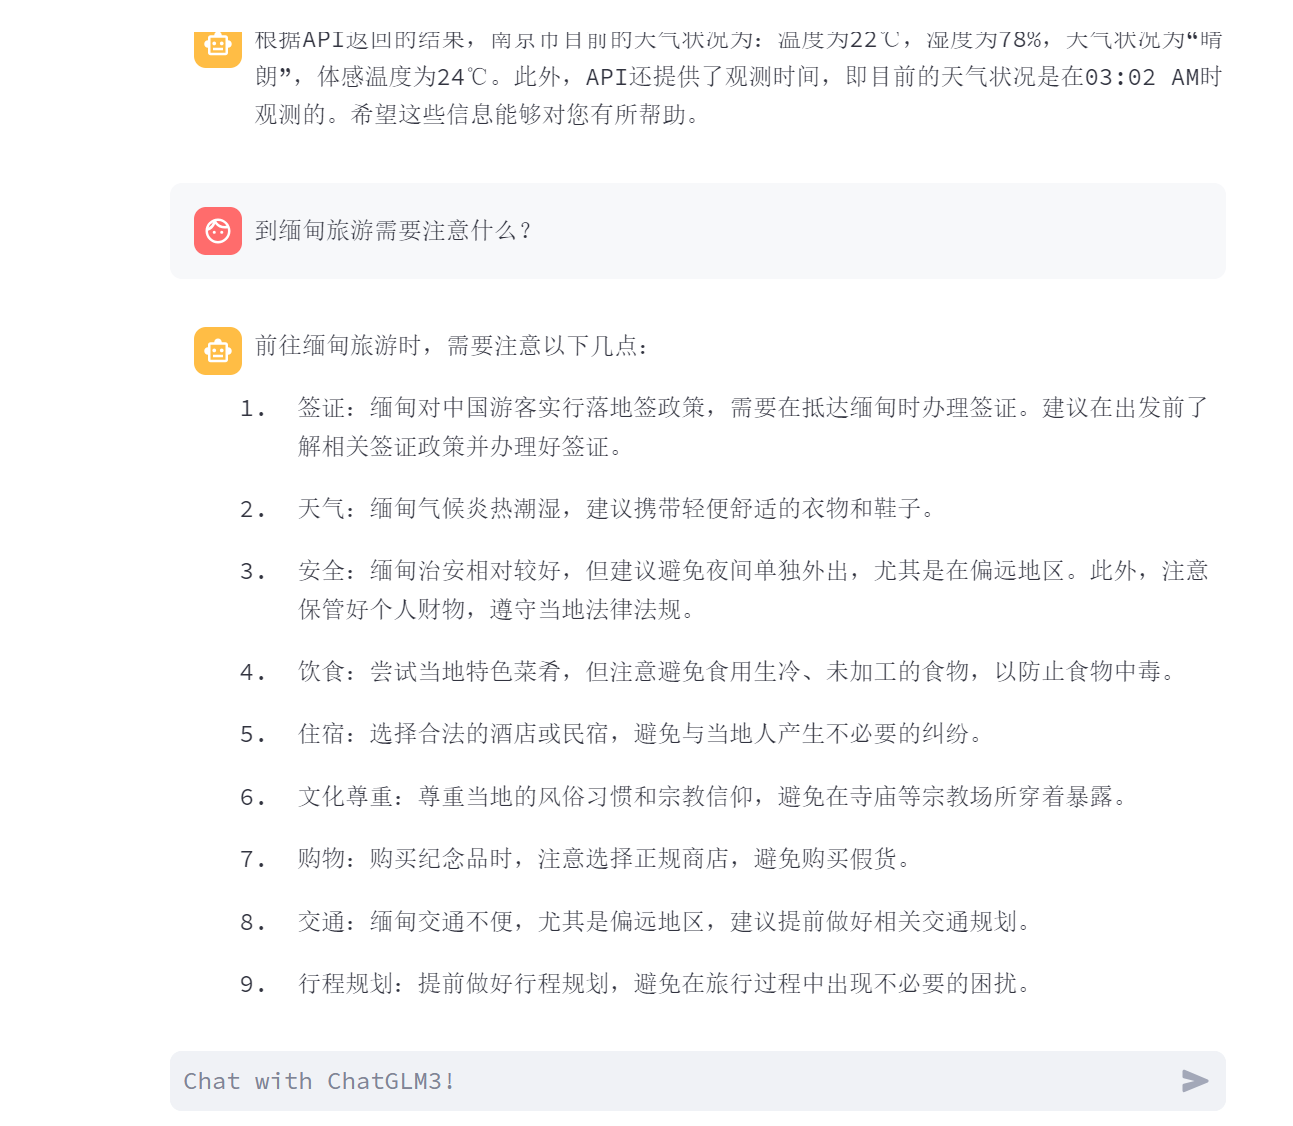
弹出窗口后,切换到 LLM对话模式:

居然能显示Latex公式。
百度了下 方程式:
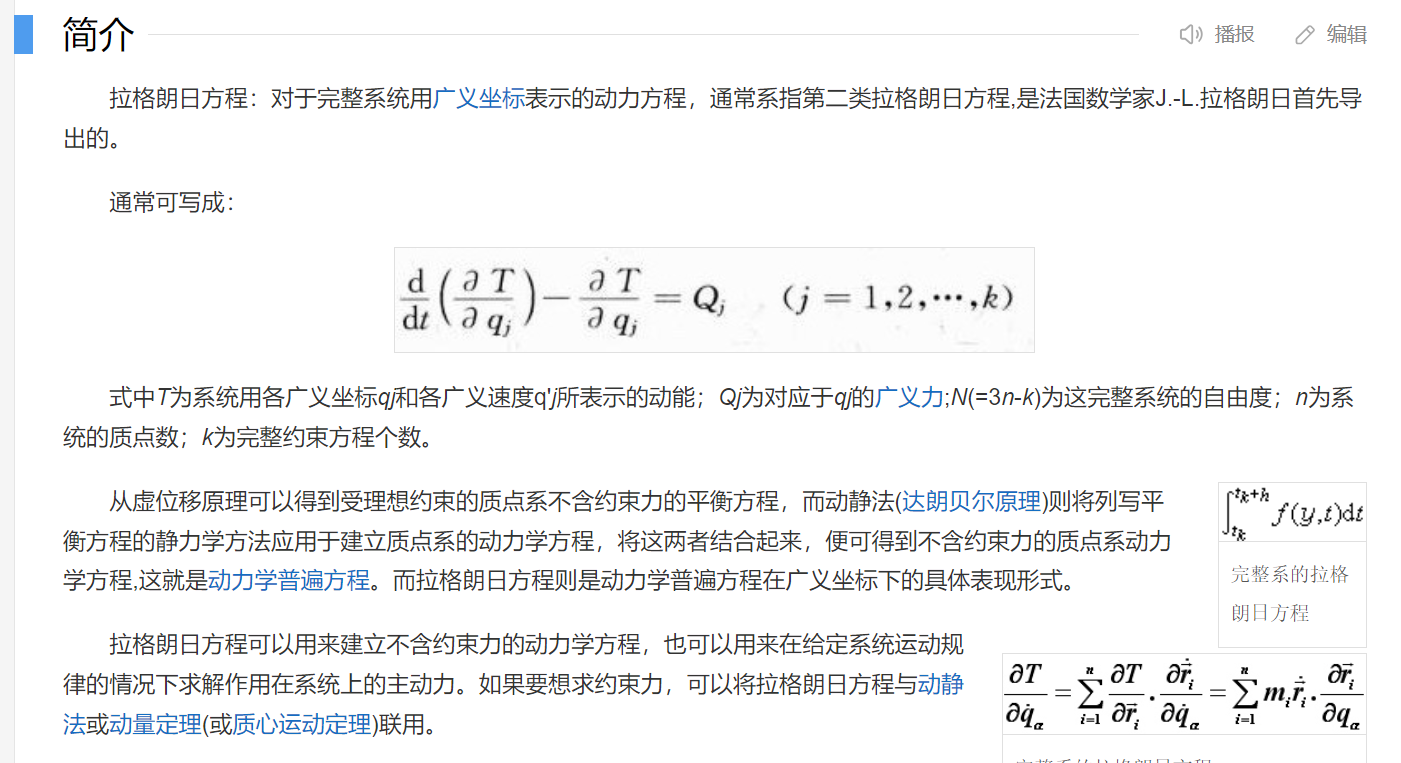
这个回答得对吗?
(全文完,谢谢阅读)

【声明】本内容来自华为云开发者社区博主,不代表华为云及华为云开发者社区的观点和立场。转载时必须标注文章的来源(华为云社区)、文章链接、文章作者等基本信息,否则作者和本社区有权追究责任。如果您发现本社区中有涉嫌抄袭的内容,欢迎发送邮件进行举报,并提供相关证据,一经查实,本社区将立刻删除涉嫌侵权内容,举报邮箱:
cloudbbs@huaweicloud.com
- 点赞
- 收藏
- 关注作者
评论(0)