大模型部署手记(16)ChatGLM2+Ubuntu+LongChain-ChatChat

【摘要】 大模型部署手记(16)ChatGLM2+Ubuntu+LongChain-ChatChat

1.简介:
组织机构:智谱/清华
模型:THUDM/chatglm2-6b Embedding 模型moka-ai/m3e-base
硬件环境:暗影精灵7Plus
Ubuntu版本:18.04
内存 32G
GPU显卡:Nvidia GTX 3080 Laptop (16G)
2.代码和模型下载:
参考 https://bbs.huaweicloud.com/blogs/412386 下载 THUDM/chatglm2-6b模型。
想办法去下载一下:https://huggingface.co/moka-ai/m3e-base
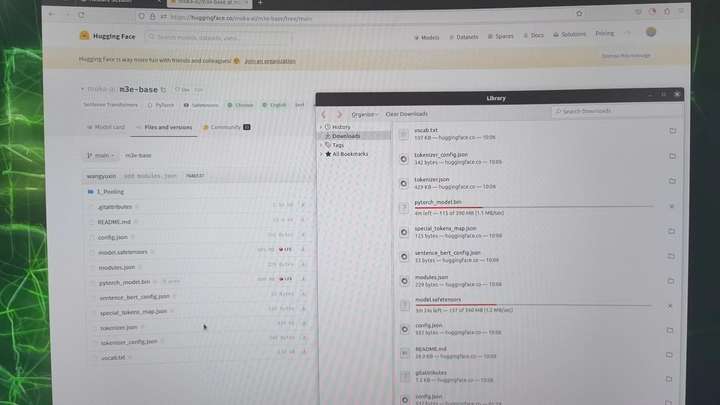
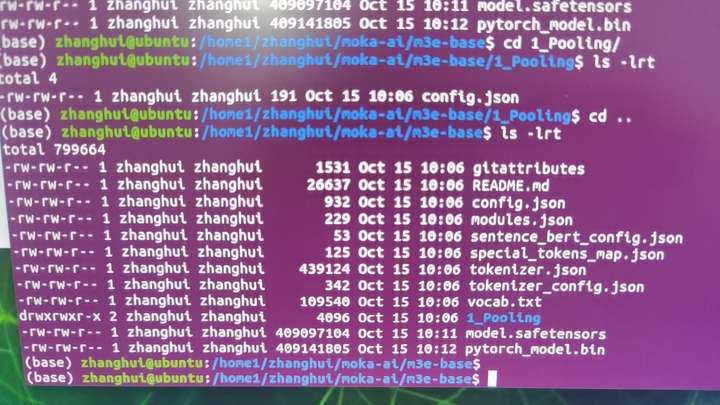
注意这个模型还有一个1_Pooling的子目录需要下载。
cd ~
git clone https://github.com/chatchat-space/Langchain-Chatchat

3.安装依赖
参考 https://zhuanlan.zhihu.com/p/651189680
"本项目已在 Python 3.8.1 - 3.10,CUDA 11.7 环境下完成测试。已在 Windows、ARM 架构的 macOS、Linux 系统中完成测试。"
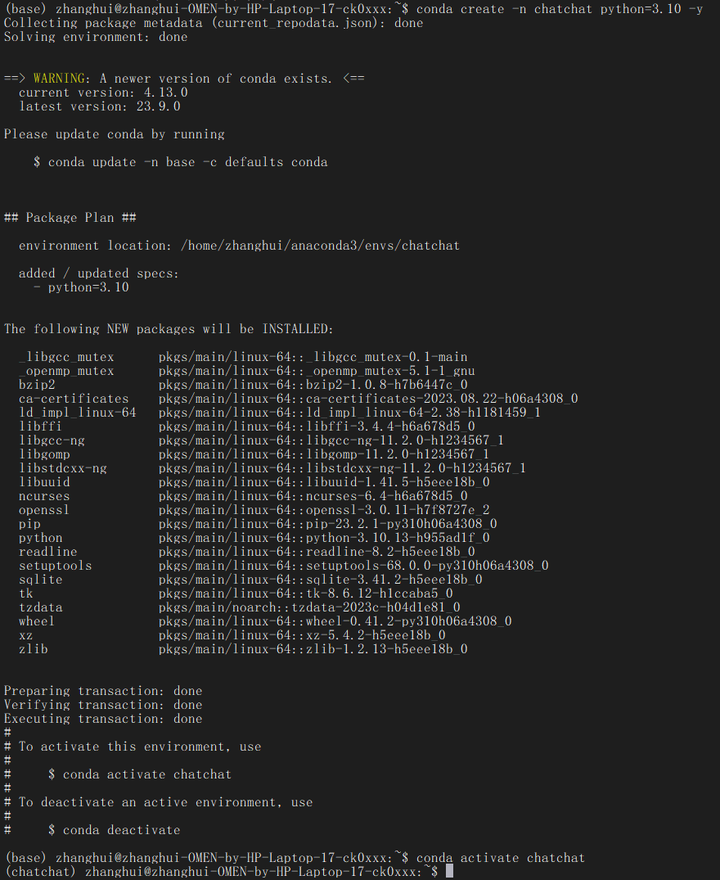
创建一个conda Python3.10的环境:
conda create -n chatchat python=3.10 -y
conda activate chatchat
cd ~/Langchain-Chatchat
编辑 requirements.txt
先去掉torch的这几个软件,单独安装:
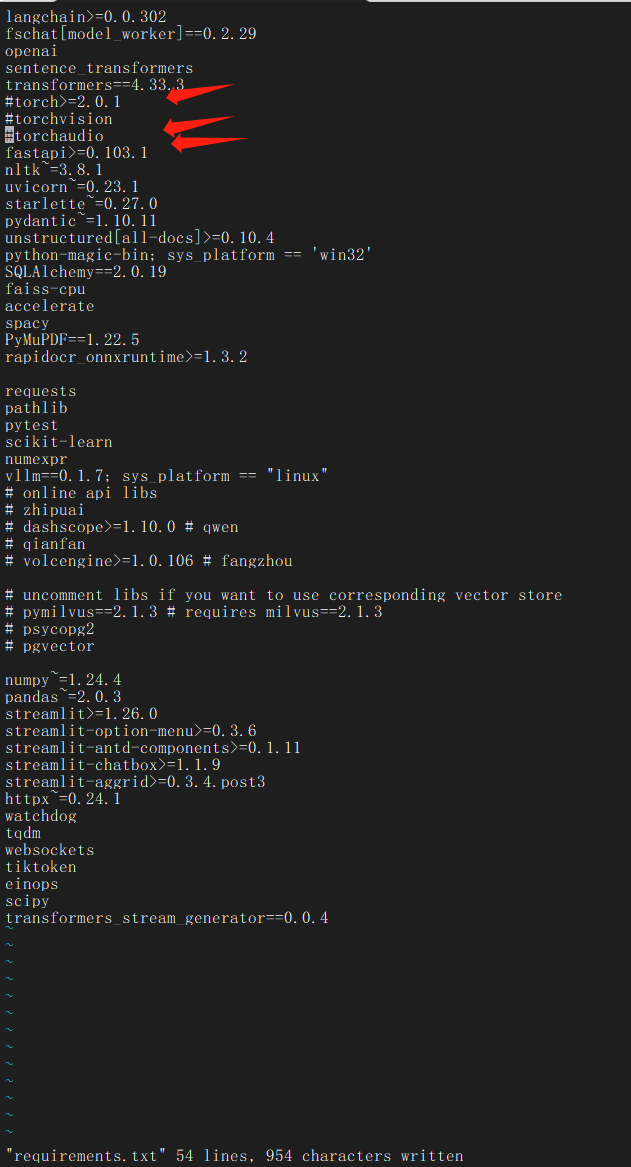
安装pytorch相关:
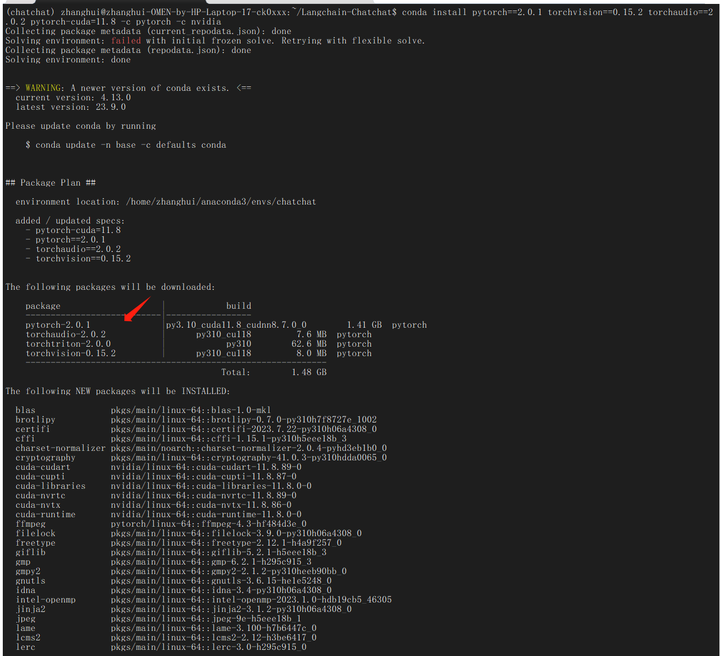
conda install pytorch==2.0.1 torchvision==0.15.2 torchaudio==2.0.2 pytorch-cuda=11.8 -c pytorch -c nvidia

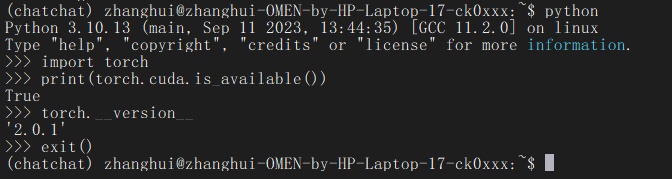
python
import torch
print(torch.cuda.is_available())
安装依赖:
cd ~/Langchain-Chatchat
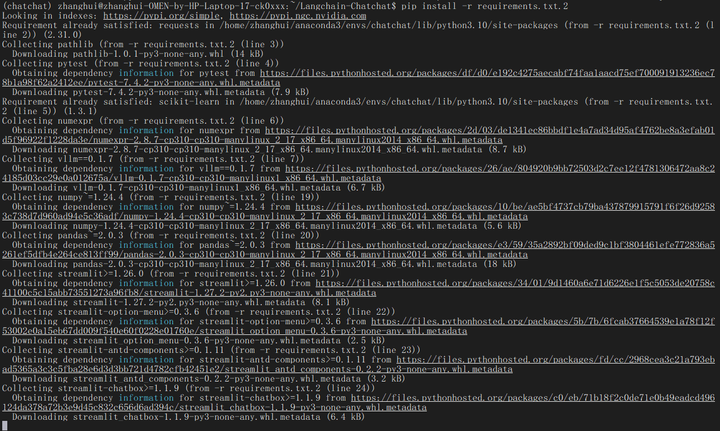
pip install -r requirements.txt
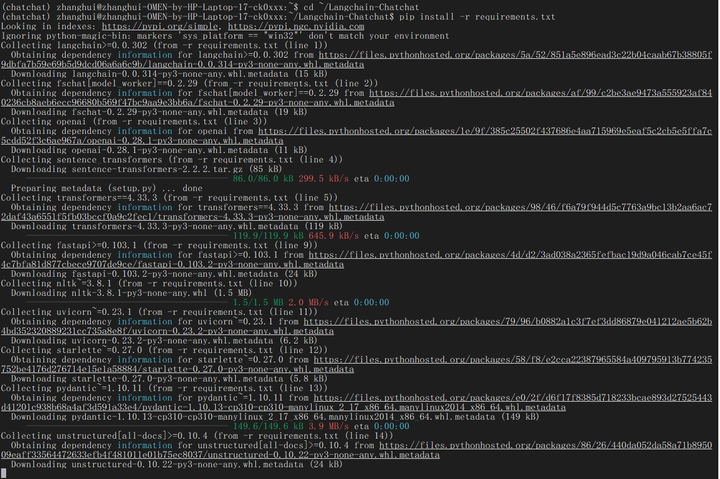
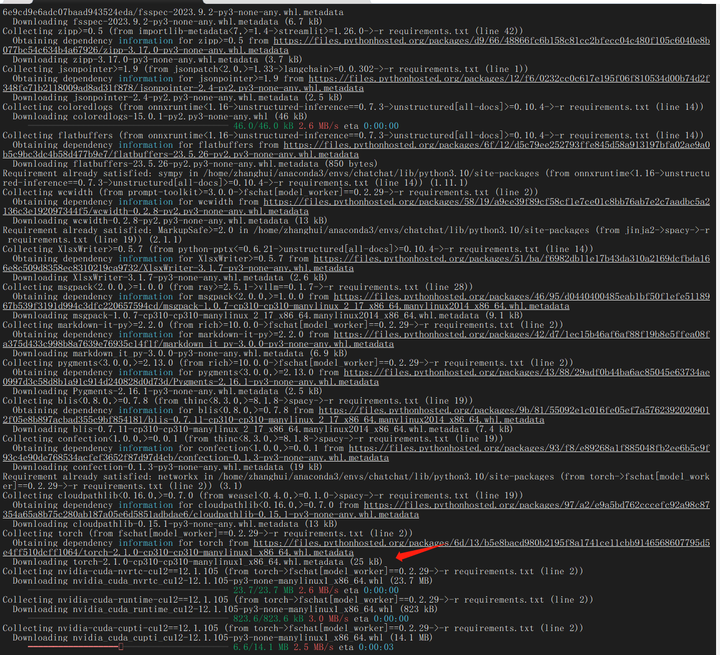
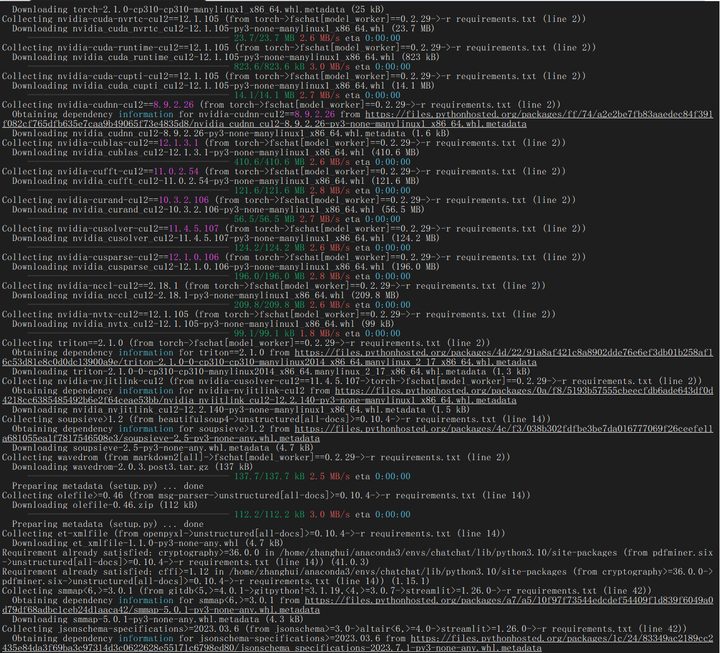
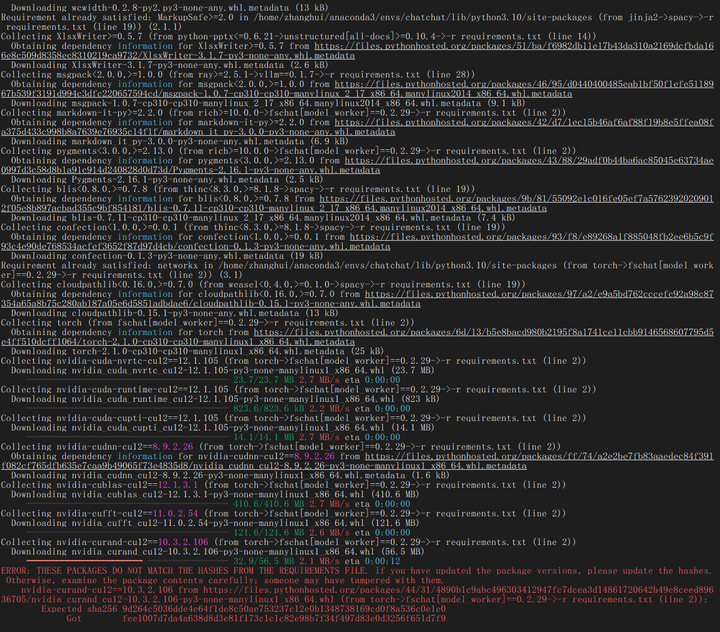
pip安装老报错。我们把requiresments.txt切割下,分批安装吧!

pip install -r requirements.txt.1
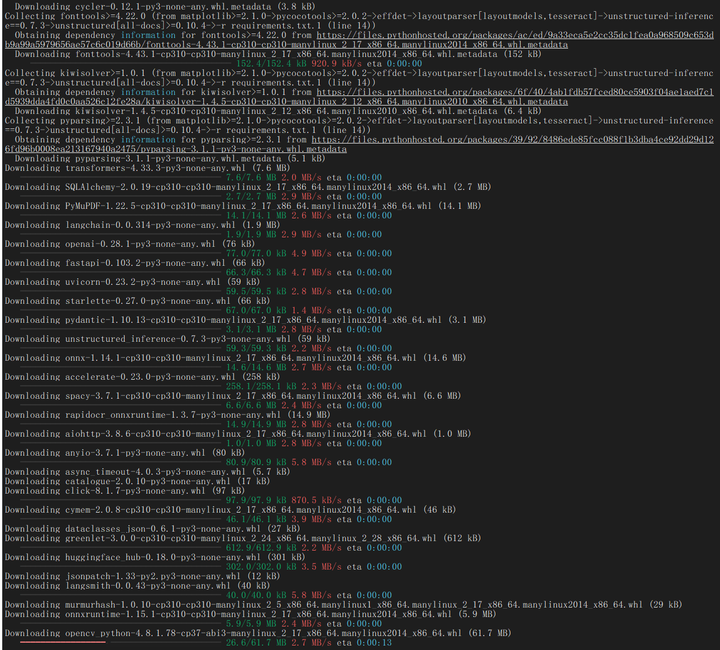
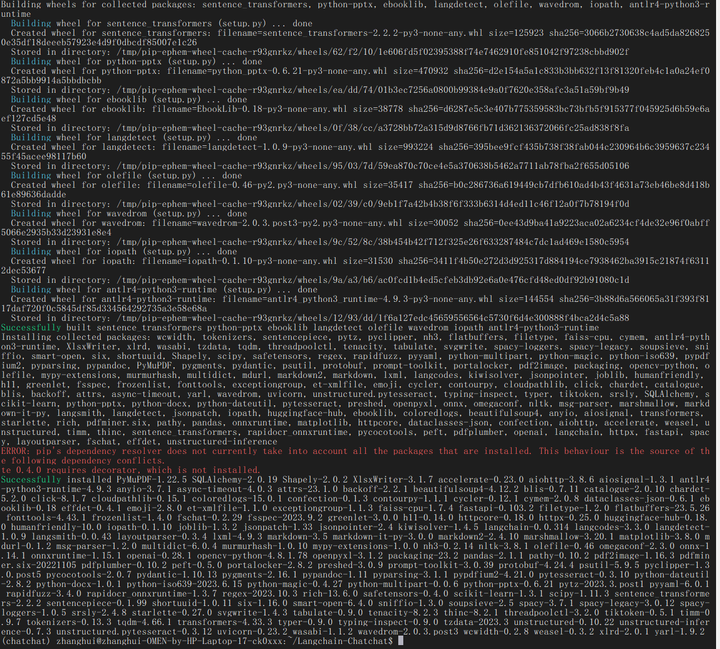
pip install -r requirements.txt.2
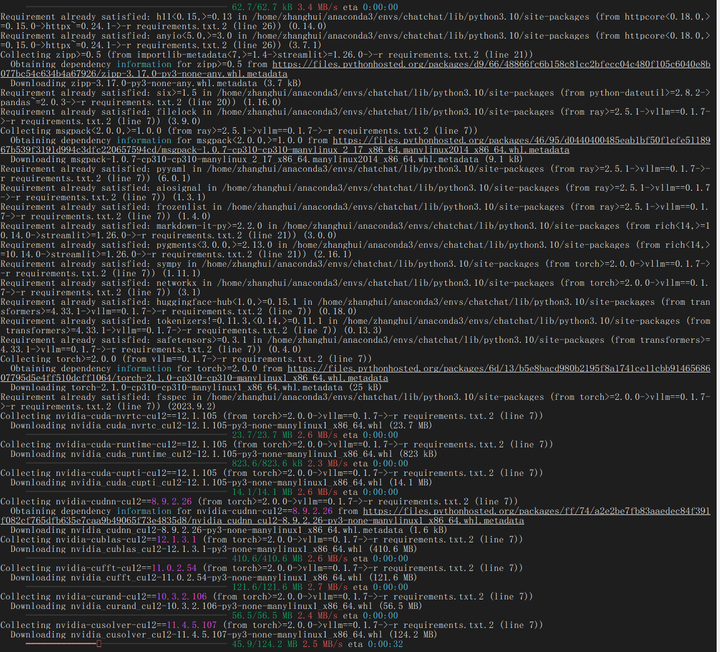
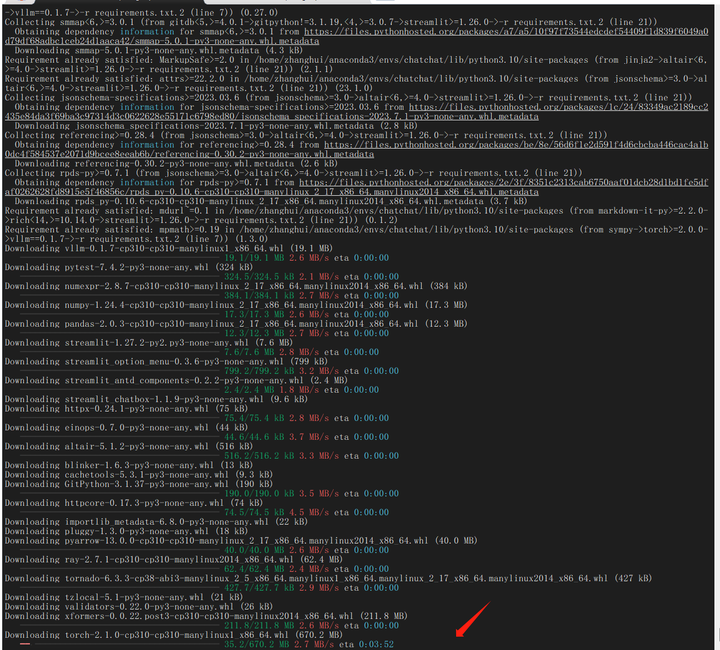
对于这个软件依赖的安装真的不能急了。明明把torch做成了手工conda安装,它还是要安装了cpu版的torch 2.1.0...应该是装xformers库的时候搞的。。

有点无语了。

当前环境torch还支持CUDA吗?
python
import torch
print(torch.cuda.is_available())

居然还支持。真的难得。
4.部署验证
配置文件:
mkdir .config
cp configs/model_config.py.example .config/model_config.py
cp configs/server_config.py.example .config/server_config.py

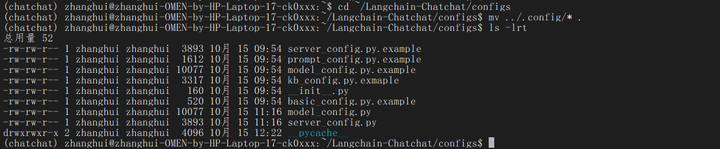
(后来发现,应该直接拷贝到configs目录下)
cd ~/Langchain-Chatchat/configs
mv ../.config/* .
其中:
model_config.py
embedding模型设置如下:
EMBEDDING_MODEL = "m3e-base"
llm模型设置如下:
关注 chatglm2-6b
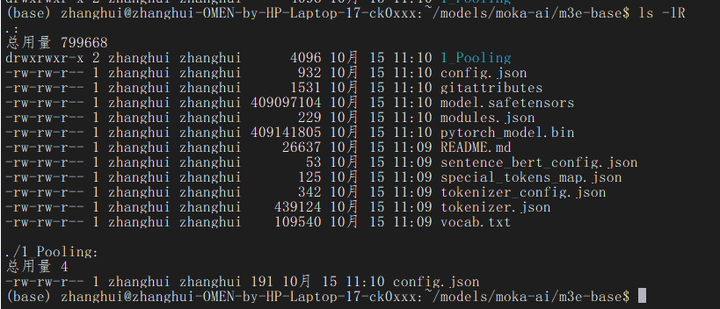
前面的模型移动到 /home/zhanghui/Langchain-Chatchat/models 目录下:
cd /home/zhanghui/models
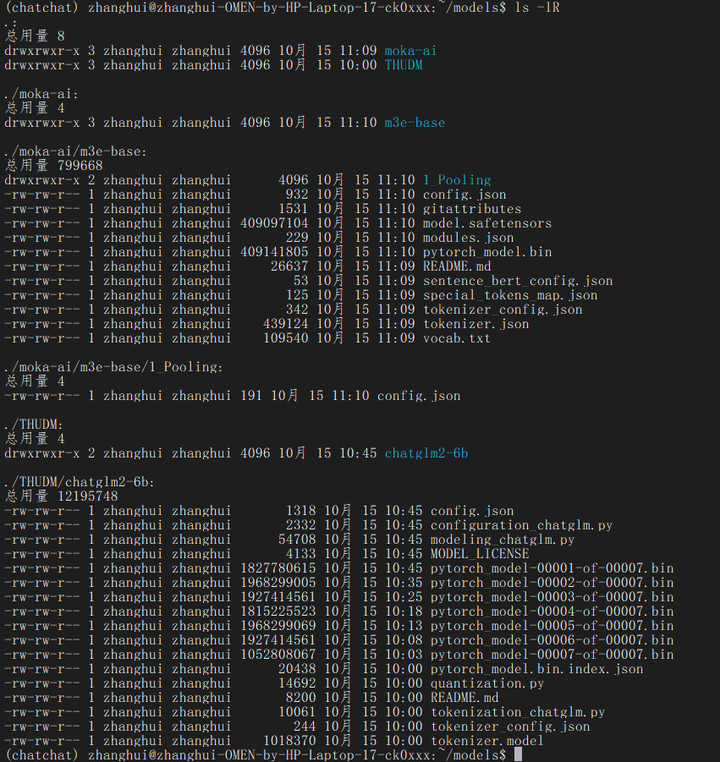
已下载至本地的 LLM 模型本地存储路径(请使用绝对路径)写在MODEL_PATH对应模型位置
/home/zhanghui/models/THUDM/chatglm2-6b
已下载至本地的 Embedding 模型本地存储路径写在MODEL_PATH对应模型位置
/home/zhanghui/models/moka-ai/m3e-base
对model_config.py文件做以下修改(改为绝对路径)
初始化知识库:
cd ~/Langchain-Chatchat/
python init_database.py --recreate-vs

试试这个:
pip install configs

python init_database.py --recreate-vs

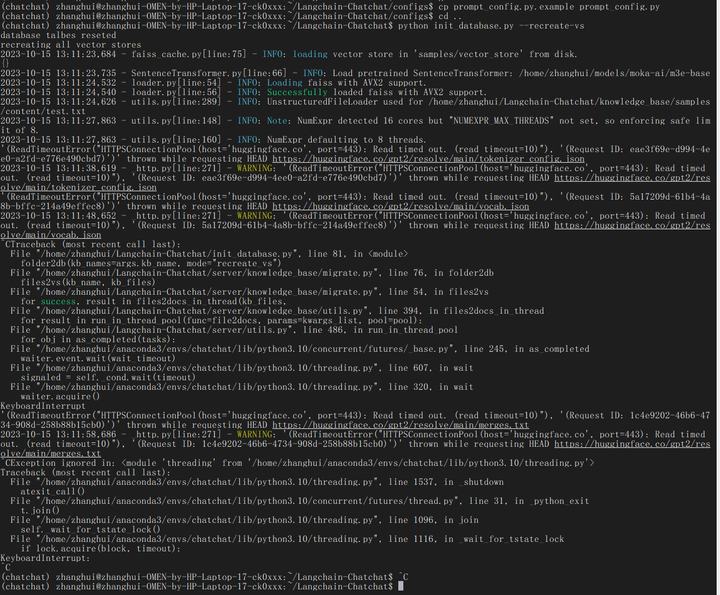
(chatchat) zhanghui@zhanghui-OMEN-by-HP-Laptop-17-ck0xxx:~/Langchain-Chatchat$ python init_database.py --recreate-vs
Traceback (most recent call last):
  File "/home/zhanghui/Langchain-Chatchat/init_database.py", line 1, in <module>
    from server.knowledge_base.migrate import create_tables, reset_tables, folder2db, prune_db_docs, prune_folder_files
  File "/home/zhanghui/Langchain-Chatchat/server/knowledge_base/migrate.py", line 1, in <module>
    from configs import (EMBEDDING_MODEL, DEFAULT_VS_TYPE, ZH_TITLE_ENHANCE,
  File "/home/zhanghui/Langchain-Chatchat/configs/__init__.py", line 1, in <module>
    from .basic_config import *
ModuleNotFoundError: No module named 'configs.basic_config'
好像装了也没用。
cd config
cp basic_config.py.example basic_config.py
cp kb_config.py.exmaple kb_config.py
cp prompt_config.py.example prompt_config.py
cd ..
python init_database.py --recreate-vs
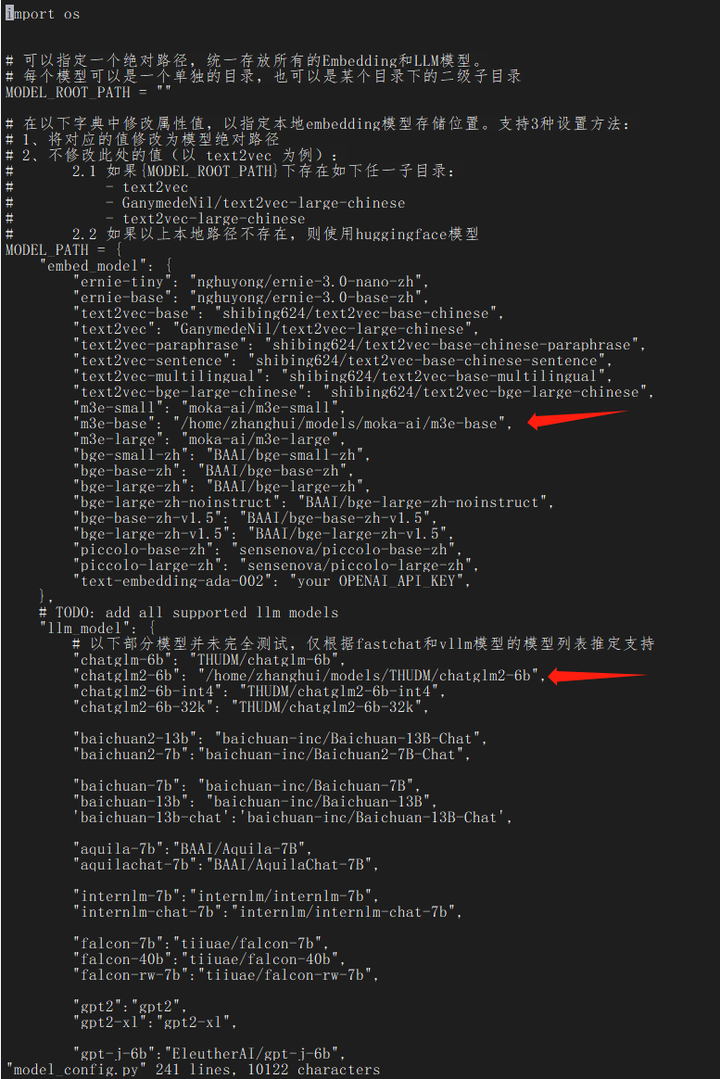
把model_config.py中不是本地的模型都删掉:
import os
# 可以指定一个绝对路径,统一存放所有的Embedding和LLM模型。
# 每个模型可以是一个单独的目录,也可以是某个目录下的二级子目录
MODEL_ROOT_PATH = ""
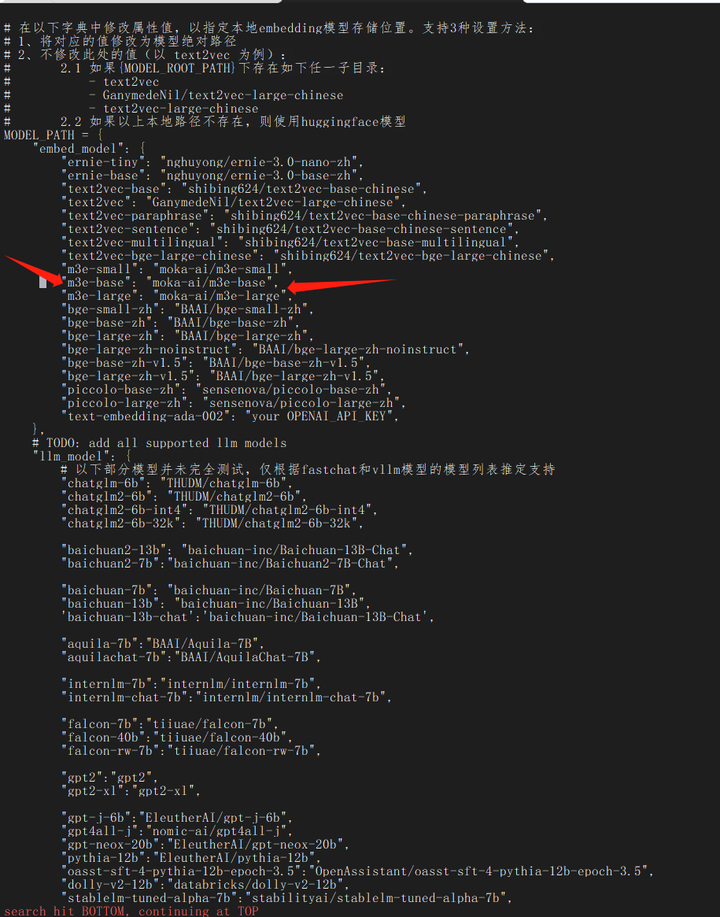
# 在以下字典中修改属性值,以指定本地embedding模型存储位置。支持3种设置方法:
# 1、将对应的值修改为模型绝对路径
# 2、不修改此处的值(以 text2vec 为例):
# 2.1 如果{MODEL_ROOT_PATH}下存在如下任一子目录:
# - text2vec
# - GanymedeNil/text2vec-large-chinese
# - text2vec-large-chinese
# 2.2 如果以上本地路径不存在,则使用huggingface模型
MODEL_PATH = {
"embed_model": {
"m3e-base": "/home/zhanghui/models/moka-ai/m3e-base",
},
# TODO: add all supported llm models
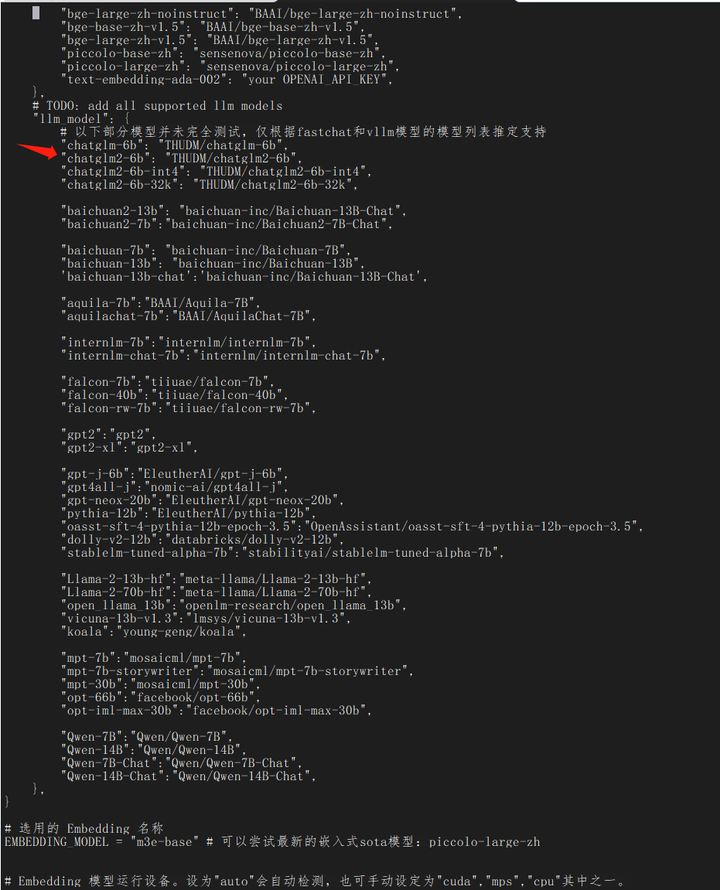
"llm_model": {
# 以下部分模型并未完全测试,仅根据fastchat和vllm模型的模型列表推定支持
"chatglm2-6b": "/home/zhanghui/models/THUDM/chatglm2-6b",
},
}
# 选用的 Embedding 名称
EMBEDDING_MODEL = "m3e-base" # 可以尝试最新的嵌入式sota模型:piccolo-large-zh
# Embedding 模型运行设备。设为"auto"会自动检测,也可手动设定为"cuda","mps","cpu"其中之一。
EMBEDDING_DEVICE = "auto"
# LLM 名称
LLM_MODEL = "chatglm2-6b"
# LLM 运行设备。设为"auto"会自动检测,也可手动设定为"cuda","mps","cpu"其中之一。
LLM_DEVICE = "auto"
# 历史对话轮数
HISTORY_LEN = 3
# LLM通用对话参数
TEMPERATURE = 0.7
# TOP_P = 0.95 # ChatOpenAI暂不支持该参数
ONLINE_LLM_MODEL = {
# 调用chatgpt时如果报出: urllib3.exceptions.MaxRetryError: HTTPSConnectionPool(host='api.openai.com', port=443):
# Max retries exceeded with url: /v1/chat/completions
# 则需要将urllib3版本修改为1.25.11
# 如果依然报urllib3.exceptions.MaxRetryError: HTTPSConnectionPool,则将https改为http
# 参考https://zhuanlan.zhihu.com/p/350015032
# 如果报出:raise NewConnectionError(
# urllib3.exceptions.NewConnectionError: <urllib3.connection.HTTPSConnection object at 0x000001FE4BDB85E0>:
# Failed to establish a new connection: [WinError 10060]
# 则是因为内地和香港的IP都被OPENAI封了,需要切换为日本、新加坡等地
# 如果出现WARNING: Retrying langchain.chat_models.openai.acompletion_with_retry.<locals>._completion_with_retry in
# 4.0 seconds as it raised APIConnectionError: Error communicating with OpenAI.
# 需要添加代理访问(正常开的代理软件可能会拦截不上)需要设置配置openai_proxy 或者 使用环境遍历OPENAI_PROXY 进行设置
# 比如: "openai_proxy": 'http://127.0.0.1:4780'
}
# 通常情况下不需要更改以下内容
# nltk 模型存储路径
NLTK_DATA_PATH = os.path.join(os.path.dirname(os.path.dirname(__file__)), "nltk_data")
VLLM_MODEL_DICT = {
}
python init_database.py --recreate-vs
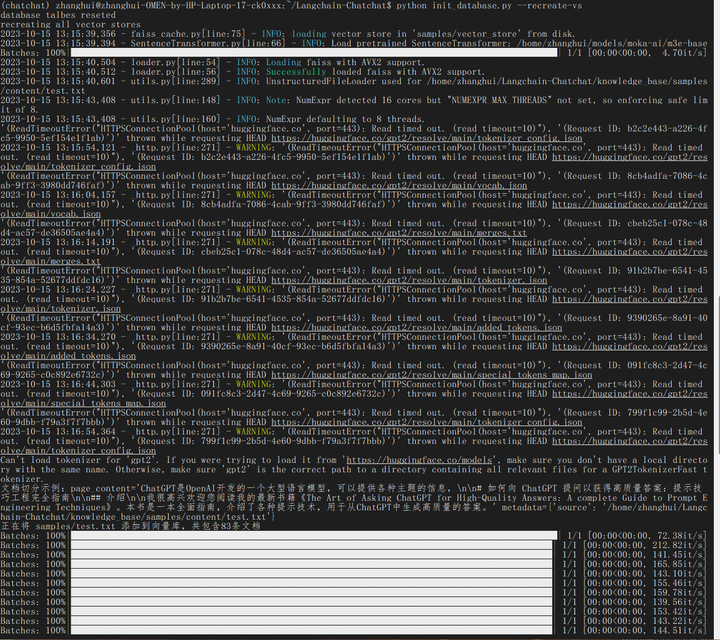
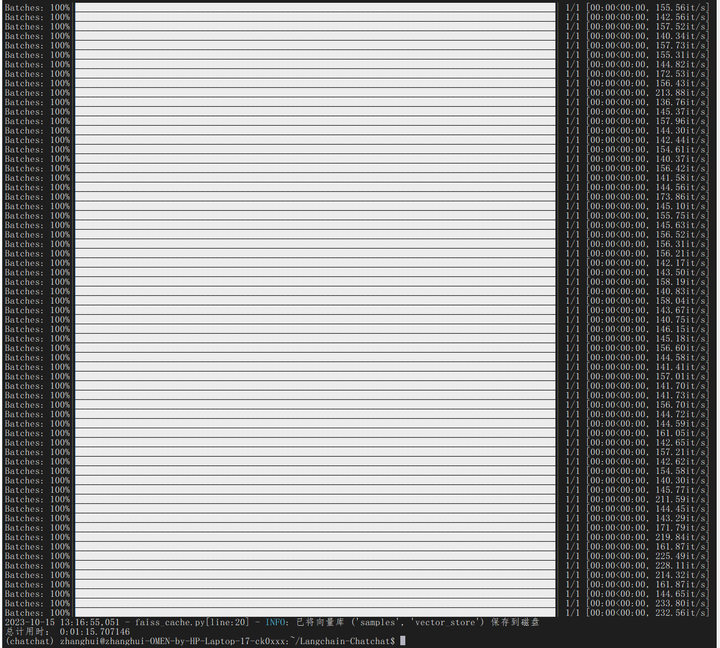
不知道为啥还在连HF。不过连了几下就退出了。
启动
python startup.py --all-webui
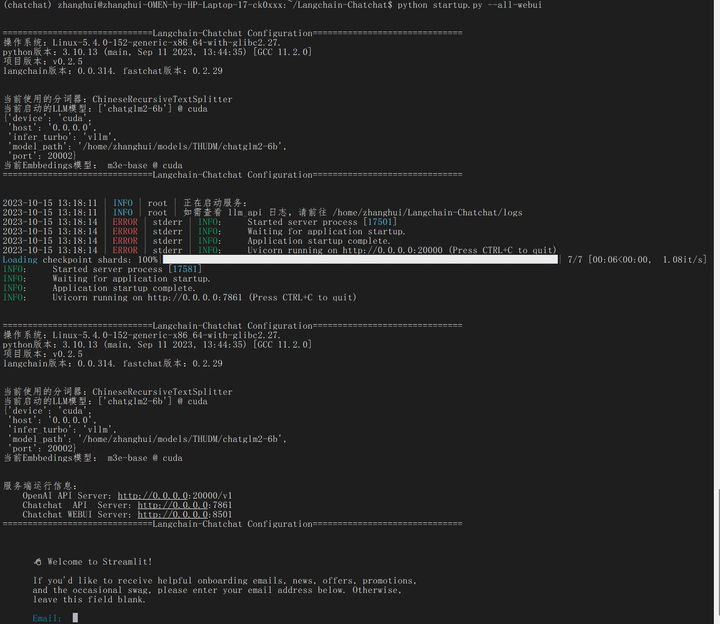
根据提示,打开网页:
http://192.168.199.154:8501

好像并没有启动。
根据提示,输入邮箱:
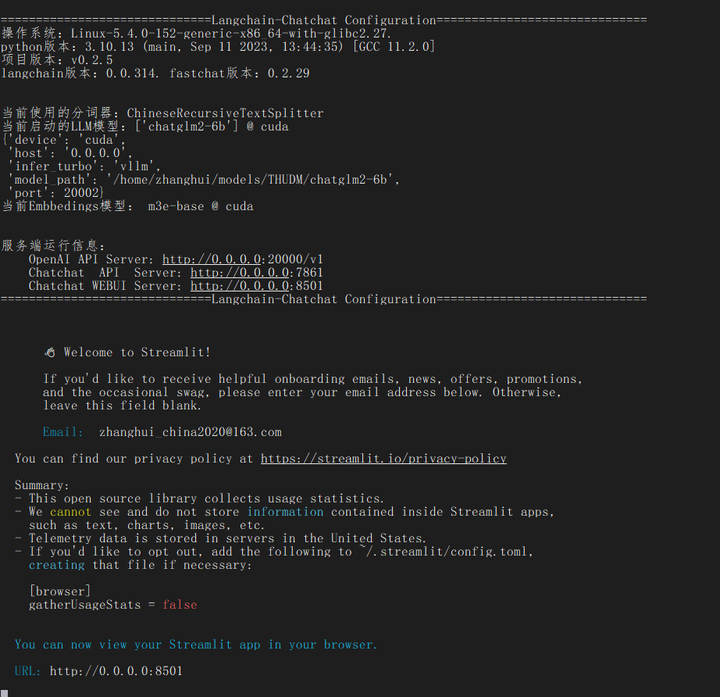
再重新打开网页:
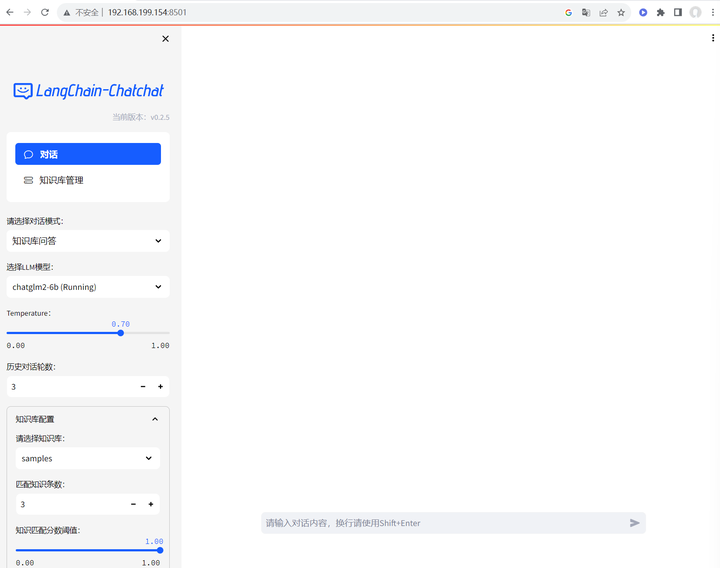
可以进去了。
先将对话模式切换成LLM对话,试验一下:
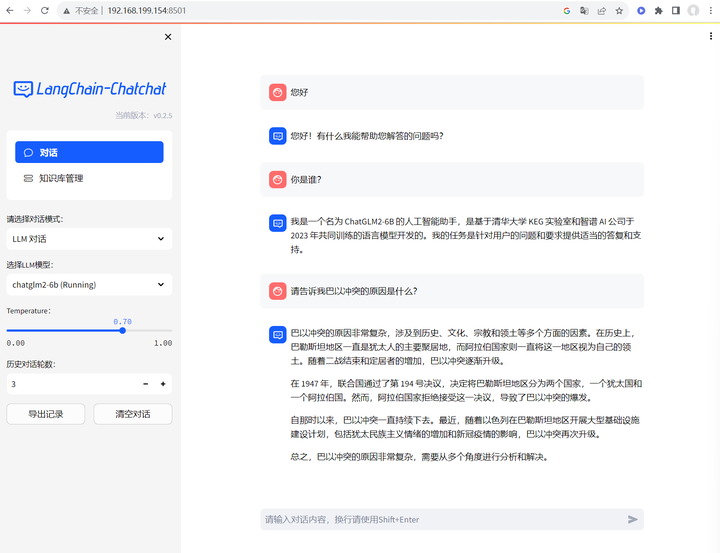
看起来没啥问题。
再试试知识库。
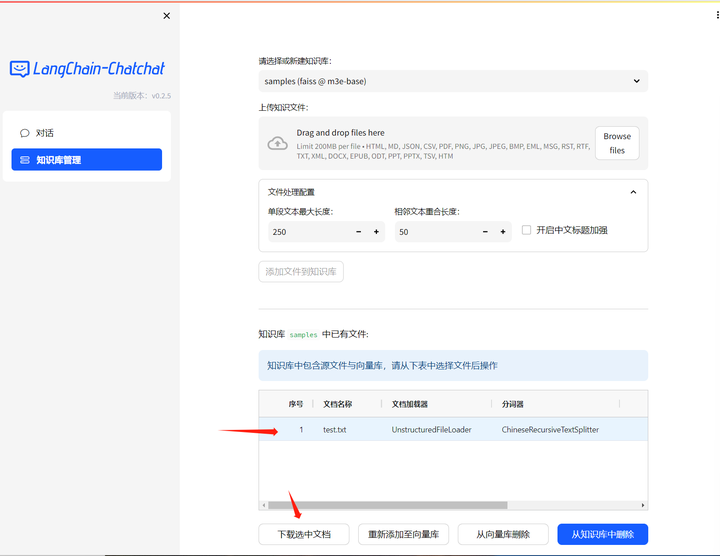
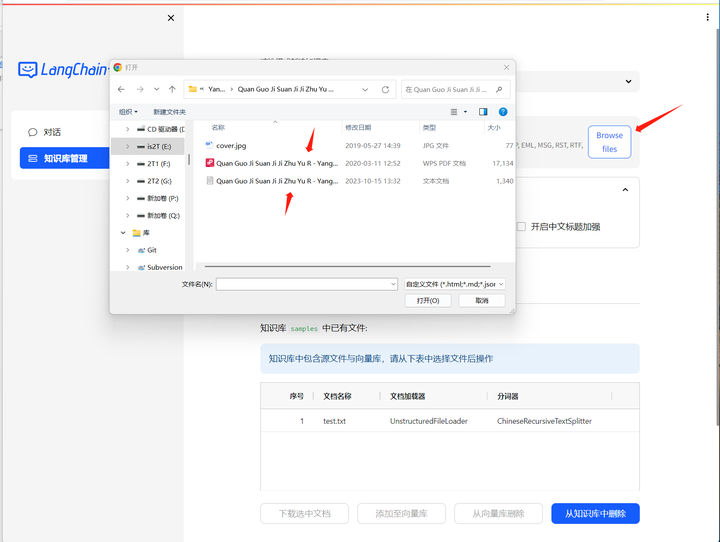
先看看知识库的文件:
下载下来看看:
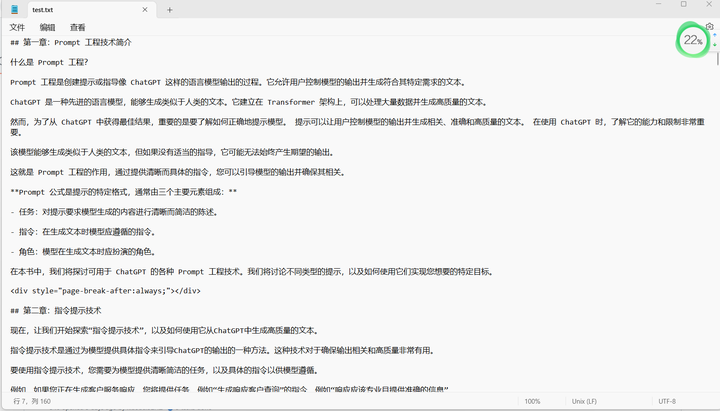
那就找一些test.txt里面的问题问问它:
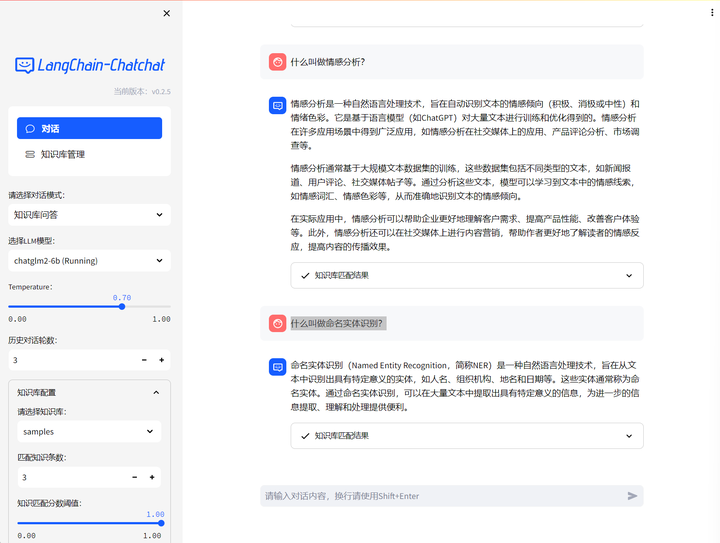
切换到知识库问答:

什么叫做课程学习?

什么叫做情感分析?
什么叫做命名实体识别?
上传一个教程:
可以选pdf或者txt,先选择txt试试:
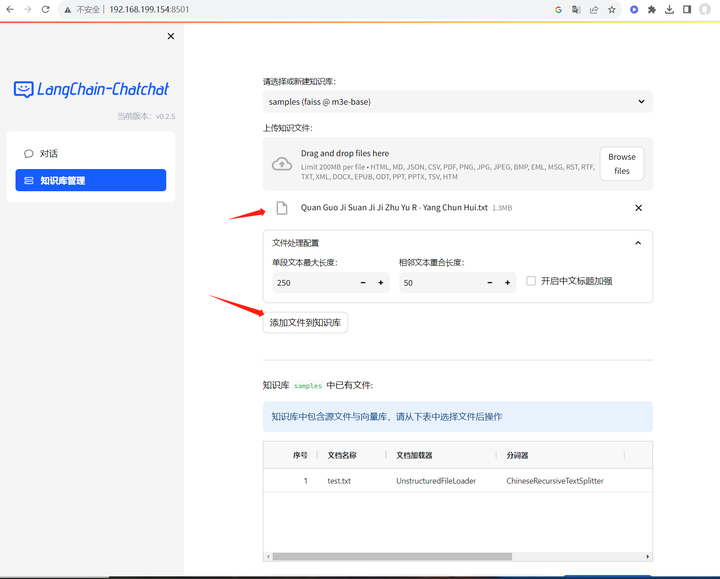
添加文件到知识库:
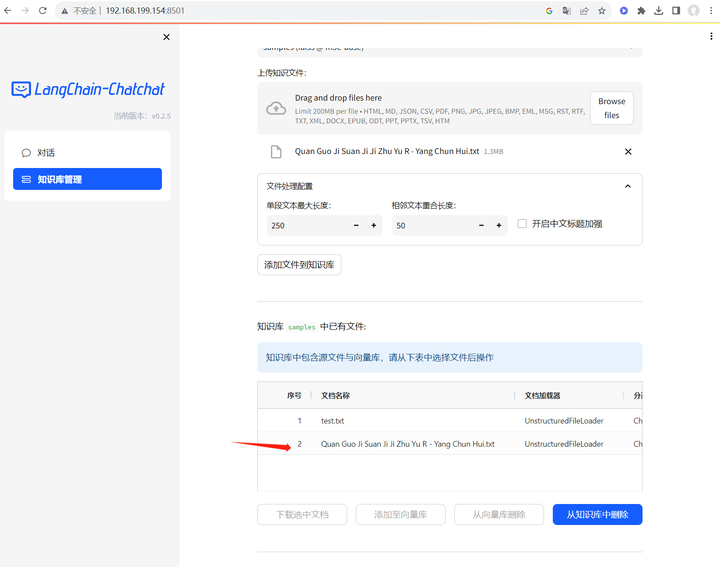
知识库已经添加好了,开始问问题吧!
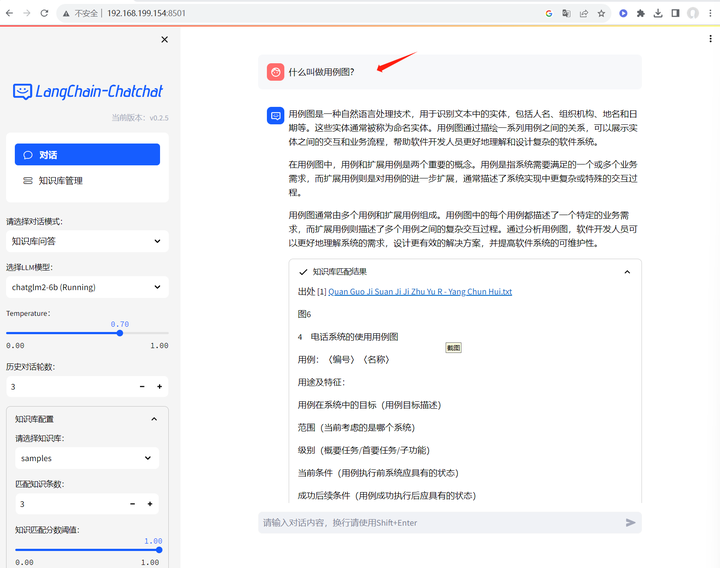
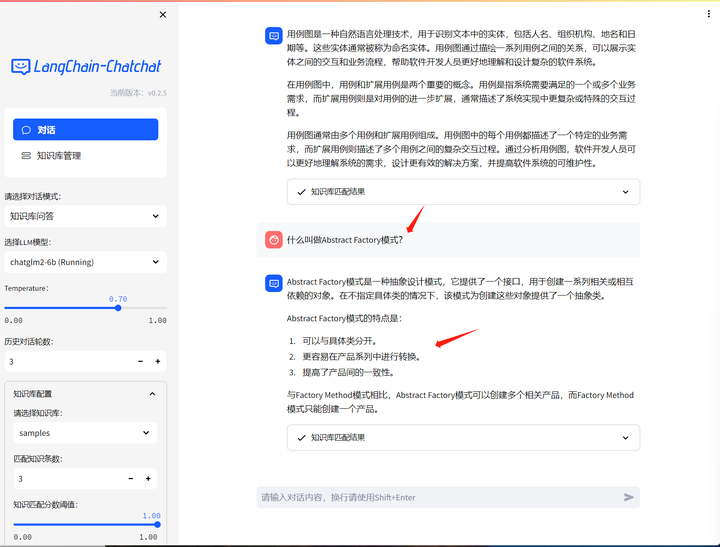
这个好像回答得还可以。它能做一个好的架构设计师(的顾问)吗?

【声明】本内容来自华为云开发者社区博主,不代表华为云及华为云开发者社区的观点和立场。转载时必须标注文章的来源(华为云社区)、文章链接、文章作者等基本信息,否则作者和本社区有权追究责任。如果您发现本社区中有涉嫌抄袭的内容,欢迎发送邮件进行举报,并提供相关证据,一经查实,本社区将立刻删除涉嫌侵权内容,举报邮箱:
cloudbbs@huaweicloud.com
- 点赞
- 收藏
- 关注作者
评论(0)