大模型部署手记(2)baichuan2+Windows GPU

【摘要】 大模型部署手记(2)baichuan2+Windows GPU
1.简介
组织机构:百川智能(前搜狗CEO王小川创立)
模型:baichuan-inc/Baichuan2-7B-Chat-4bits
硬件环境:暗影精灵7Plus
Windows版本:Windows 11家庭中文版 Insider Preview 22H2
内存 32G
GPU显卡:Nvidia GTX 3080 Laptop (16G)
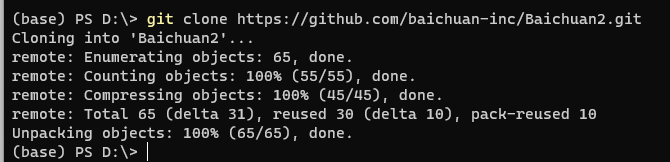
2.代码和模型下载
下载代码仓:
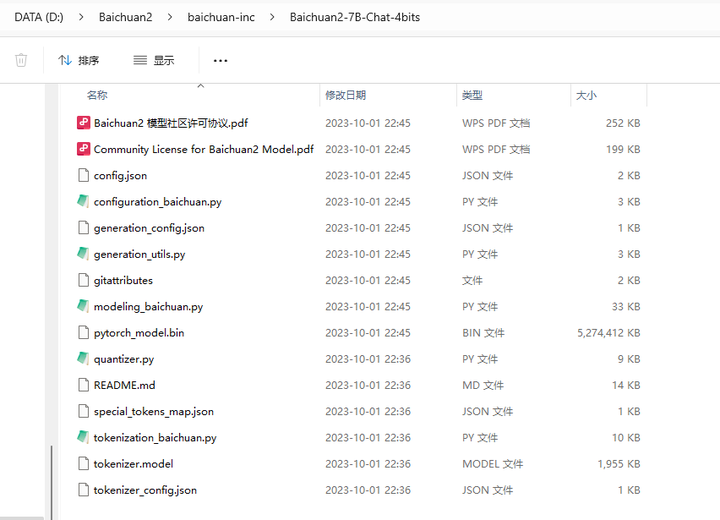
打开 https://huggingface.co/baichuan-inc/Baichuan2-7B-Chat-4bits 下载模型
并将其拷贝到 d:\Baichuan2\baichuan-inc\Baichuan2-7B-Chat-4bits 目录
3.安装依赖
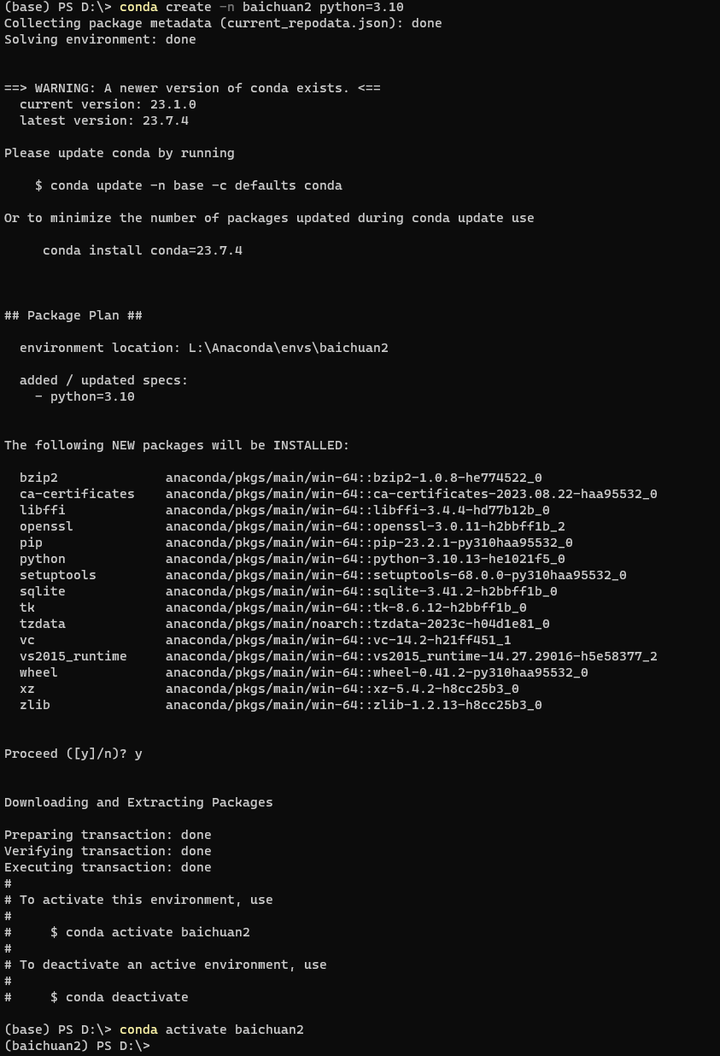
创建conda环境
conda create -n baichuan2 python=3.10
conda activate baichuan2
cd Baichuan2
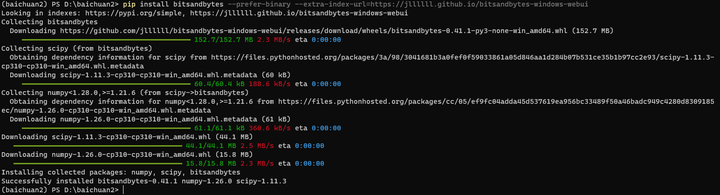
安装量化包:
pip install bitsandbytes --prefer-binary --extra-index-url=https://jllllll.github.io/bitsandbytes-windows-webui
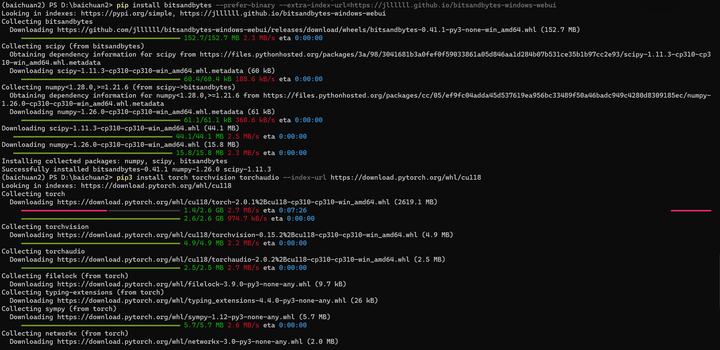
安装Pytorch 2.0.1 for CUDA
pip3 install torch torchvision torchaudio --index-url https://download.pytorch.org/whl/cu118


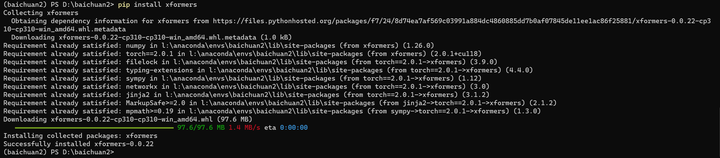
安装加速包:
pip install xformers
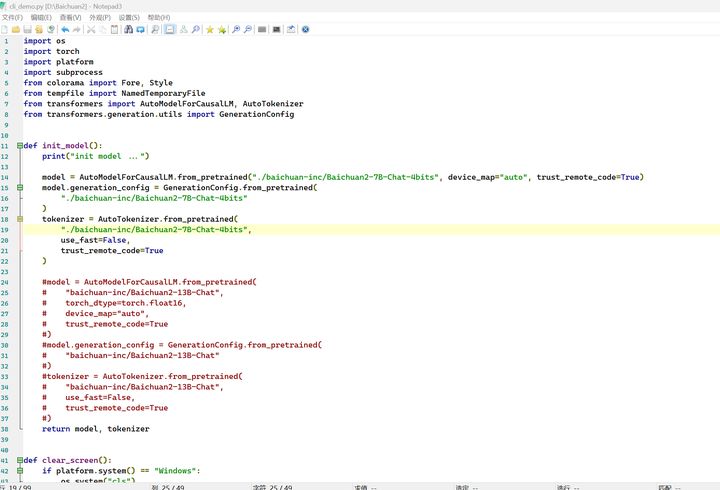
将代码 cli_demo.py 改成4bit量化的模型:
d:
cd d:\Baichuan2
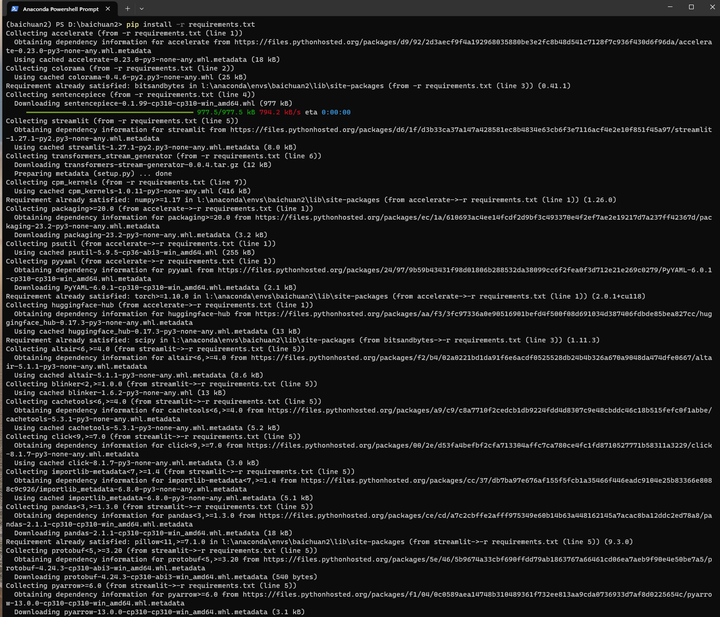
pip install -r requirements.txt
4.部署验证
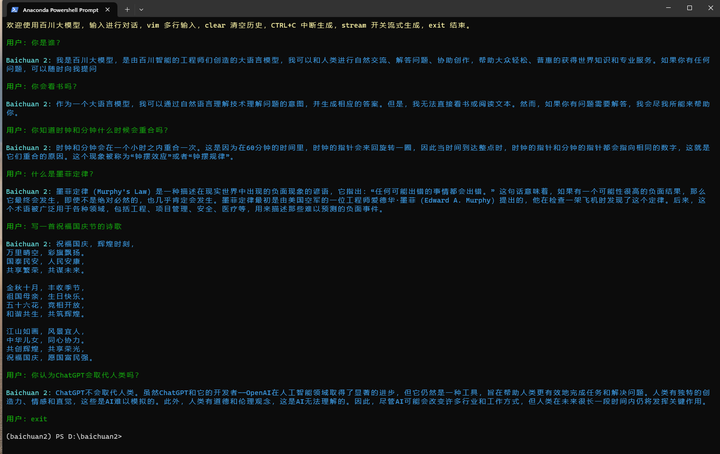
运行命令行模式:
python cli_demo.py

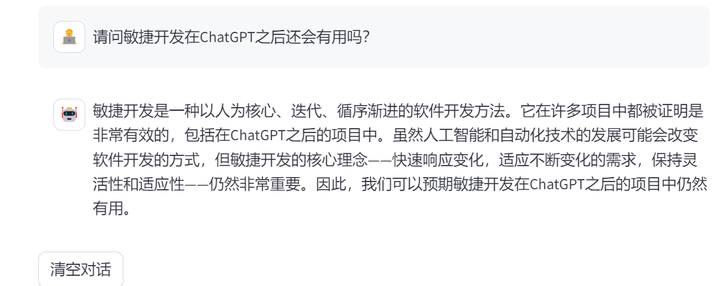
做一些简单的交互:
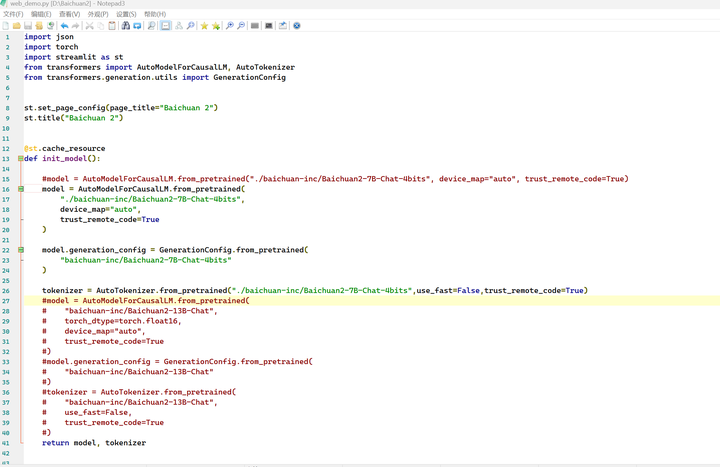
修改web_demo.py文件:
运行网页模式:
python web_demo.py
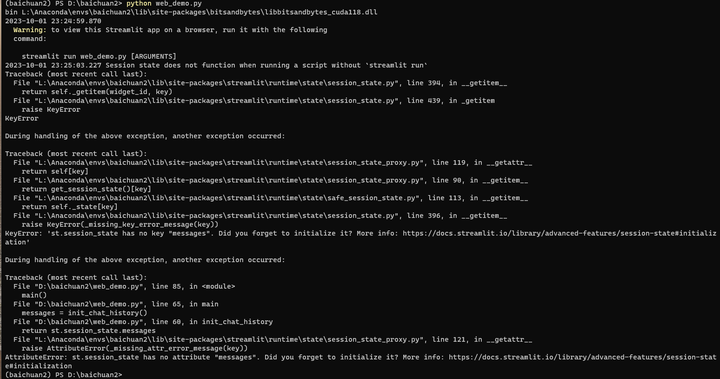
这里好像哪里不对,但是系统提示可以使用streamlit运行:
streamlit run web_demo.py
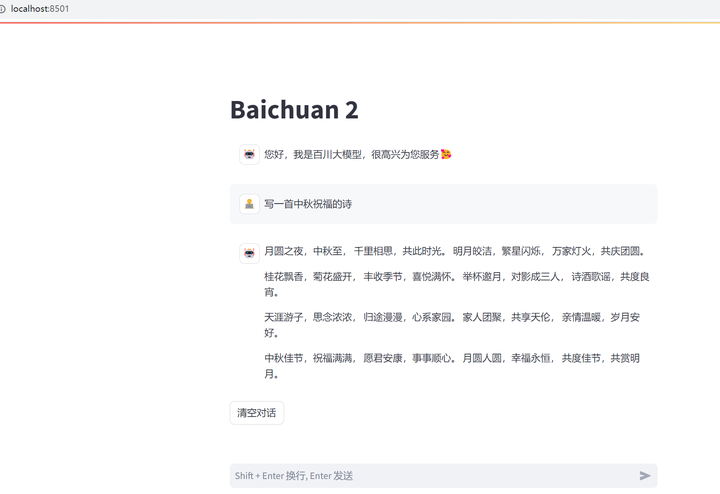
系统自动打开浏览器:
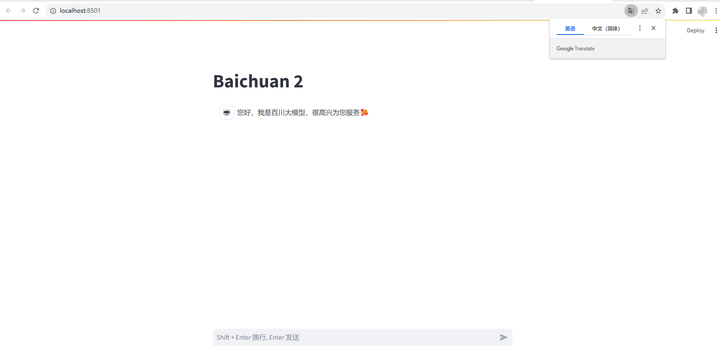

做一些简单的交互:
(全文完,谢谢阅读)

【声明】本内容来自华为云开发者社区博主,不代表华为云及华为云开发者社区的观点和立场。转载时必须标注文章的来源(华为云社区)、文章链接、文章作者等基本信息,否则作者和本社区有权追究责任。如果您发现本社区中有涉嫌抄袭的内容,欢迎发送邮件进行举报,并提供相关证据,一经查实,本社区将立刻删除涉嫌侵权内容,举报邮箱:
cloudbbs@huaweicloud.com
- 点赞
- 收藏
- 关注作者
评论(0)