在小藤上实现火灾识别

【摘要】 在小藤上实现火灾识别
登录开发板:
cd ~/ascend_community_projects/fire_detection
cd models
wget https://mindx.sdk.obs.cn-north-4.myhuaweicloud.com/ascend_community_projects/Fire_identification/models.zip --no-check-certificate

解压 unzip models.zip

cd models
mv * ../
rmdir models

直接使用已有om模型试试:
cd ~/ascend_community_projects/fire_detection/data
wget https://mindx.sdk.obs.cn-north-4.myhuaweicloud.com/ascend_community_projects/Fire_identification/data.zip --no-check-certificate
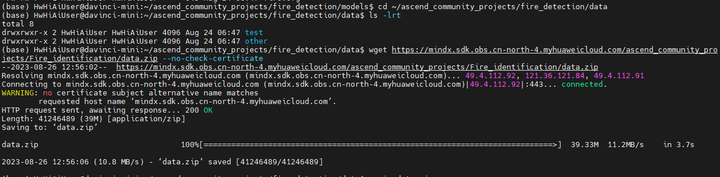
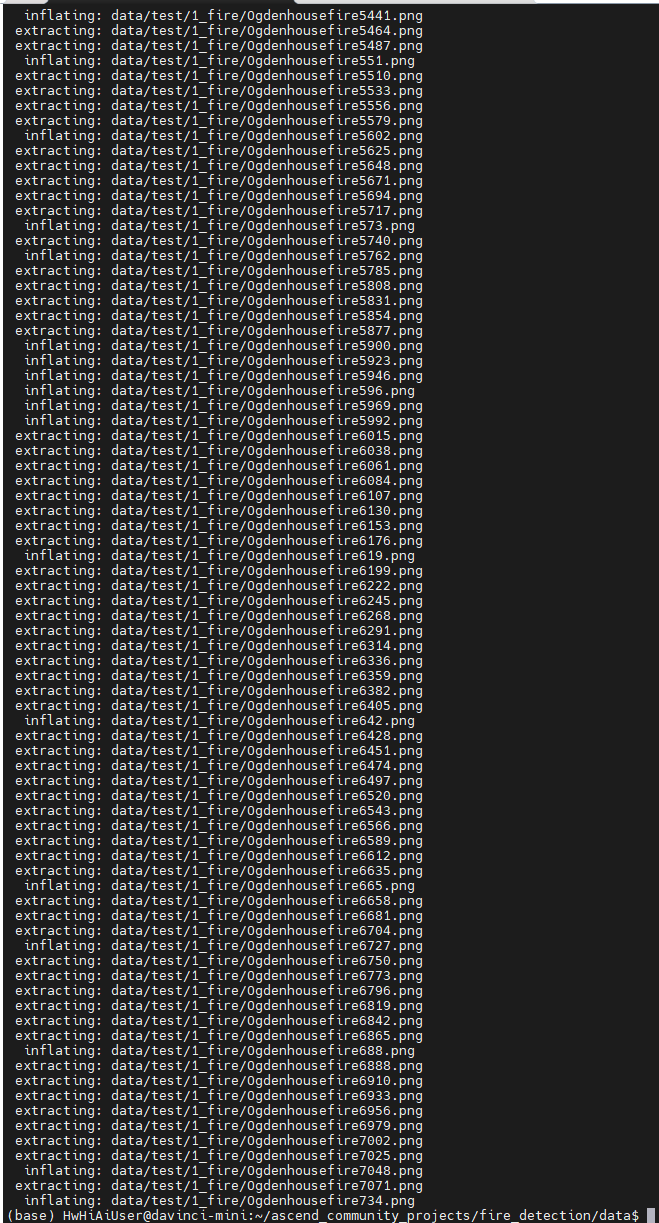
unzip data.zip

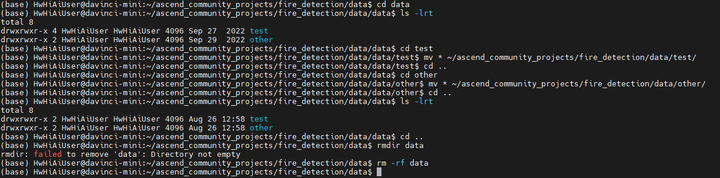
将解压后的data目录下的test和other目录挪到 ~/ascend_community_projects/fire_detection/data目录下:
执行推理:
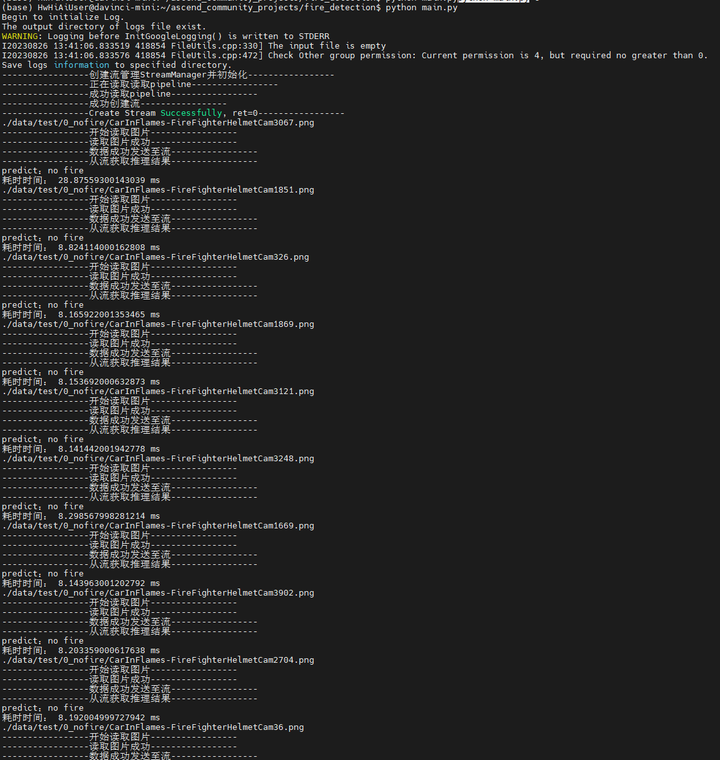
cd ~/ascend_community_projects/fire_detection
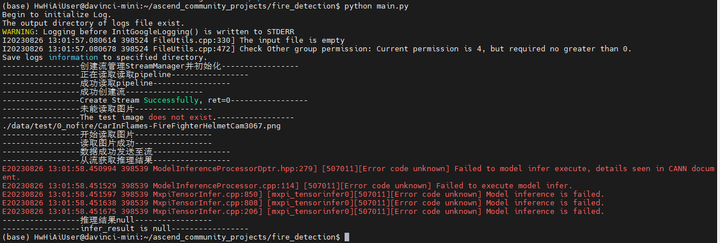
python main.py
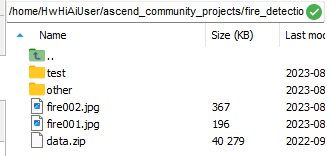
没有test图片?
确实没有 data/test.jpg图片:

去网上下载一些火灾的图片:fire001.jpg
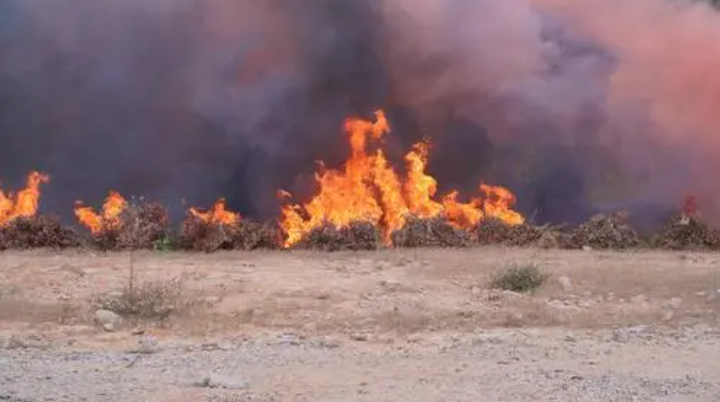
fire002.jpg
将2张图片传到data目录下:
修改main.py的test.jpg为 fire001.jpg

不过看了下代码,改了这个好像没用。main.py代码并没有解析 data/fire001.jpg文件,而是在解析data/test目录下的所有文件。
报的错应该在这里:
-----------------从流获取推理结果-----------------
E20230826 13:01:58.450994 398539 ModelInferenceProcessorDptr.hpp:279] [507011][Error code unknown] Failed to model infer execute, details seen in CANN document.
E20230826 13:01:58.451529 398539 ModelInferenceProcessor.cpp:114] [507011][Error code unknown] Failed to execute model infer.
E20230826 13:01:58.451597 398539 MxpiTensorInfer.cpp:850] [mxpi_tensorinfer0][507011][Error code unknown] Model inference is failed.
E20230826 13:01:58.451638 398539 MxpiTensorInfer.cpp:808] [mxpi_tensorinfer0][507011][Error code unknown] Model inference is failed.
E20230826 13:01:58.451675 398539 MxpiTensorInfer.cpp:206] [mxpi_tensorinfer0][507011][Error code unknown] Model inference is failed.
-----------------推理结果null-----------------
-----------------infer_result is null-----------------
507011错。可能是om模型有问题(也许不是小藤的模型)
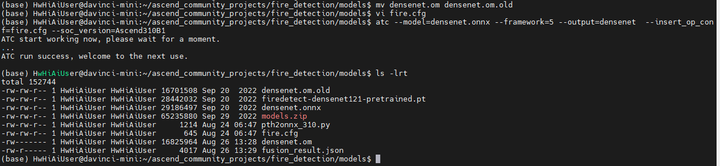
那我们自己转一下模型吧:
mv densenet.om densenet.om.old
atc --model=densenet.onnx --framework=5 --output=densenet --insert_op_conf=fire.cfg --soc_version=Ascend310B1
重新执行推理:
修改下
cd ~/ascend_community_projects/fire_detection
python main.py
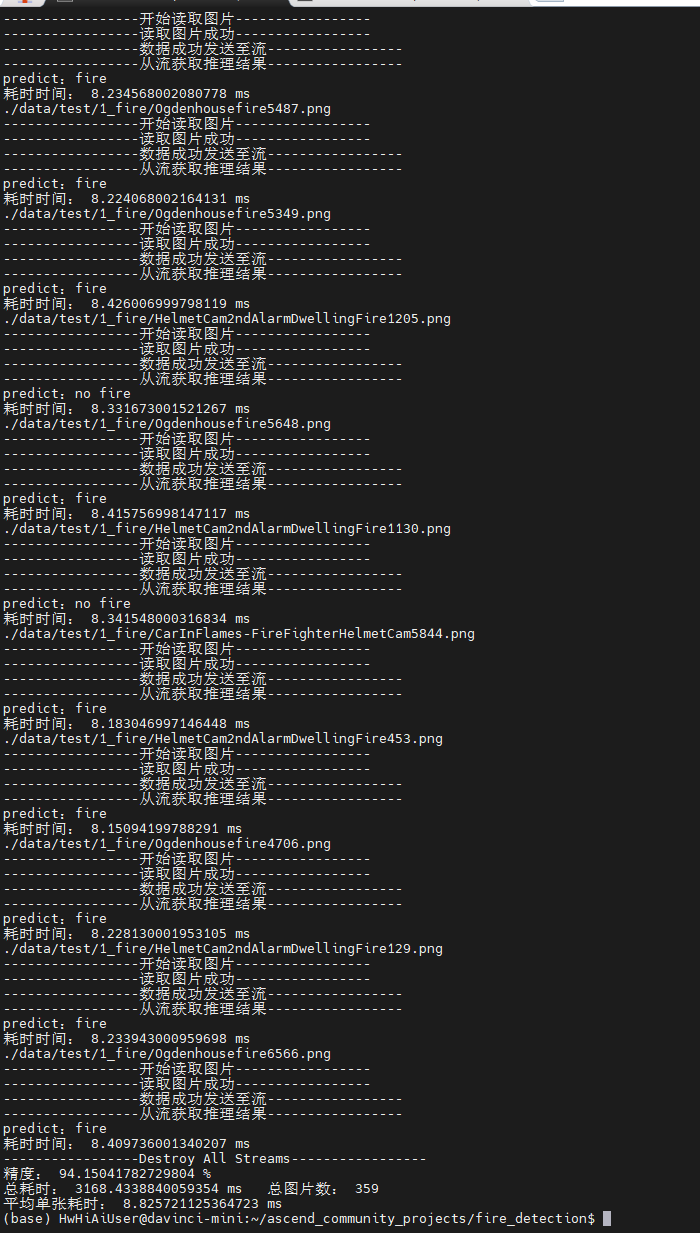
看来使用自制的om模型没问题。
下面我们来考虑下如何识别单张图片。
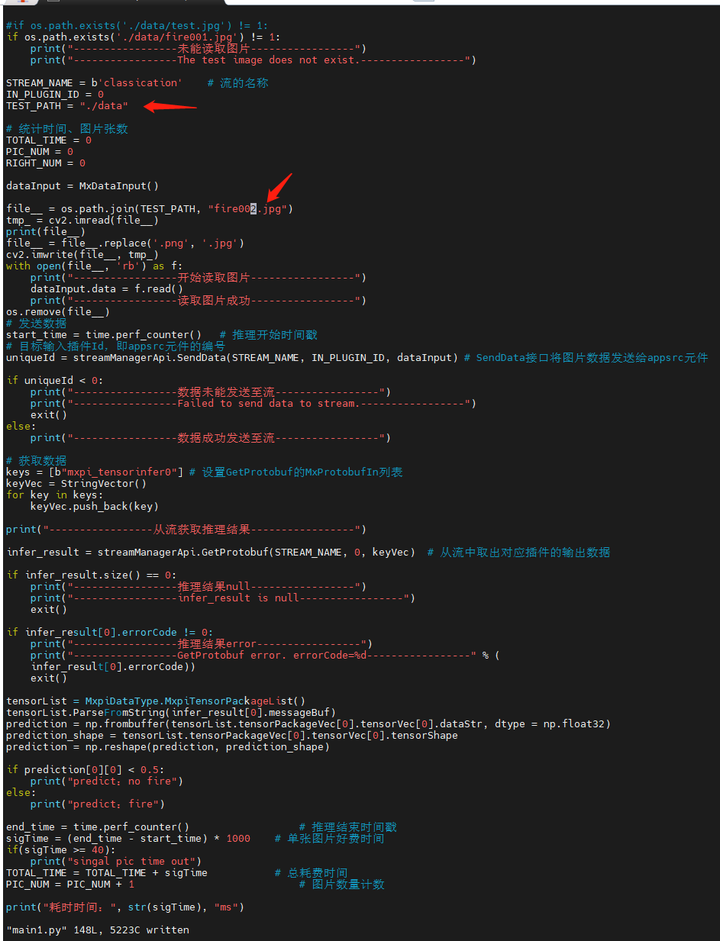
将main.py复制成main1.py,考虑将循环的目录判断去掉,直接操作需要操作的文件即可。
修改代码如下:
STREAM_NAME = b'classication'    # 流的名称
IN_PLUGIN_ID = 0
TEST_PATH = "./data"

# 统计时间、图片张数
TOTAL_TIME = 0
PIC_NUM = 0
RIGHT_NUM = 0

dataInput = MxDataInput()

file__ = os.path.join(TEST_PATH, "fire001.jpg")
tmp_ = cv2.imread(file__)
print(file__)
file__ = file__.replace('.png', '.jpg')
cv2.imwrite(file__, tmp_)
with open(file__, 'rb') as f:
    print("-----------------开始读取图片-----------------")
    dataInput.data = f.read()
    print("-----------------读取图片成功-----------------")
#os.remove(file__)
# 发送数据
start_time = time.perf_counter()   # 推理开始时间戳
# 目标输入插件Id,即appsrc元件的编号
uniqueId = streamManagerApi.SendData(STREAM_NAME, IN_PLUGIN_ID, dataInput) # SendData接口将图片数据发送给appsrc元件

if uniqueId < 0:
    print("-----------------数据未能发送至流-----------------")
    print("-----------------Failed to send data to stream.-----------------")
    exit()
else:
    print("-----------------数据成功发送至流-----------------")

# 获取数据
keys = [b"mxpi_tensorinfer0"] # 设置GetProtobuf的MxProtobufIn列表
keyVec = StringVector()
for key in keys:
    keyVec.push_back(key)

print("-----------------从流获取推理结果-----------------")

infer_result = streamManagerApi.GetProtobuf(STREAM_NAME, 0, keyVec)  # 从流中取出对应插件的输出数据

if infer_result.size() == 0:
    print("-----------------推理结果null-----------------")
    print("-----------------infer_result is null-----------------")
    exit()

if infer_result[0].errorCode != 0:
    print("-----------------推理结果error-----------------")
    print("-----------------GetProtobuf error. errorCode=%d-----------------" % (
    infer_result[0].errorCode))
    exit()

tensorList = MxpiDataType.MxpiTensorPackageList()
tensorList.ParseFromString(infer_result[0].messageBuf)
prediction = np.frombuffer(tensorList.tensorPackageVec[0].tensorVec[0].dataStr, dtype = np.float32)
prediction_shape = tensorList.tensorPackageVec[0].tensorVec[0].tensorShape
prediction = np.reshape(prediction, prediction_shape)

if prediction[0][0] < 0.5:
    print("predict:no fire")
else:
    print("predict:fire")

end_time = time.perf_counter()                  # 推理结束时间戳
sigTime = (end_time - start_time) * 1000    # 单张图片好费时间
if(sigTime >= 40):
    print("singal pic time out")
TOTAL_TIME = TOTAL_TIME + sigTime           # 总耗费时间
PIC_NUM = PIC_NUM + 1                           # 图片数量计数

print("耗时时间:", str(sigTime), "ms")
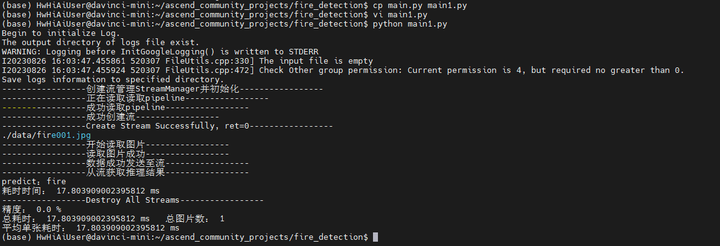
运行:
python main1.py
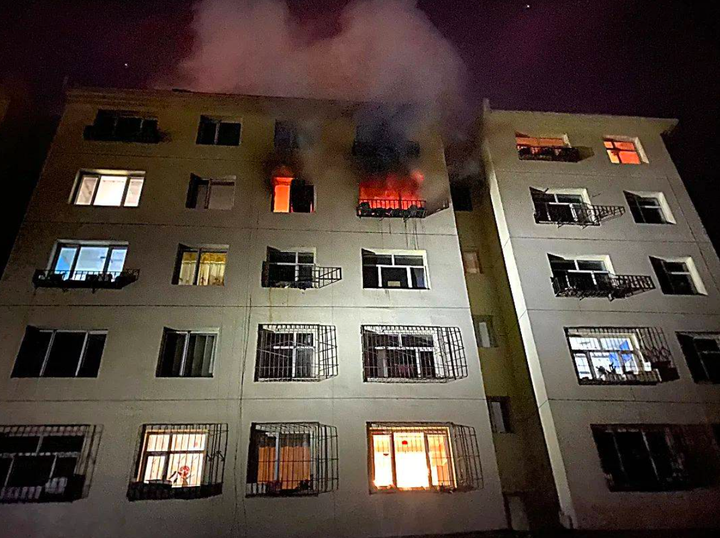
将main1.py改为fire002.jpg再试一次:
运行:
python main1.py
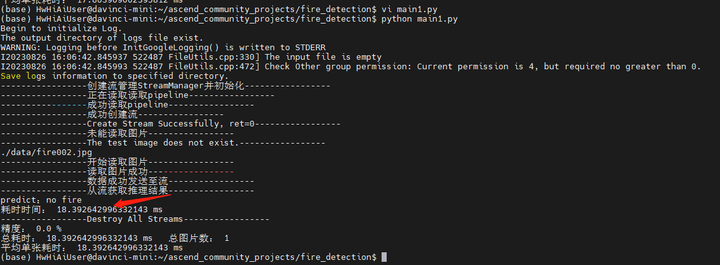
当然了,第二个推理貌似是有问题的。但是这种窗口上看出着火这事儿,大概又是模型不大好的锅了。
我们再试一张fire003.jpg
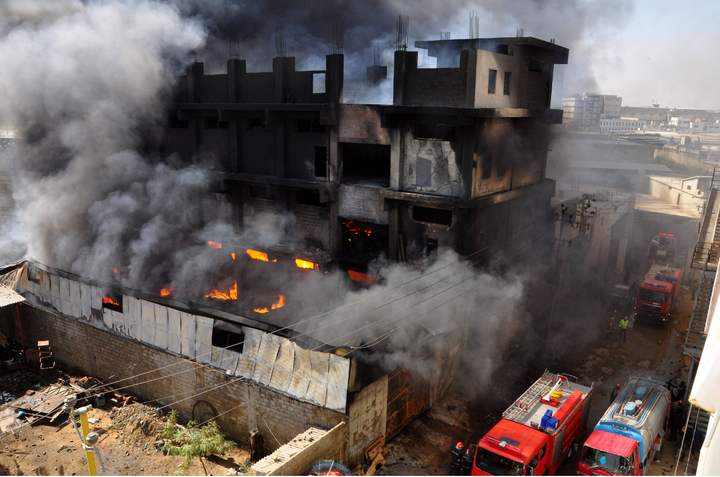
python main1.py
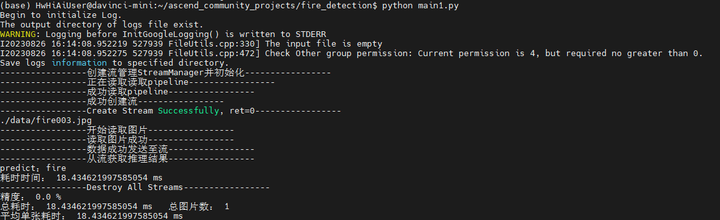
嗯。只能说2/3的图片是可以看出来的。。。
(全文完,谢谢阅读)

【声明】本内容来自华为云开发者社区博主,不代表华为云及华为云开发者社区的观点和立场。转载时必须标注文章的来源(华为云社区)、文章链接、文章作者等基本信息,否则作者和本社区有权追究责任。如果您发现本社区中有涉嫌抄袭的内容,欢迎发送邮件进行举报,并提供相关证据,一经查实,本社区将立刻删除涉嫌侵权内容,举报邮箱:
cloudbbs@huaweicloud.com
- 点赞
- 收藏
- 关注作者
评论(0)