关于ChatYuan-large对话机器人在小藤上试验的奇妙旅程

【摘要】 关于ChatYuan-large对话机器人在小藤上试验的奇妙旅程
参考 JeffDing的博客:https://bbs.huaweicloud.com/blogs/405188
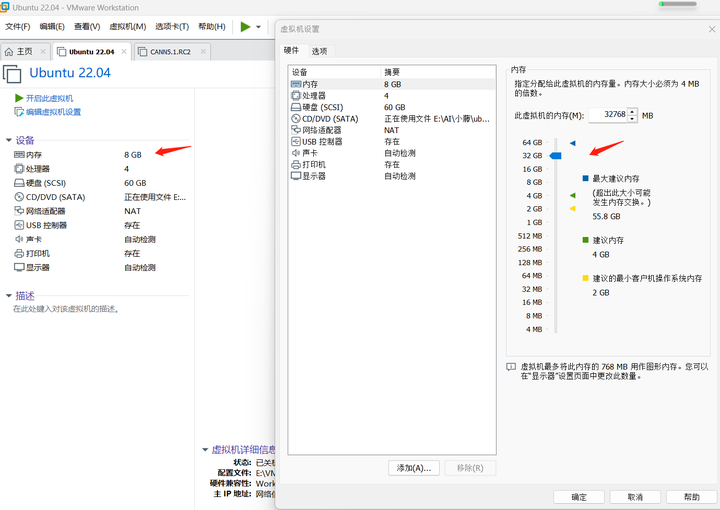
将ubuntu 22.04 X86虚拟机的内存改成32G:
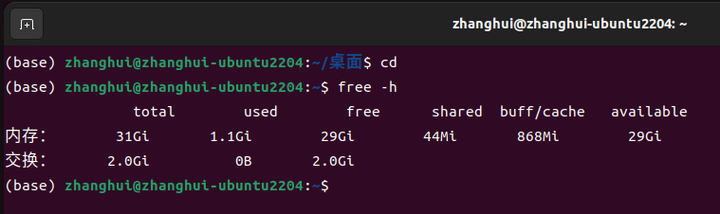
打开虚拟机查看内存使用情况:
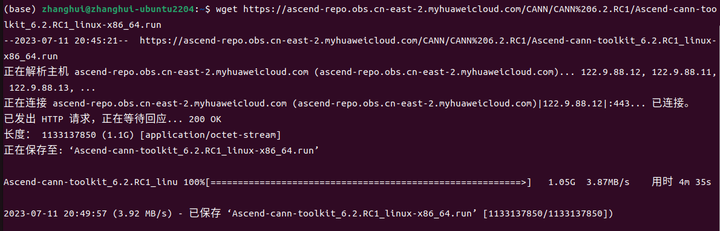
下载并安装CANN 6.2RC1 X86版本:
wget https://ascend-repo.obs.cn-east-2.myhuaweicloud.com/CANN/CANN%206.2.RC1/Ascend-cann-toolkit_6.2.RC1_linux-x86_64.run
chmod a+x Ascend-cann-toolkit_6.2.RC1_linux-x86_64.run
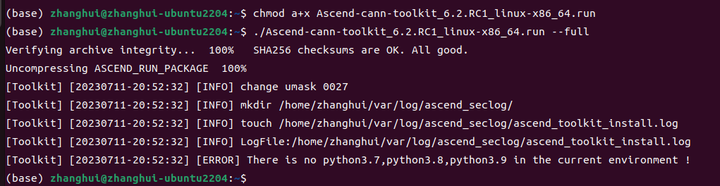
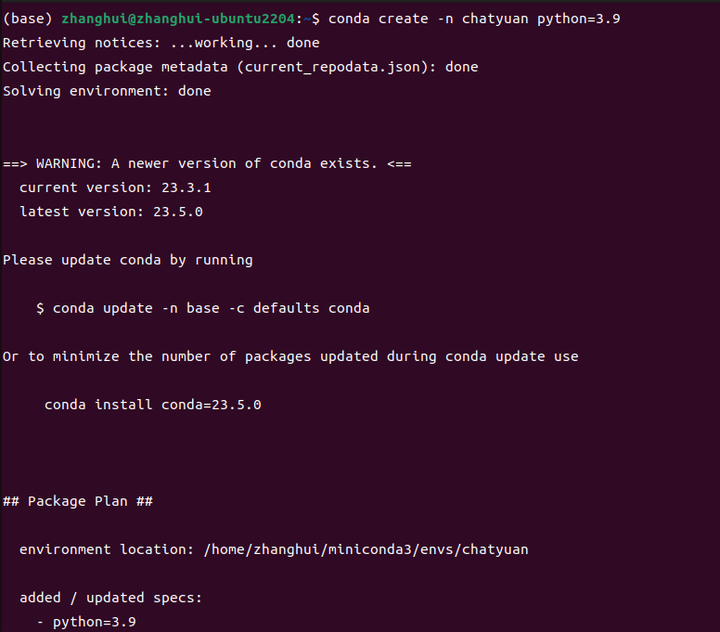
报错了,说Python不是3.7-3.9之中的版本。。
仔细检查一下:

确实如此。
那么使用conda创建一个Python 3.9的conda环境:

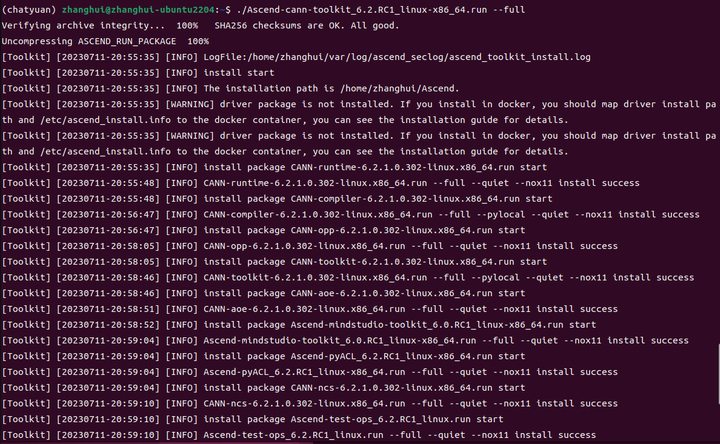
重新执行CANN的安装:
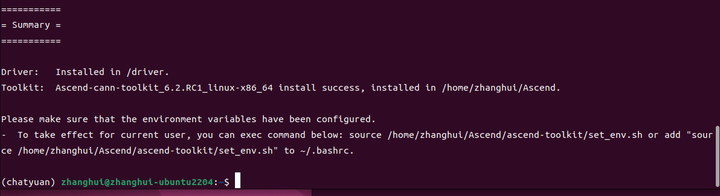
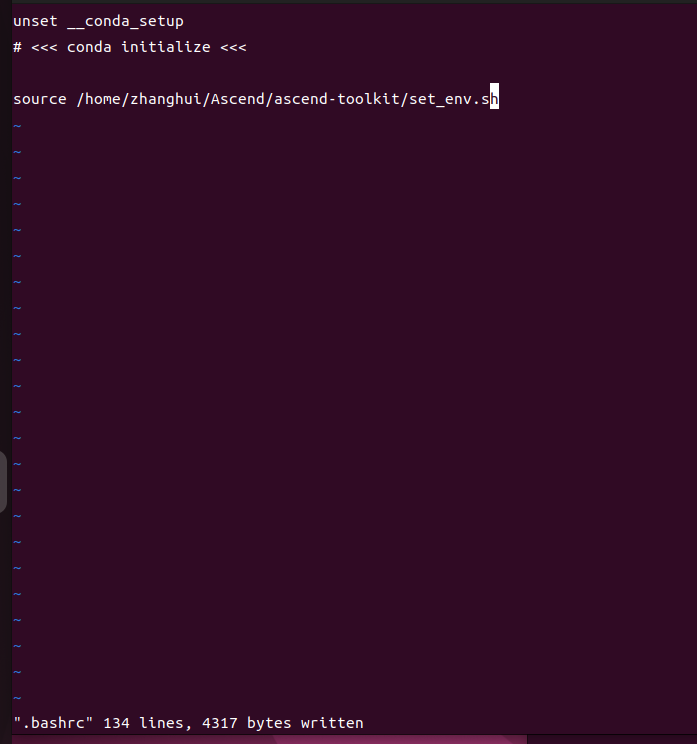
根据提示,在~/.bashrc中增加以下行:
查找 libascend_hal.so的位置:
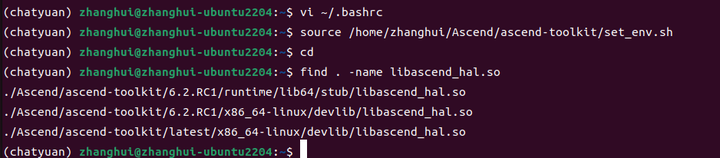
将其路径加入到 LD_LIBRARY_PATH环境变量中:

验证模型转换atc命令是否正常:

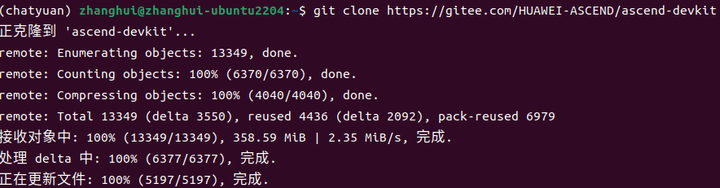
下载昇腾官方代码:git clone https://gitee.com/HUAWEI-ASCEND/ascend-devkit
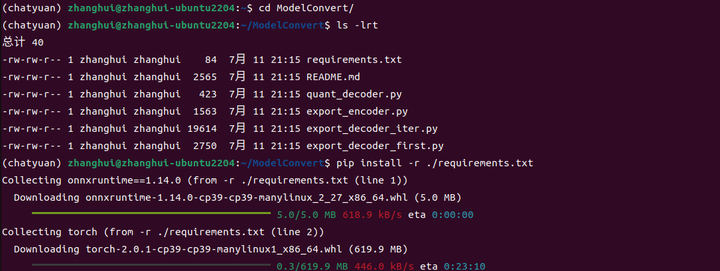
将ChatYuan-large对话机器人项目的ModelConvert目录单独复制出来:

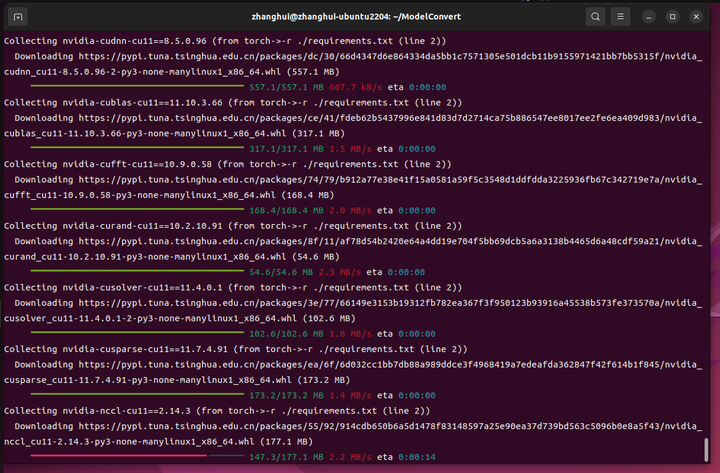
进入该目录,安装相关依赖:
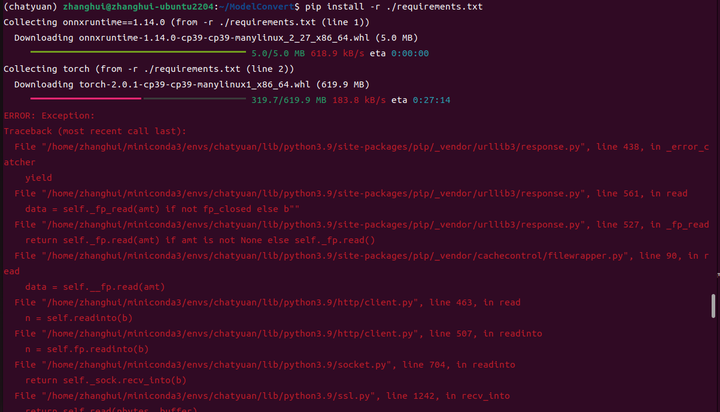
抱歉,网络环境不好,超时了。
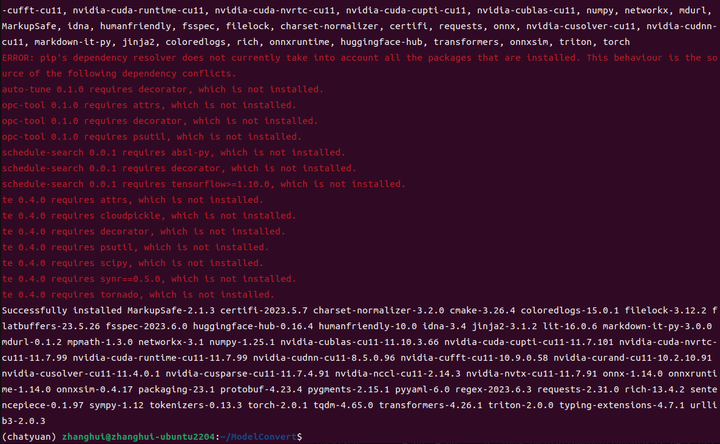
安装时加入清华源,重试:

查看剩余空间:
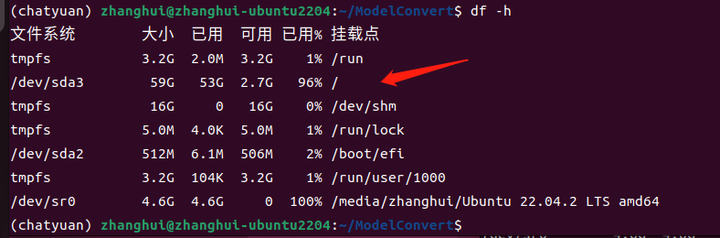
感觉有点不够用了。
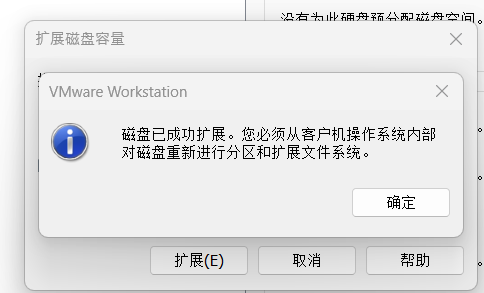
虚拟机关机,扩容:

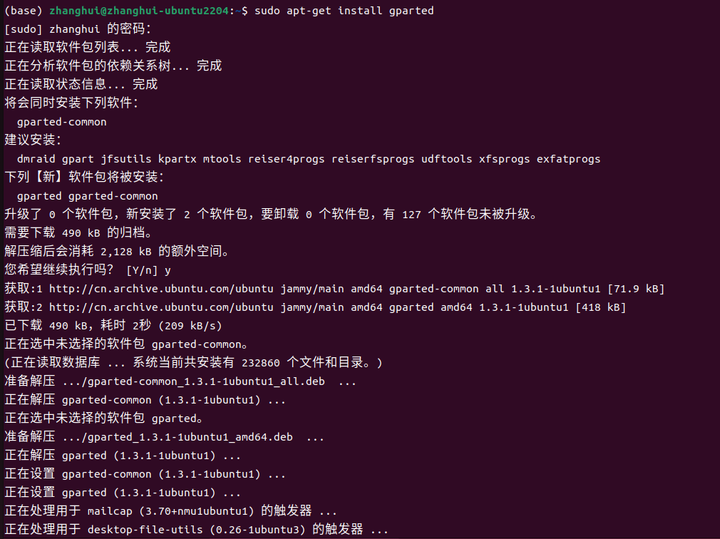
虚拟机开机,安装gparted:
sudo apt-get install gparted
sudo gparted启动分区软件:
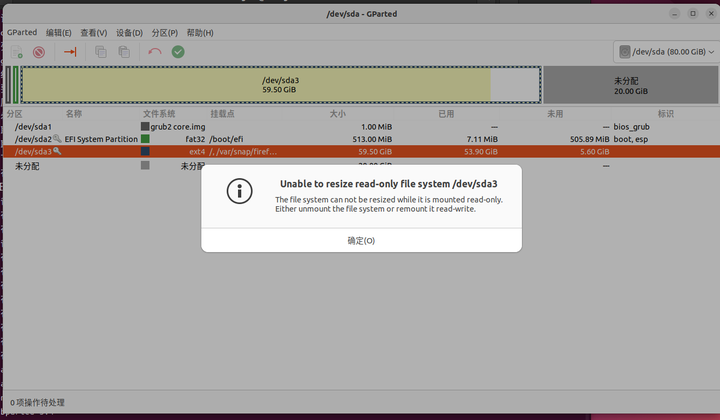
报错了,无法扩容?
在/dev/sda3上,点击右键,信息:
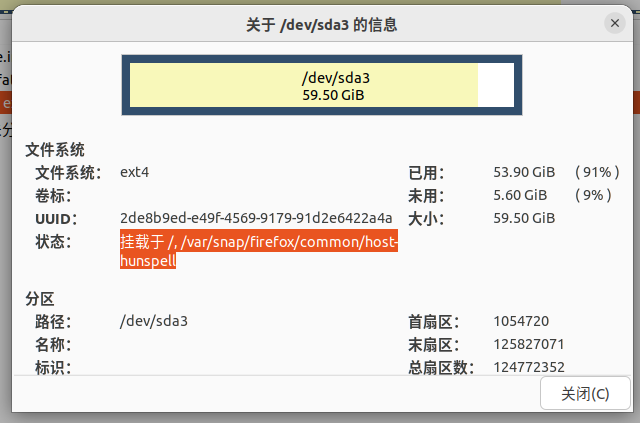
挂载于 /, /var/snap/firefox/common/host-hunspell
sudo -i
mount -o remount -rw /
mount -o remount -rw /var/snap/firefox/common/host-hunspell

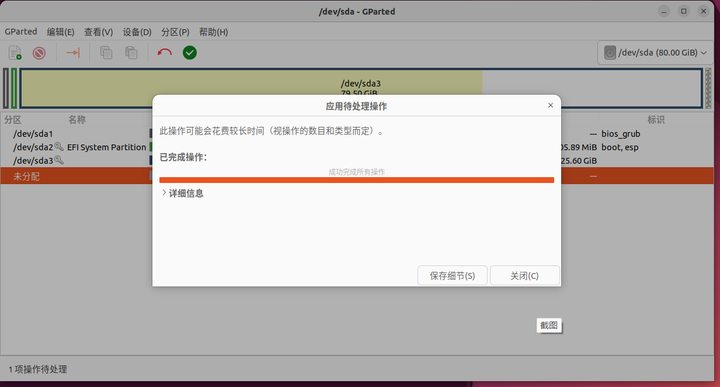
重新分区,将滚动条拖到底:
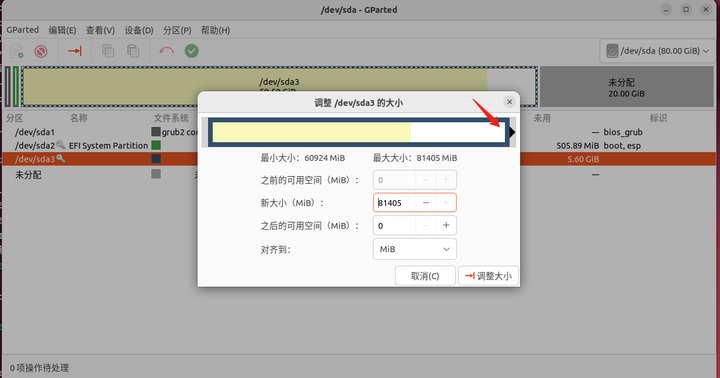
点击调整大小

再点击上面绿色的钩子:
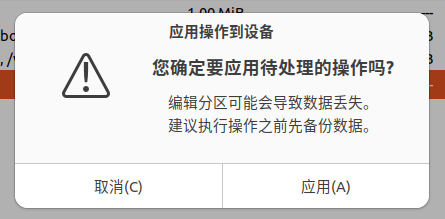
点击应用。
关闭窗口,重启虚拟机。
可以看到已经增加了20G空间:

cd ModelConvert
conda activate chatyuan
导出CHatYuan-Large-V2模型
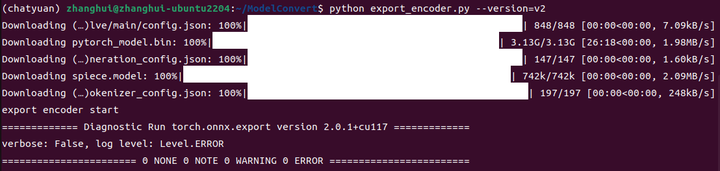
先导出encoder模型:
python export_encoder.py --version=v2

耐心等待执行完毕:
再导出第一次自回归的decoder与lm_head部分模型
python export_decoder_first.py --version=v2

这里报错了吗?感觉有,又感觉没有。。
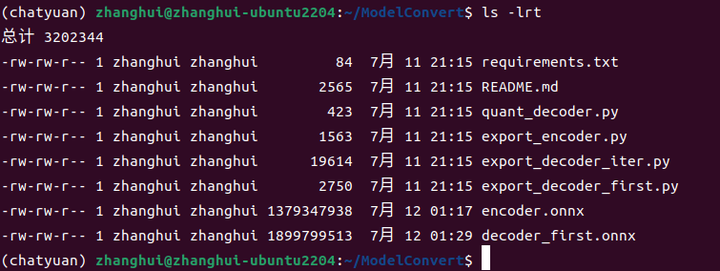
看到文件好像也生成了:
最后导出第2-N次自回归的decoder与lm_head部分模型
python export_decoder_iter.py --version=v2
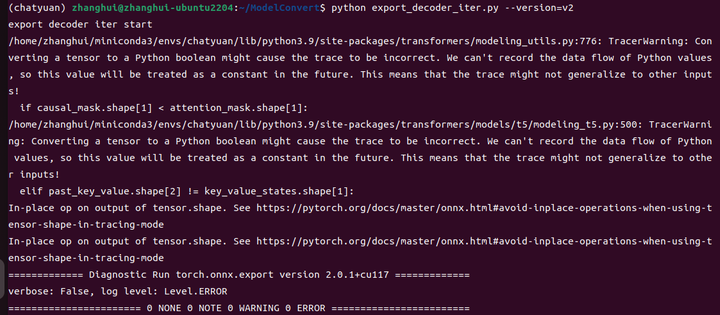
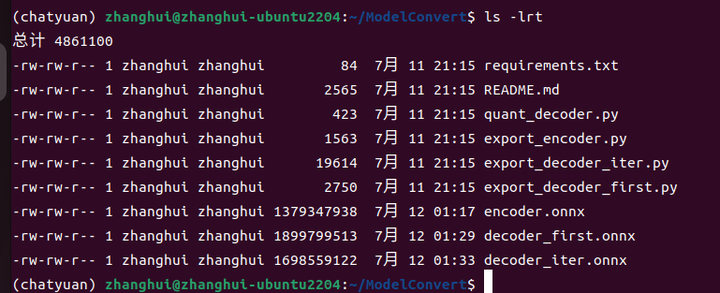
生成onnx文件如下:
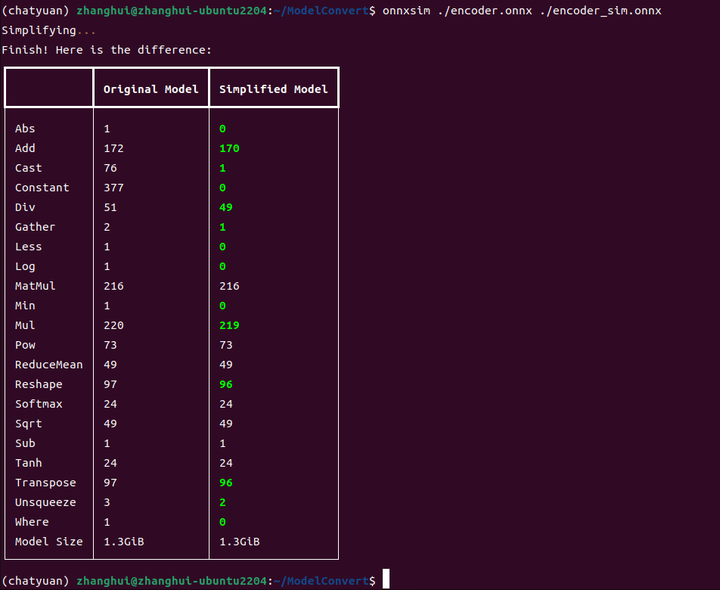
分别对三个模型做裁剪:
onnxsim ./encoder.onnx ./encoder_sim.onnx
onnxsim ./decoder_first.onnx ./decoder_first_sim.onnx

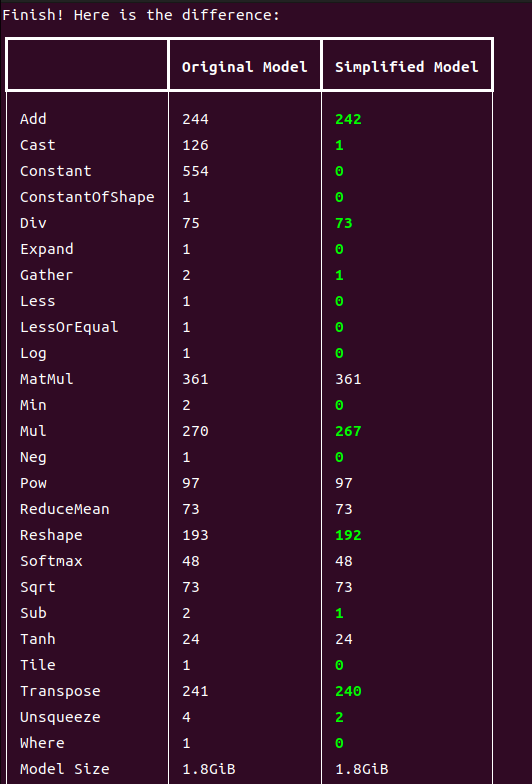
onnxsim ./decoder_iter.onnx ./decoder_iter_sim.onnx

这个模型转换时间比较长,我们可以查看top看看是不是在跑:
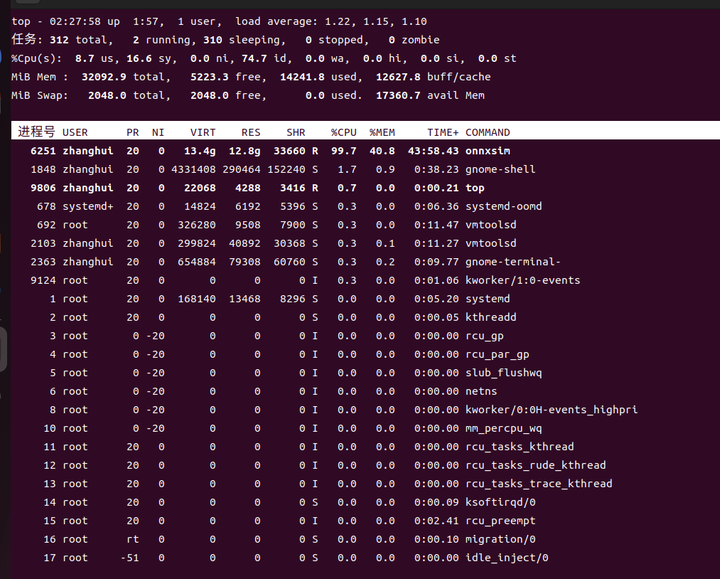
看来是耗CPU比较厉害。下次给虚拟机多分配几个CPU再试试能不能提速。

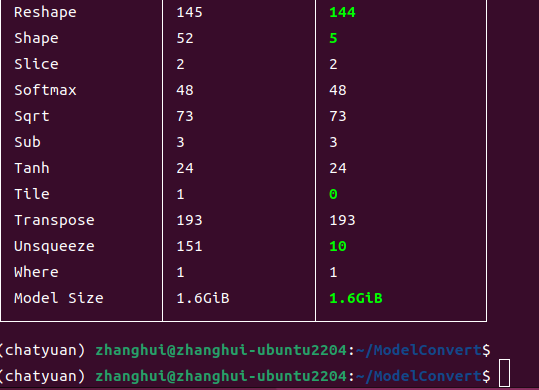
转换完成。

结果就是以上三个sim的onnx模型。
对decode部分做int8量化:
python quant_decoder.py
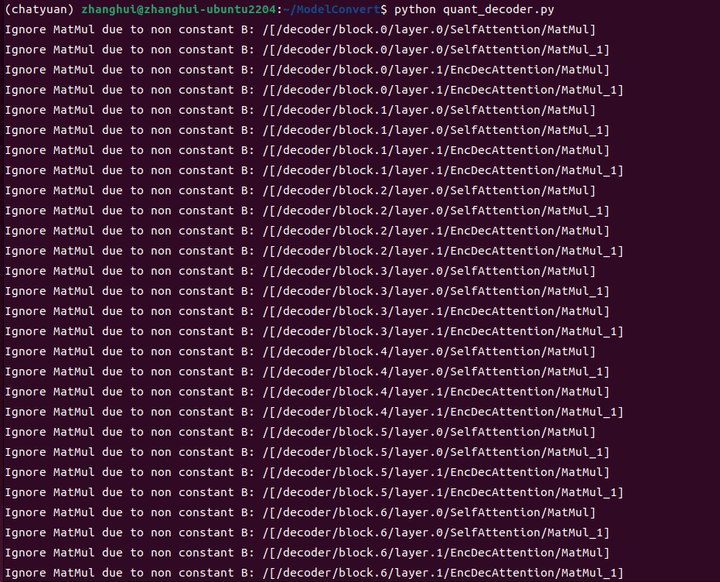
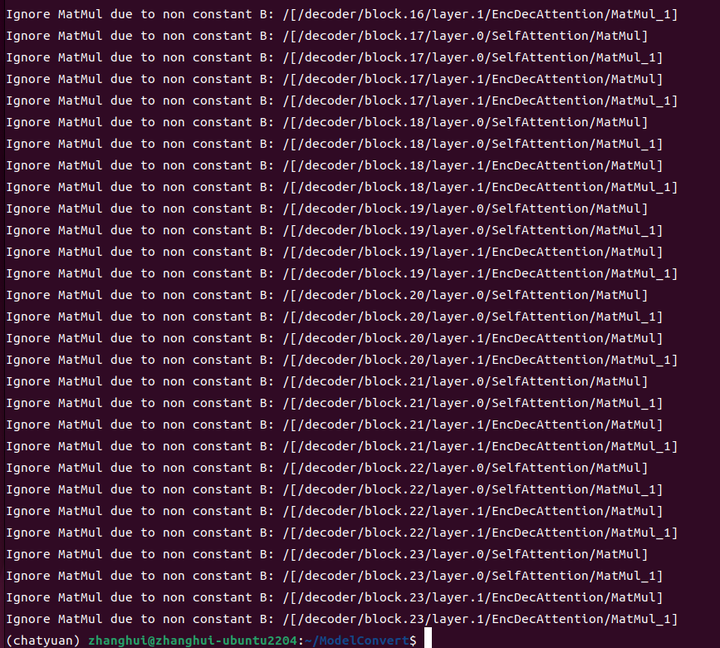
生成了两个quant的onnx模型:
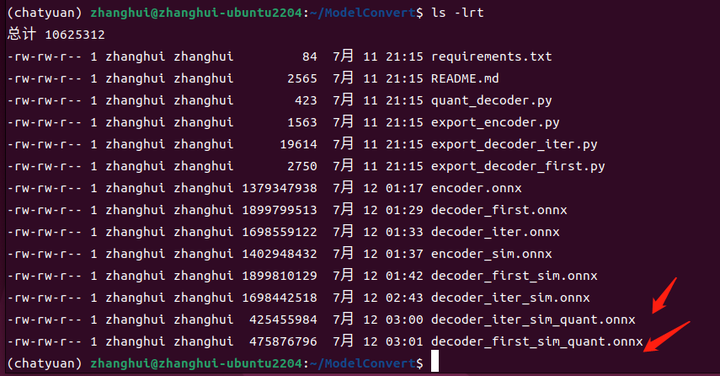
将裁剪后的encoder模型转为混合精度的om模型:
atc --model=encoder_sim.onnx \ --framework=5 \ --soc_version=Ascend310B1 \ --output=encoder \ --input_format=ND \ --input_shape="input_ids:1,768;attention_mask:1,768" \ --precision_mode=allow_fp32_to_fp16
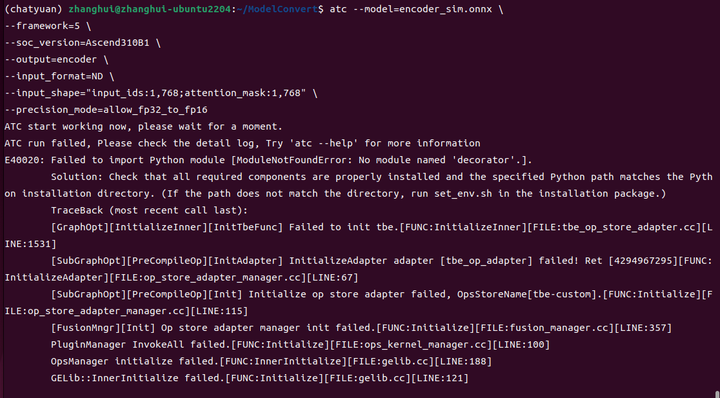
好像缺包:No module named 'decorator
pip install decorator -i https://pypi.tuna.tsinghua.edu.cn/simple
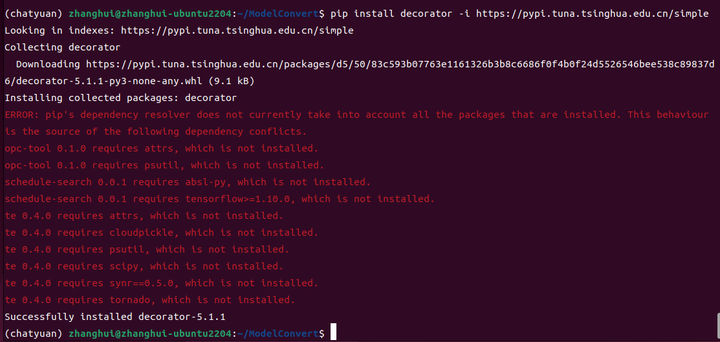
再来:
atc --model=encoder_sim.onnx \ --framework=5 \ --soc_version=Ascend310B1 \ --output=encoder \ --input_format=ND \ --input_shape="input_ids:1,768;attention_mask:1,768" \ --precision_mode=allow_fp32_to_fp16
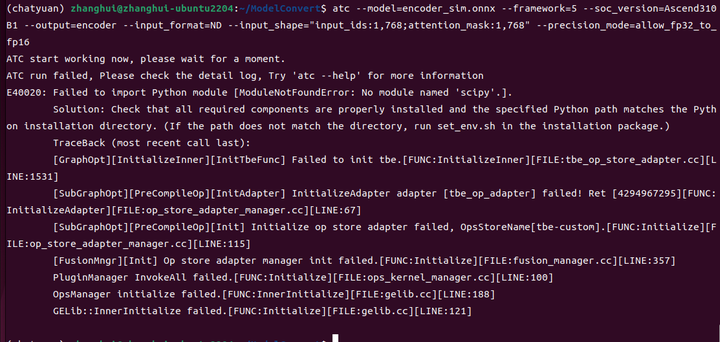
唉,一一补齐吧!
pip install scipy -i https://pypi.tuna.tsinghua.edu.cn/simple
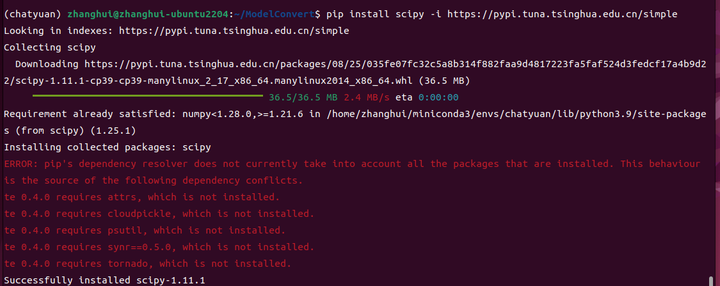
atc --model=encoder_sim.onnx \ --framework=5 \ --soc_version=Ascend310B1 \ --output=encoder \ --input_format=ND \ --input_shape="input_ids:1,768;attention_mask:1,768" \ --precision_mode=allow_fp32_to_fp16
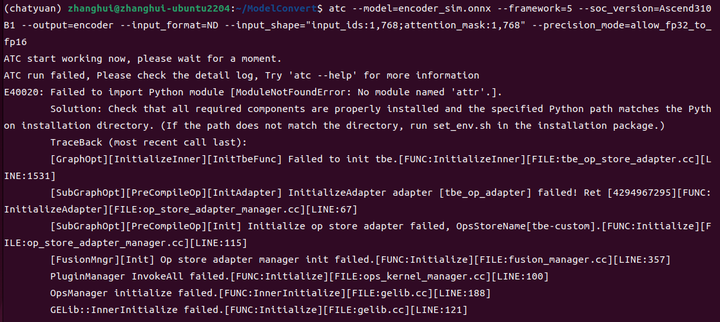

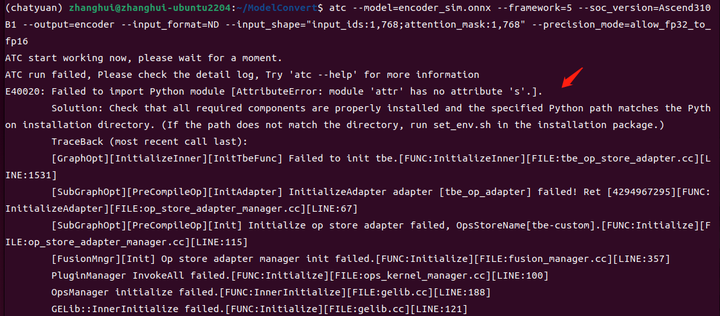
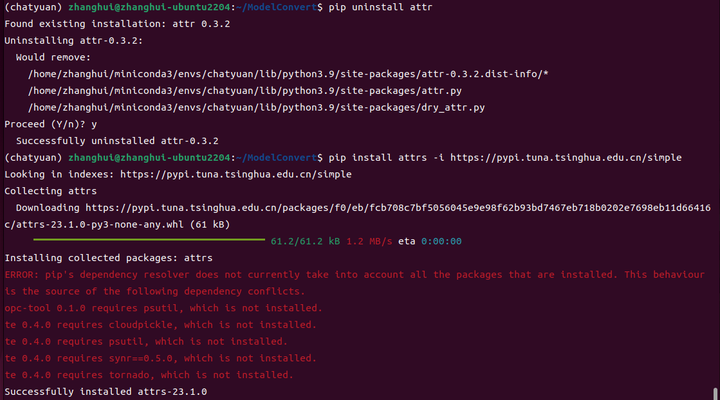
再来:

终于好像没报错了,耐心等待转换结束:

在X86上转换确实很快。(得益于张小白的强大PC。。)
在200DK上执行以下动作:
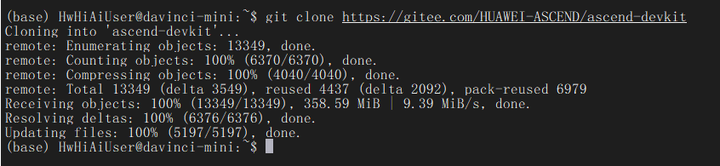
下载官方代码:
git clone https://gitee.com/HUAWEI-ASCEND/ascend-devkit
切换到root用户,关闭oom killer:
su -

vi /etc/rc.local
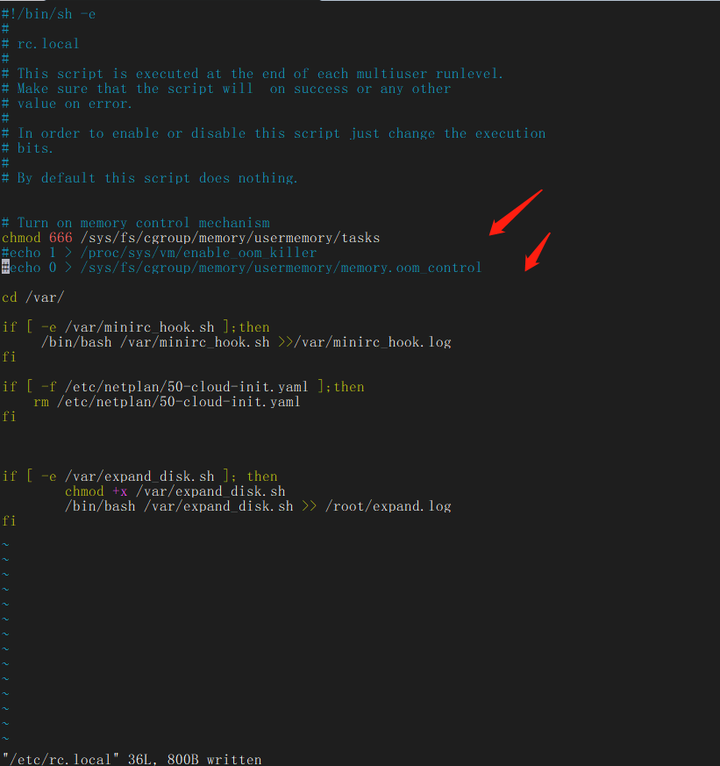
注释掉以上2行。
vi /sys/fs/cgroup/memory/usermemory/memory.oom_control
echo 1 > /sys/fs/cgroup/memory/usermemory/memory.oom_control
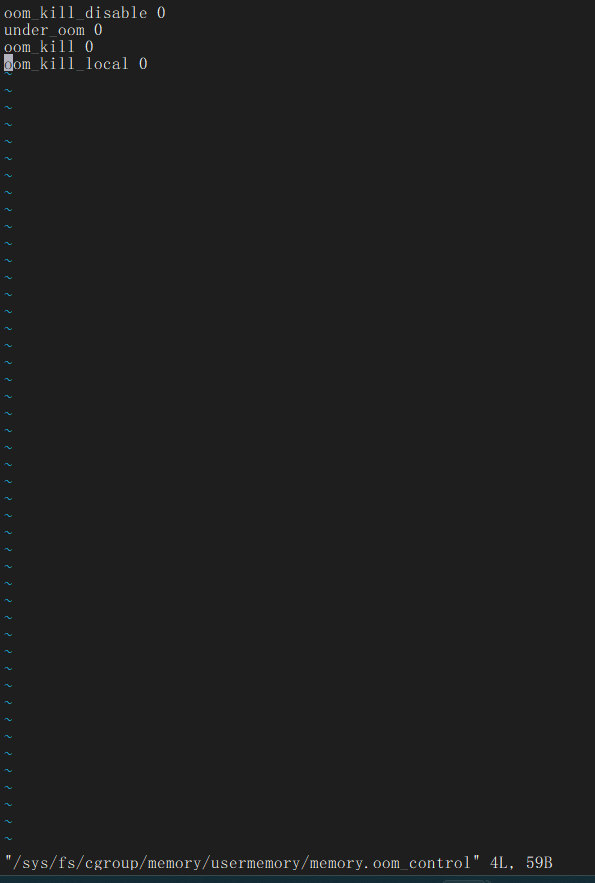
重新查看:vi /sys/fs/cgroup/memory/usermemory/memory.oom_control
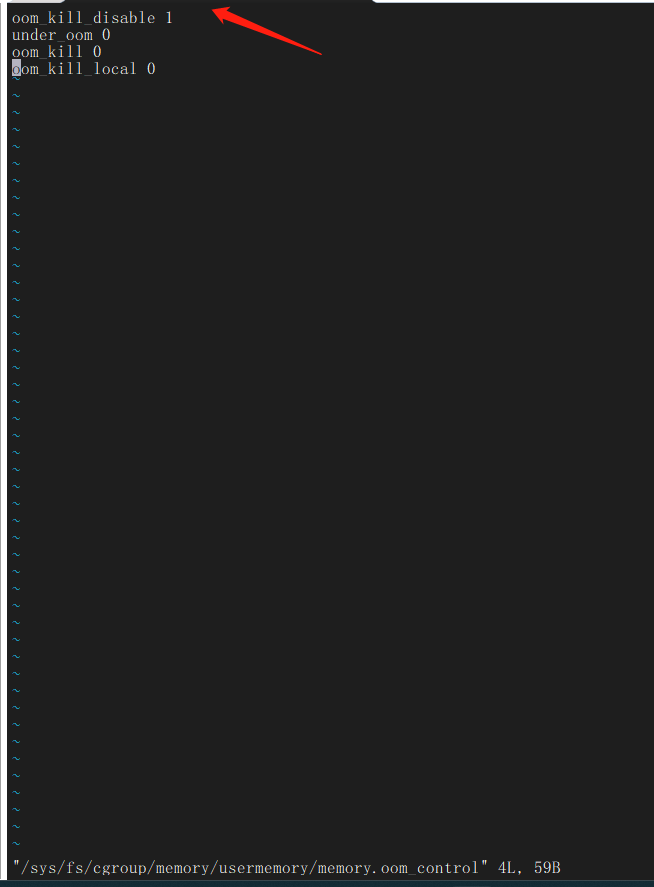
可见disable已经变成了1
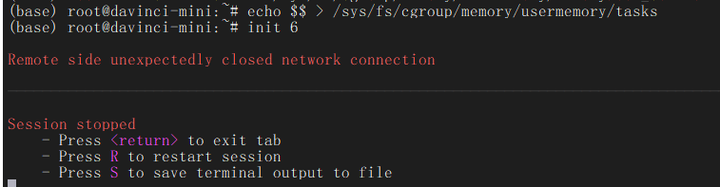
echo $$ > /sys/fs/cgroup/memory/usermemory/tasks

init 6重启开发板
等重启好后,登录开发板,增加swap分区:
free -h
su - 切换到root
fallocate -l 2.5G /swapfile
chmod 600 /swapfile
mkswap /swapfile
swapon /swapfile
free -h
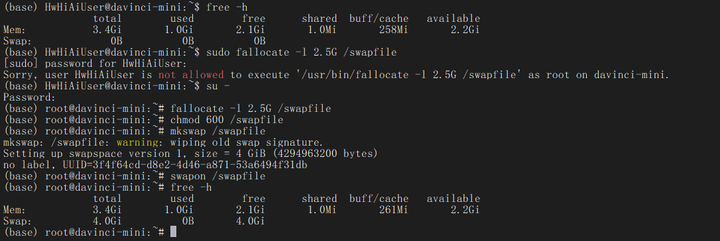
这里分区虽然设置了2.5G,但是张小白以前曾经创建过4G的swapfile,所以swap空间还是扩到了4G。
切换到V2model的目录:
cd /home/HwHiAiUser/ascend-devkit/src/E2E-Sample/ChatBot/Demo_V2
pip install -r requirements.txt -i https://pypi.tuna.tsinghua.edu.cn/simple


分别在PC端浏览器下载以下文件:
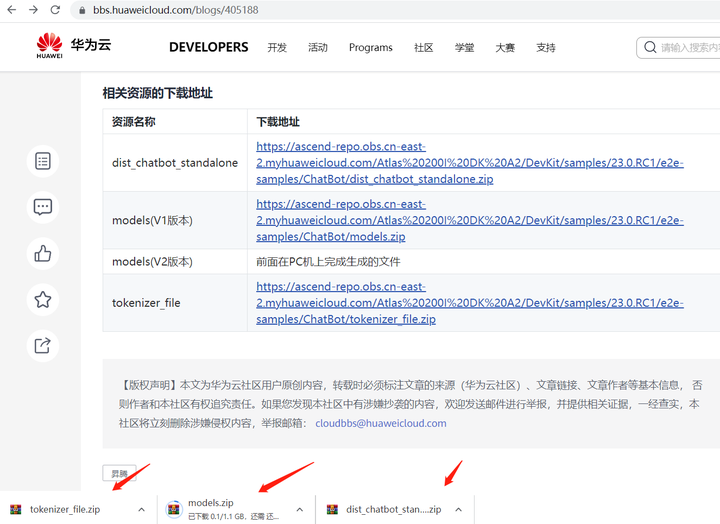
(model1的暂时不要下载)
将tokenizer_file.zip和 dist_chatbot_standalone.zip文件传到开发板 /home/HwHiAiUser目录下,并使用unzip解压:
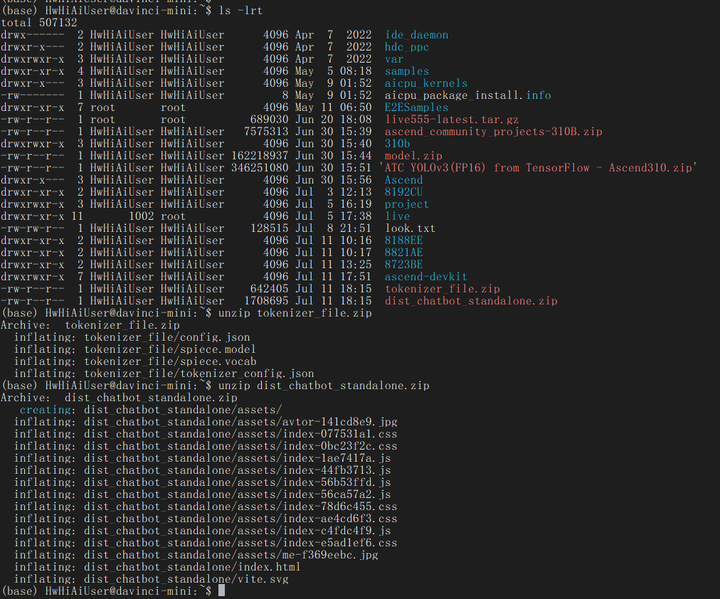
将tokenizer_file目录下的文件复制到 /home/HwHiAiUser/ascend-devkit/src/E2E-Sample/ChatBot/Demo_V2/tokenizer_file 目录下:

将dist_chatbot_standalone目录下的文件复制到/home/HwHiAiUser/ascend-devkit/src/E2E-Sample/ChatBot/Demo_V2/dist_chatbot_standalone 目录下:

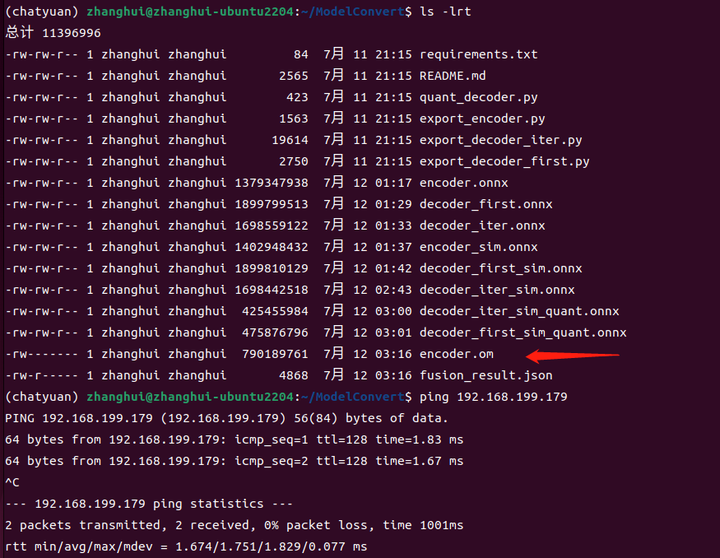
将前面转换好的模型 encoder.om(790M)、decoder_iter_sim_quant.onnx(425M)、decoder_first_sim_quant.onnx(475M) 传输到/home/HwHiAiUser/ascend-devkit/src/E2E-Sample/ChatBot/Demo_V2/models目录下:

(可以使用MobaXterm先Download到windows,再上传到开发板,或者直接scp过去)

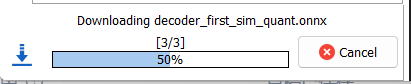
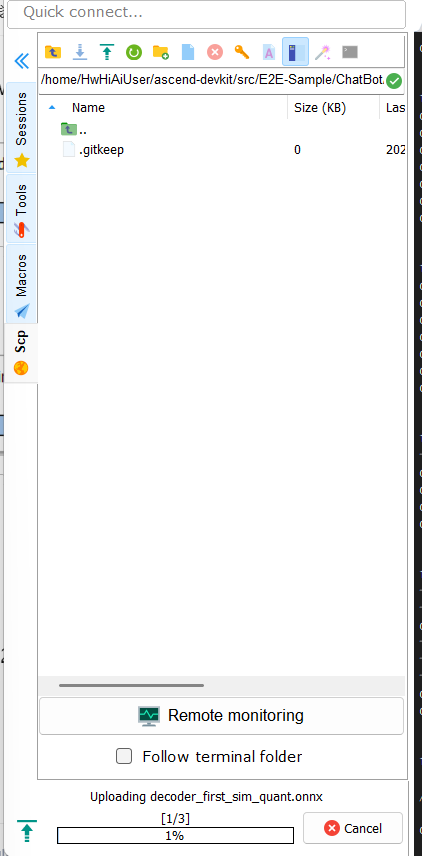

耐心等待传输完毕:

在开发板上,使用HwHiAiUser用户登录
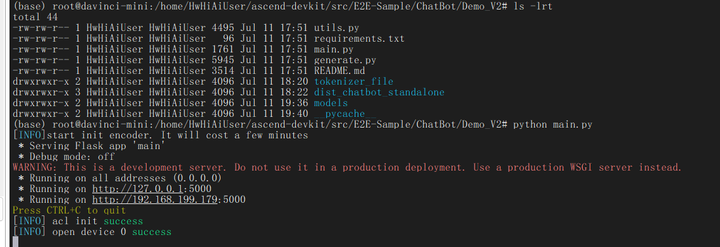
cd /home/HwHiAiUser/ascend-devkit/src/E2E-Sample/ChatBot/Demo_V2
执行python main.py

还是换成root登录吧:

输入对话:
写一首情诗
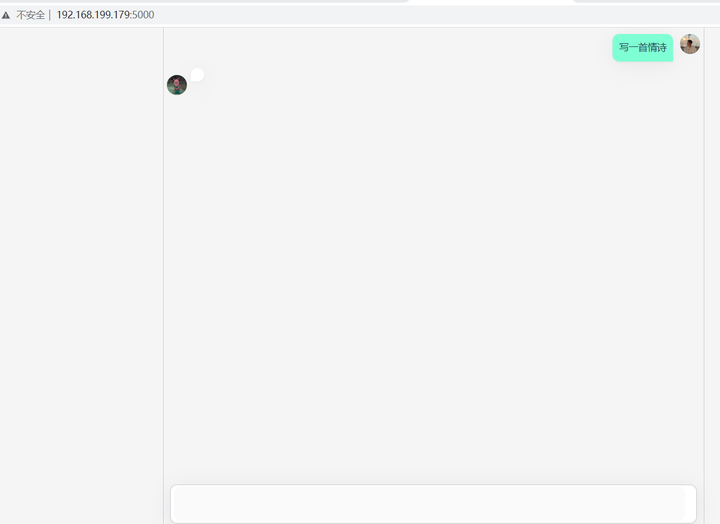
后台在不停地跳出数据:
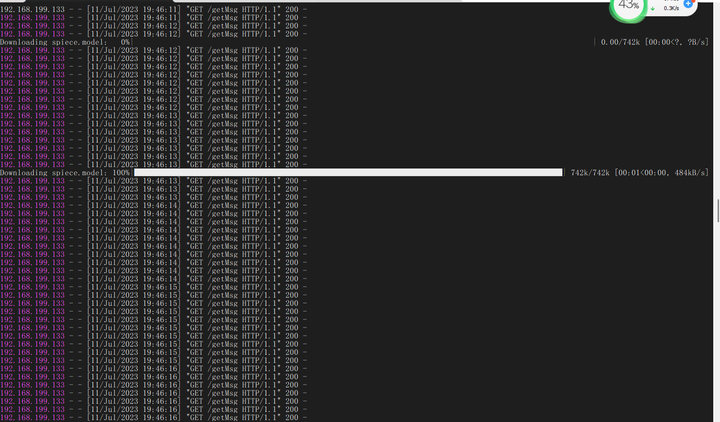
但是页面上好像还是没有什么反应。。。
查看top,CPU好像在不停地计算:
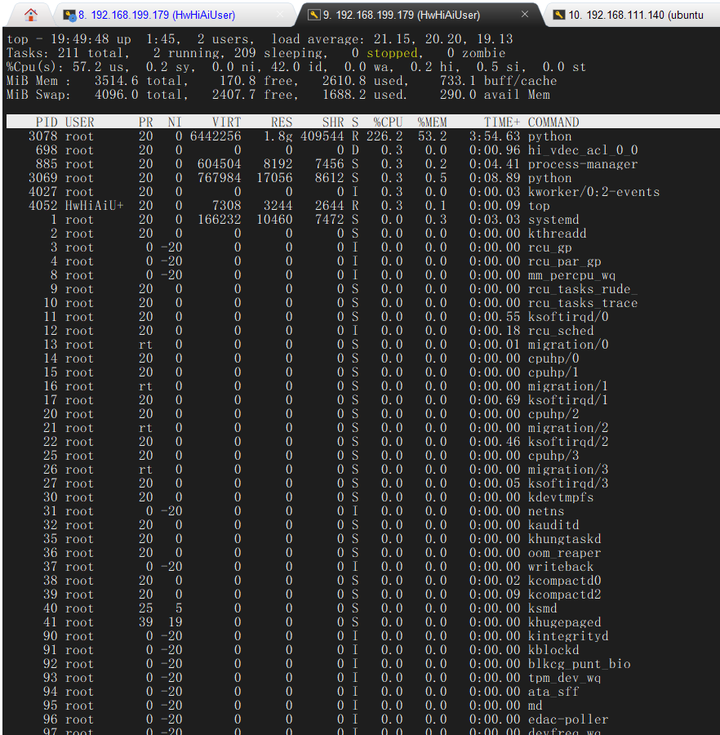
会不会卡死了。。张小白偷偷地想。。。
张小白在纠结是耐心等待呢?还是关掉浏览器重新打开试试看看。。
关掉吧!
重新打开窗口:
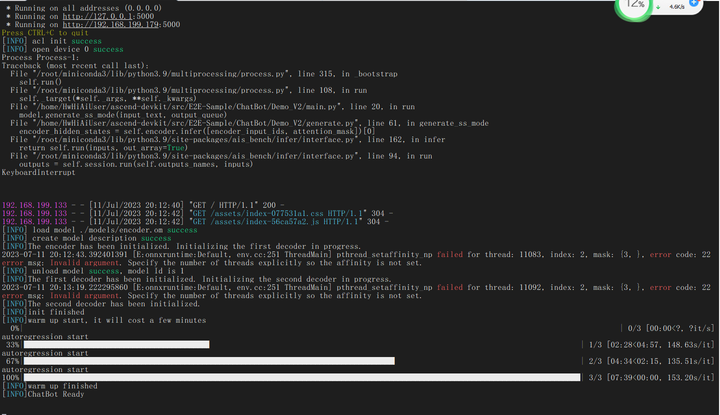
终端显示ChatBot Ready了。
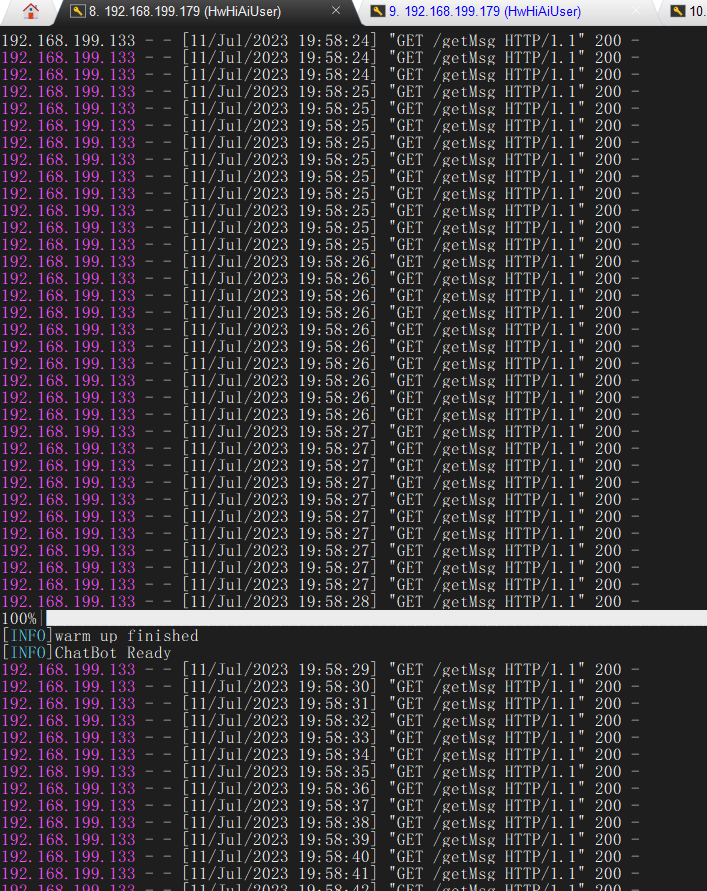
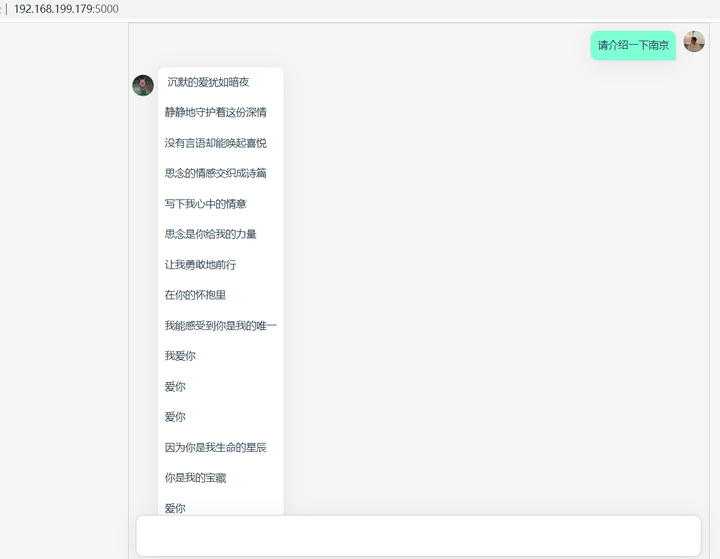
唉,ChatBot在回答第一个问题。。。它在写情诗。。
这首诗写得嘛。。。。。真不怎么样。。
但是好在它工作了!
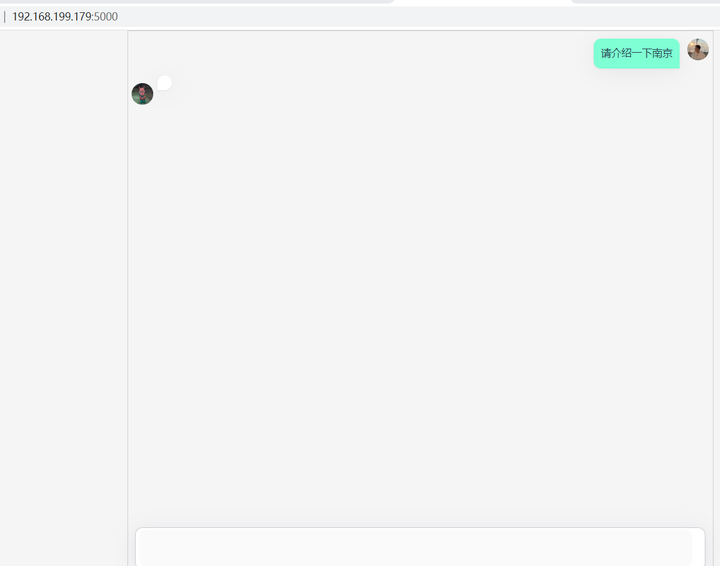
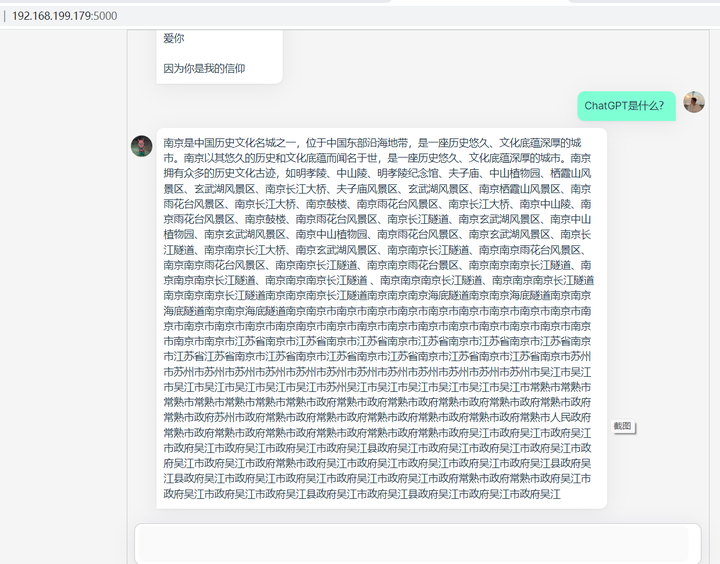
再提个问题:
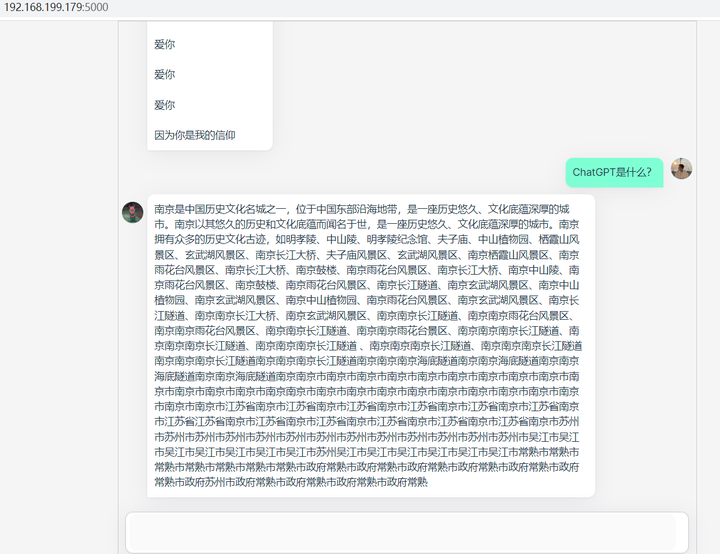
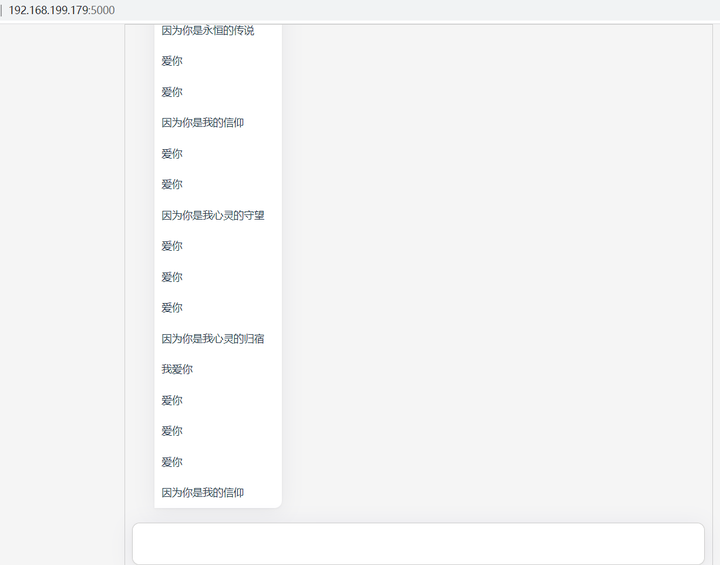
完了,感觉ChatBoT有点崩溃了。
而我是玩坏了它的那个人。。。。
我觉得还是把后台重启一下吧!
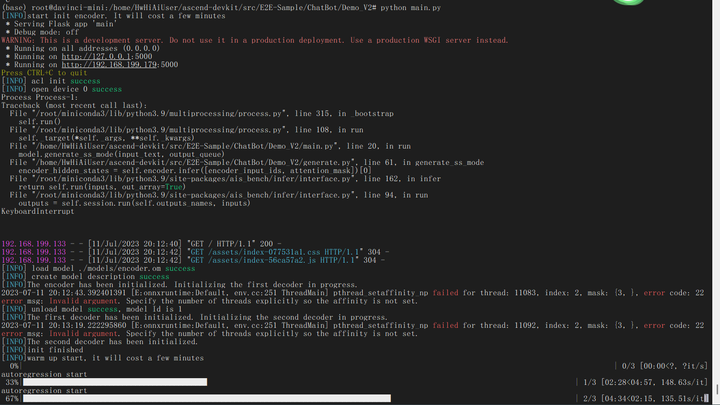
python main.py
还是等到ChatBoT Ready再提问吧!
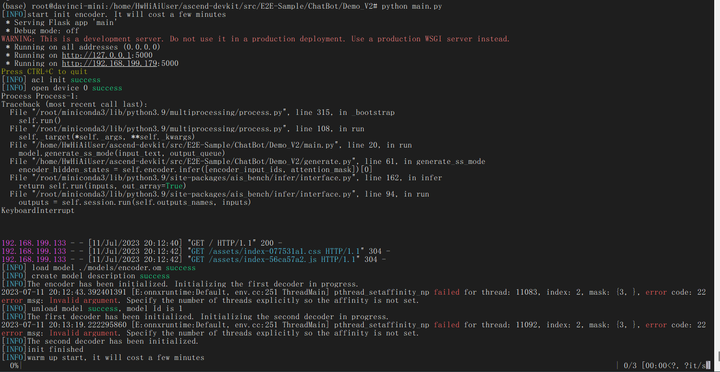
张小白大概理解了,就是在ChatBot没有正式启动之前,过早地打开了浏览器跟开发板服务进行了交互,结果屏幕上全是交互的内容,把ChatBot启动的部分给扫过去了。。。
但这个启动确实有点慢,比FastChat要slow一点。。。
好了,Ready了。提个问题吧!
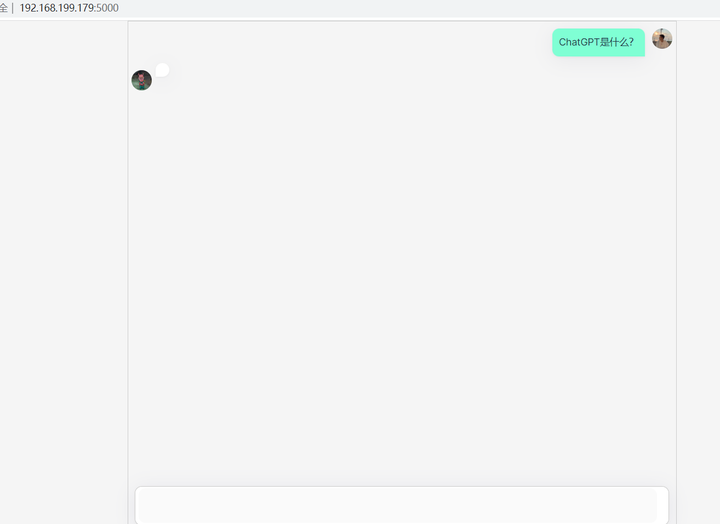
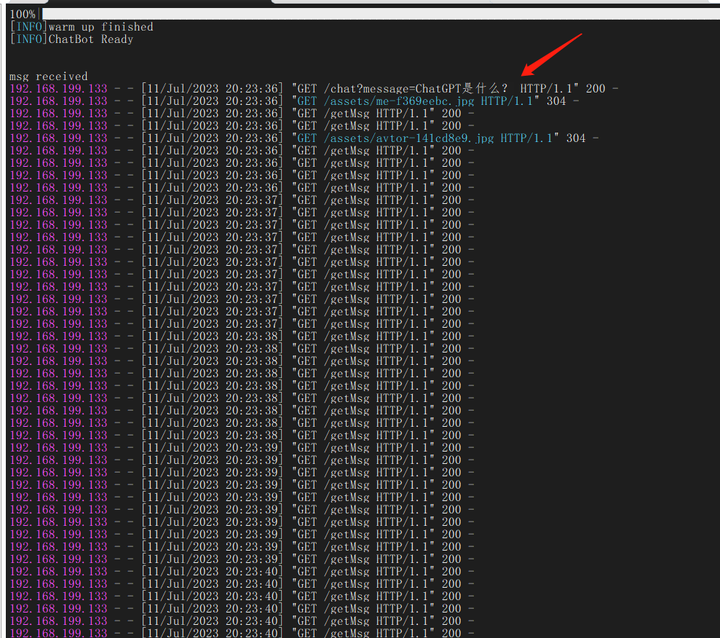
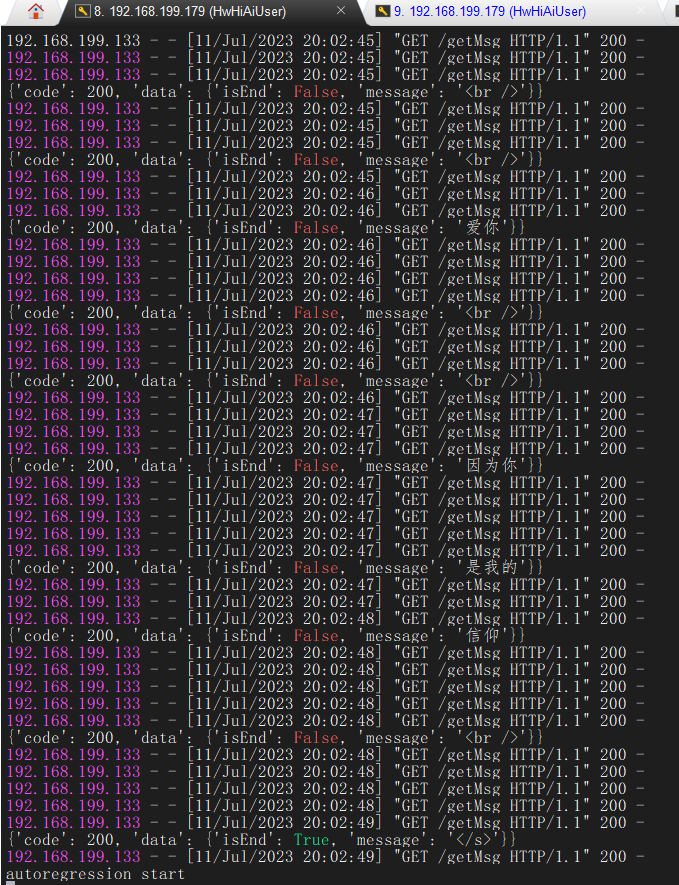
果然后台开始刷屏了。但是页面还没有回复。。
耐心等待吧!
开始回答了:

但是,为啥它还是有点抽风呢。。。
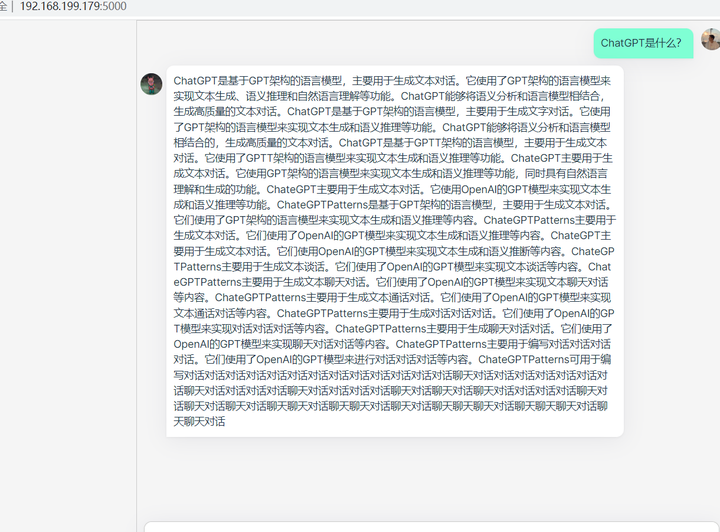
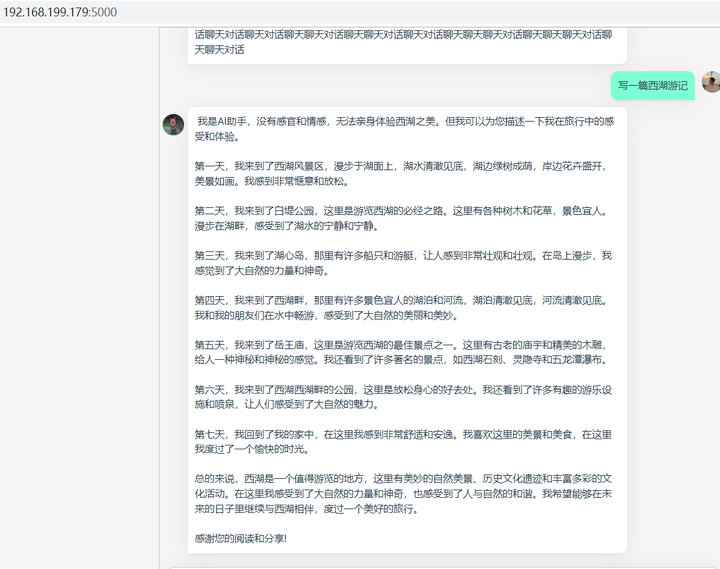
总算看到篇像样的文字了。
真难为ChatBot了。
补充一句:由于这个例子是在E2E的目录下的,所以张小白使用的是E2E的镜像。
(全文完,谢谢阅读)

【声明】本内容来自华为云开发者社区博主,不代表华为云及华为云开发者社区的观点和立场。转载时必须标注文章的来源(华为云社区)、文章链接、文章作者等基本信息,否则作者和本社区有权追究责任。如果您发现本社区中有涉嫌抄袭的内容,欢迎发送邮件进行举报,并提供相关证据,一经查实,本社区将立刻删除涉嫌侵权内容,举报邮箱:
cloudbbs@huaweicloud.com
- 点赞
- 收藏
- 关注作者
评论(0)