【愚公系列】2023年02月 WMS智能仓储系统-007.Swagger接口文档的配置
前言
Swagger 是一个规范和完整的框架,用于生成、描述、调用和可视化 RESTful 风格的 Web 服务。
总体目标是使客户端和文件系统作为服务器以同样的速度来更新。文件的方法、参数和模型紧密集成到服务器端的代码,允许 API 来始终保持同步。Swagger 让部署管理和使用功能强大的 API 从未如此简单。
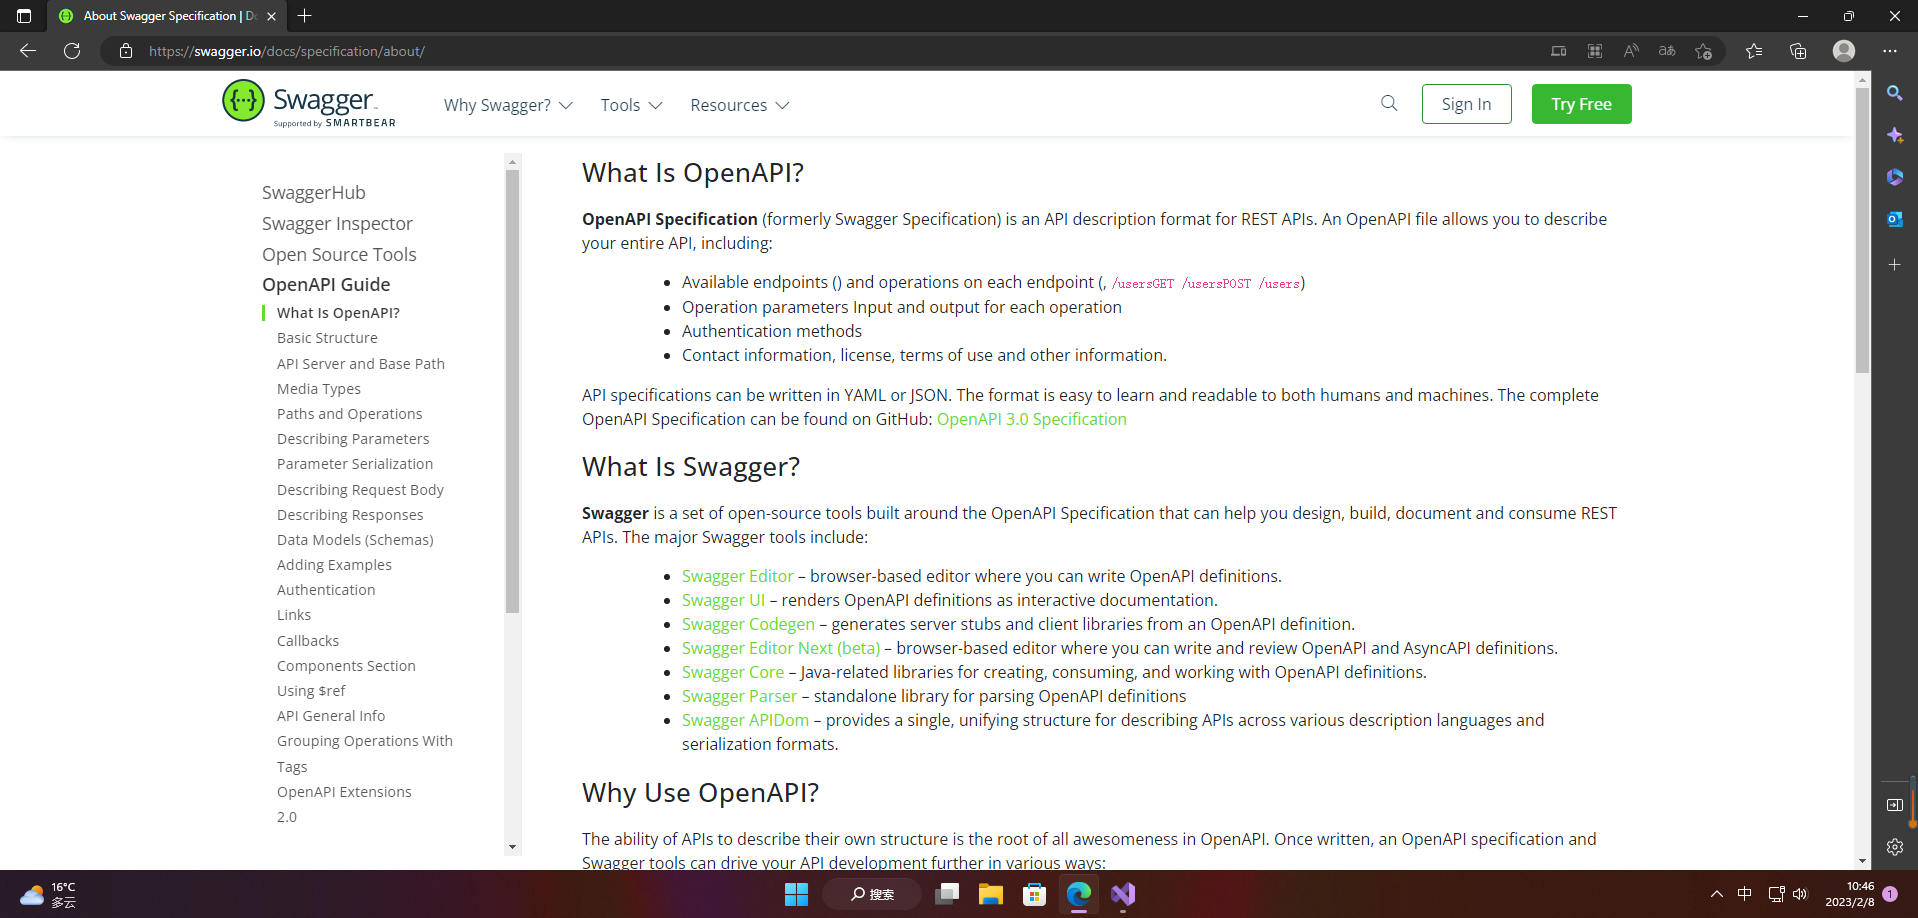
Swagger 是一组围绕 OpenAPI 规范构建的开源工具,可以帮助您设计、构建、记录和使用 REST API。主要的 Swagger 工具包括:
- Swagger Editor – 基于浏览器的编辑器,您可以在其中编写 OpenAPI 定义。
- Swagger UI – 将 OpenAPI 定义呈现为交互式文档。
- Swagger Codegen – 从 OpenAPI 定义生成服务器存根和客户端库。
- Swagger Editor Next (beta) – 基于浏览器的编辑器,您可以在其中编写和查看OpenAPI和AsyncAPI定义。
- Swagger Core – 与 Java 相关的库,用于创建、消费和使用 OpenAPI 定义。
- Swagger Parser – 用于解析 OpenAPI 定义的独立库
- Swagger APIDom – 提供单一的统一结构,用于跨各种描述语言和序列化格式描述 API。
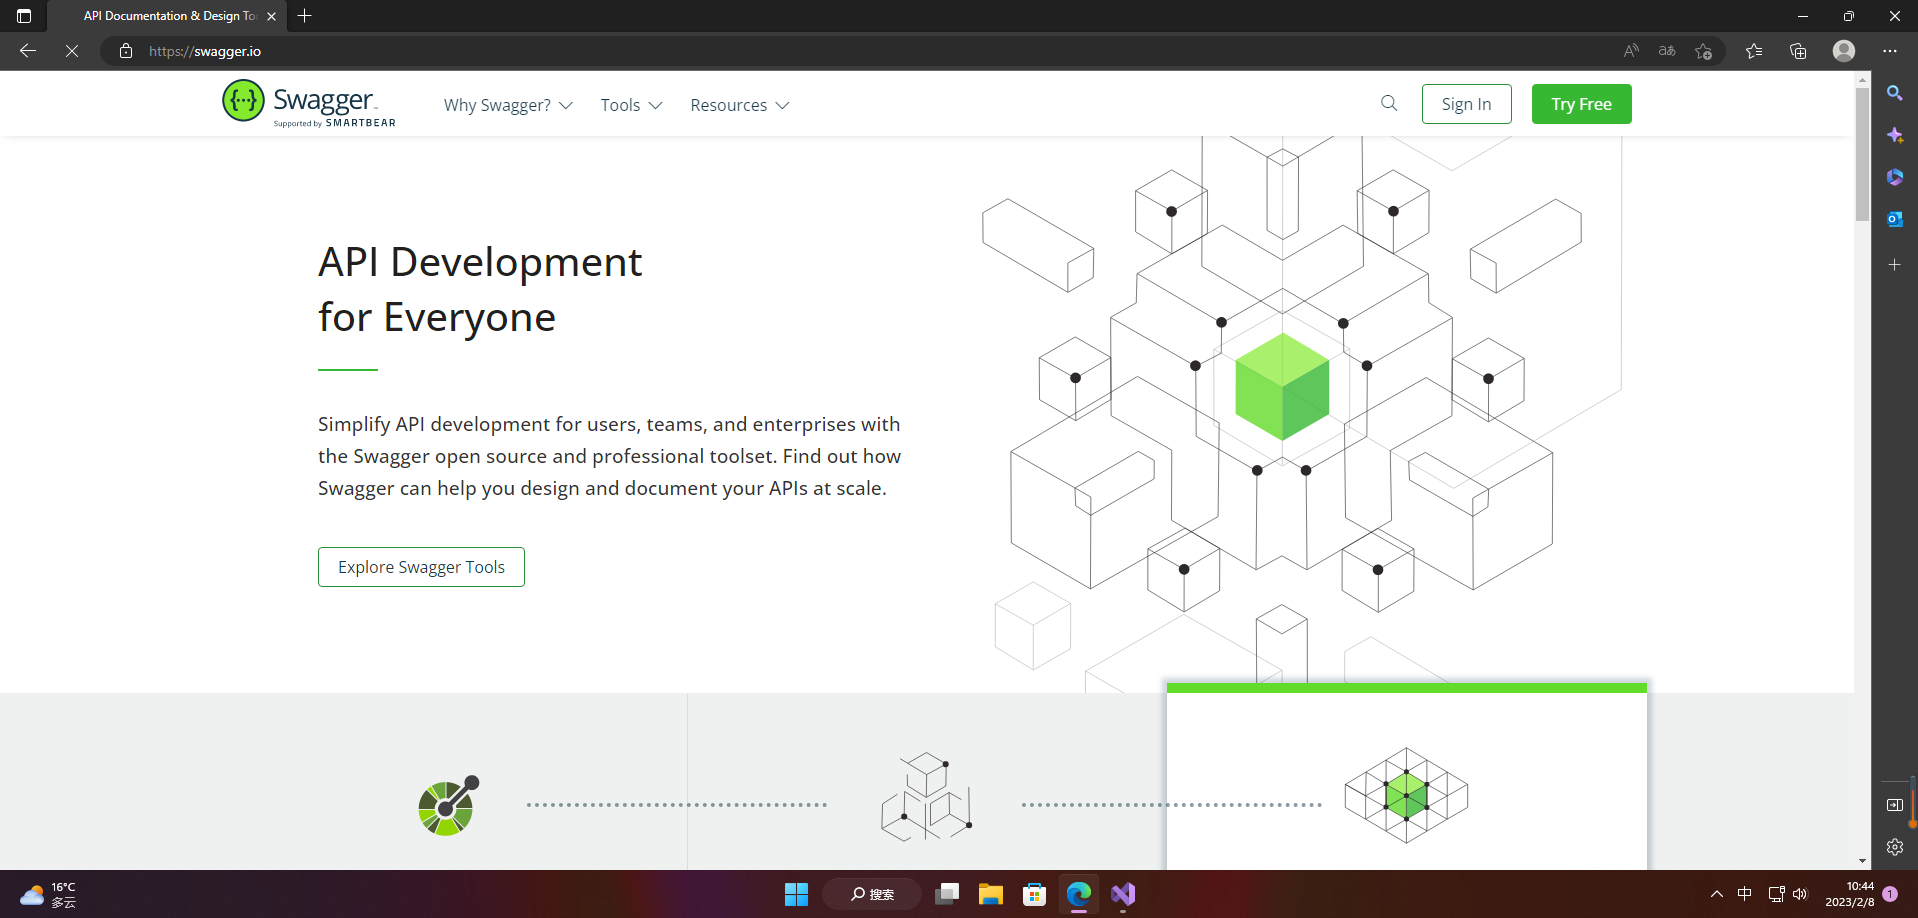
Swagger 官网:https://swagger.io/
Swagger 文档:https://swagger.io/docs/specification/about/
一、Swagger接口文档的配置
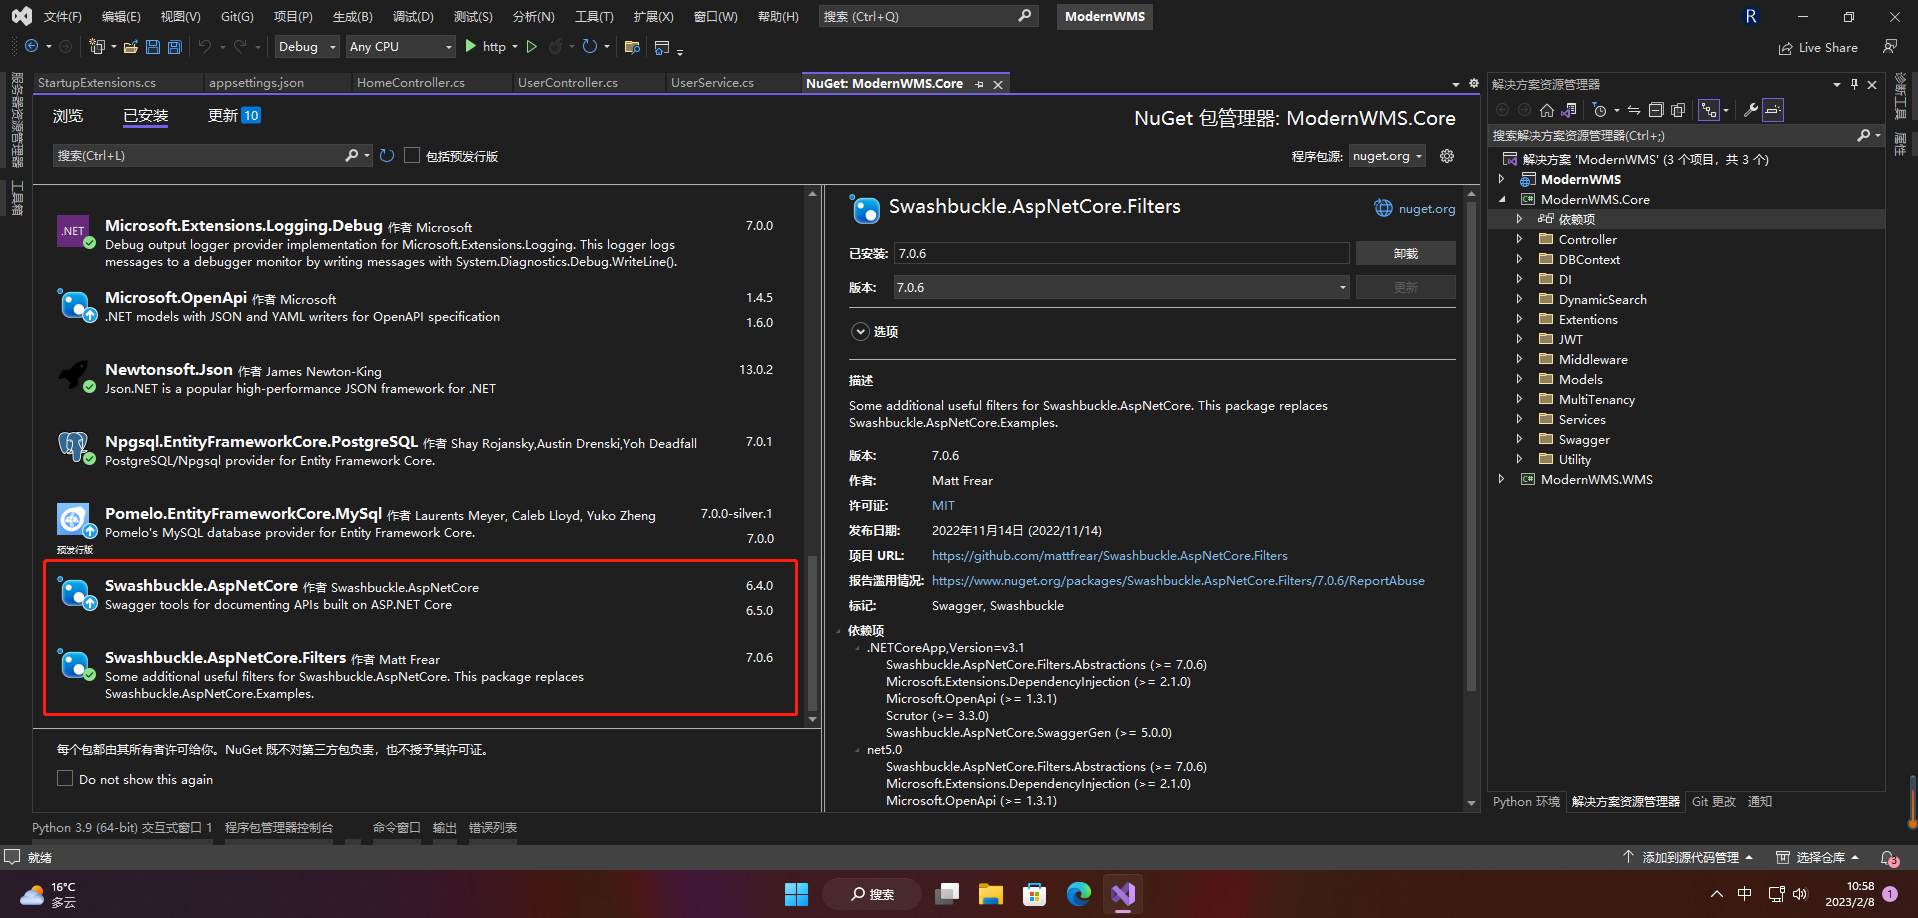
1.安装包
Swashbuckle.AspNetCore
Swashbuckle.AspNetCore.Filters
2.注入
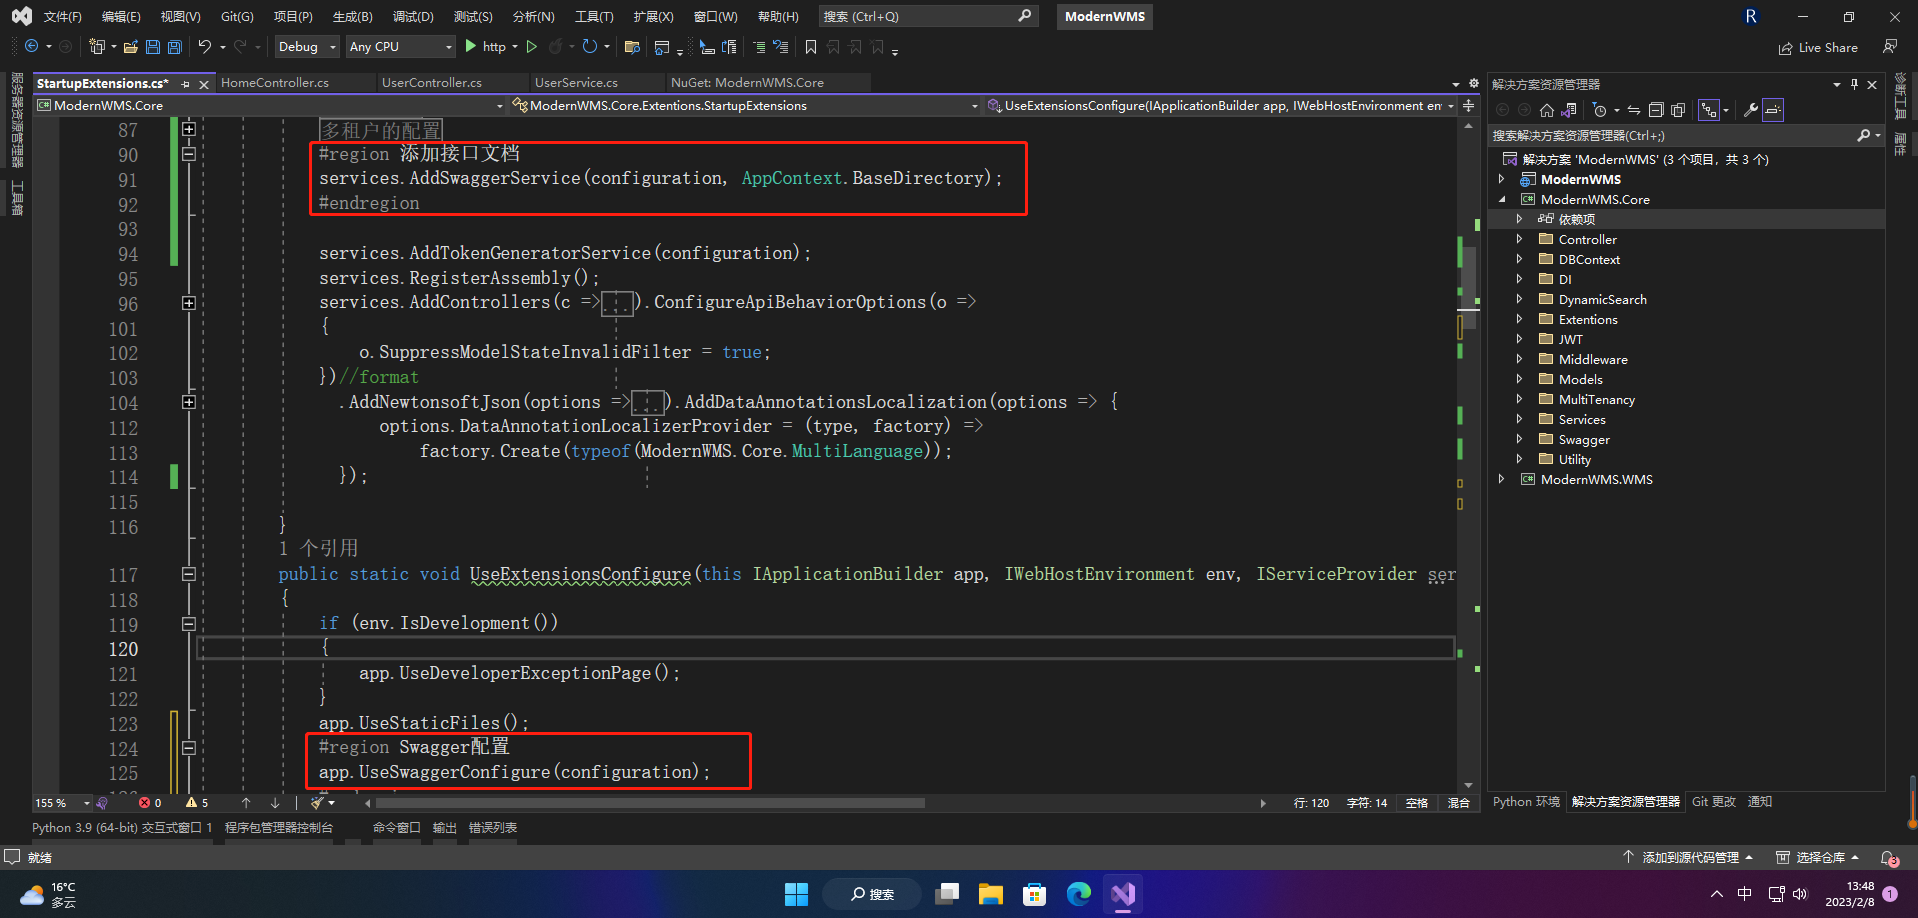
2.1 Swagger服务的注入
#region 添加接口文档
services.AddSwaggerService(configuration, AppContext.BaseDirectory);
#endregion

#region Swagger配置
app.UseSwaggerConfigure(configuration);
#endregion
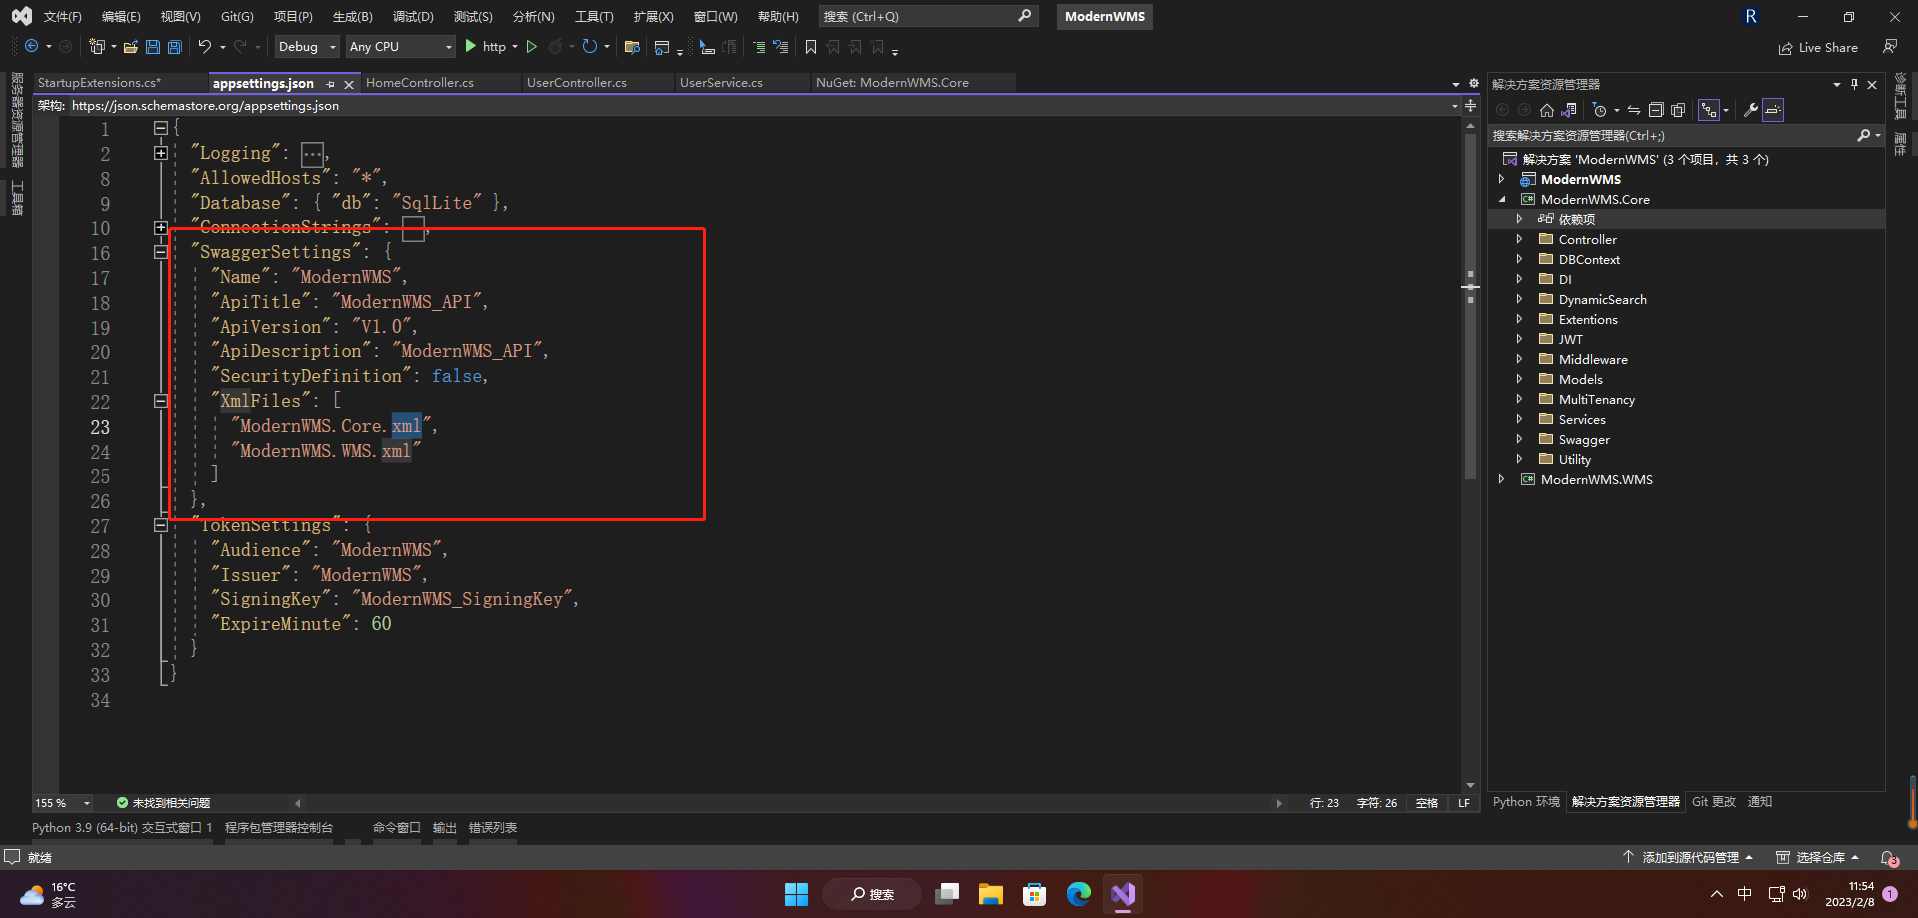
2.2 appsetting.json的配置
"SwaggerSettings": {
  "Name": "ModernWMS",
  "ApiTitle": "ModernWMS_API",
  "ApiVersion": "V1.0",
  "ApiDescription": "ModernWMS_API",
  "SecurityDefinition": false,
  "XmlFiles": [
    "ModernWMS.Core.xml",
    "ModernWMS.WMS.xml"
  ]
}
2.3 Swagger服务的封装
/// <summary>
/// Swagger
/// </summary>
/// <param name="services">服务容器</param>
/// <param name="configuration">配置文件</param>
/// <param name="BaseDirectory">主目录</param>
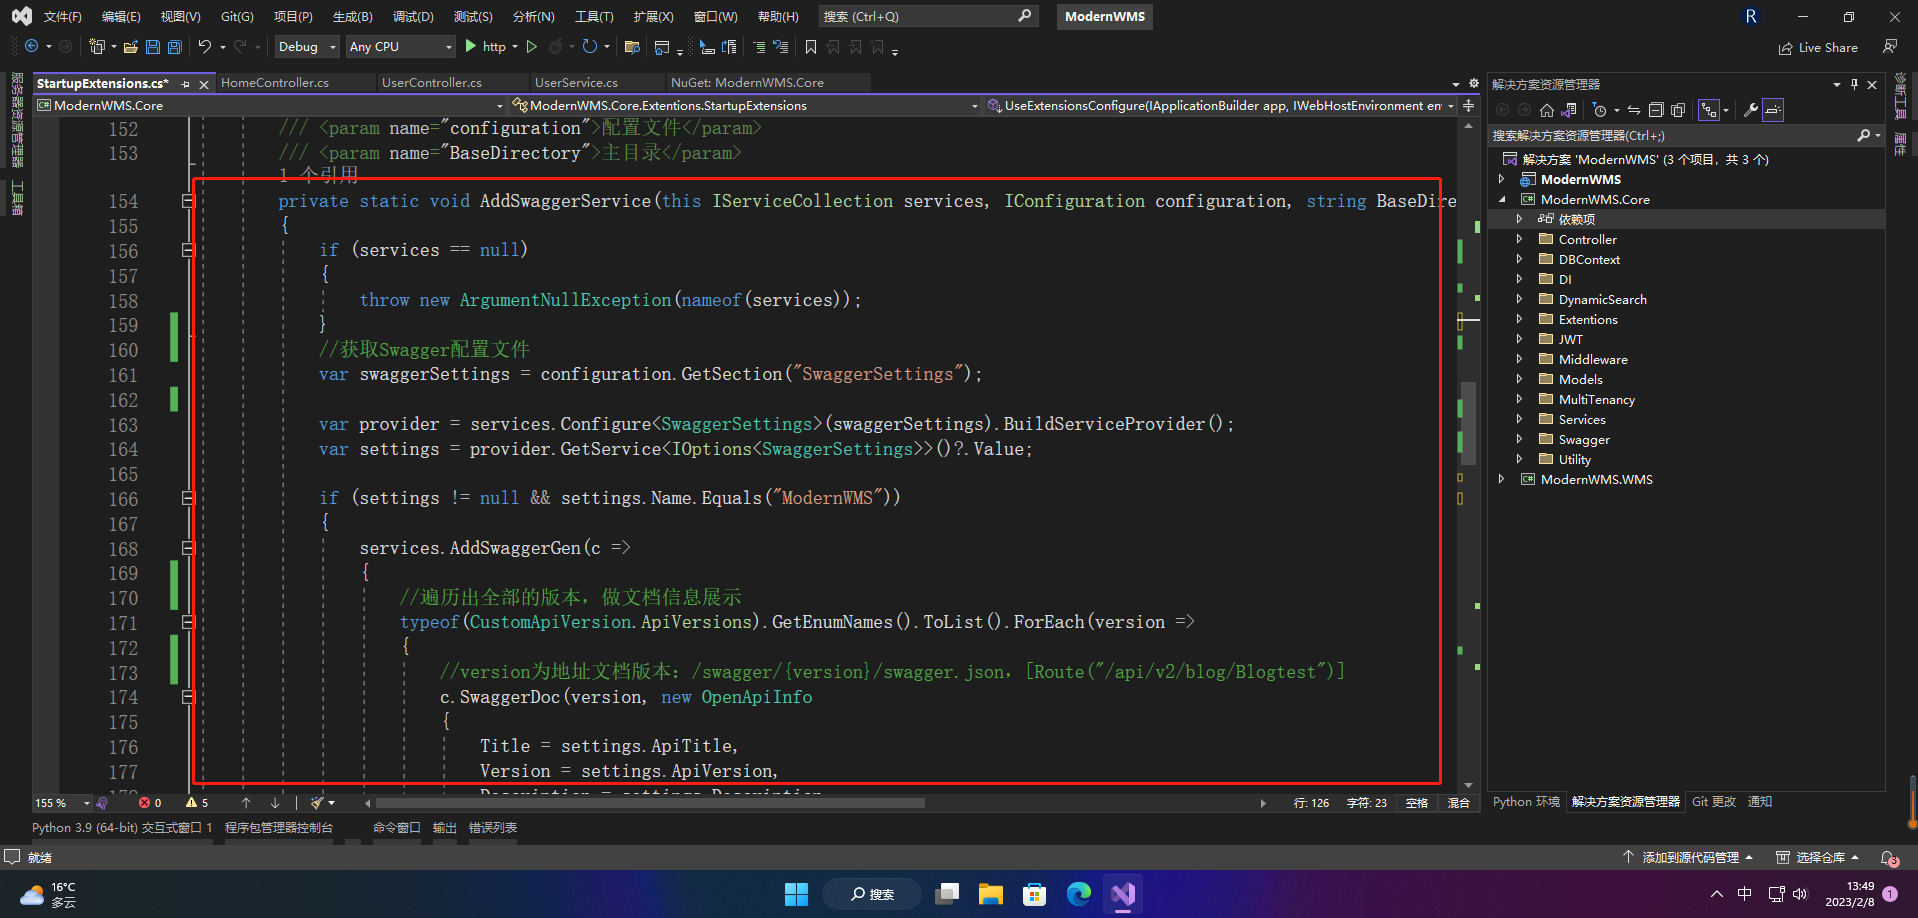
private static void AddSwaggerService(this IServiceCollection services, IConfiguration configuration, string BaseDirectory)
{
    if (services == null)
    {
        throw new ArgumentNullException(nameof(services));
    }
    //获取Swagger配置文件
    var swaggerSettings = configuration.GetSection("SwaggerSettings");

    var provider = services.Configure<SwaggerSettings>(swaggerSettings).BuildServiceProvider();
    var settings = provider.GetService<IOptions<SwaggerSettings>>()?.Value;

    if (settings != null && settings.Name.Equals("ModernWMS"))
    {
        services.AddSwaggerGen(c =>
        {
            //遍历出全部的版本,做文档信息展示
            typeof(CustomApiVersion.ApiVersions).GetEnumNames().ToList().ForEach(version =>
            {
                //version为地址文档版本:/swagger/{version}/swagger.json,[Route("/api/v2/blog/Blogtest")]
                c.SwaggerDoc(version, new OpenApiInfo
                {
                    Title = settings.ApiTitle,
                    Version = settings.ApiVersion,
                    Description = settings.Description
                });
            });

            //xml文档生成和注释
            if (settings.XmlFiles != null && settings.XmlFiles.Count > 0)
            {
                settings.XmlFiles.ForEach(fileName =>
                {
                    if (File.Exists(Path.Combine(BaseDirectory, fileName)))
                    {
                        //xml生成的文件地址,true表示注释文件包含了控制器的注释
                        c.IncludeXmlComments(Path.Combine(BaseDirectory, fileName), true);
                    }
                });
            }

            c.OperationFilter<AddResponseHeadersFilter>();
            c.OperationFilter<AppendAuthorizeToSummaryOperationFilter>();
            c.OperationFilter<SecurityRequirementsOperationFilter>();


            c.AddSecurityDefinition("oauth2", new OpenApiSecurityScheme
            {
                Description = "please input Bearer {token}",
                Name = "Authorization",
                In = ParameterLocation.Header,
                Type = SecuritySchemeType.ApiKey
            });
            c.SwaggerGeneratorOptions.DescribeAllParametersInCamelCase = false;

        });
    }
}
/// <summary>
/// register Swagger
/// </summary>
/// <param name="app"></param>
/// <param name="configuration">配置文件</param>
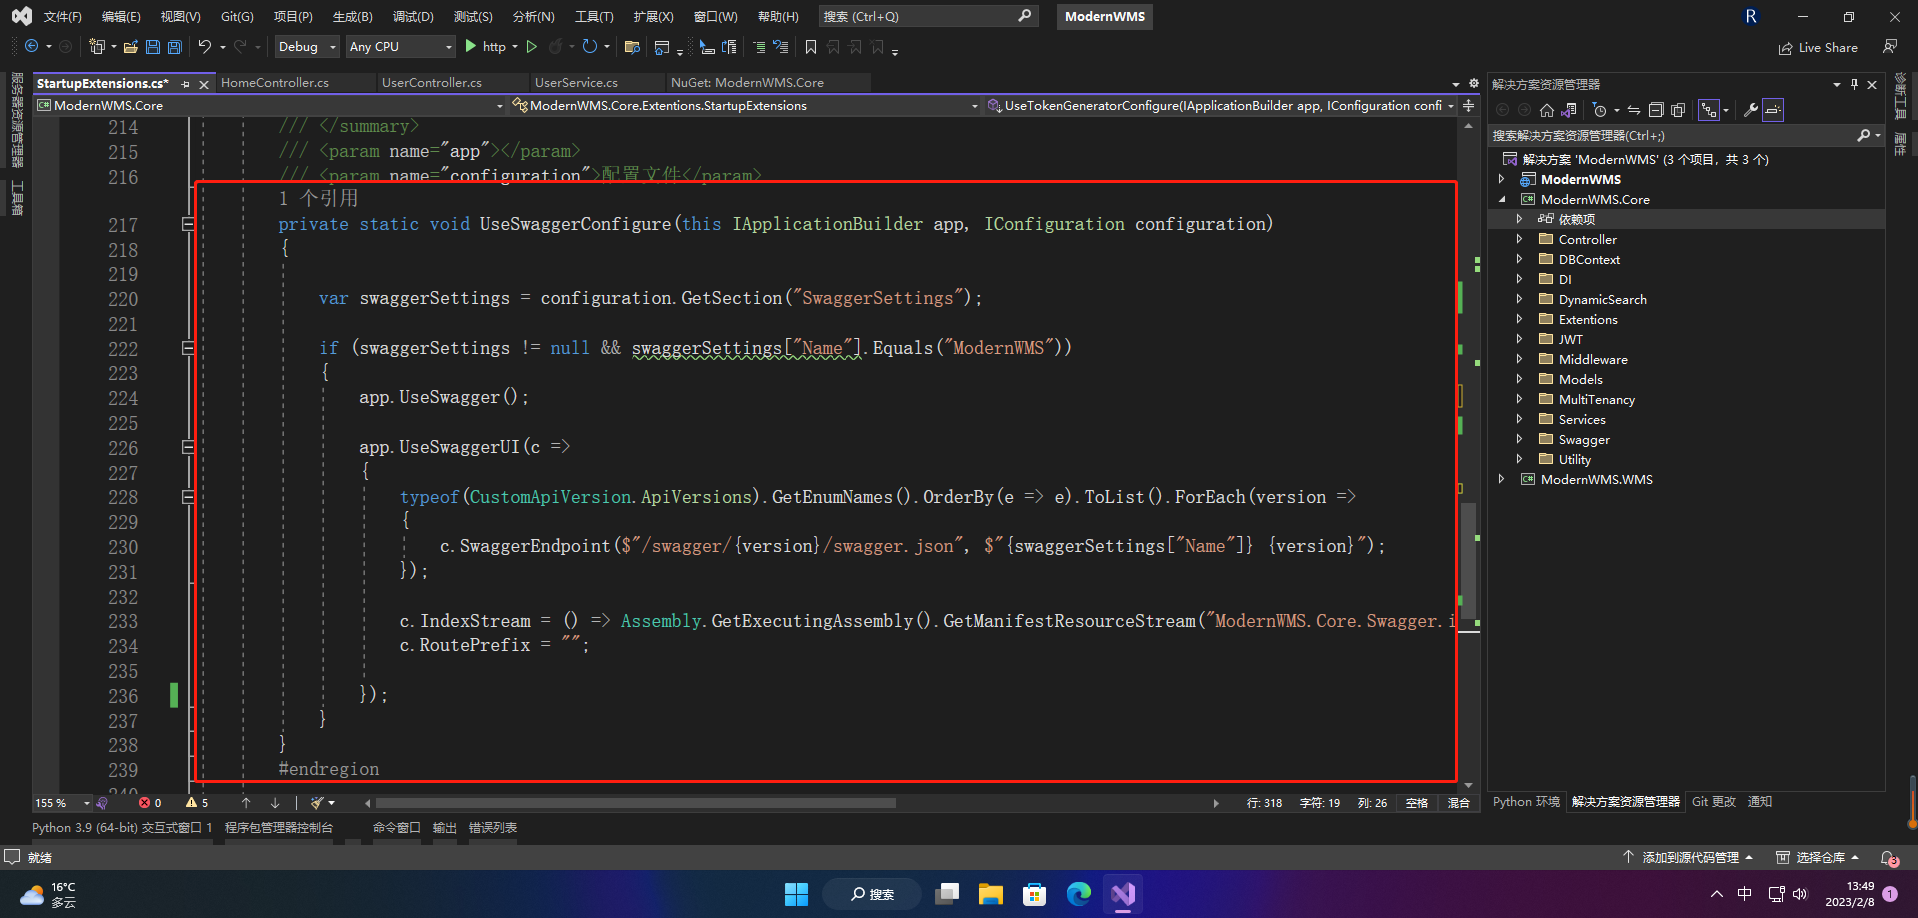
private static void UseSwaggerConfigure(this IApplicationBuilder app, IConfiguration configuration)
{

    var swaggerSettings = configuration.GetSection("SwaggerSettings");

    if (swaggerSettings != null && swaggerSettings["Name"].Equals("ModernWMS"))
    {
        app.UseSwagger();

        app.UseSwaggerUI(c =>
        {
            typeof(CustomApiVersion.ApiVersions).GetEnumNames().OrderBy(e => e).ToList().ForEach(version =>
            {
                c.SwaggerEndpoint($"/swagger/{version}/swagger.json", $"{swaggerSettings["Name"]} {version}");
            });

            c.IndexStream = () => Assembly.GetExecutingAssembly().GetManifestResourceStream("ModernWMS.Core.Swagger.index.html");
            c.RoutePrefix = "";

        });
    }
}
2.3.1 SwaggerDoc
1、配置
SwaggerDoc主要用来声明一个文档,以声明多个接口文档,比如按开发版本进行声明:
CustomApiVersion就是版本号
/// <summary>
/// custom version
/// </summary>
public class CustomApiVersion
{
    /// <summary>
    /// Api module
    /// </summary>
    public enum ApiVersions
    {
        /// <summary>
        /// Base
        /// </summary>
        Base,
        /// <summary>
        /// WMS
        /// </summary>
        WMS
    }
}
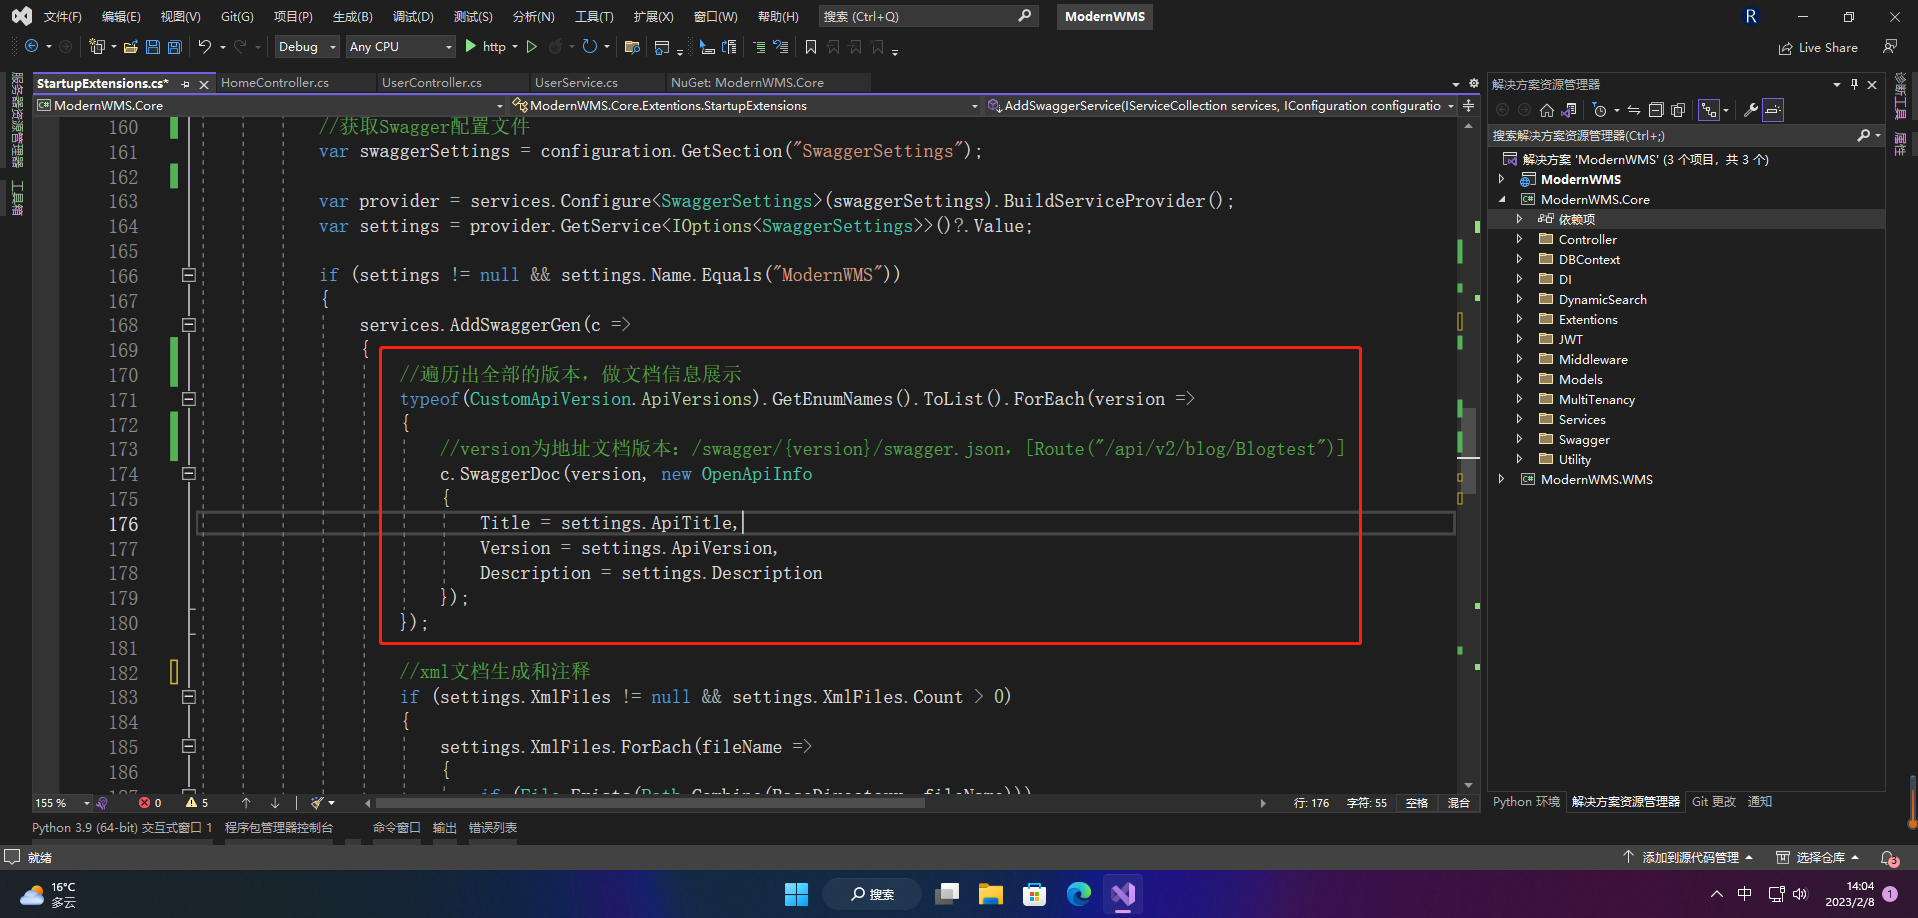
//遍历出全部的版本,做文档信息展示
typeof(CustomApiVersion.ApiVersions).GetEnumNames().ToList().ForEach(version =>
{
    //version为地址文档版本:/swagger/{version}/swagger.json,[Route("/api/v2/blog/Blogtest")]
    c.SwaggerDoc(version, new OpenApiInfo
    {
        Title = settings.ApiTitle,
        Version = settings.ApiVersion,
        Description = settings.Description
    });
});
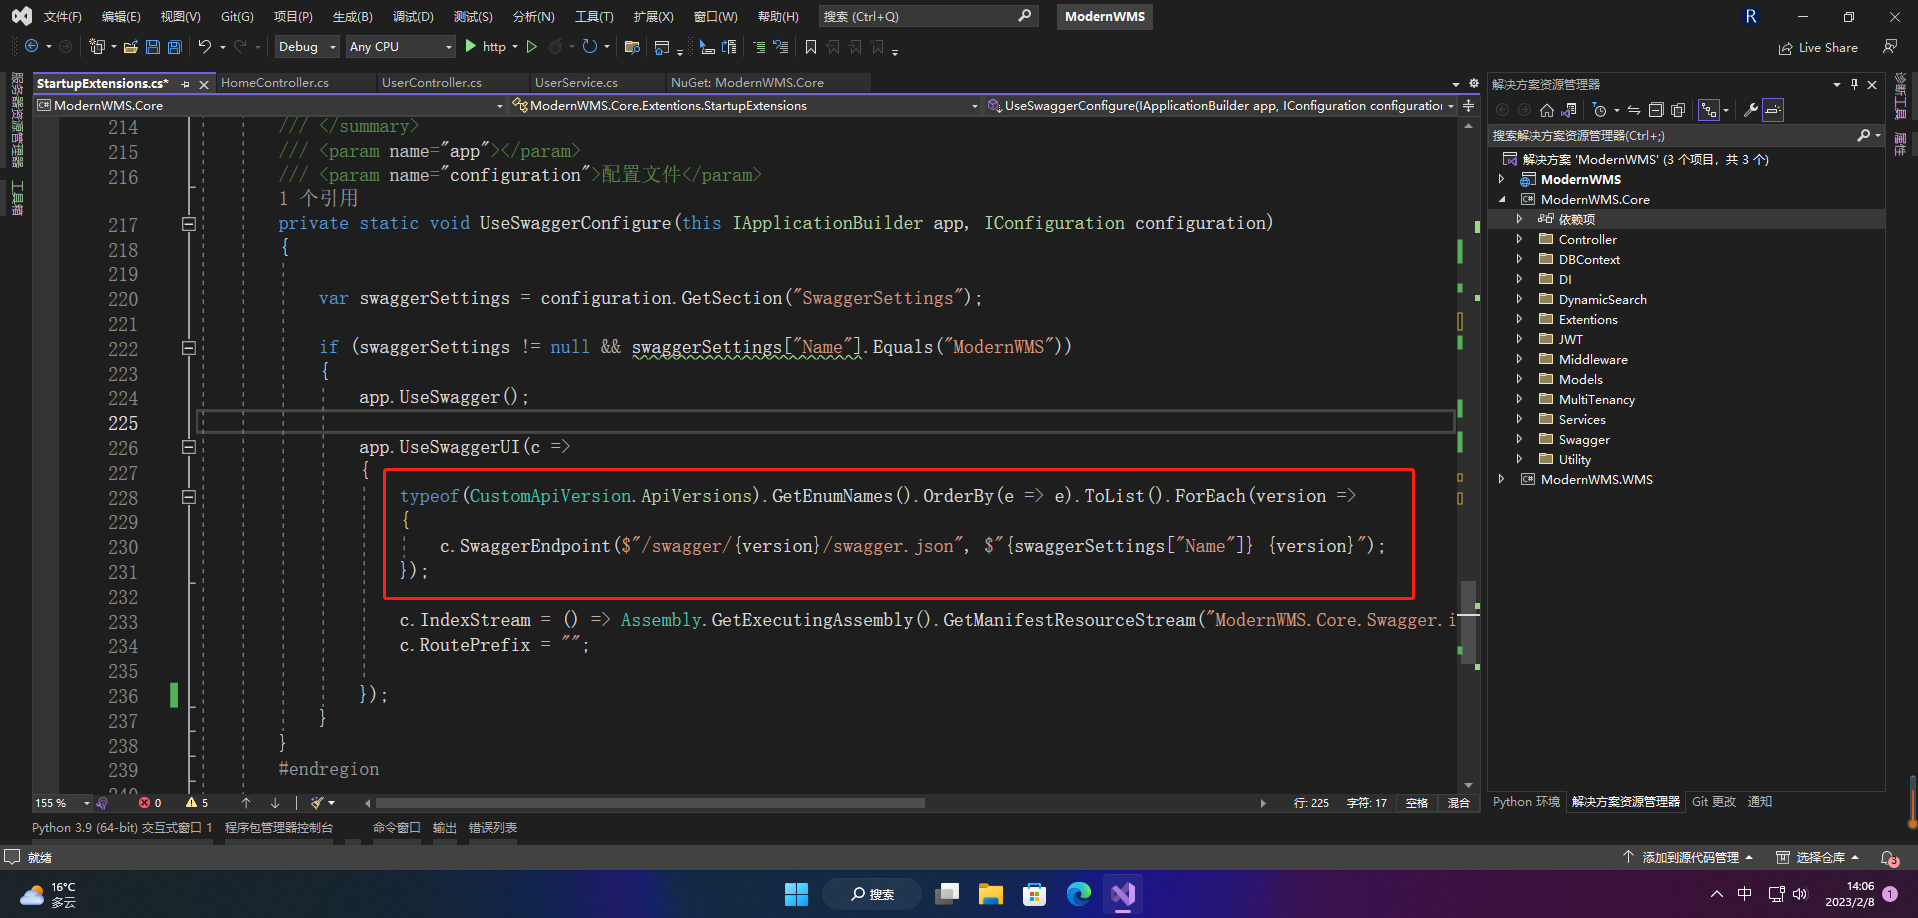
因为我们现在有两个接口文档了,想要在swaggerUI中看得到,还需要在中间件中添加相关文件的swagger.json文件的入口
typeof(CustomApiVersion.ApiVersions).GetEnumNames().OrderBy(e => e).ToList().ForEach(version =>
{
    c.SwaggerEndpoint($"/swagger/{version}/swagger.json", $"{swaggerSettings["Name"]} {version}");
});
2、使用配置多文档
[ApiExplorerSettings(GroupName = "Base")]
ApiExplorerSettings说明:
- 未使用ApiExplorerSettings特性,表名属于每一个swagger文档
- 使用ApiExplorerSettings特性表名该接口属于Base文档
- ApiExplorerSettingsAttribute还有个IgnoreApi属性,如果设置成true,将不会在swagger页面展示该接口
但是我们并不会直接在控制器上使用这个特性因为要配置非常多,下面是额外的封装注册类
public class GroupNameActionModelConvention : IActionModelConvention
{
    public void Apply(ActionModel action)
    {
        if (action.Controller.ControllerName == "Home")
        {
            if (action.ActionName == "Get")
            {
                action.ApiExplorer.GroupName = "Base";
                action.ApiExplorer.IsVisible = true;
            }
            else if (action.ActionName == "Post")
            {
                action.ApiExplorer.GroupName = "WMS";
                action.ApiExplorer.IsVisible = true;
            }
        }
    }
}

//或

public class GroupNameControllerModelConvention : IControllerModelConvention
{
    public void Apply(ControllerModel controller)
    {
        if (controller.ControllerName == "Home")
        {
            foreach (var action in controller.Actions)
            {

                if (action.ActionName == "Get")
                {
                    action.ApiExplorer.GroupName = "Base";
                    action.ApiExplorer.IsVisible = true;
                }
                else if (action.ActionName == "Post")
                {
                    action.ApiExplorer.GroupName = "WMS";
                    action.ApiExplorer.IsVisible = true;
                }
            }
        }
    }
}
注入使用
services.AddControllers(options =>
{
    options.Conventions.Add(new GroupNameControllerModelConvention());
    //或
    options.Conventions.Add(new GroupNameActionModelConvention());
});
这两种方式实现的效果和使用ApiExplorerSettingsAttribute是一样的,细心的朋友可能会注意,action.ApiExplorer.GroupName与ApiExplorerSettingsAttribute.GroupName是对应的,action.ApiExplorer.IsVisible则与ApiExplorerSettingsAttribute.IgnoreApi是对应的
2.3.2 IncludeXmlComments
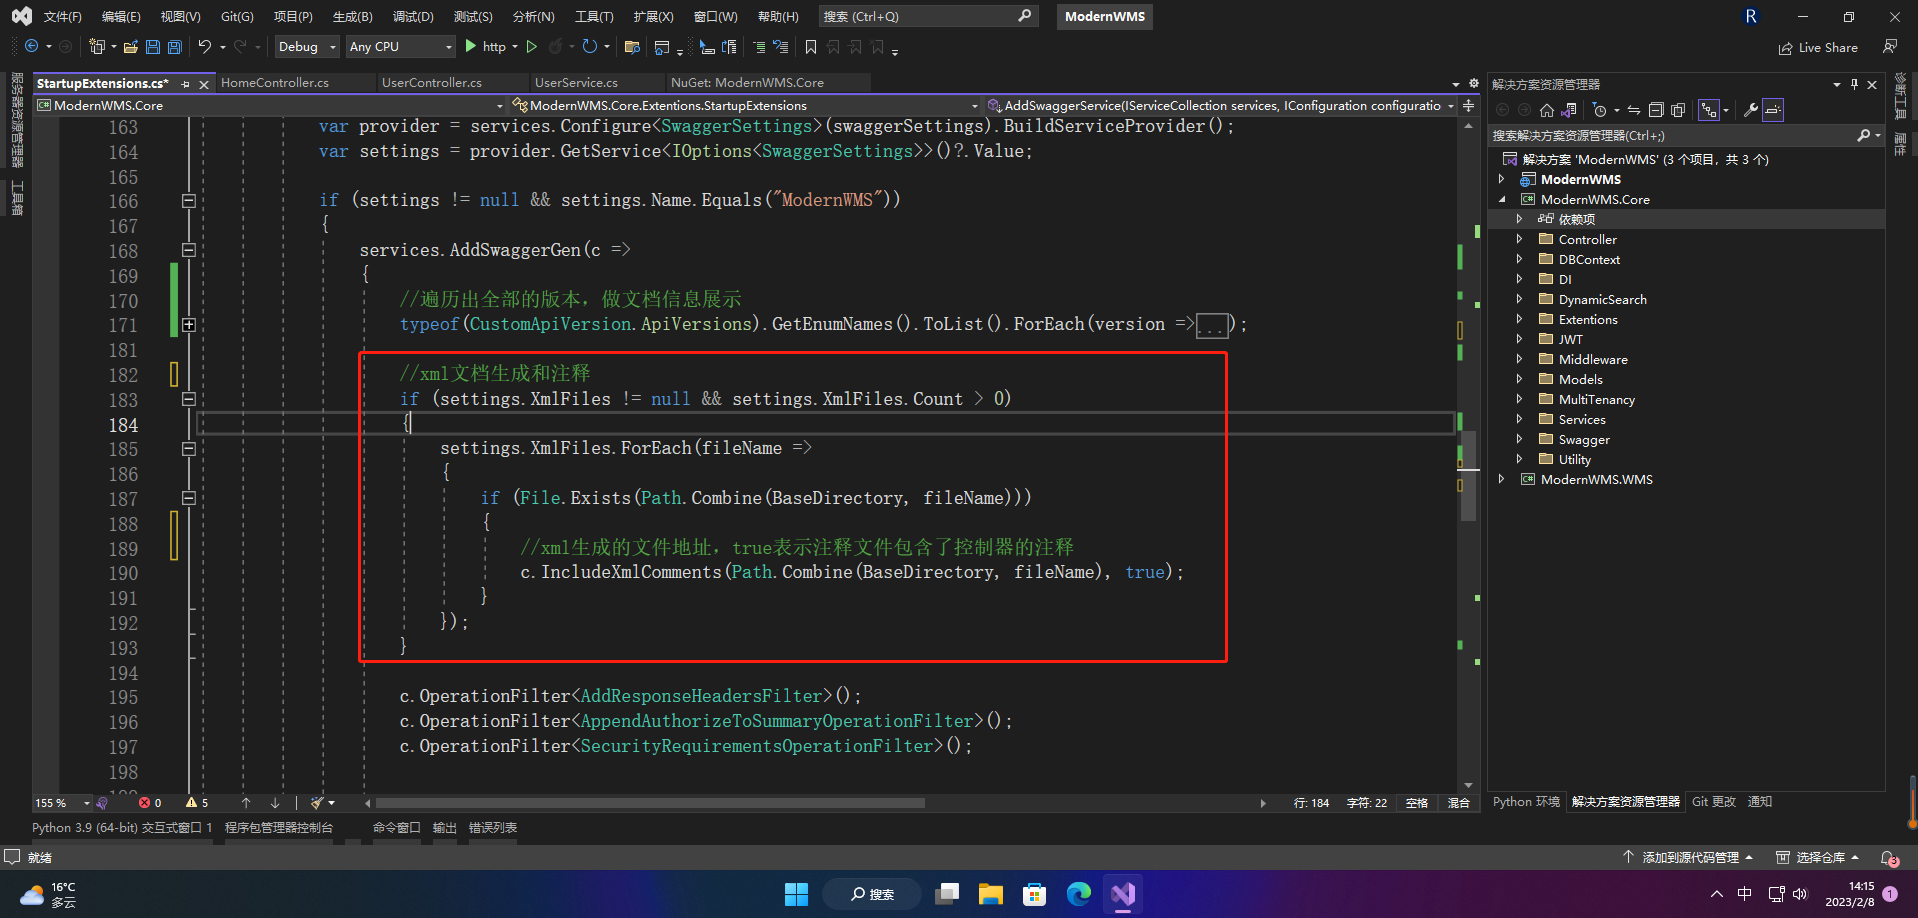
IncludeXmlComments是用于加载注释文件,Swashbuckle会从注释文件中去获取接口的注解,接口参数说明以及接口返回的参数说明等信息。
//xml文档生成和注释
if (settings.XmlFiles != null && settings.XmlFiles.Count > 0)
{
    settings.XmlFiles.ForEach(fileName =>
    {
        if (File.Exists(Path.Combine(BaseDirectory, fileName)))
        {
            //xml生成的文件地址,true表示注释文件包含了控制器的注释
            c.IncludeXmlComments(Path.Combine(BaseDirectory, fileName), true);
        }
    });
}
2.3.3 OperationFilter
Operation可以简单的理解为一个操作,因为swagger是根据项目中的接口,自动生成接口文档,就自然需要对每个接口进行解析,接口路由是什么,接口需要什么参数,接口返回什么数据等等,而对每个接口的解析就可以视为一个Operation。
- OperationFilter是操作过滤器,这个方法需要一个实现类IOperationFilter接口的类型,而它的第二个参数arguments是这个类型实例化时传入的参数。
- OperationFilter允许我们对已经生成的接口进行修改,比如可以添加参数,修改参数类型等等。
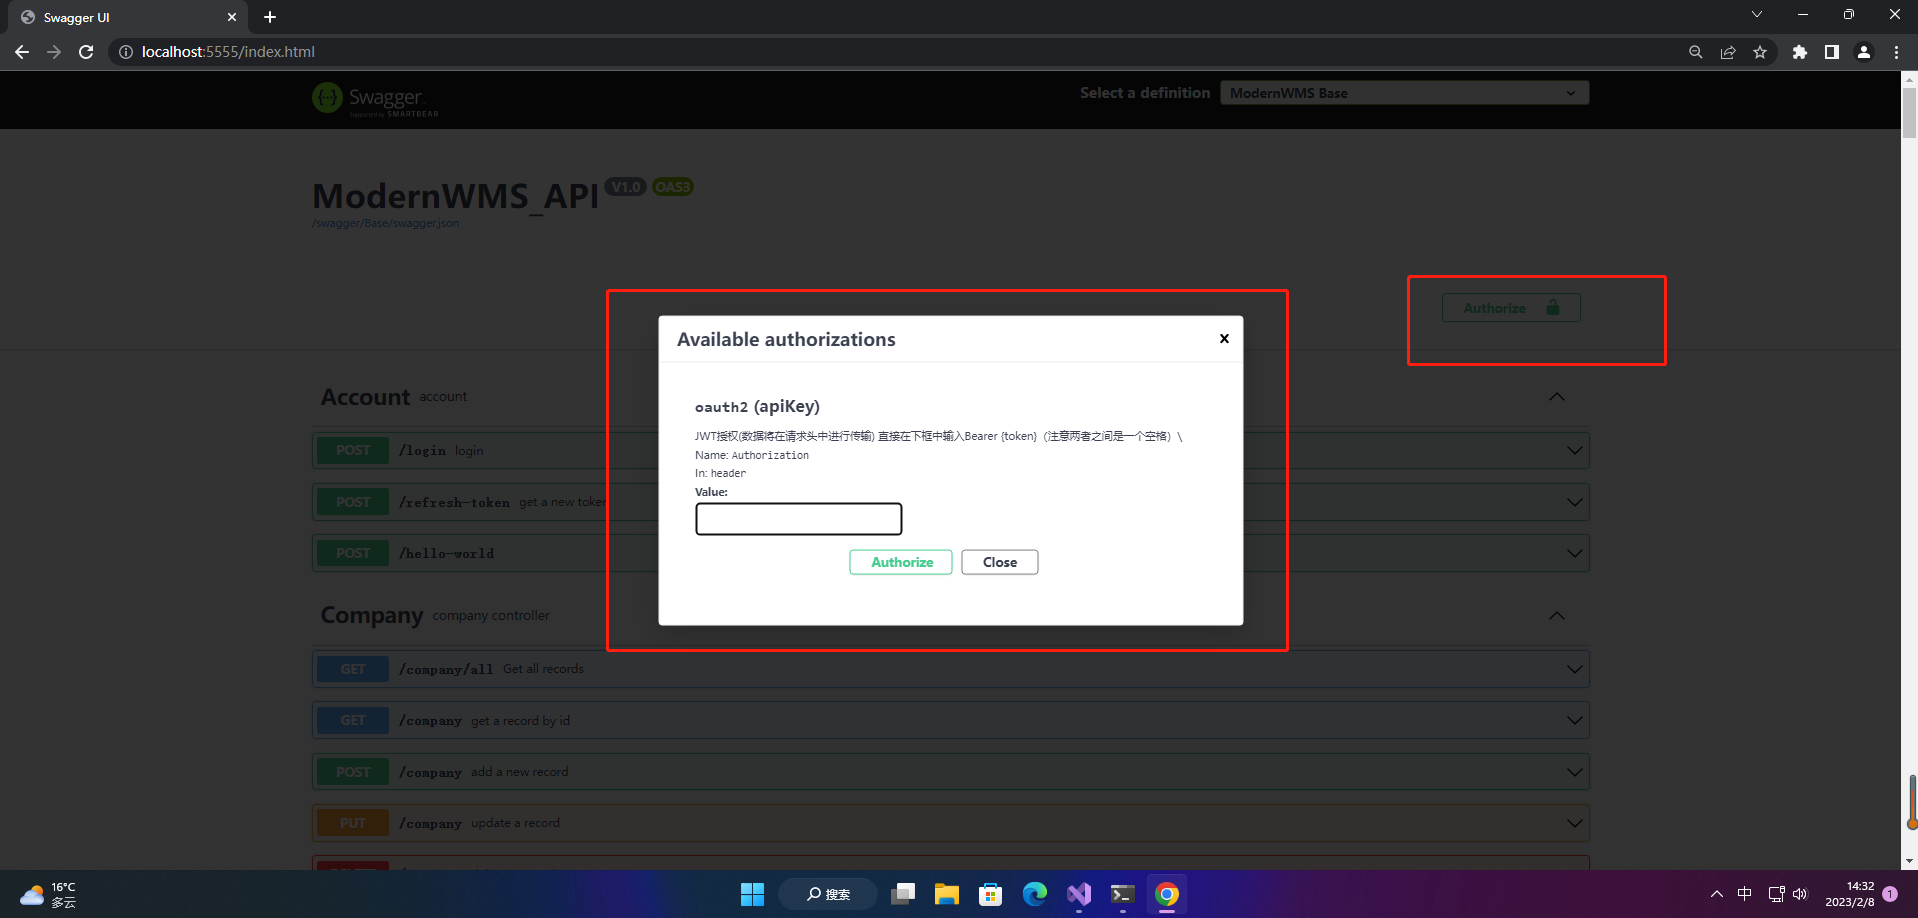
//开启权限小锁
c.OperationFilter<AddResponseHeadersFilter>();
c.OperationFilter<AppendAuthorizeToSummaryOperationFilter>();
c.OperationFilter<SecurityRequirementsOperationFilter>();

//在header中添加token,传递到后台
//Swagger响应头#
//这里需要Nuget引用Swashbuckle.AspNetCore.Filters,oauth2需要写死,SecurityRequirementsOperationFilter中默认securitySchemaName = "oauth2";
//未添加该配置时,Bearer一直无法加入到JWT发起的Http请求的头部,无论怎么请求都会是401;
c.AddSecurityDefinition("oauth2", new OpenApiSecurityScheme
{
    Description = "JWT授权(数据将在请求头中进行传输) 直接在下框中输入Bearer {token}(注意两者之间是一个空格)\\",
    Name = "Authorization",
    In = ParameterLocation.Header,
    Type = SecuritySchemeType.ApiKey
});
c.SwaggerGeneratorOptions.DescribeAllParametersInCamelCase = false;
2.3.4 其他
1、DescribeAllParametersInCamelCase
方法表示将参数使用驼峰命名法处理
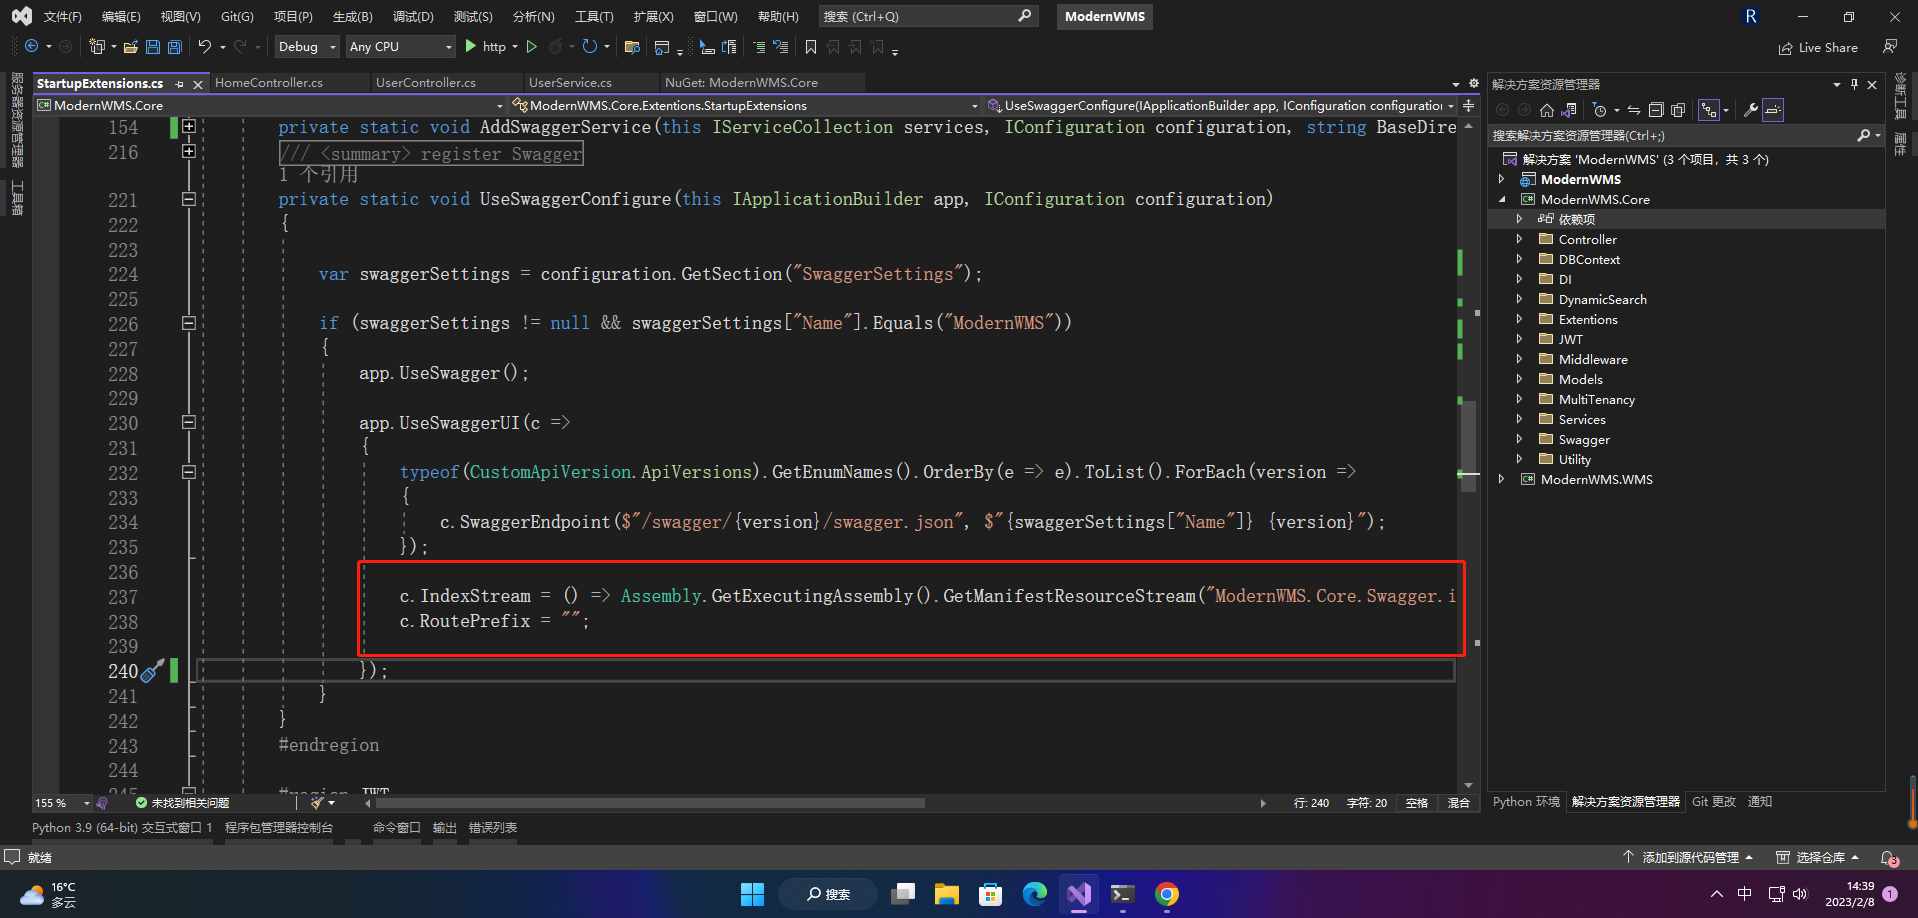
2、RoutePrefix
设置SwaggerUI的Index页面的地址,默认是swagger,也就是说可以使用http://host:port/swagger可以访问到SwaggerUI页面,如果设置成空字符串,那么久可以使用http://host:port直接访问到SwaggerUI页面了
3、IndexStream
Swagger的UI页面是嵌入的资源文件,默认值是:
app.UseSwaggerUI(options =>
{
    options.IndexStream = () => typeof(SwaggerUIOptions).GetTypeInfo().Assembly.GetManifestResourceStream("Swashbuckle.AspNetCore.SwaggerUI.index.html");
});
我们可以修改成自己的页面,比如Hello World:
app.UseSwaggerUI(options =>
{
    options.IndexStream = () => new MemoryStream(Encoding.UTF8.GetBytes("Hello World"));
});
- 点赞
- 收藏
- 关注作者


评论(0)