【愚公系列】2023年02月 .NET CORE工具案例-Photino跨平台桌面应用程序
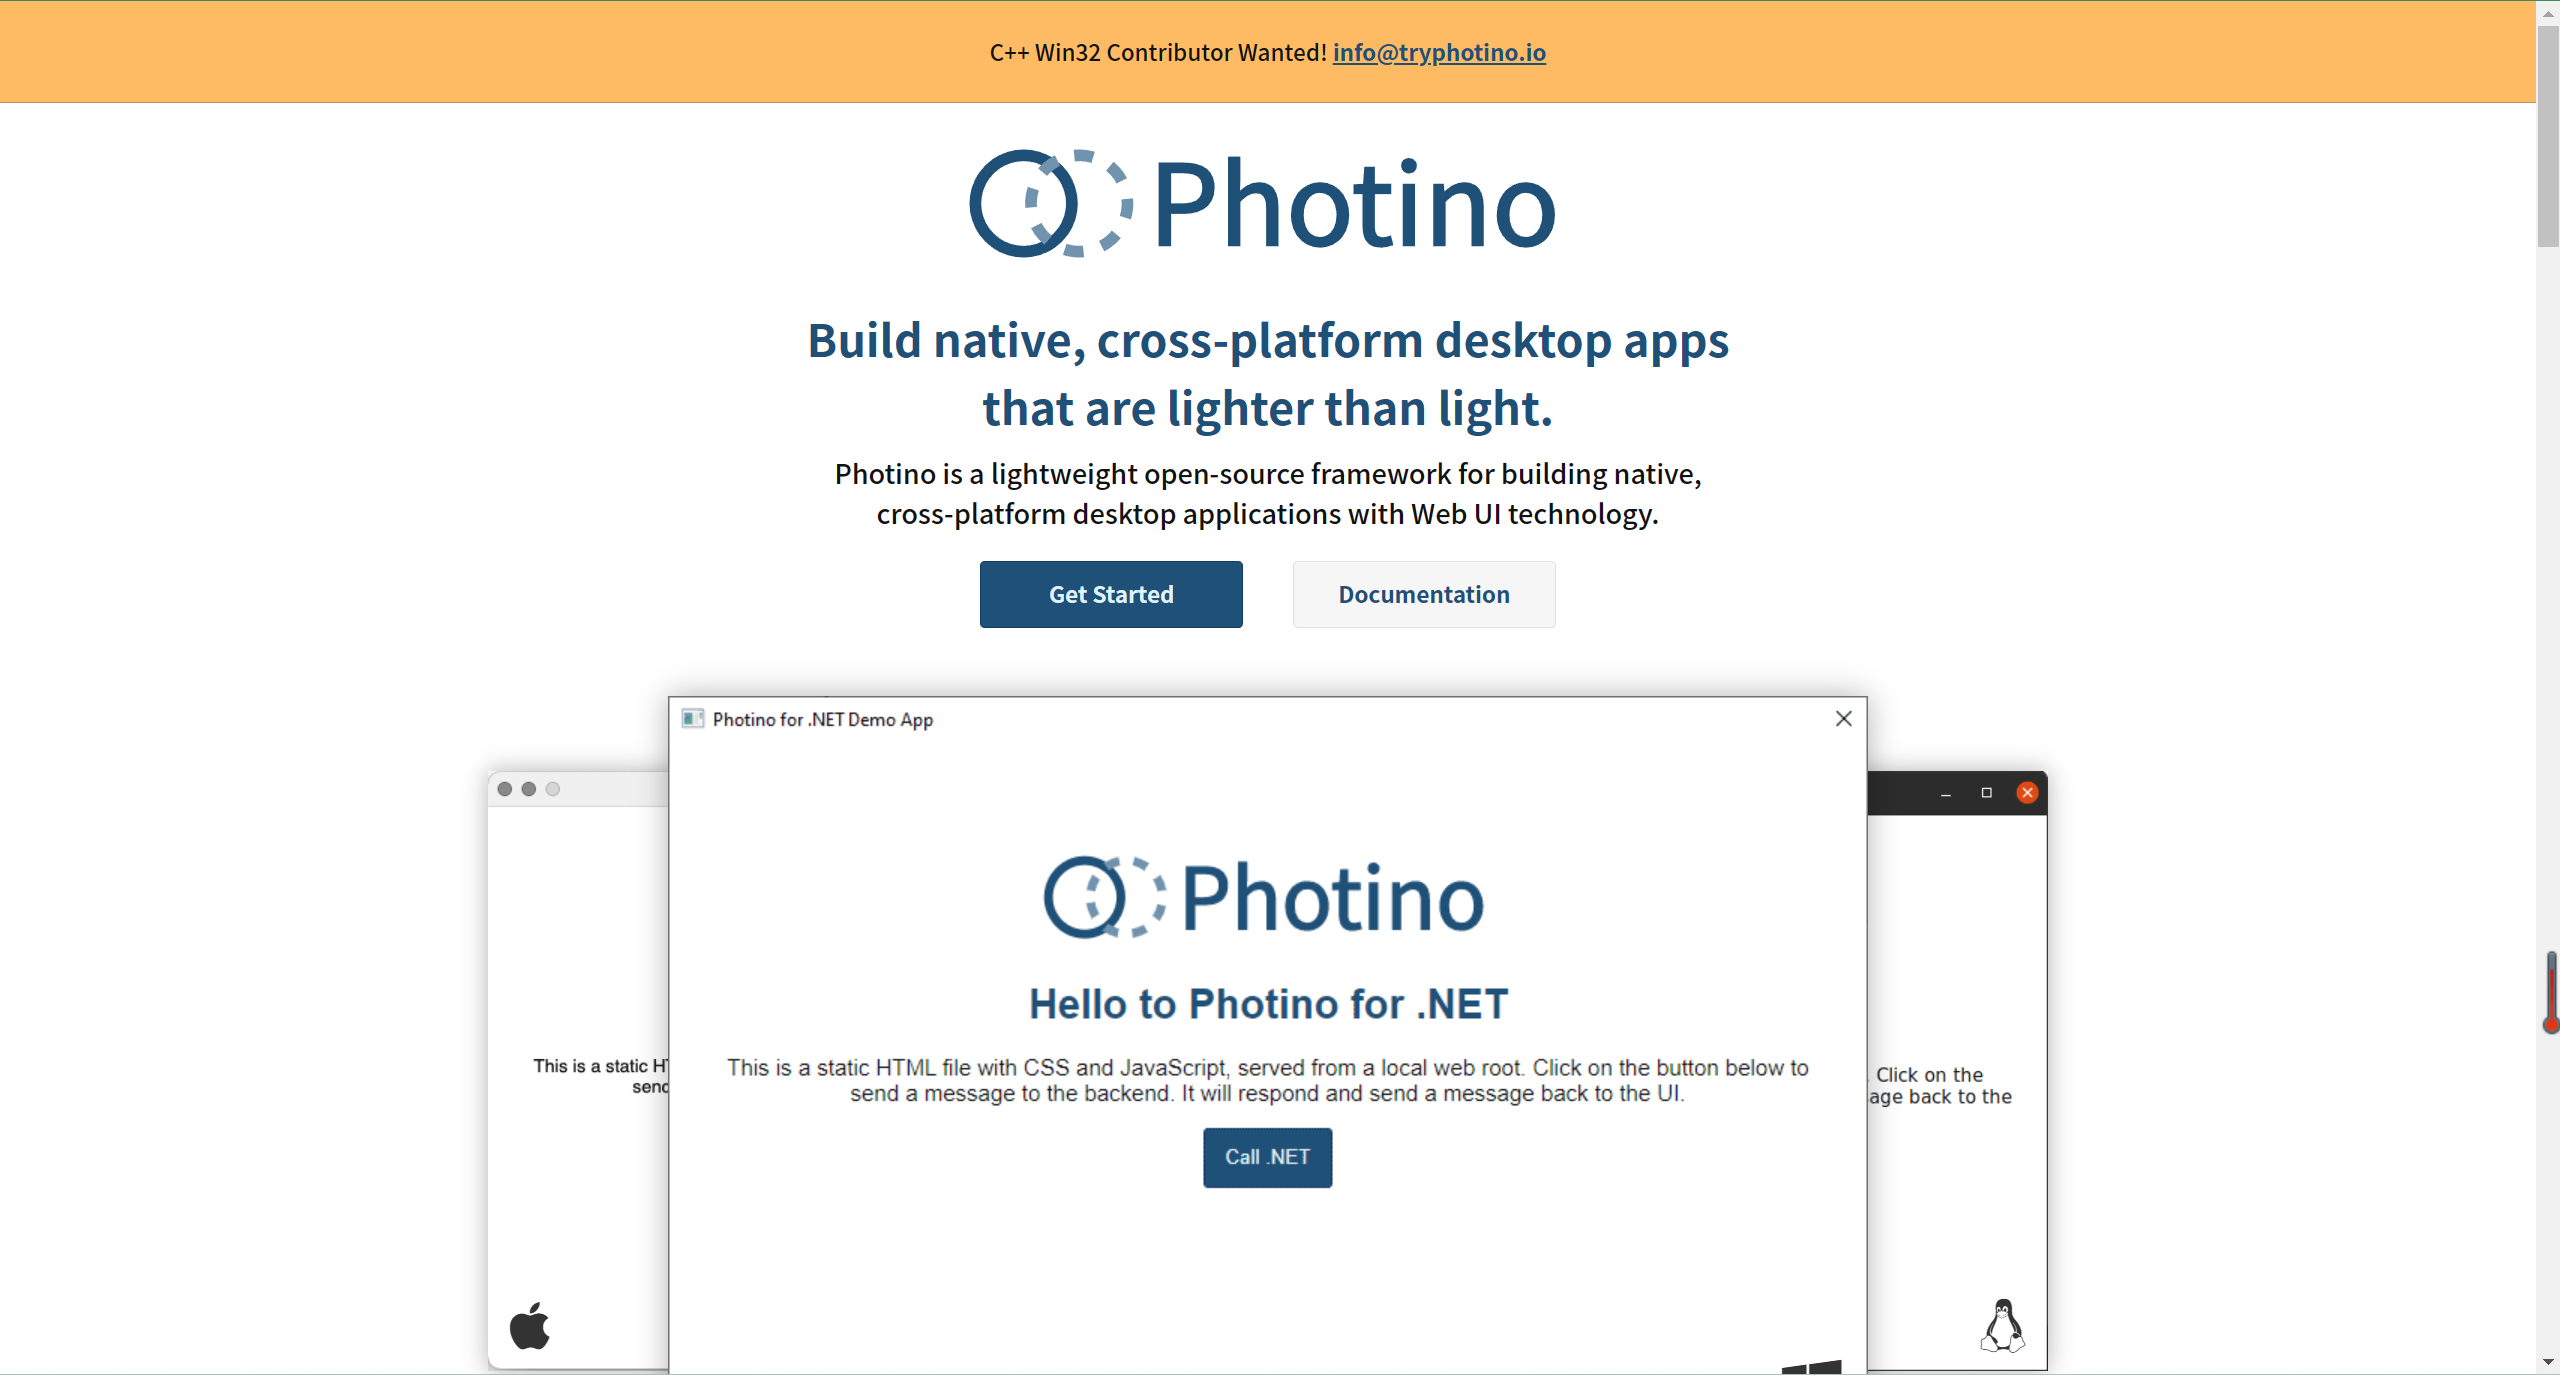
【摘要】 前言PhotinoPhoptino是一个轻量级的开源框架,用于使用Web UI技术构建本机,跨平台桌面应用程序,可以完美在三大平台(Linux、Mac、Windows)上运行。PhotinoPhoptino包含主流的Blazor,Vue,Angular,React和gRPC入门应用程序的模板。PhotinoPhoptino官网:https://www.tryphotino.io/Photi...
前言
PhotinoPhoptino是一个轻量级的开源框架,用于使用Web UI技术构建本机,
跨平台桌面应用程序,可以完美在三大平台(Linux、Mac、Windows)上运行。
PhotinoPhoptino包含主流的Blazor,Vue,Angular,React和gRPC入门应用程序的模板。
PhotinoPhoptino官网:https://www.tryphotino.io/
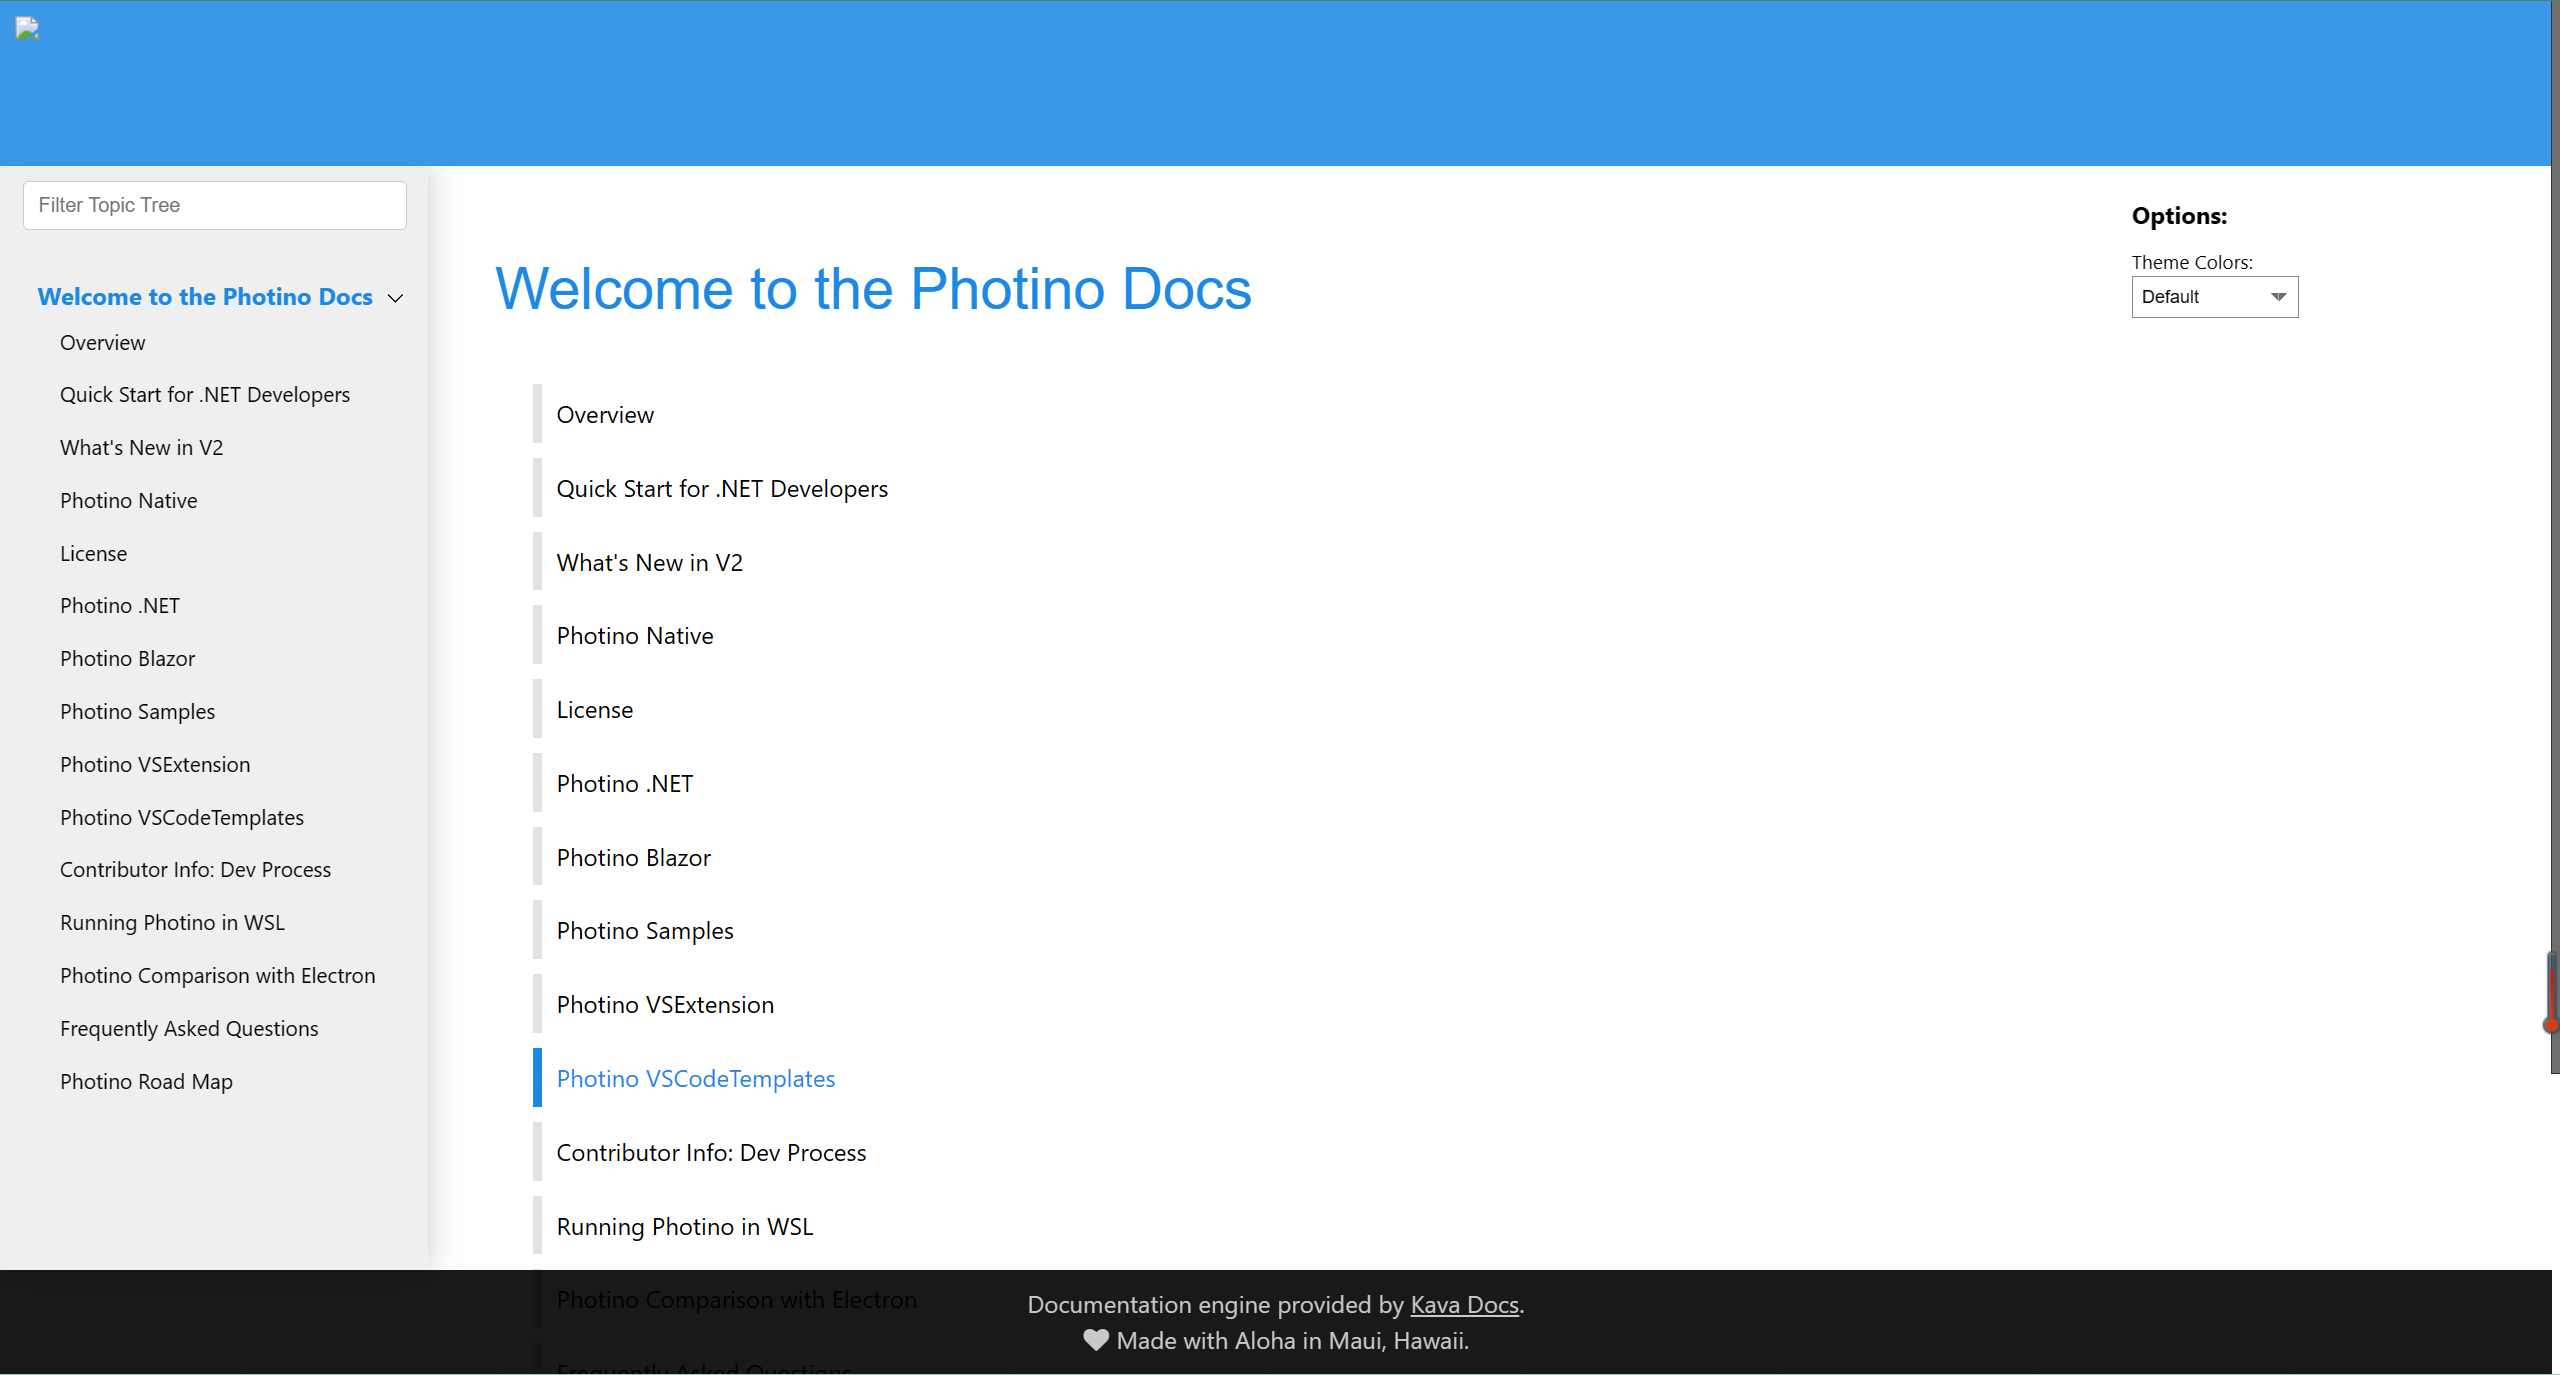
PhotinoPhoptino文档:https://docs.tryphotino.io/
一、Photino跨平台桌面应用程序
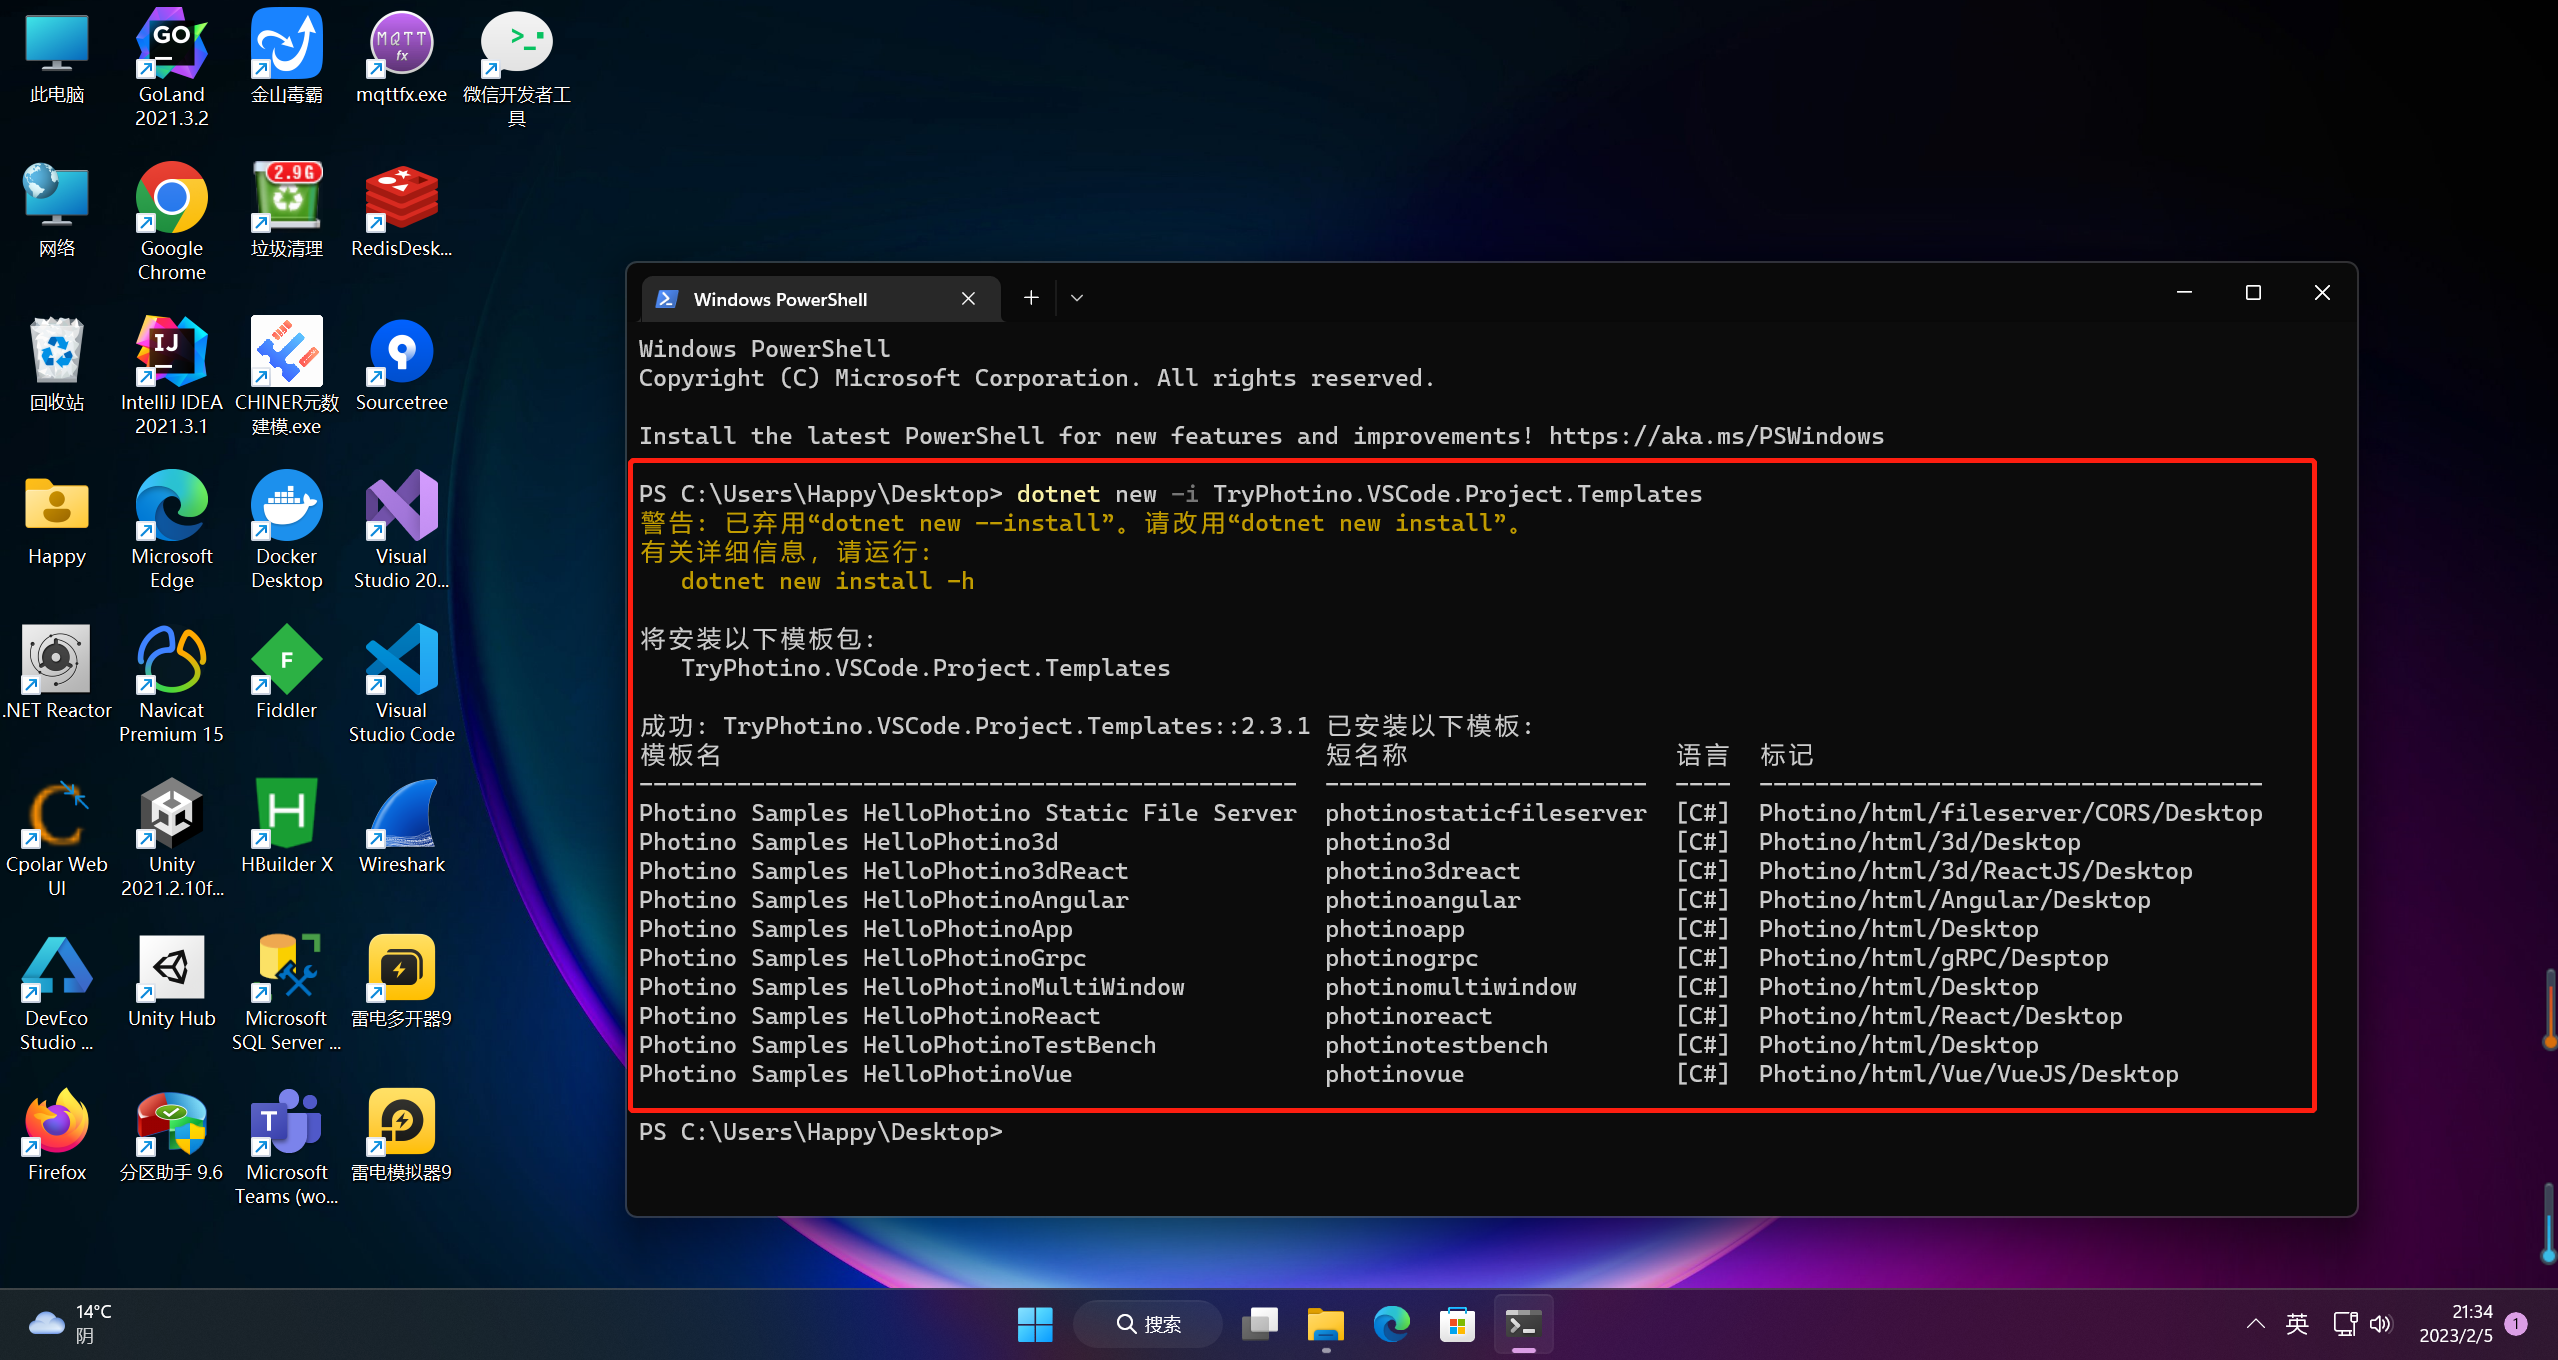
1.安装模板
dotnet new -i TryPhotino.VSCode.Project.Templates
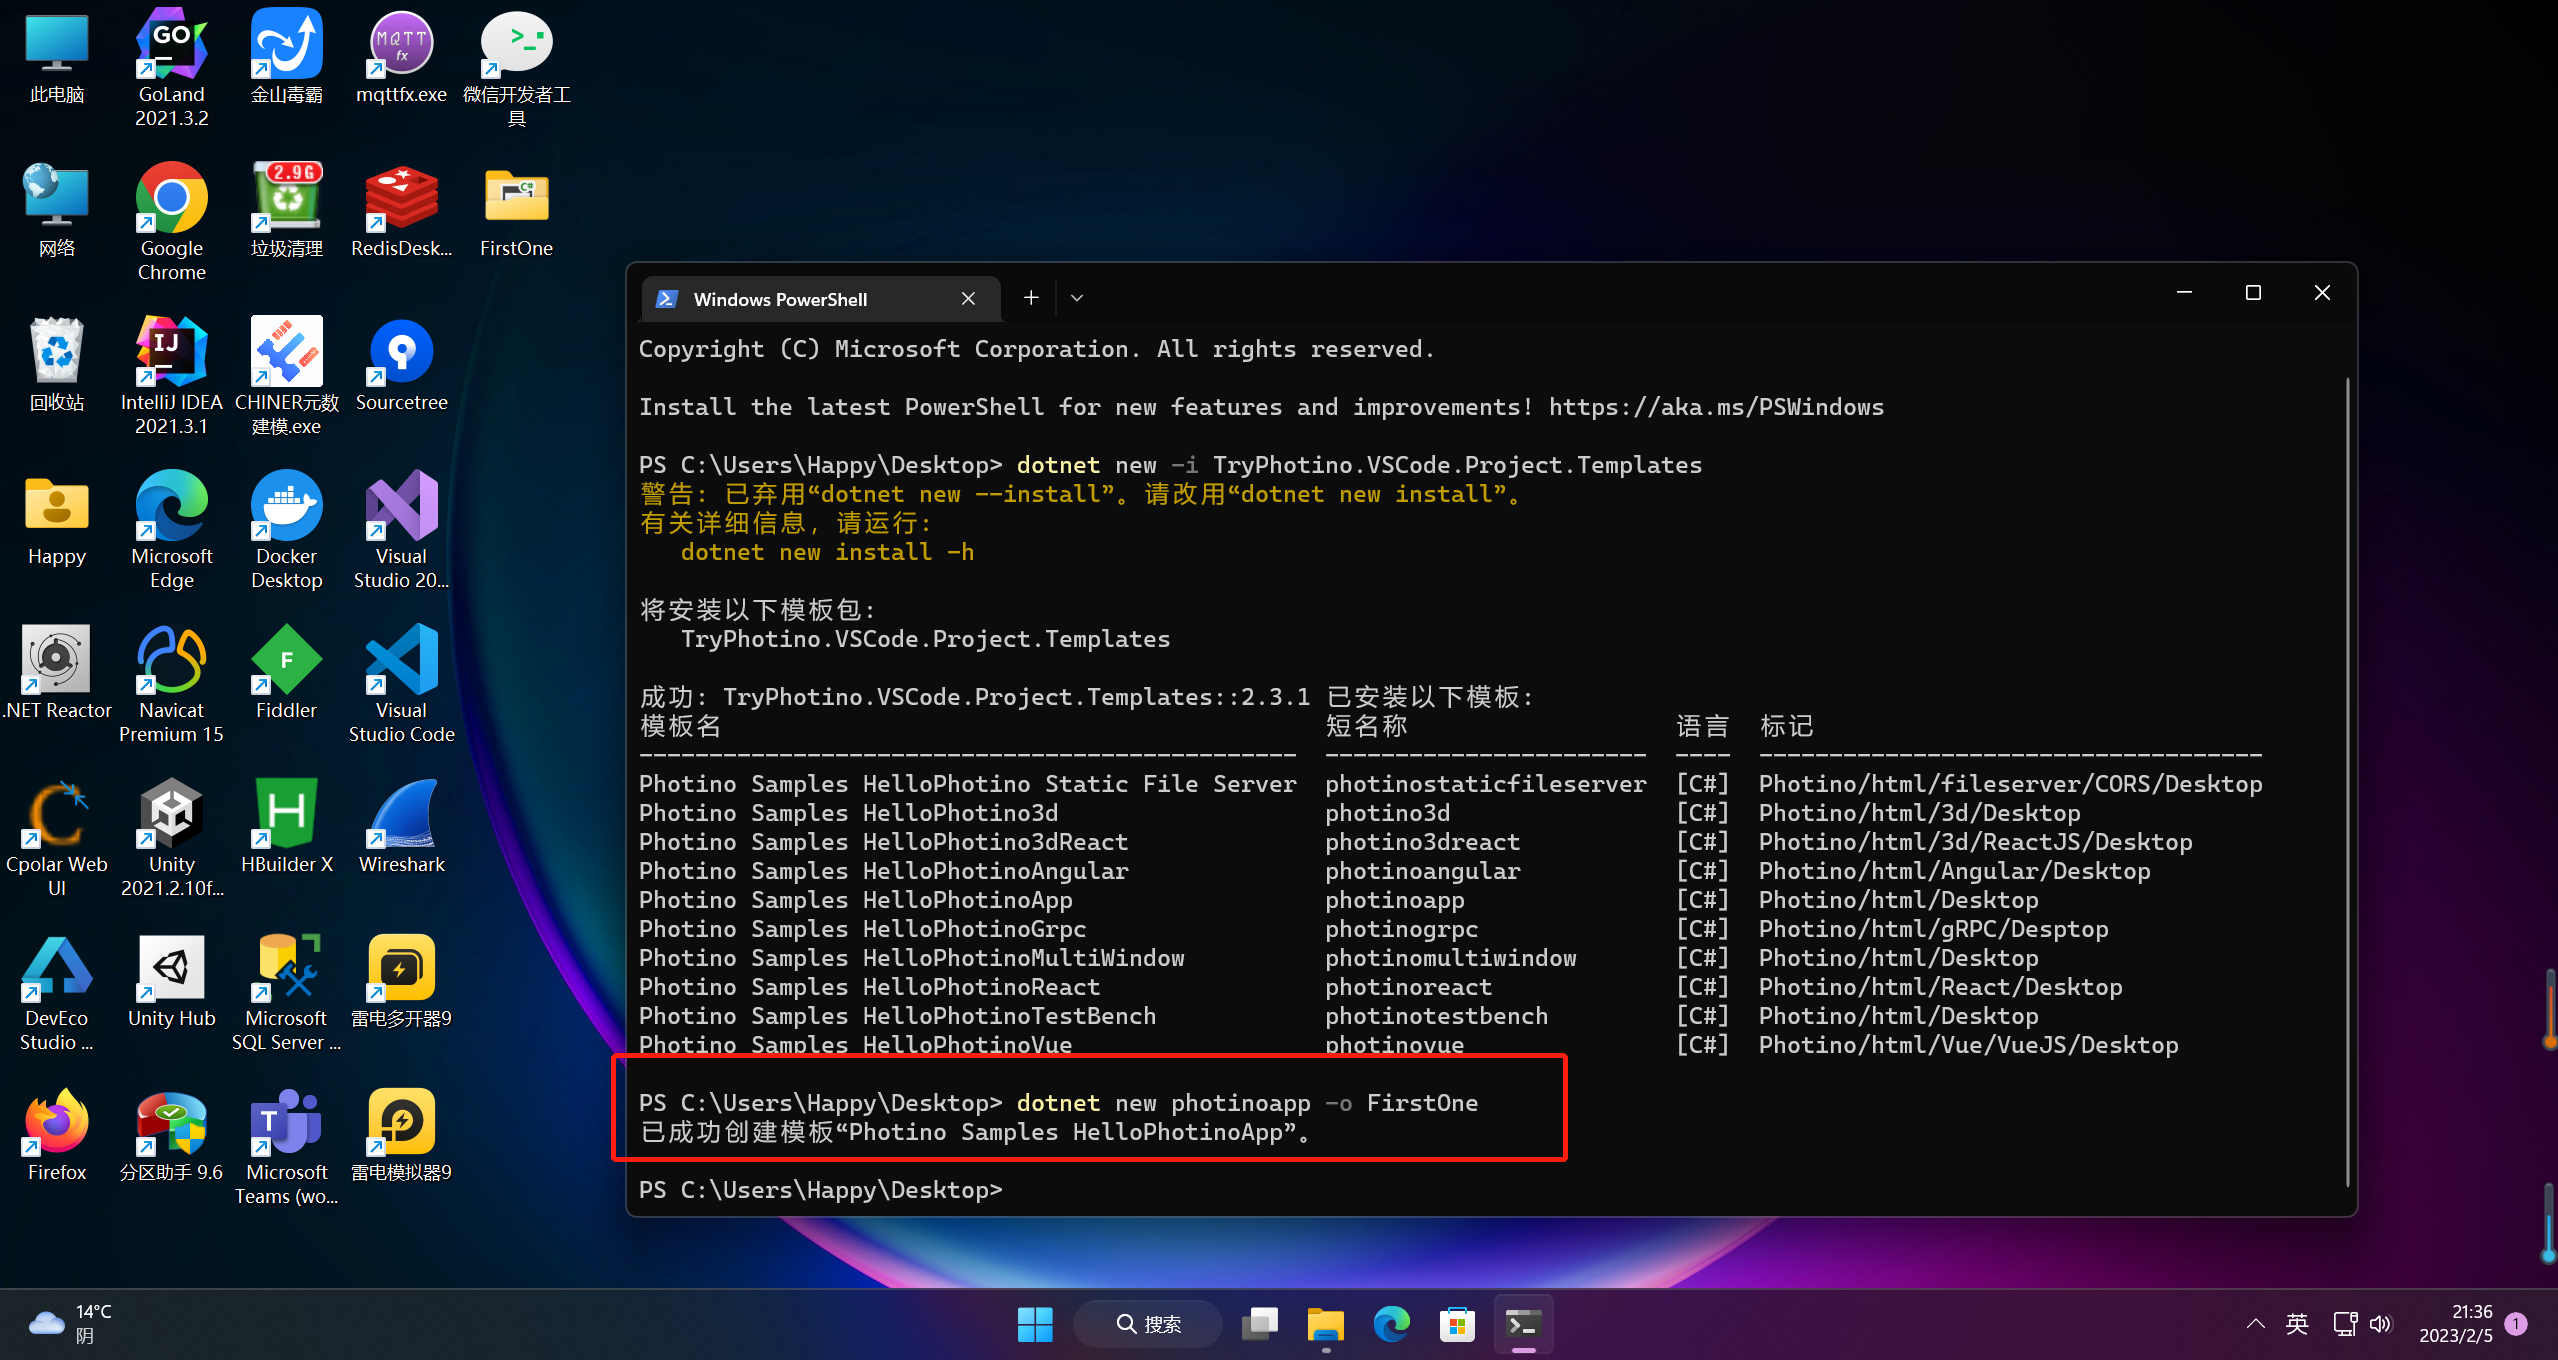
2.创建项目
dotnet new photinoapp -o FirstOne
运行该命令将:
- 在我的photino目录下创建一个名为FirstOne的新目录(-o输出)
- 创建一个新的.NET Core项目(包括.csproj文件)和所有其余的基本应用程序文件。
- 创建一个wwwroot ——Photino用来存储用户界面文件(HTML、JavaScript、CSS)的特殊文件夹
以下模板可用,并且正在添加新示例:
- photinoapp - basic - 基本 .NET 5(或更高版本)示例
- photinotestbench - 测试每个可用的设置和选项
- photinoangular - 带有 Angular 框架的基本样本
- photinoreact - 使用 React .js 框架的基本示例
- photinovue - 带有 Vue.js 框架的基本示例
- Phtino3D - 使用 3.js 库渲染 3D 图形
- photino3dreact - 使用 3.js 库在 React.js 框架中渲染 3D 图形
- photinogrpc - 从 UI 到应用程序进行 gRPC 调用(单个项目)
- PhotinoMultiwindow - 从父窗口创建多个子窗口
3.运行程序
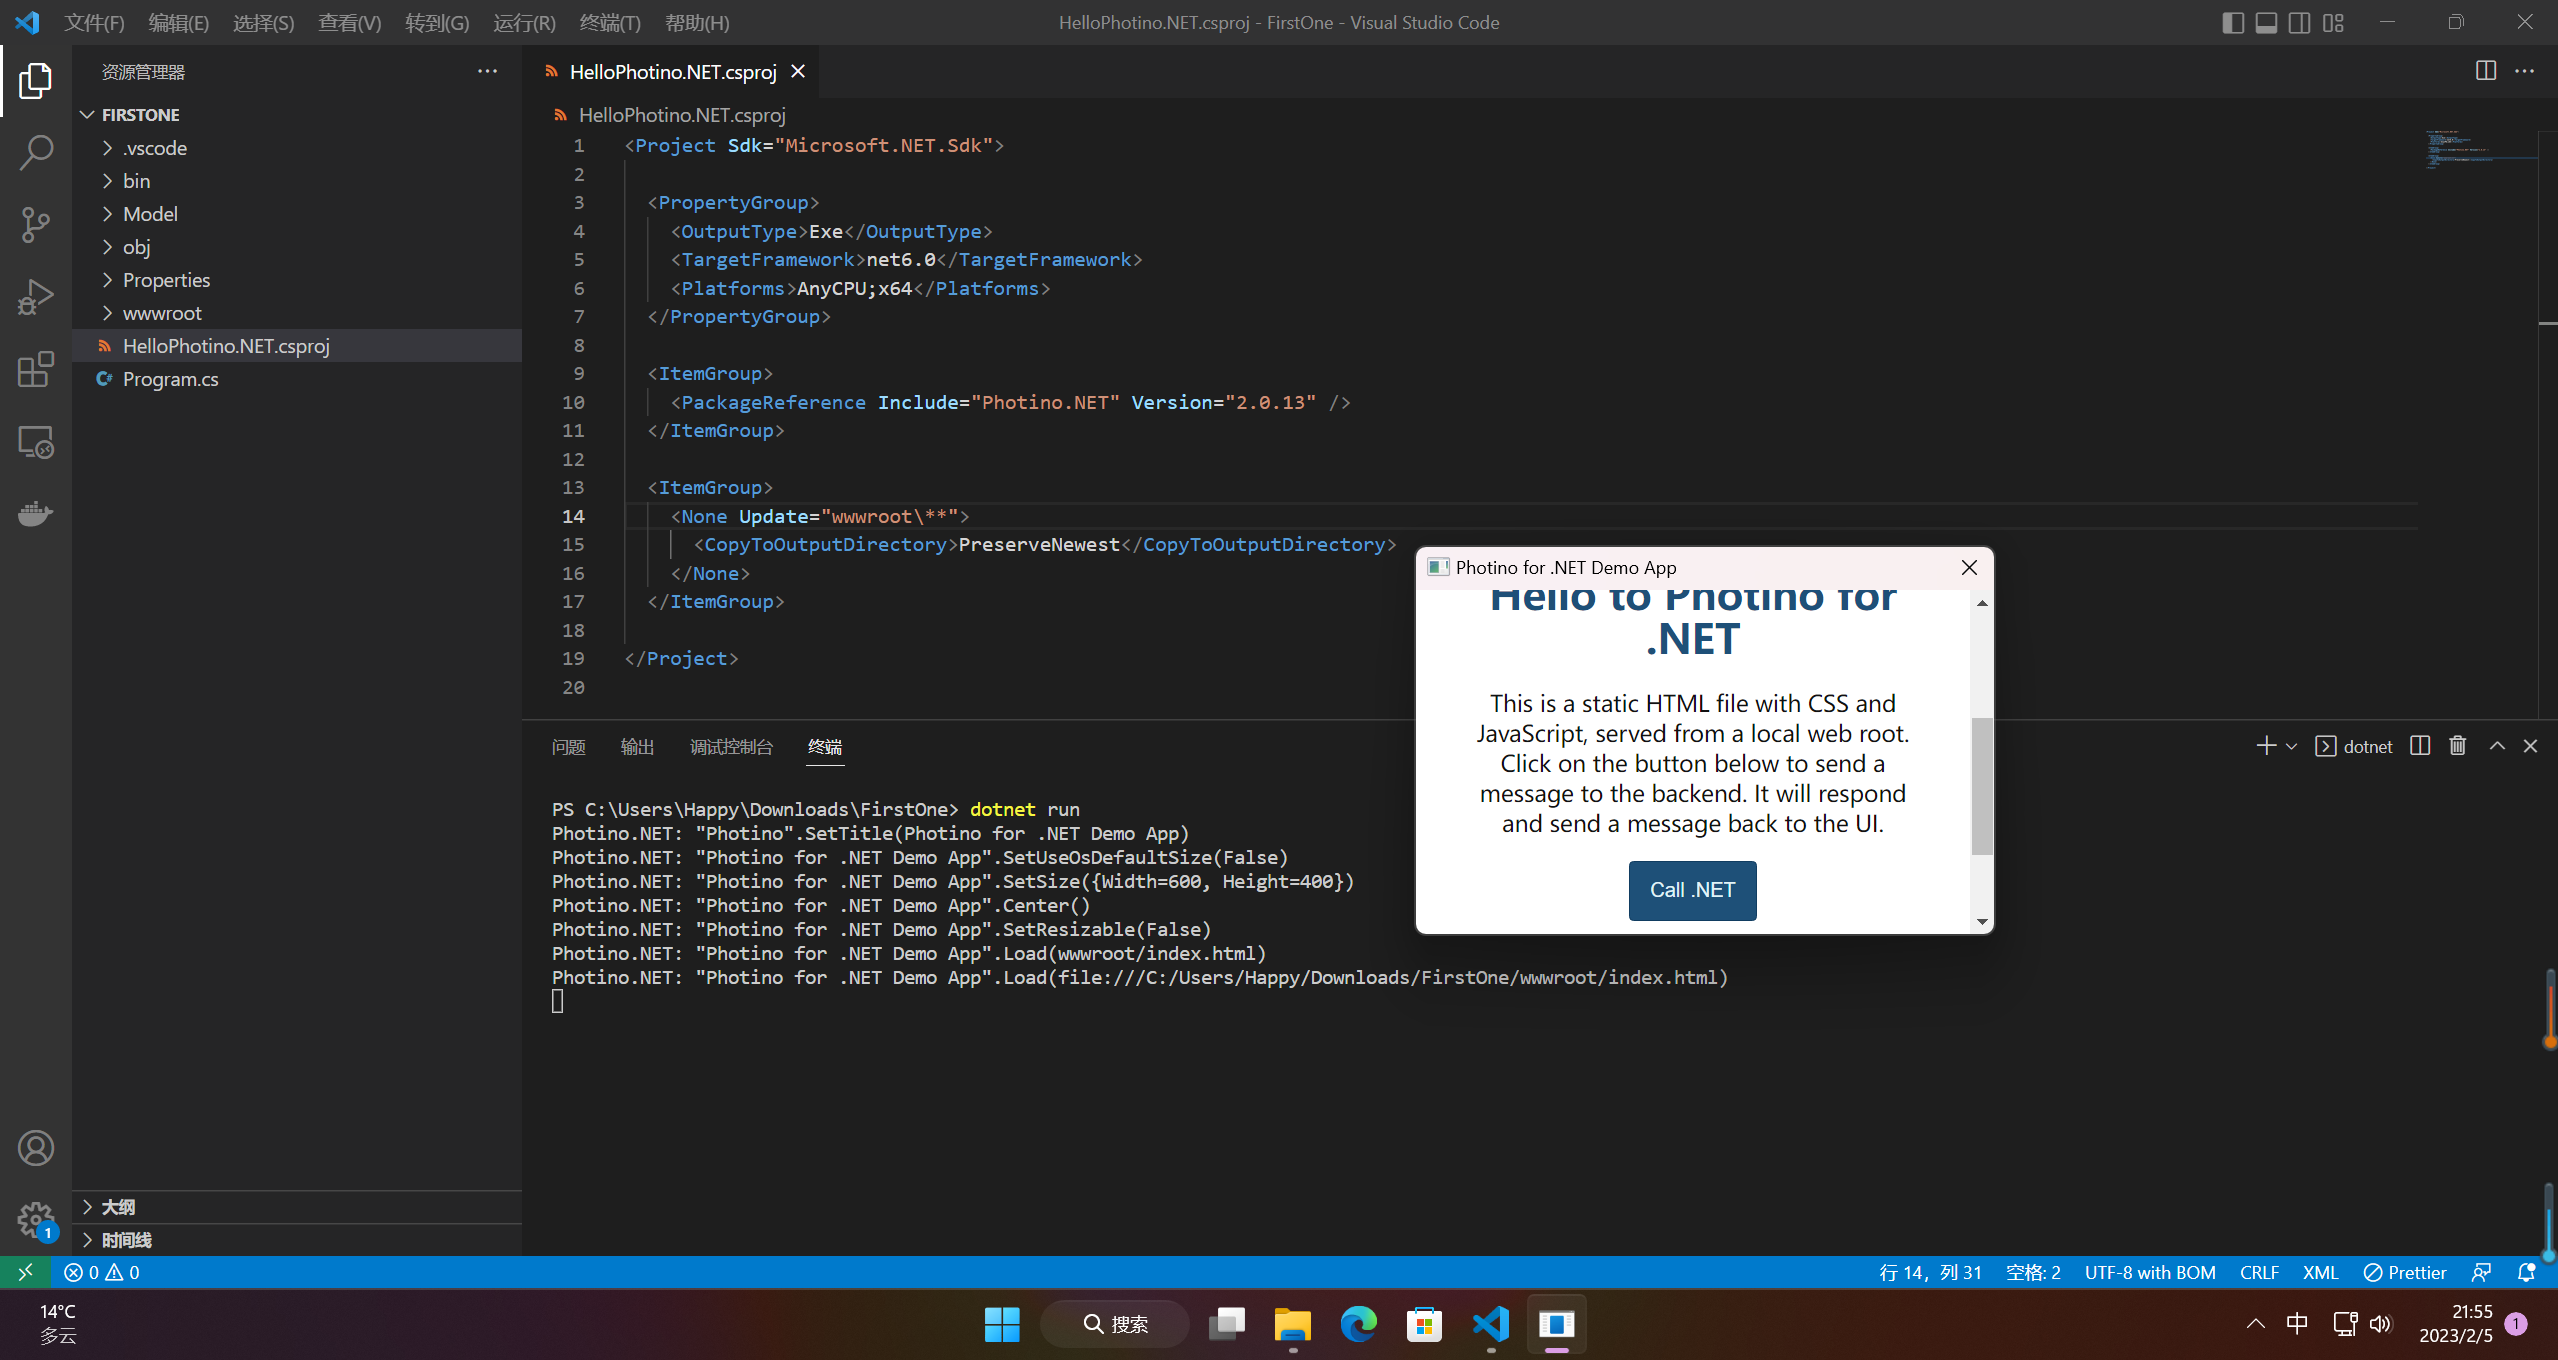
可以看到程序已经运行
二、Photino源码分析和修改
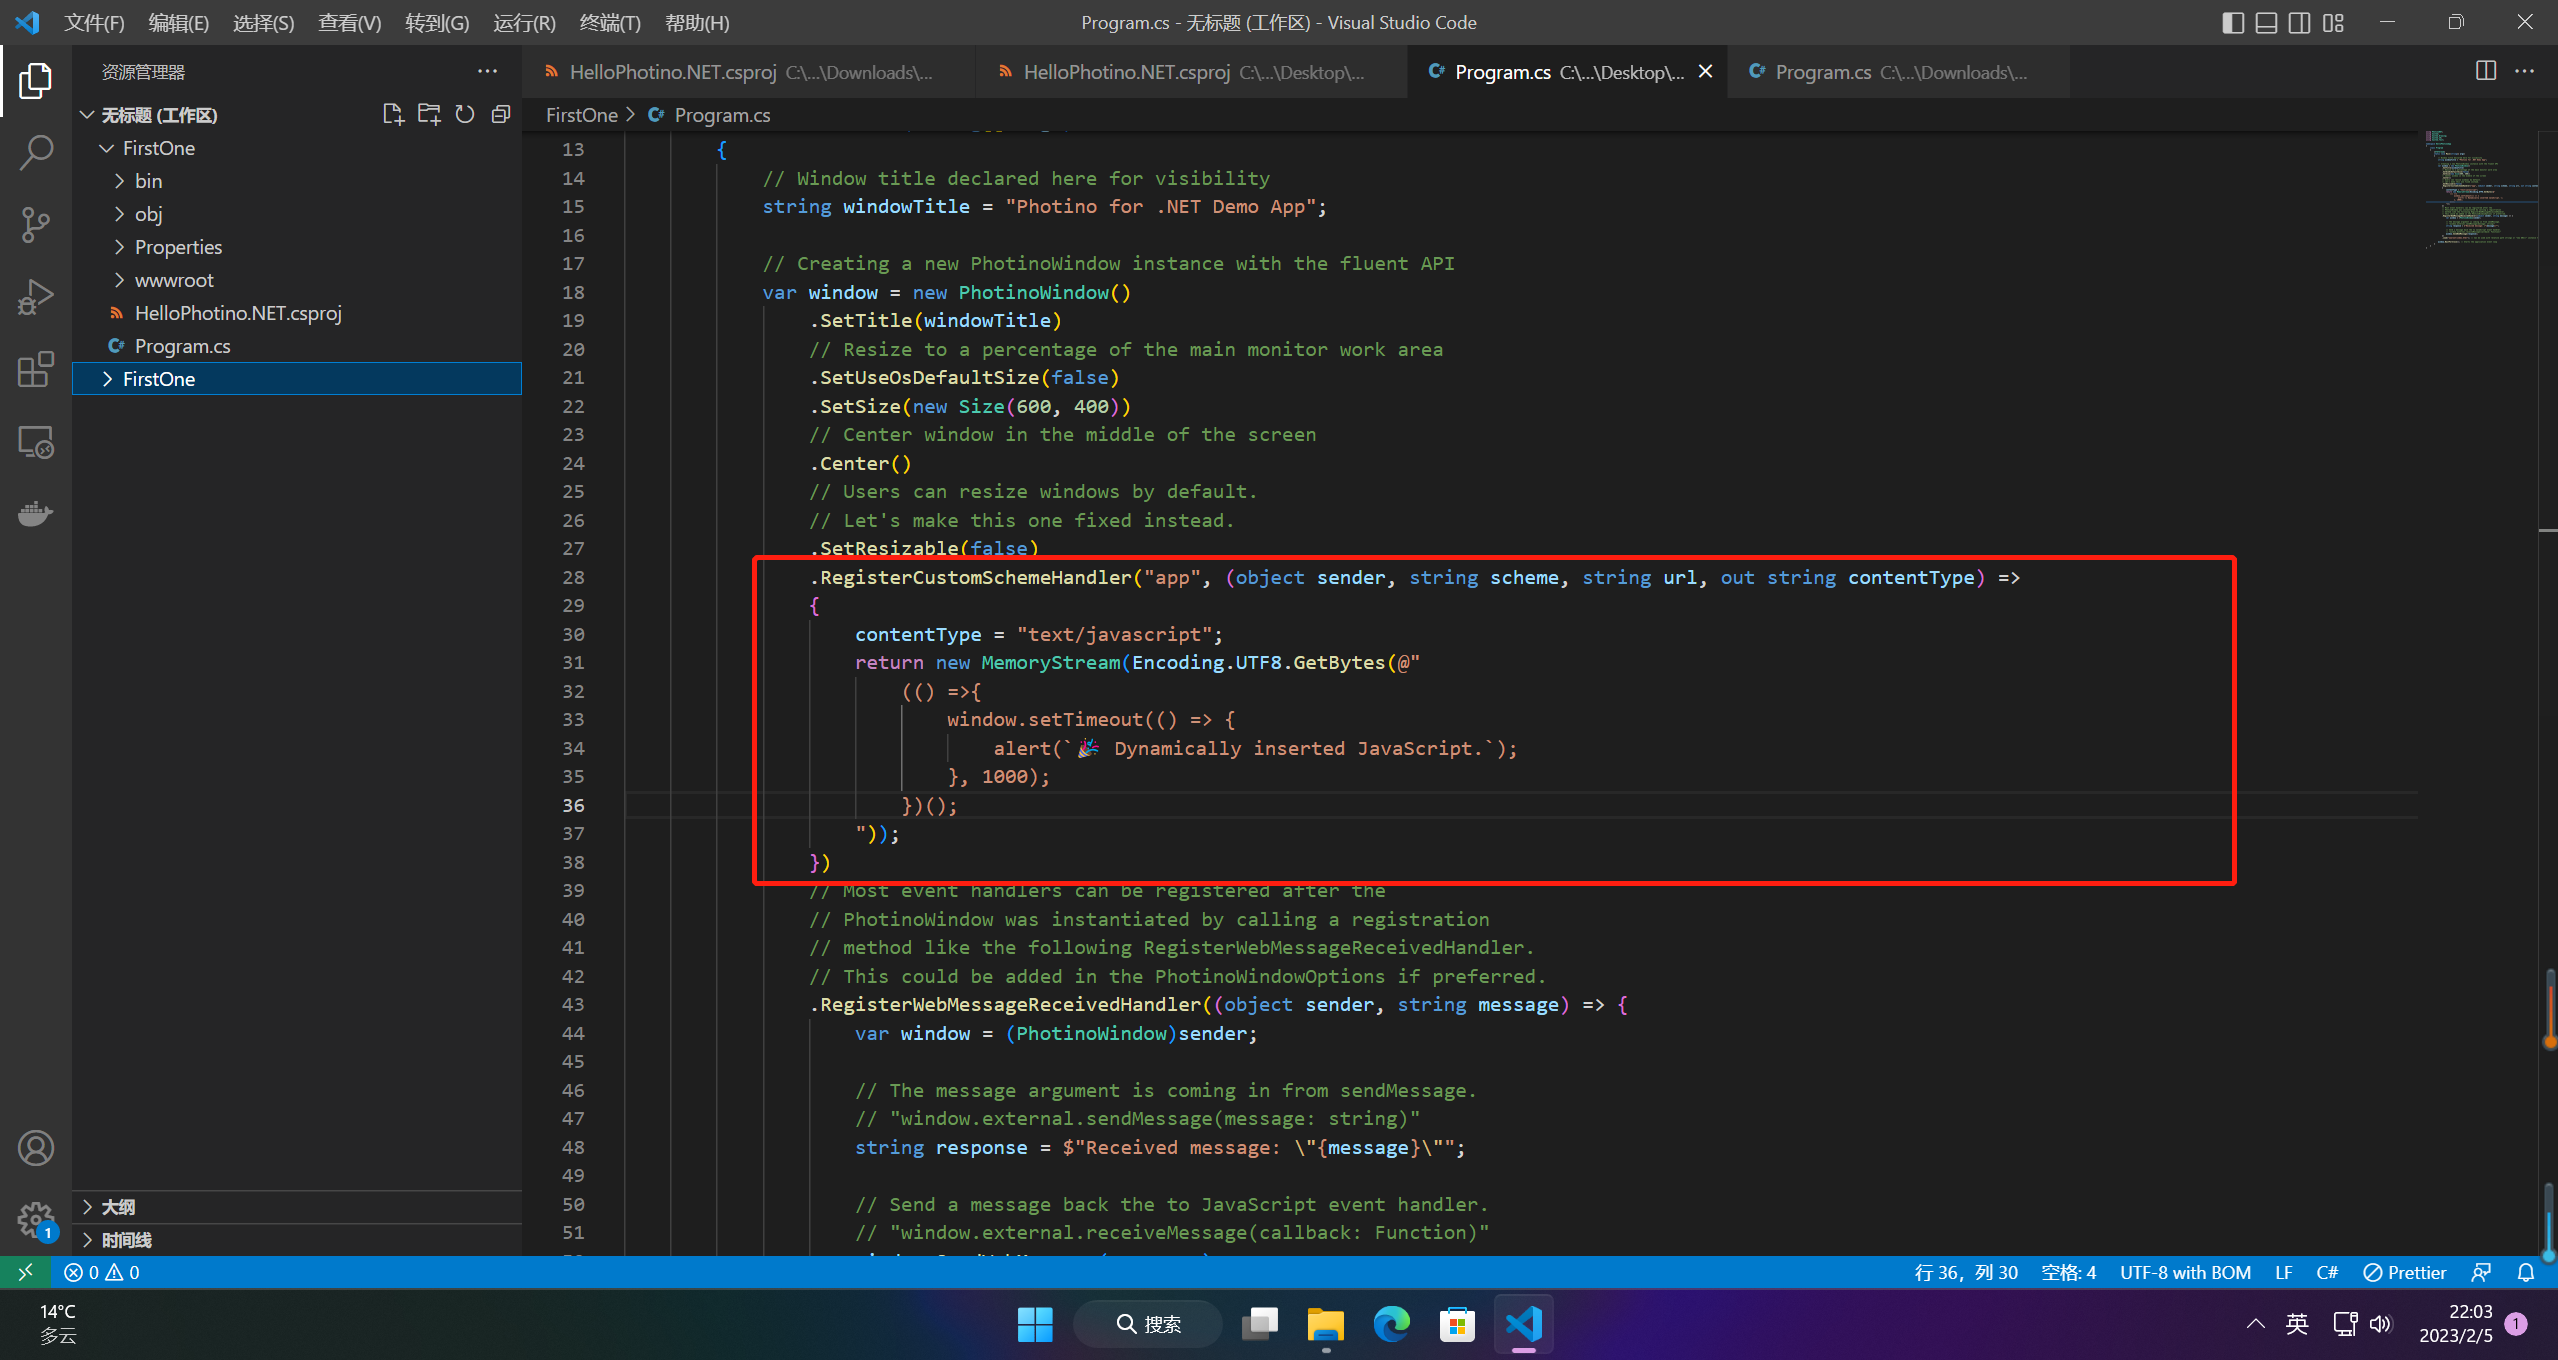
1.去除JavaScript弹窗
注释掉下面这行
.RegisterCustomSchemeHandler("app", (object sender, string scheme, string url, out string contentType) =>
{
    contentType = "text/javascript";
    return new MemoryStream(Encoding.UTF8.GetBytes(@"
        (() =>{
            window.setTimeout(() => {
                alert(`🎉 Dynamically inserted JavaScript.`);
            }, 1000);
        })();
    "));
})
2.发送和接受消息
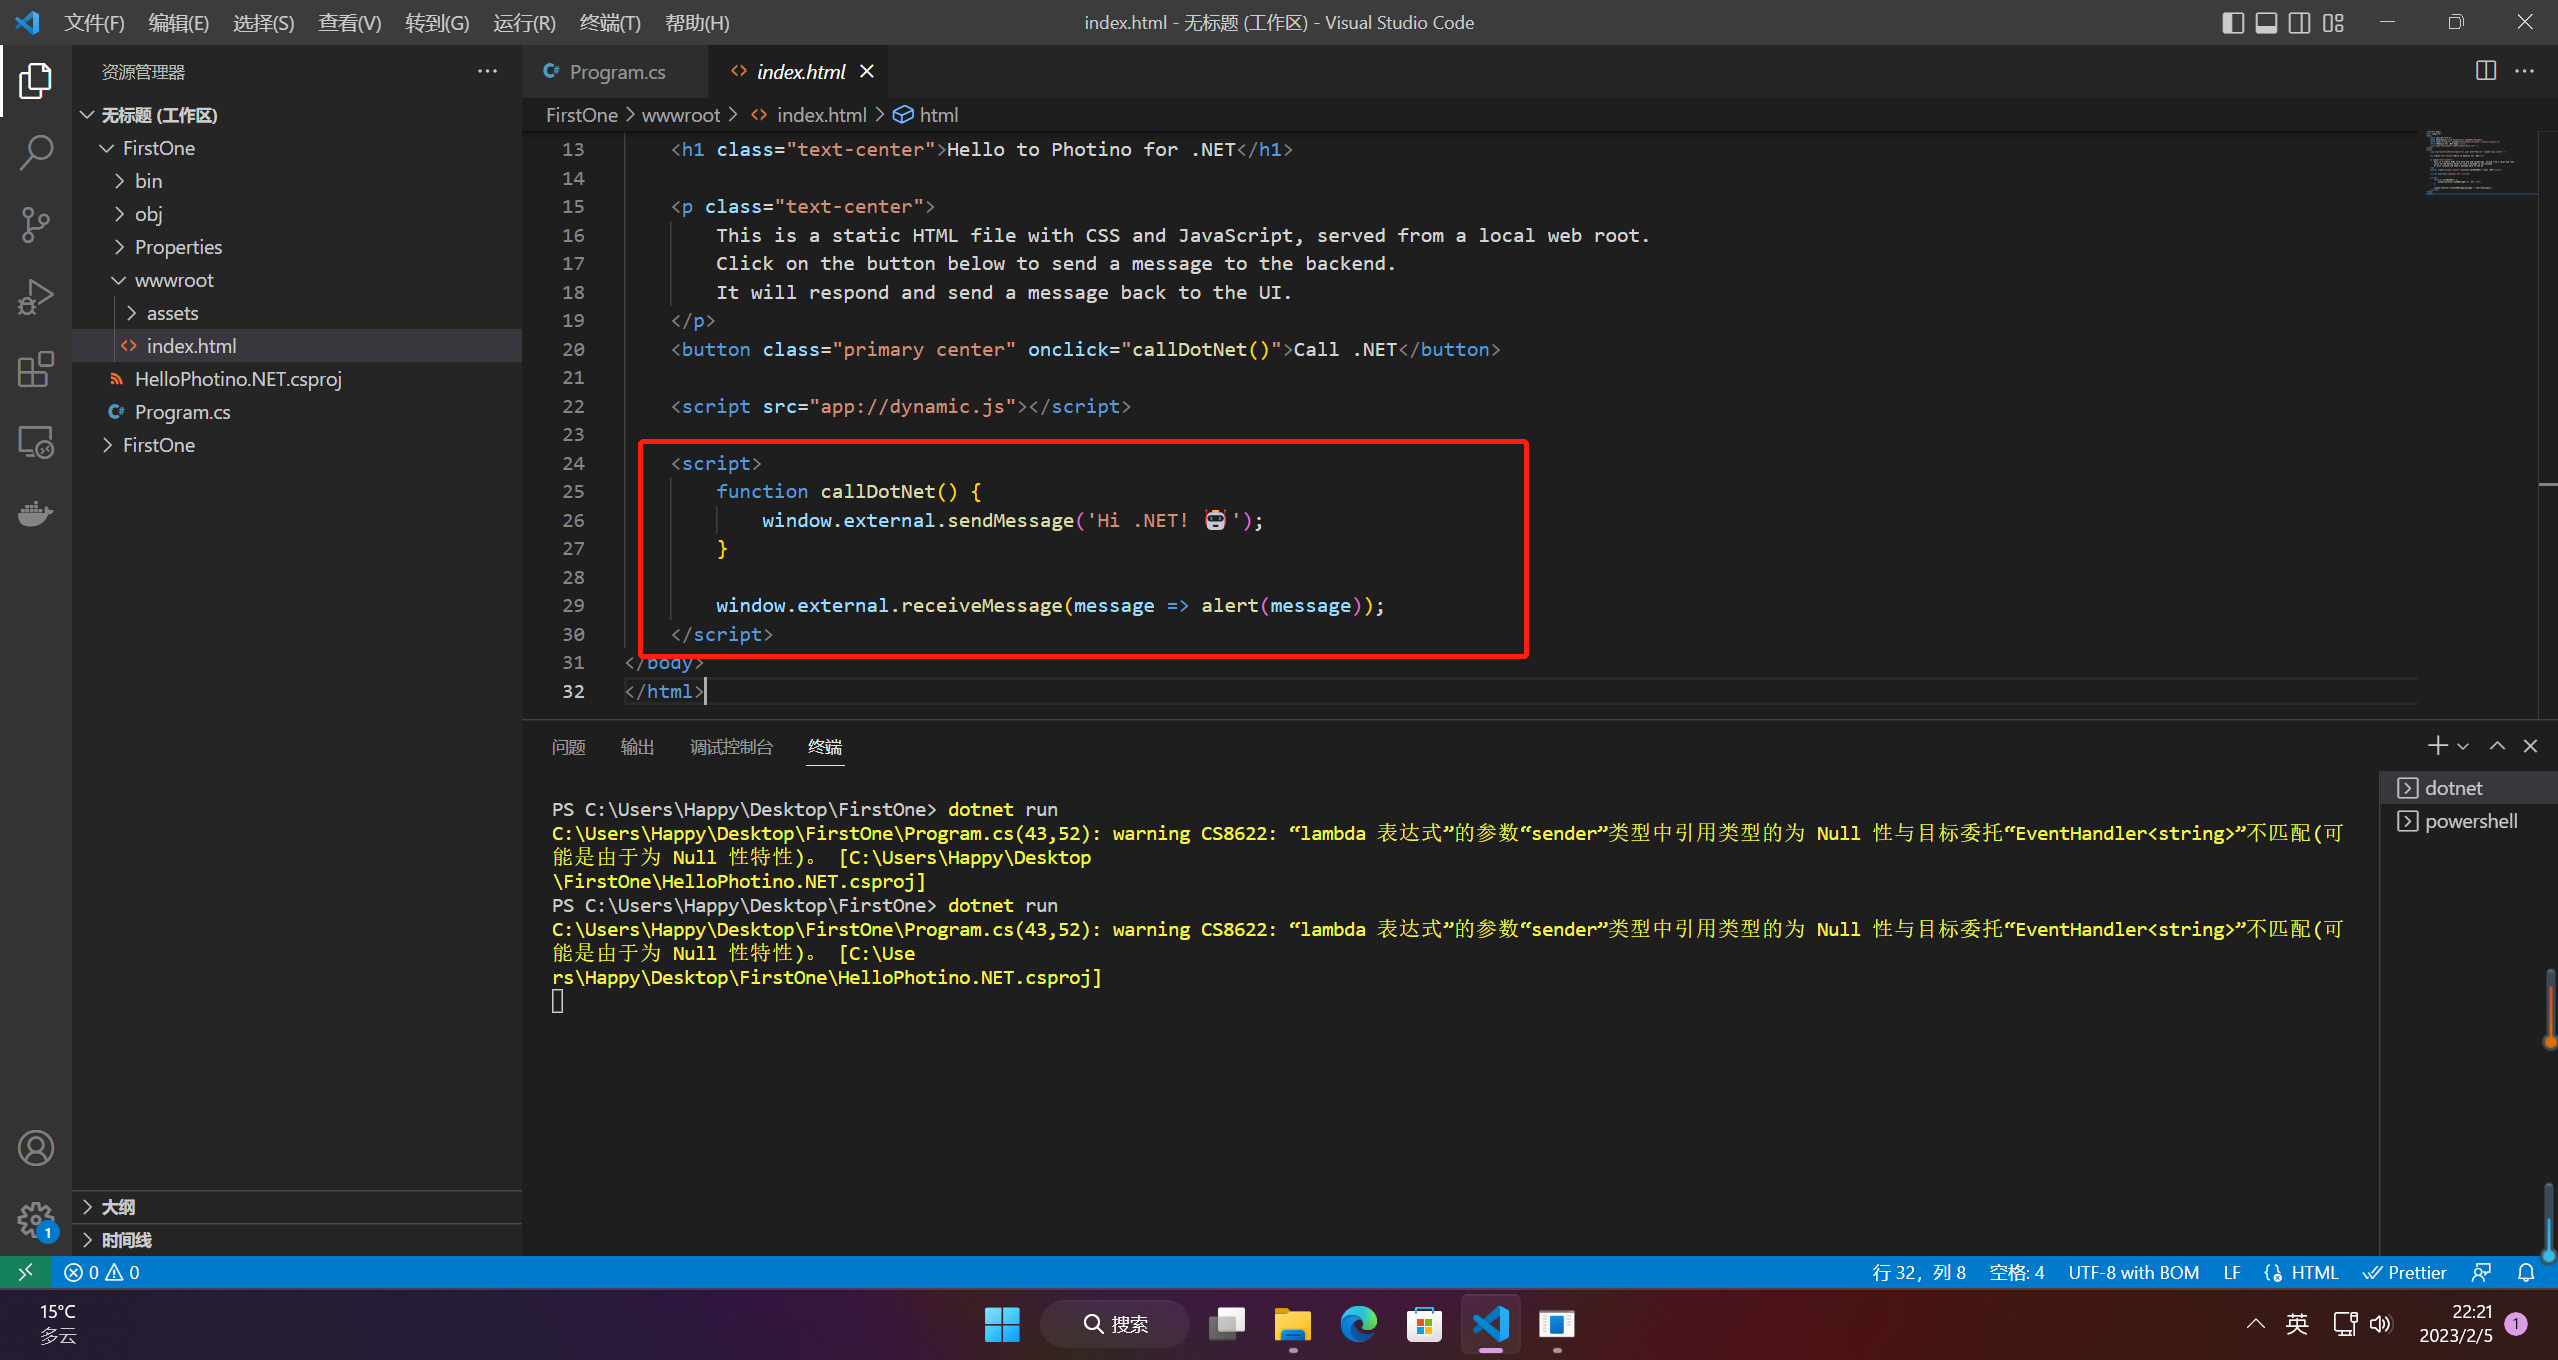
2.1 前端接受和发送消息
//发送消息
function callDotNet() {
    window.external.sendMessage('Hi .NET! 🤖');
}
//接受消息
window.external.receiveMessage(message => alert(message));
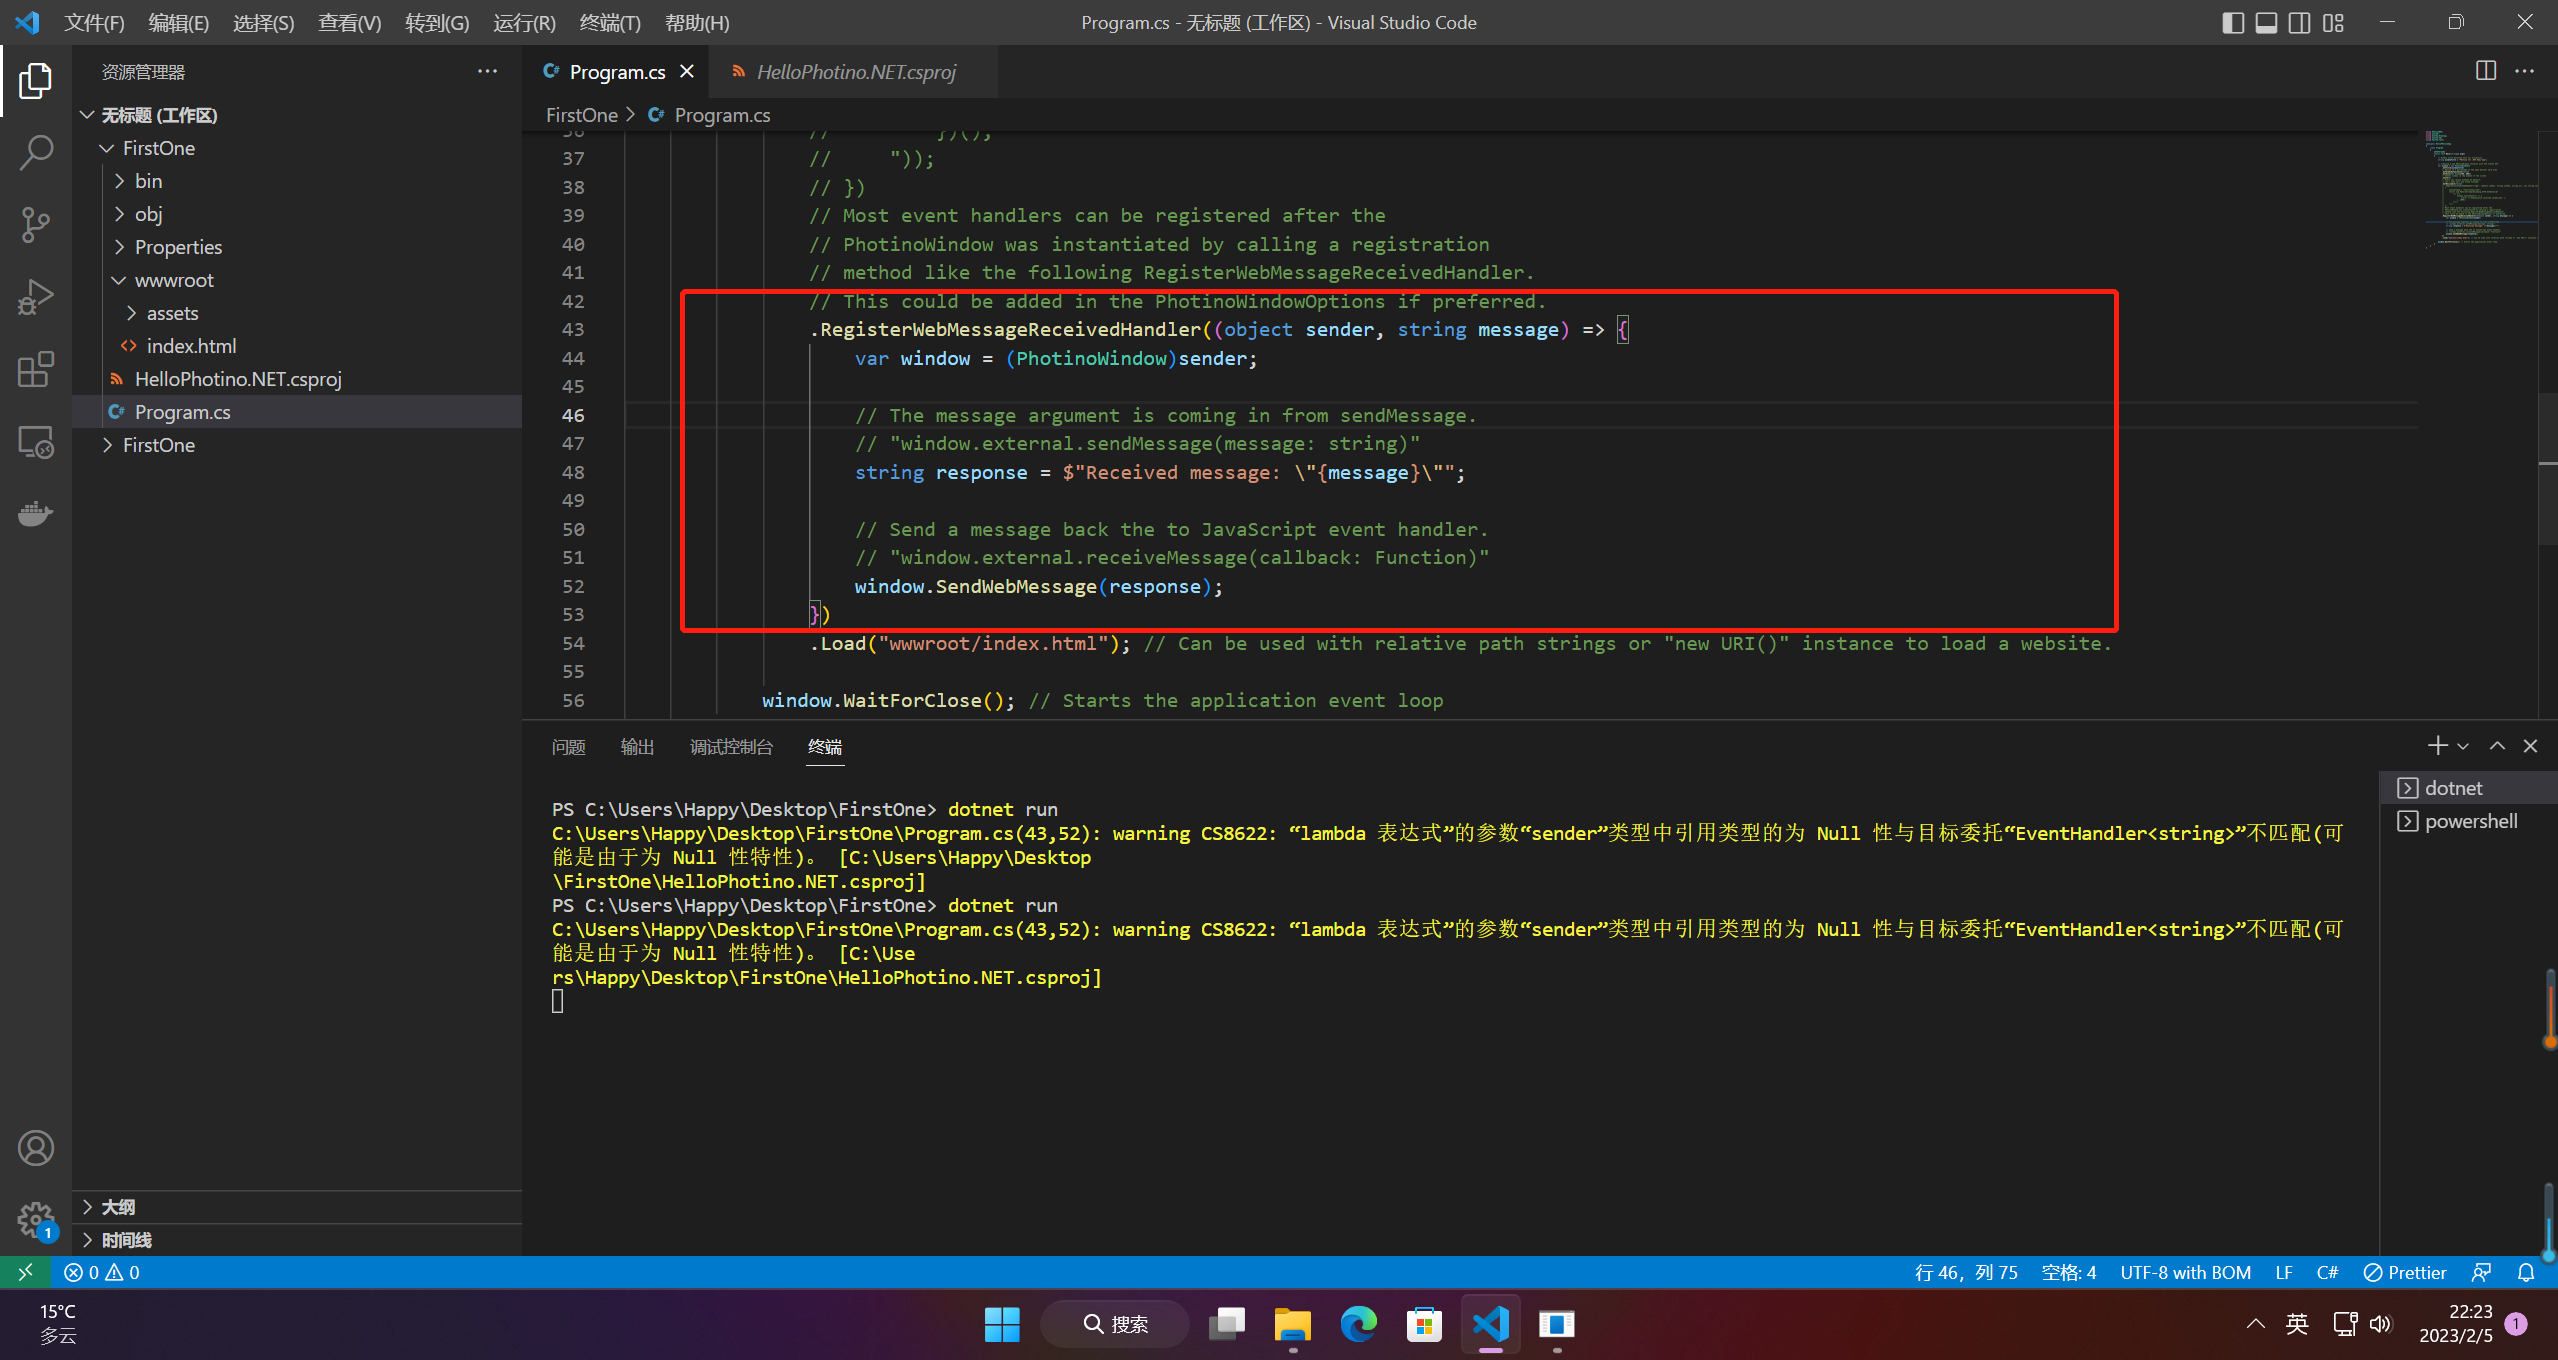
2.2 后端接受和发送消息
.RegisterWebMessageReceivedHandler((object sender, string message) => {
    var window = (PhotinoWindow)sender;

    // The message argument is coming in from sendMessage.
    // "window.external.sendMessage(message: string)"
    string response = $"Received message: \"{message}\"";

    // Send a message back the to JavaScript event handler.
    // "window.external.receiveMessage(callback: Function)"
    window.SendWebMessage(response);
})
三、Photino实操通信
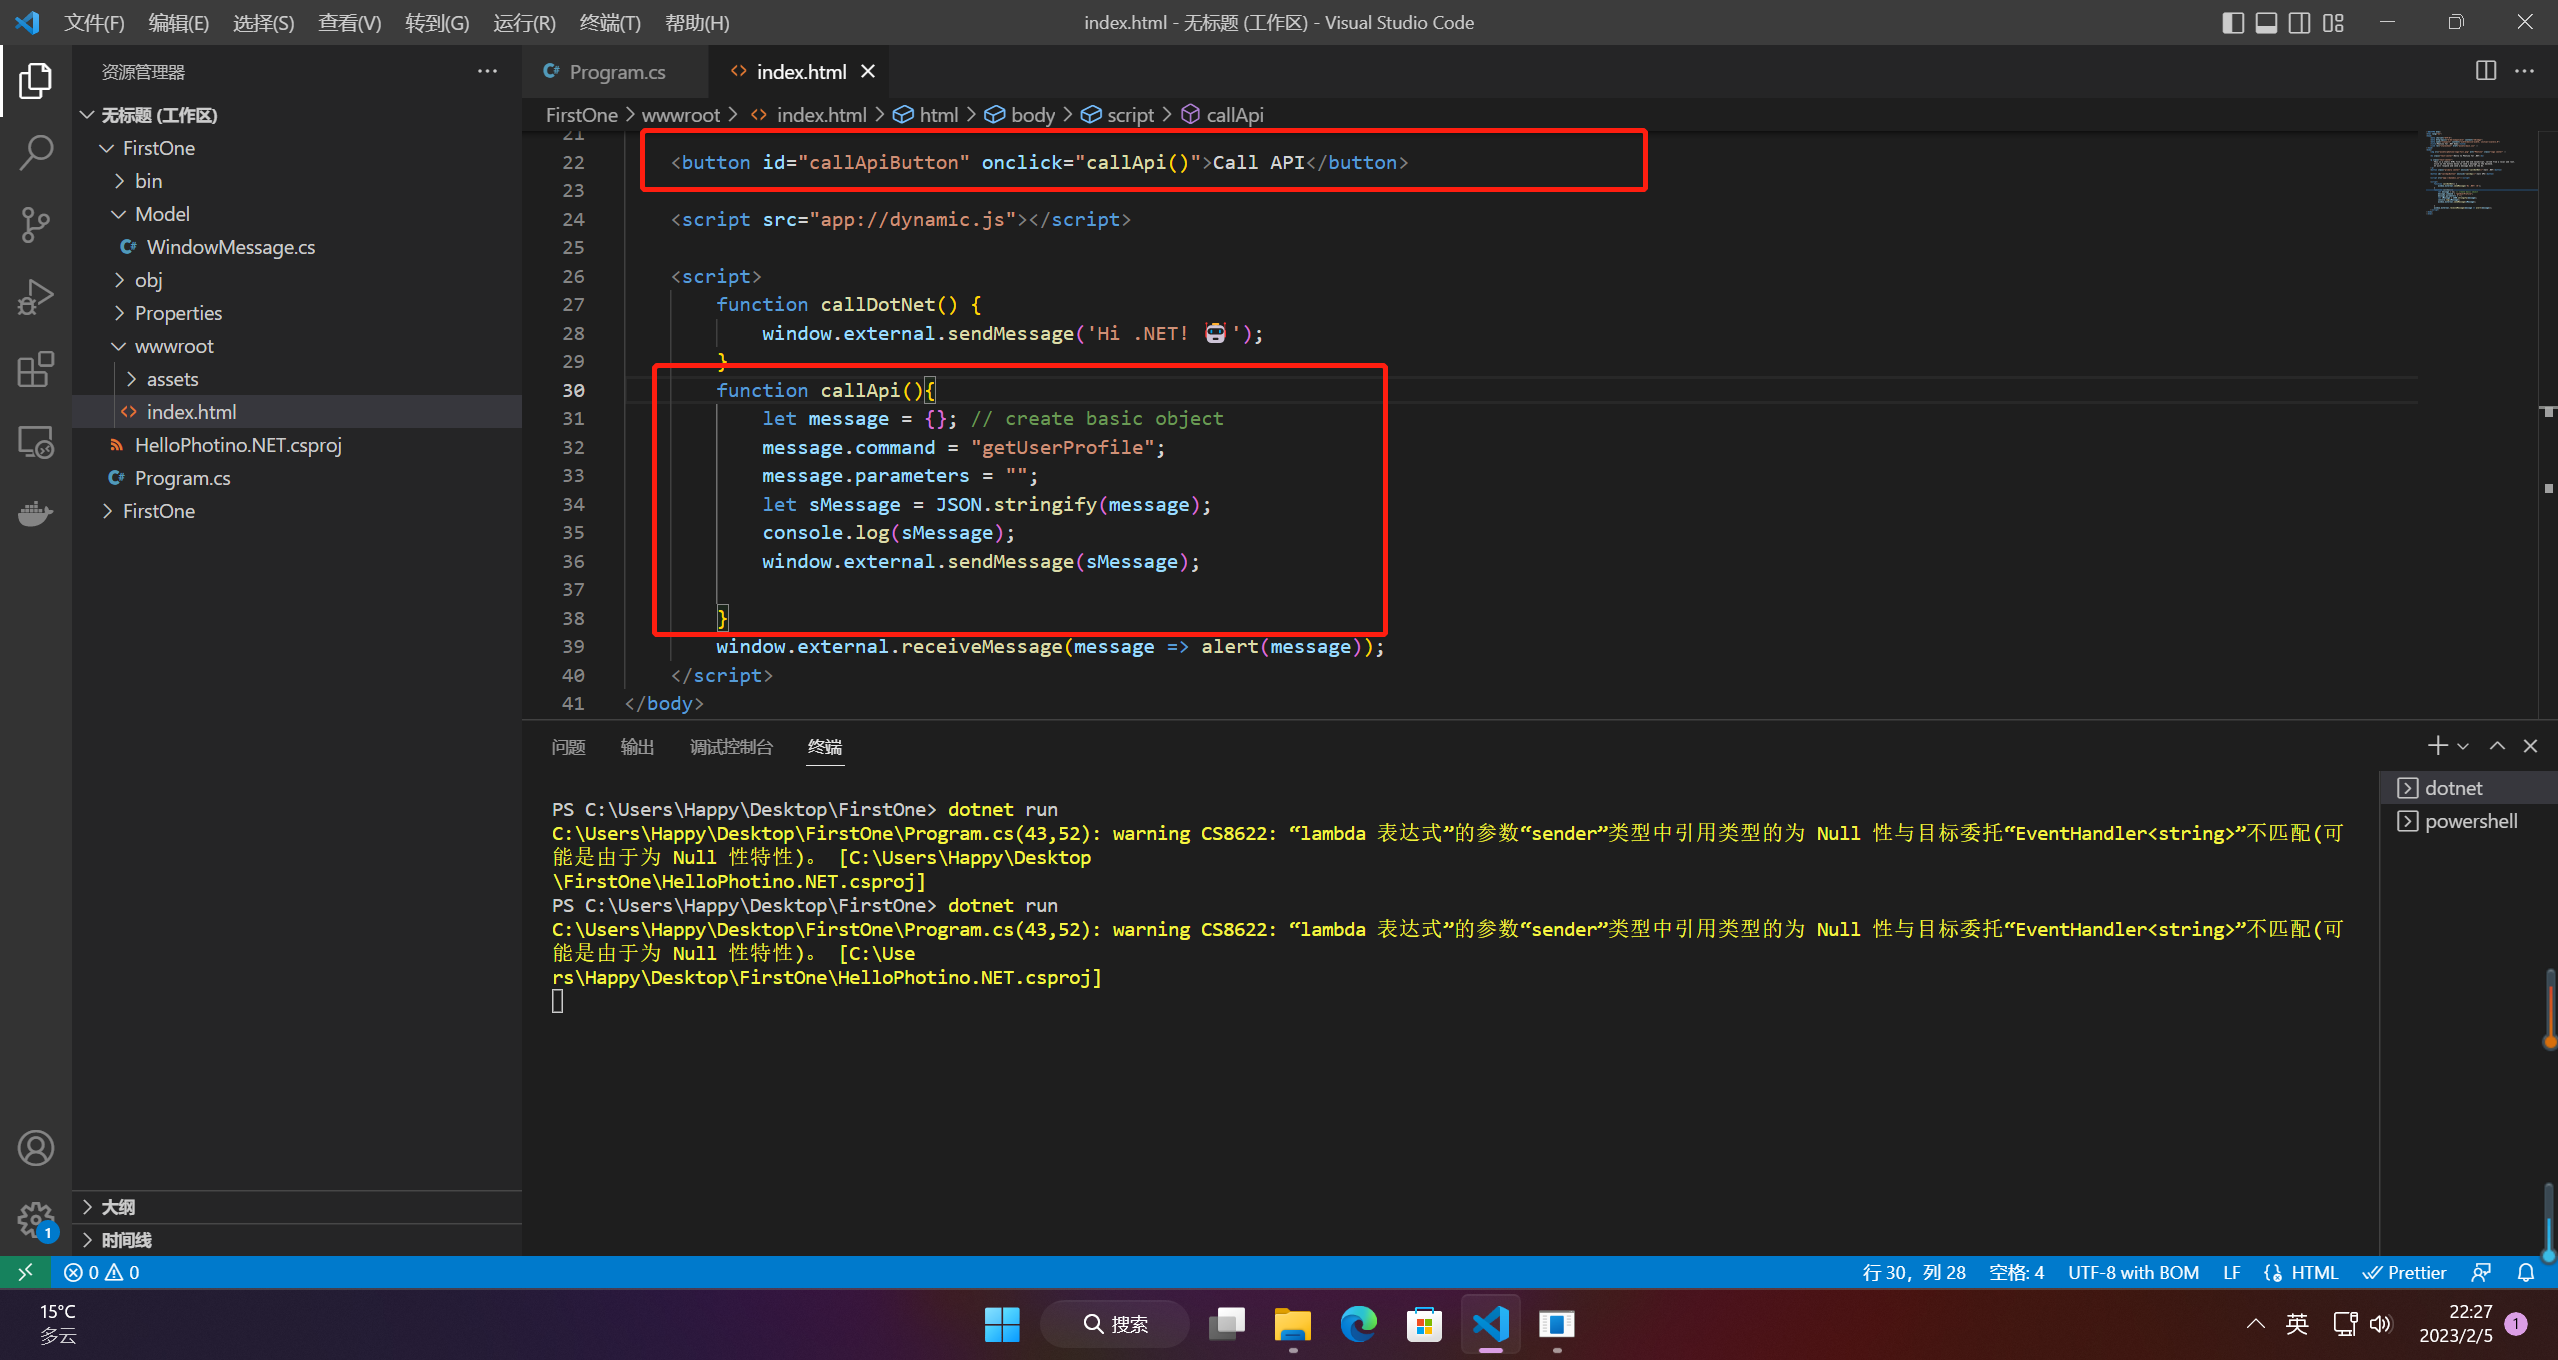
1.前端代码
<button id="callApiButton" onclick="callApi()">Call API</button>
function callApi(){
    let message = {}; // create basic object
    message.command = "getUserProfile";
    message.parameters = "";
    let sMessage = JSON.stringify(message);
    console.log(sMessage);
    window.external.sendMessage(sMessage);

}
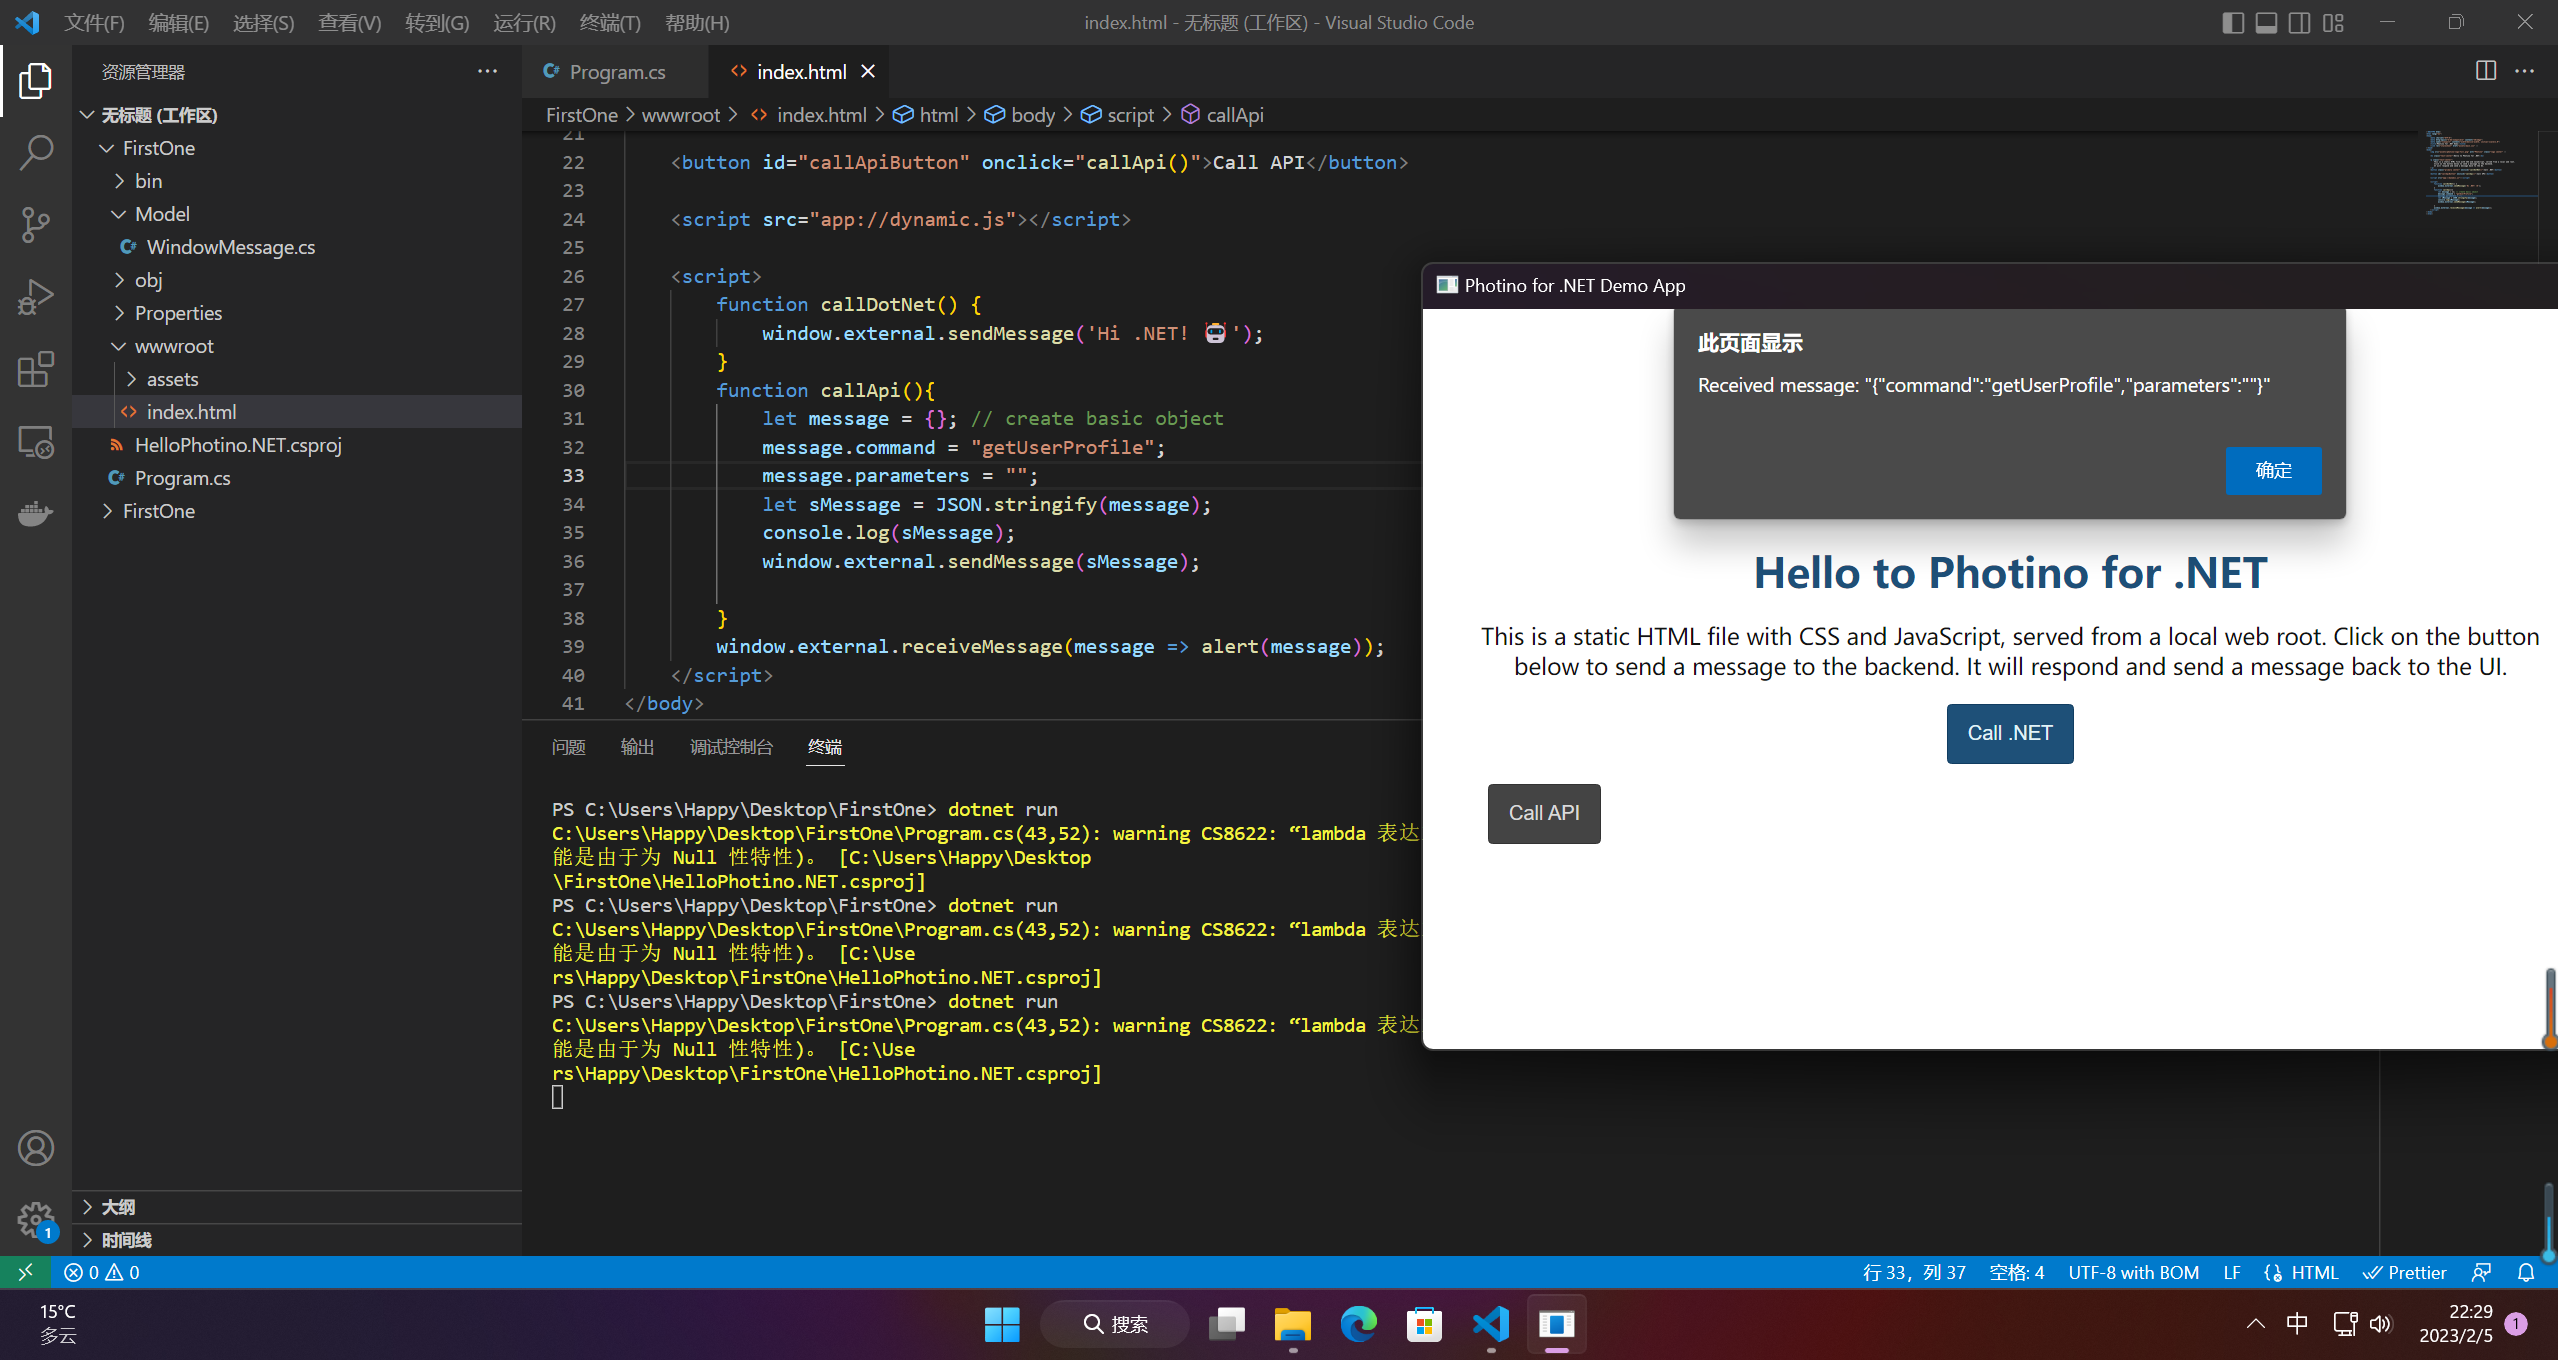
运行程序,可以看到json字符串到后端了
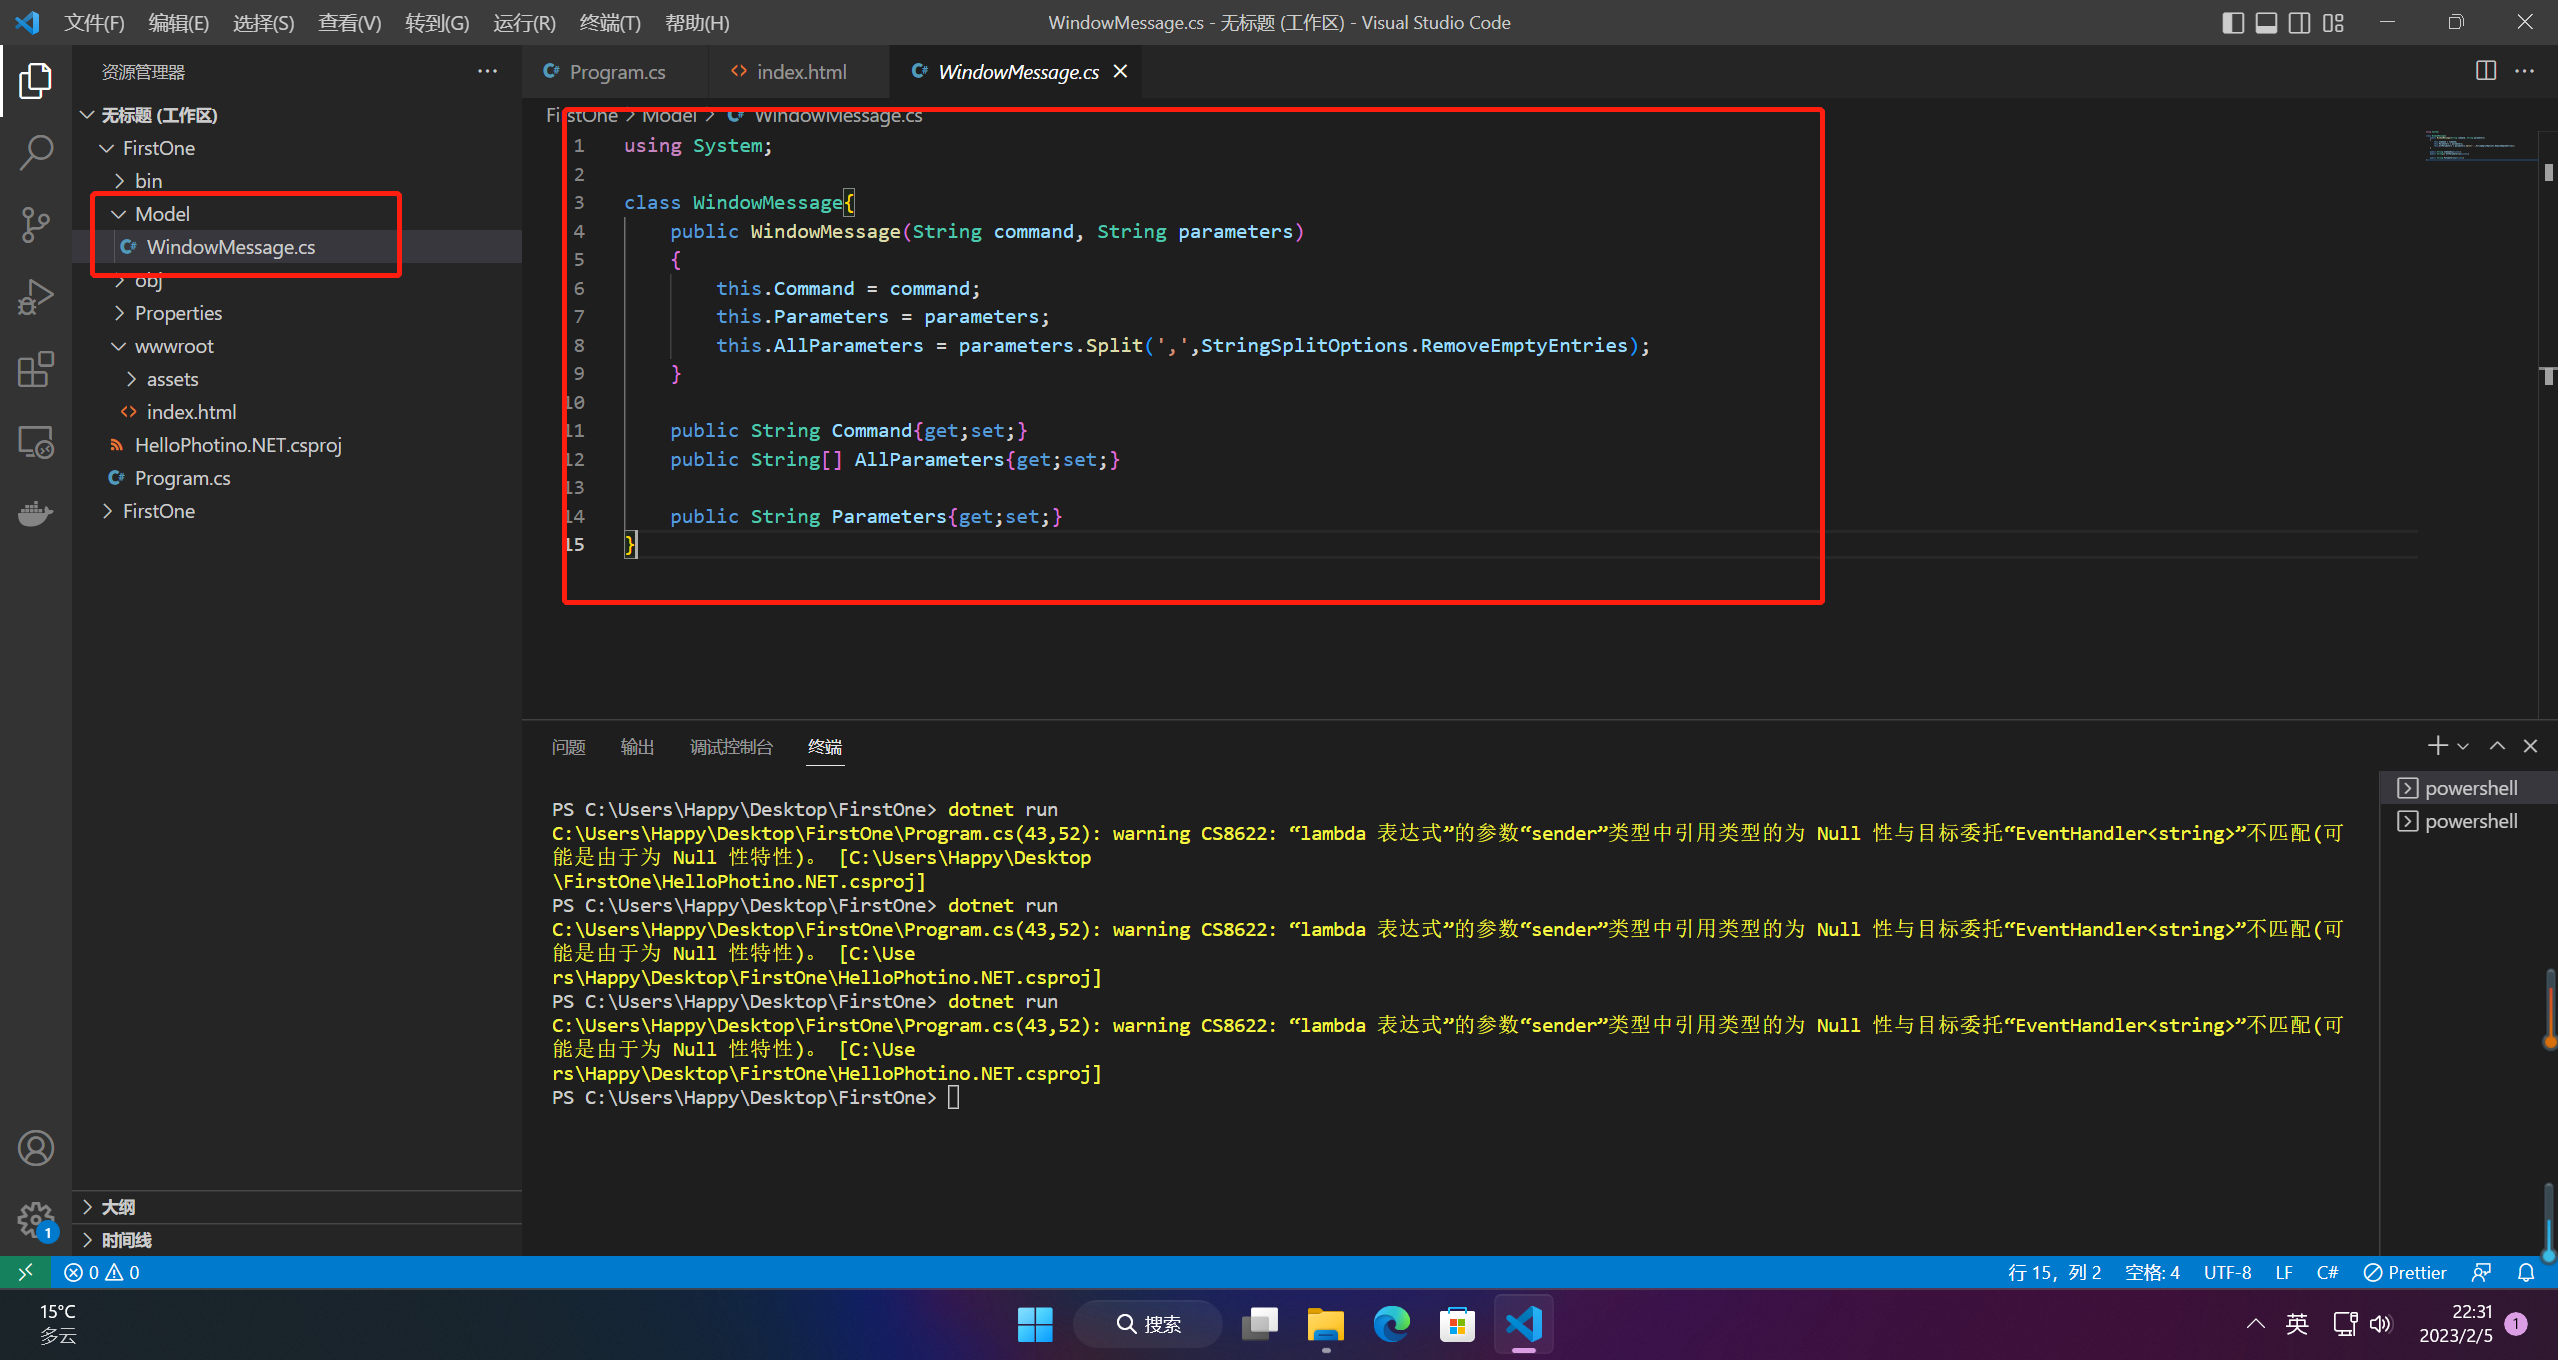
2.自定义接受消息对象
2.1 接收消息类
using System;

class WindowMessage{
    public WindowMessage(String command, String parameters)
    {
        this.Command = command;
        this.Parameters = parameters;
        this.AllParameters = parameters.Split(',',StringSplitOptions.RemoveEmptyEntries);
    }

    public String Command{get;set;}
    public String[] AllParameters{get;set;}

    public String Parameters{get;set;}
}
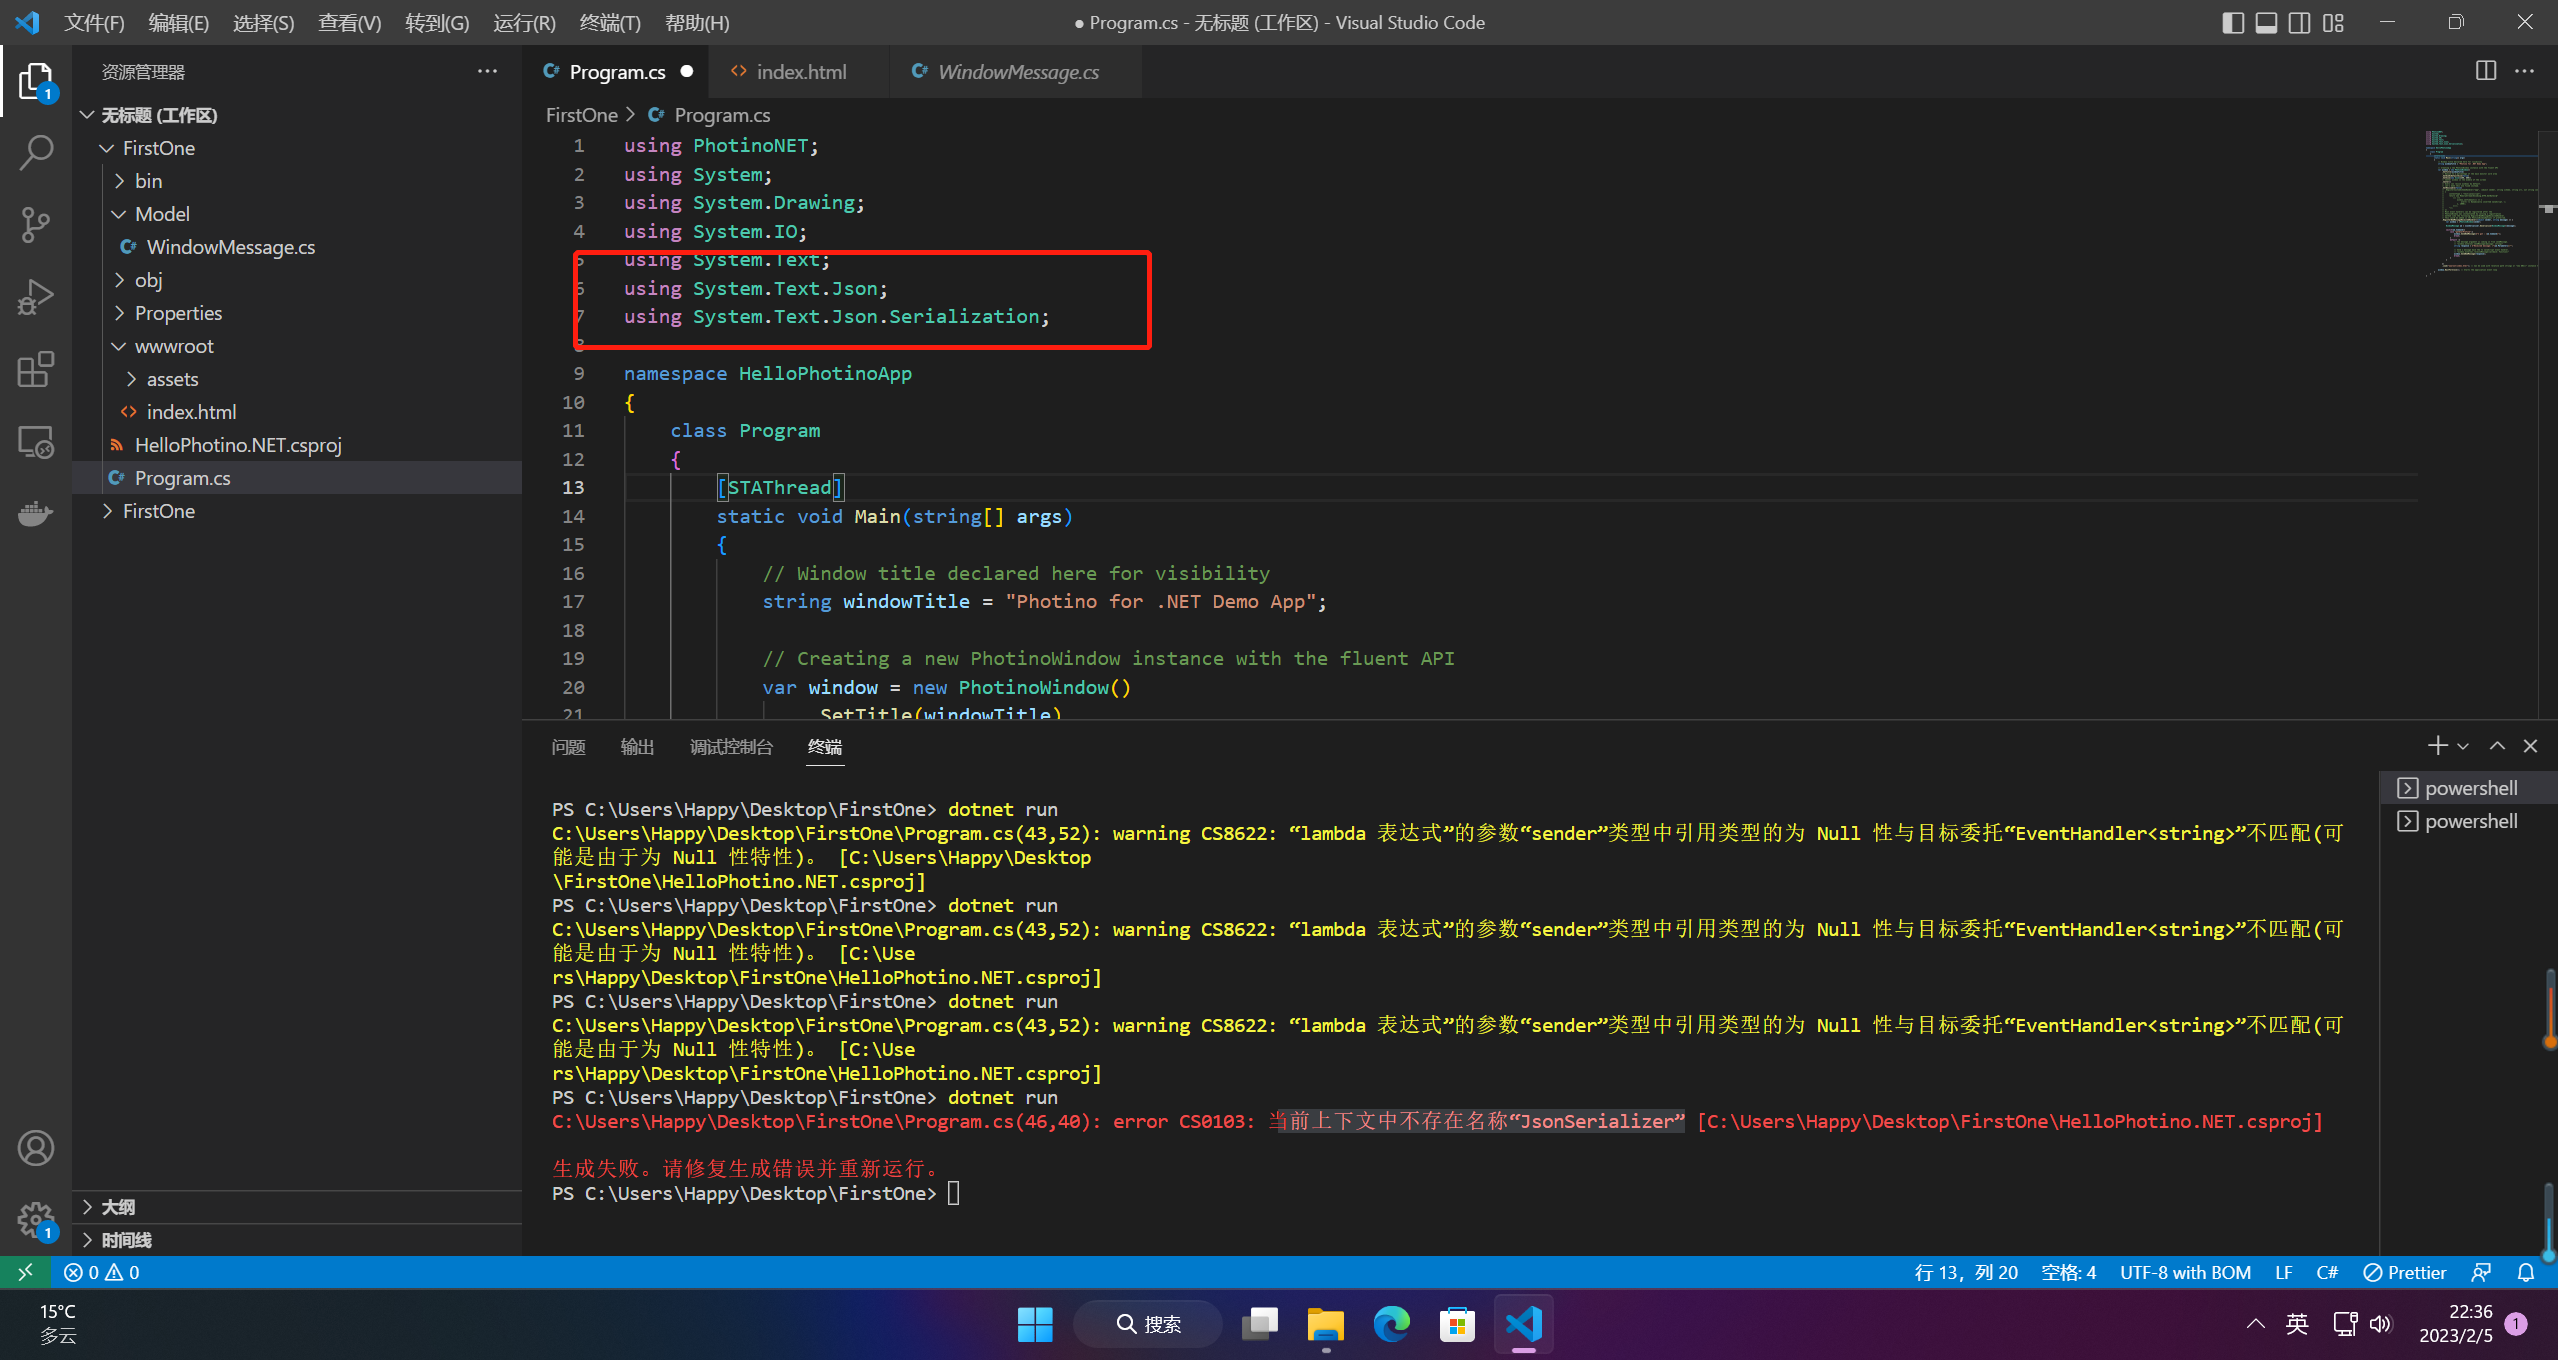
2.2 引入json序列化
using System.Text.Json;
using System.Text.Json.Serialization;
2.3 接收消息修改
.RegisterWebMessageReceivedHandler((object sender, string message) => {
    var window = (PhotinoWindow)sender;

    WindowMessage wm = JsonSerializer.Deserialize<WindowMessage>(message);

    switch(wm.Command){
        case "getUserProfile":{
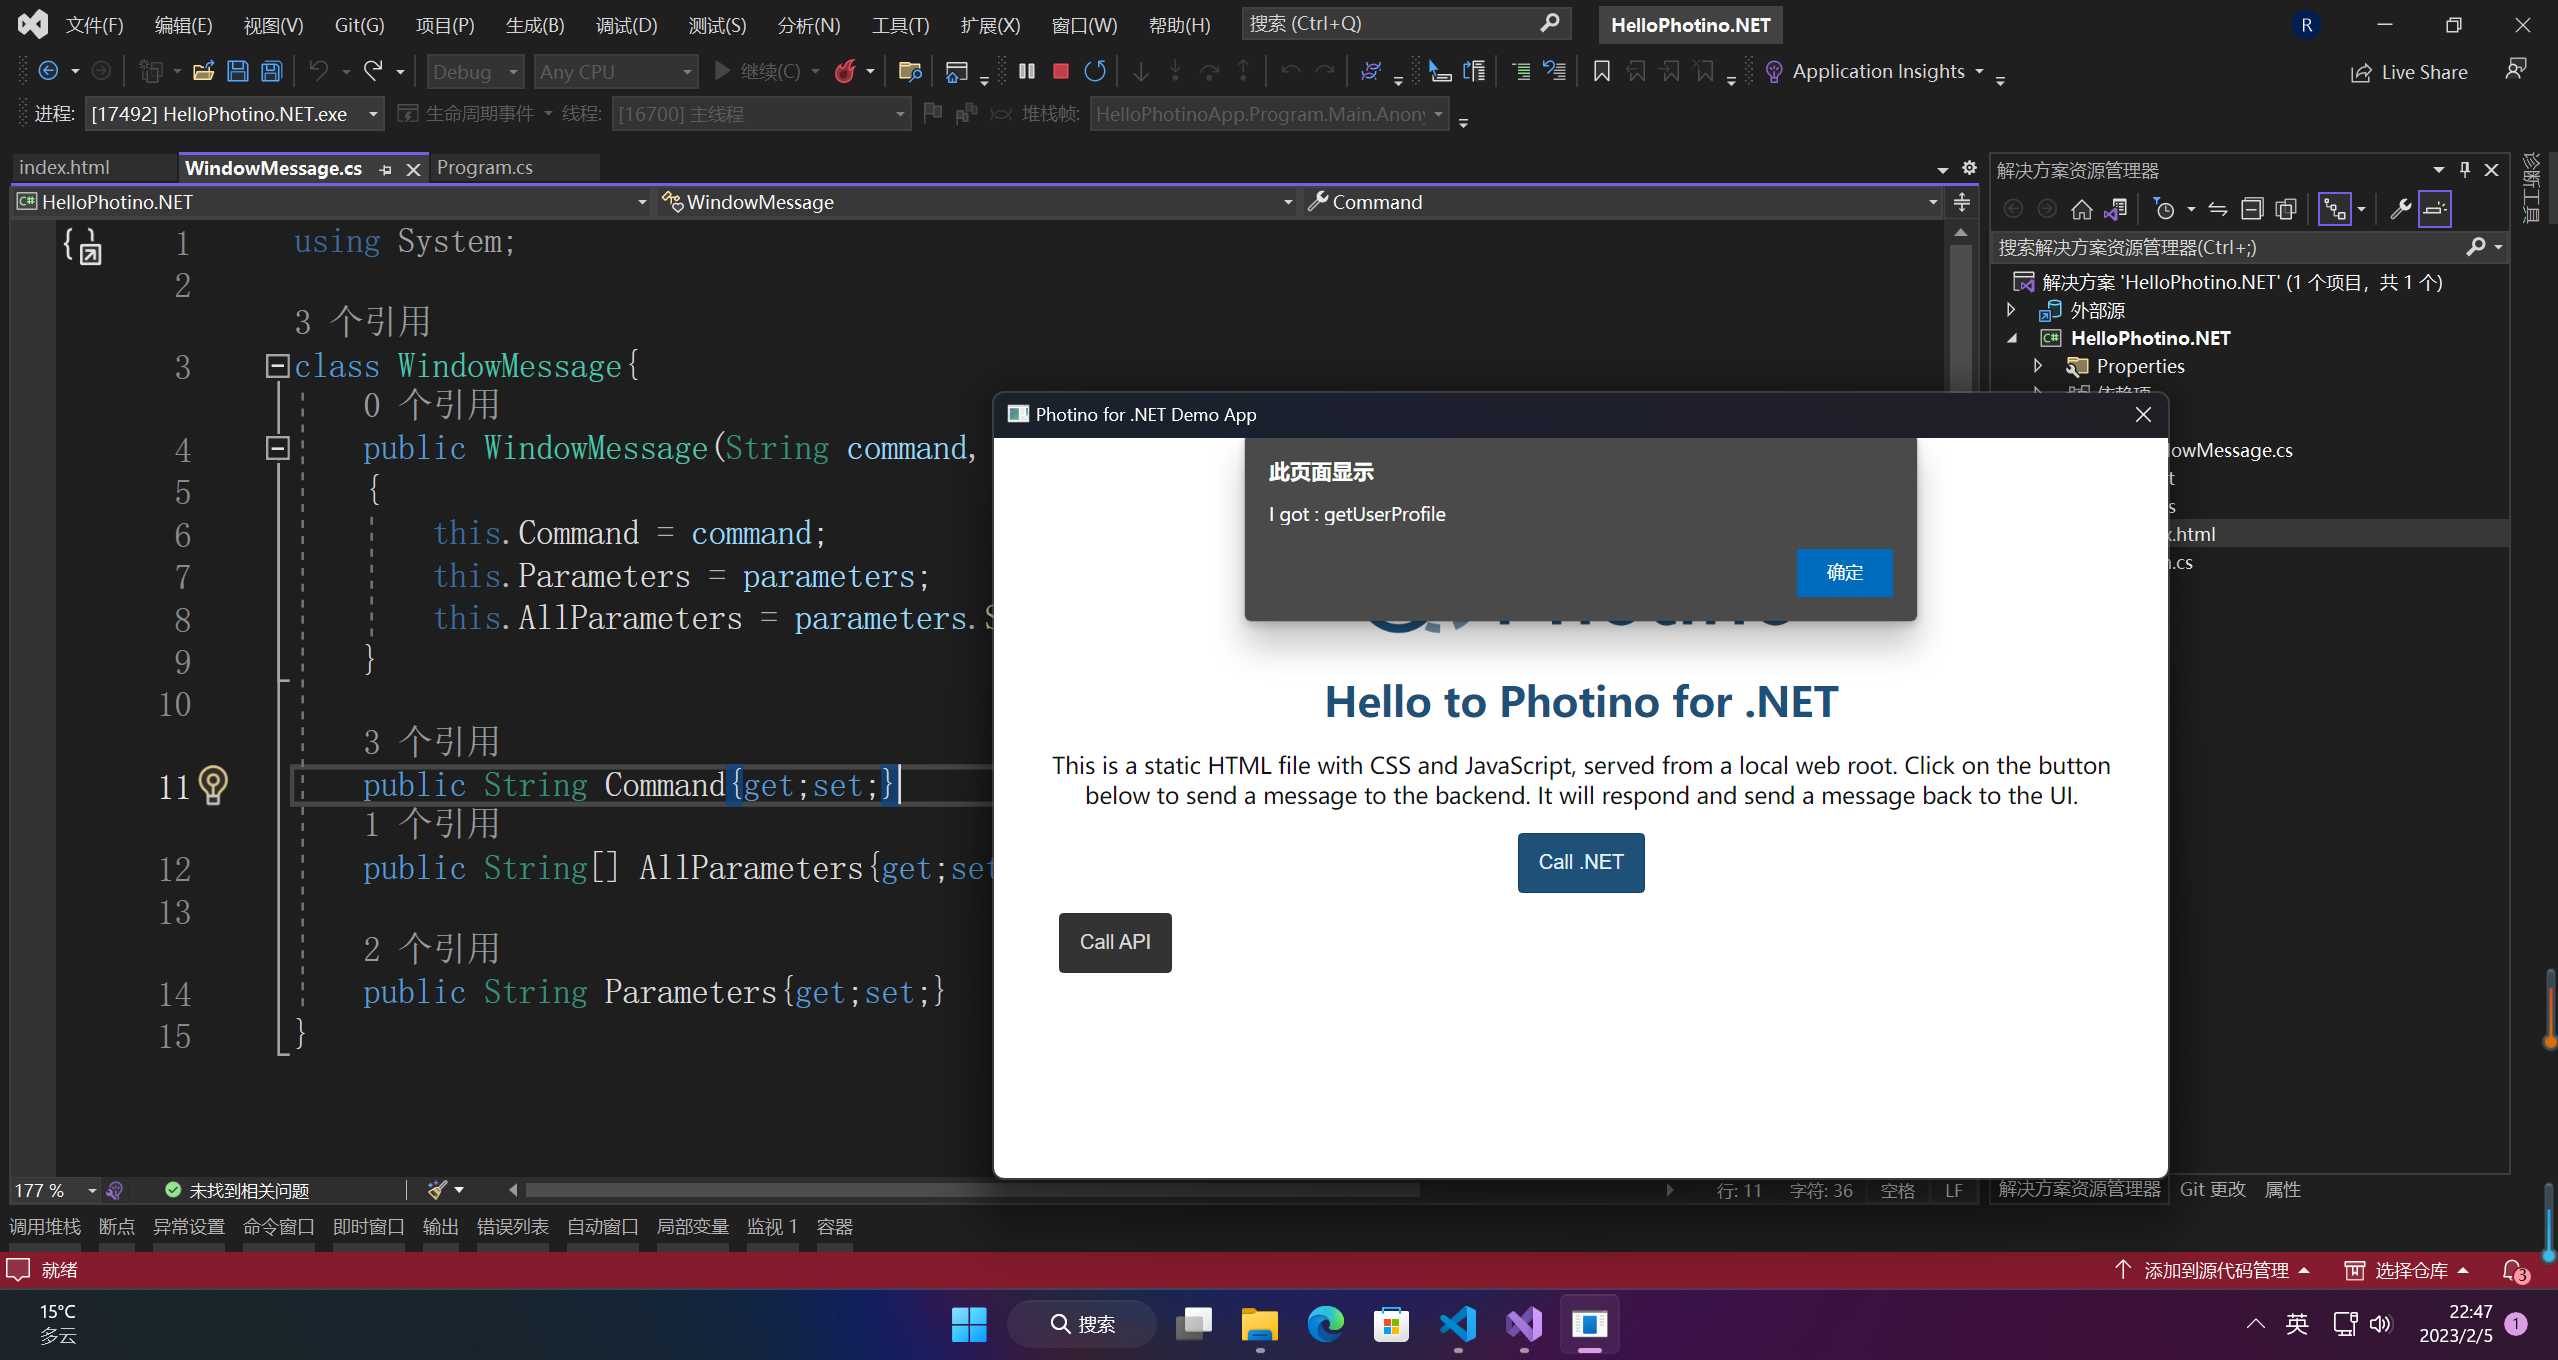
            window.SendWebMessage($"I got : {wm.Command}");
            break;
        }
        default :{
            // The message argument is coming in from sendMessage.
            // "window.external.sendMessage(message: string)"
            string response = $"Received message: \"{wm.Parameters}\"";

            // Send a message back the to JavaScript event handler.
            // "window.external.receiveMessage(callback: Function)"
            window.SendWebMessage(response);
            break;
        }
    }

})
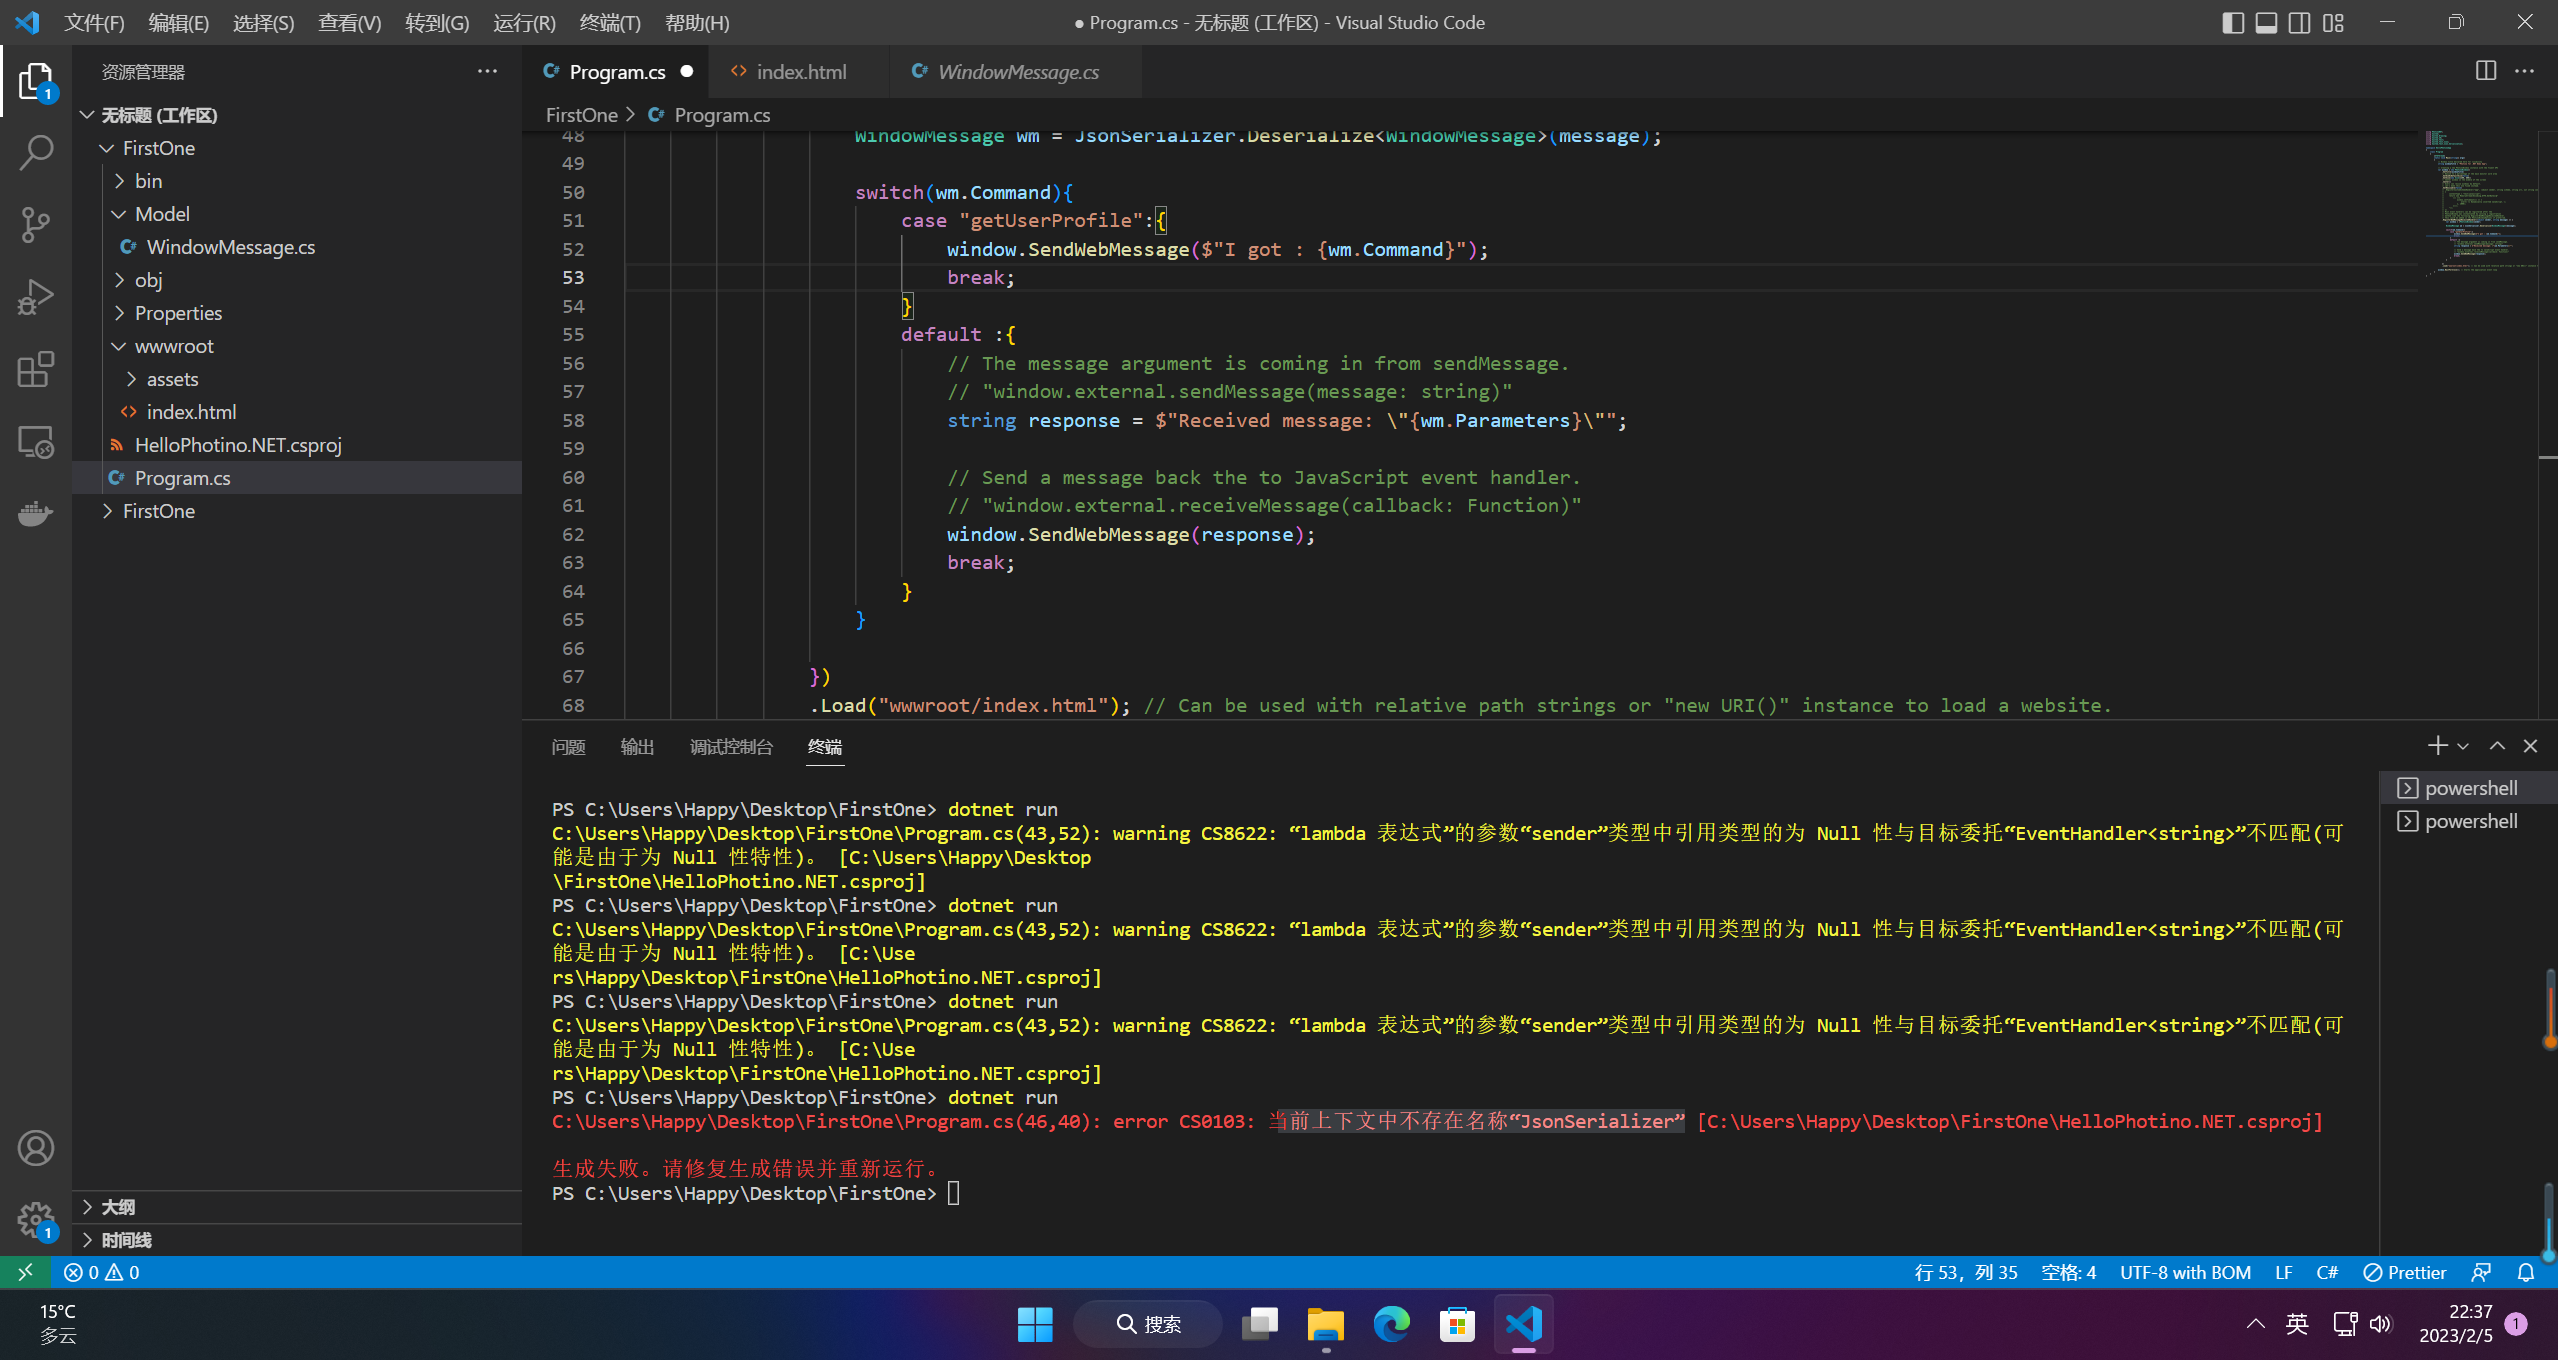
2.4 运行
切换vs去安装包,vscode太麻烦
【声明】本内容来自华为云开发者社区博主,不代表华为云及华为云开发者社区的观点和立场。转载时必须标注文章的来源(华为云社区)、文章链接、文章作者等基本信息,否则作者和本社区有权追究责任。如果您发现本社区中有涉嫌抄袭的内容,欢迎发送邮件进行举报,并提供相关证据,一经查实,本社区将立刻删除涉嫌侵权内容,举报邮箱:
cloudbbs@huaweicloud.com
- 点赞
- 收藏
- 关注作者


评论(0)