【愚公系列】2023年02月 .NET CORE工具案例-FastEndpoints轻量级WebApi框架
前言
1.FastEndpoints介绍
FastEndpoints是Minimal API和MVC的开发人员友好替代品,它是基于REPR设计模式(请求-端点-响应),以便创建方便且可维护的端点,几乎没有样板文件。
FastEndpoints的性能与Minimal API 相当,甚至它更快,使用更少的内存并且每秒请求数比基准测试中的MVC控制器更高。对于比如:中间件、认证、授权、日志,依赖注入这些常用功能都支持,甚至有些还进行了加强。
设计主要是分为两种模式
- 分层模式:mvc、mvp、mvvm等
- 垂直模式:REPR设计模式
REPR设计模式就是垂直模式,系统的每个组件都是单独的一块,彼此并不影响,就像微服务那样。
2.REPR设计模式由来
MVC - 模型-视图-控制器旨在与用户界面配合使用。显然,视图是一个 UI 组件。如果您正在构建 API,则没有视图,因此您充其量使用的是 MC 模式,或者您可以将其称为模型-操作-控制器并获取 MAC 模式。关键是,你已经没有将MVC用于你的API,所以考虑一个更合适的模式应该不是一个很大的问题。
API 端点是非常独立的,每个端点都可以使用三个组件来描述:
请求:终结点所需的数据形状
终结点:终结点在给定请求时执行的逻辑
响应:终结点返回给调用方的响应
结合这三个元素,你会得到请求-端点-响应或 REPR 模式,我称之为“收割者”。(是的,你可以选择RER,但“rurr”模式听起来并不那么有趣)。
并非所有终结点都需要其请求或响应的实际数据,在某些情况下,不接收任何输入或仅返回 HTTP 状态代码。但是,在此模式中,空请求或响应仍然是有效的请求或响应,就像某些 MVC 操作不需要模型一样。
使用 API 端点库时,您可以将请求、终端节点和响应类型分组在一起,这样就无需在某些“视图模型”或“dtos”文件夹中四处寻找合适的类型。它减少了摩擦,使使用单个端点变得更加容易。
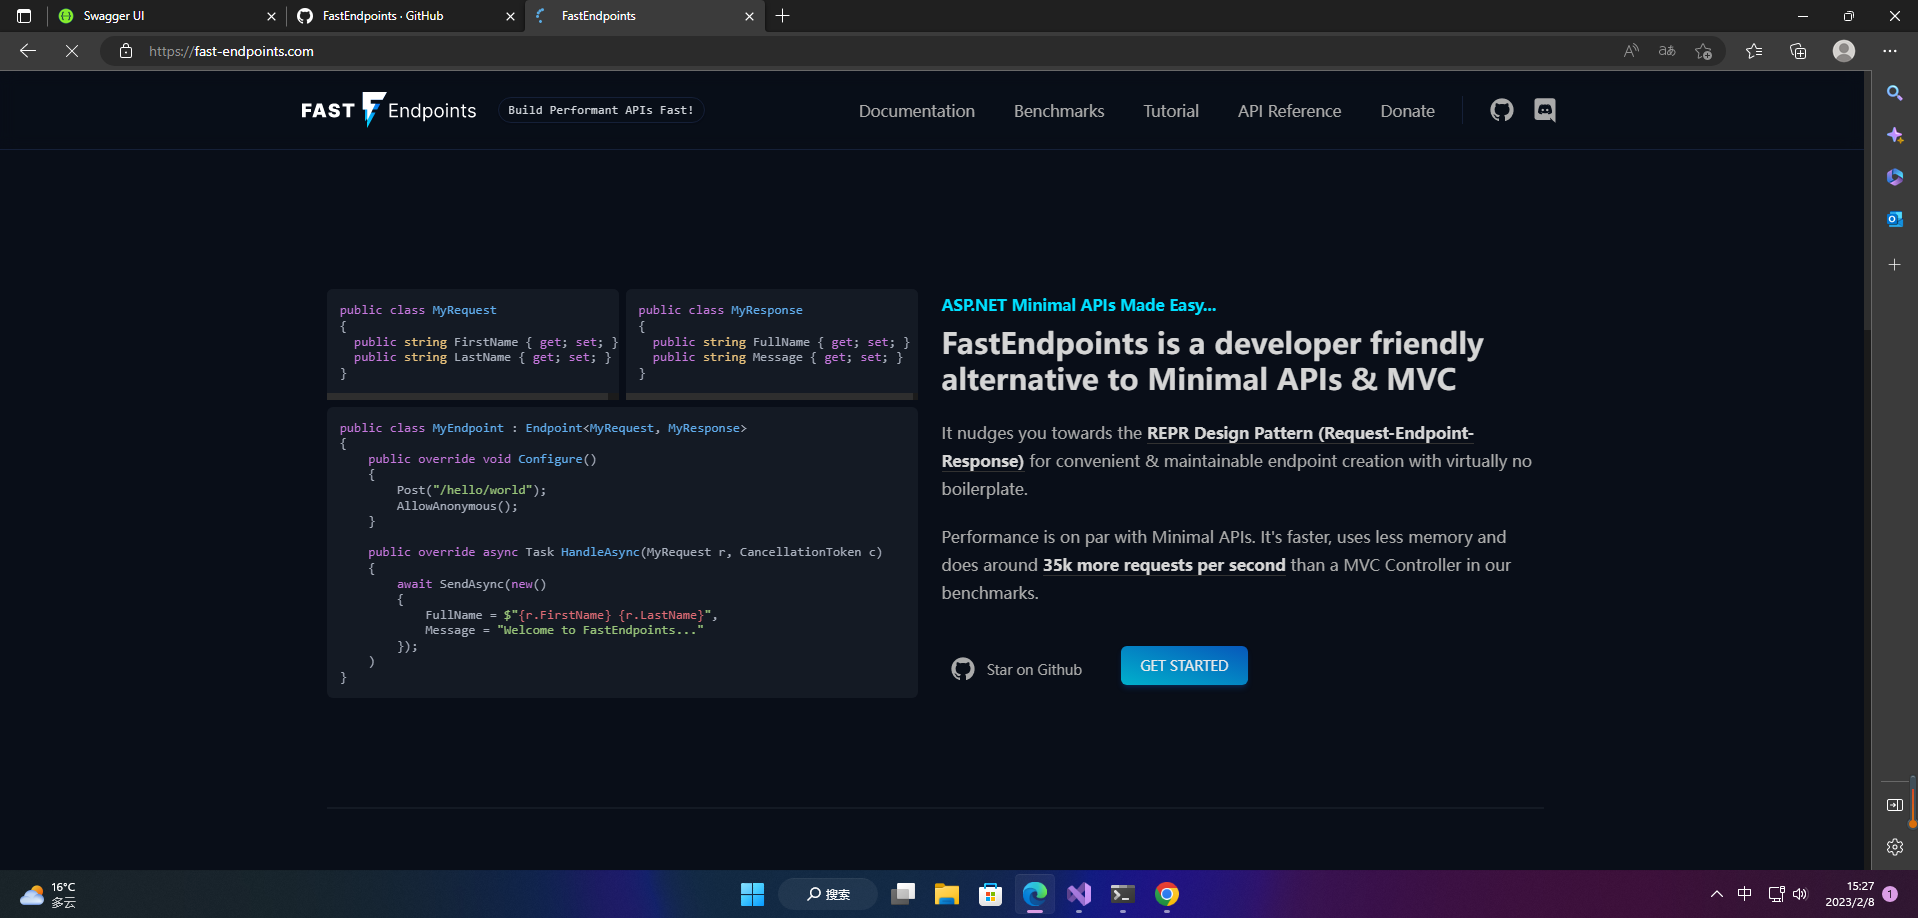
FastEndpoints文档::https://fast-endpoints.com/
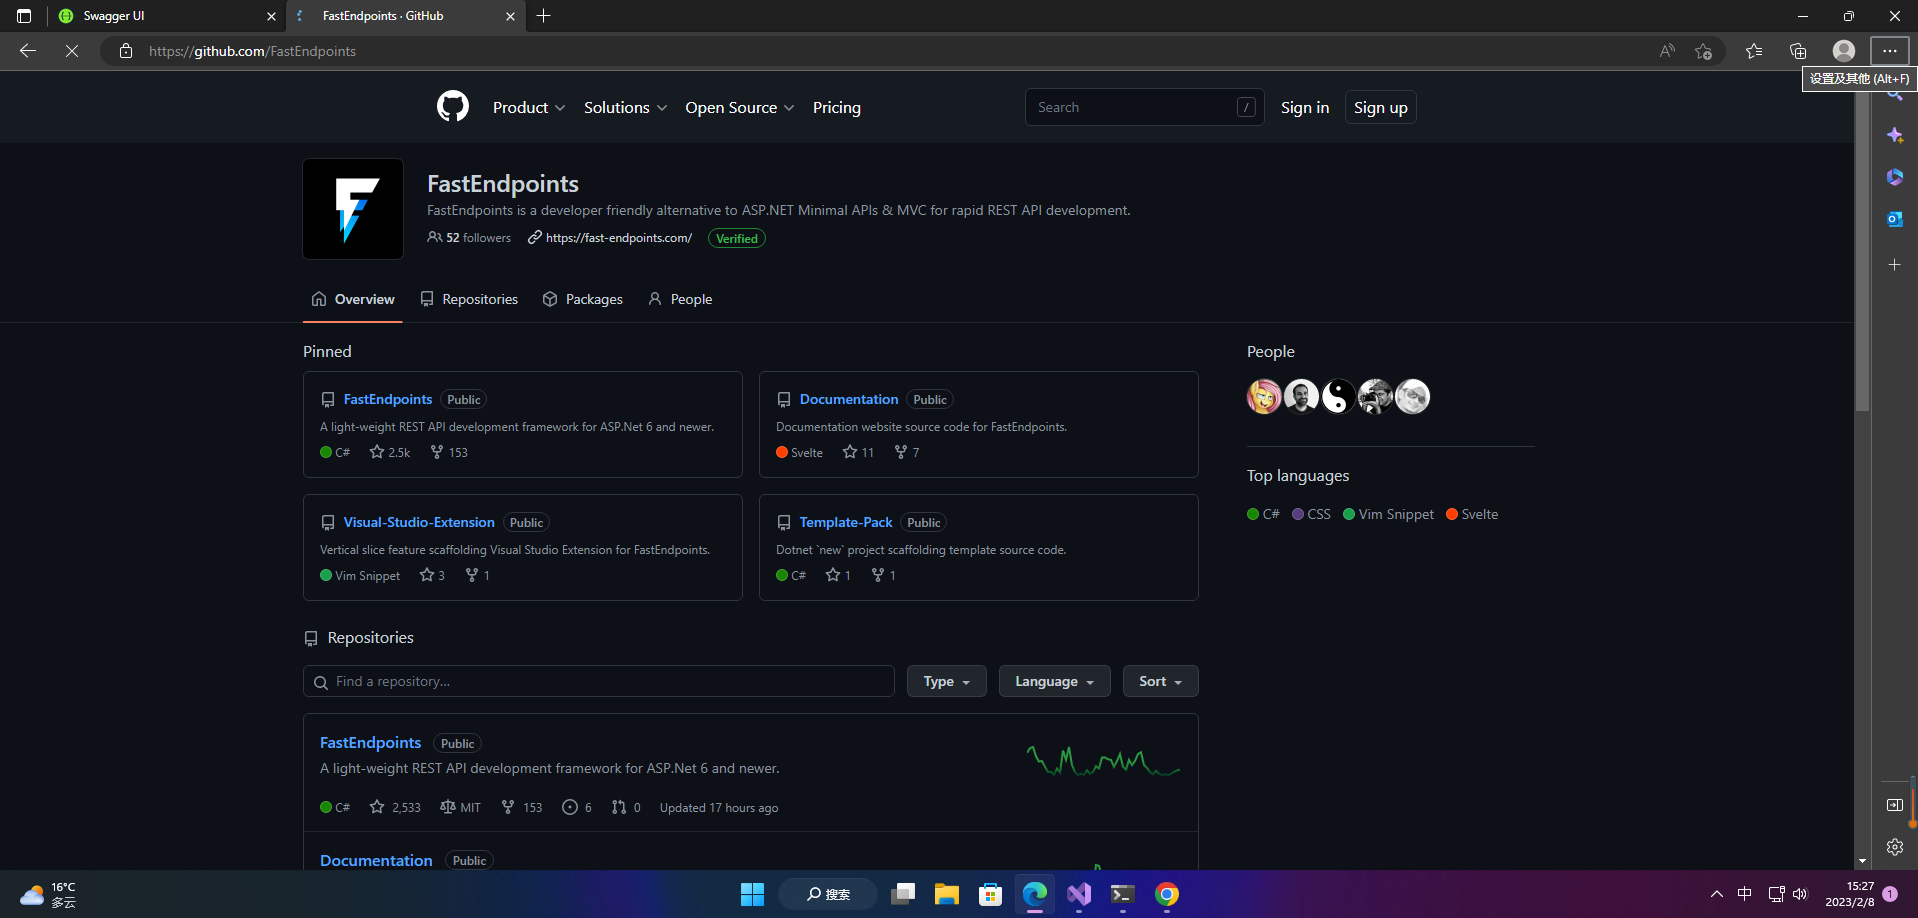
FastEndpoints官网:https://github.com/FastEndpoints
一、FastEndpoints基本使用
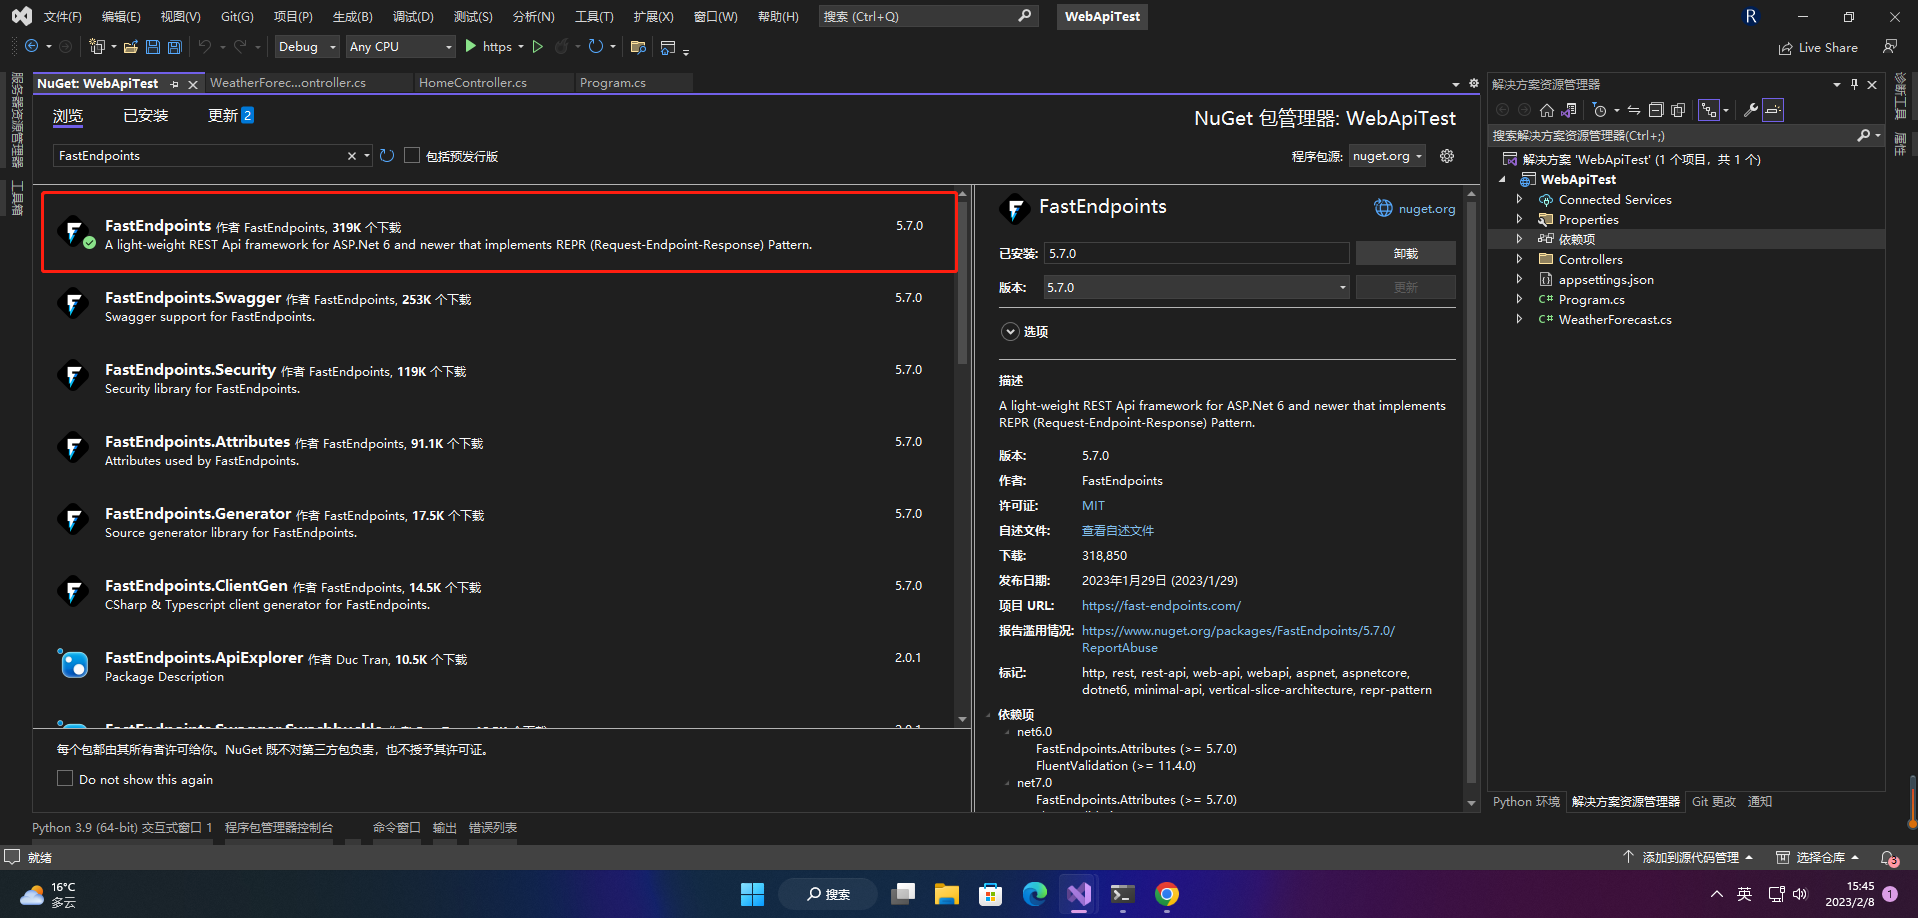
1.安装包
FastEndpoints
2.注入
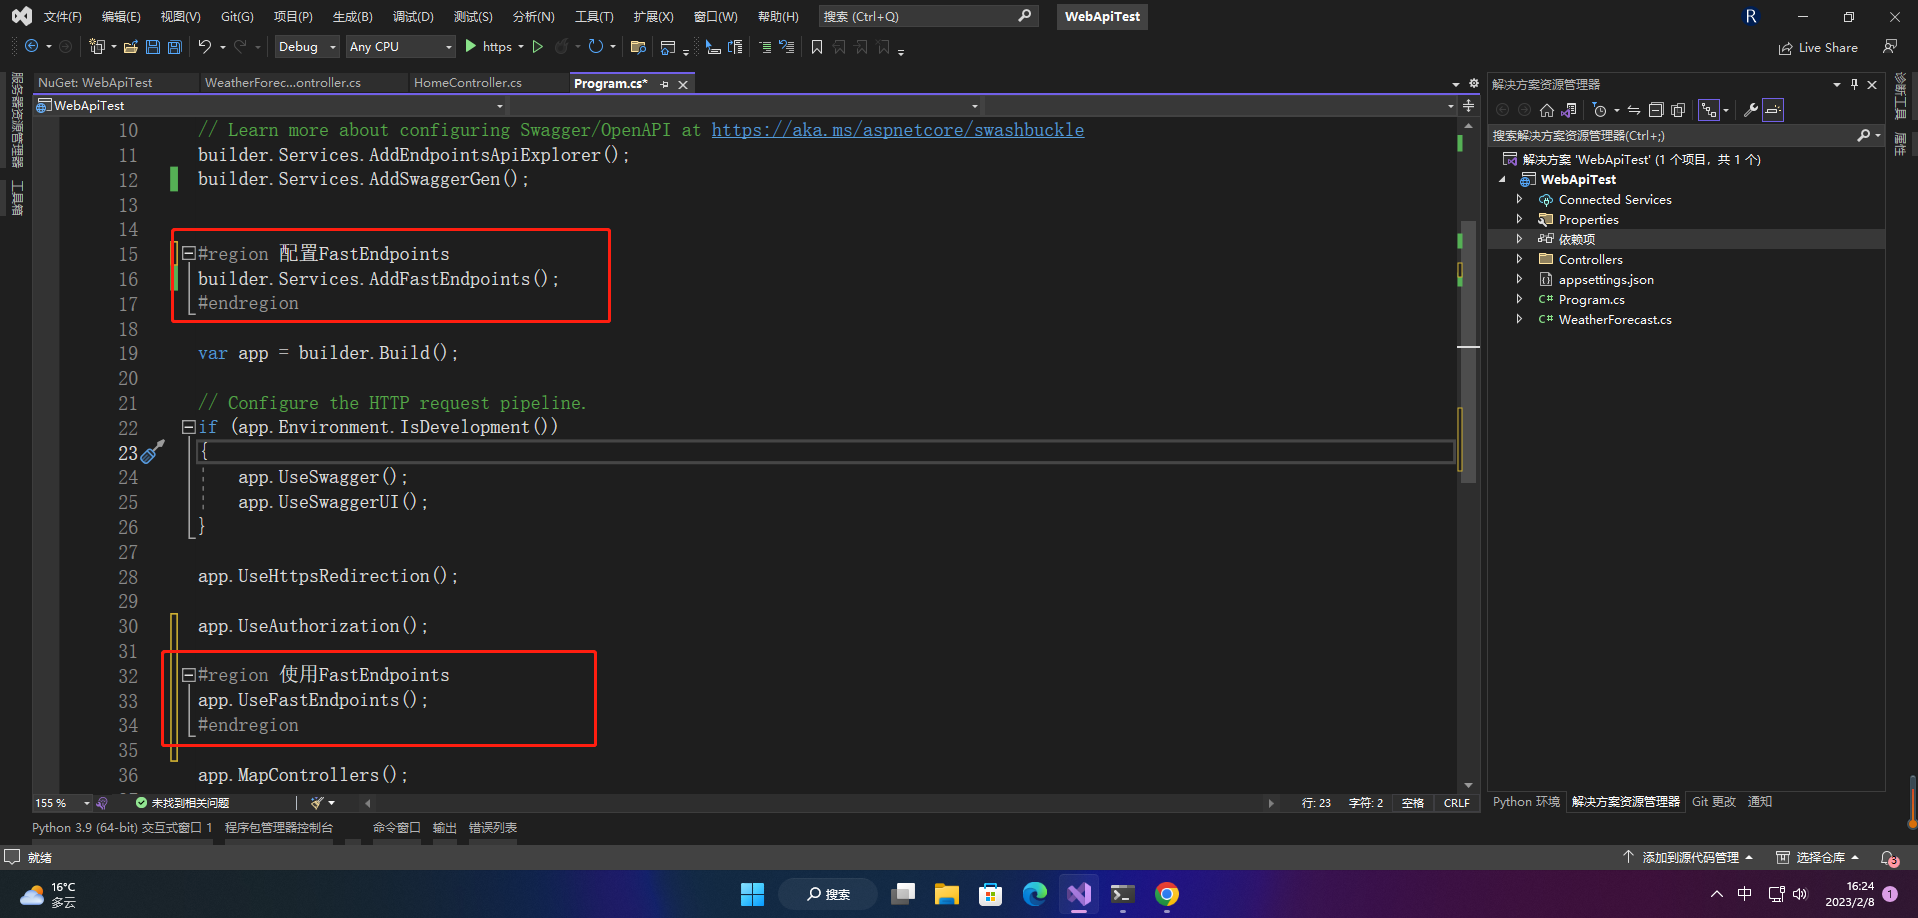
Program.cs 添加如下代码
#region 配置FastEndpoints
builder.Services.AddFastEndpoints();
#endregion
#region 使用FastEndpoints
app.UseFastEndpoints();
#endregion
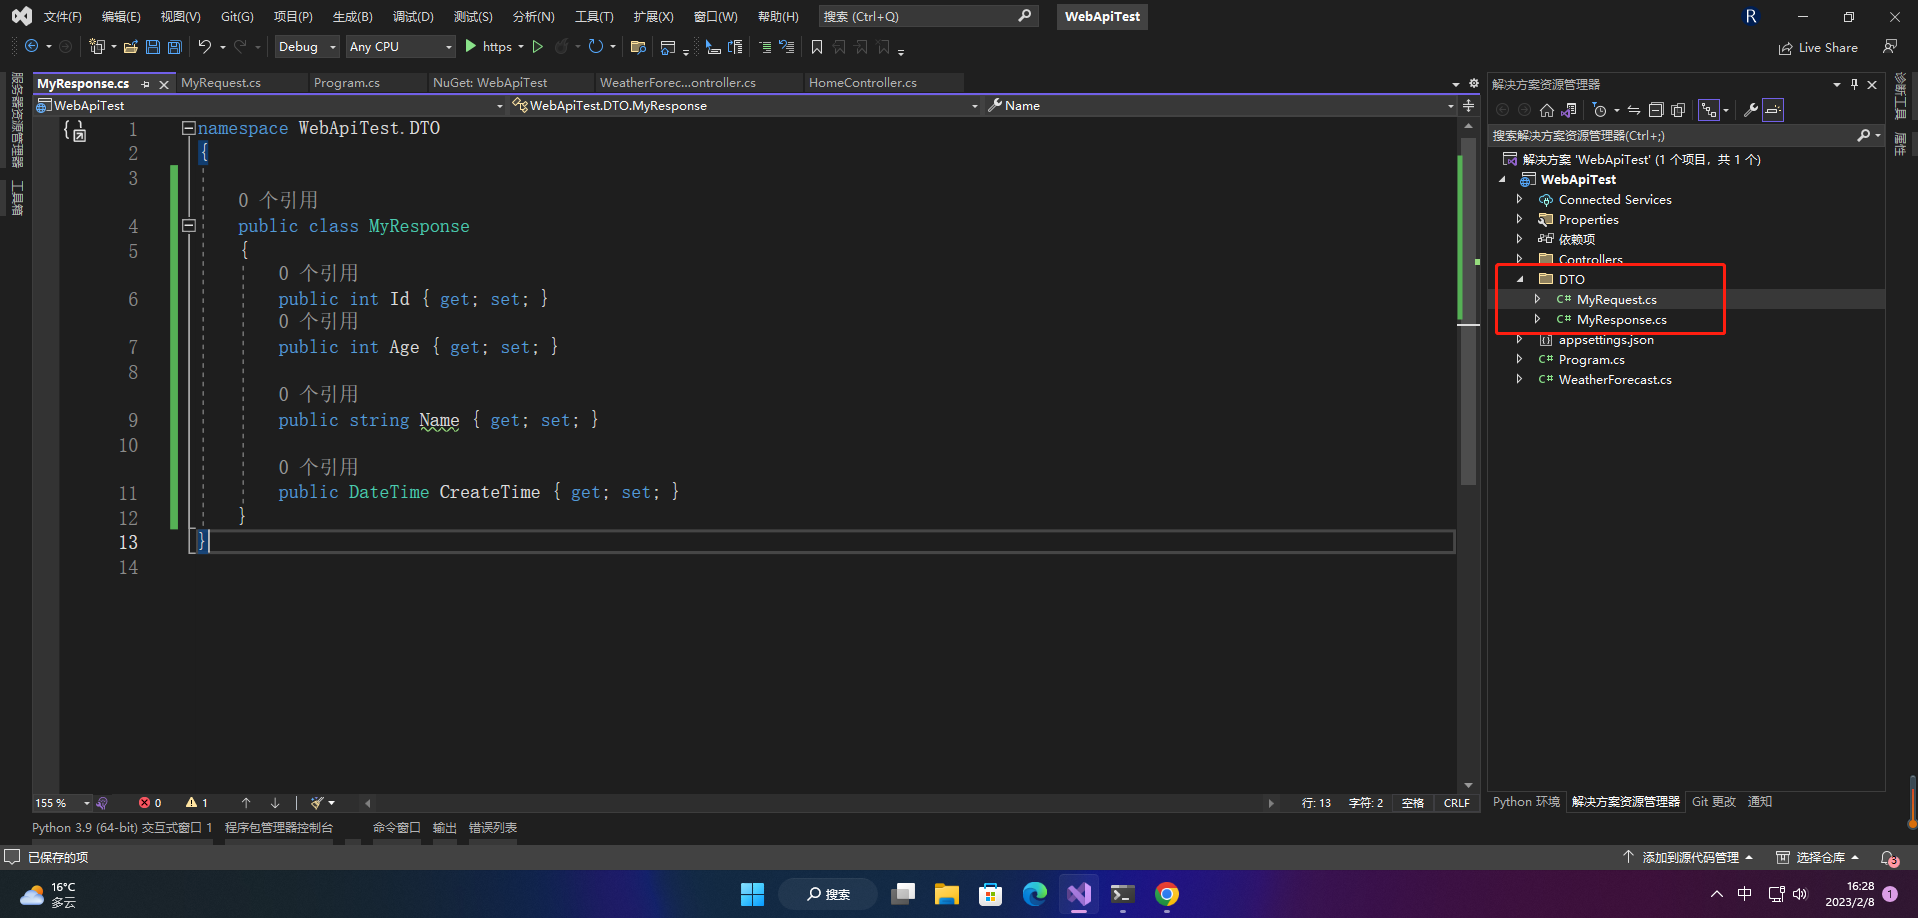
3.添加请求响应DTO
public class MyRequest
{
    public int Age { get; set; }
    public string Name { get; set; }
}

public class MyResponse
{
    public int Id { get; set; }
    public int Age { get; set; }
    public string Name { get; set; }
    public DateTime CreateTime { get; set; }
}
4.添加处理节点
public class MyEndpoint : Endpoint<MyRequest>
{
    public override void Configure()
    {
        Post("/api/user/create");
        AllowAnonymous();
    }

    public override async Task HandleAsync(MyRequest req, CancellationToken ct)
    {
        var response = new MyResponse()
        {
            Id = 1,
            Age = req.Age,
            Name = req.Name,
            CreateTime = DateTime.Now

        };

        await SendAsync(response);
    }
}
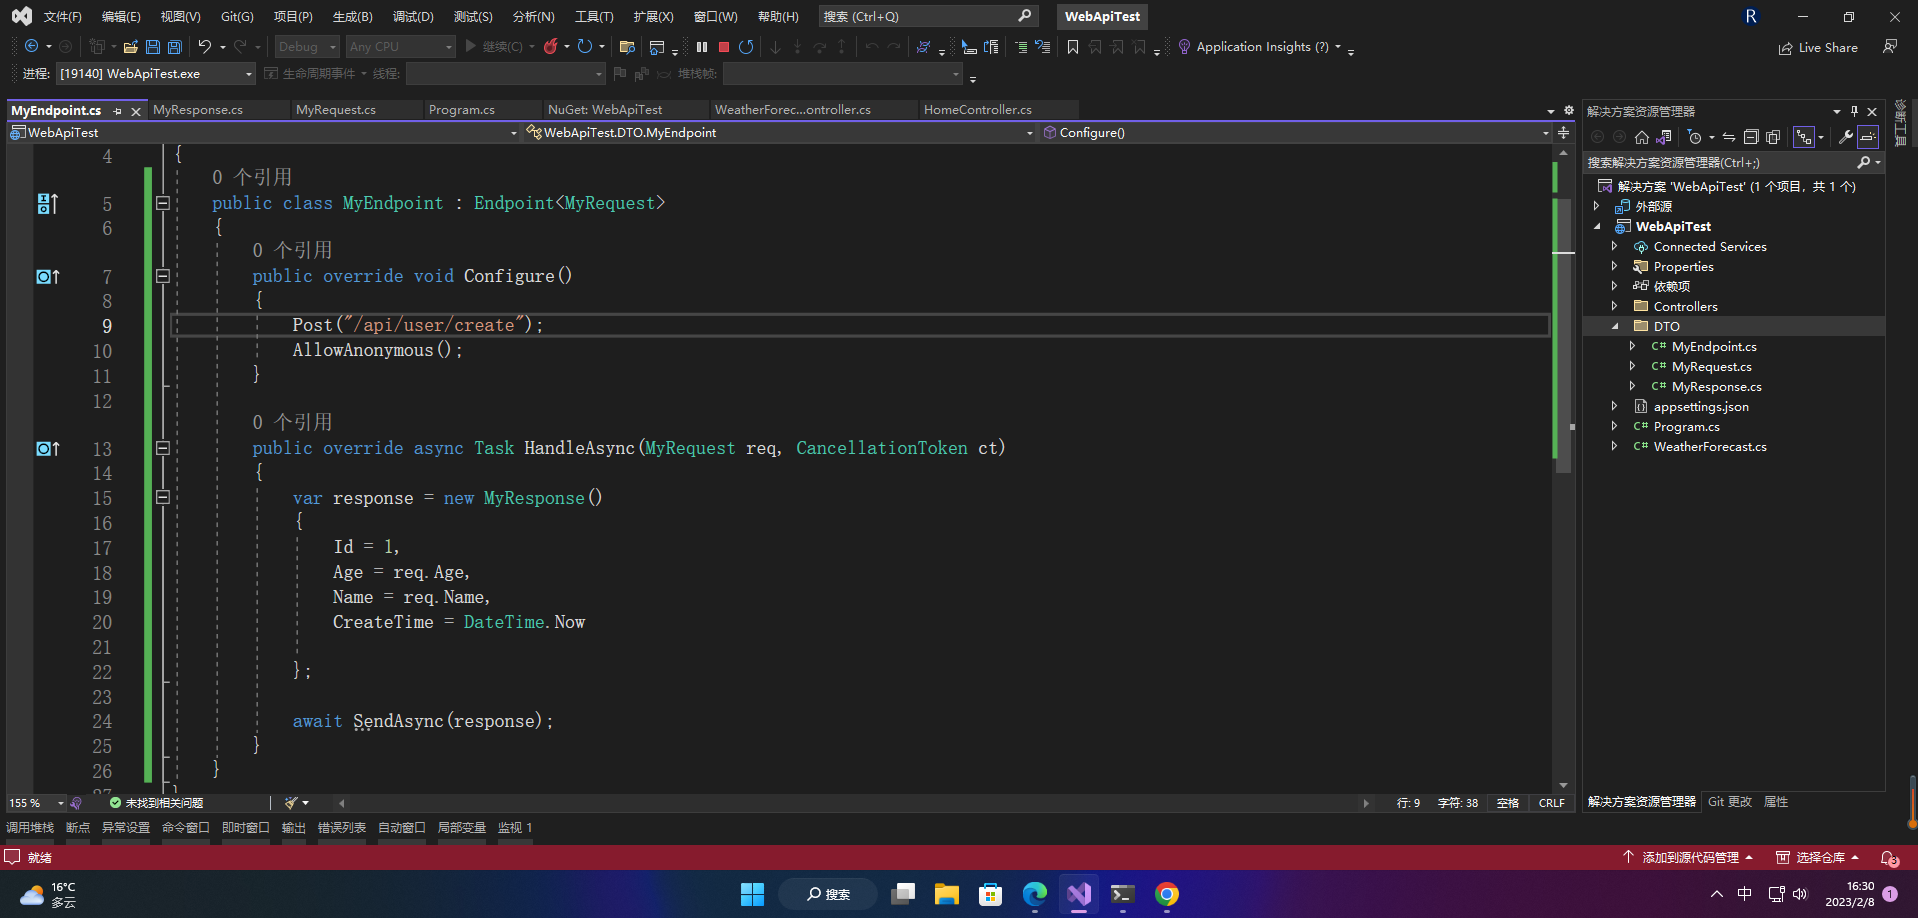
参数说明:
- Configure:相当于特性
- HandleAsync:相当于方法
对于Configure也是可以用特性方式的
[HttpPost("/my-endpoint")]
[Authorize(Roles = "Admin,Manager")]
public class UpdateAddress : Endpoint<MyRequest, MyResponse>
{
    public override async Task HandleAsync(MyRequest req, CancellationToken ct)
{
        await SendAsync(new MyResponse { });
    }
}
4.执行
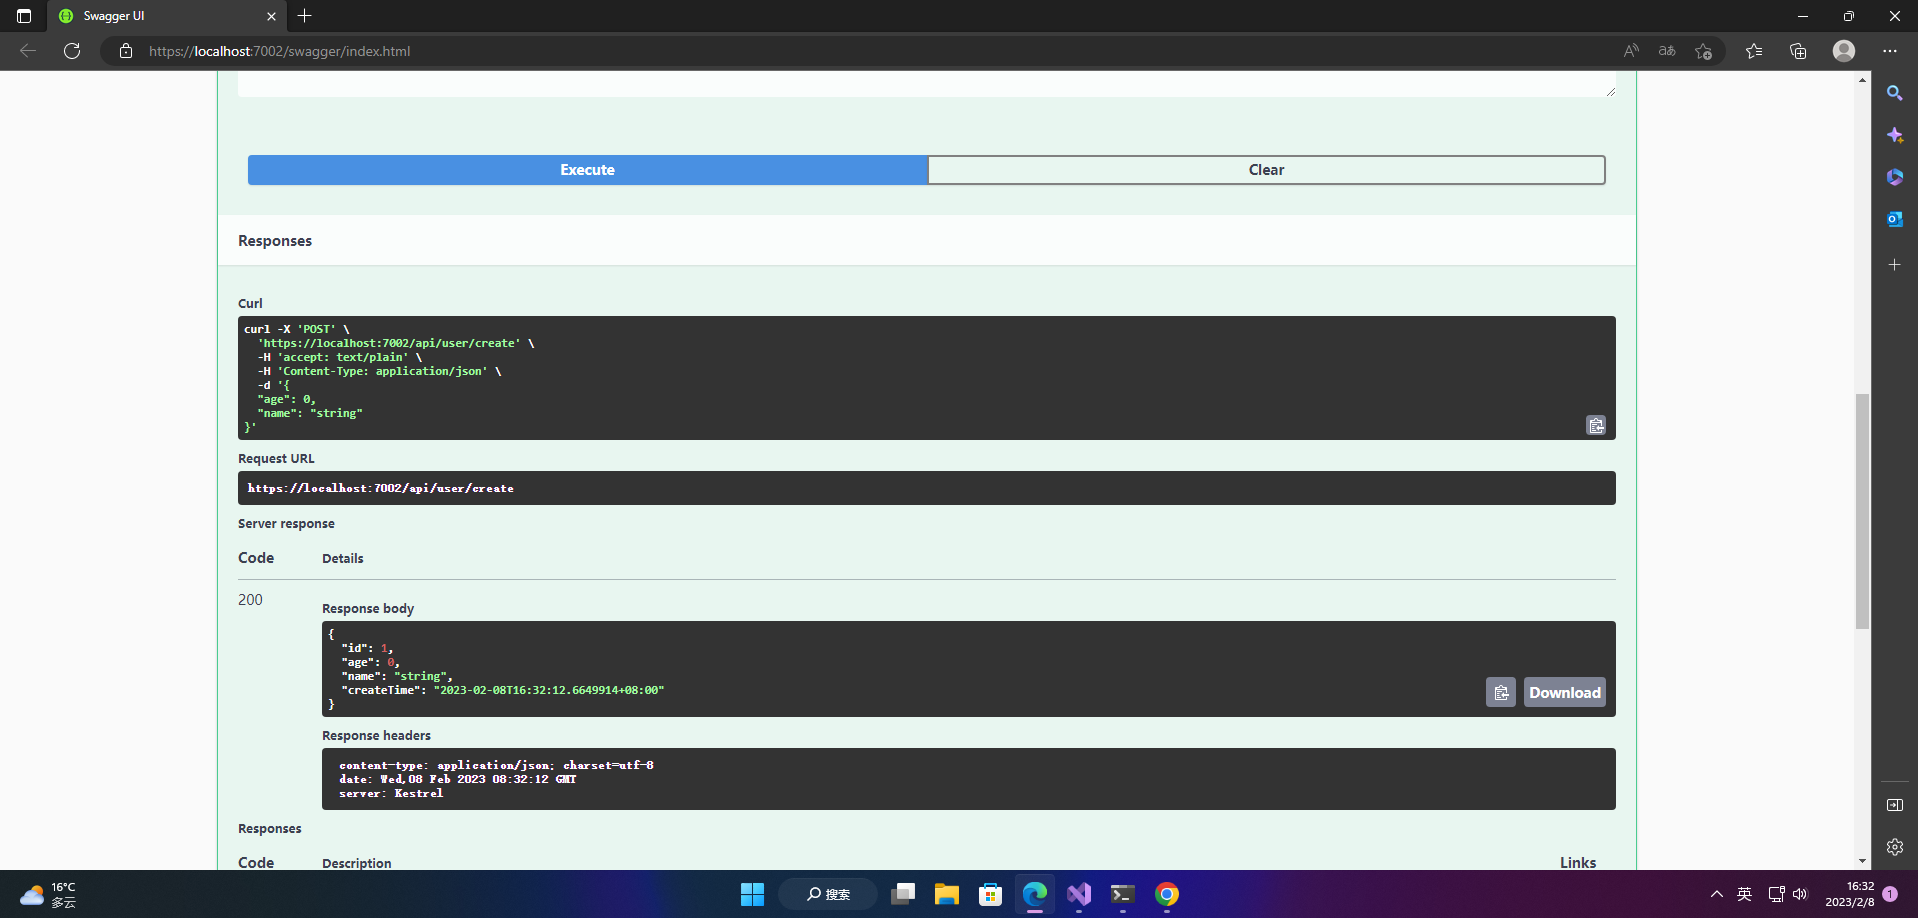
可以看到返回了数据
二、FastEndpoints的依赖注入
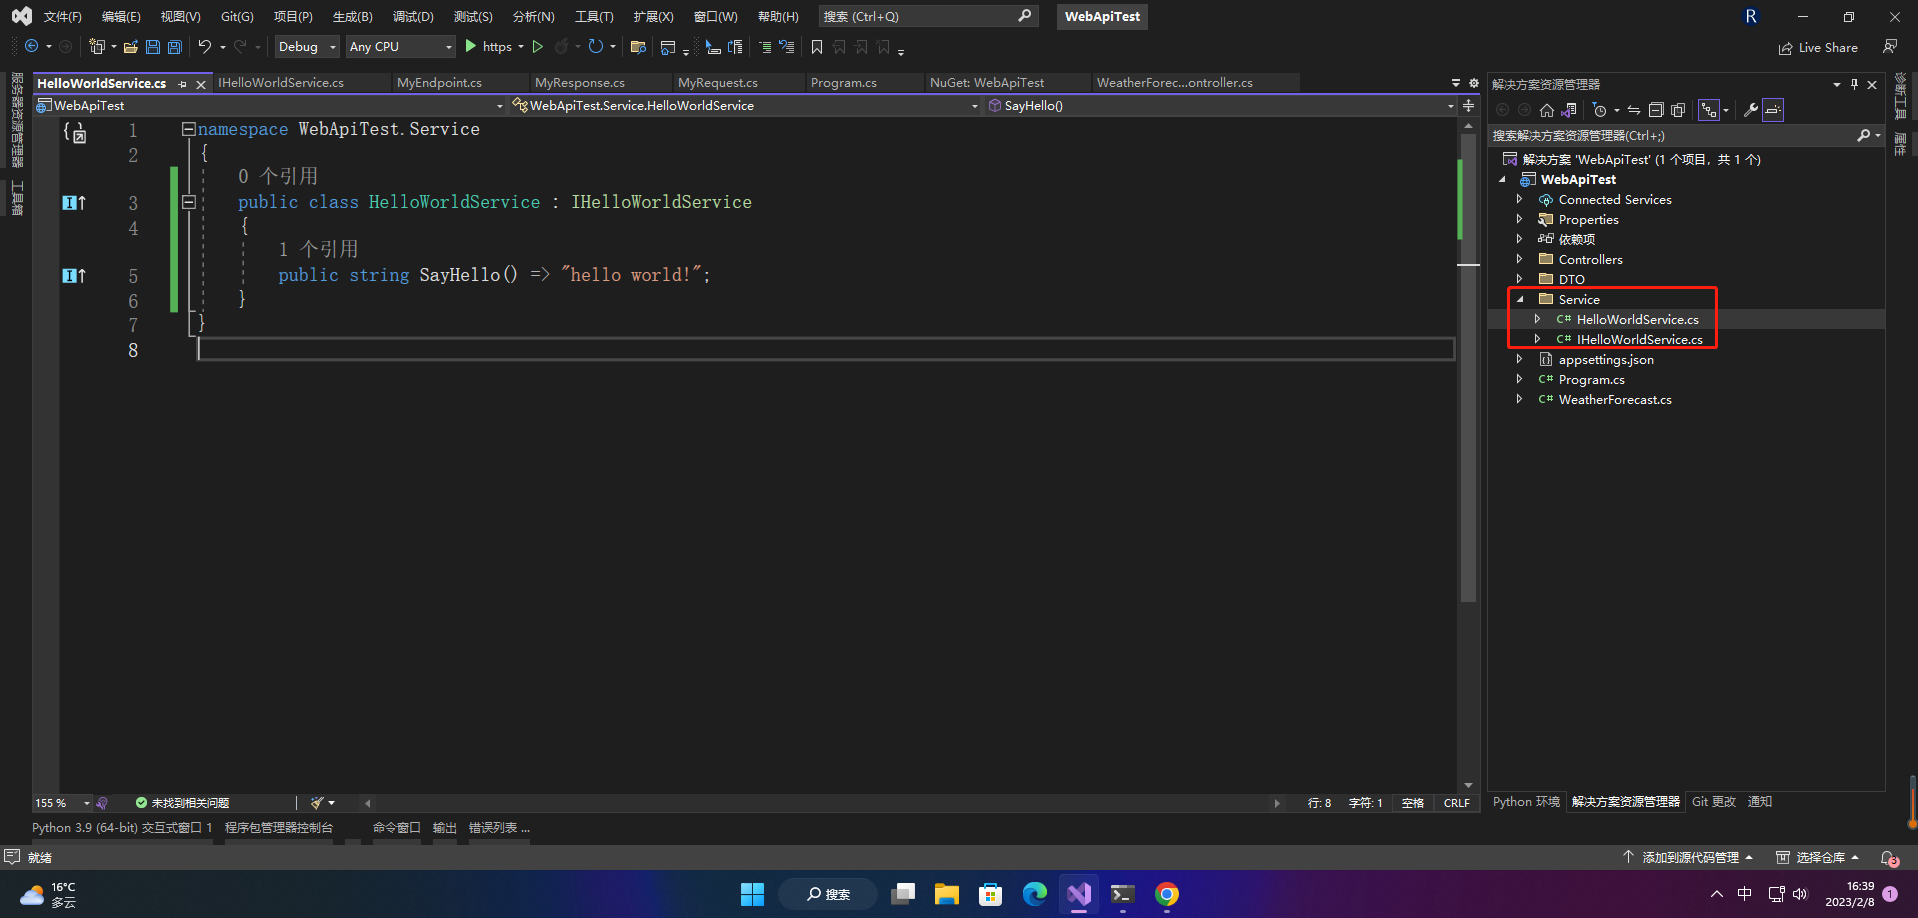
1.定义服务
public interface IHelloWorldService
{
    string SayHello();
}

public class HelloWorldService : IHelloWorldService
{
    public string SayHello() => "hello world!";
}
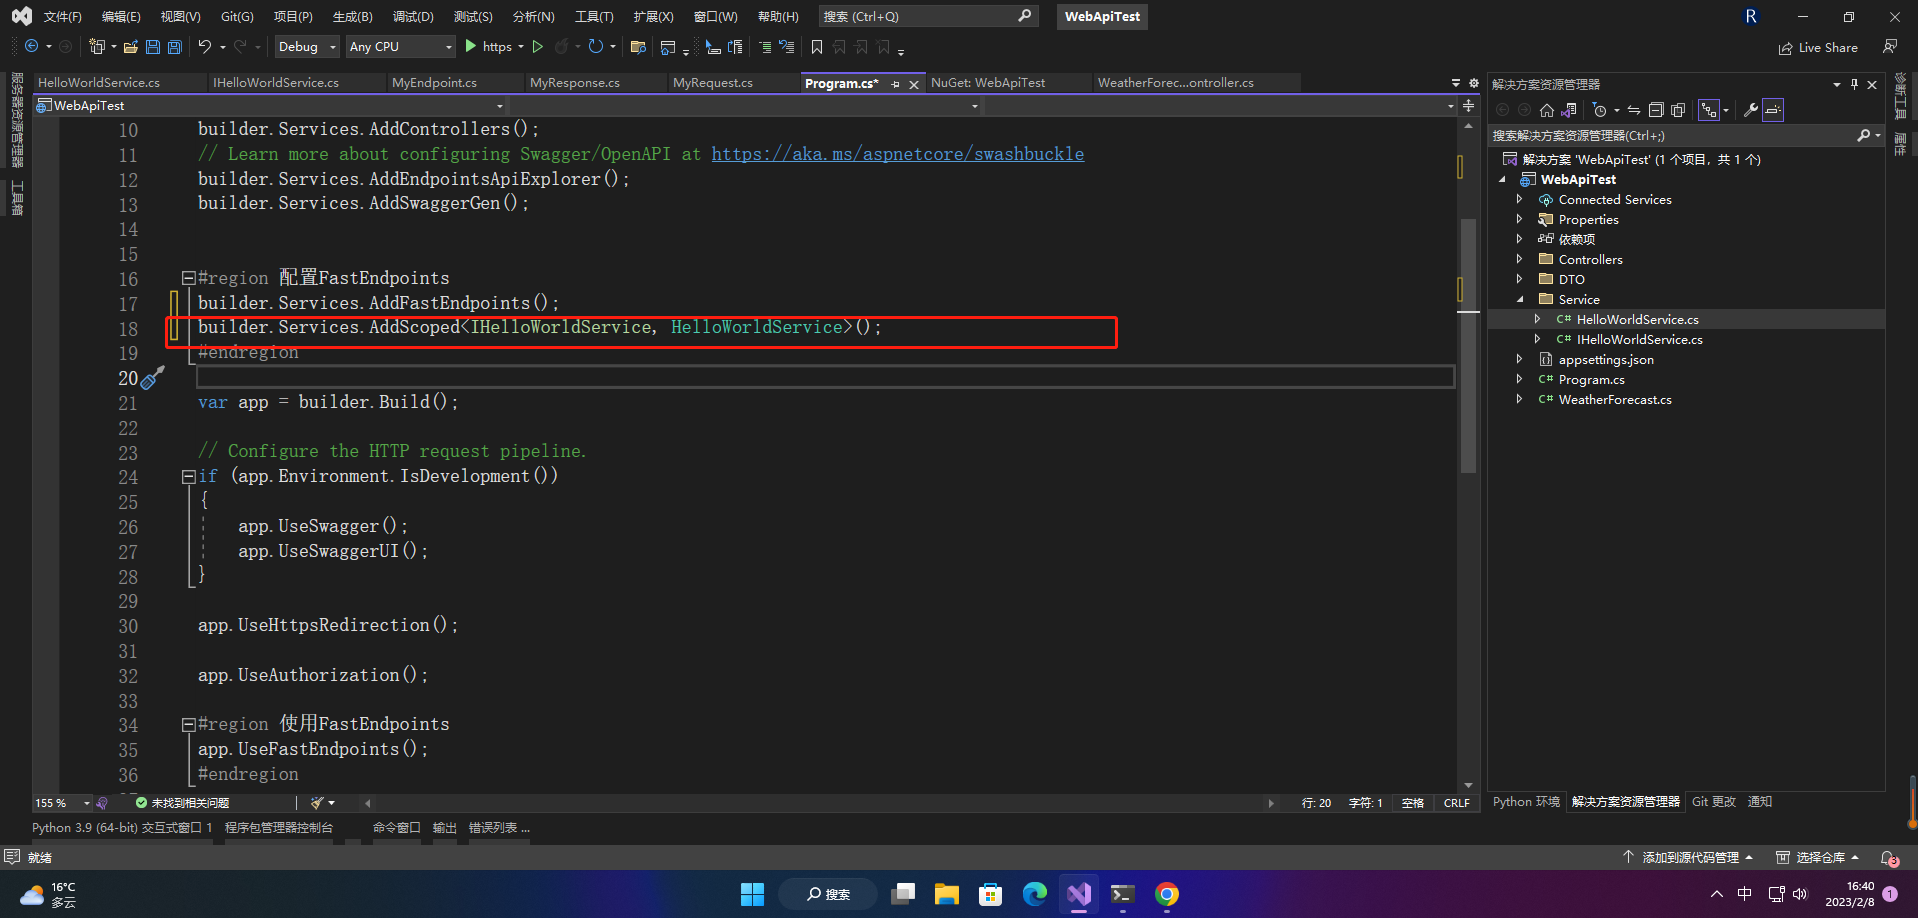
2.注入服务
builder.Services.AddScoped<IHelloWorldService, HelloWorldService>();
3.使用
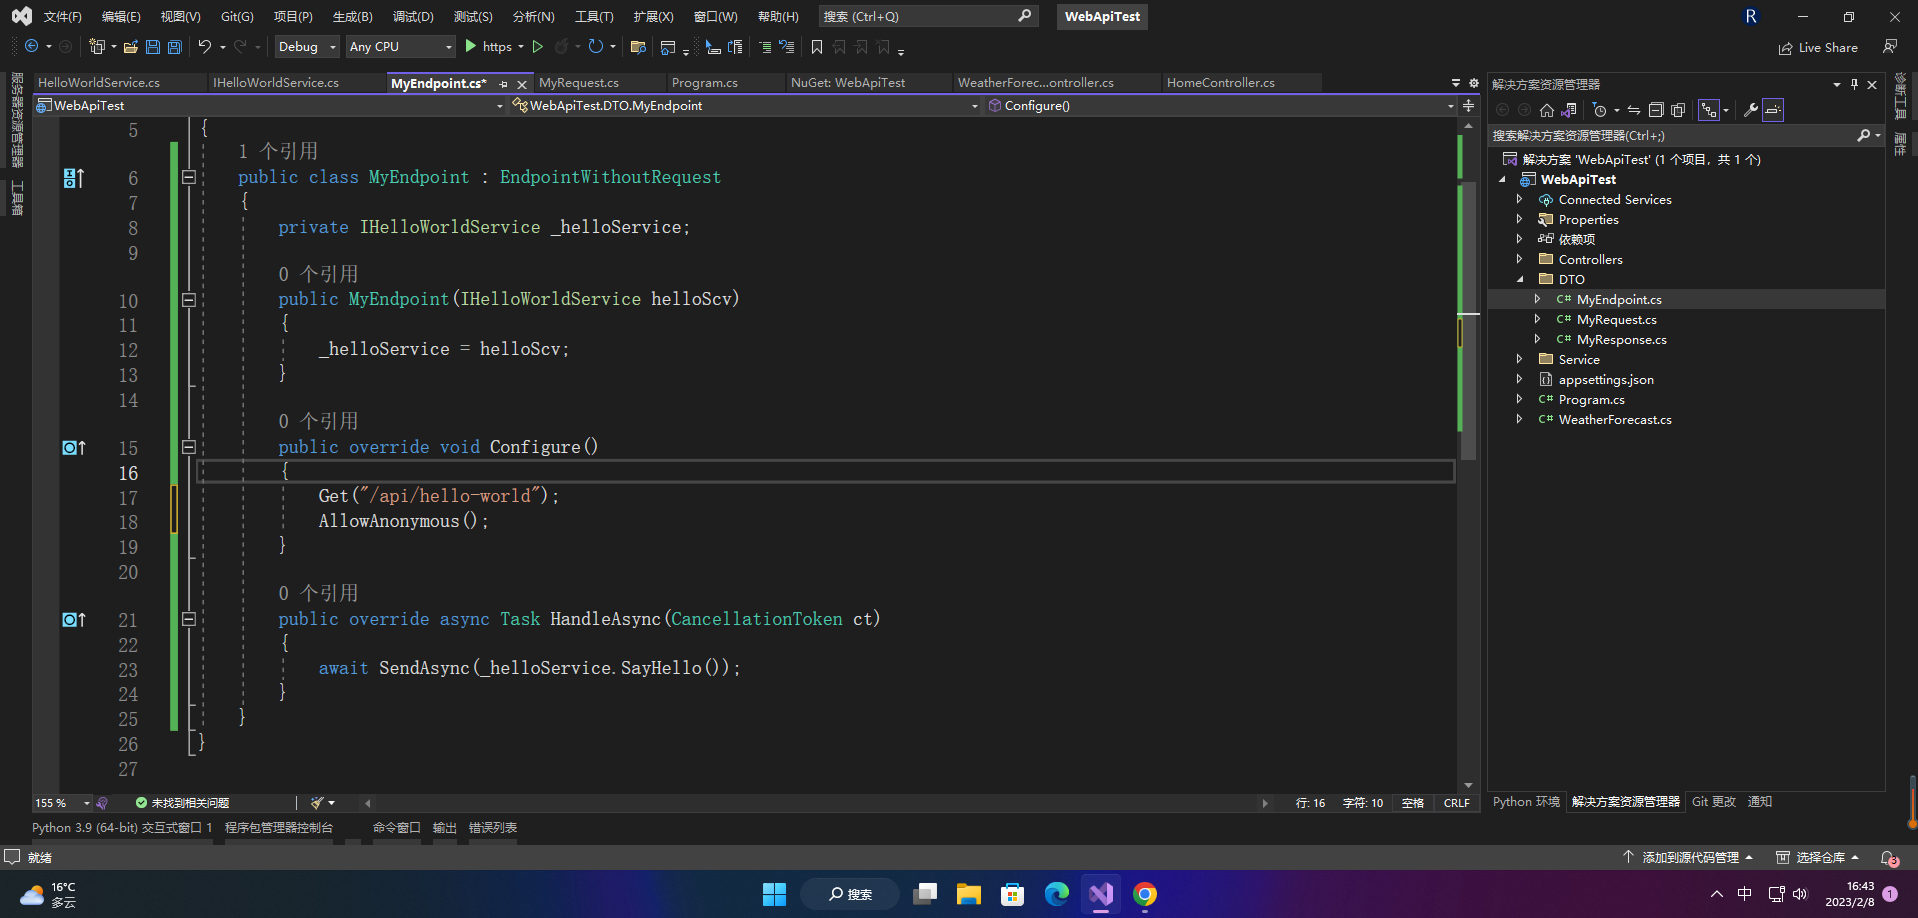
3.1 构造函数注入
1、代码
public class MyEndpoint : EndpointWithoutRequest
{
    private IHelloWorldService _helloService;

    public MyEndpoint(IHelloWorldService helloScv)
    {
        _helloService = helloScv;
    }

    public override void Configure()
    {
        Get("/api/hello-world");
        AllowAnonymous();
    }

    public override async Task HandleAsync(CancellationToken ct)
    {
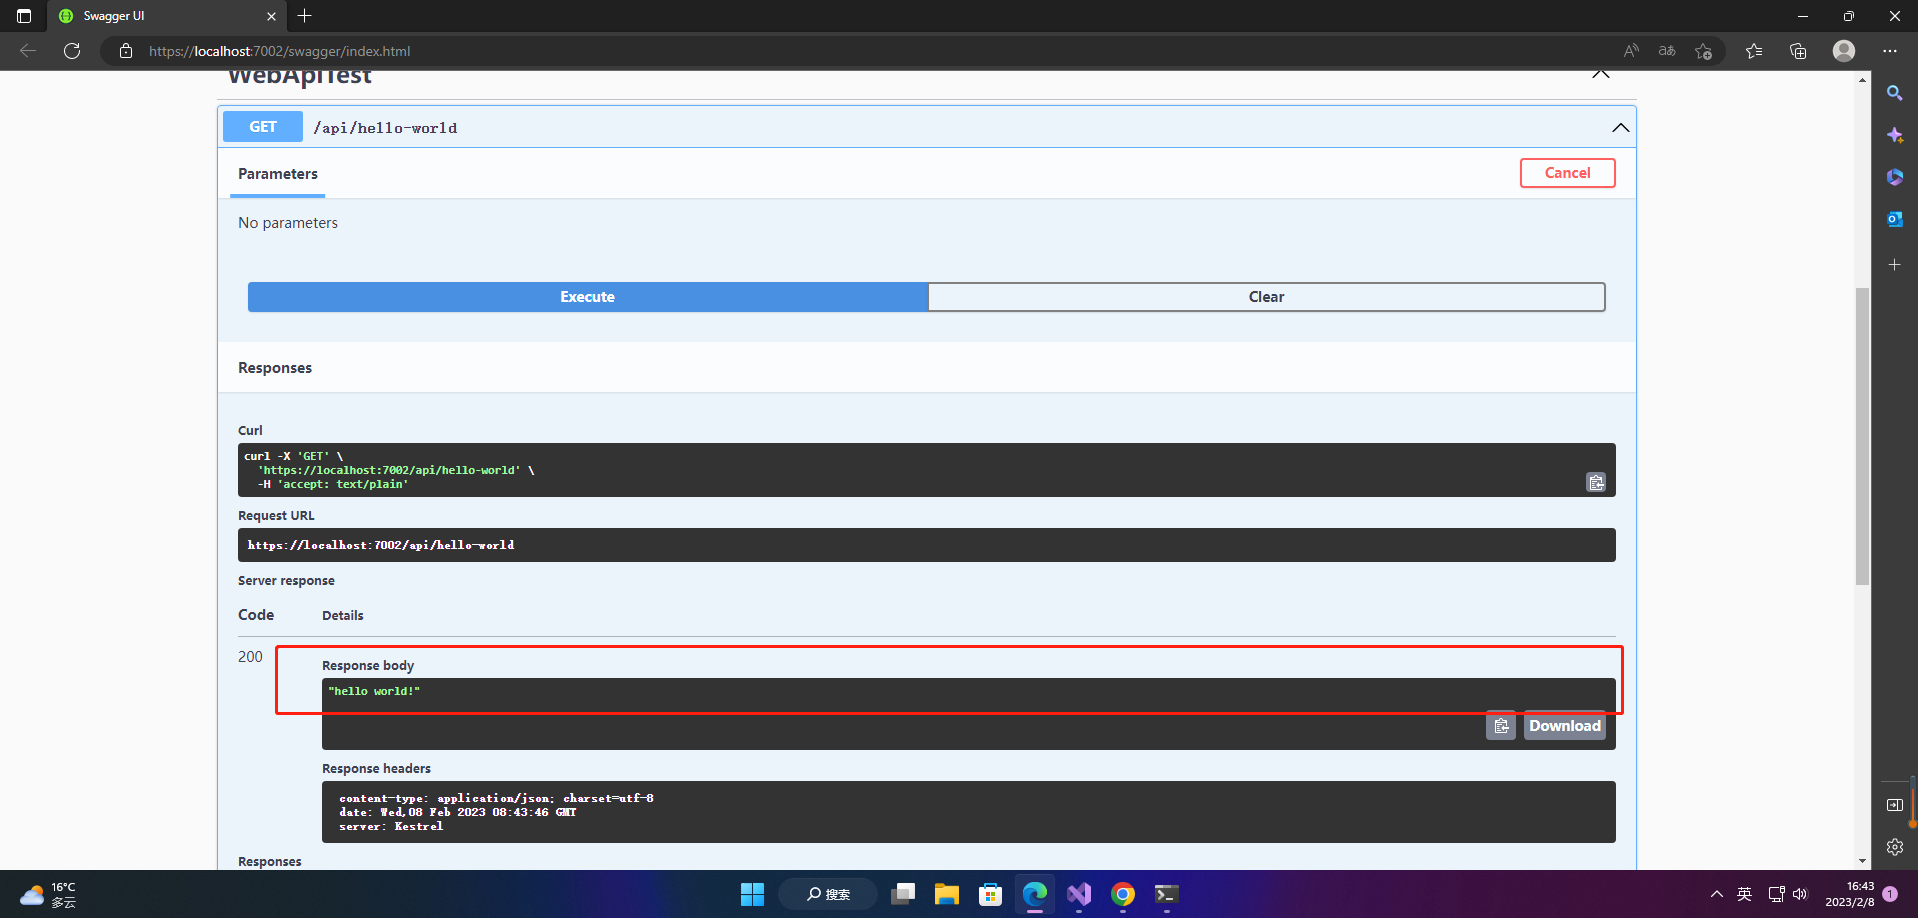
        await SendAsync(_helloService.SayHello());
    }
}
2、运行
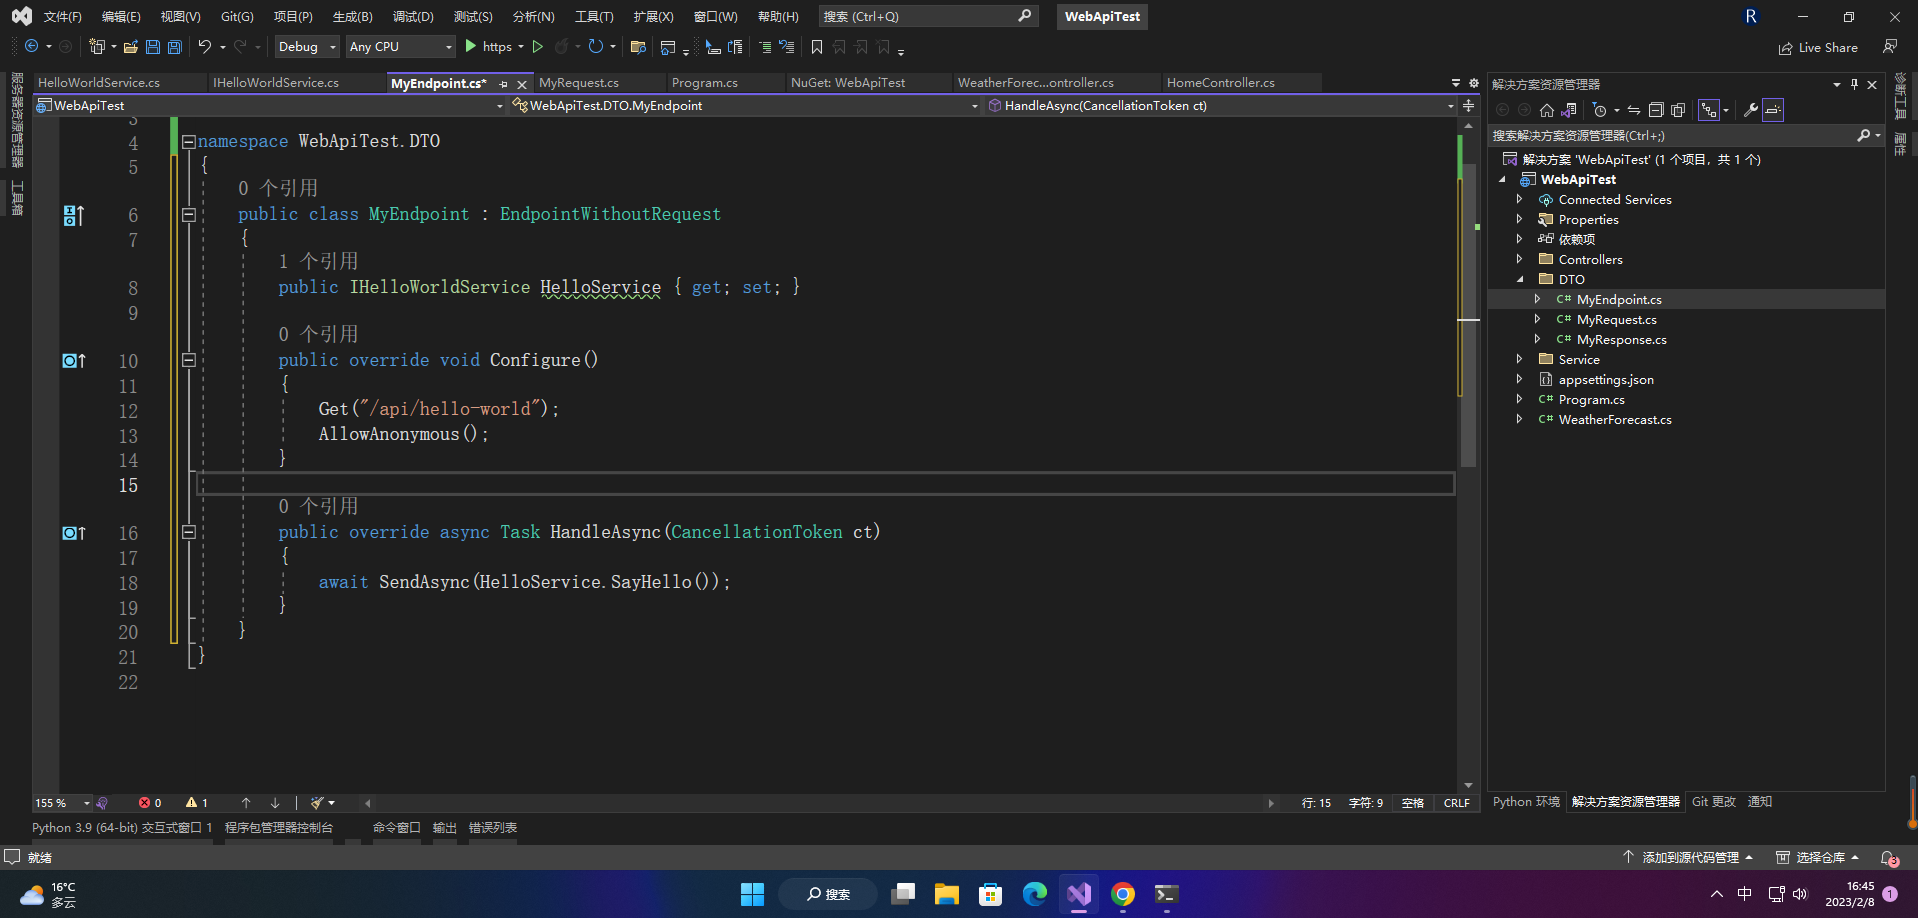
3.2 属性注入
1、代码
public class MyEndpoint : EndpointWithoutRequest
{
    public IHelloWorldService HelloService { get; set; }

    public override void Configure()
    {
        Get("/api/hello-world");
        AllowAnonymous();
    }

    public override async Task HandleAsync(CancellationToken ct)
    {
        await SendAsync(HelloService.SayHello());
    }
}
2、运行

3.3 手动注入
1、代码
public class MyEndpoint : EndpointWithoutRequest
{
    public override void Configure()
    {
        Get("/api/hello-world");
        AllowAnonymous();
    }

    public override async Task HandleAsync(CancellationToken ct)
    {
        IHelloWorldService? helloSvc = TryResolve<IHelloWorldService>();

        if (helloSvc is null)
            ThrowError("service not resolved!");

        var logger = Resolve<ILogger<MyEndpoint>>();

        logger.LogInformation("hello service is resolved...");

        await SendAsync(helloSvc.SayHello());
    }
}
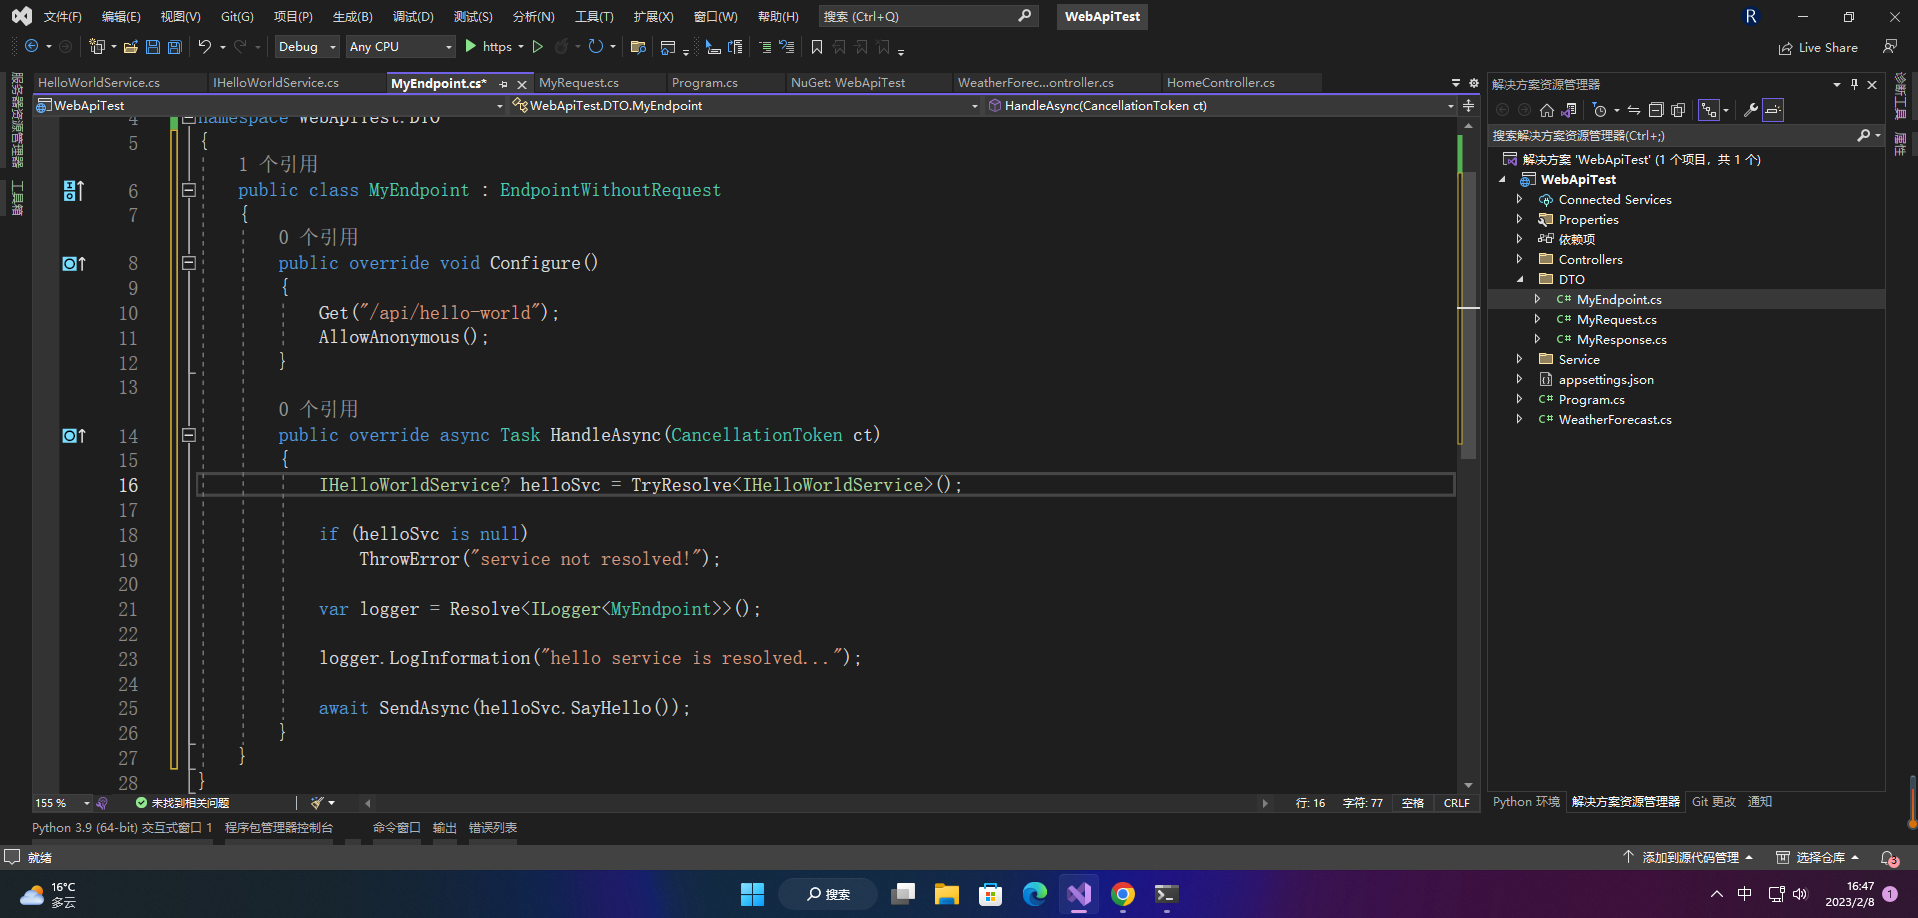
TryResolve 或 Resolve() 是可以直接调用服务的
2、运行

- 点赞
- 收藏
- 关注作者


评论(0)