【愚公系列】2023年02月 .NET CORE工具案例-Coravel的使用
前言
Coravel 可帮助开发人员在不影响代码质量的情况下快速启动和运行其 .NET Core 应用程序。
Coravel 提供简单、富有表现力和直接的语法,使高级应用程序功能易于访问和易于使用,主要的功能如下:
1、任务调度
通常,您必须通过 Windows 任务计划程序配置 cron 作业或任务,才能运行单个或多个重复出现的任务。
使用 Coravel,您可以使用简单、优雅、流畅的语法在一个地方设置所有计划任务 - 在代码中!
2、队列
Coravel 为您提供了一个零配置队列,该队列在内存中运行,以将冗长的任务卸载到后台,而不是让您的用户等待他们的 HTTP 请求完成!
3、缓存
Coravel 为您提供了一个易于使用的 API,用于在 .NET Core 应用程序中进行缓存。
默认情况下,它使用内存中缓存,但也具有用于更可靠方案的数据库驱动程序!
4、事件广播
Coravel的事件广播可帮助您构建可维护的应用程序,这些应用程序的各个部分是松散耦合的!
5、邮件
电子邮件并不像它们应该的那样容易。幸运的是,Coravel 通过提供以下功能解决了这个问题:
- 内置电子邮件友好剃须刀模板
- 简单灵活的邮件接口
- 呈现您的电子邮件以进行视觉测试
- 支持 SMTP、本地日志文件或 BYOM(“自带邮件程序”)驱动程序的驱动程序
- 快速简单的配置方式appsettings.json
- 还有更多!
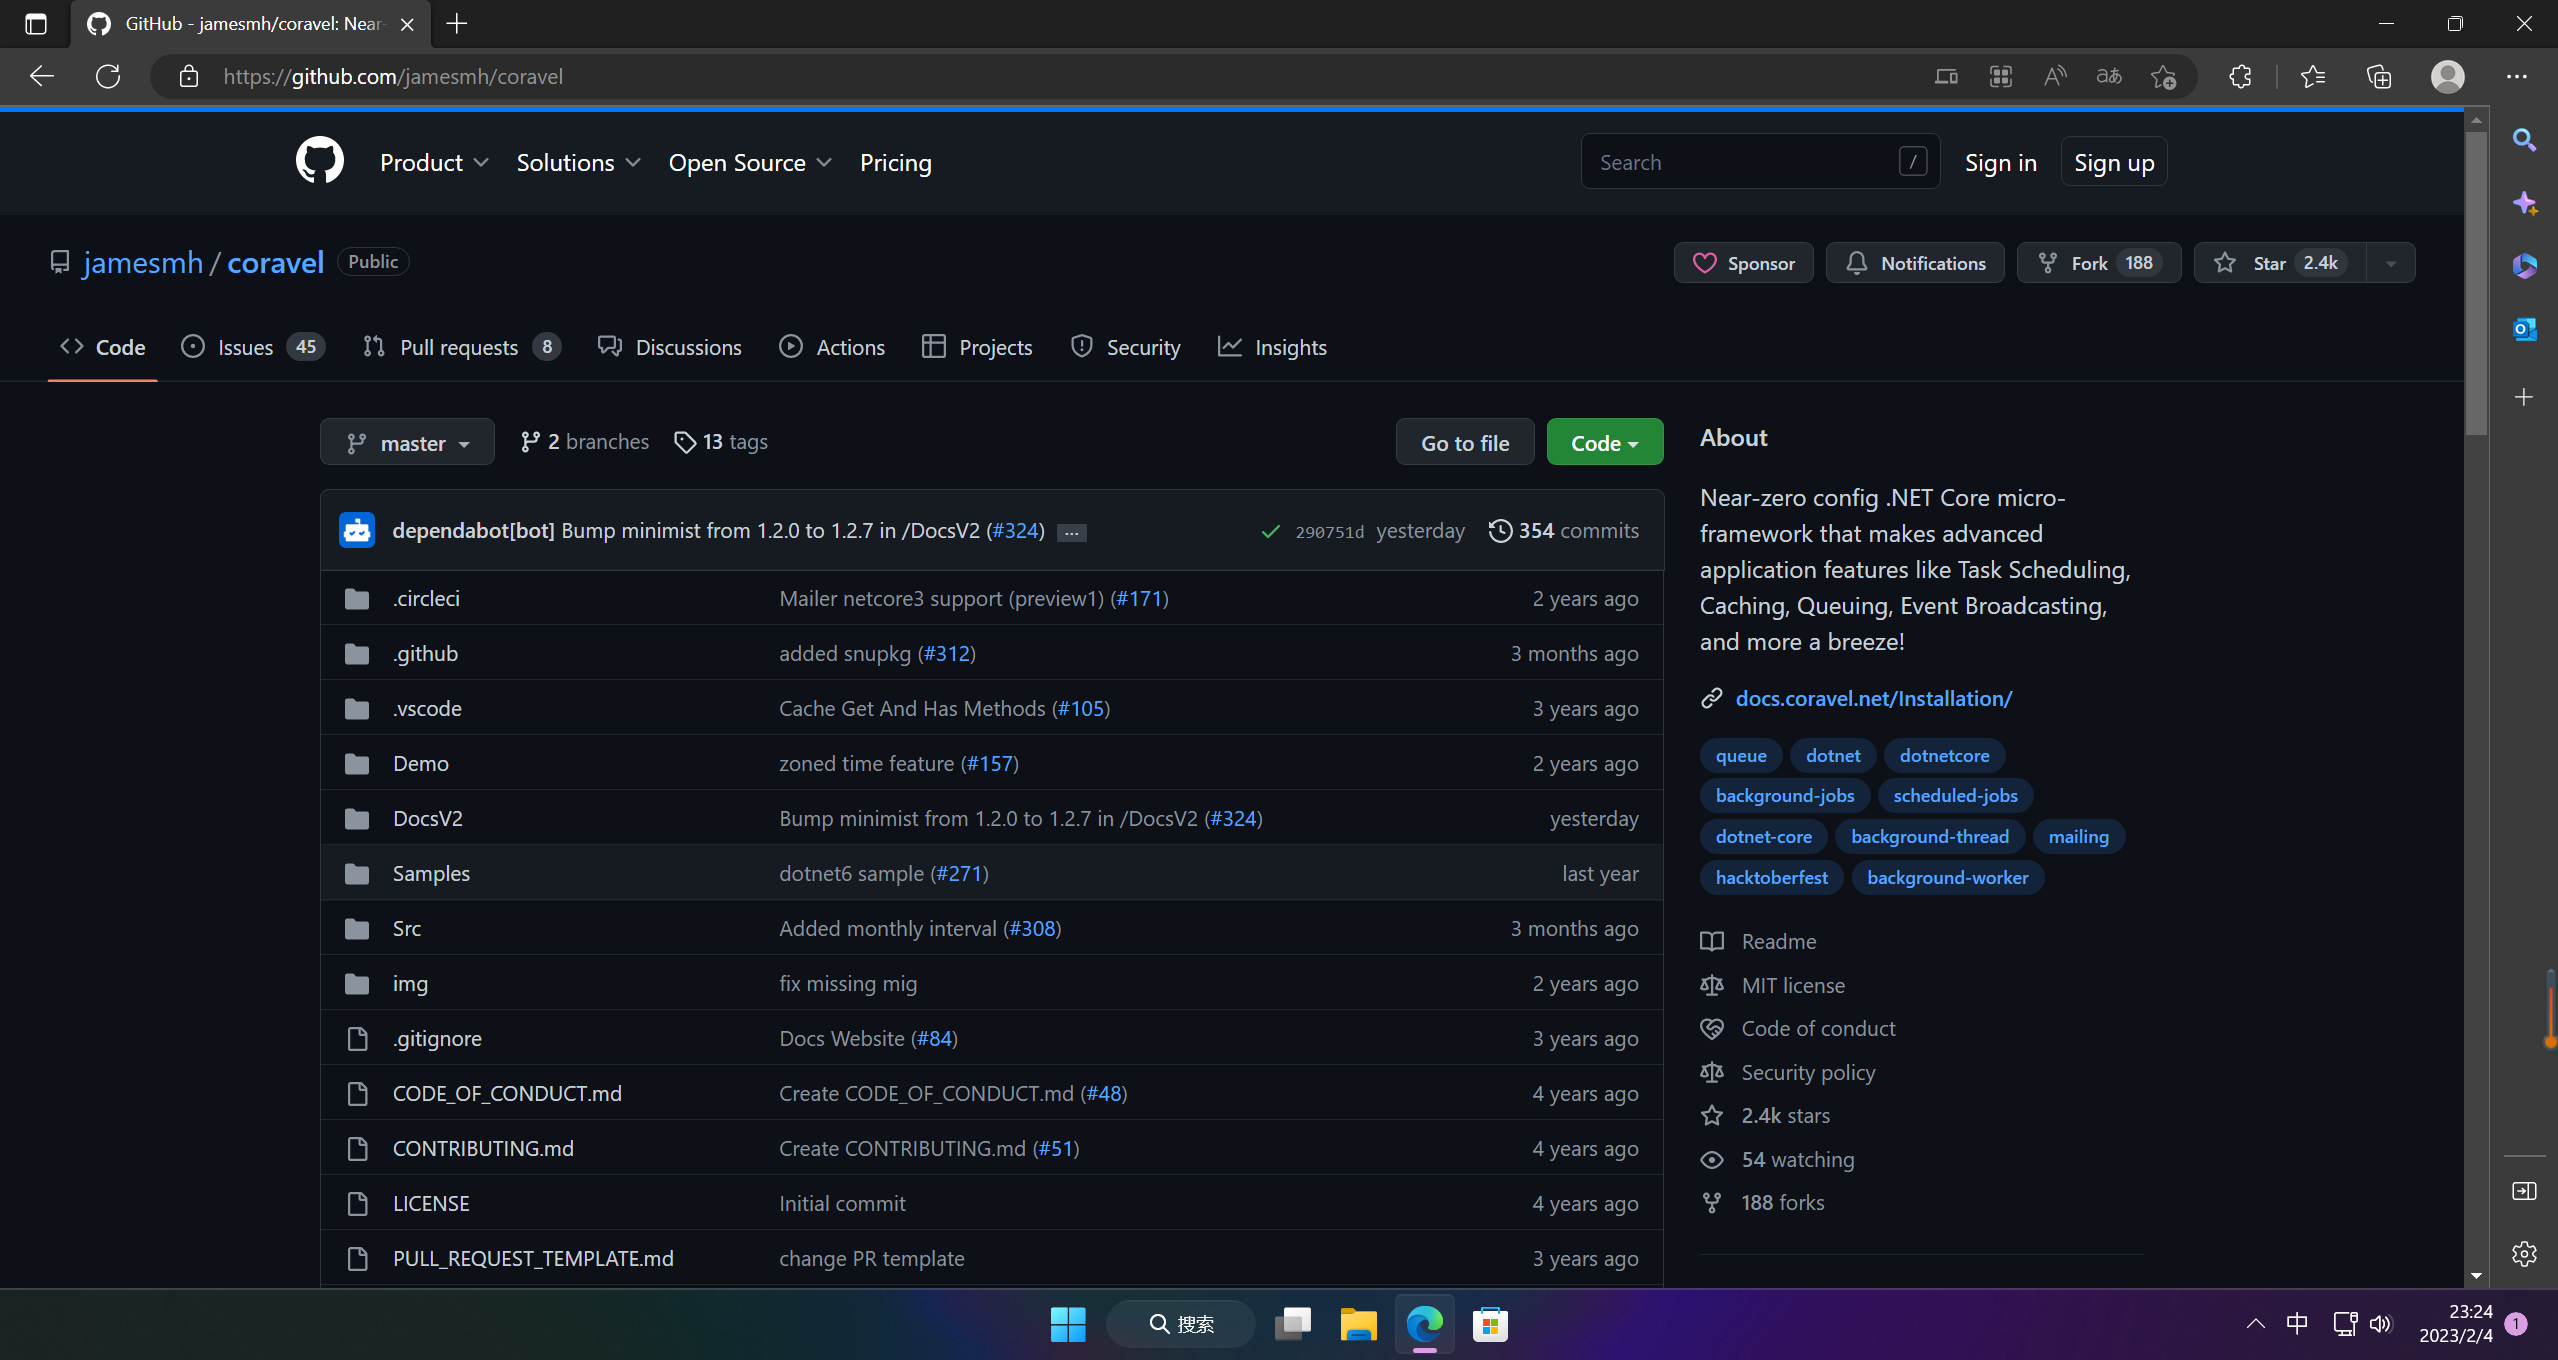
Coravel网址:https://github.com/jamesmh/coravel
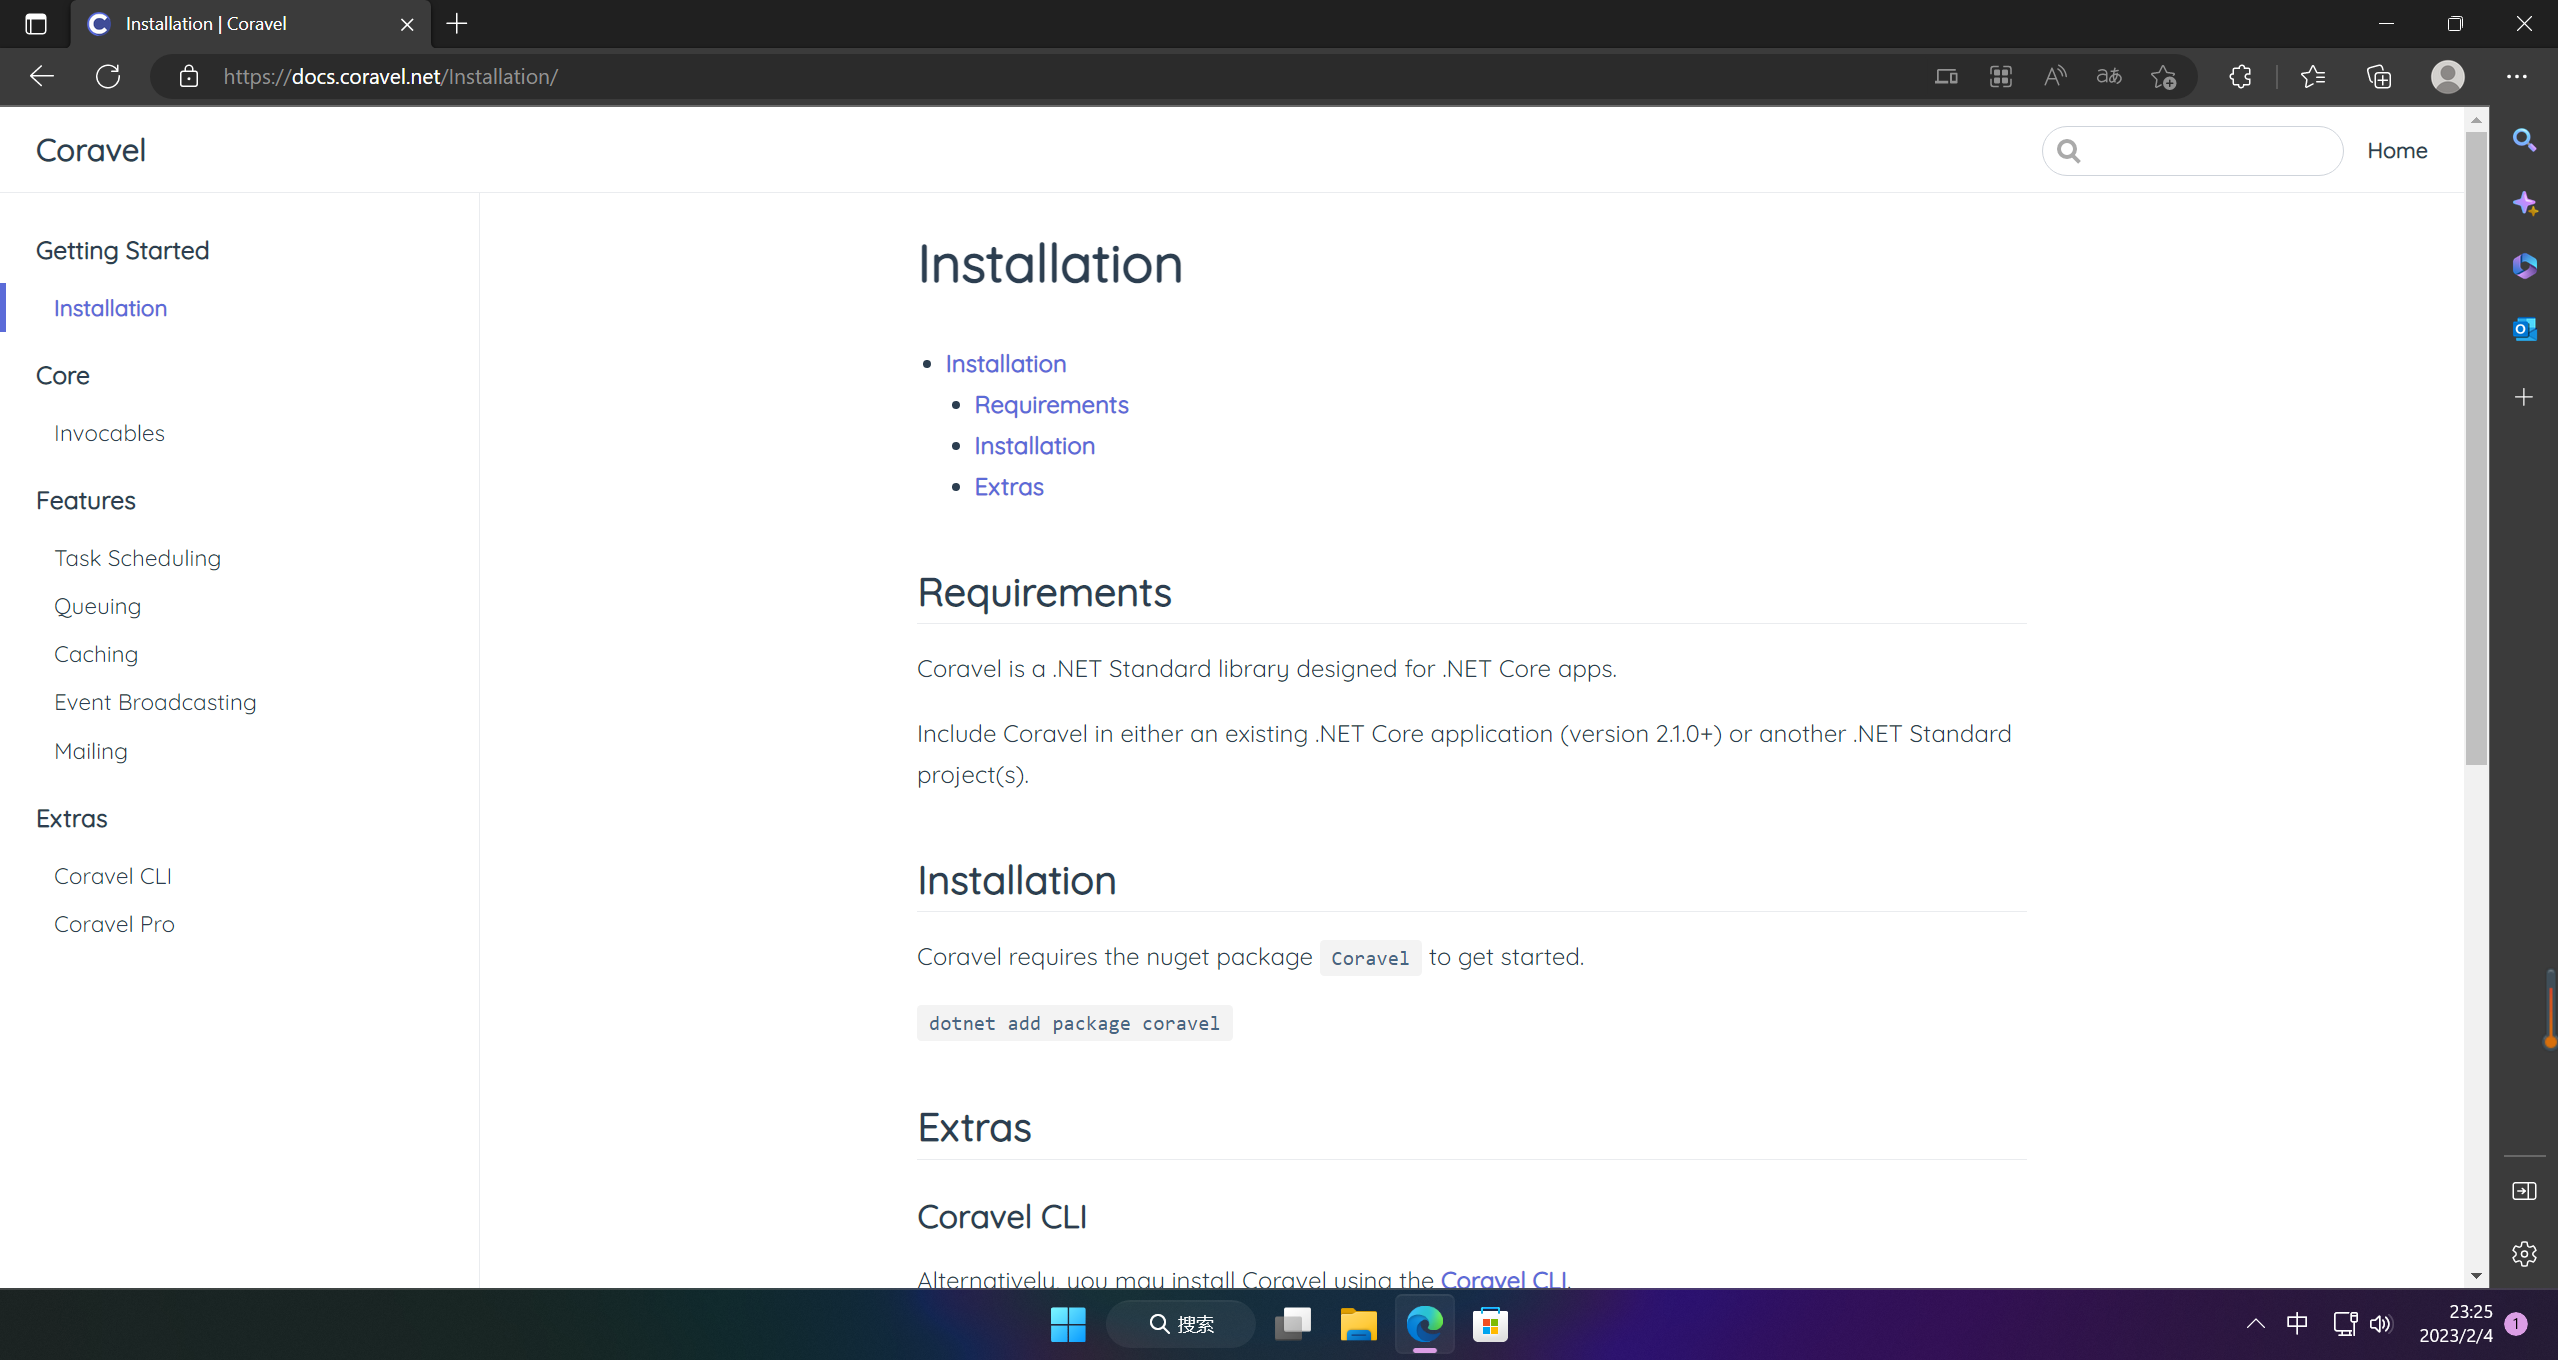
Coravel文档:https://docs.coravel.net/Installation/
一、Coravel的使用
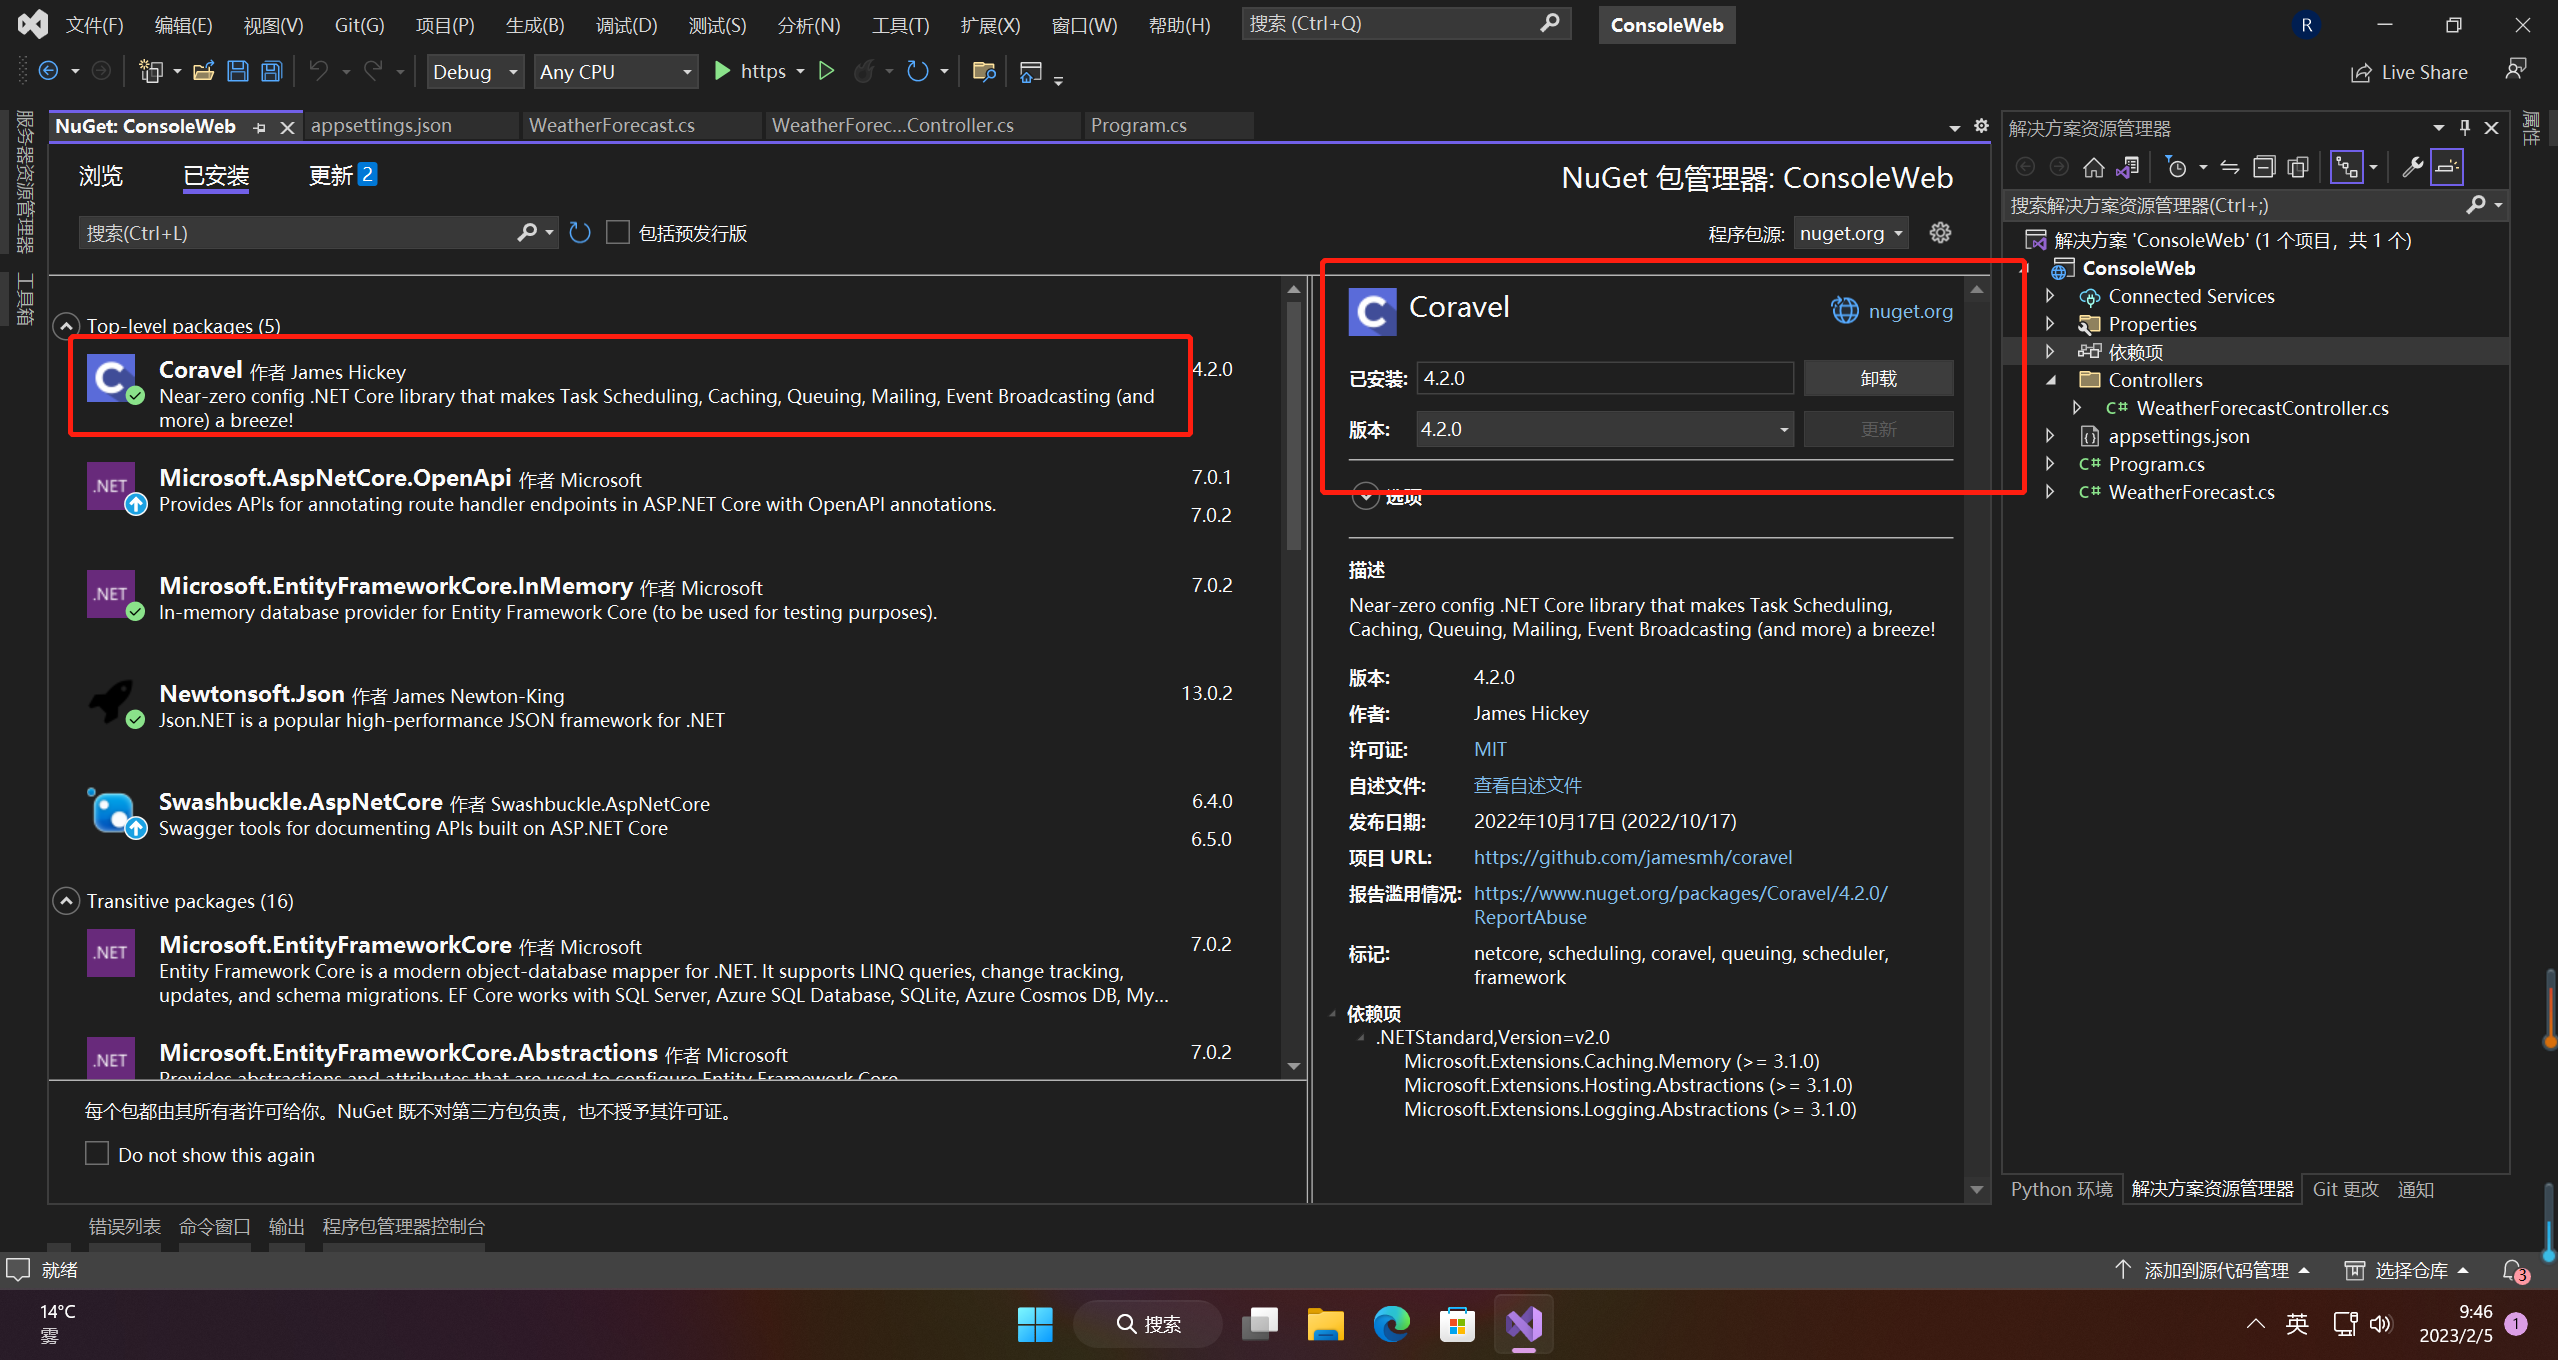
1.安装包
dotnet add package coravel
2.任务调度
2.1 配置
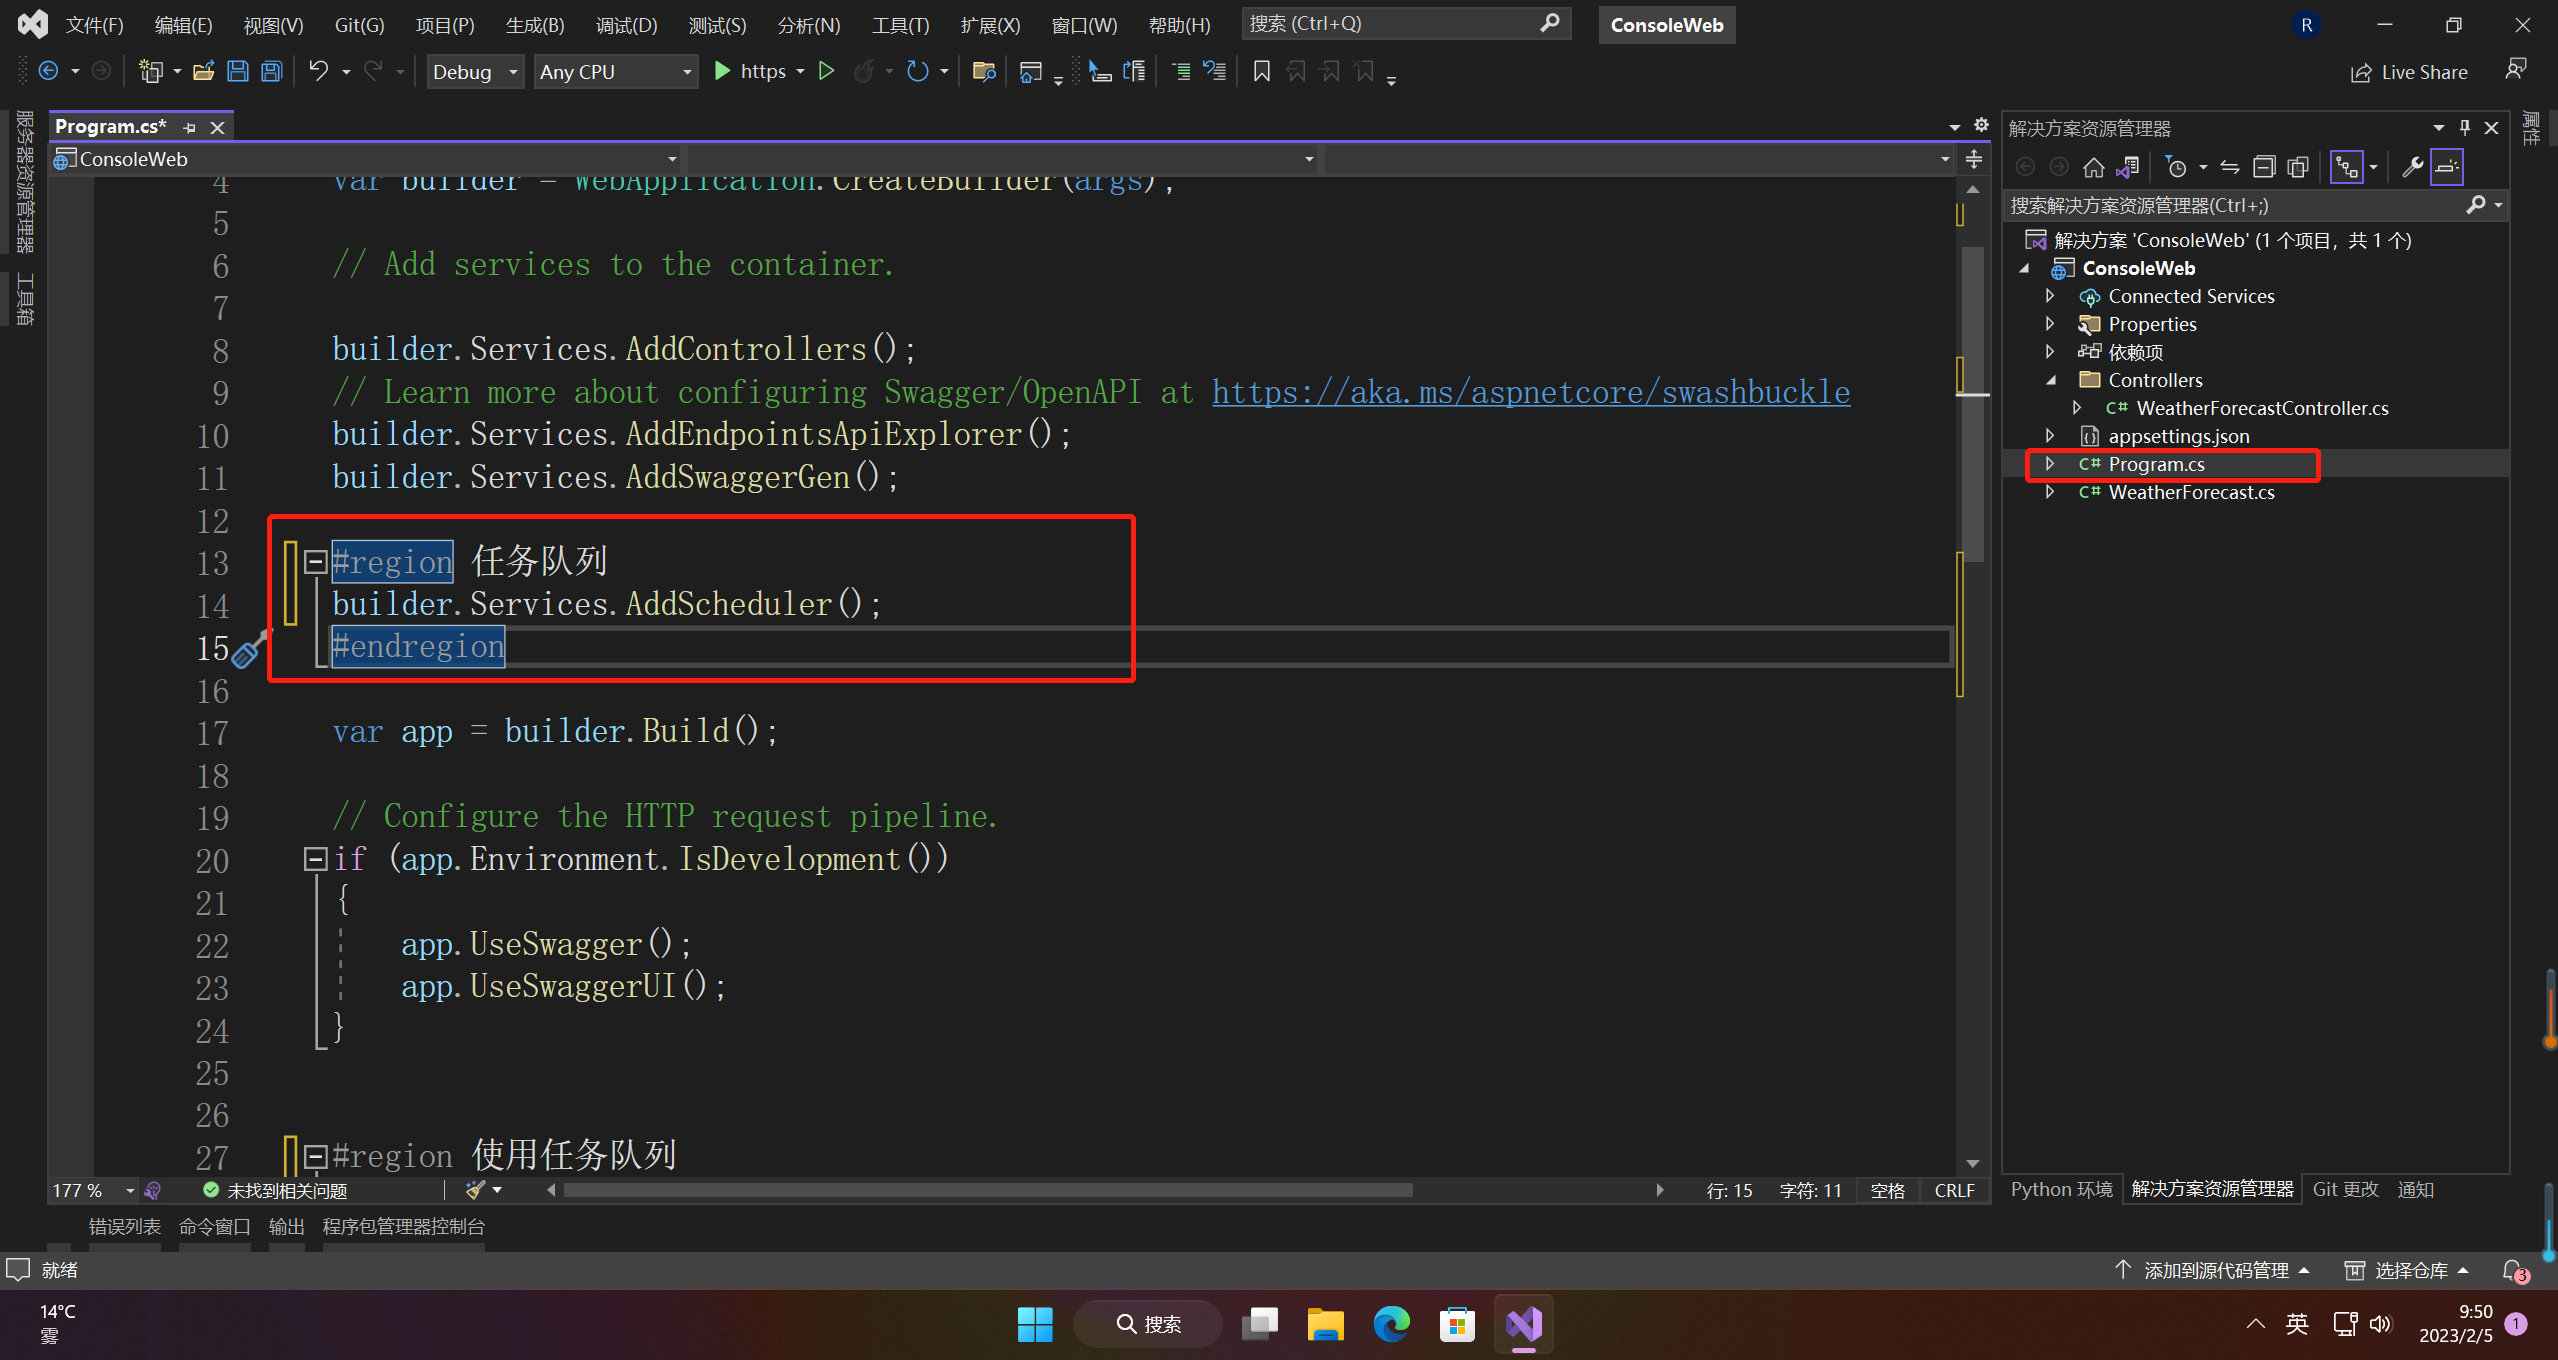
在 .NET Core 应用程序的Program.cs文件中,添加以下内容:
#region 任务队列
builder.Services.AddScheduler();
#endregion
2.2 使用
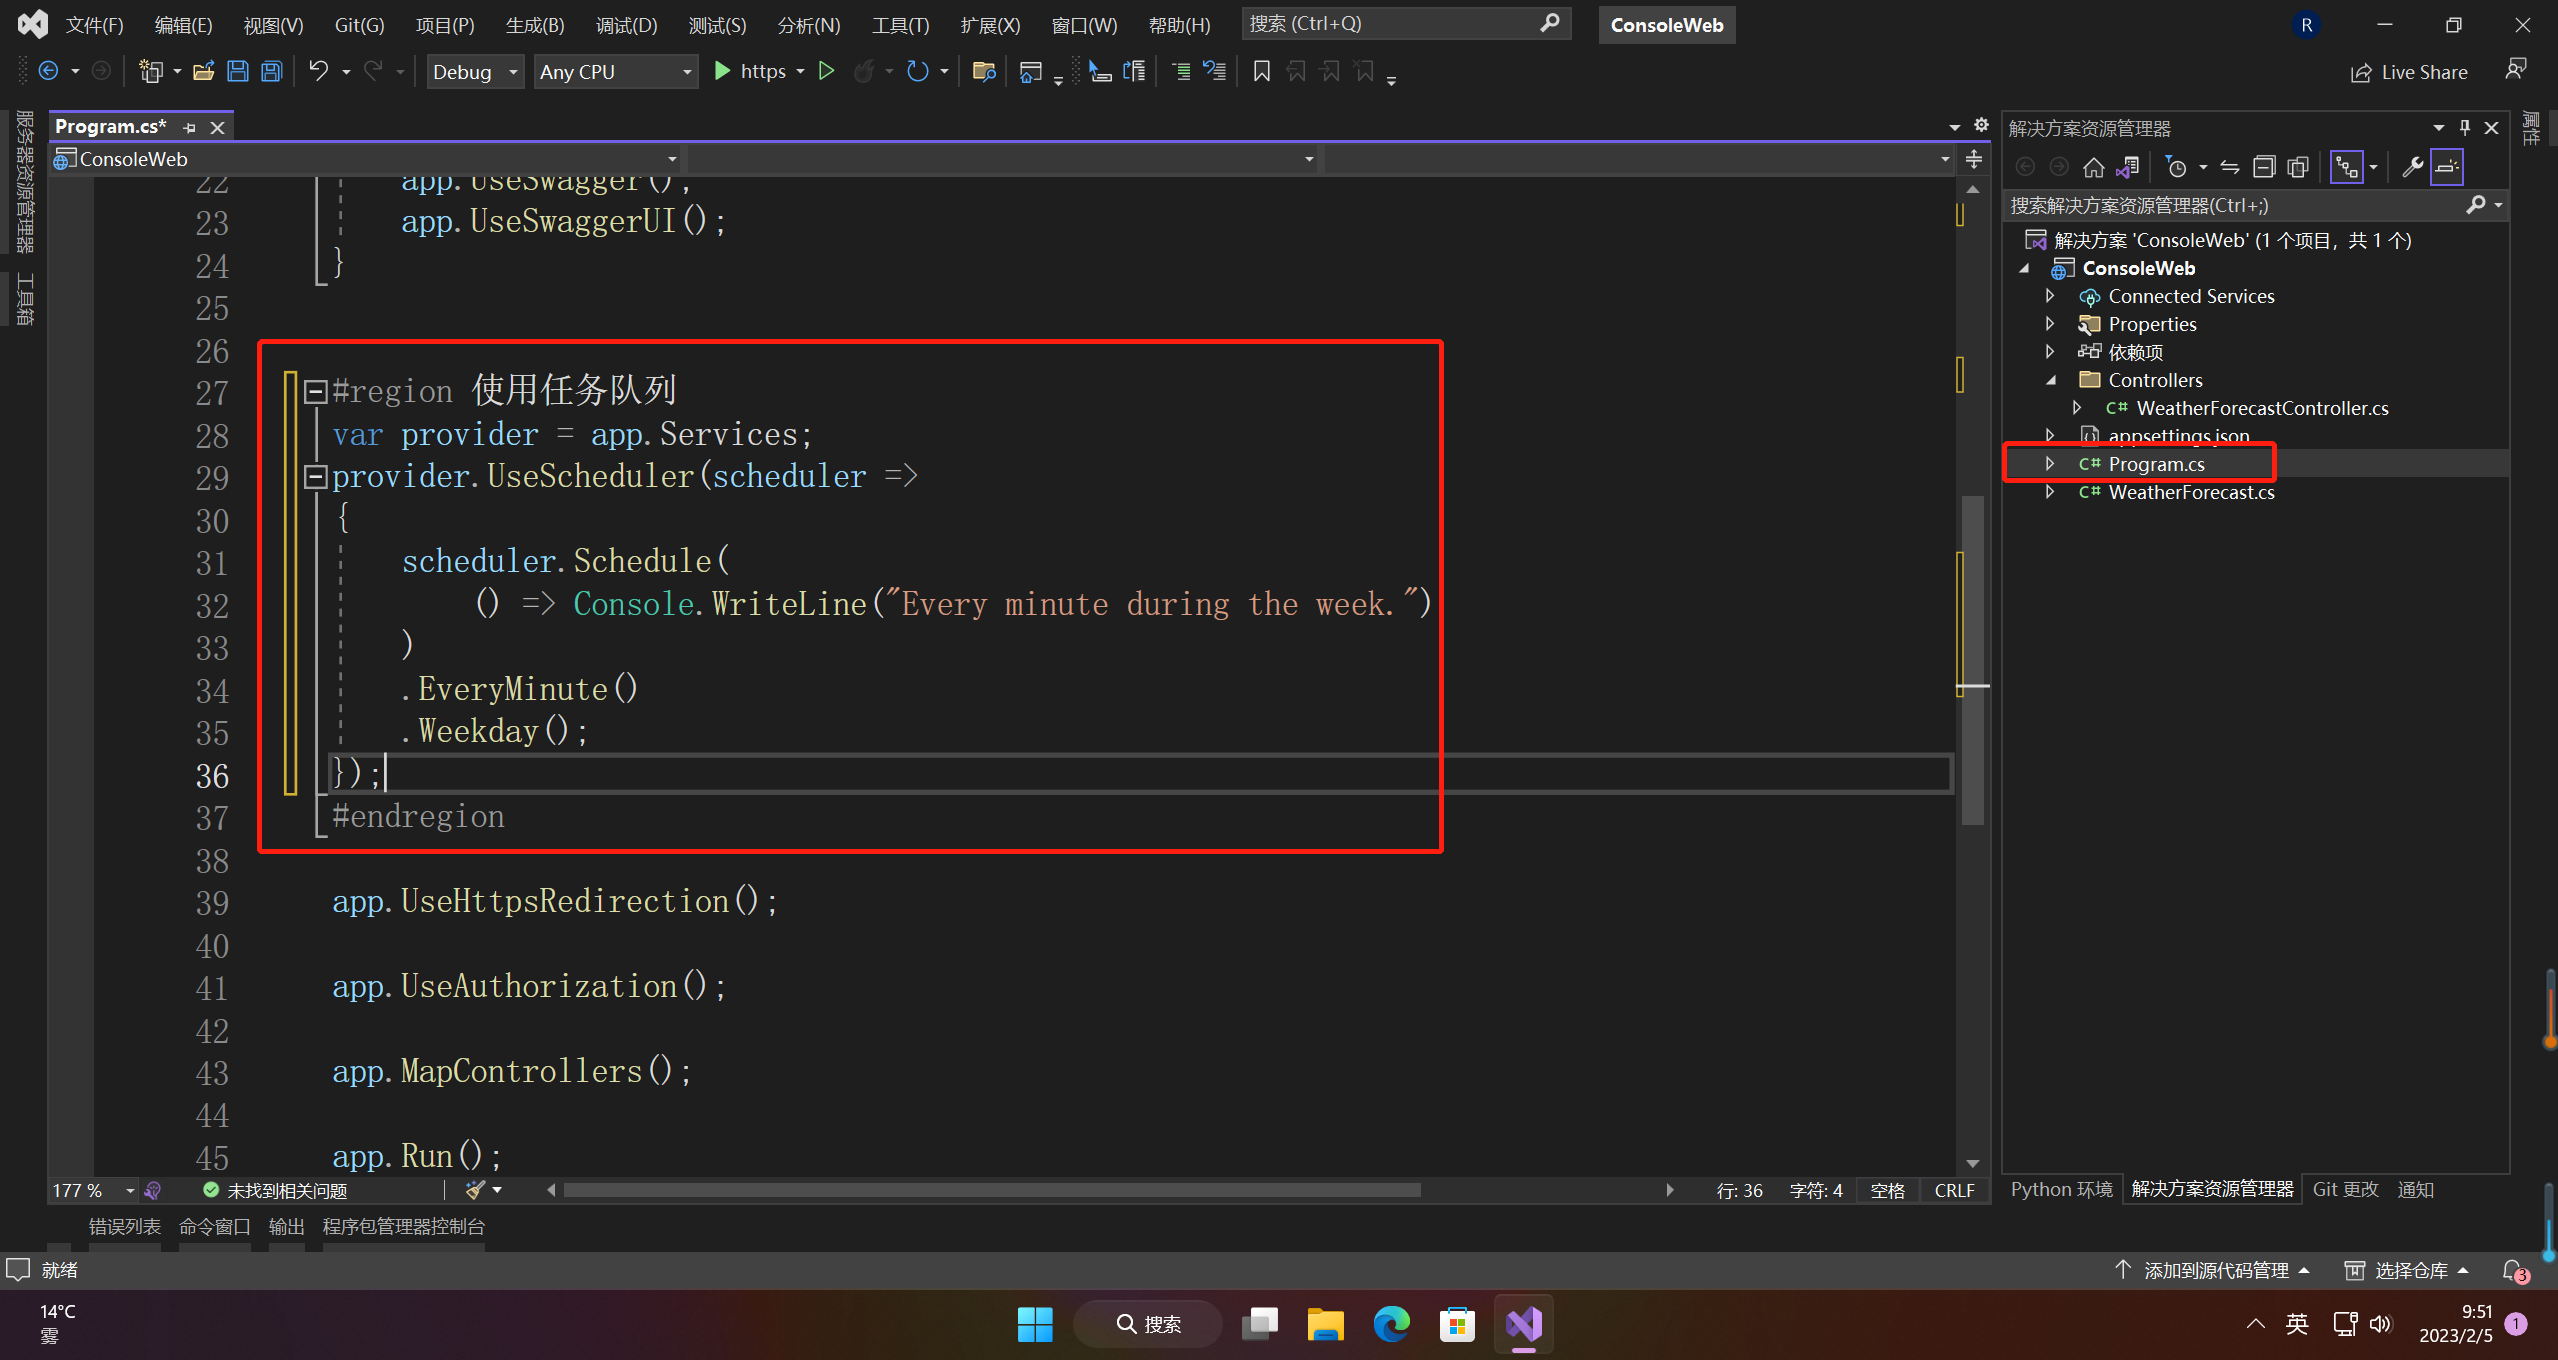
在 .NET Core 应用程序的Program.cs文件中,添加以下内容:
#region 使用任务队列
var provider = app.Services;
provider.UseScheduler(scheduler =>
{
    scheduler.Schedule(
        () => Console.WriteLine("Every minute during the week.")
    )
    .EverySeconds(1)
    .RunOnceAtStart();
});
#endregion
2.3 运行
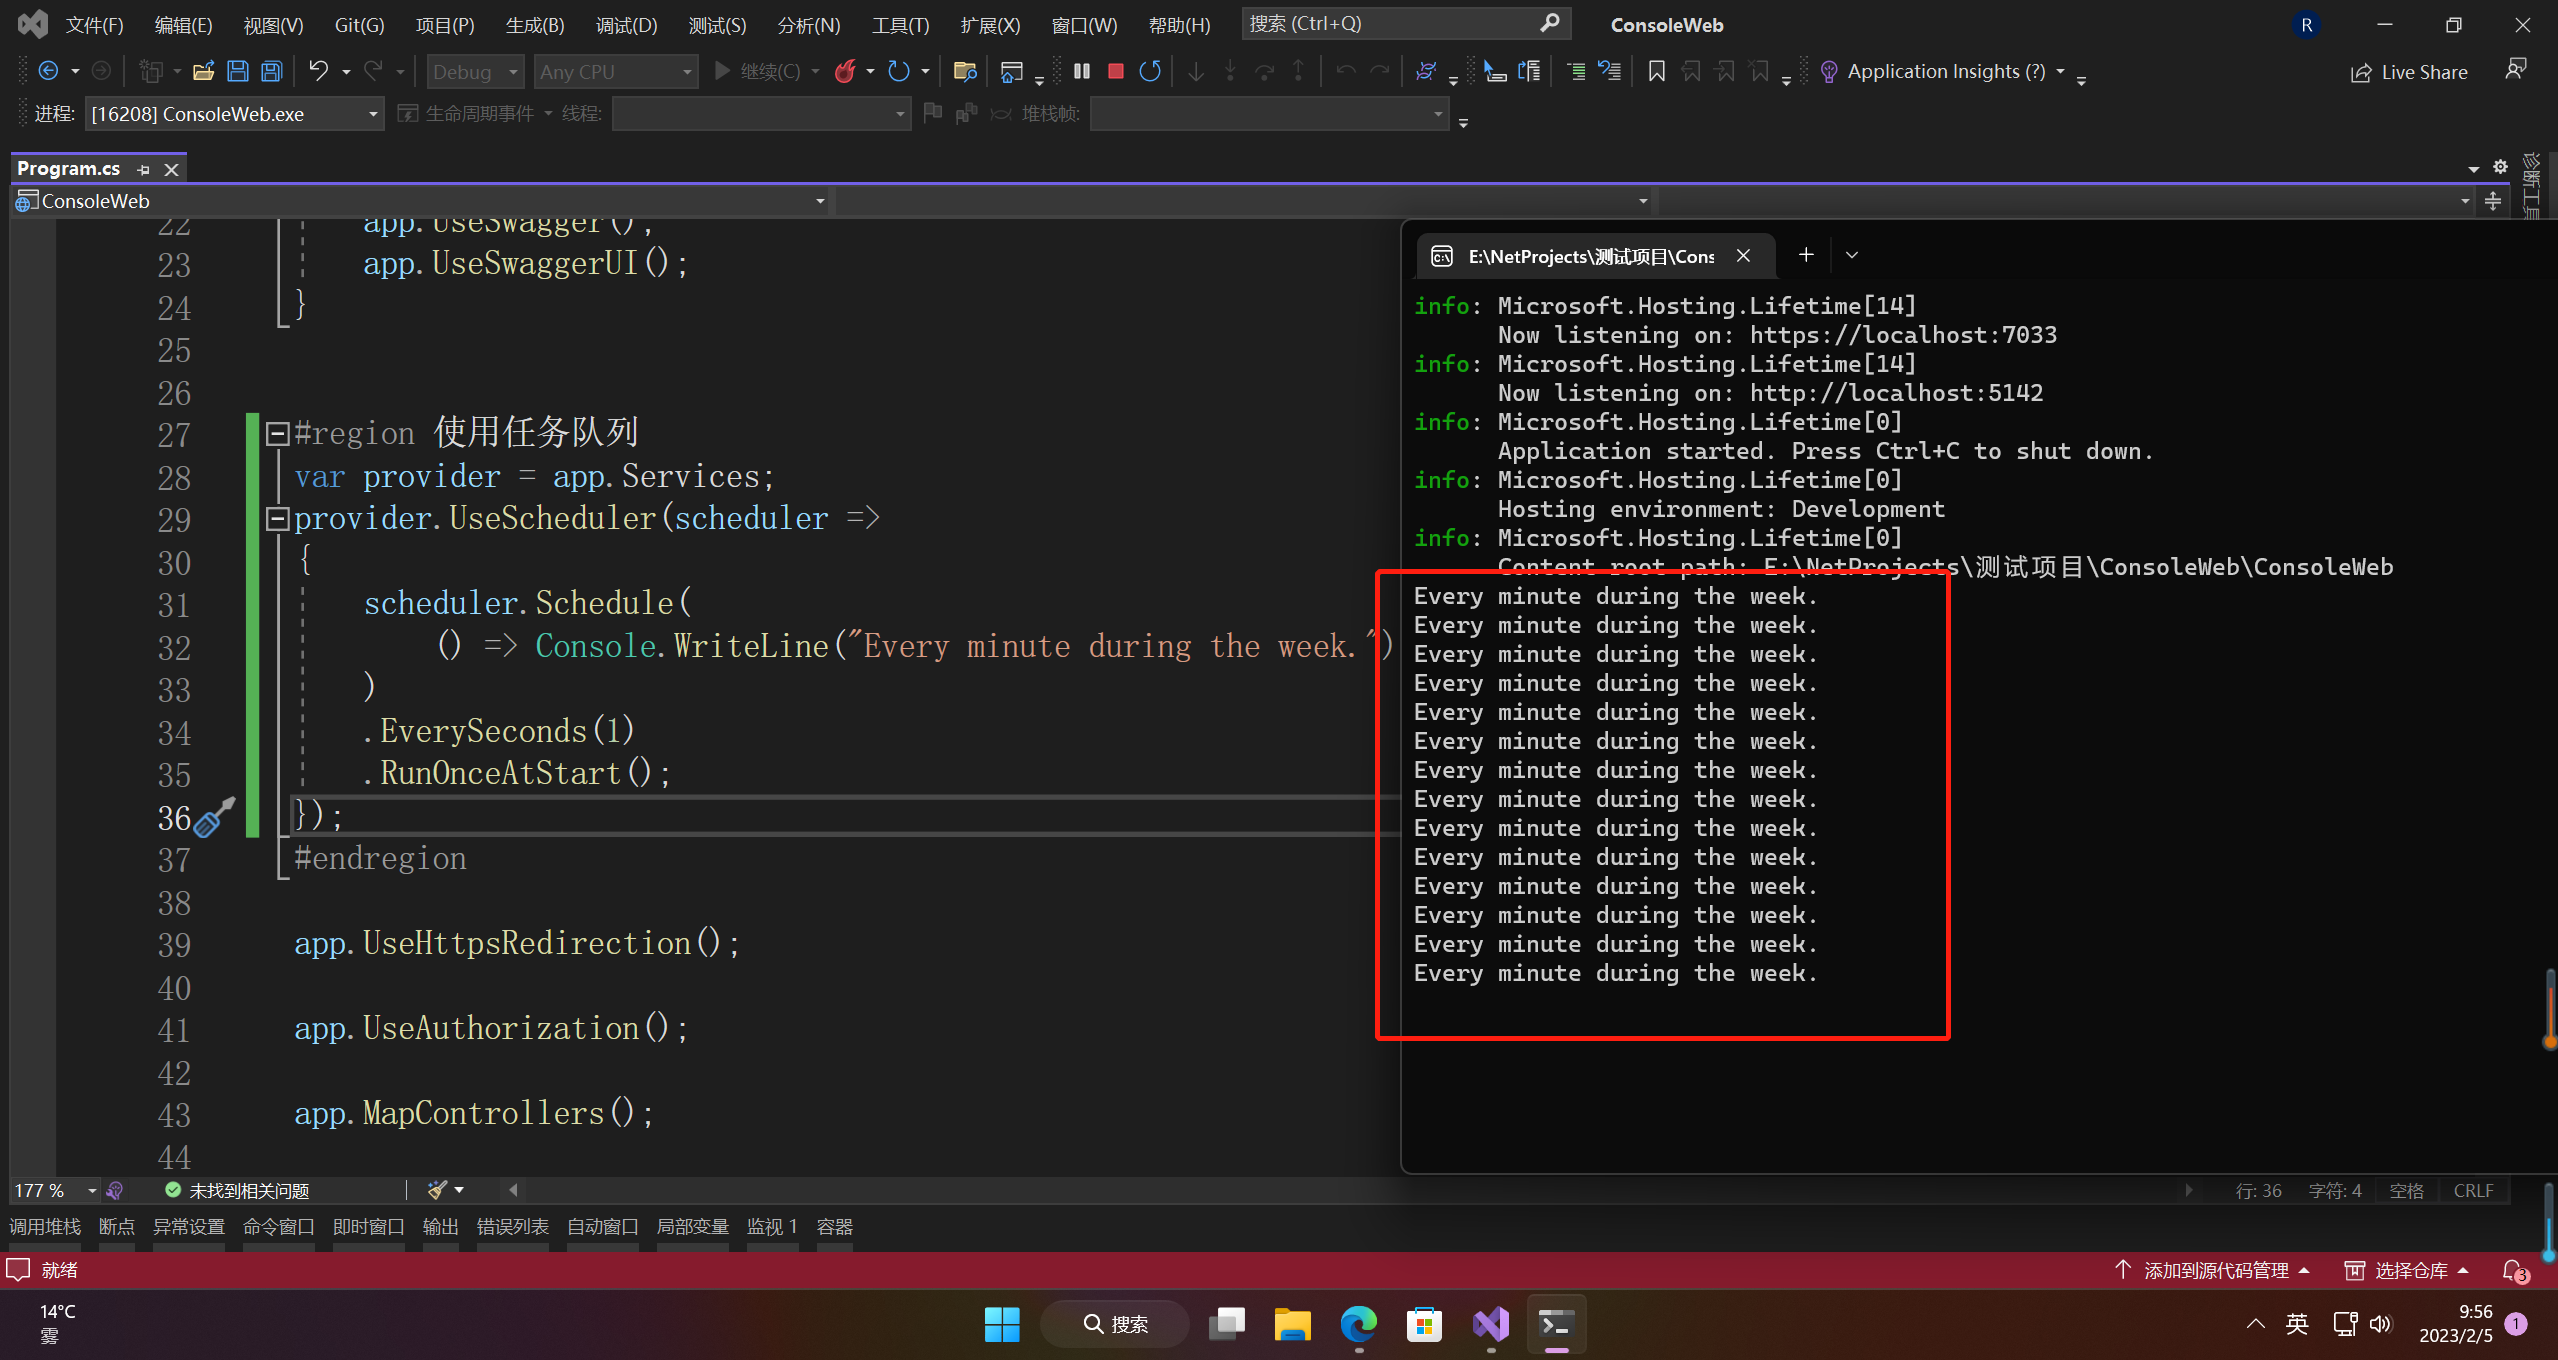
3.队列
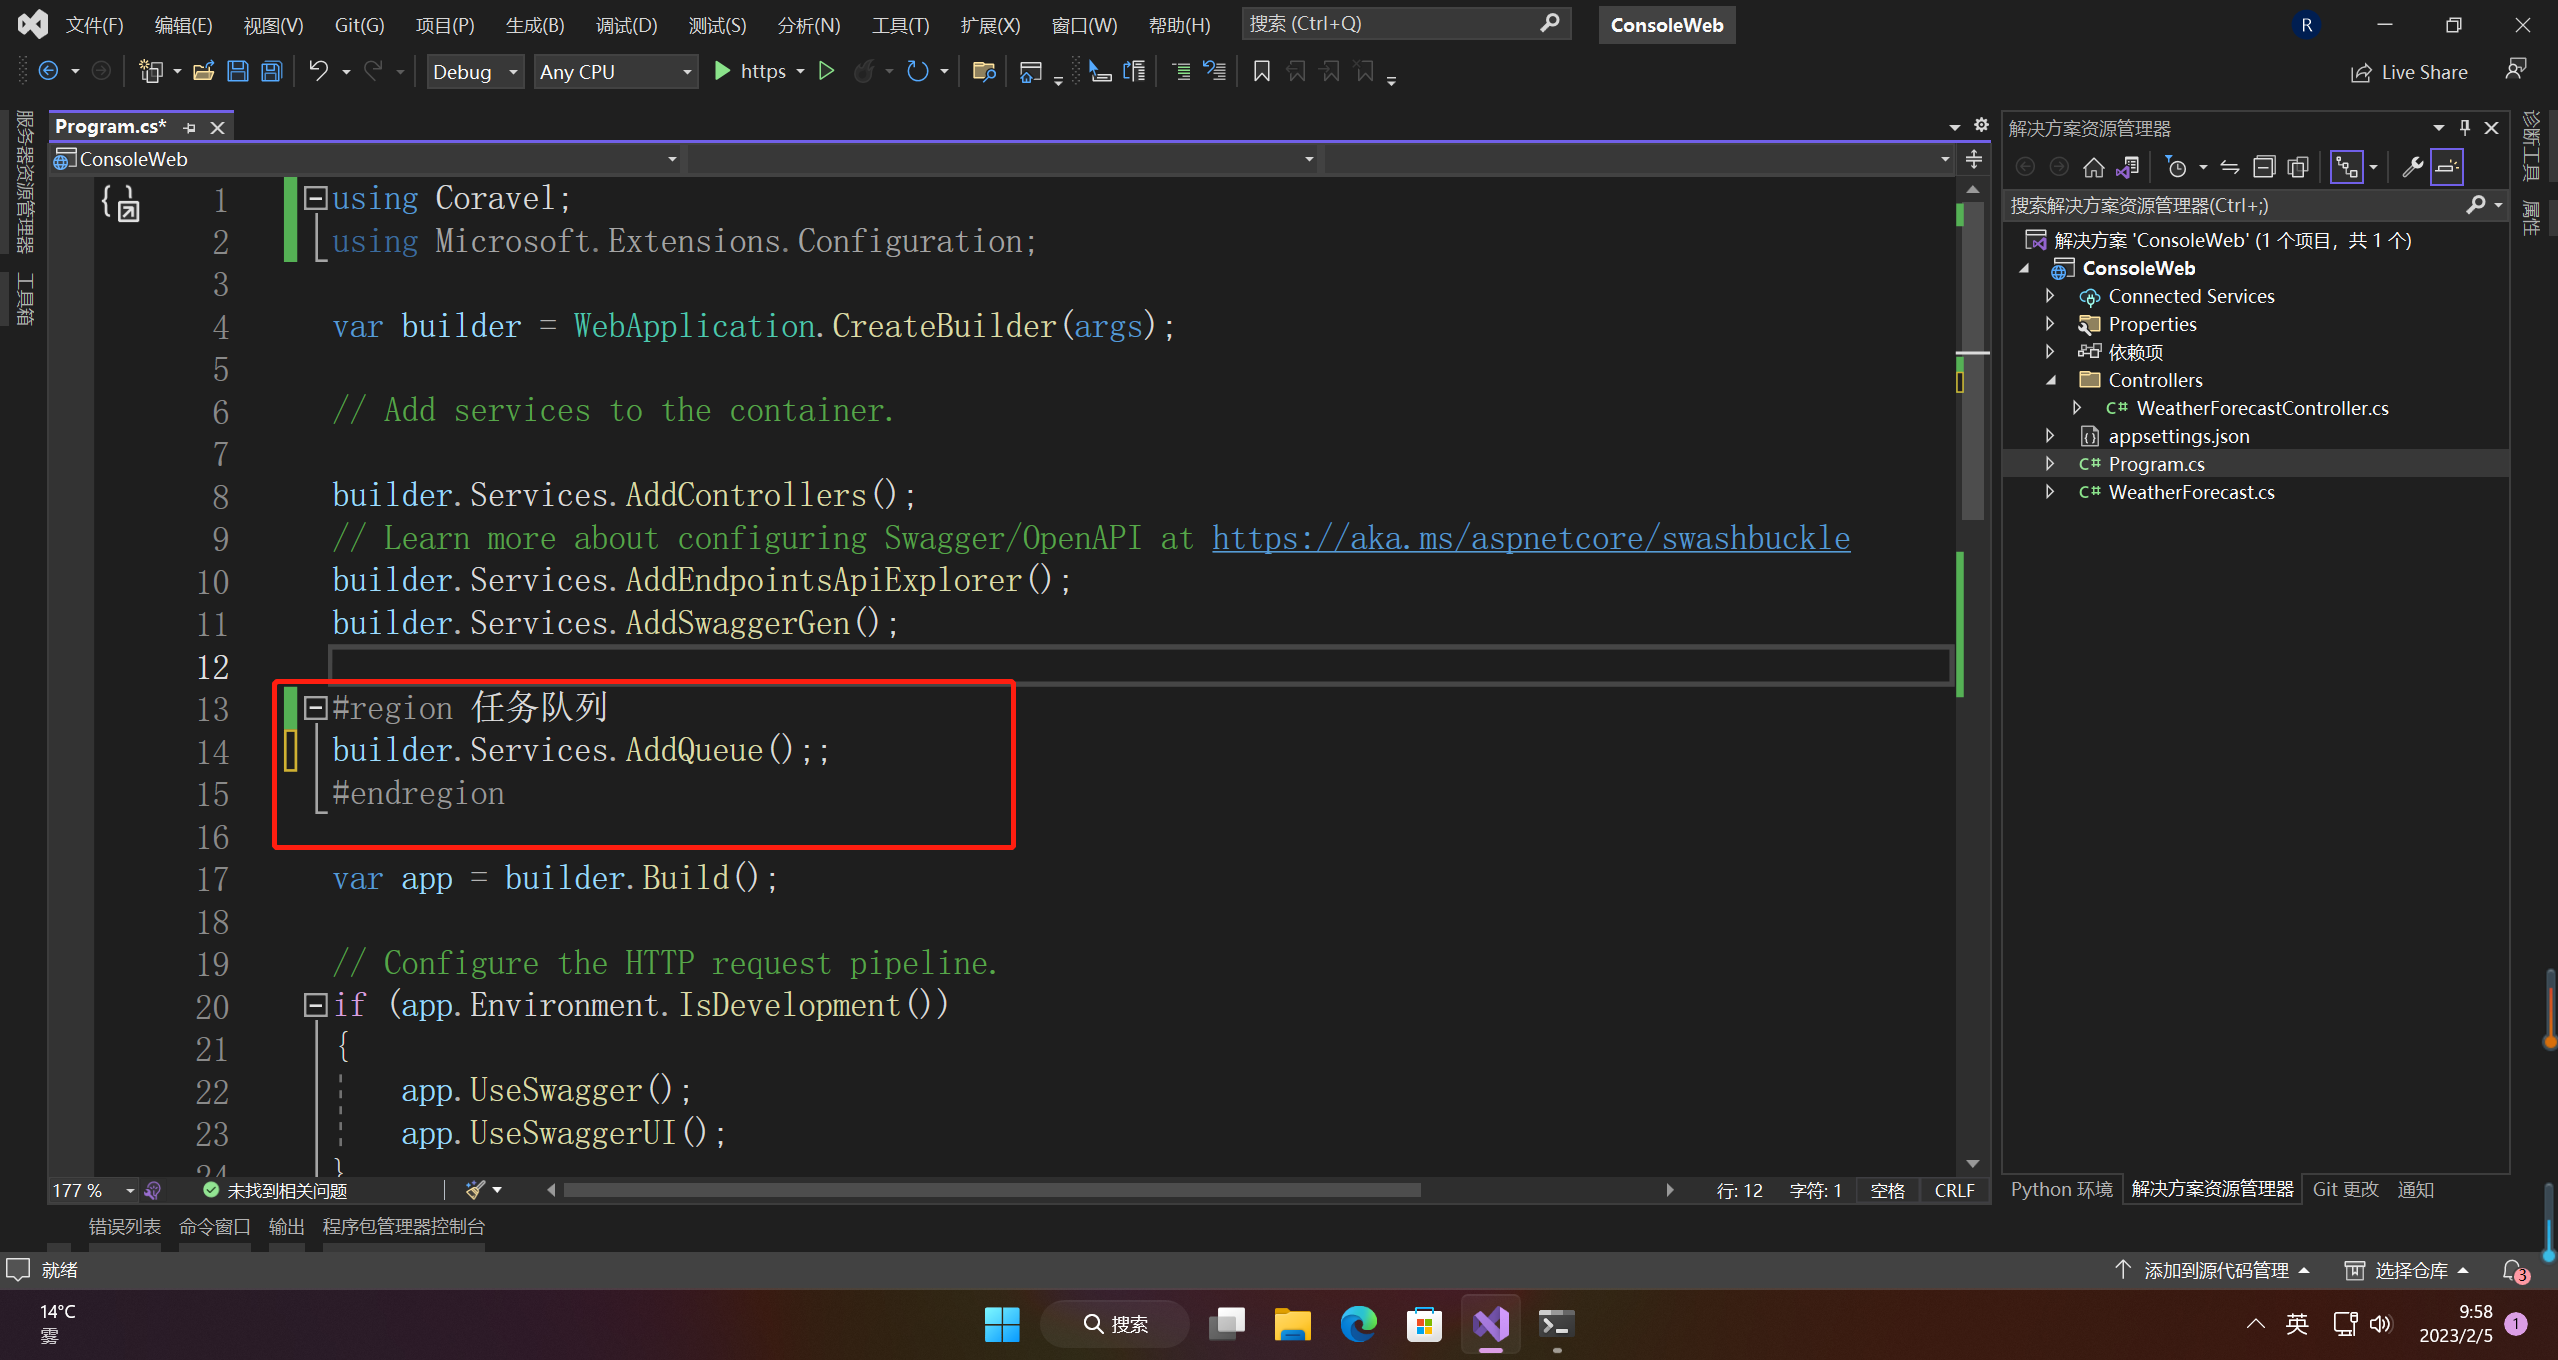
3.1 配置
#region 任务队列
builder.Services.AddQueue();;
#endregion
3.2 使用
using Coravel.Queuing.Interfaces;
using Microsoft.AspNetCore.Mvc;

namespace ConsoleWeb.Controllers
{
    [ApiController]
    [Route("[controller]/[action]")]
    public class HomeController : ControllerBase
    {
        private IQueue _queue { get; set; }
        public HomeController(IQueue queue)
        {
            this._queue = queue;
        }
        /// <summary>
        /// 同步
        /// </summary>
        /// <returns></returns>
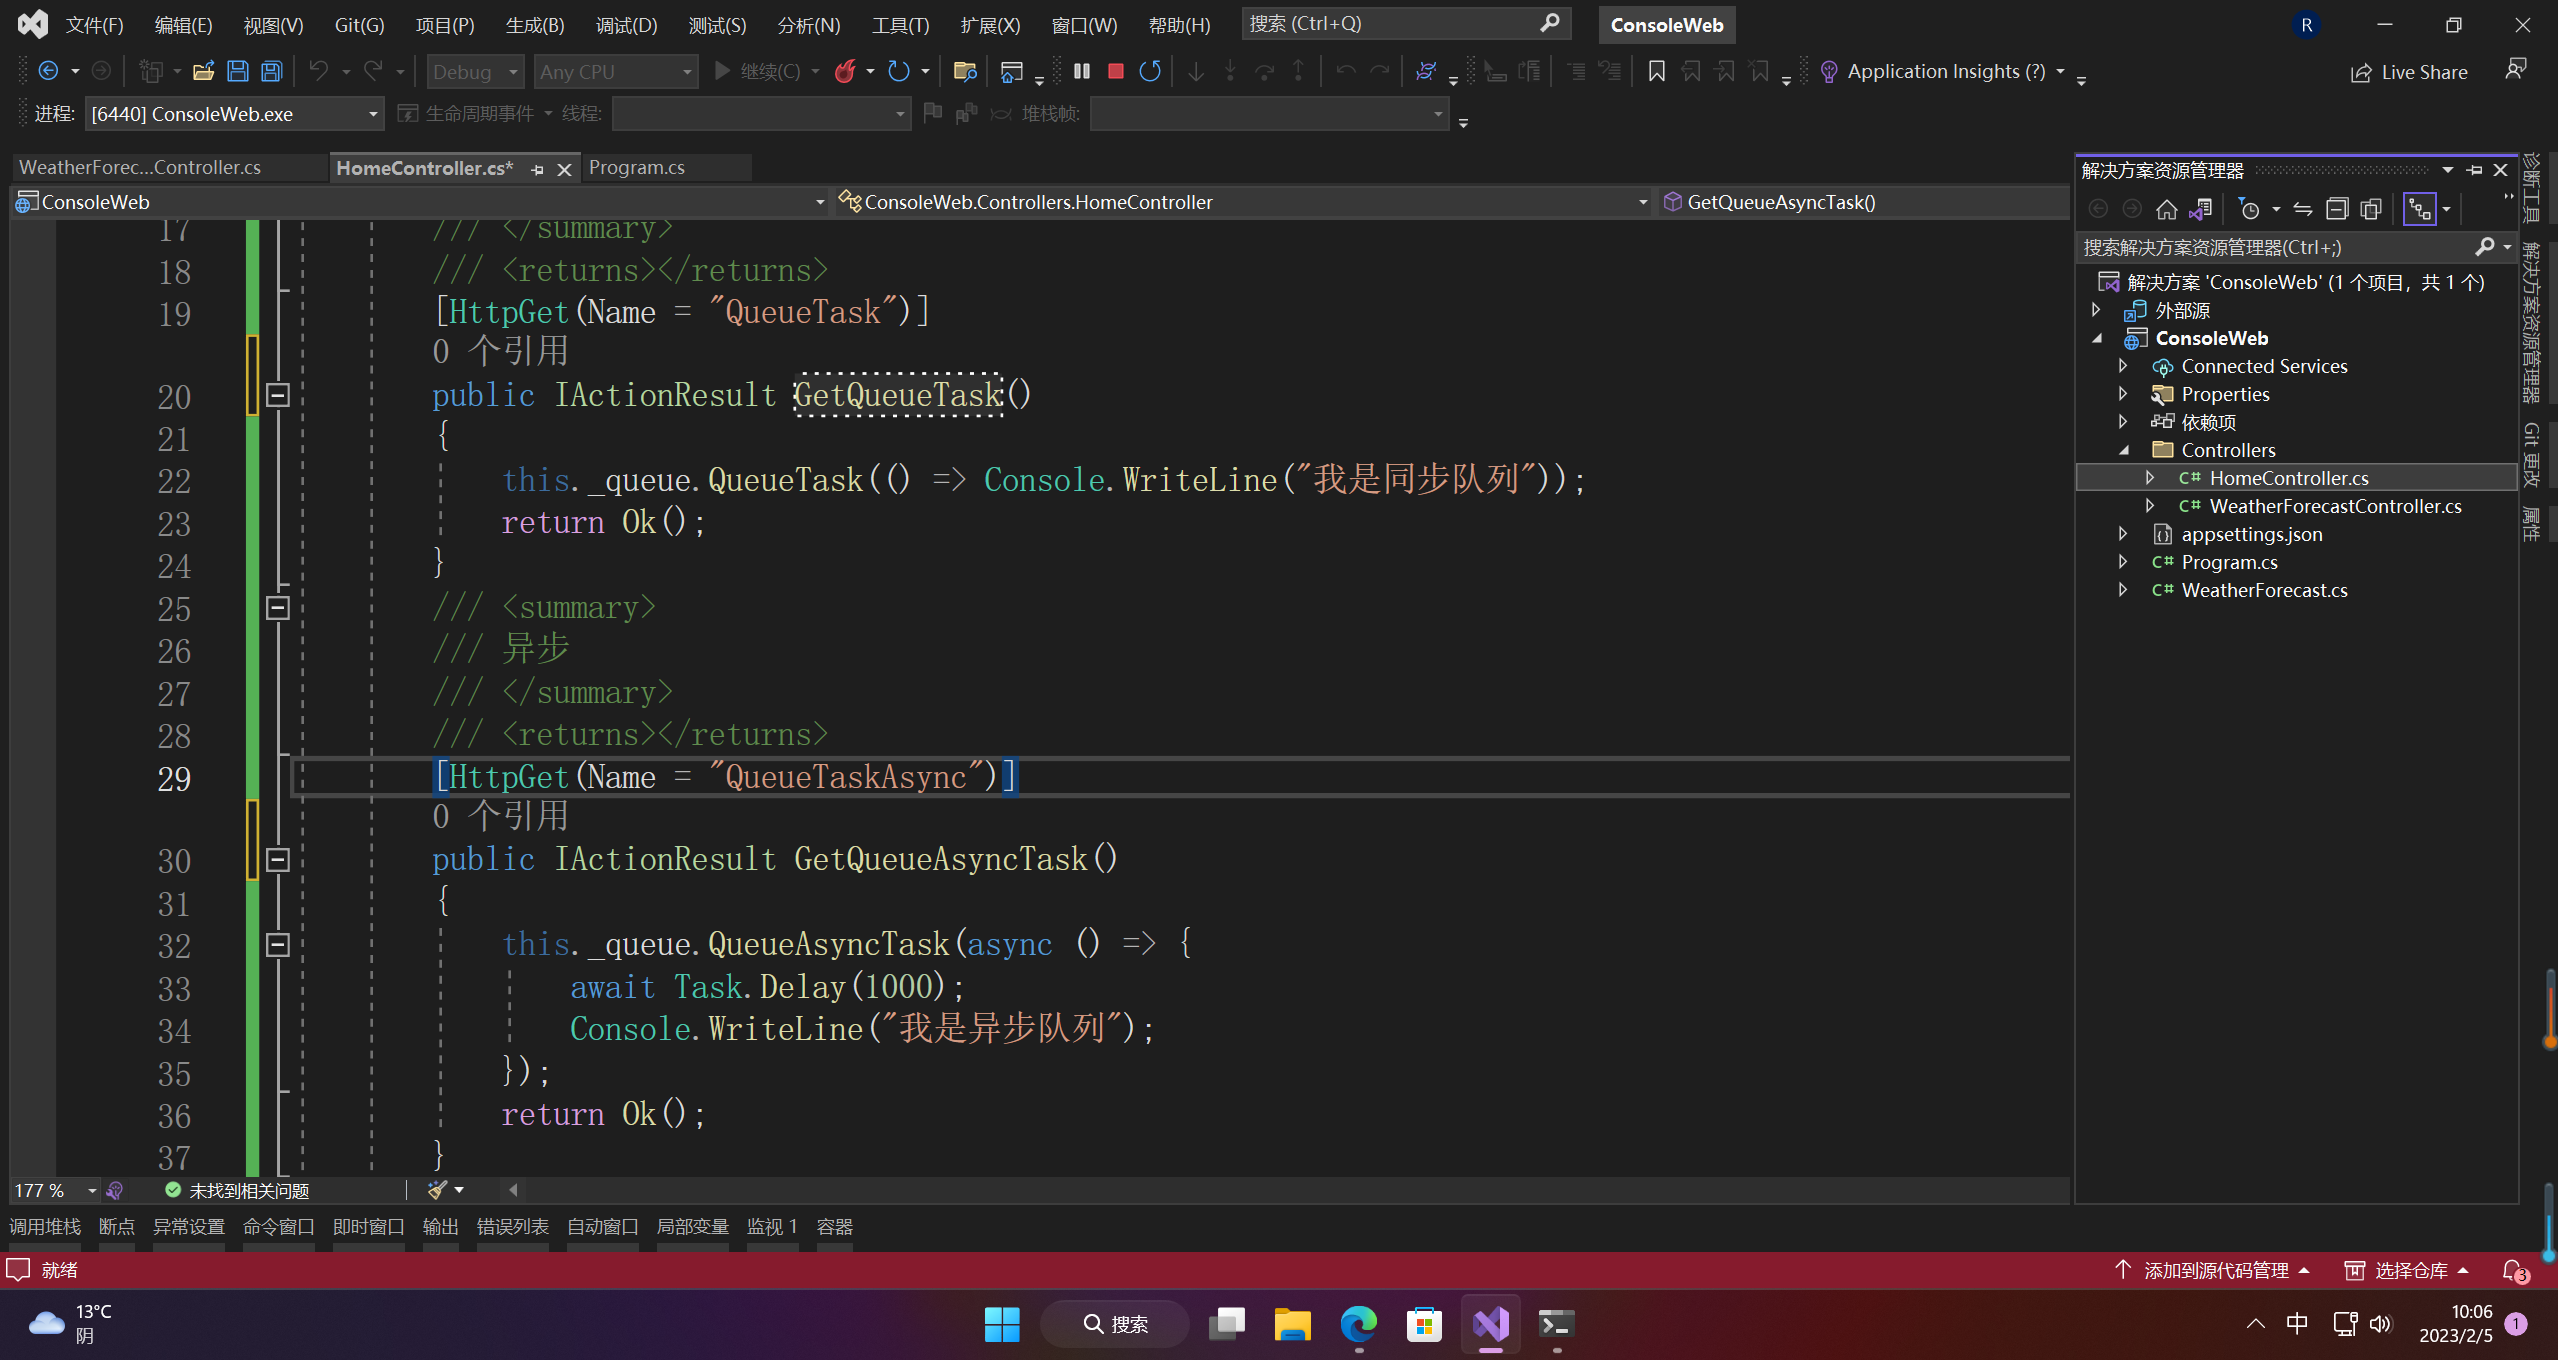
        [HttpGet(Name = "QueueTask")]
        public IActionResult GetQueueTask()
        {
            this._queue.QueueTask(() => Console.WriteLine("我是同步队列"));
            return Ok();
        }
        /// <summary>
        /// 异步
        /// </summary>
        /// <returns></returns>
        [HttpGet(Name = "QueueTaskAsync")]
        public IActionResult GetQueueAsyncTask()
        {
            this._queue.QueueAsyncTask(async () =>
            {
                await Task.Delay(1000);
                Console.WriteLine("我是异步队列");
            });
            return Ok();
        }
    }
}
3.3 运行
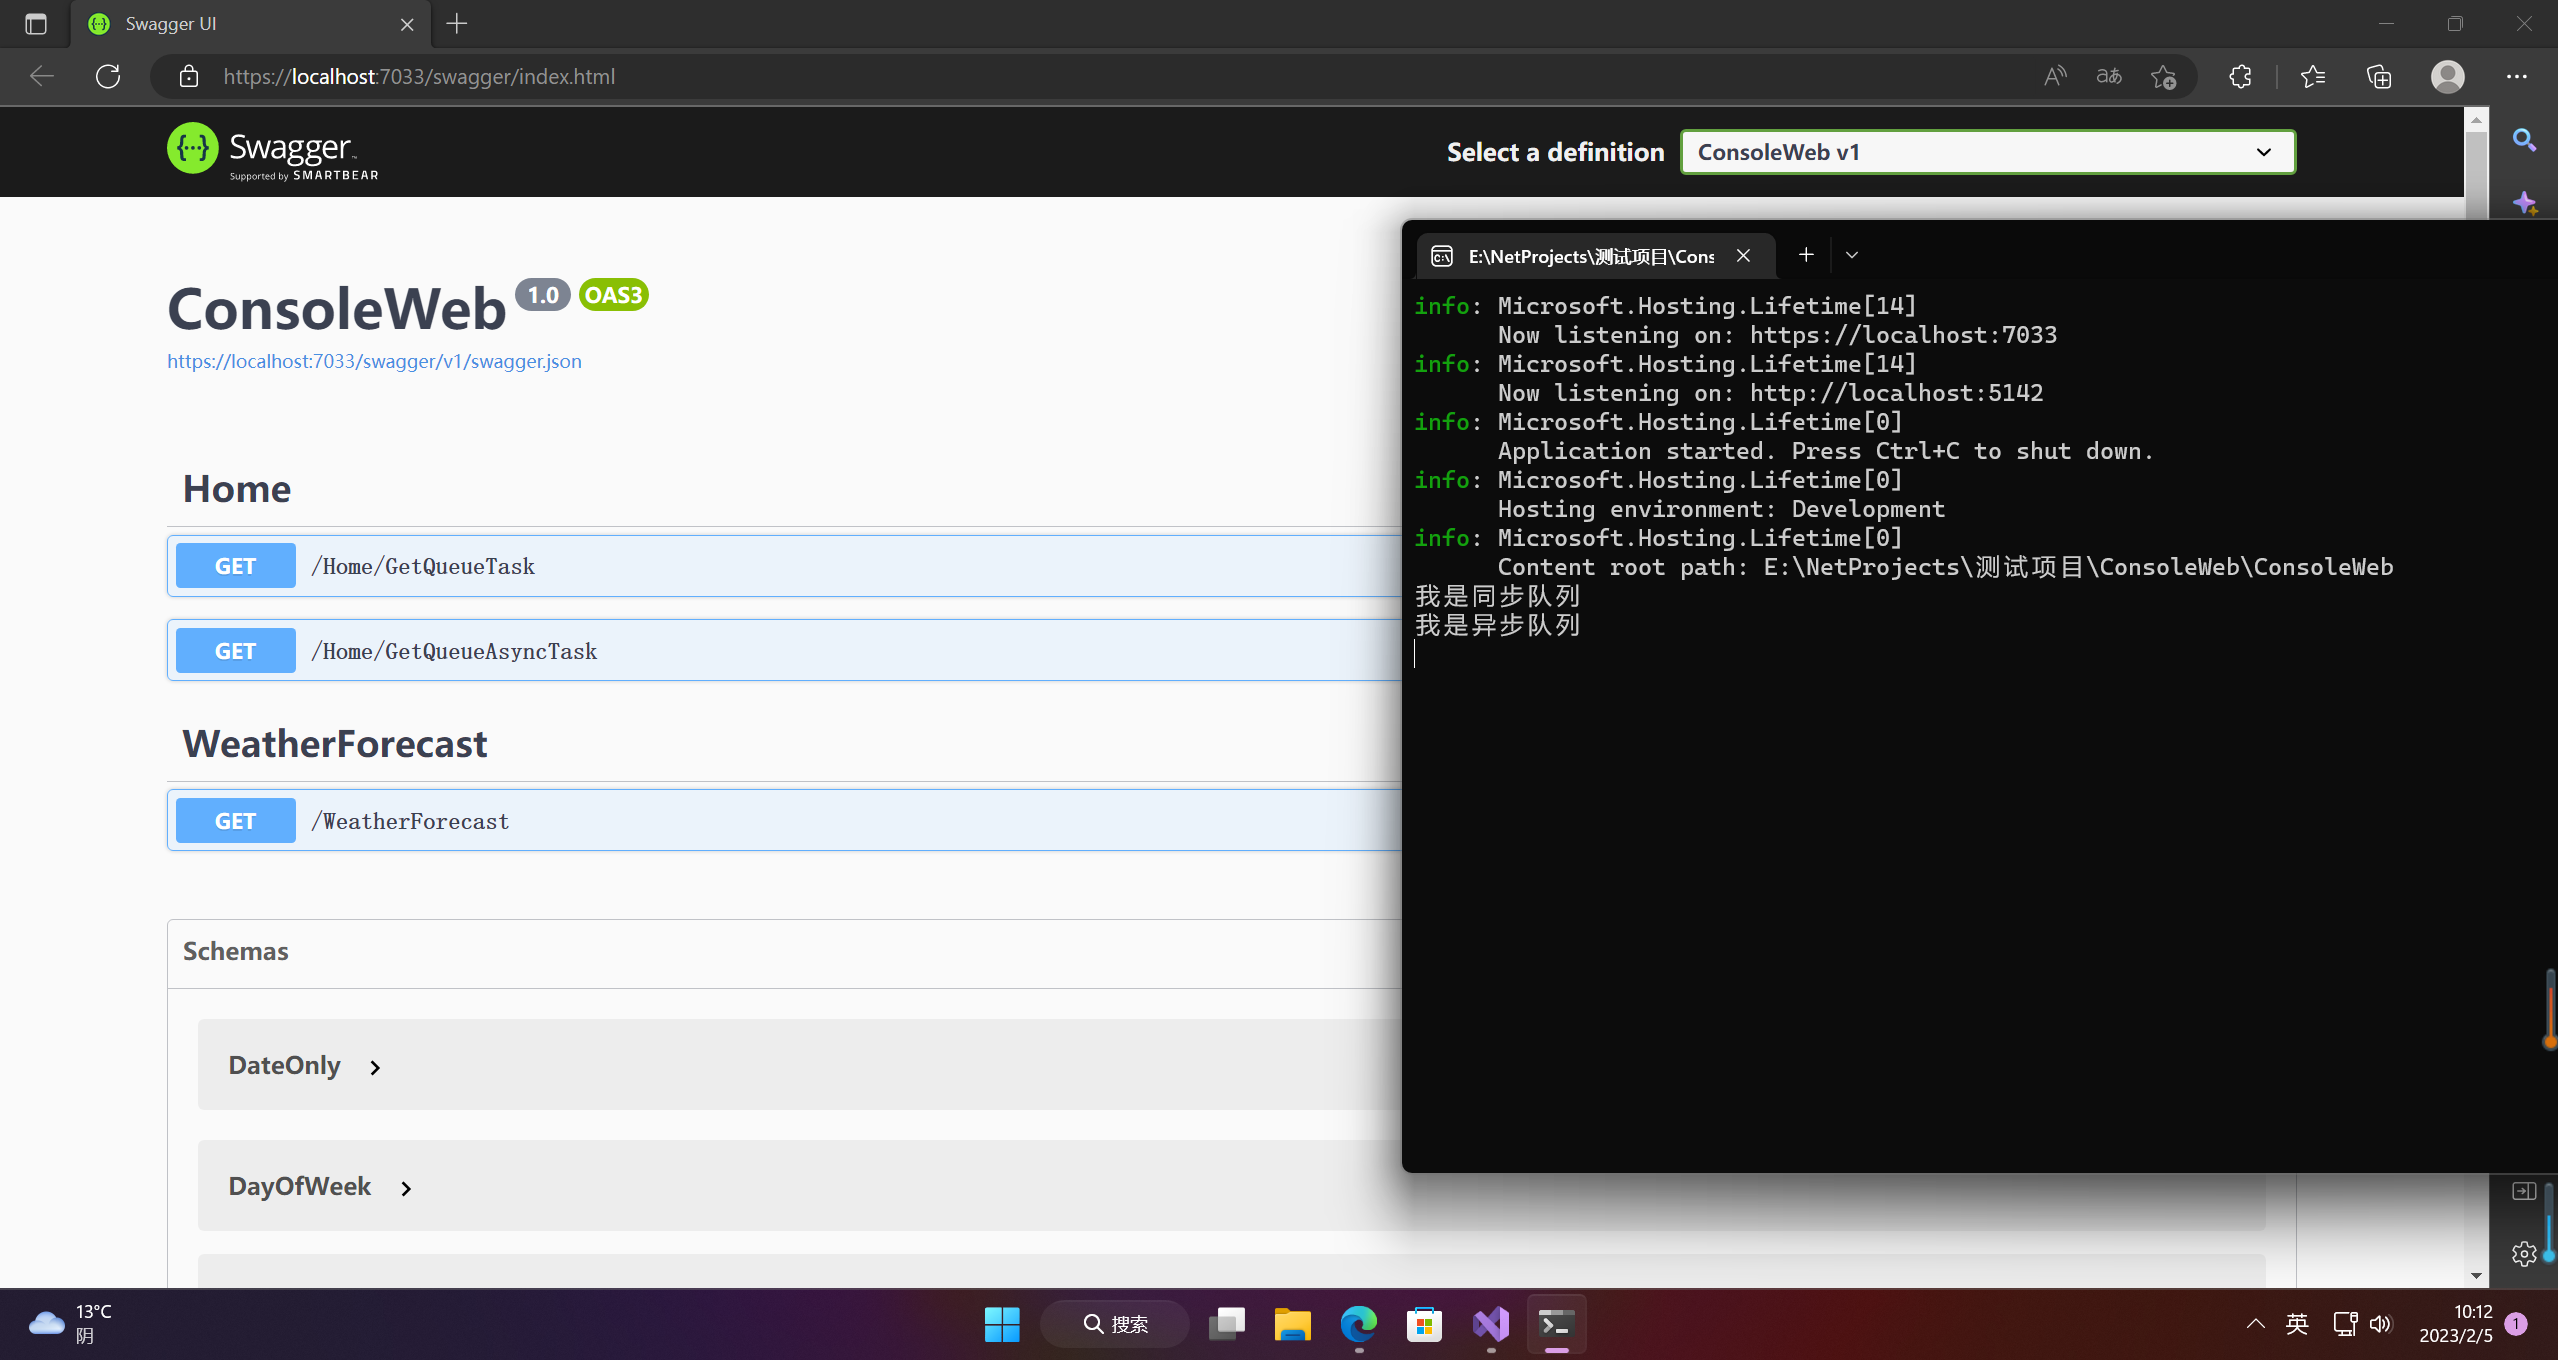
4.缓存
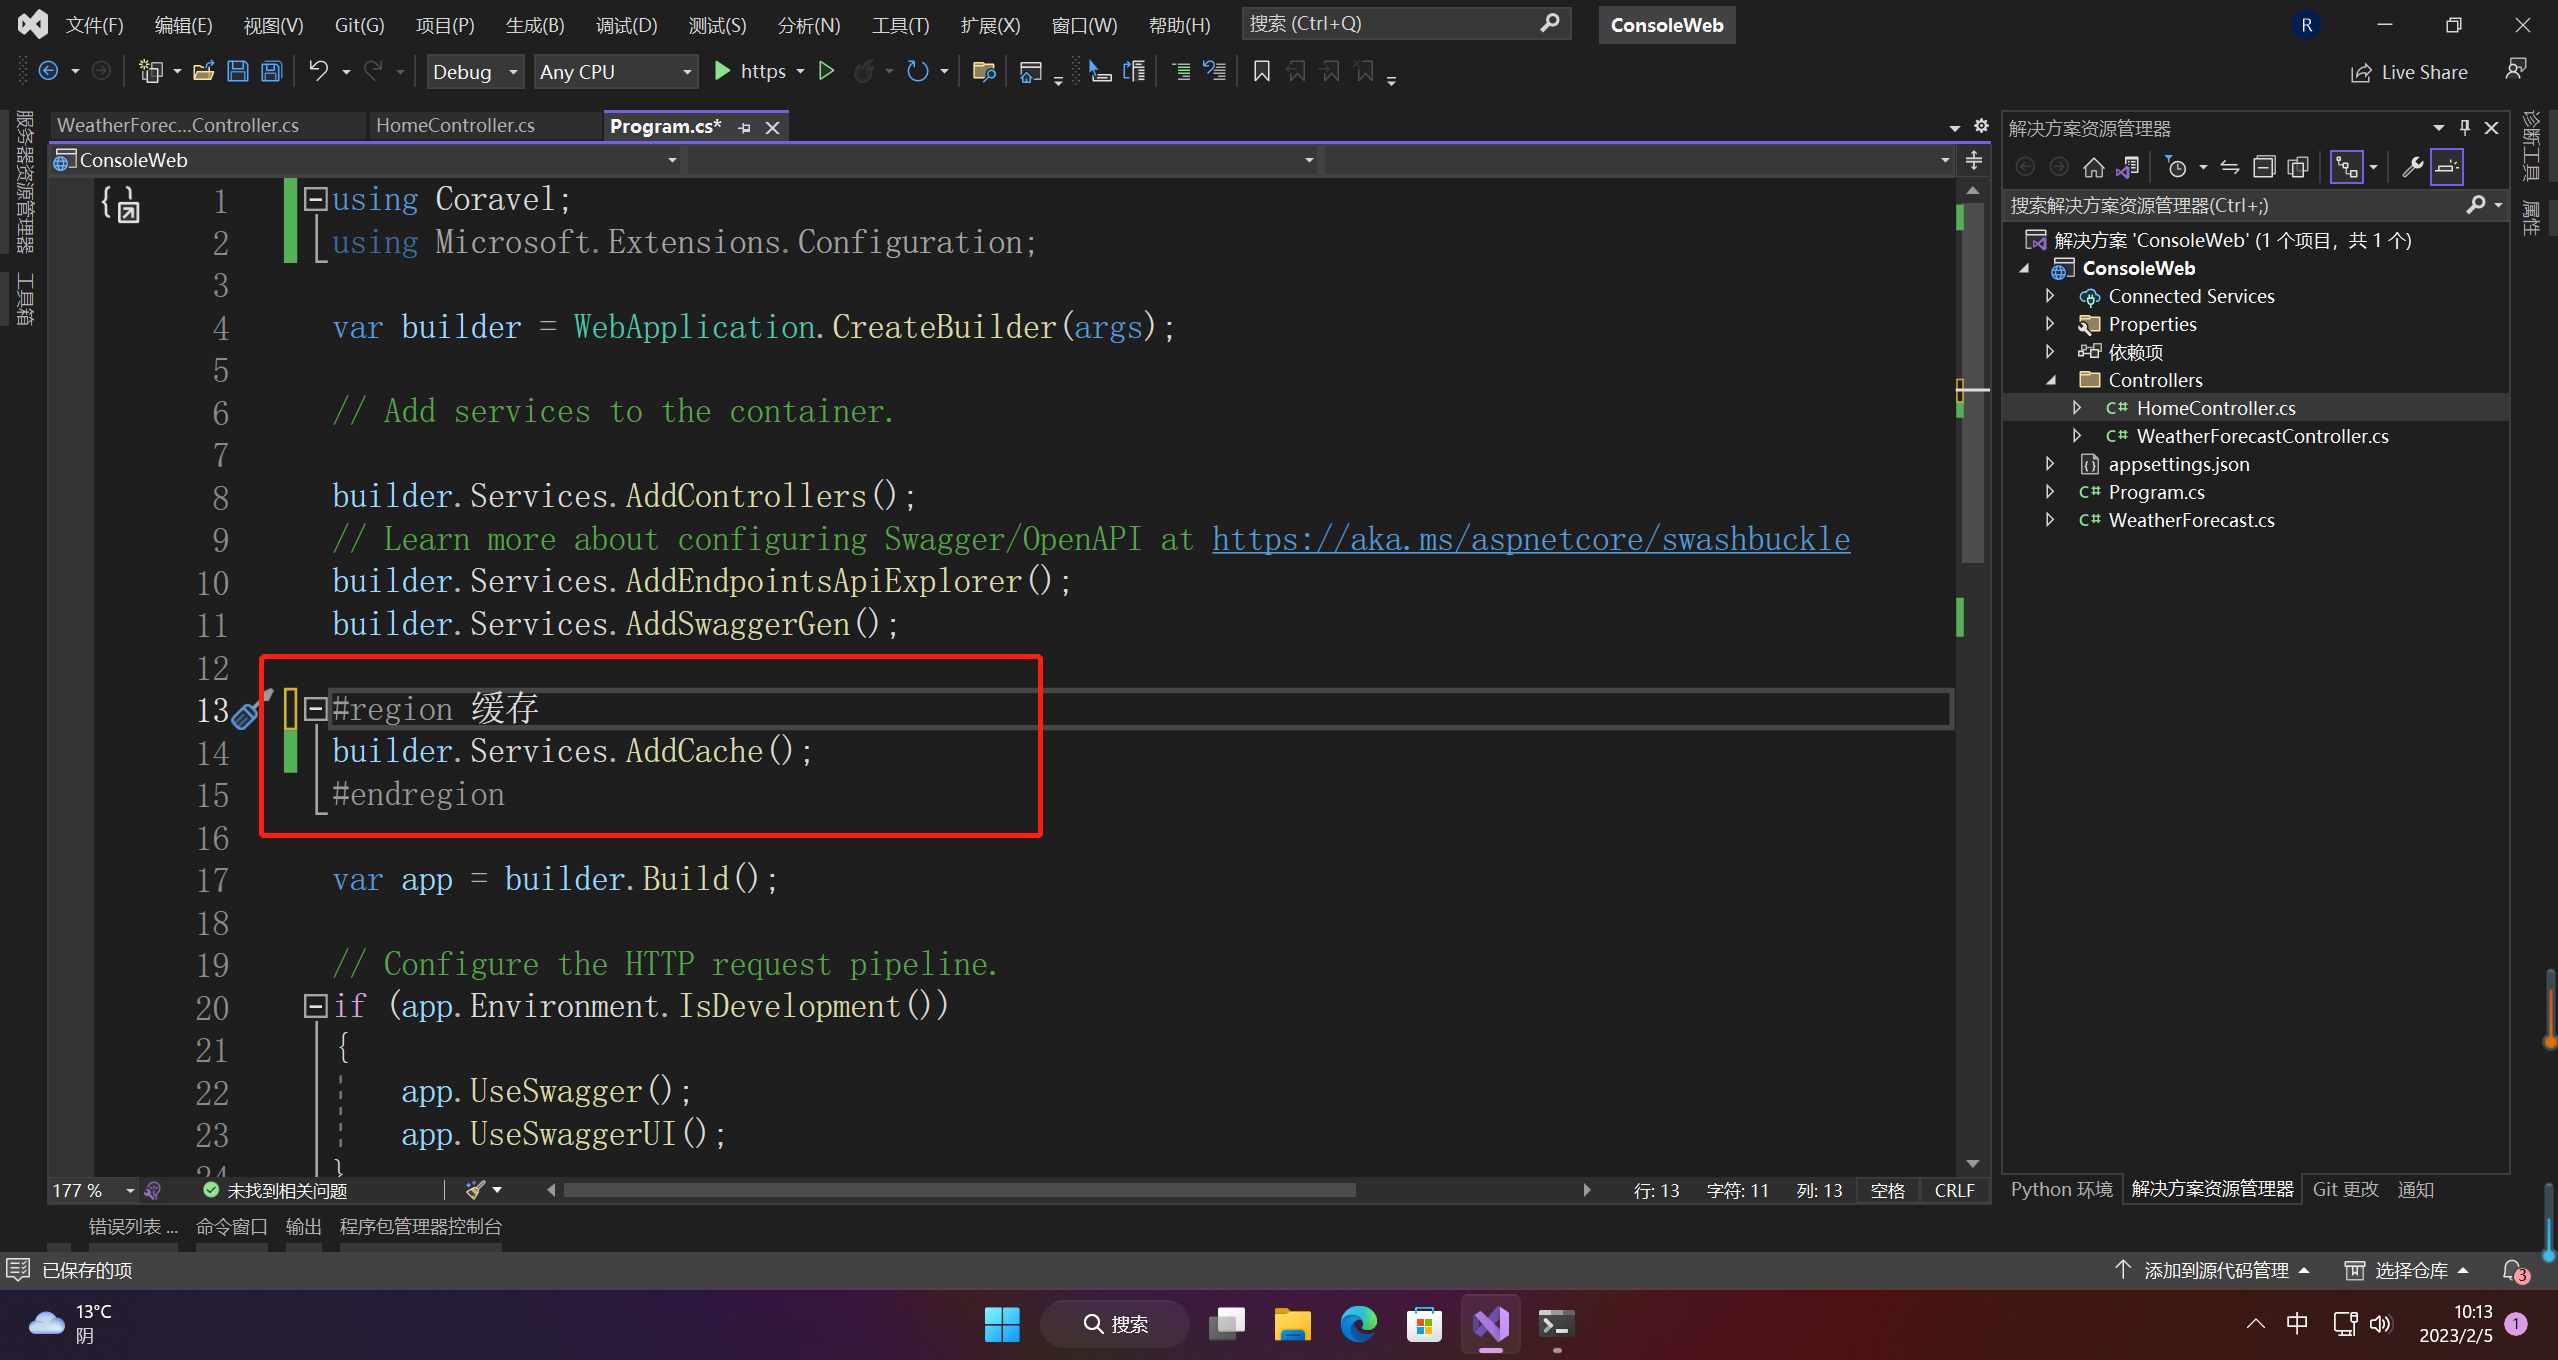
4.1 配置
#region 缓存
builder.Services.AddCache();
#endregion
4.2 使用
using Coravel.Cache.Interfaces;
using Coravel.Queuing.Interfaces;
using Microsoft.AspNetCore.Mvc;

namespace ConsoleWeb.Controllers
{
    [ApiController]
    [Route("[controller]/[action]")]
    public class HomeController : ControllerBase
    {
        private ICache _cache;
        public HomeController(ICache cache)
        {
            this._cache = cache;
        }
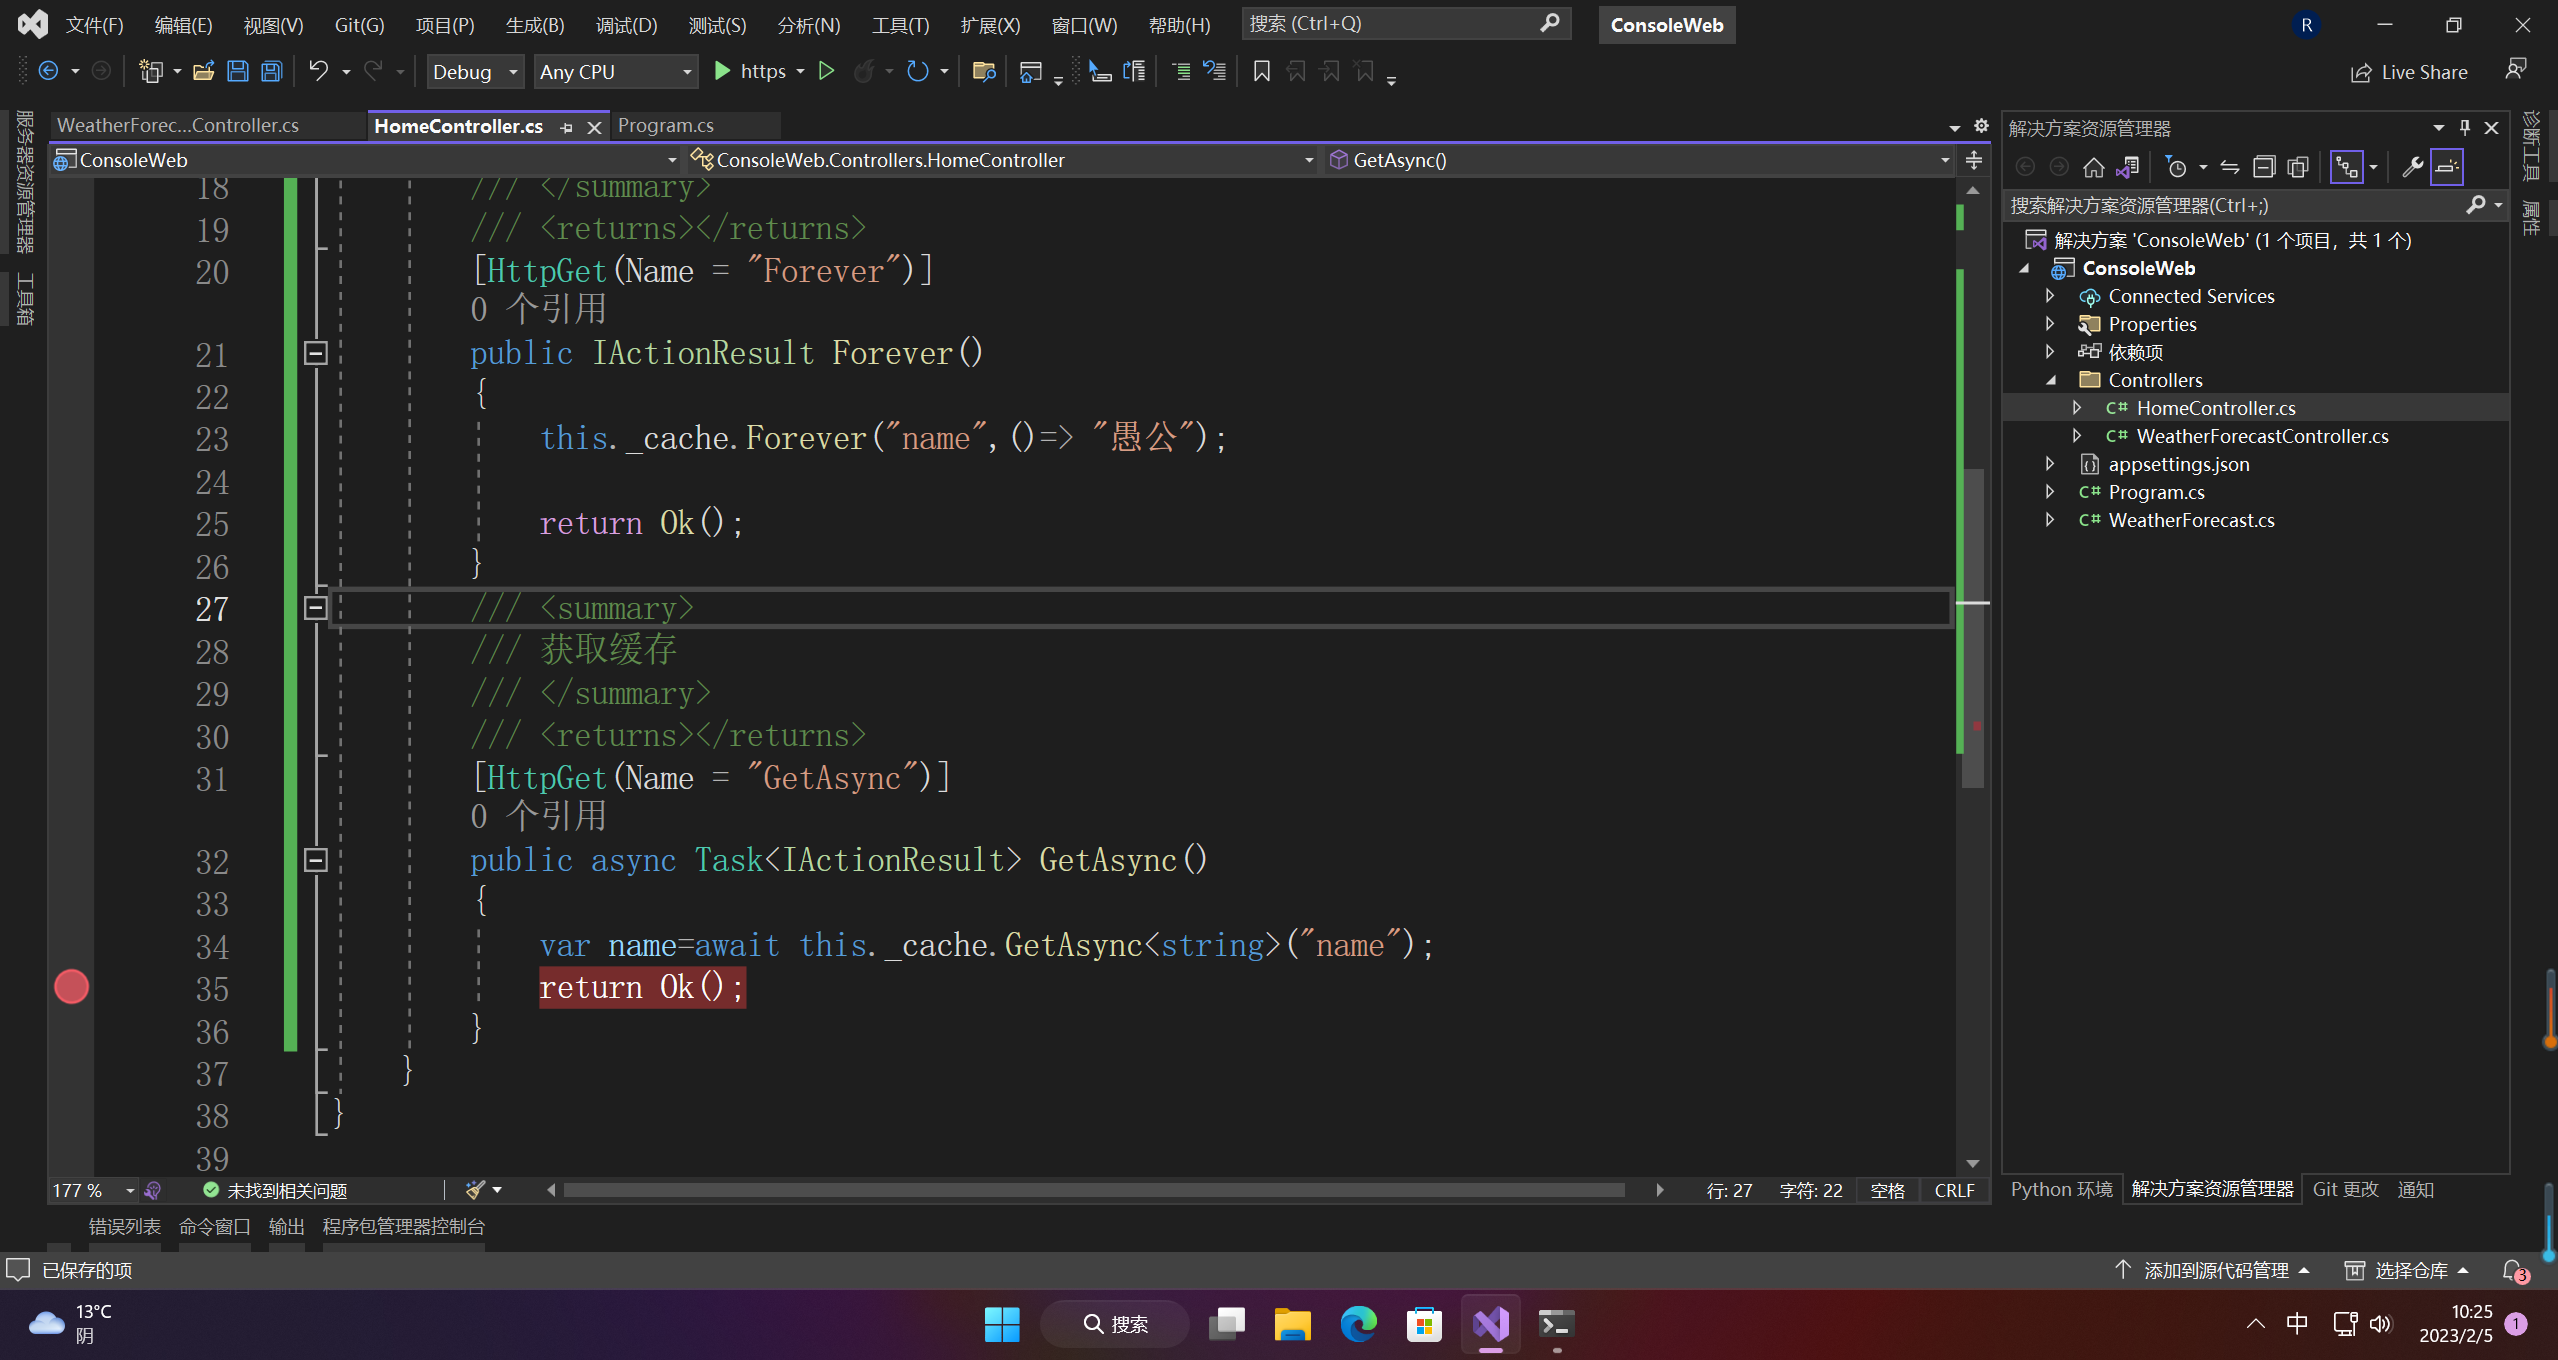
        /// <summary>
        /// 设置缓存
        /// </summary>
        /// <returns></returns>
        [HttpGet(Name = "Forever")]
        public IActionResult Forever()
        {
            this._cache.Forever("name",()=> "愚公");

            return Ok();
        }
        /// <summary>
        /// 获取缓存
        /// </summary>
        /// <returns></returns>
        [HttpGet(Name = "GetAsync")]
        public async Task<IActionResult> GetAsync()
        {
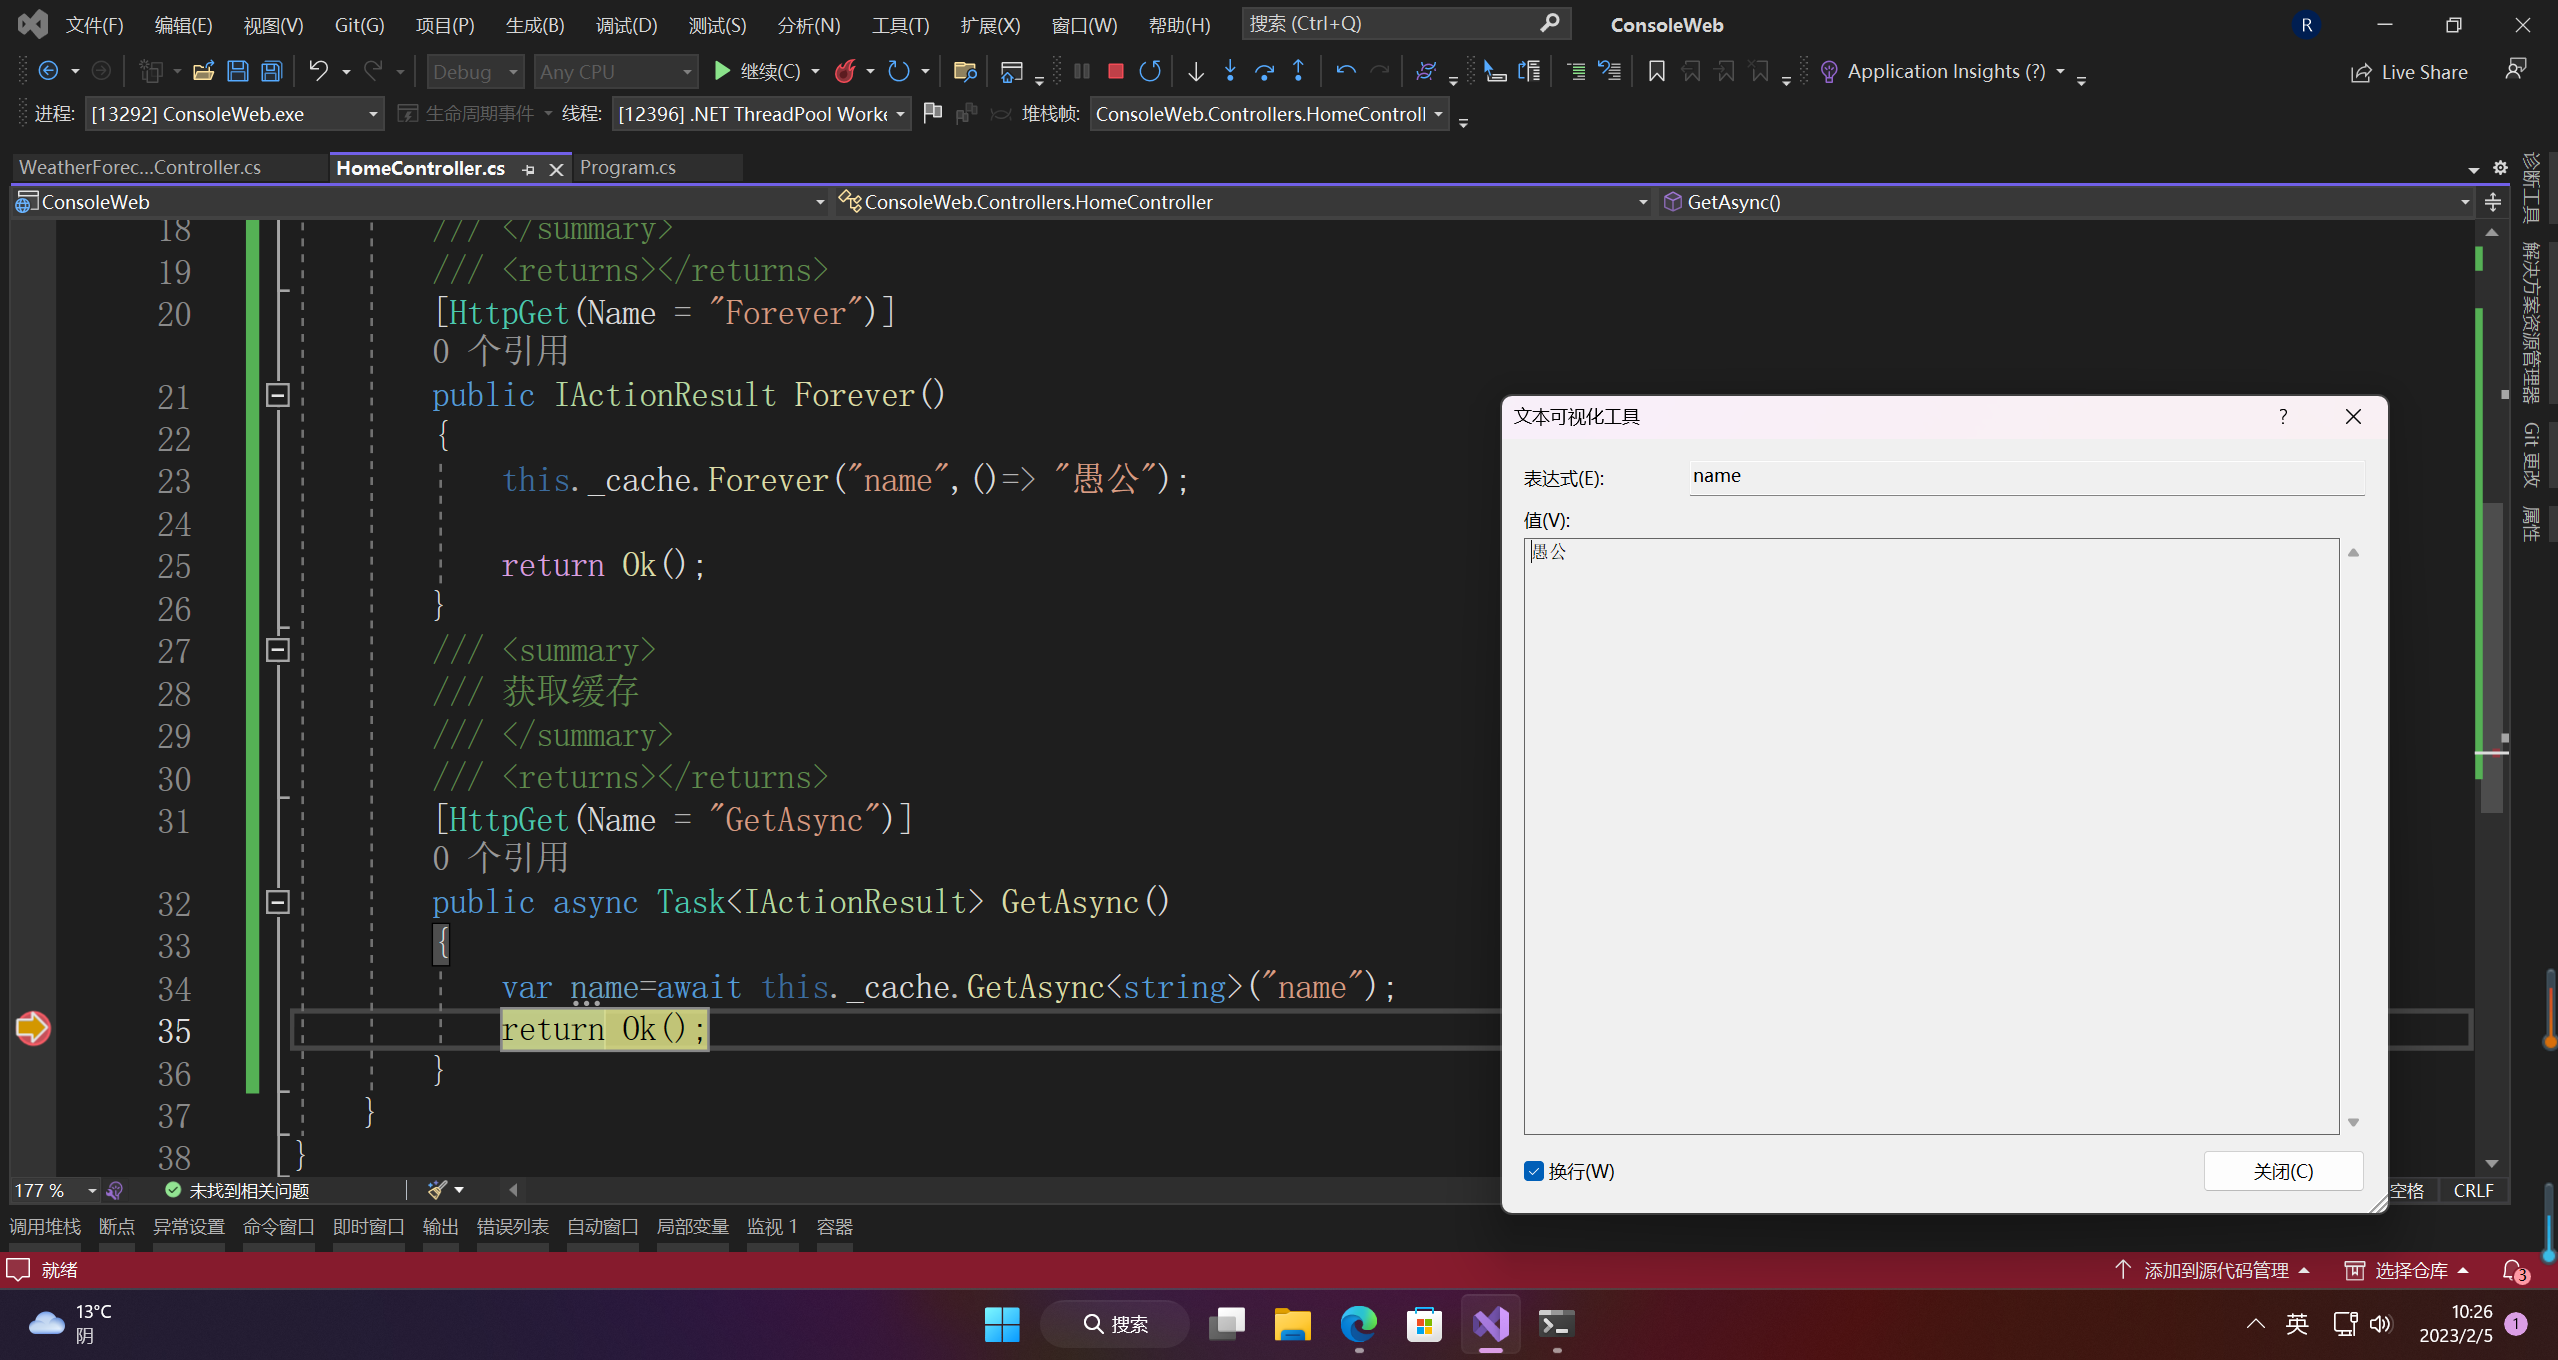
            var name=await this._cache.GetAsync<string>("name");
            return Ok();
        }
    }
}
4.3 运行
5.事件广播
5.1 配置
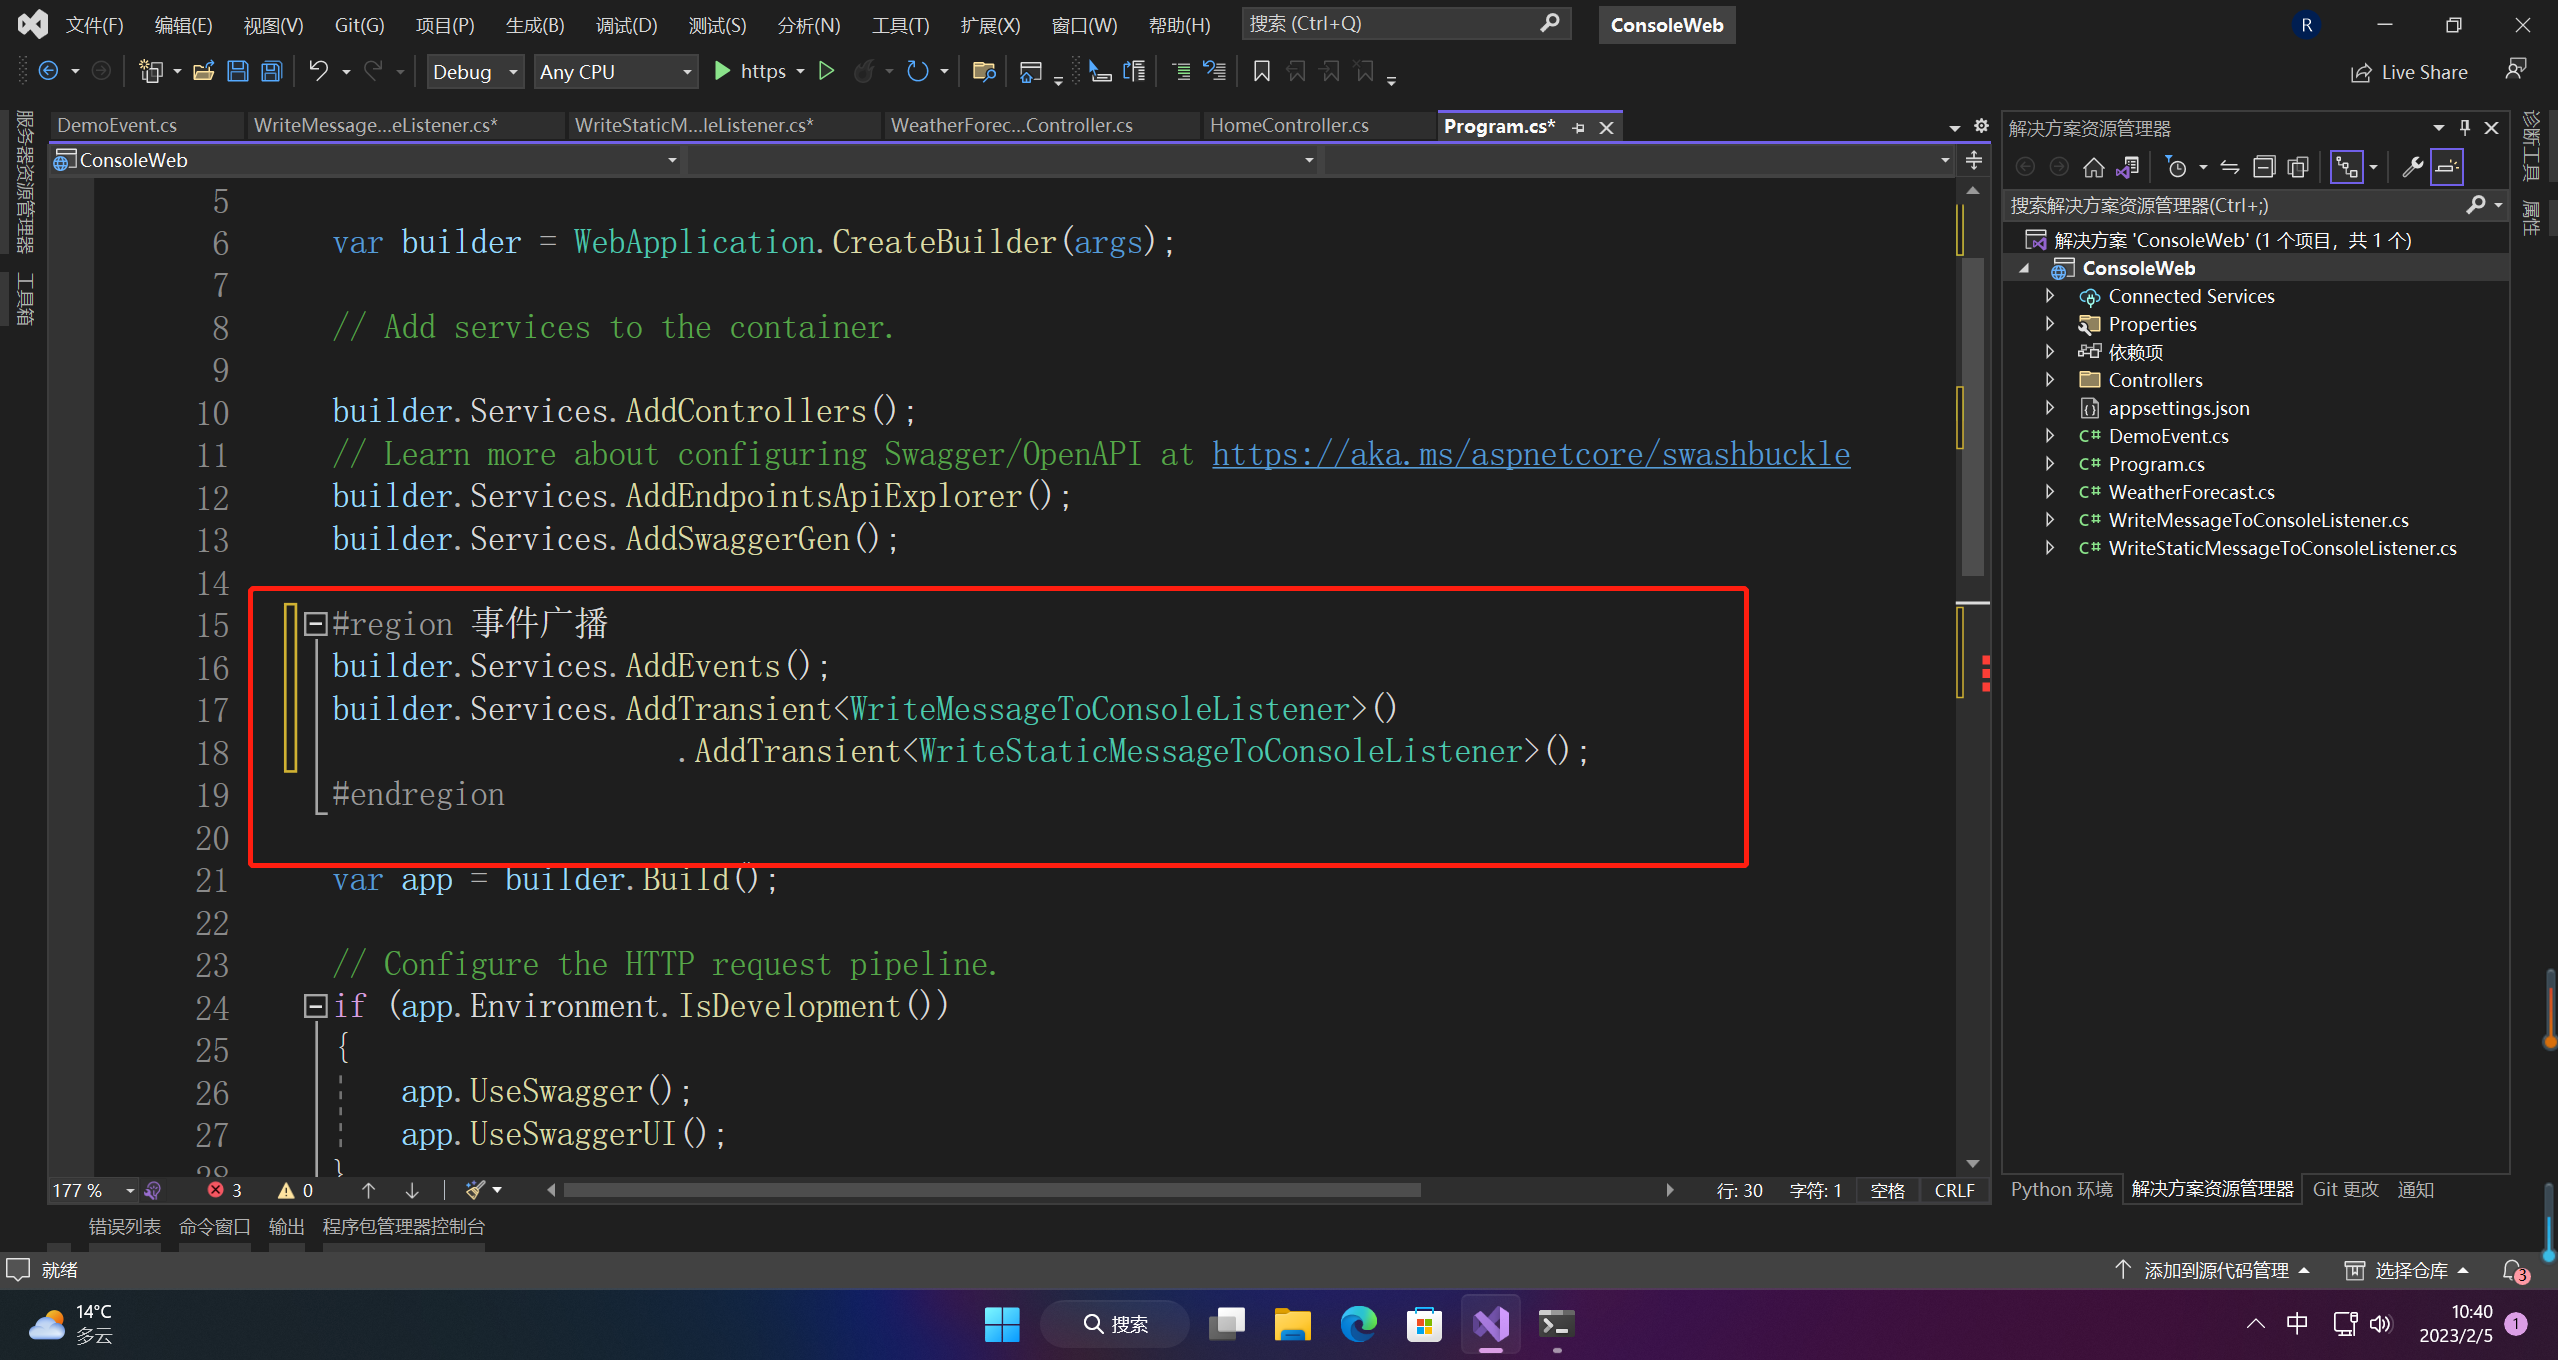
#region 事件广播
builder.Services.AddEvents();
builder.Services.AddTransient<WriteMessageToConsoleListener>()
                    .AddTransient<WriteStaticMessageToConsoleListener>();
#endregion
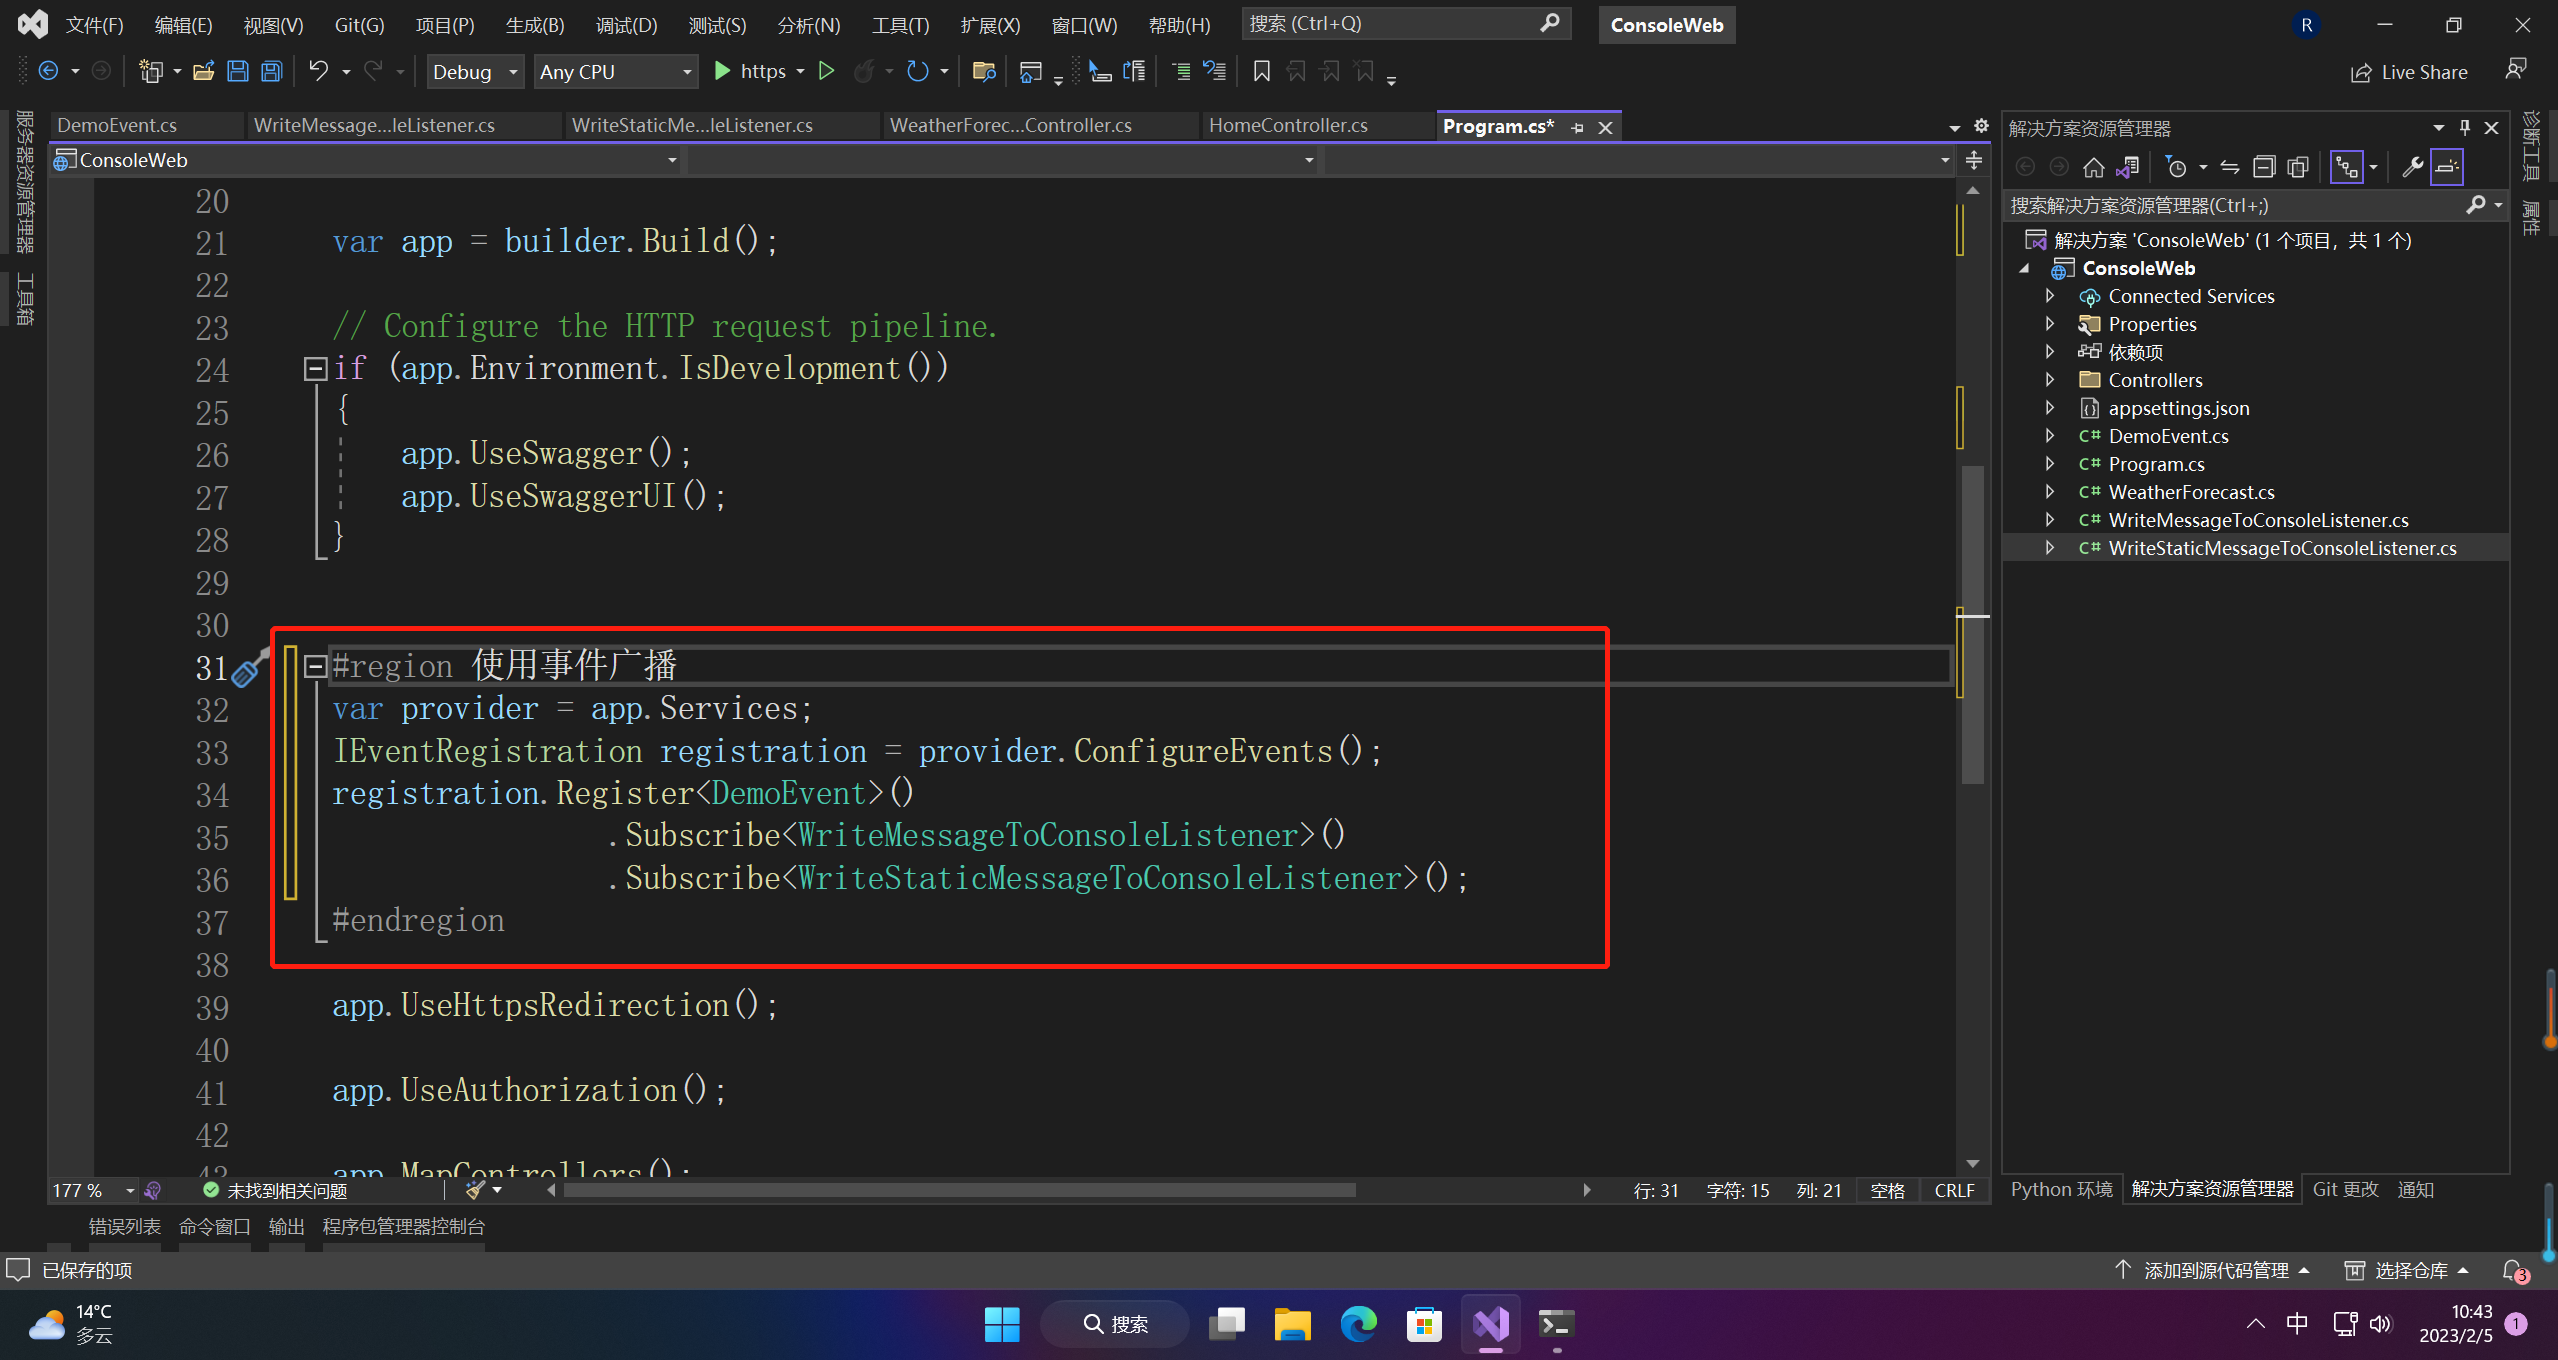
#region 使用事件广播
var provider = app.Services;
IEventRegistration registration = provider.ConfigureEvents();
registration.Register<DemoEvent>()
                .Subscribe<WriteMessageToConsoleListener>()
                .Subscribe<WriteStaticMessageToConsoleListener>();
#endregion
5.2 使用
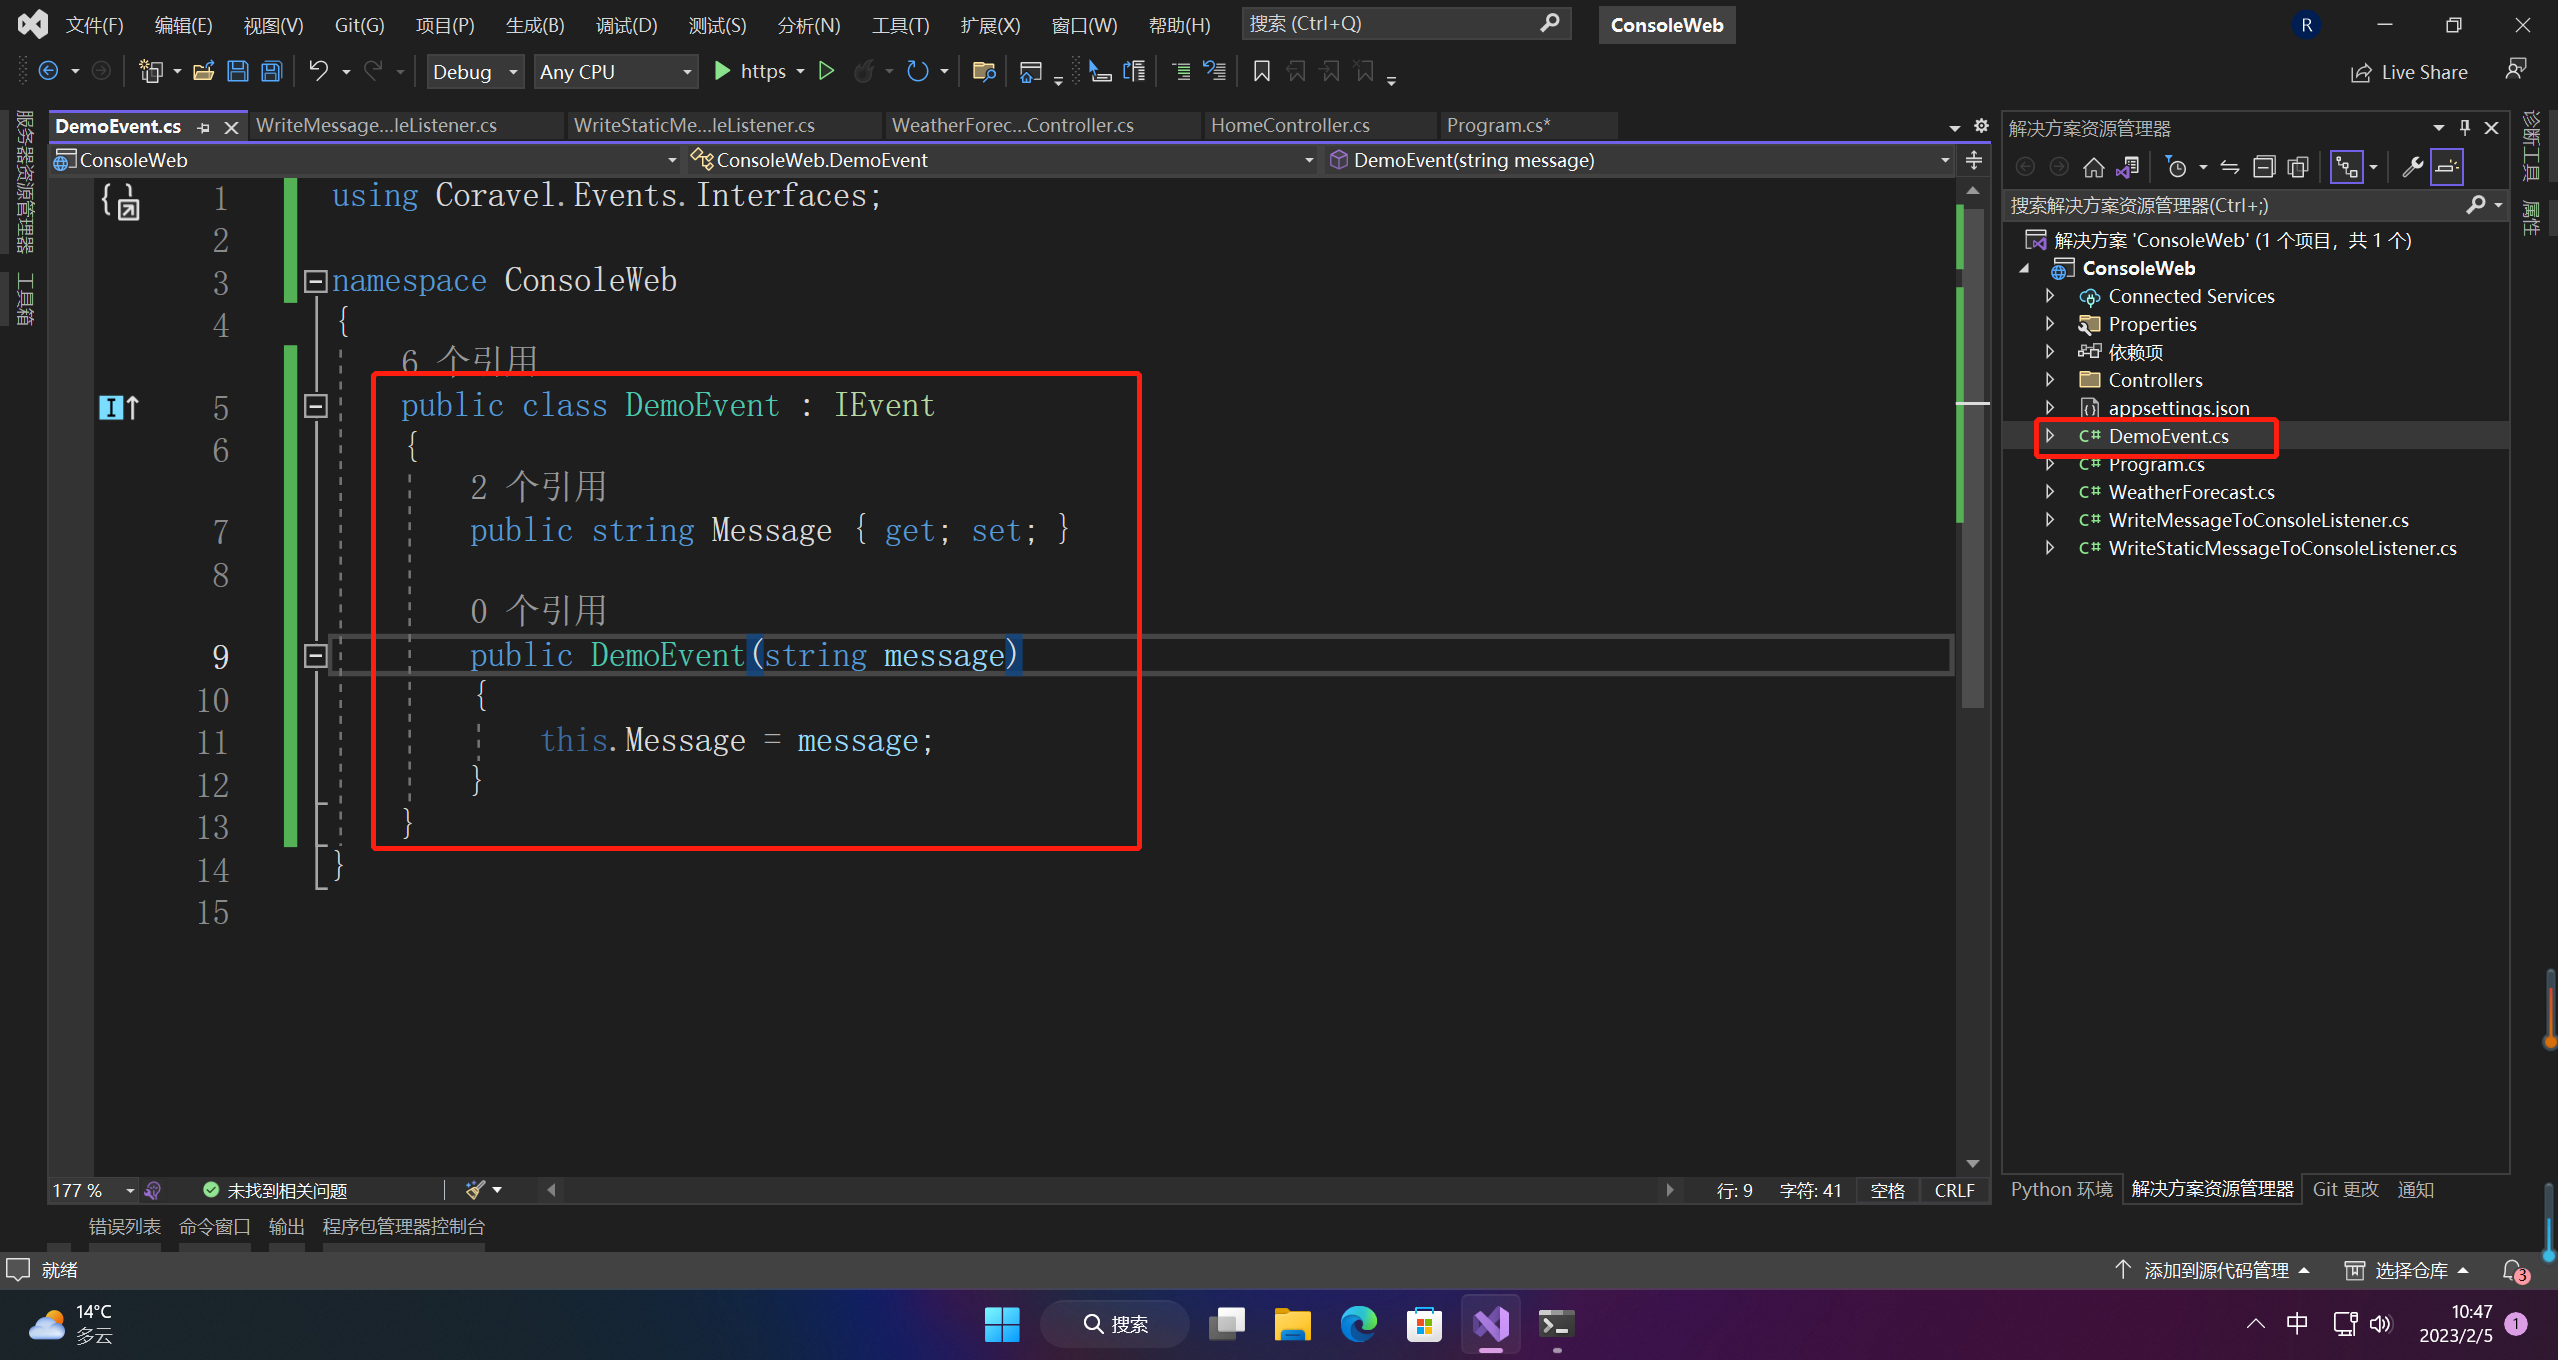
1、创建一个实现接口的类Coravel.Events.Interfaces.IEvent。
public class DemoEvent : IEvent
{
    public string Message { get; set; }

    public DemoEvent(string message)
    {
        this.Message = message;
    }
}
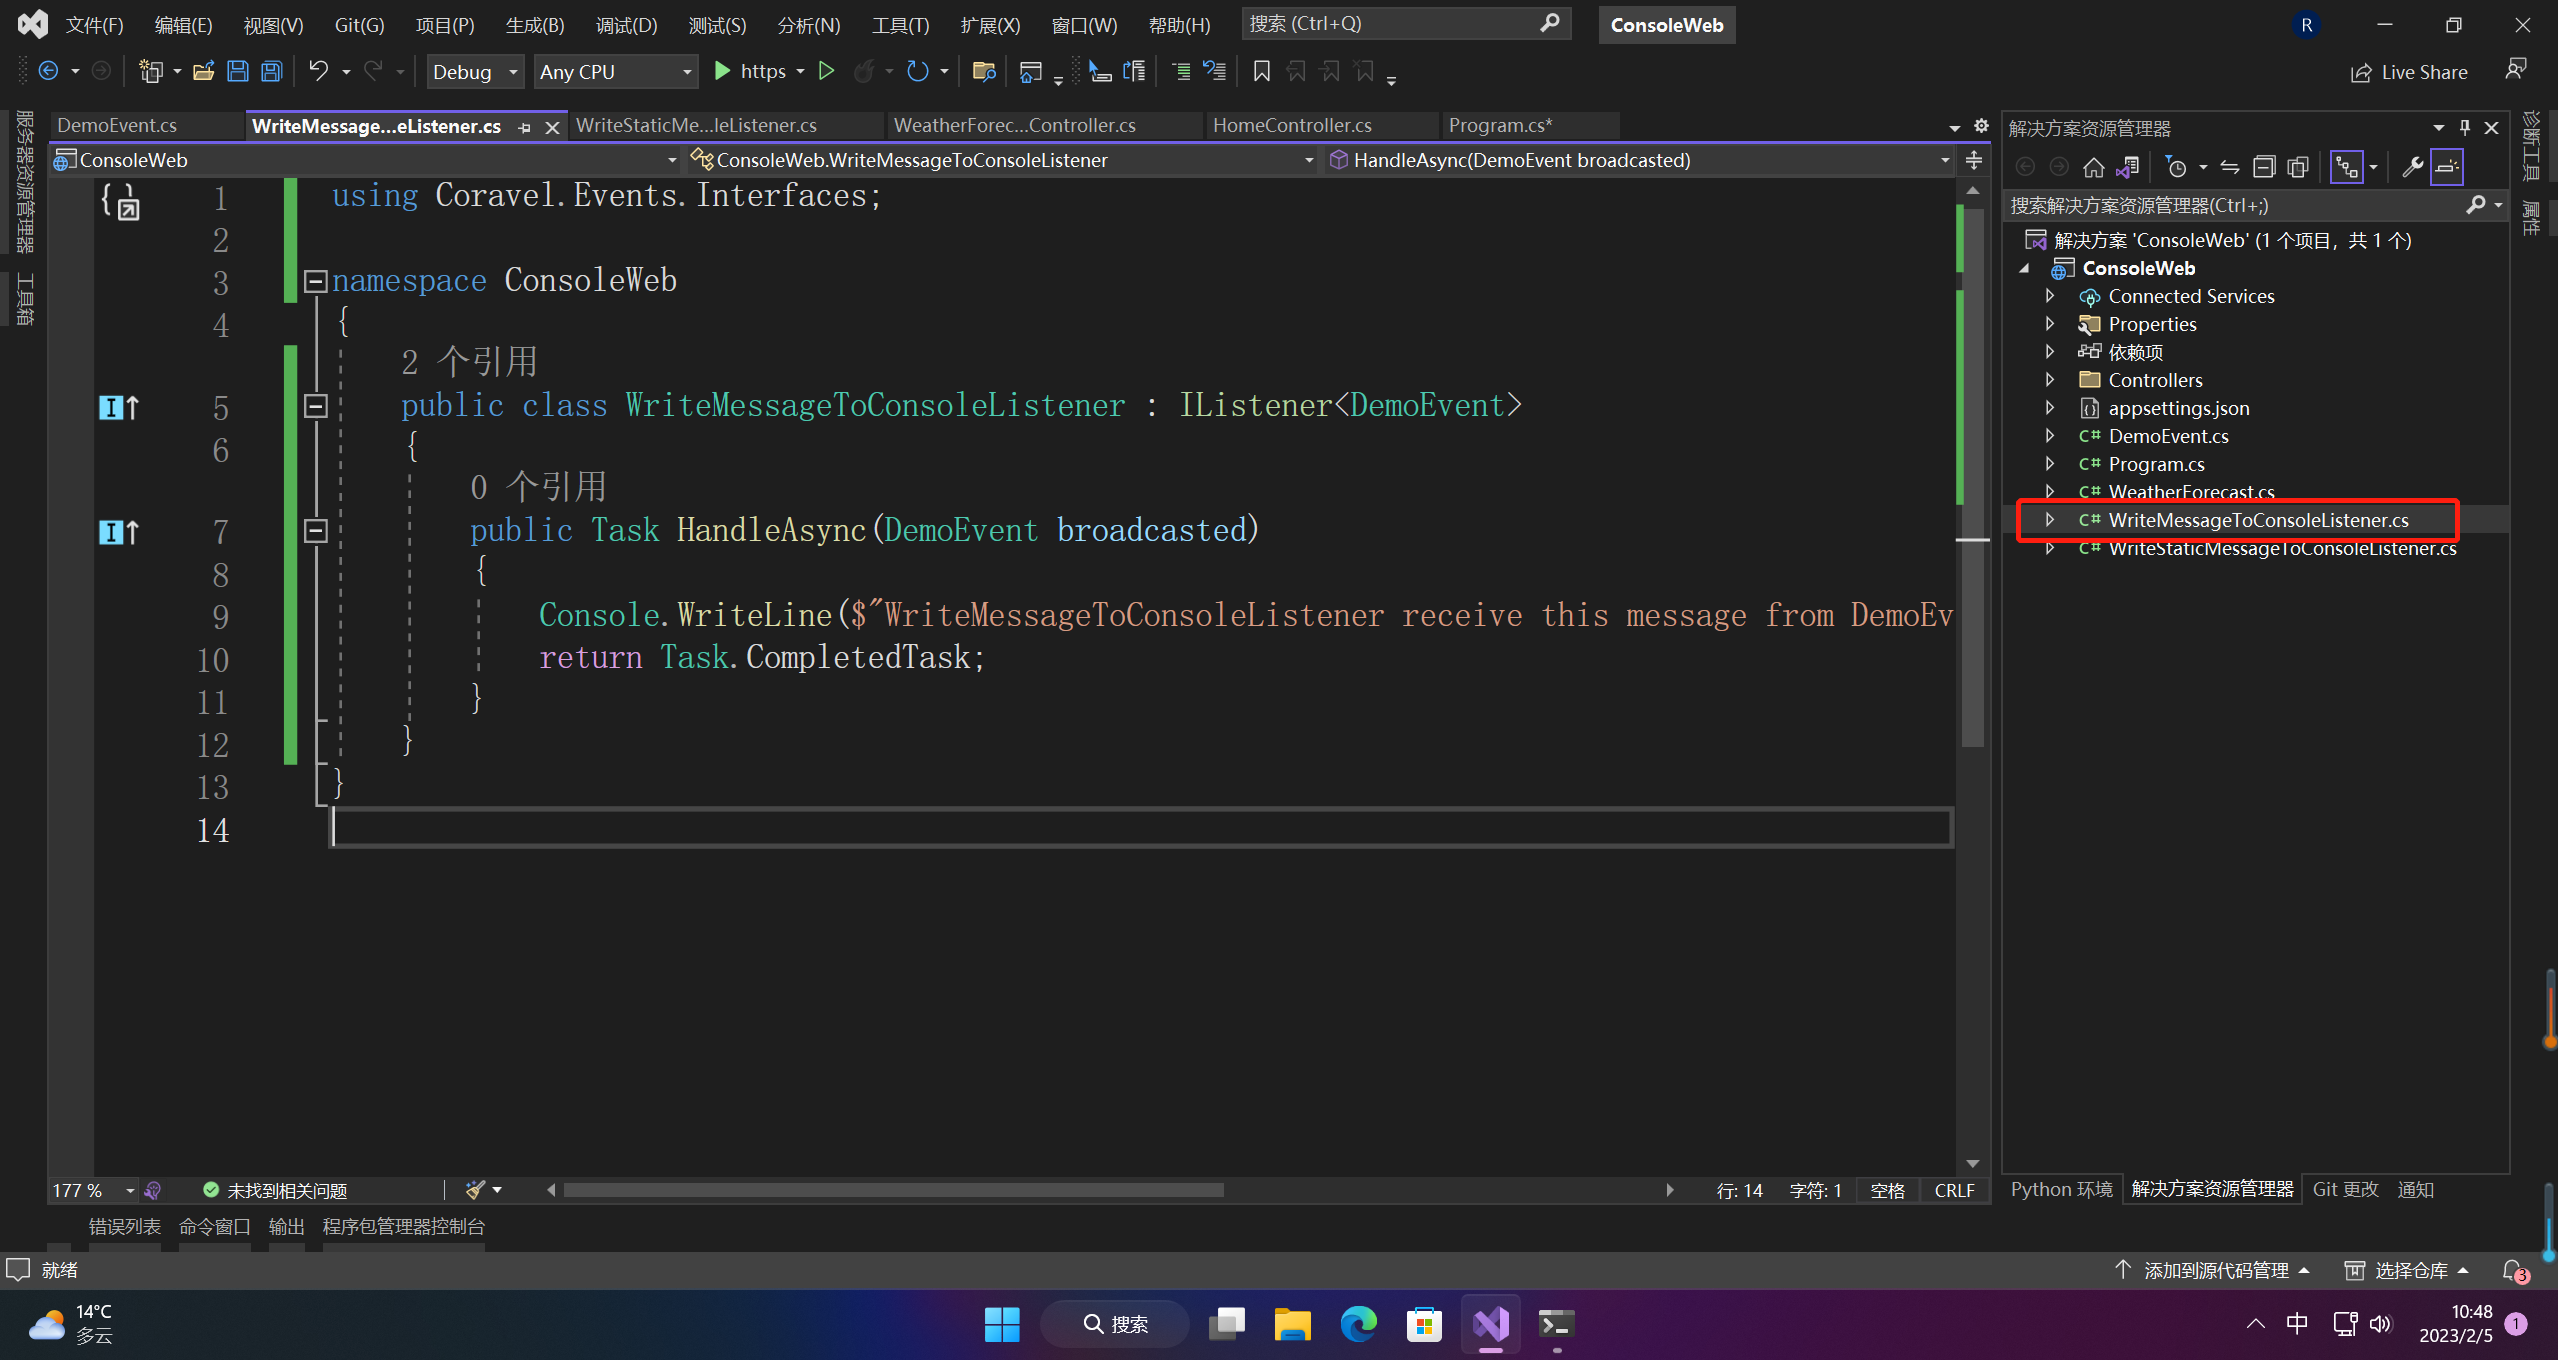
2、实现您将要监听的事件Coravel.Events.Interfaces.IListener的接口
public class WriteMessageToConsoleListener : IListener<DemoEvent>
{
    public Task HandleAsync(DemoEvent broadcasted)
    {
        Console.WriteLine($"WriteMessageToConsoleListener receive this message from DemoEvent: ${broadcasted.Message}");
        return Task.CompletedTask;
    }
}
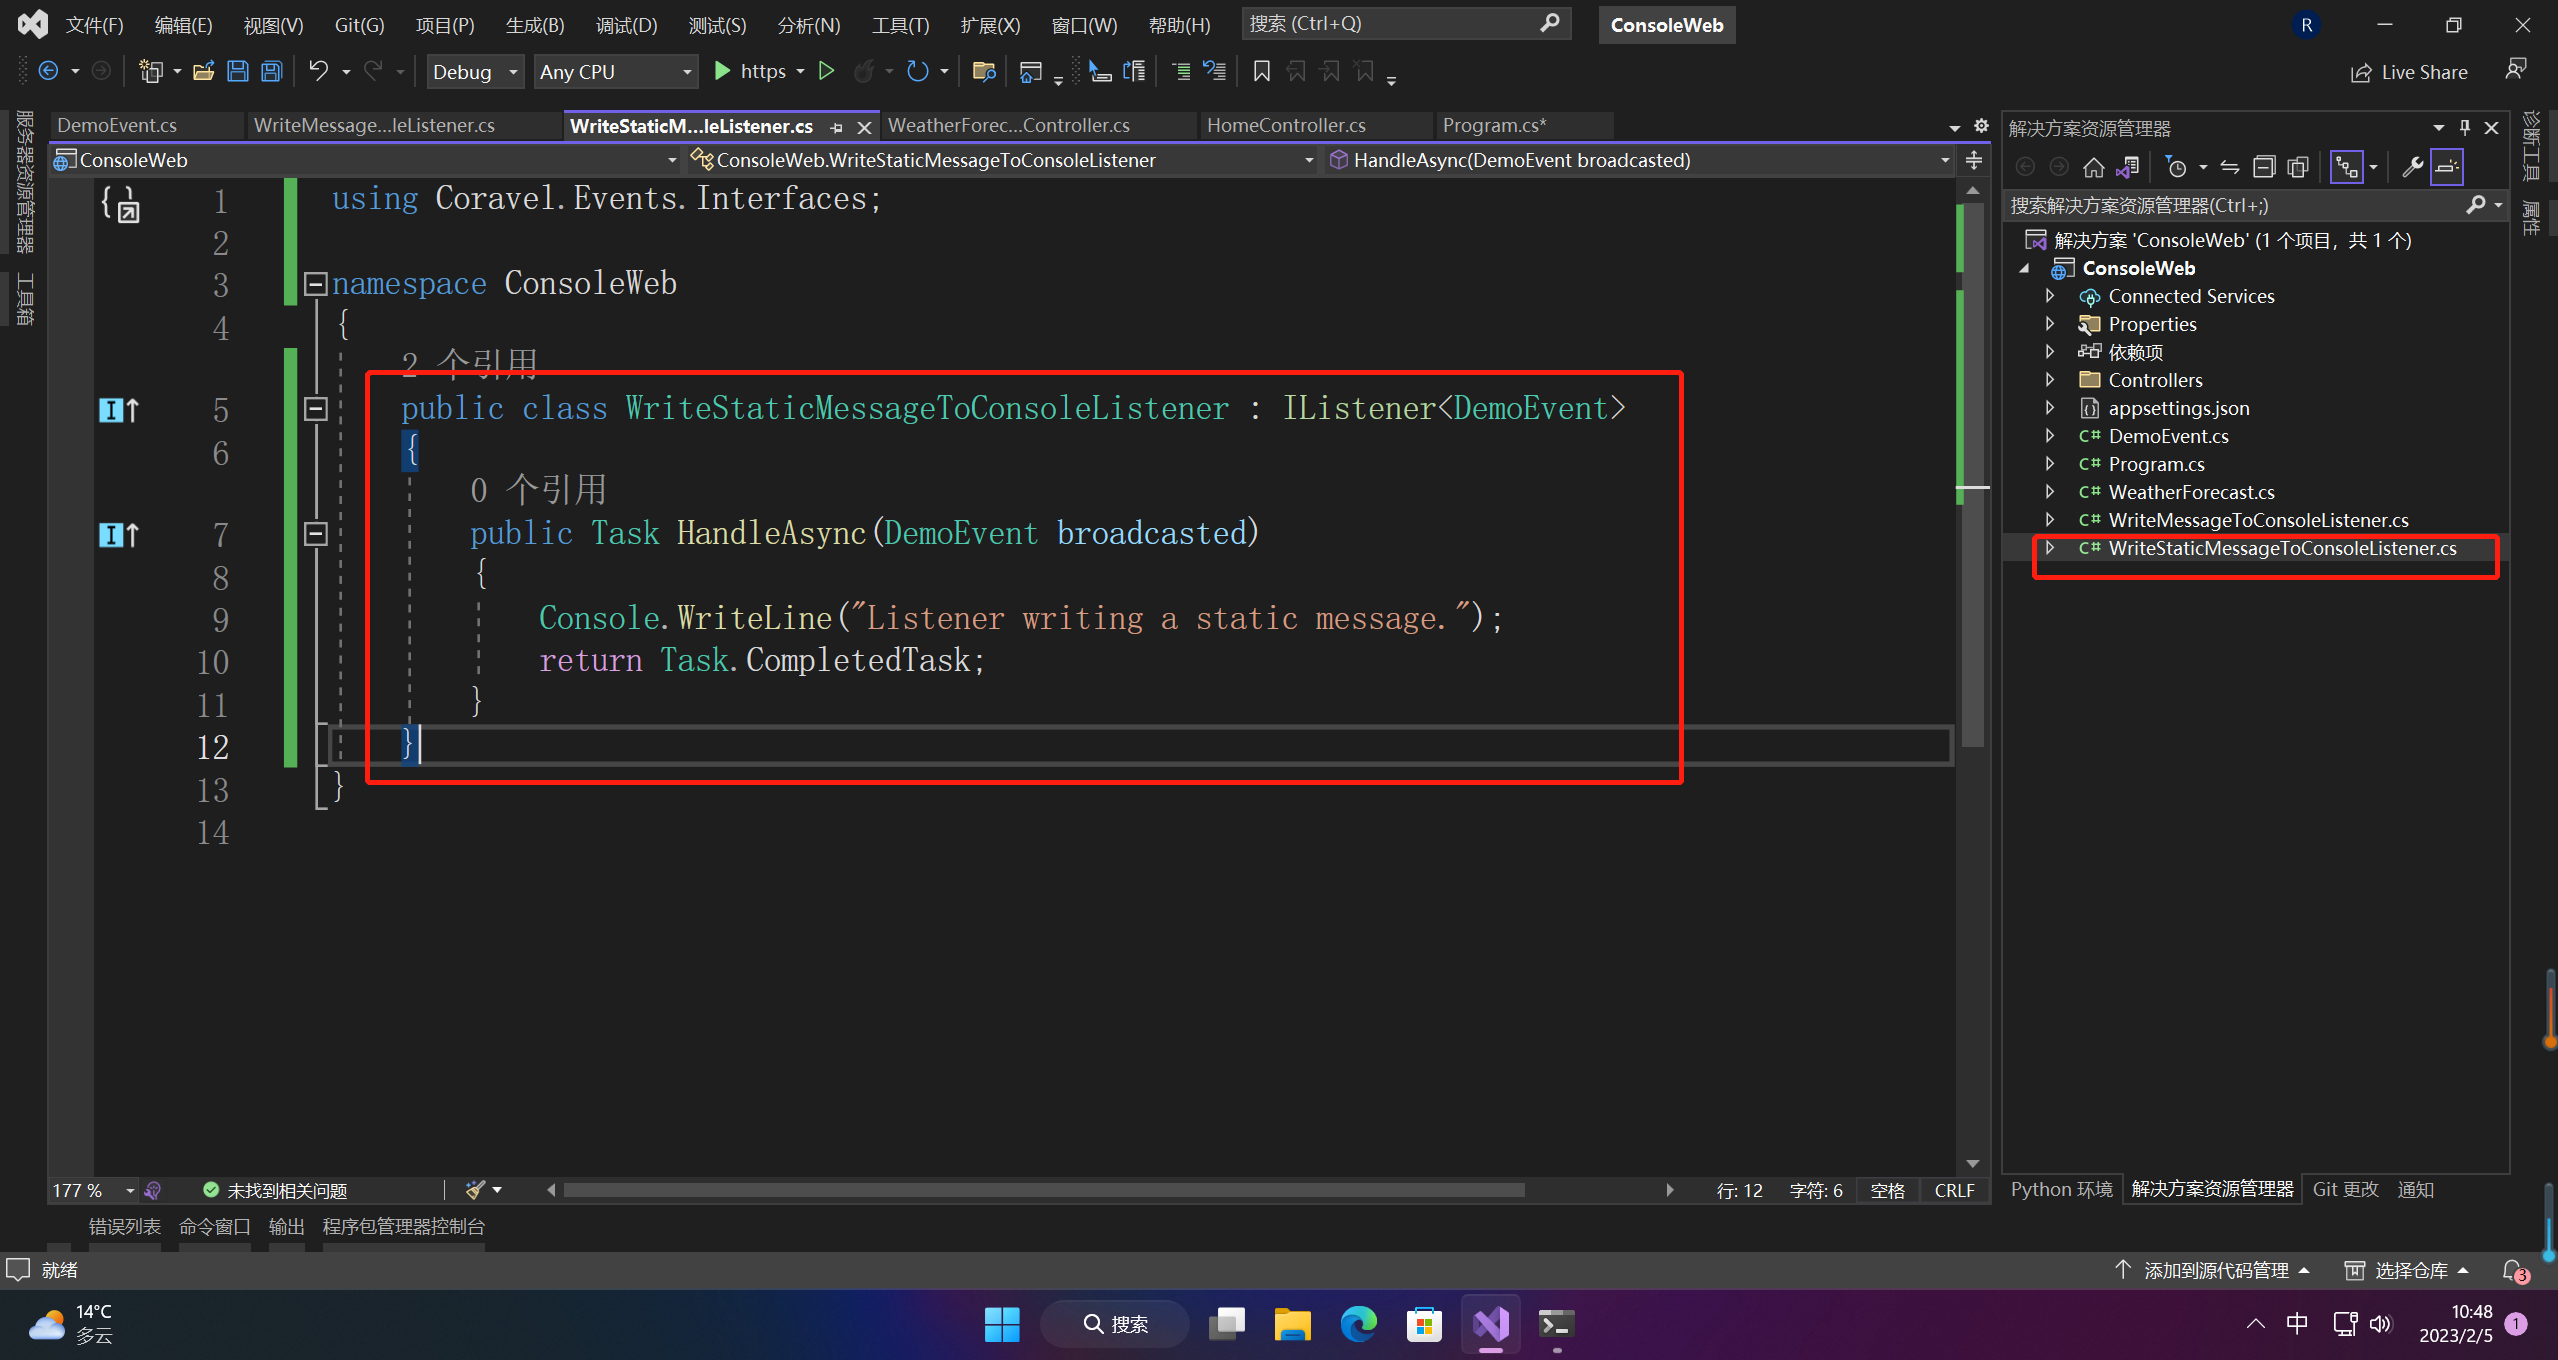
public class WriteStaticMessageToConsoleListener : IListener<DemoEvent>
{
    public Task HandleAsync(DemoEvent broadcasted)
    {
        Console.WriteLine("Listener writing a static message.");
        return Task.CompletedTask;
    }
}
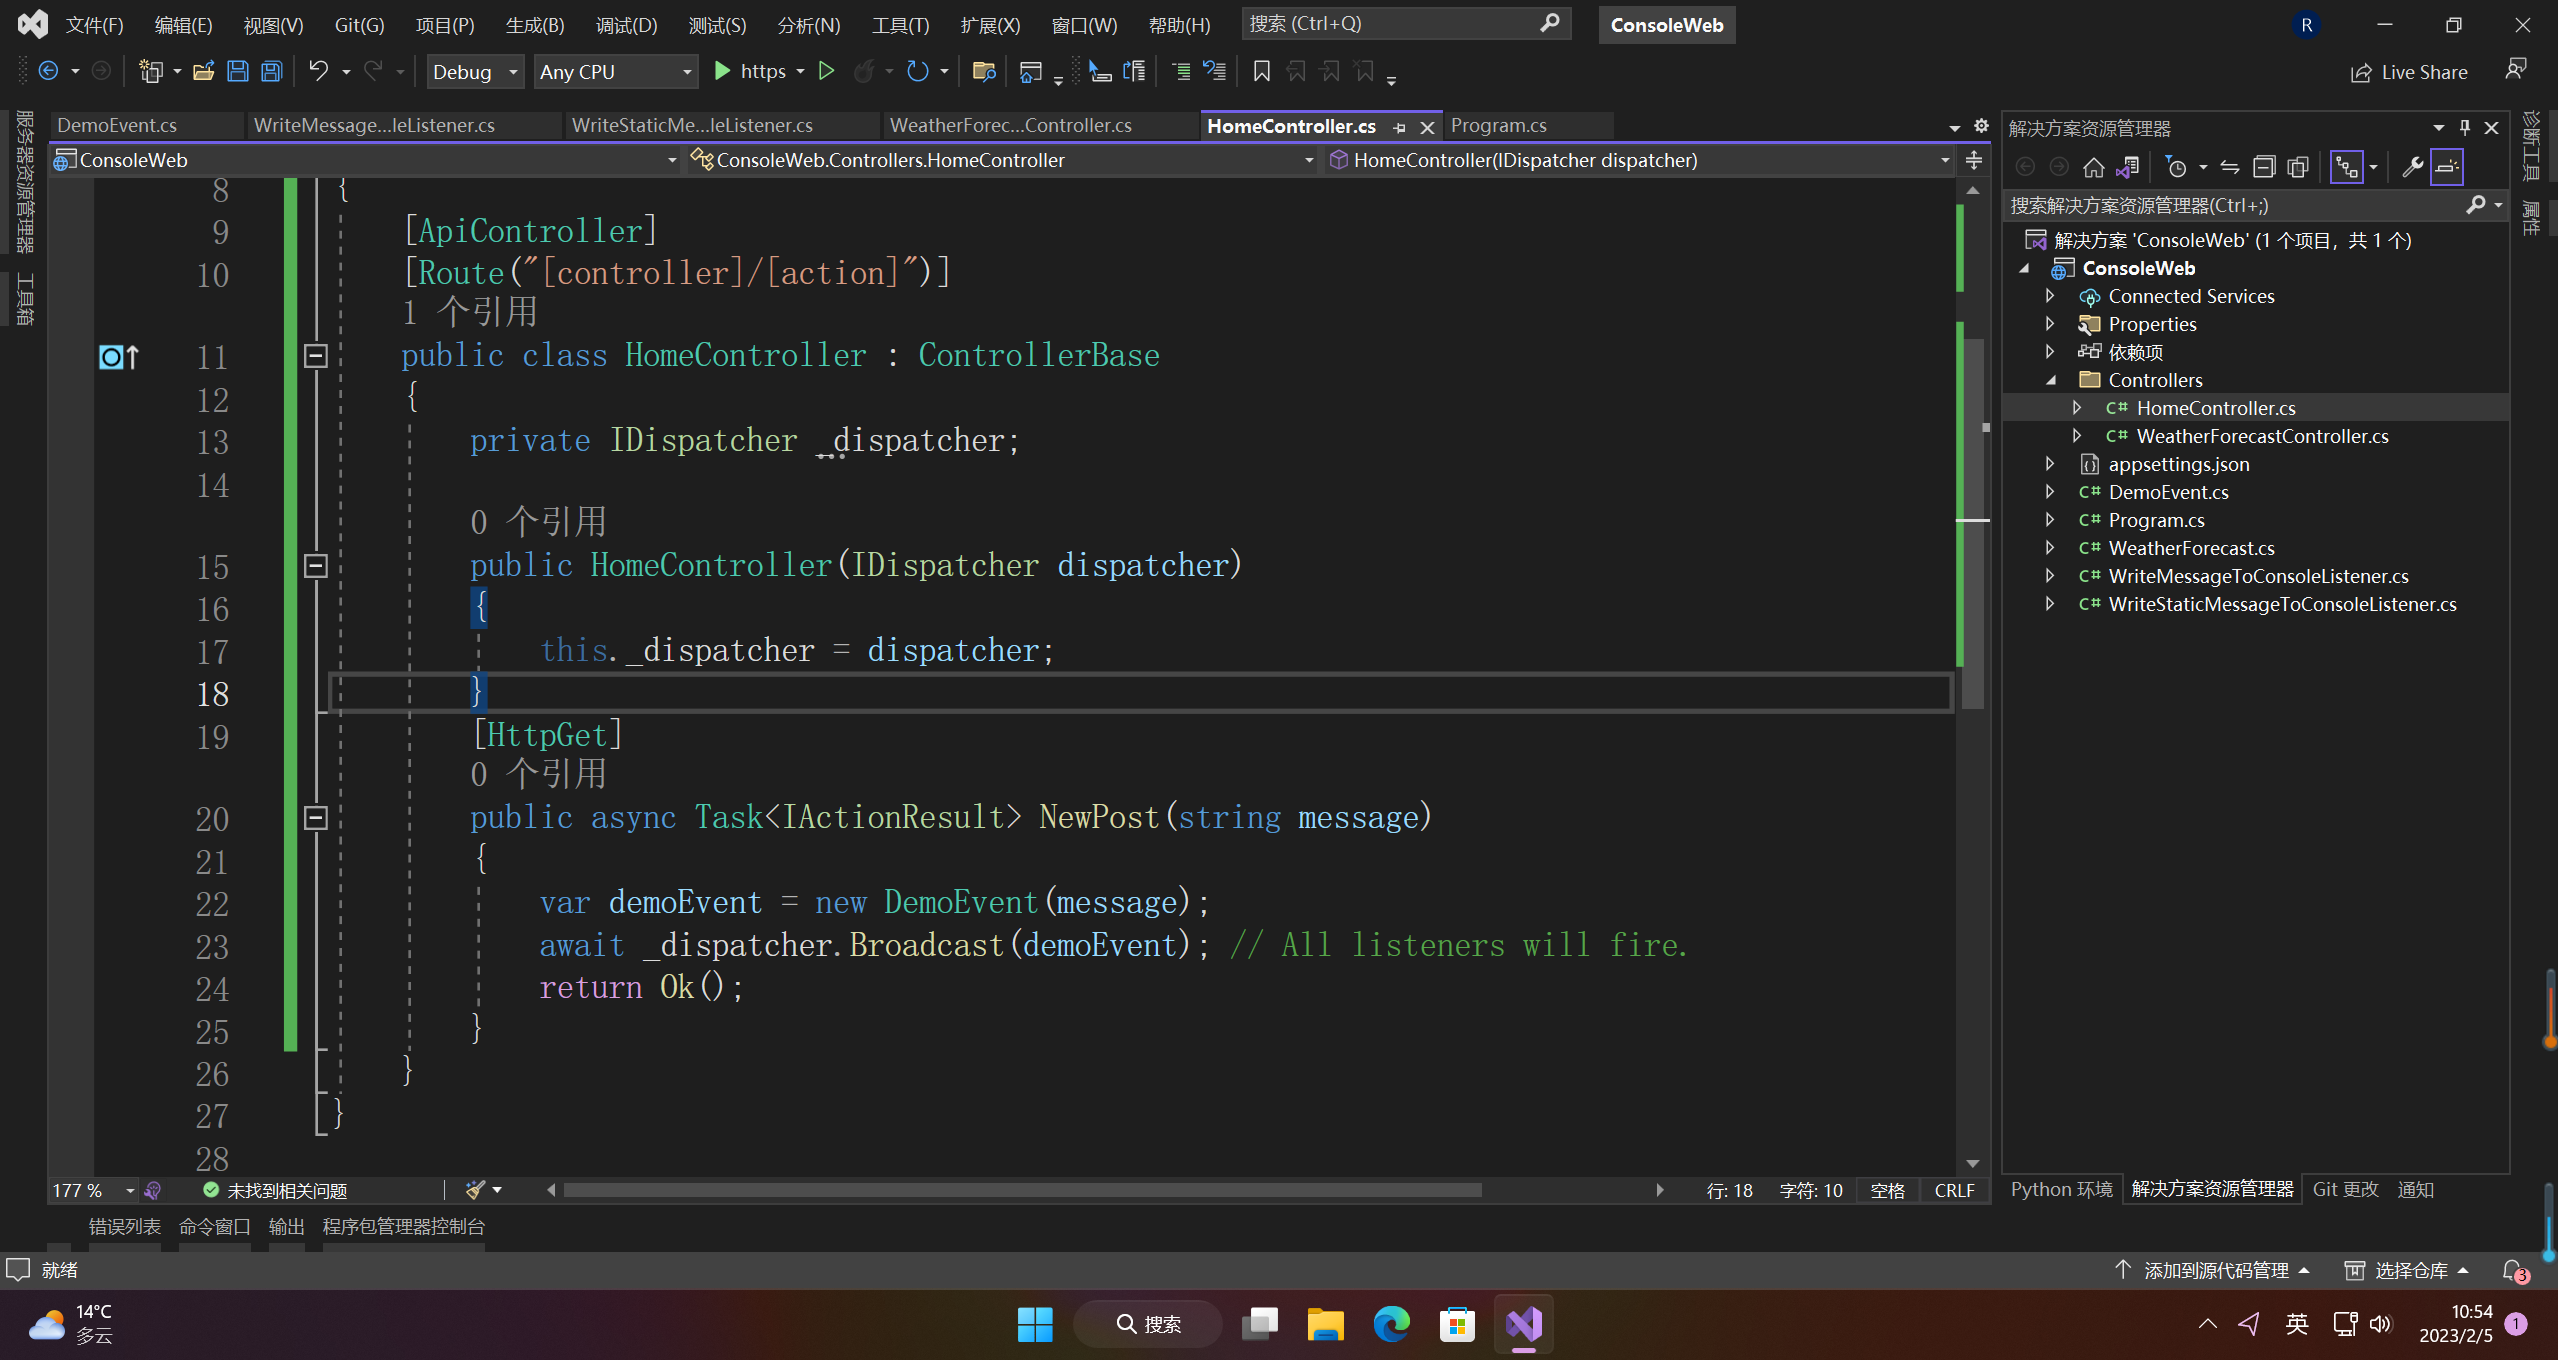
3、控制器中使用
using Coravel.Cache.Interfaces;
using Coravel.Events.Interfaces;
using Coravel.Queuing.Interfaces;
using Microsoft.AspNetCore.Http.HttpResults;
using Microsoft.AspNetCore.Mvc;

namespace ConsoleWeb.Controllers
{
    [ApiController]
    [Route("[controller]/[action]")]
    public class HomeController : ControllerBase
    {
        private IDispatcher _dispatcher;

        public HomeController(IDispatcher dispatcher)
        {
            this._dispatcher = dispatcher;
        }
        [HttpGet]
        public async Task<IActionResult> NewPost(string message)
        {
            var demoEvent = new DemoEvent(message);
            await _dispatcher.Broadcast(demoEvent); // All listeners will fire.
            return Ok();
        }
    }
}
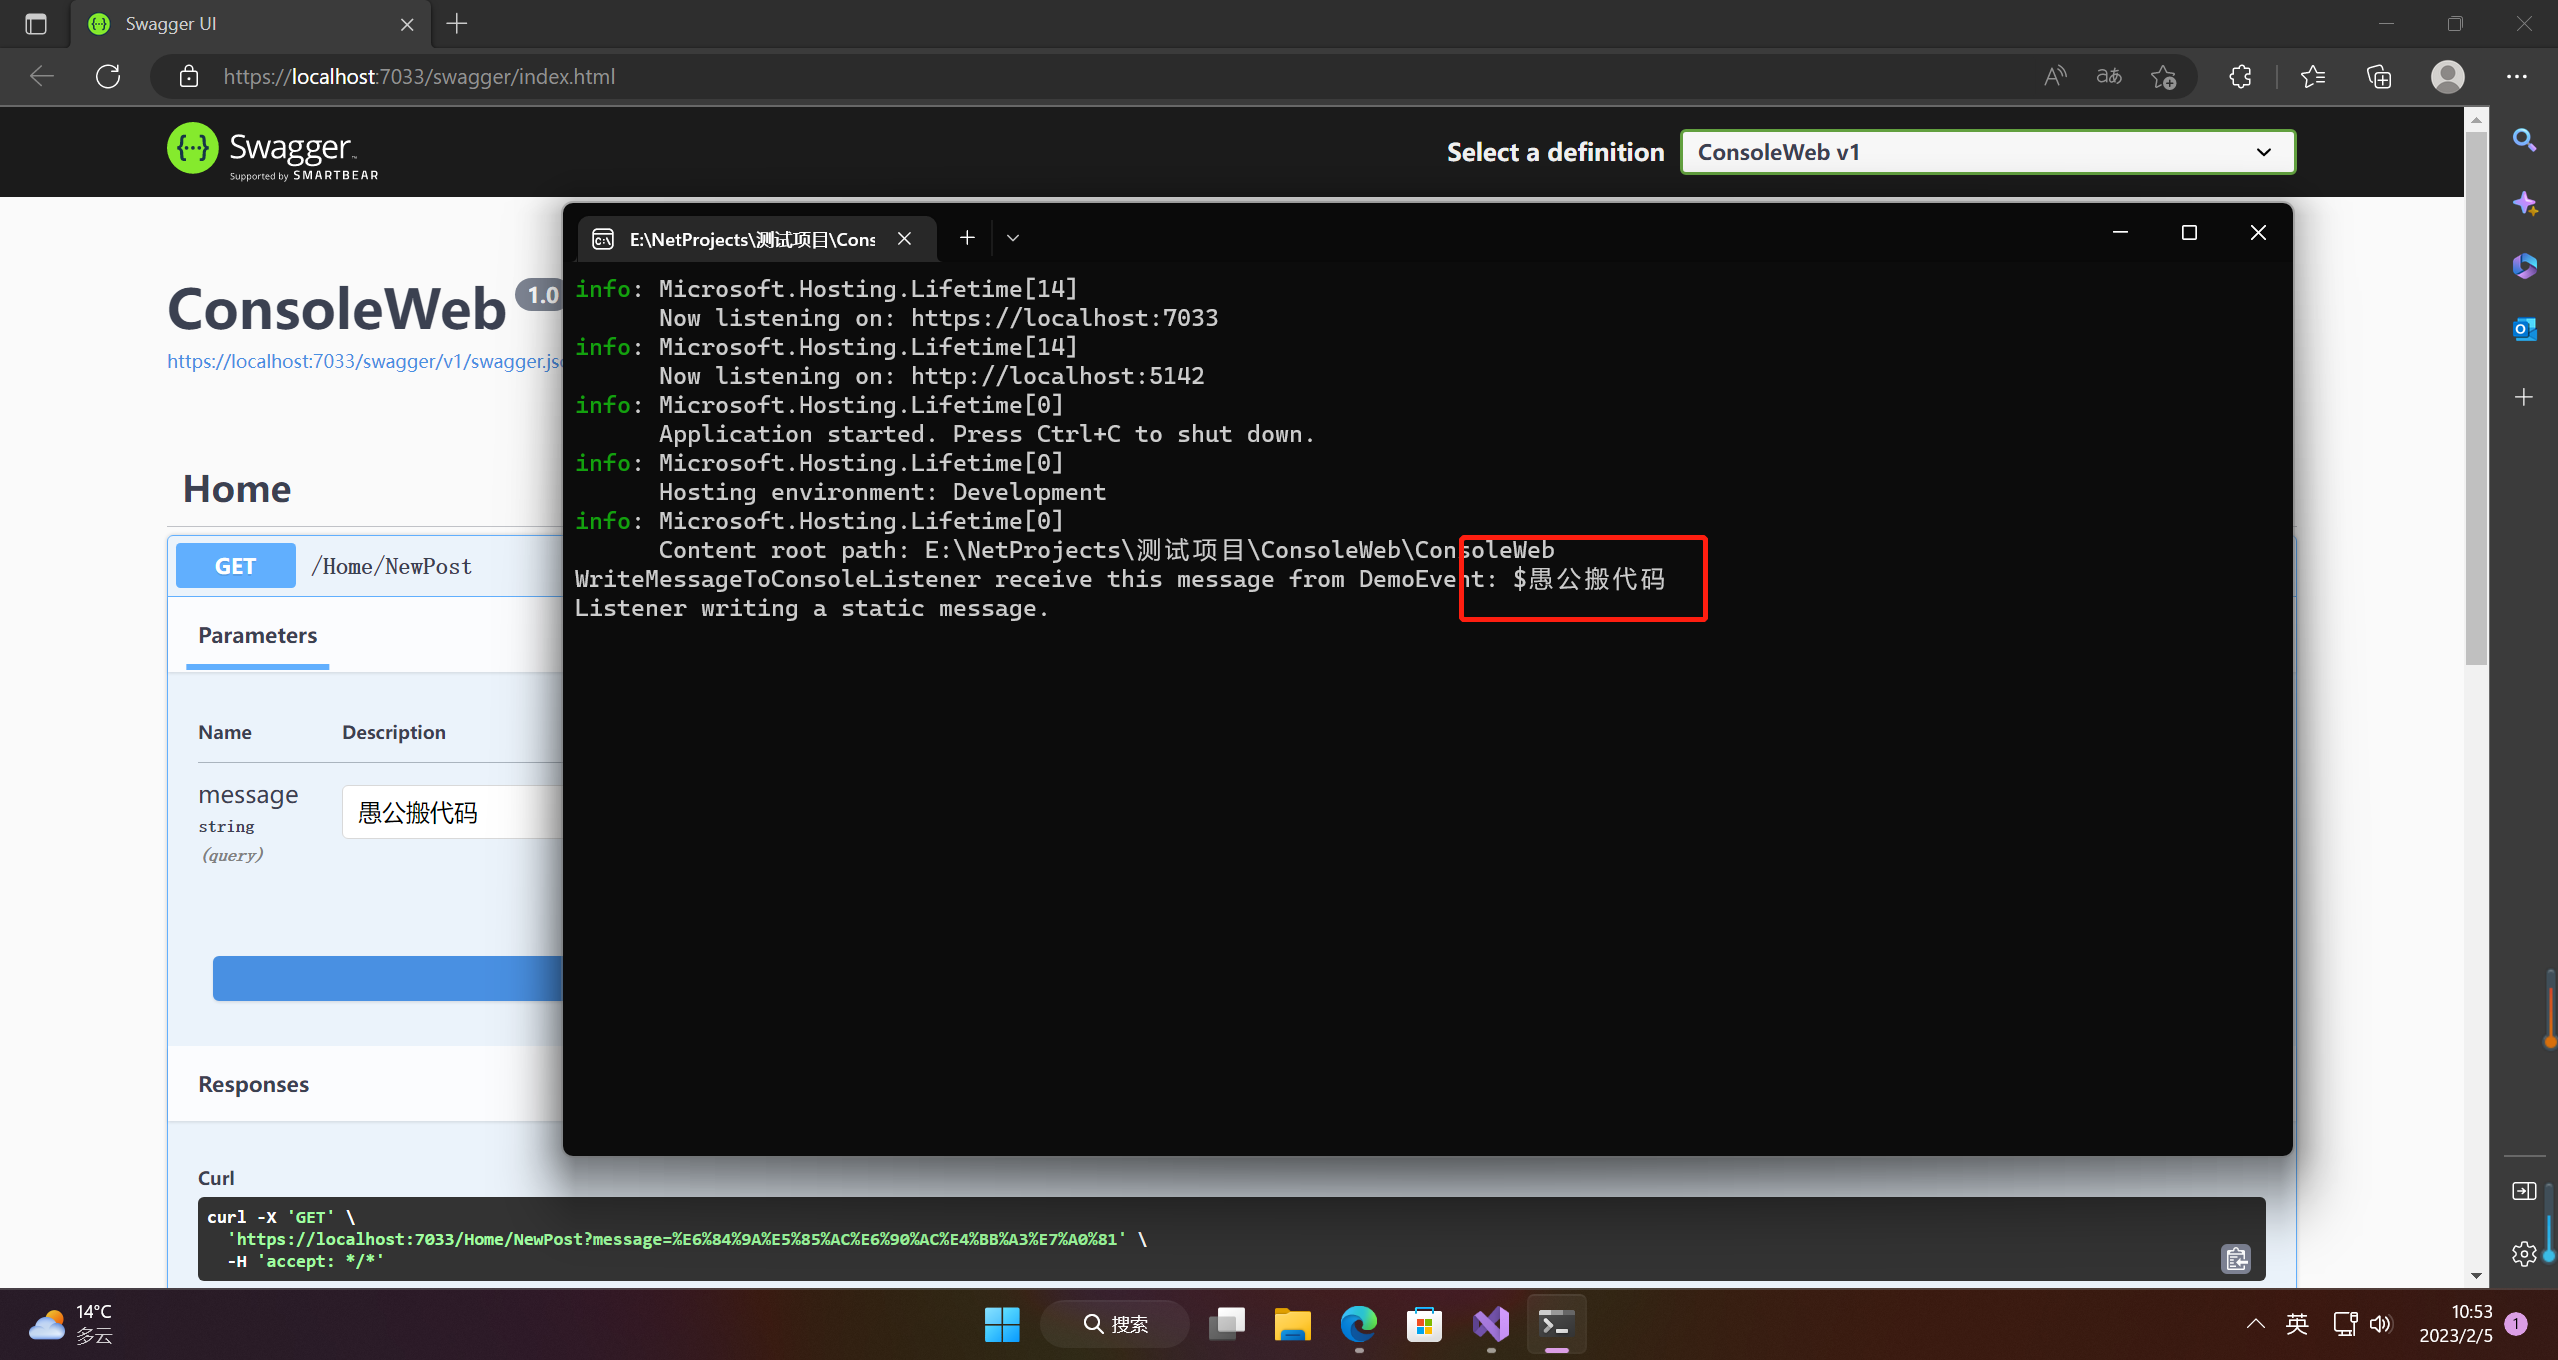
5.3 运行
6.邮件
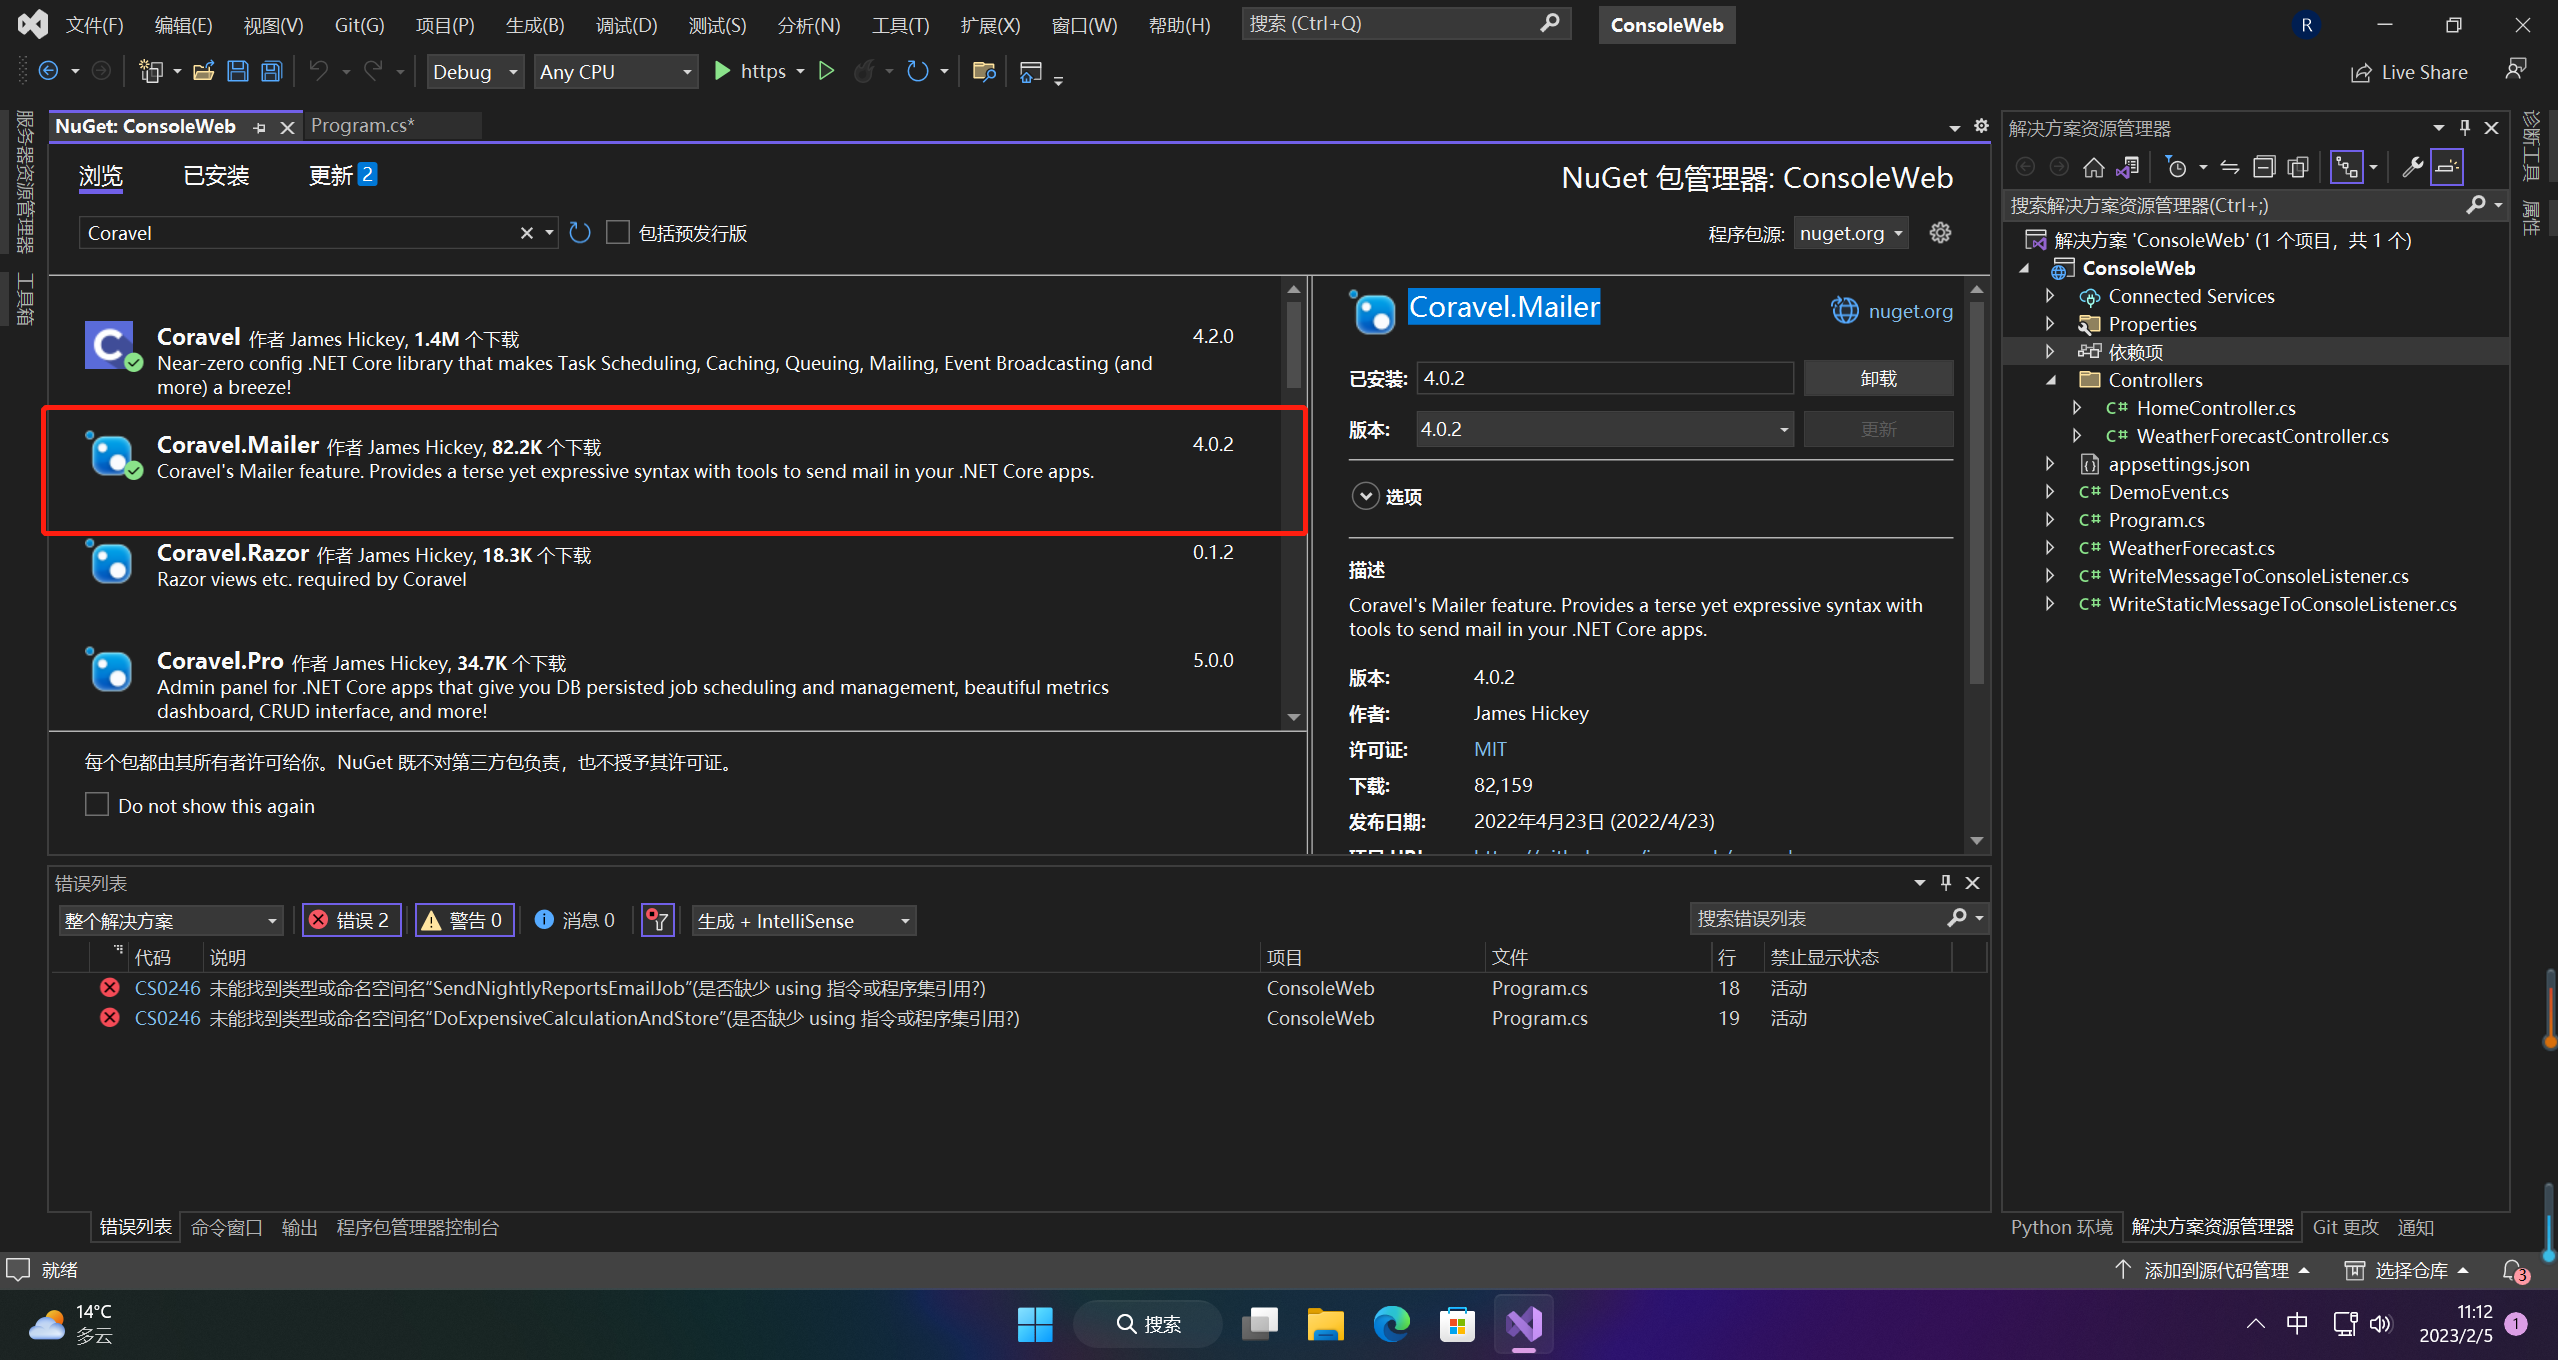
额外安装包
Coravel.Mailer
6.1 配置
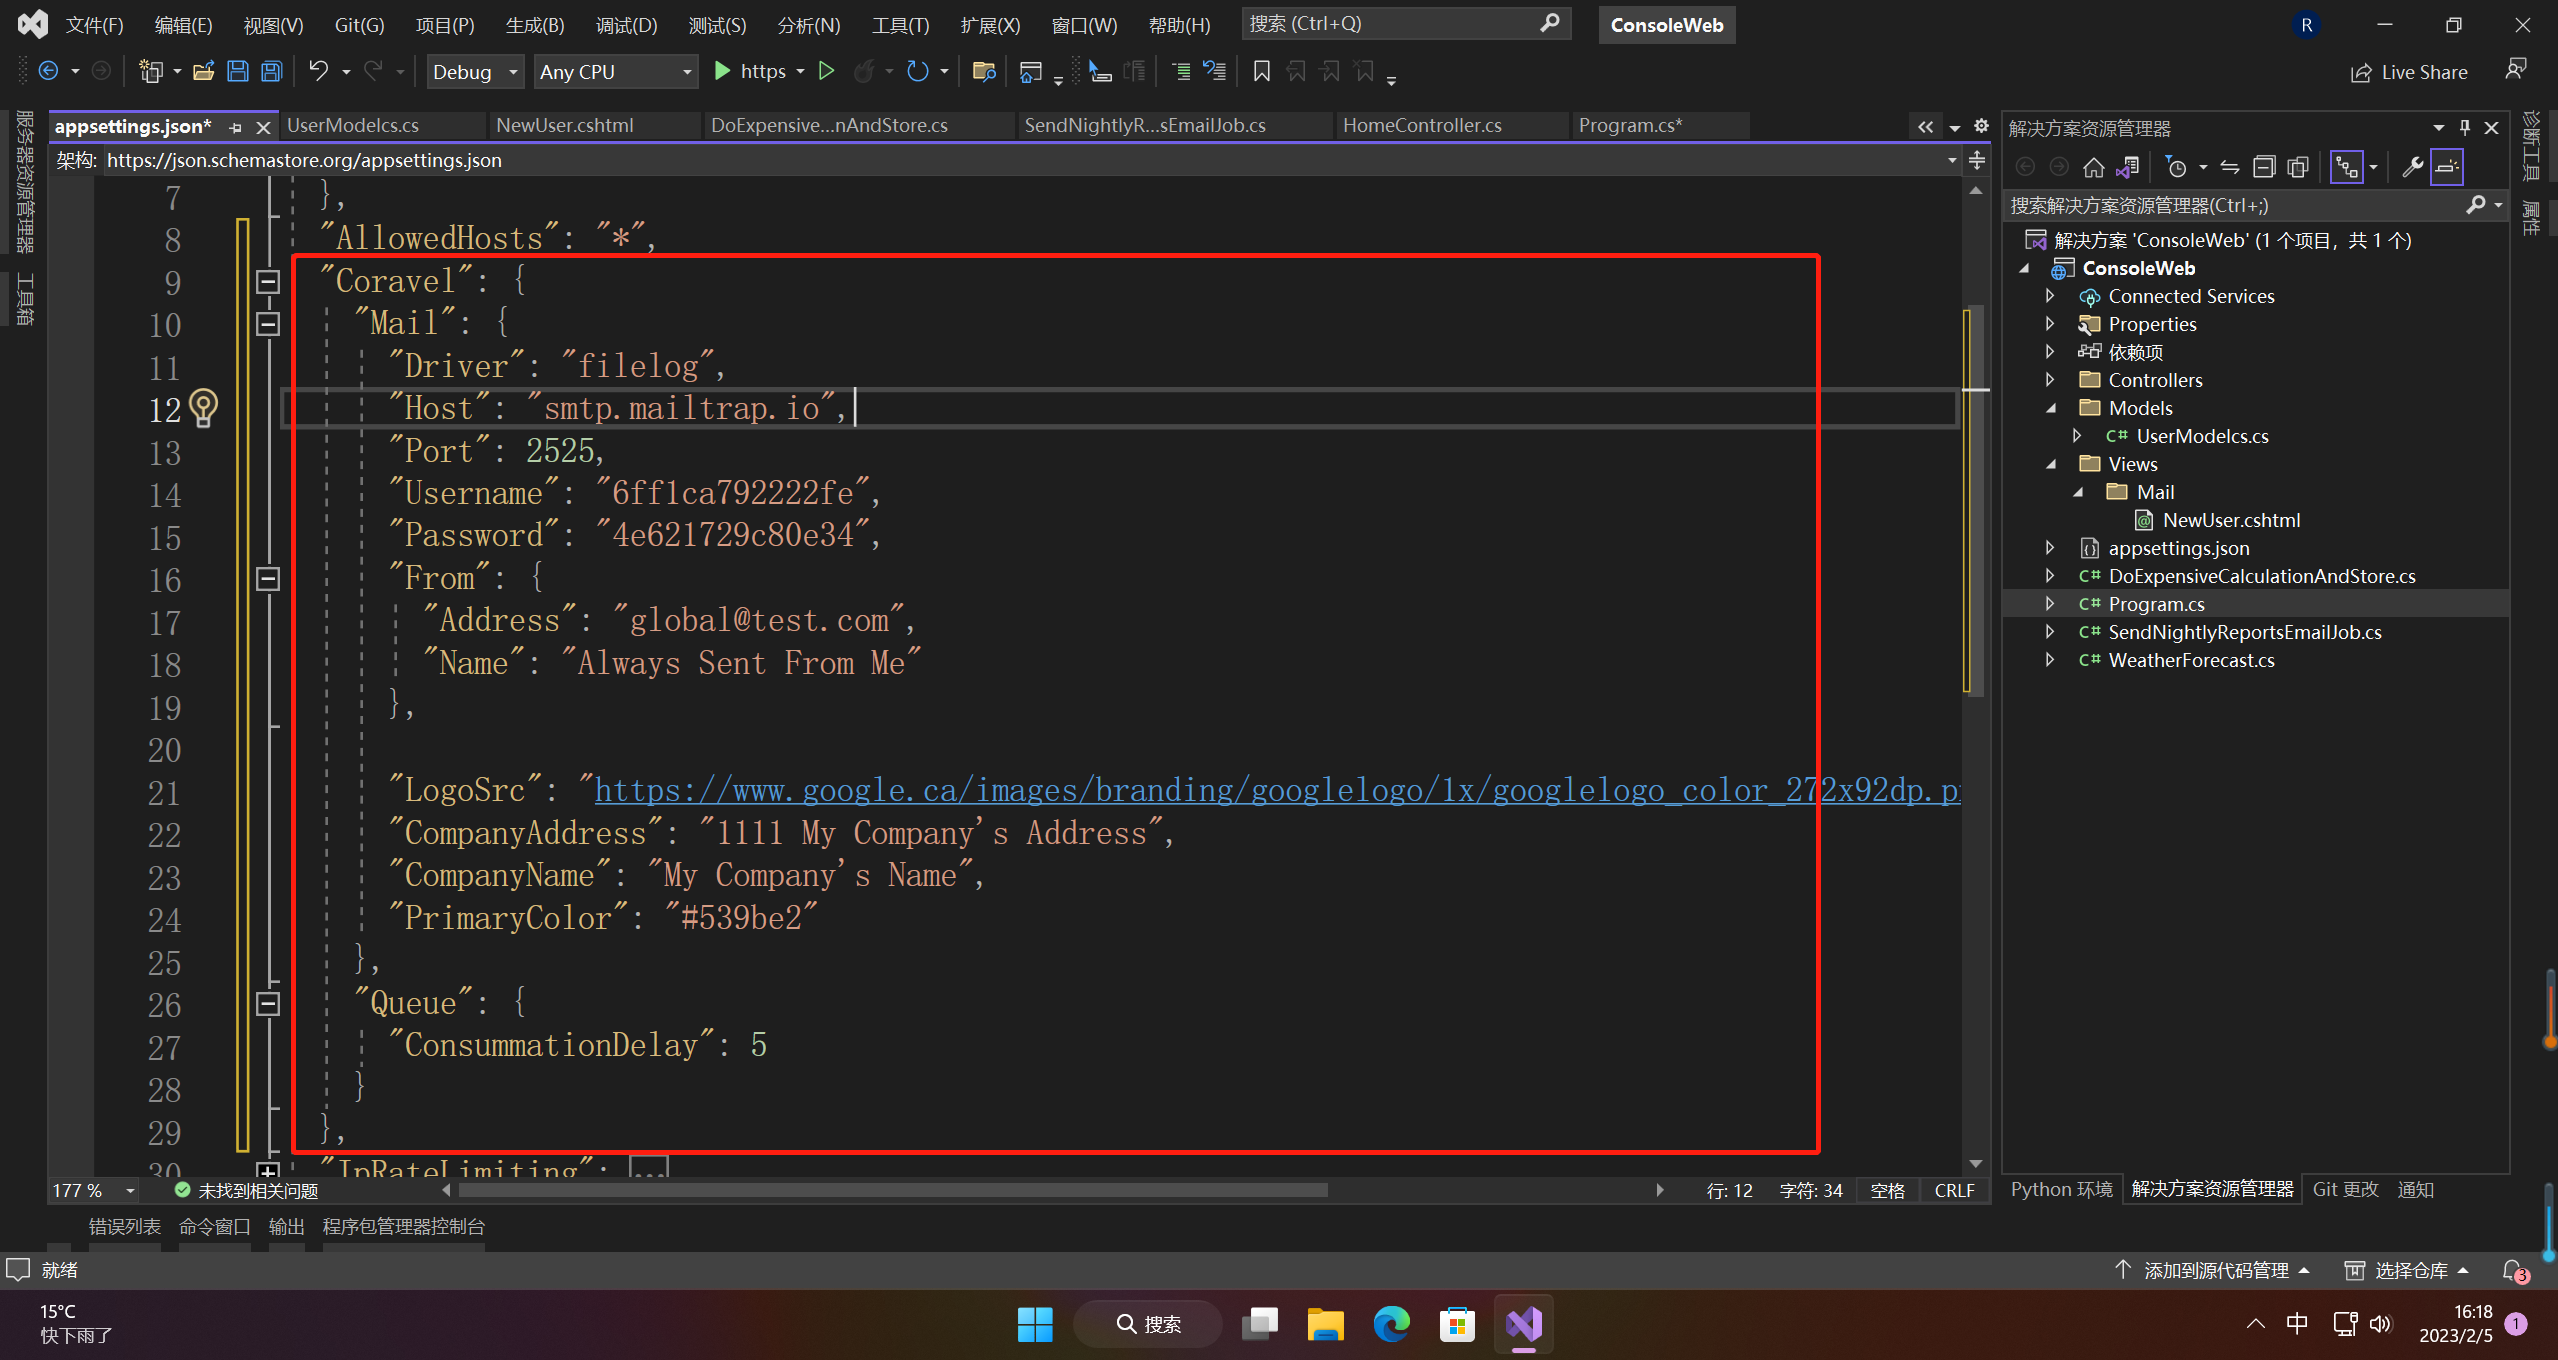
appsettings.json
  "Coravel": {
    "Mail": {
      "Driver": "filelog",
      "Host": "smtp.mailtrap.io",
      "Port": 2525,
      "Username": "6ff1ca792222fe",
      "Password": "4e621729c80e34",
      "From": {
        "Address": "global@test.com",
        "Name": "Always Sent From Me"
      },

      "LogoSrc": "https://www.google.ca/images/branding/googlelogo/1x/googlelogo_color_272x92dp.png",
      "CompanyAddress": "1111 My Company's Address",
      "CompanyName": "My Company's Name",
      "PrimaryColor": "#539be2"
    },
    "Queue": {
      "ConsummationDelay": 5
    }
  },
Program.cs
#region 邮件
builder.Services.AddMailer(builder.Configuration);

builder.Services.AddScoped<SendNightlyReportsEmailJob>();
#endregion
6.2 使用
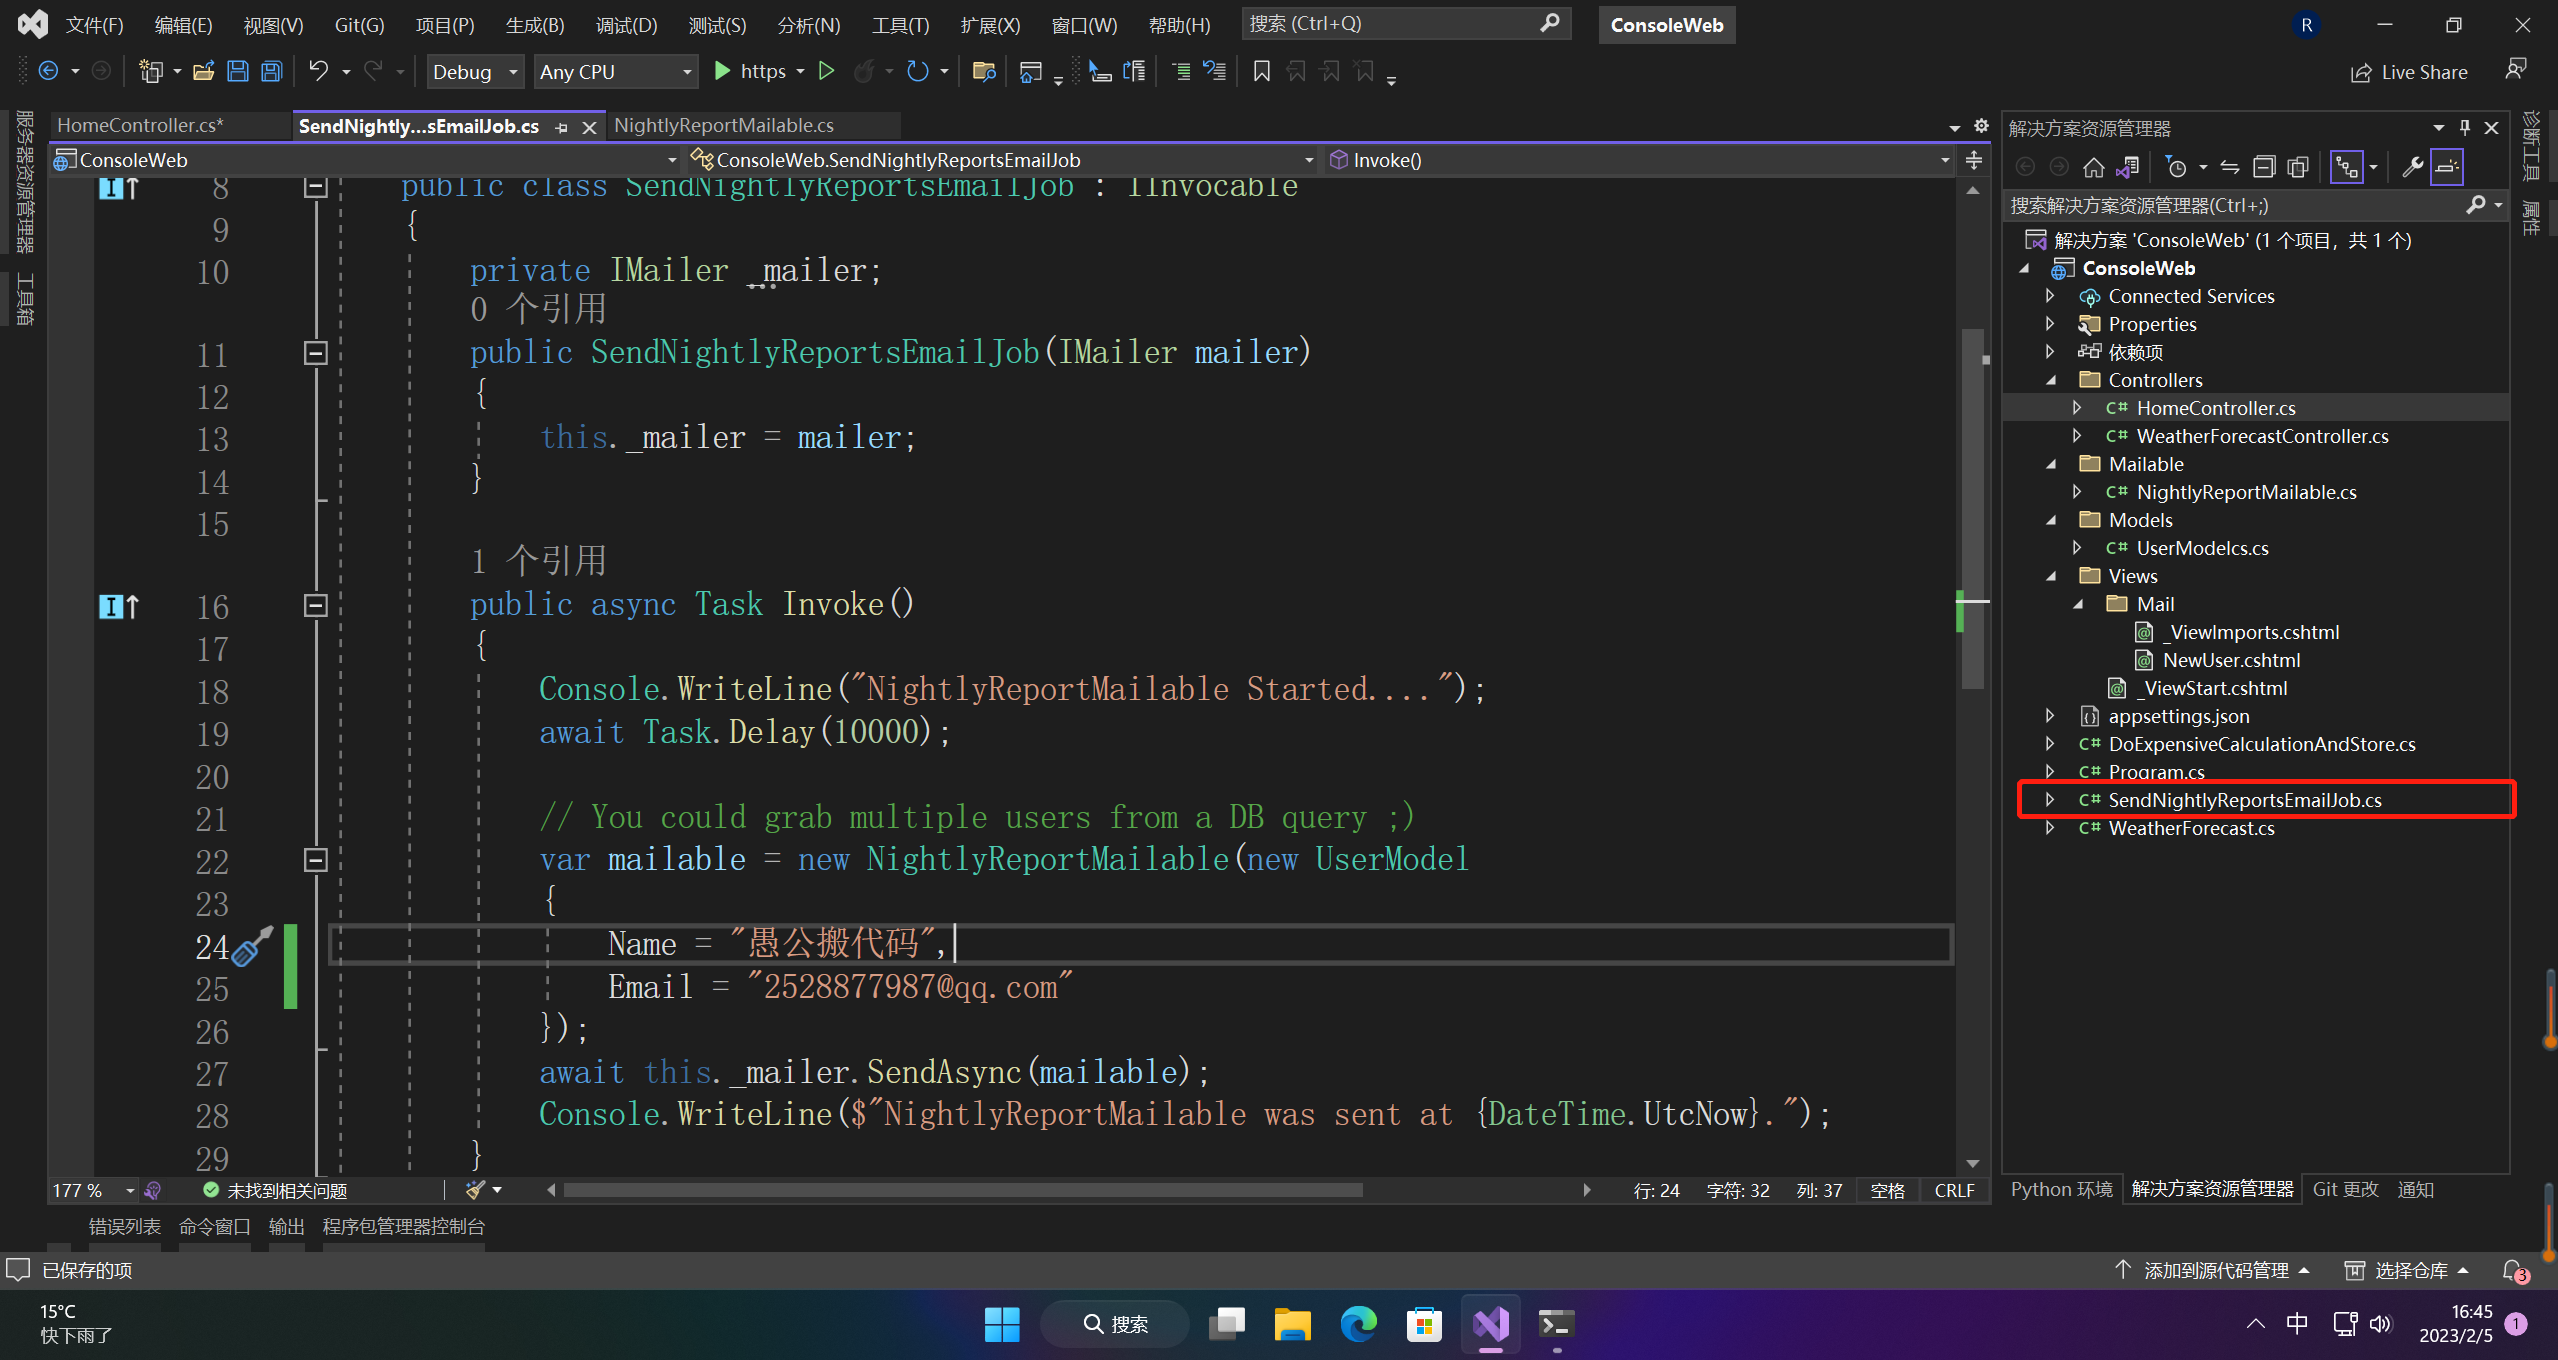
1、配置邮件模板
using ConsoleWeb.Mailable;
using ConsoleWeb.Models;
using Coravel.Invocable;
using Coravel.Mailer.Mail.Interfaces;

namespace ConsoleWeb
{
    public class SendNightlyReportsEmailJob : IInvocable
    {
        private IMailer _mailer;
        public SendNightlyReportsEmailJob(IMailer mailer)
        {
            this._mailer = mailer;
        }

        public async Task Invoke()
        {
            Console.WriteLine("NightlyReportMailable Started....");
            await Task.Delay(10000);

            // You could grab multiple users from a DB query ;)
            var mailable = new NightlyReportMailable(new UserModel
            {
                Name = "愚公搬代码",
                Email = "2528877987@qq.com"
            });
            await this._mailer.SendAsync(mailable);
            Console.WriteLine($"NightlyReportMailable was sent at {DateTime.UtcNow}.");
        }
    }
}
2、模板
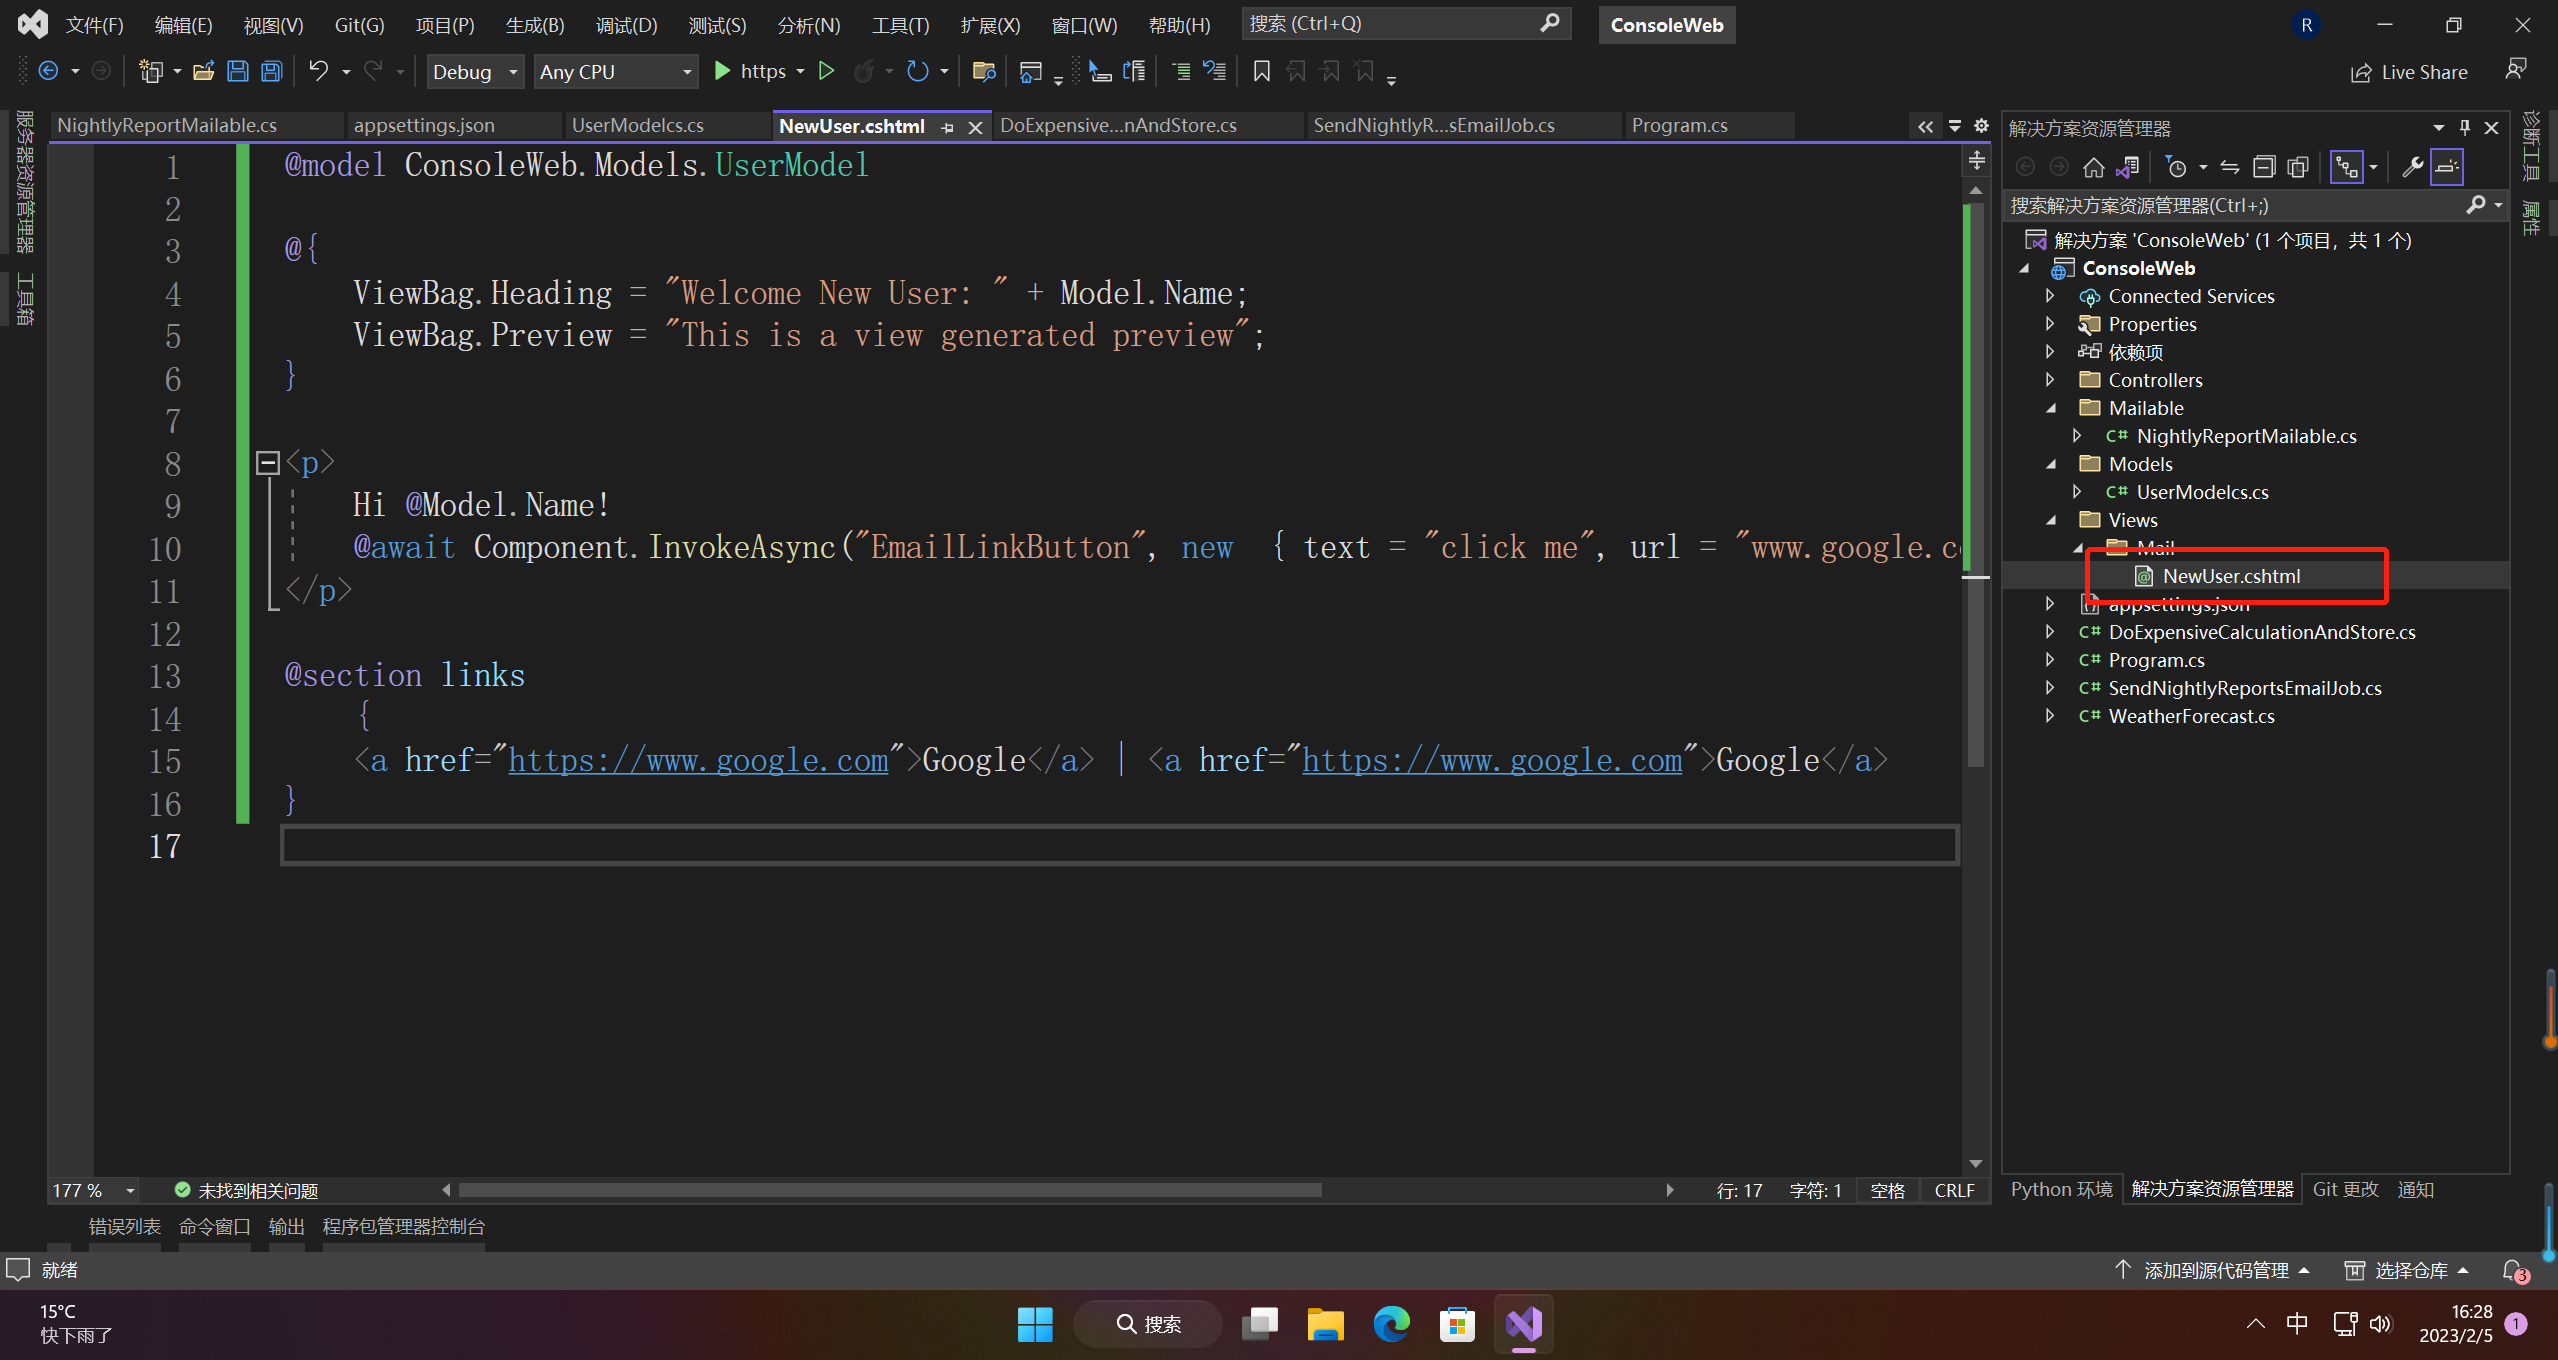
NewUser.cshtml
@model ConsoleWeb.Models.UserModel

@{
    ViewBag.Heading = "Welcome New User: " + Model.Name;
    ViewBag.Preview = "This is a view generated preview";
    Layout = null;
}

<p>
    Hi @Model.Name!
    @await Component.InvokeAsync("EmailLinkButton", new  { text = "click me", url = "www.google.com" })
</p>

@section links
    {
    <a href="https://www.google.com">Google</a> | <a href="https://www.google.com">Google</a>
}
3、控制器执行
using Coravel.Mailer.Mail.Interfaces;
using Microsoft.AspNetCore.Mvc;

namespace ConsoleWeb.Controllers
{
    [ApiController]
    [Route("[controller]/[action]")]
    public class HomeController : ControllerBase
    {
        private SendNightlyReportsEmailJob _sendNightlyReportsEmailJob;
        public HomeController(IMailer mailer, SendNightlyReportsEmailJob sendNightlyReportsEmailJob)
        {
            this._sendNightlyReportsEmailJob = sendNightlyReportsEmailJob;
        }

        public async Task<IActionResult> WithHtml()
        {
            await _sendNightlyReportsEmailJob.Invoke();
            return Ok();
        }
    }
}
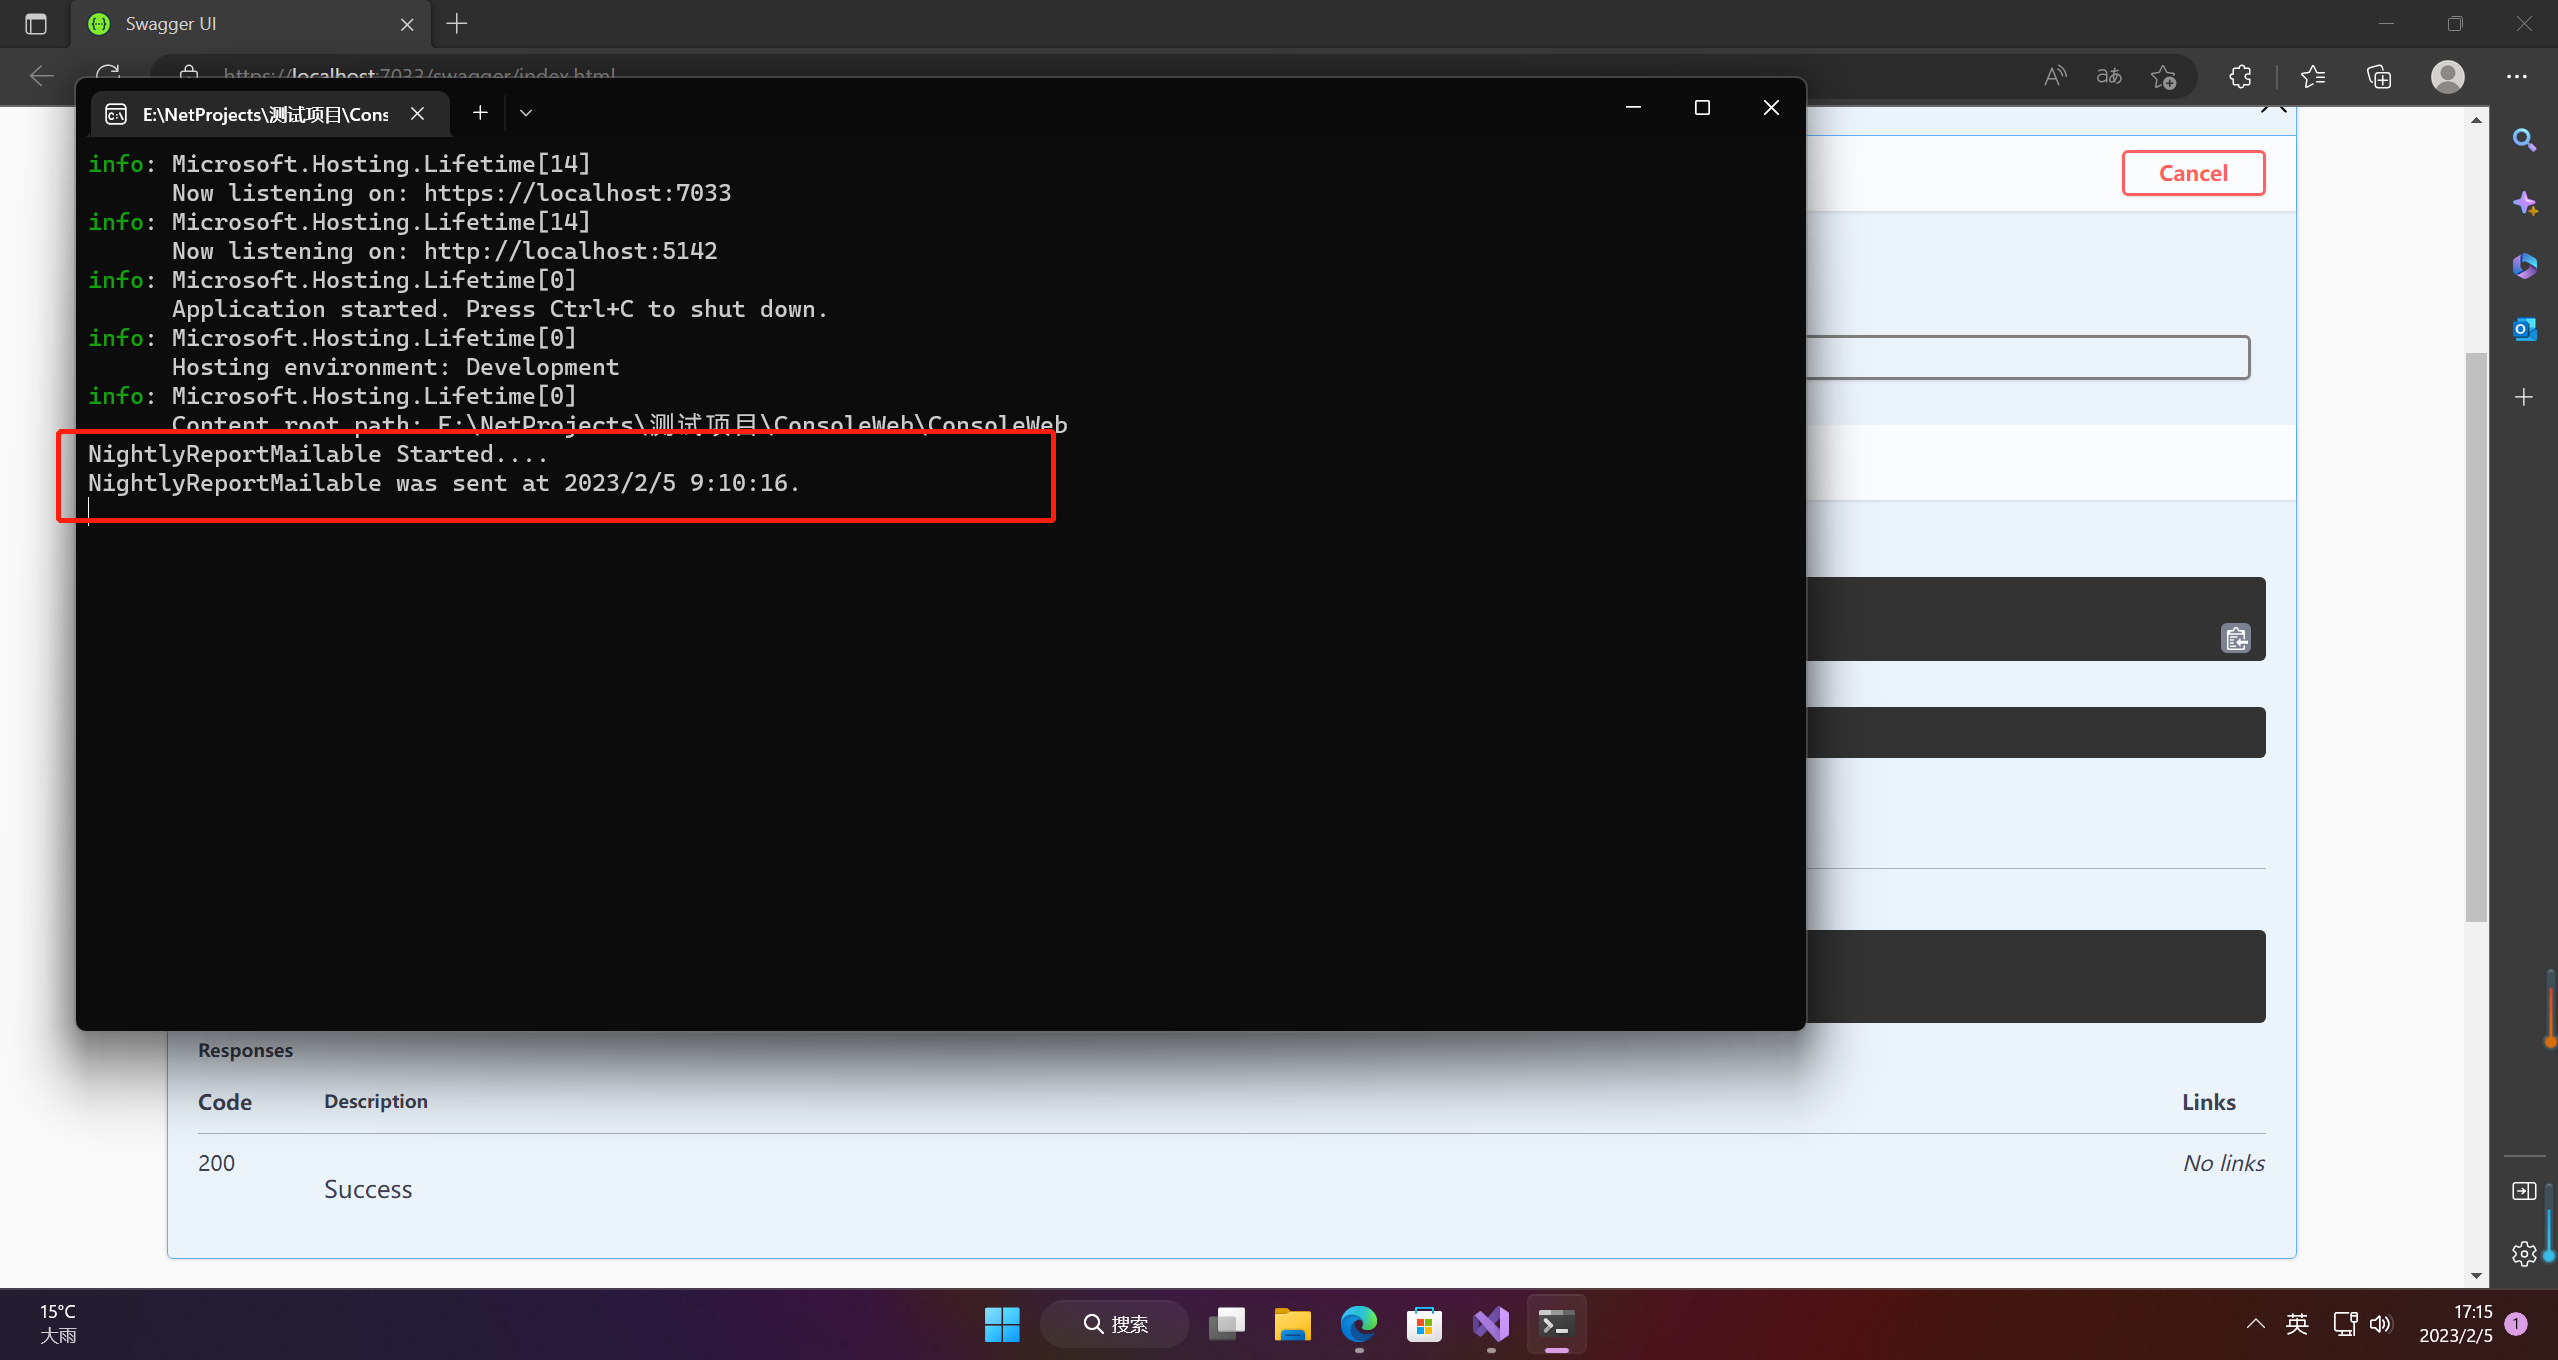
6.3 运行
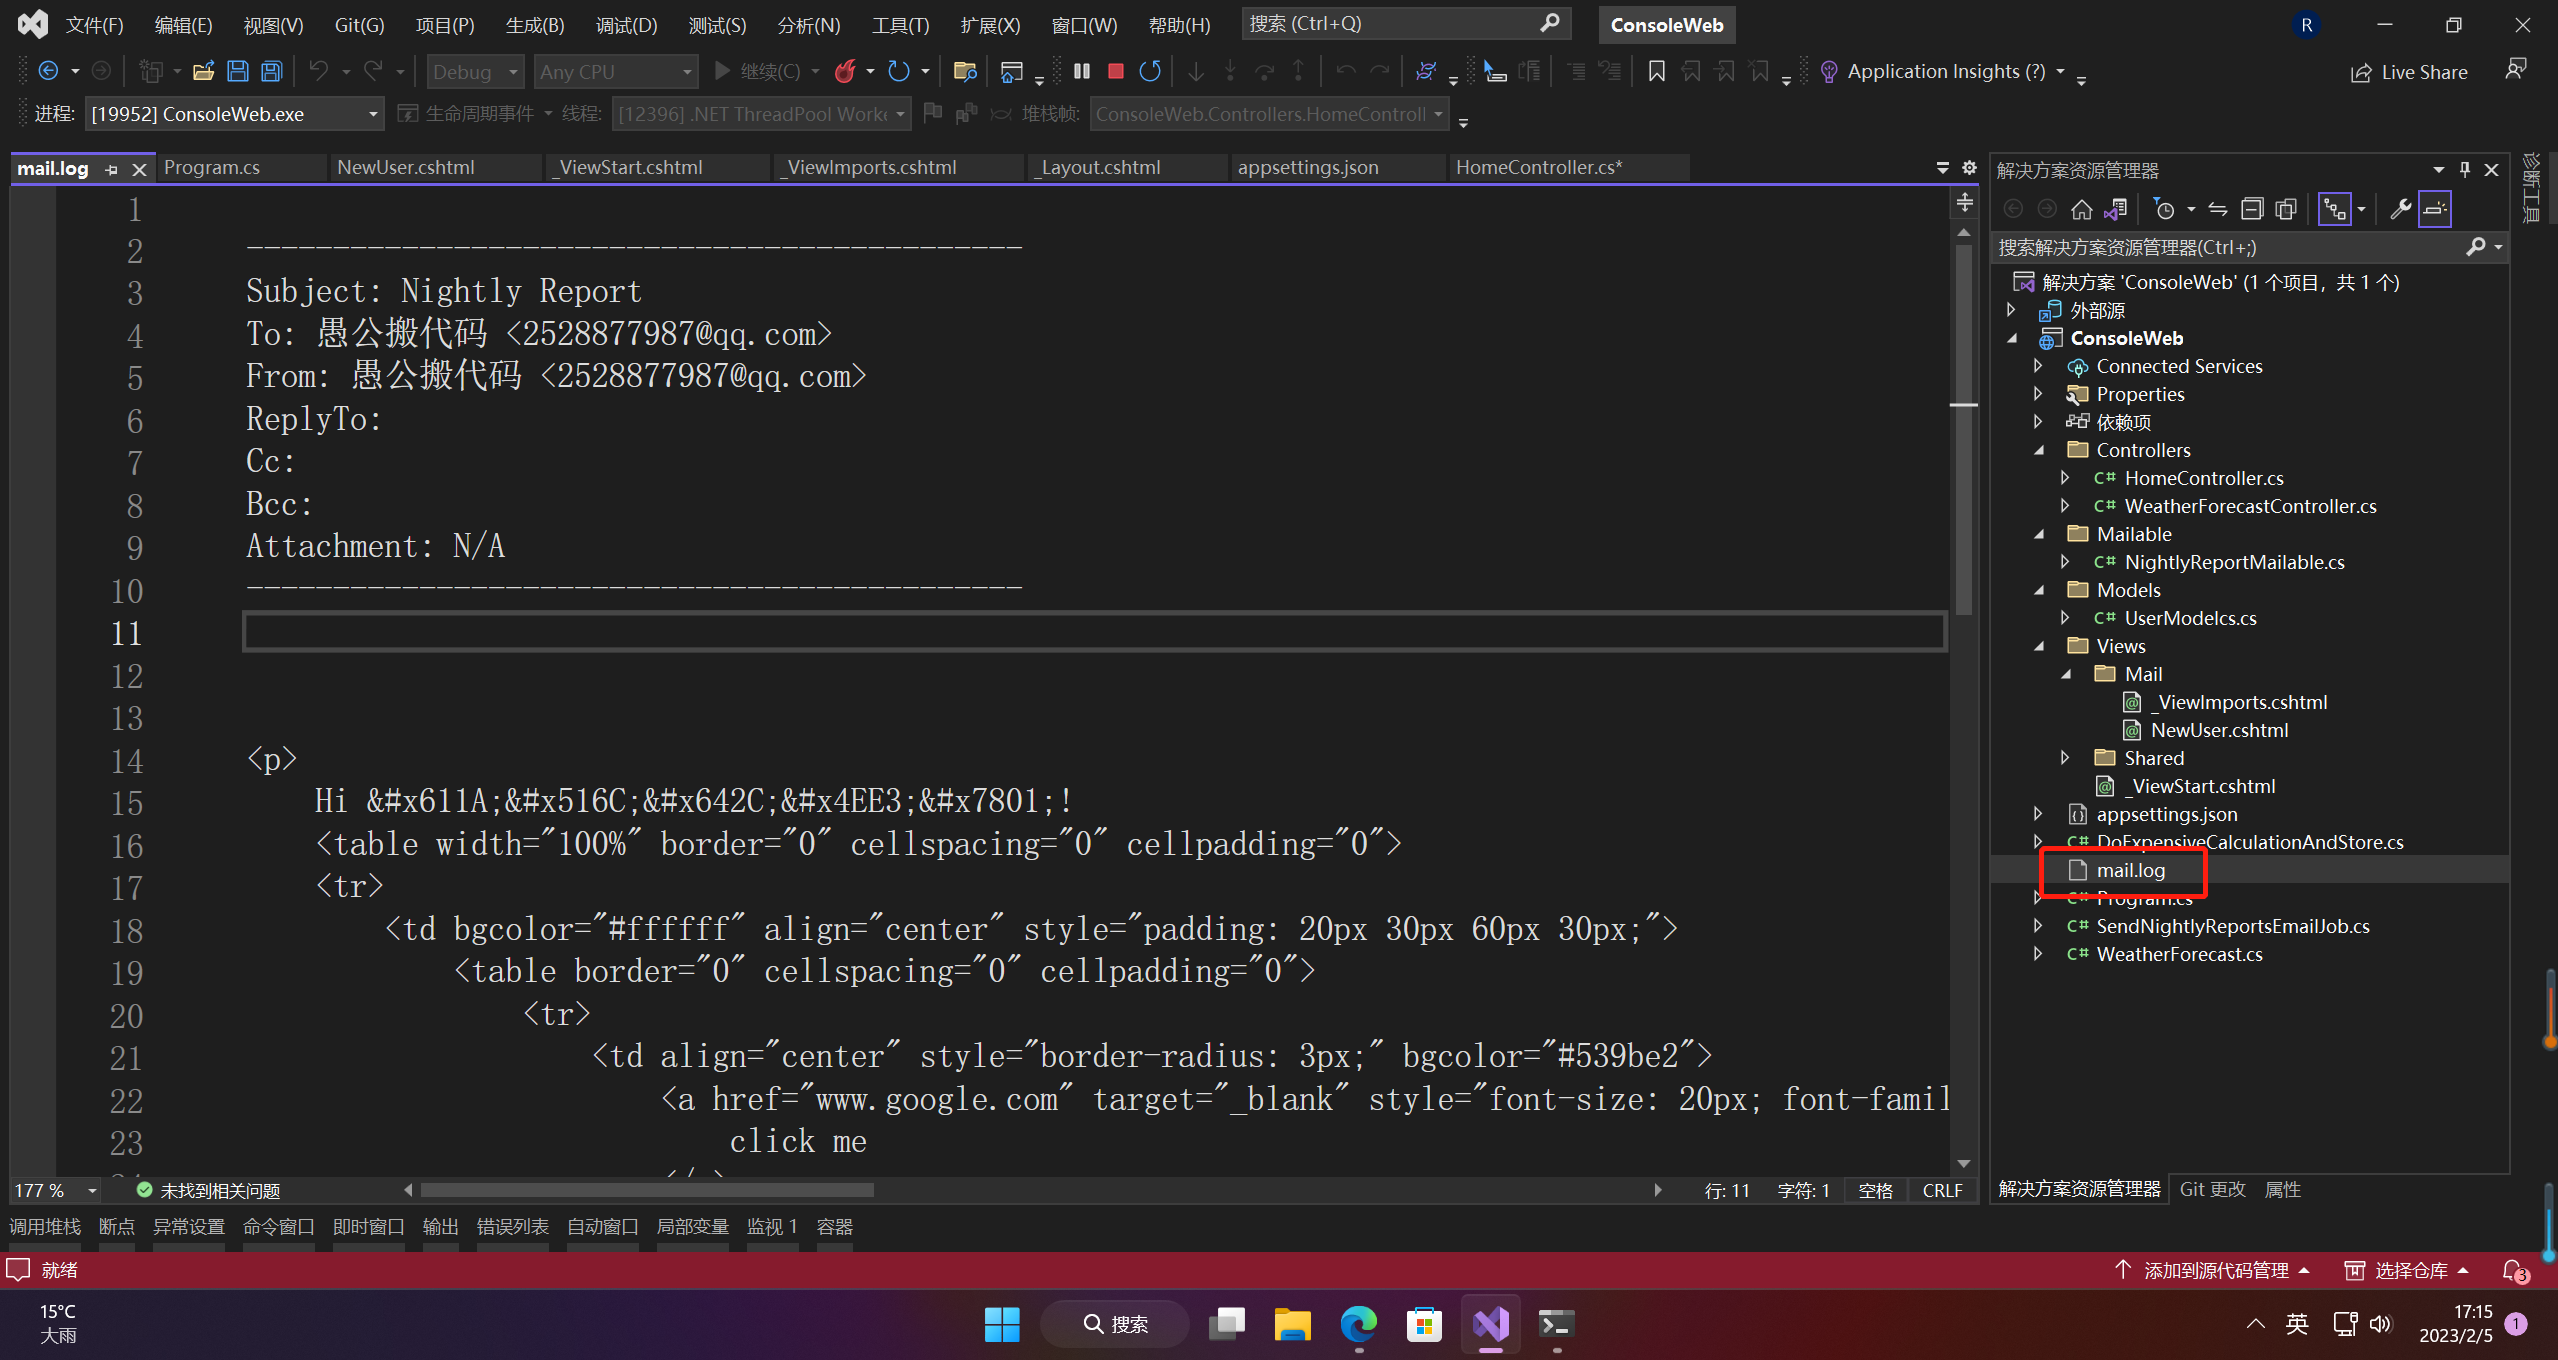
发送成功的邮件日志
---------------------------------------------
Subject: Nightly Report
To: 愚公搬代码 <2528877987@qq.com>
From: 愚公搬代码 <2528877987@qq.com>
ReplyTo:
Cc:
Bcc:
Attachment: N/A
---------------------------------------------
<p>
Hi 愚公搬代码!
<table width="100%" border="0" cellspacing="0" cellpadding="0">
<tr>
<td bgcolor="#ffffff" align="center" style="padding: 20px 30px 60px 30px;">
<table border="0" cellspacing="0" cellpadding="0">
<tr>
<td align="center" style="border-radius: 3px;" bgcolor="#539be2">
<a href="www.google.com" target="_blank" style="font-size: 20px; font-family: Helvetica, Arial, sans-serif; color: #ffffff; text-decoration: none; padding: 15px 25px; border-radius: 2px; display: inline-block;">
click me
</a>
</td>
</tr>
</table>
</td>
</tr>
</table>
</p>
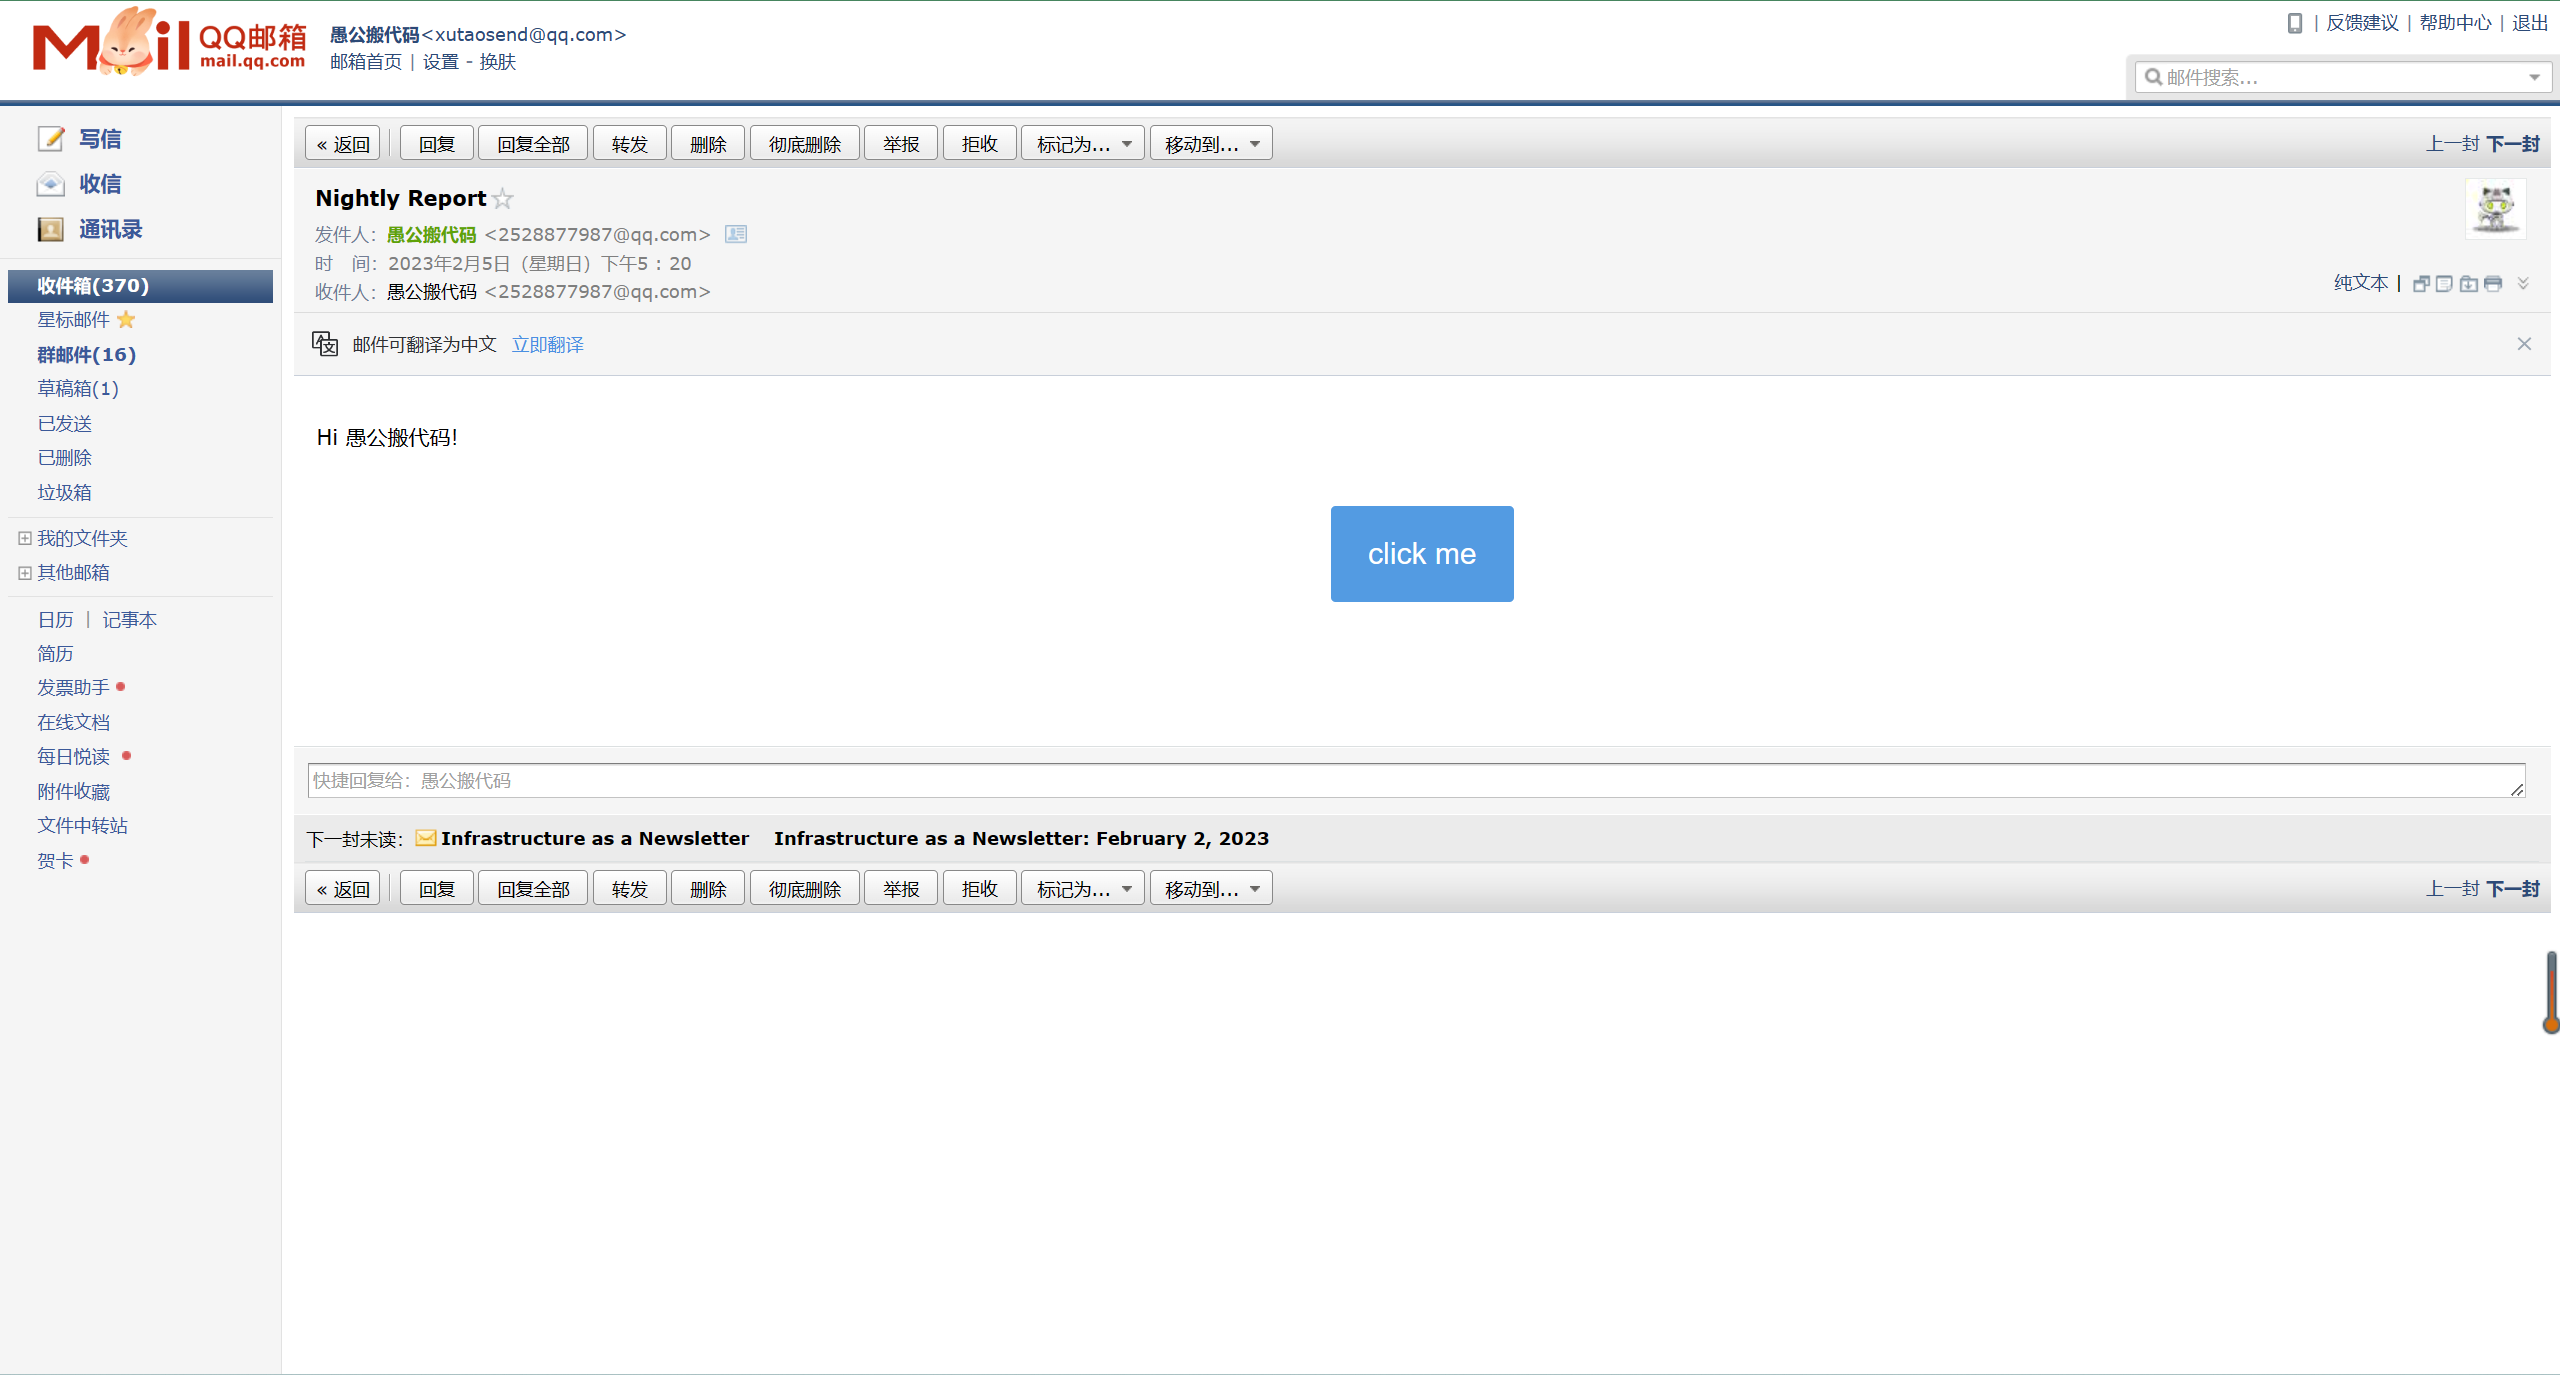
配置为SMTP就可以发送文件
"Driver": "SMTP"
- 点赞
- 收藏
- 关注作者


评论(0)