SSM之SpringBoot框架(二)——2.X版本的使用

##### 1.0 SpringBoot框架的一些基础请见:
[【Java中级】21.0 SSM之SpringBoot框架(一)——入门、maven项目构建]
主要涉及java基础、JDK环境、Maven基础。
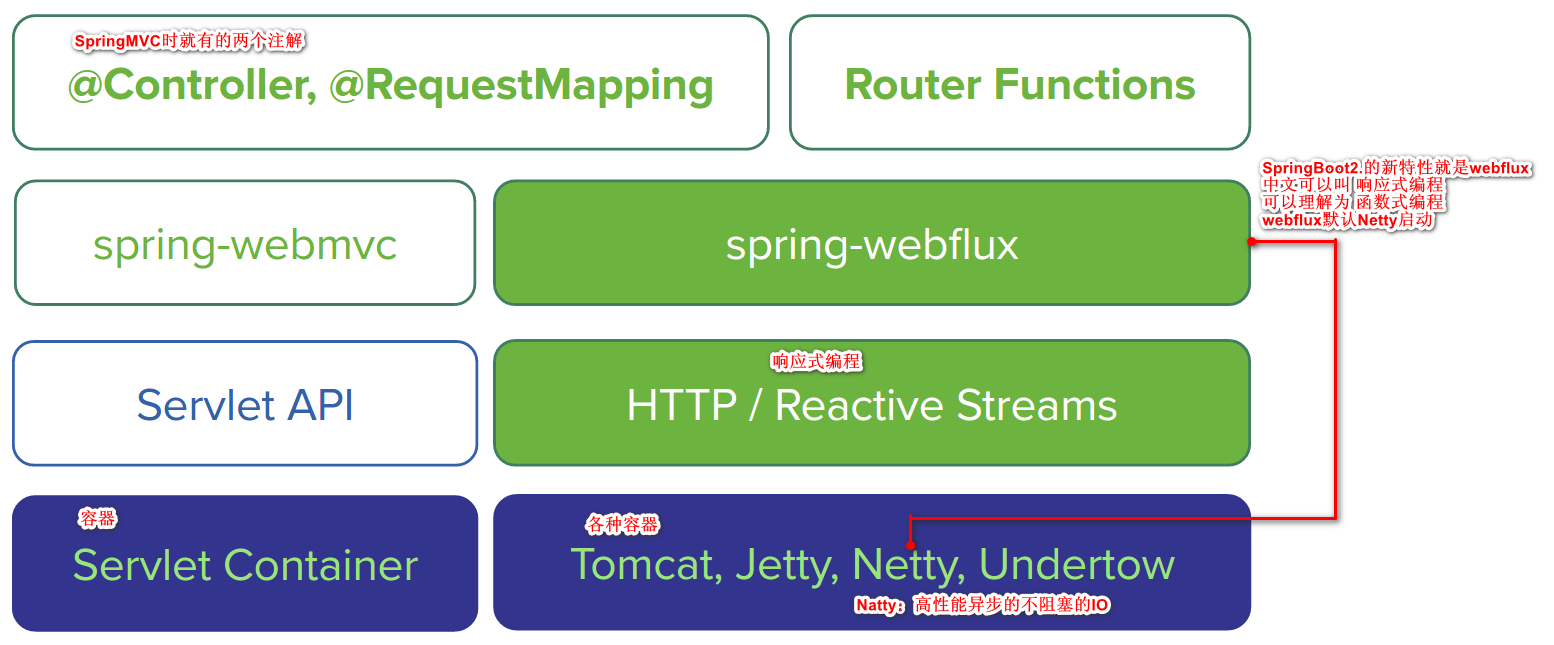
##### 2.0 springboot2.X新特性概述
> * 1、依赖版本jdk8以上, Springboot2.x用JDK8, 因为底层是 Spring framework5, 当然,也支持JDK1.9
> * 2、安装maven最新版本,springboot2.X需要maven3.2以上版本,下载地址 :[Downloading Apache Maven 3.6.3]
> * 3、Eclipse或者IDE
> * 4、新特性
> * 8、最新版本JDK支持:
>
> > * 1. springboot2.0支持Java8和Jaba9
> > * 2. springboot2.1 仍与Java 8兼容,但现在也支持Java11。
> > * 2. springboot2.2 增加了对Java 13的支持。还支持Java 8和11。
> > * Spring Boot 2.3.0 M1 删除了Spring Boot 2.2中不推荐使用的类,方法和属性。使用的时候要特别注意。
> > * Spring Boot 2.3.0 M2 暂无
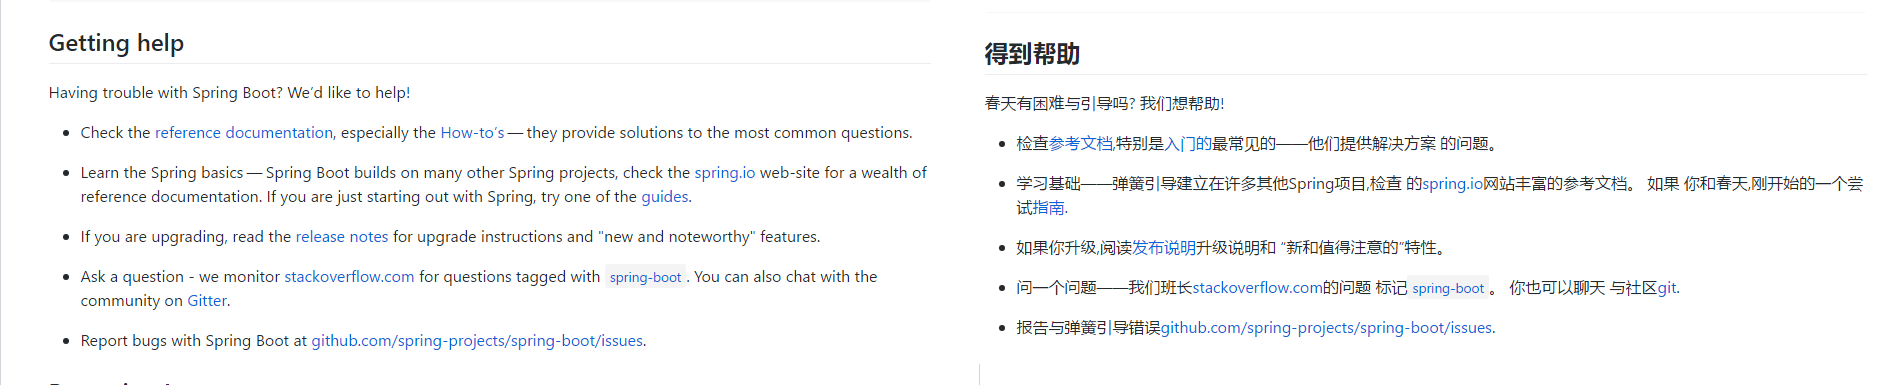
如果看不懂官方文档的英文页面,打开谷歌浏览器:
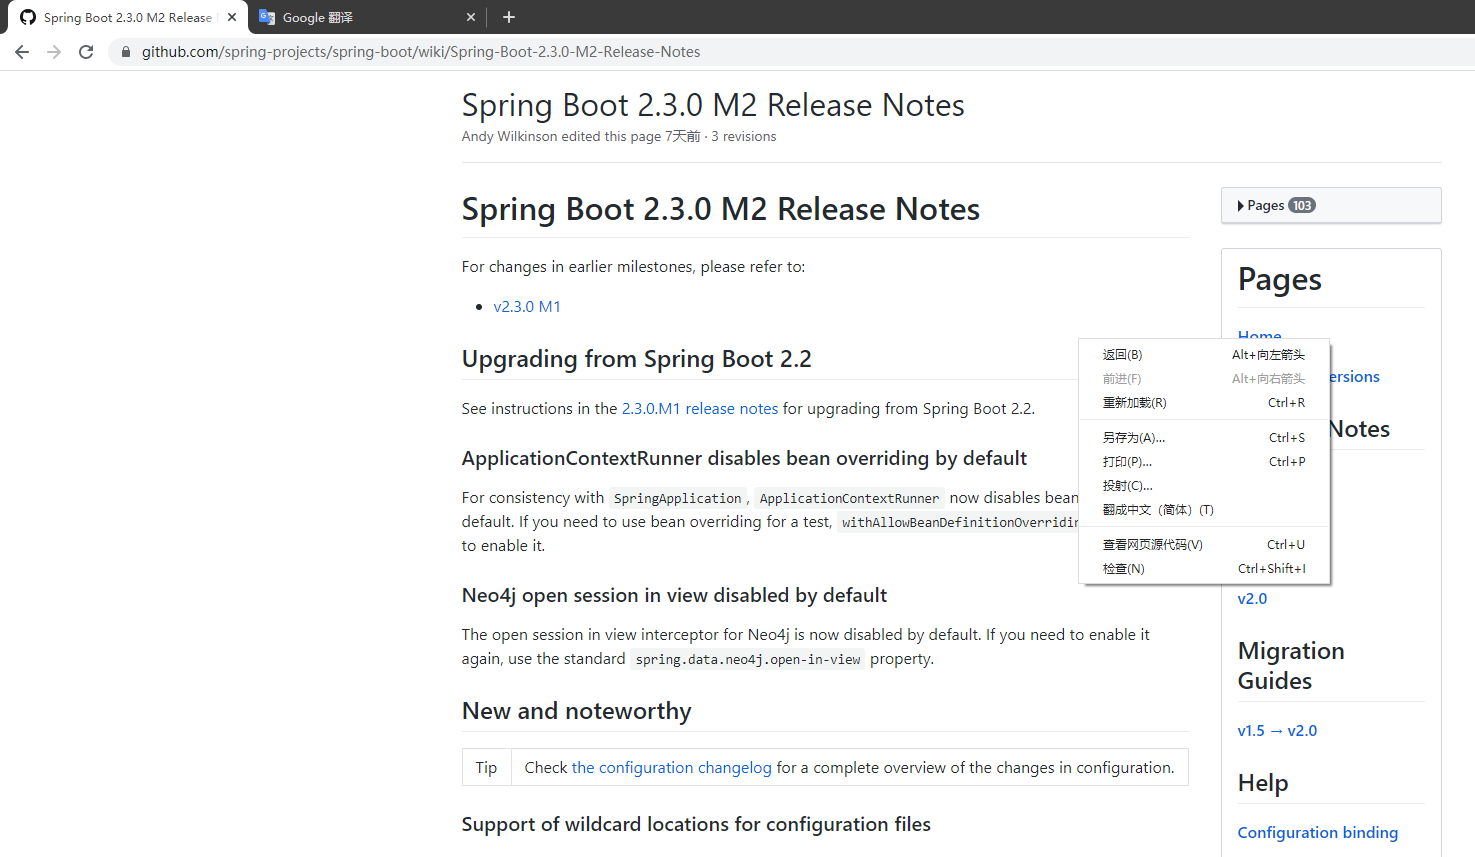
当打开上面谷歌翻译的网站后,其他页面可以右击“翻译成简体中文”。
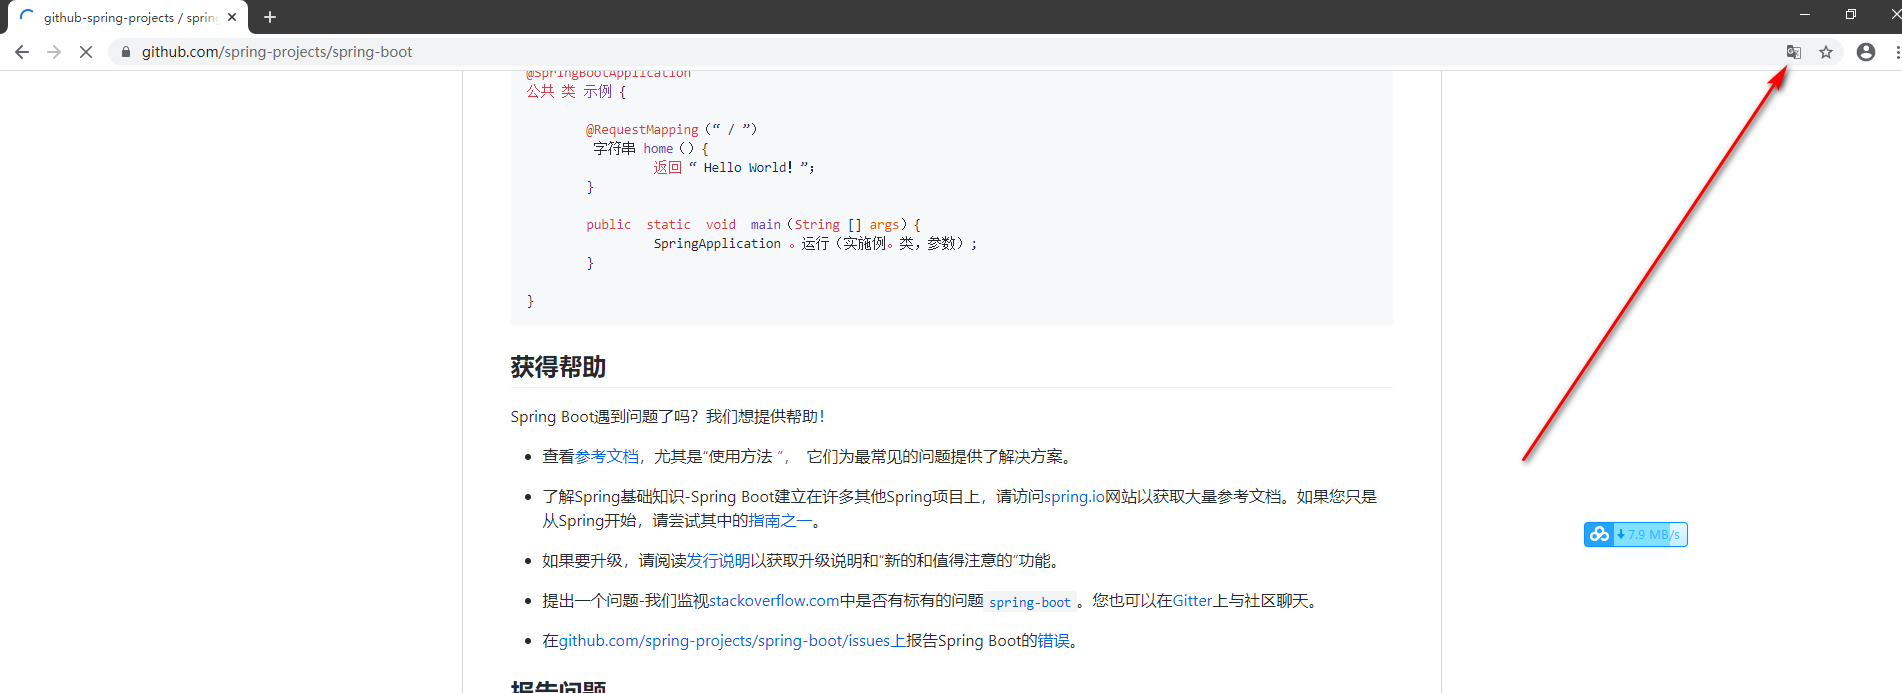
这个谷歌翻译的网站没有被墙。或者你也可以右上角点击翻译的小按钮:
##### 3.0 快速创建SpringBoot2.x应用之手工创建web应用
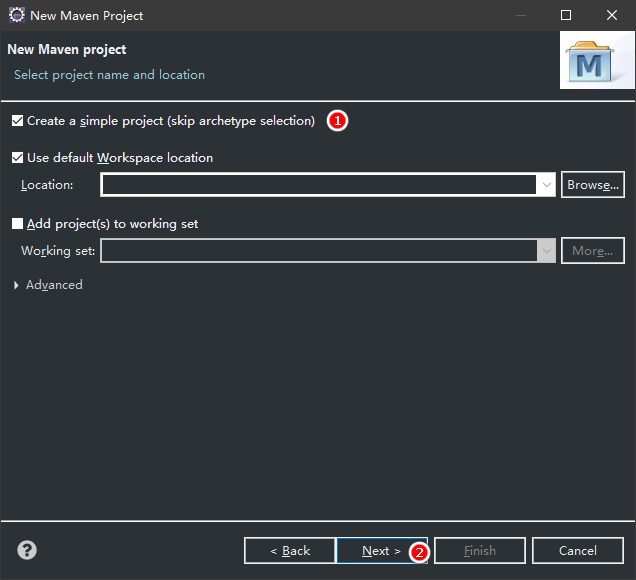
###### 3.1 新建一个maven Project项目。
这次我们把第一个钩勾上。
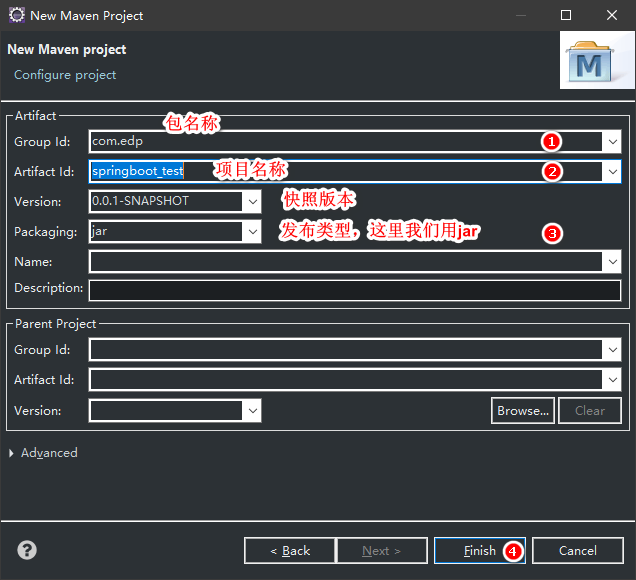
###### 3.2 设置依赖
pom.xml文件
```
<project xmlns="http://maven.apache.org/POM/4.0.0"
xmlns:xsi="http://www.w3.org/2001/XMLSchema-instance"
xsi:schemaLocation="http://maven.apache.org/POM/4.0.0 https://maven.apache.org/xsd/maven-4.0.0.xsd">
<modelVersion>4.0.0</modelVersion>
<groupId>com.edp</groupId>
<artifactId>springboot_test</artifactId>
<version>0.0.1-SNAPSHOT</version>
<parent>
<groupId>org.springframework.boot</groupId>
<artifactId>spring-boot-starter-parent</artifactId>
<version>2.2.2.RELEASE</version>
<relativePath /> <!-- lookup parent from repository -->
</parent>
<dependencies>
<dependency>
<groupId>org.springframework.boot</groupId>
<artifactId>spring-boot-starter-web</artifactId>
</dependency>
<dependency>
<groupId>org.springframework.boot</groupId>
<artifactId>spring-boot-starter-test</artifactId>
<scope>test</scope>
<exclusions>
<exclusion>
<groupId>org.junit.vintage</groupId>
<artifactId>junit-vintage-engine</artifactId>
</exclusion>
</exclusions>
</dependency>
</dependencies>
</project>
```
###### 3.3 编写代码
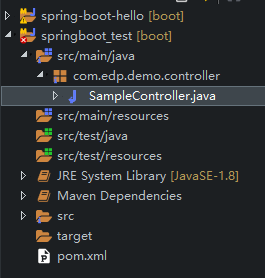
新建SampleController.java
```
package com.edp.demo.controller;
import org.springframework.boot.SpringApplication;
import org.springframework.boot.autoconfigure.EnableAutoConfiguration;
import org.springframework.web.bind.annotation.RequestMapping;
import org.springframework.web.bind.annotation.ResponseBody;
import org.springframework.web.bind.annotation.RestController;
/**
*
* @author EdPeng
* @DATE 2022年7月7日
* @TODO
*/
@RestController
@EnableAutoConfiguration
public class SampleController {
@RequestMapping("/")
@ResponseBody
String home() {
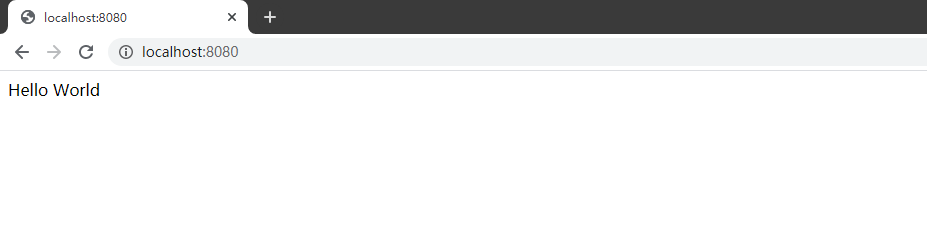
return "Hello World";
}
public static void main(String[] args) throws Exception{
SpringApplication.run(SampleController.class, args);
}
}
```
运行即可。
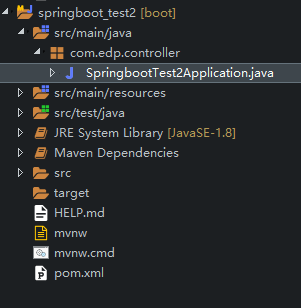
###### 3.4 一般项目的包结构
[](https://links.jianshu.com/go?to=%255Bhttps%3A%2F%2Fdocs.spring.io%2Fspring-boot%2Fdocs%2F2.1.0.BUILD-SNAPSHOT%2Freference%2Fhtmlsingle%2F%23using-boot-using-the-default-package%255D%28https%3A%2F%2Fdocs.spring.io%2Fspring-boot%2Fdocs%2F2.1.0.BUILD-SNAPSHOT%2Freference%2Fhtmlsingle%2F%23using-boot-using-the-default-package%29)[https://docs.spring.io/spring-boot/docs/2.1.0.BUILD-SNAPSHOT/reference/htmlsingle/#using-boot-using-the-default-package](https://links.jianshu.com/go?to=https%3A%2F%2Fdocs.spring.io%2Fspring-boot%2Fdocs%2F2.1.0.BUILD-SNAPSHOT%2Freference%2Fhtmlsingle%2F%23using-boot-using-the-default-package)
```
com
+- example
+- myapplication
+- Application.java
|
+- customer
| +- Customer.java
| +- CustomerController.java
| +- CustomerService.java
| +- CustomerRepository.java
|
+- order
+- Order.java
+- OrderController.java
+- OrderService.java
+- OrderRepository.java
```
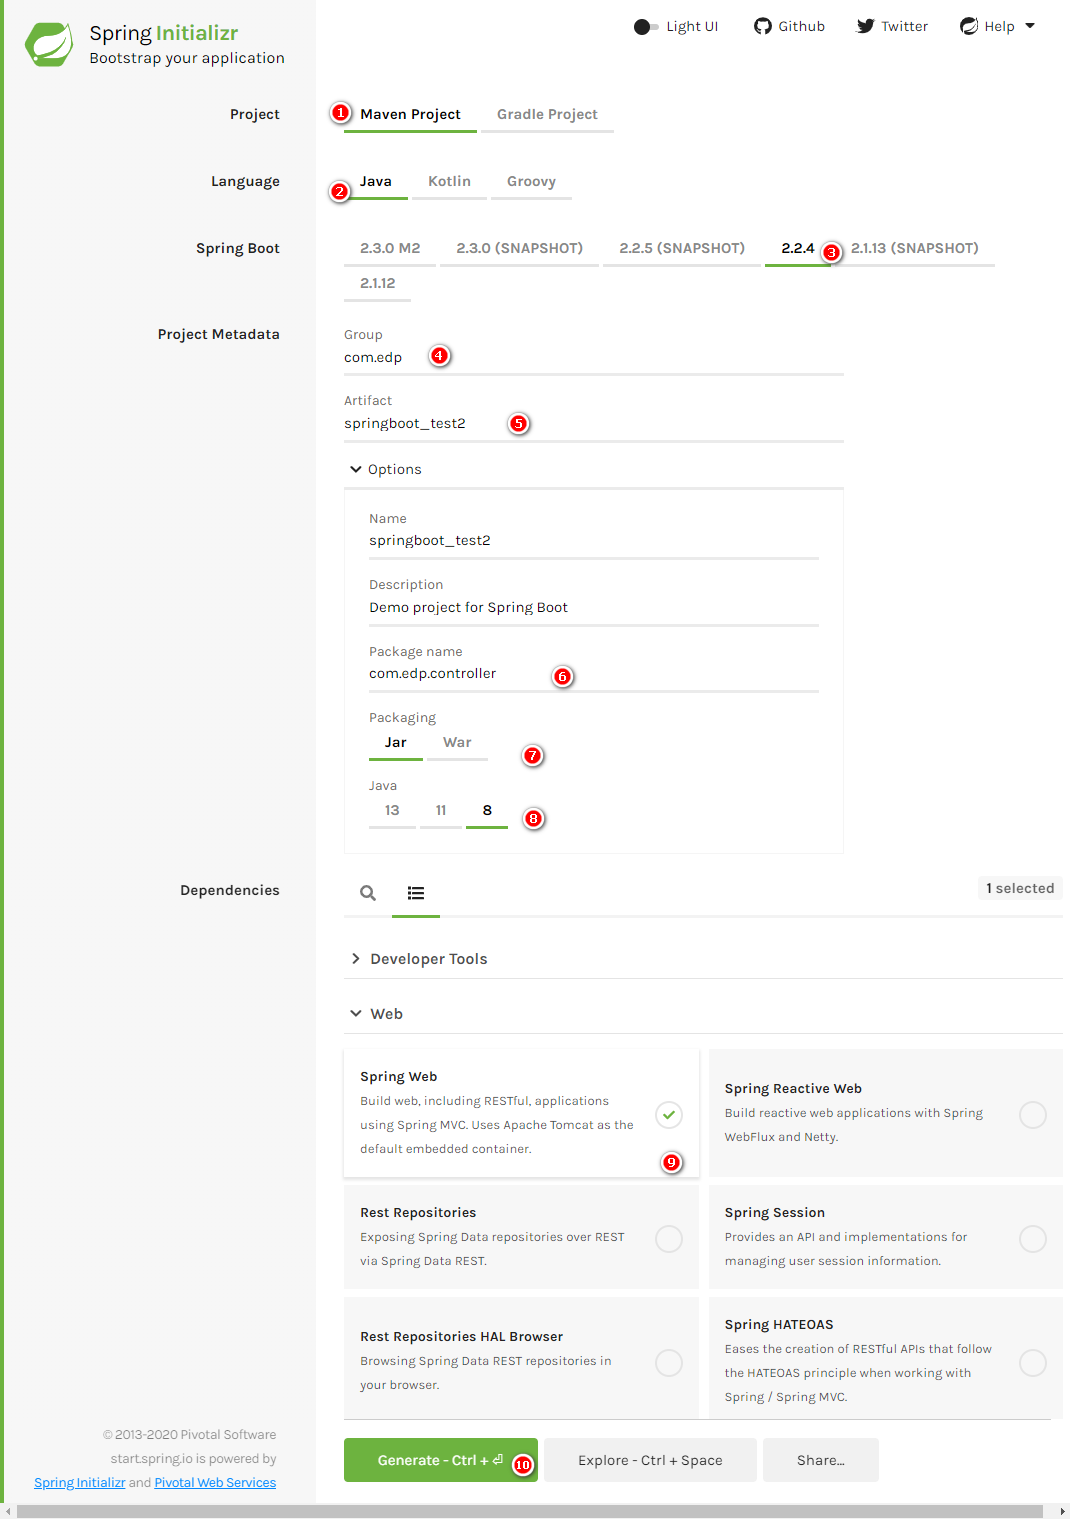
##### 4.0 快速创建SpringBoot2.x应用之工具类自动创建web应用
地址:网站的作用就是考验用于快速布置我们的应用。
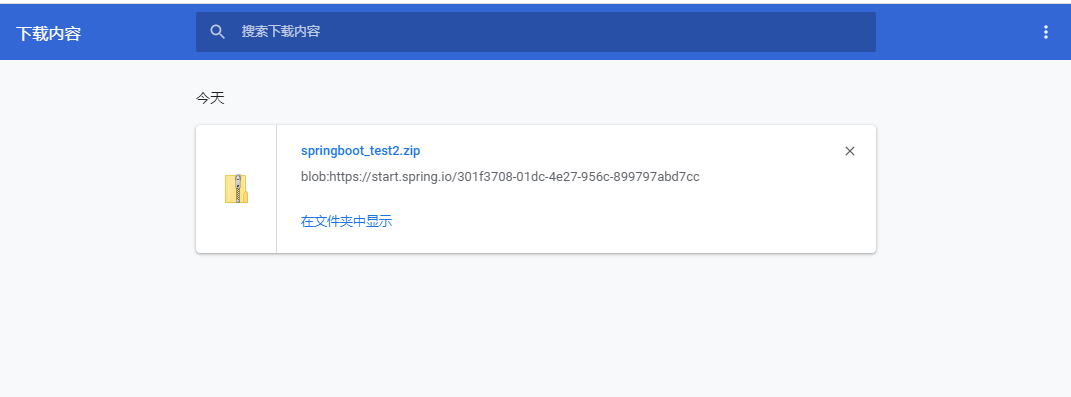
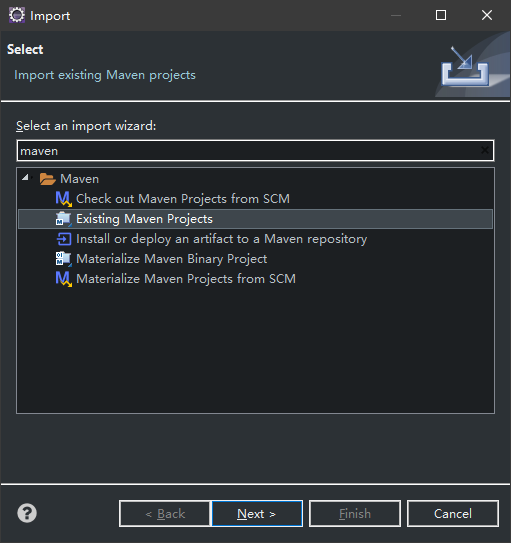
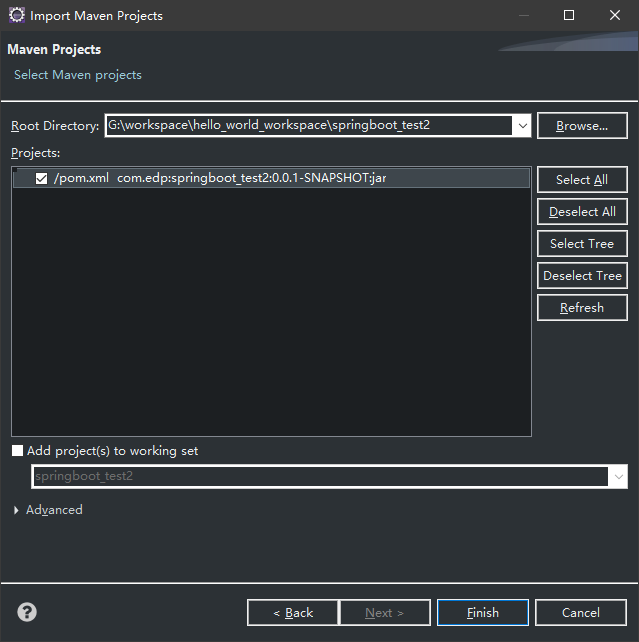
这样直接把项目导入工作空间即可。
**END**

- 点赞
- 收藏
- 关注作者
评论(0)