Arduino与LCD1602(I2C)搭配使用攻略
【摘要】
文章目录
1.连线2.安装库3.查找串口地址4.正式烧录5.效果展示
1.连线
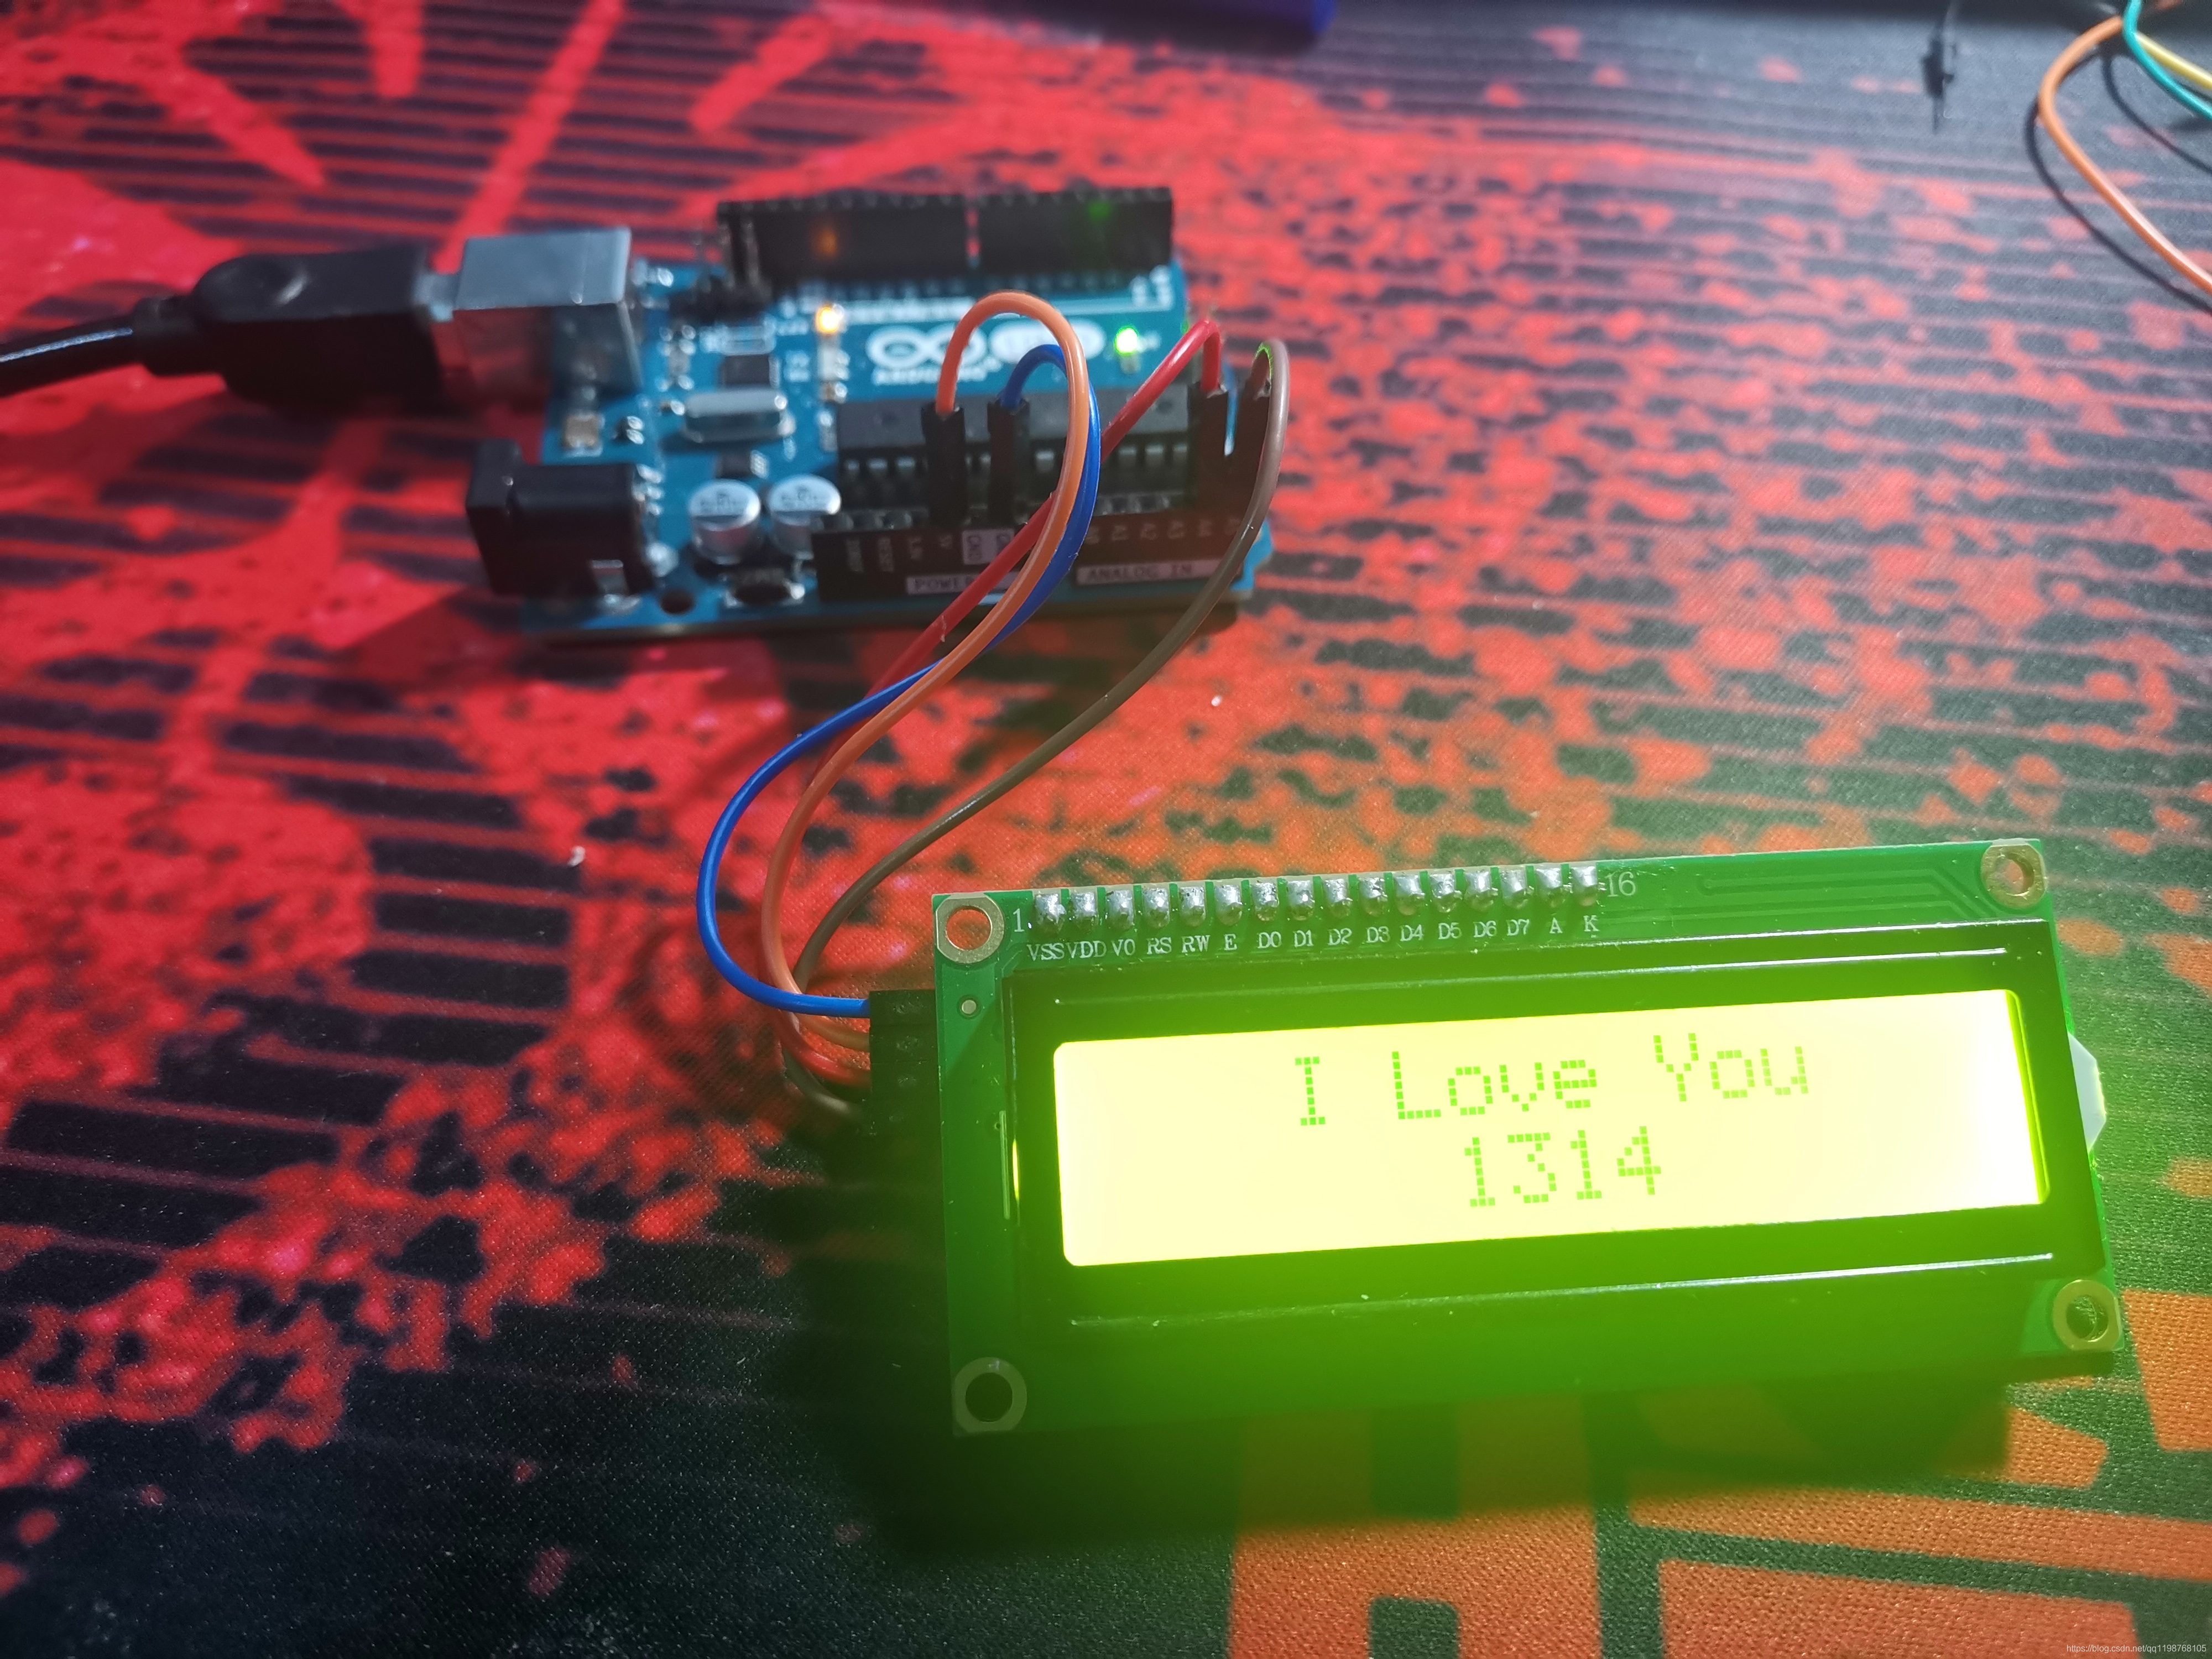
我使用的是Arduino(UNO)开发板和LCD1602带拓展板I2C。具体连线比较简单。 GND ----...
1.连线
我使用的是Arduino(UNO)开发板和LCD1602带拓展板I2C。具体连线比较简单。
GND ------ 地线
VCC ------ 电源5V
SDA ------ I2C 数据线
SCL ------ I2C 时钟线
2.安装库
arduinoIDE里面有专门为lcd1602编写的库,打开项目->加载库->搜索LiquidCrystal_I2C
3.查找串口地址
首先需要知道LCD的串口地址,之后会用到
复制下面的代码,打开串口监视器,即可知道地址
#include <Wire.h>

void setup() {
  Wire.begin();
  Serial.begin(9600);
  Serial.println("\nI2C Scanner");
}

void loop() {
  byte error, address;
  int nDevices;
  Serial.println("Scanning...");
  nDevices = 0;
  for (address = 1; address < 127; address++ ) {
    // The i2c_scanner uses the return value of
    // the Write.endTransmisstion to see if
    // a device did acknowledge to the address.
    Wire.beginTransmission(address);
    error = Wire.endTransmission();
    if (error == 0) {
      Serial.print("I2C device found at address 0x");
      if (address < 16)
        Serial.print("0");
      Serial.print(address, HEX);
      Serial.println(" !");
      nDevices++;
    } else if (error == 4) {
      Serial.print("Unknow error at address 0x");
      if (address < 16)
        Serial.print("0");
      Serial.println(address, HEX);
    }
  }
  if (nDevices == 0)
    Serial.println("No I2C devices found\n");
  else
    Serial.println("done\n");
  delay(5000); // wait 5 seconds for next scan
}
- 1
- 2
- 3
- 4
- 5
- 6
- 7
- 8
- 9
- 10
- 11
- 12
- 13
- 14
- 15
- 16
- 17
- 18
- 19
- 20
- 21
- 22
- 23
- 24
- 25
- 26
- 27
- 28
- 29
- 30
- 31
- 32
- 33
- 34
- 35
- 36
- 37
- 38
- 39
4.正式烧录
/*
 * LCD1602 IIC驱动
 */
#include <Wire.h>
#include <LiquidCrystal_I2C.h>

LiquidCrystal_I2C lcd(0x27,16,2);  //配置LCD地址及行列

void setup()
{
  lcd.init(); //初始化LCD
  lcd.backlight(); //打开背光
}

void loop()
{
  lcd.setCursor(3,0);//设置显示位置
  lcd.print("I Love You");//显示字符数据
  lcd.setCursor(6,1);//设置显示位置
  lcd.print("1314");//显示字符数据
}
- 1
- 2
- 3
- 4
- 5
- 6
- 7
- 8
- 9
- 10
- 11
- 12
- 13
- 14
- 15
- 16
- 17
- 18
- 19
- 20
- 21
之前找的串口地址需要填在第三行代码中,比如我的地址是0x27。
setCursor是设置显示位置,第一个数字代表列,第二个代表行。
5.效果展示

注意一开始可能无法显示出来,需要用十字螺丝调节后面的蓝色电位器,我没有螺丝刀,用的指甲钳勉强调整成功。
文章来源: zstar.blog.csdn.net,作者:zstar-_,版权归原作者所有,如需转载,请联系作者。
原文链接:zstar.blog.csdn.net/article/details/117134752
【版权声明】本文为华为云社区用户转载文章,如果您发现本社区中有涉嫌抄袭的内容,欢迎发送邮件进行举报,并提供相关证据,一经查实,本社区将立刻删除涉嫌侵权内容,举报邮箱:
cloudbbs@huaweicloud.com
- 点赞
- 收藏
- 关注作者


评论(0)