【愚公系列】2022年07月 .NET架构班 085-微服务专题 Abp vNext微服务网关

一、微服务网关
1.微服务网关概念
API网关是一个服务器,是系统对外的唯一入口。API网关封装了系统内部架构,为每个客户端提供一个定制的API。API网关方式的核心要点是,所有的客户端和消费端都通过统一的网关接入微服务,在网关层处理所有的非业务功能,通常网关也是提供REST/HTTP的访问API。服务端通过API网关注册和管理服务。
2.微服务网关技术选型
| — | Kong | Traefik | Ambassador | Tyk | Zuul |
|---|---|---|---|---|---|
| 基本 | — | — | — | — | — |
| 主要用途 | 企业级API管理 | 微服务网关 | 微服务网关 | 微服务网关 | 微服务网关 |
| 学习曲线 | 适中 | simple | simple | 适中 | simple |
| 成本 | 开源/企业版 | 开源 | 开源/pro | 开源/企业版 | 开源 |
| 社区star | 20742 | 21194 | 1719 | 4299 | 7186 |
| 配置 | — | — | — | — | — |
| 配置语言 | Admin Rest api, Text file(nginx.conf等) | TOML | YAML(kubernetes annotation) | Tyk REST API | REST API,YAML静态配置 |
| 配置端点类 | 命令式 | 声明式 | 声明式 | 命令式 | 命令式 |
| 拖拽配置 | yes | no | no | no | no |
| 管理模式 | configurable | decentralised, self-service | decentralised, self-service | decentralised, self-service | decentralised self-service |
| 部署 | — | — | — | — | — |
| kubernetes | 适中(k8s yaml,helm chart) | easy | easy | 适中(k8s yaml,helm chart) | 适中(k8s yaml,helm chart) |
| Cloud IASS | high | easy | N/A | easy | easy |
| Private Data Center | high | easy | N/A | easy | easy |
| 部署模式 | 全丝雀(企业版) | 全丝雀 | 金丝雀,shadow | 金丝雀 | 全丝雀 |
| state | postgres,cassandra | kubernetes | kubemetes | redis | 内存文件 |
| 可扩展性 | — | — | — | — | — |
| 扩展功能 | 插件 | 自己实现 | 插件 | 插件 | 自己实现 |
| 扩展方法 | 水平 | 水平 | 水平 | 水平 | 水平 |
| 功能 | — | — | — | — | — |
| 服务发现 | 动态 | 动态 | 动态 | 动态 | 动态 |
| 协议 | http,https,websocket | http,https,grpc,websocket | http,https,grpc,websocket | http,https,grpc,websocket | http,https |
| 基于 | kong+nginx | traefik | envoy | tyk | zuul |
| ssl终止 | yes | yes | yes | yes | no |
| websocket | yes | yes | yes | yes | no |
| routing | host,path,method | host,path | host,path,header | host,path | |
| 限流 | yes | no | yes | yes | 需要开发 |
| 熔断 | yes | yes | no | yes | 需要其他组件 |
| 重试 | yes | yes | no | yes | yes |
| 健康检查 | yes | no | no | yes | yes |
| 负载均衡算法 | 轮询,哈希 | 轮询,加权轮询 | 加权轮询 | 轮询 | 轮询,随机,加权轮询,自定义 |
| 权限 | Basic Auth, HMAC, JWT, Key, LDAP, OAuth 2.0,PASETO, plus paid Kong Enterprise options like OpenlD Connect | basic | yes | HMAC, JWT,Mutua TLS,OpenlD Connect,基本身份验证,LDAP,社交OAuth(例如GPlus,Twitter, Github)和传统 基本身份验证提供程序 | 开发实现 |
| tracing | yes | yes | yes | yes | 需要其他组件 |
| istio集成 | no | no | yes | no | no |
| dashboard | yes | yes | grafana,Prometheus | yes | no |
核心解释:
- Netflix:Zuul +java实现
- Kong:nginx +lua脚本实现
- Tyk:go语言开发,收费版本
- Ocelot:aspnetcore开发的
2.微服务网关Ocelot
Ocelot文档地址:
中文文档:http://www.jessetalk.cn/2018/03/19/net-core-apigateway-ocelot-docs/
英文文档:https://ocelot.readthedocs.io/en/latest/introduction/gettingstarted.html
2.1 Ocelot是什么
简单的来说Ocelot是一堆的asp.net core middleware组成的一个管道。当它拿到请求之后会用一个request builder来构造一个HttpRequestMessage发到下游的真实服务器,等下游的服务返回response之后再由一个middleware将它返回的HttpResponseMessage映射到HttpResponse上。
2.2 Ocelot内部概念
- 上游:Ocelot为上游:Upstream
- 下游:Ocelot下面映射的服务为下游:Downstream
2.3 Ocelot主要功能
- 路由
- 接受客户端请求
- 奖客户端请求转换成下游地址
- 调用下游服务,并返回结果
- 将下游服务返回的结果返回到前端
- 认证
- 授权
- 负载均衡
- 链路监控
- 限流
- 熔断降级
- 请求聚合
- Service Fabric
- 其他功能
3.微服务网关Ocelot集成在.NET Core
3.1 Ocelot网关环境
- asp.net core 6.0
- Ocelot
- 团队微服务
- ocelot.json
3.2 Ocelot配置步骤
1、创建一个空的 asp.net core 6.0项目,并把项目转ABP框架形式
详细部署ABP web项目链接:https://codeboy.blog.csdn.net/article/details/122811497
2、通过nuget安装Ocelot
3、创建Ocelot配置文件ocelot.json
{
	"Routes": [],
	"GlobalConfiguration": {
		"BaseUrl": "https://api.mybusiness.com"
	}
}
要特别注意一下BaseUrl是我们外部暴露的Url,比如我们的Ocelot运行在http://150.150.1.1的一个地址上,但是前面有一个 nginx绑定了域名http://api.like.cn,那这里我们的BaseUrl就是 http://api.like.cn。
4、加载ocelot.json配置文件,并加载配置文件
public override void ConfigureServices(ServiceConfigurationContext context)
{
    var configuration = context.Services.GetConfiguration();
    // 1、添加ocelot
    context.Services.AddOcelot(configuration);
}
6、配置Ocelot中间件
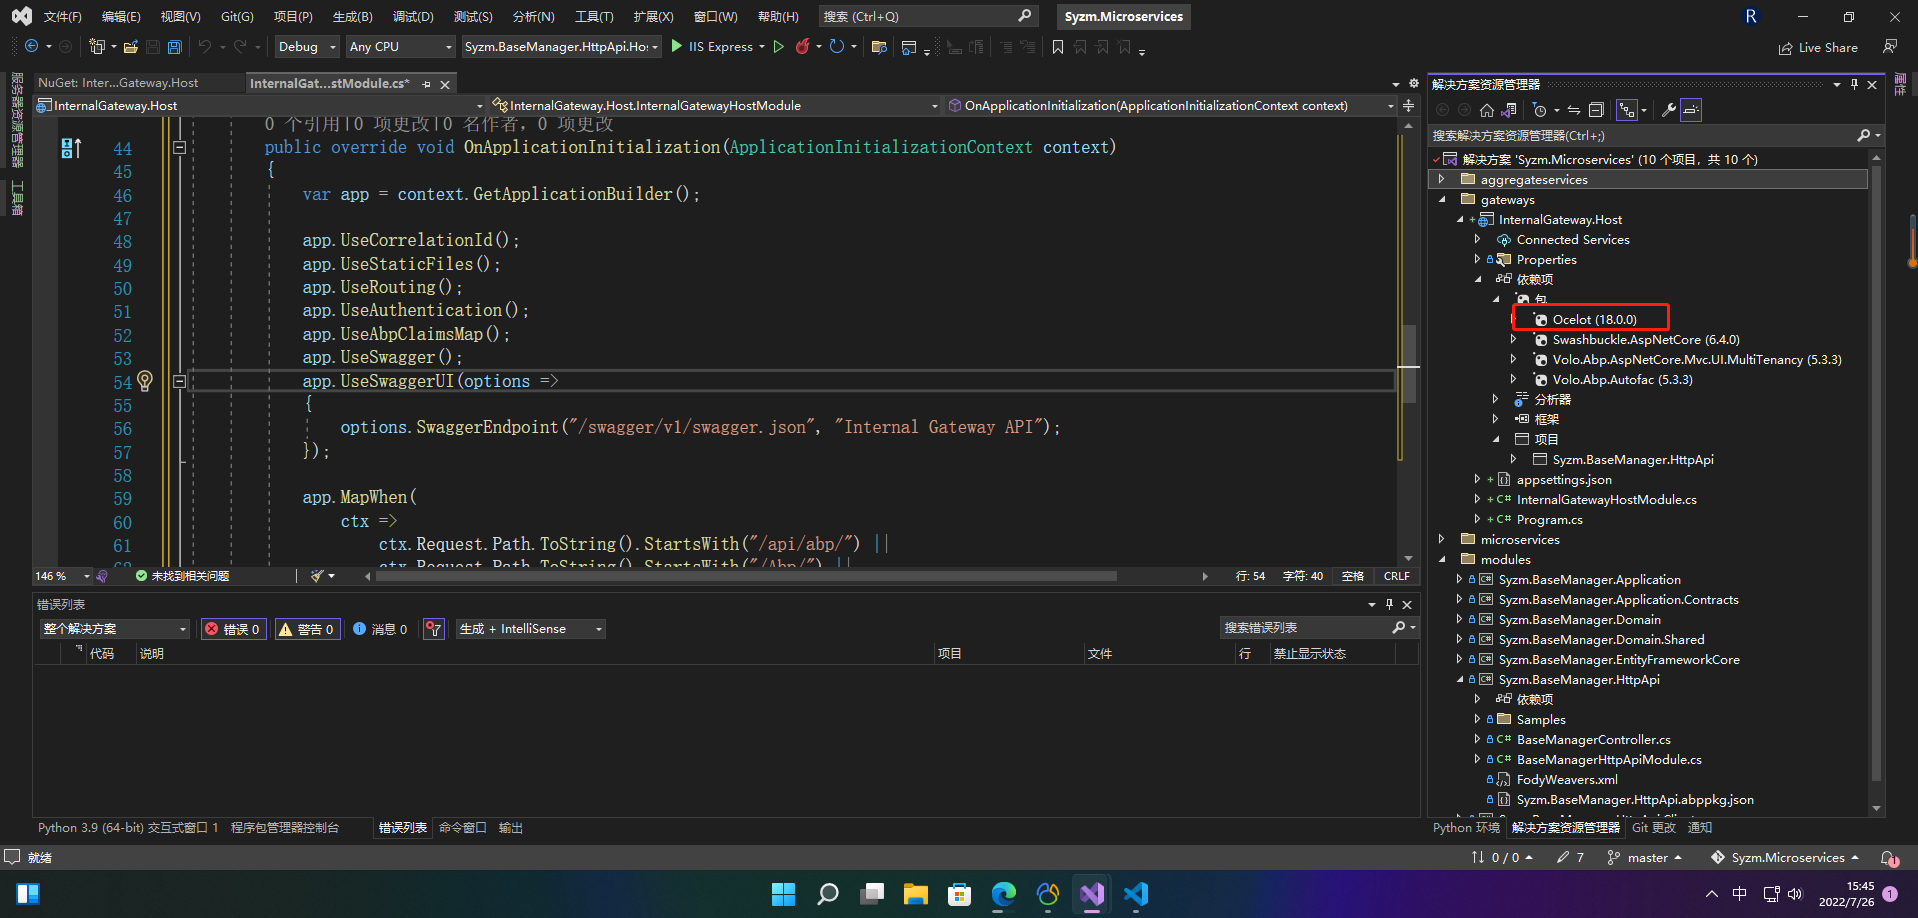
public override void OnApplicationInitialization(ApplicationInitializationContext context)
{
    var app = context.GetApplicationBuilder();

    app.UseCorrelationId();
    app.UseStaticFiles();
    app.UseRouting();
    app.UseAuthentication();
    app.UseAbpClaimsMap();

    // 2、使用ocelot
    app.UseOcelot().Wait();
}
3.2 Ocelot配置文件
{
    "DownstreamPathTemplate": "/",
    "UpstreamPathTemplate": "/",
    "UpstreamHttpMethod": [
   	 	"Get"
    ],
    "AddHeadersToRequest": {},
    "AddClaimsToRequest": {},
    "RouteClaimsRequirement": {},
    "AddQueriesToRequest": {},
    "RequestIdKey": "",
    "FileCacheOptions": {
	    "TtlSeconds": 0,
	    "Region": ""
    },
    "ReRouteIsCaseSensitive": false,
    "ServiceName": "",
    "DownstreamScheme": "http",
    "DownstreamHostAndPorts": [
	    {
	    	"Host": "localhost",
	    	"Port": 51876,
	    }
    ],
    "QoSOptions": {
	    "ExceptionsAllowedBeforeBreaking": 0,
	    "DurationOfBreak": 0,
	    "TimeoutValue": 0
    },
    "LoadBalancer": "",
    "RateLimitOptions": {
	    "ClientWhitelist": [],
	    "EnableRateLimiting": false,
	    "Period": "",
	    "PeriodTimespan": 0,
	    "Limit": 0
    },
    "AuthenticationOptions": {
	    "AuthenticationProviderKey": "",
	    "AllowedScopes": []
    },
    "HttpHandlerOptions": {
	    "AllowAutoRedirect": true,
	    "UseCookieContainer": true,
	    "UseTracing": true
    },
    "UseServiceDiscovery": false
}
- Downstream是下游服务配置
- UpStream是上游服务配置
- Aggregates 服务聚合配置
- ServiceName, LoadBalancer, UseServiceDiscovery 配置服务发现
- AuthenticationOptions 配置服务认证
- RouteClaimsRequirement 配置Claims鉴权
- RateLimitOptions为限流配置
- FileCacheOptions 缓存配置
- QosOptions 服务质量与熔断
- DownstreamHeaderTransform头信息转发
3.2.1 路由基本使用
"Routes":[
	{
		"DownstreamPathTemplate": "/api/Teams",
		"DownstreamScheme": "https",
		"DownstreamHostAndPorts": [
			{
			"Host": "localhost",
			"Port": 5001,
			}
		],
		"UpstreamPathTemplate": "/AggregateService",
		"UpstreamHttpMethod": [ "Get"]
	}
]
- DownstreamPathTemplate:下游路径模板
- DownstreamScheme:下游服务http schema
- DownstreamHostAndPorts:下游服务的地址,如果使用LoadBalancer的话这里可以填多项
- UpstreamPathTemplate: 上游也就是用户输入的请求Url模板
- UpstreamHttpMethod: 上游请求http方法,可使用数组
3.2.2 路由负载均衡
"Routes":[
{
    "DownstreamPathTemplate": "/api/Teams",
    "DownstreamScheme": "https",
    "DownstreamHostAndPorts": [
            {
                "Host": "localhost",
                "Port": 5005,
            },
            {
                "Host": "localhost",
                "Port": 5003,
            }
        ],
    "LoadBalancerOptions": {
        "Type": "LeastConnection"
    },
    "UpstreamPathTemplate": "/AggregateService",
    "UpstreamHttpMethod": [ "Put", "Delete" ]
}
]
LoadBalancer将决定负载均衡的算法
- LeastConnection – 最小活跃数算法
- RoundRobin – 轮询算法
- NoLoadBalance – 总是发往第一个请求或者是服务发现
3.3 Ocelot集成在.NET Core上
3.3.1 单路由配置
1、通过nuget下载Ocelot.Provider.Consul
2、添加consul依赖注入
public void ConfigureServices(IServiceCollection services)
        {
            // 1、添加网关Ocelot到ioc容器
            services.AddOcelot().AddConsul();
        }
3、路由consul配置
"Routes":[
	{
        "DownstreamPathTemplate": "/api/teams",
        "DownstreamScheme": "https",
        "UpstreamPathTemplate": "/AggregateService",
        "UpstreamHttpMethod": [ "Get" ],
        "ServiceName": "AggregateService",
        "LoadBalancerOptions": {
            "Type": "LeastConnection"
        },
	}
]
3.3.2 多路由配置
1、创建ocelot.team.json,ocelot.member.json文件
2、配置动态加载ocelot.json配置文件
webBuilder.ConfigureAppConfiguration((hostingContext, config) =>
                    {
                        config
                            // .SetBasePath(hostingContext.HostingEnvironment.ContentRootPath)
                            // .AddJsonFile("appsettings.json", true, true)
                            // .AddJsonFile($"appsettings.{hostingContext.HostingEnvironment.EnvironmentName}.json", true, true)
                            .AddOcelot(hostingContext.HostingEnvironment);
                        // .AddEnvironmentVariables();
                    });
自动的加载配置文件,然后进行合并,主要用于大项目配置
3、ocelot依赖注入配置
public void ConfigureServices(IServiceCollection services)
        {
            // 1、添加网关Ocelot到ioc容器
            services.AddOcelot();
        }
3.3.3 路由聚合请求
{
    "Routes": [
    {
    "DownstreamPathTemplate": "/",
    "UpstreamPathTemplate": "/laura",
    "UpstreamHttpMethod": [
   		 "Get"
    ],
    "DownstreamScheme": "http",
    "DownstreamHostAndPorts": [
        {
            "Host": "localhost",
            "Port": 51881
        }
    ],
    "Key": "Laura"
    },
    {
    "DownstreamPathTemplate": "/",
    "UpstreamPathTemplate": "/tom",
    "UpstreamHttpMethod": [
    "Get"
    ],
    "DownstreamScheme": "http",
    "DownstreamHostAndPorts": [
    {
    "Host": "localhost",
    "Port": 51882
    }
    ],
    "Key": "Tom"
    }
    ],
    "Aggregates": [
        {
        "ReRouteKeys": [
            "Tom",
            "Laura"
        ],
        "UpstreamPathTemplate": "/"
        }
    ]
}
当我们请求/的时候,会将/tom和/laura两个结果合并到一个response返回
{"Tom":{"Age": 19},"Laura":{"Age": 25}}
需要注意的是:
- 聚合服务目前只支持返回json
- 目前只支持Get方式请求下游服务
- 任何下游的response header并会被丢弃
- 如果下游服务返回404,聚合服务只是这个key的value为空,它不会返回404
有一些其它的功能会在将来实现
- 下游服务很慢的处理
- 做一些像 GraphQL的处理对下游服务返回结果进行处理
- 404的处理
3.3.4 路由服务质量与熔断
nuget安装包:Ocelot.Provider.Polly
1、在ocelot上添加熔断
public void ConfigureServices(IServiceCollection services)
        {
            // 1、添加网关Ocelot到ioc容器
            services.AddOcelot(new ConfigurationBuilder().AddJsonFile("ocelot.aggregate.json").Build())
                .AddConsul()
                .AddPolly();
        }
2、添加熔断配置
熔断的意思是停止将请求转发到下游服务。当下游服务已经出现故障的时候再请求也是功而返,并且增加下游服务器和API网关的负担。这个功能是用的Pollly来实现的,我们只需要为路由做一些简单配置即可
"Routes": [
"QoSOptions": {
    "ExceptionsAllowedBeforeBreaking":3,
    "DurationOfBreak":500,
    "TimeoutValue":5000
}
]
- ExceptionsAllowedBeforeBreaking 允许多少个异常请求
- DurationOfBreak 熔断的时间,单位为毫秒
- TimeoutValue 如果下游请求的处理时间超过多少则自动将请求设置为超时
3.3.5 路由限流
"Routes": [
	"RateLimitOptions": {
	    "ClientWhitelist": [],
	    "EnableRateLimiting": true,
	    "Period": "5m",
	    "PeriodTimespan": 1,
	    "Limit": 1
	}
]
- ClientWihteList 白名单
- EnableRateLimiting 是否启用限流
- Period 统计时间段:1s, 5m, 1h, 1d 多长时间内只能请求多少次
- PeroidTimeSpan 多少秒之后客户端可以重试
- Limit 在统计时间段内允许的最大请求数量
在 GlobalConfiguration下我们还可以进行以下配置
"RateLimitOptions": {
  "DisableRateLimitHeaders": false,
  "QuotaExceededMessage": "Customize Tips!",
  "HttpStatusCode": 999,
  "ClientIdHeader" : "Test"
}
- Http头 X-Rate-Limit 和 Retry-After 是否禁用
- QuotaExceedMessage 当请求过载被截断时返回的消息
- HttpStatusCode 当请求过载被截断时返回的http status
- ClientIdHeader 用来识别客户端的请求头,默认是 ClientId
3.3.5 路由缓存
Ocelot可以对下游请求结果进行缓存 ,目前缓存的功能还不是很强大。它主要是依赖于CacheManager 来实现的,我们只需要在路由下添加以下配置即可
"Routes": [
"FileCacheOptions": { "TtlSeconds": 15, "Region": "somename" }
    }
Region是对缓存进行的一个分区,我们可以调用Ocelot的 administration API来移除某个区下面的缓存 。
3.3.6 路由认证(Identity Server4)
1、Identity Server Bearer Tokens
添加Identity Server的认证也是一样
public void ConfigureServices(IServiceCollection services)
{
    var authenticationProviderKey = "TestKey";
    var options = o =>
        {
            o.Authority = "https://whereyouridentityserverlives.com";
            o.ApiName = "api";
            o.SupportedTokens = SupportedTokens.Both;
            o.ApiSecret = "secret";
        };

    services.AddAuthentication()
        .AddIdentityServerAuthentication(authenticationProviderKey, options);

    services.AddOcelot();
}
2、Allowed Scopes
这里的Scopes将从当前 token 中的 claims中来获取,我们的鉴权服务将依靠于它来实现 。当前路由的下游API需要某个权限时,我们需要在这里声明 。和oAuth2中的 scope意义一致。
3.3.7 路由鉴权
我们通过认证中的AllowedScopes 拿到claims之后,如果要进行权限的鉴别需要添加以下配置
"RouteClaimsRequirement": {
    "UserType": "registered"
}
当前请求上下文的token中所带的claims如果没有 name=”UserType” 并且 value=”registered” 的话将无法访问下游服务。
3.3.8 路由请求头转化
请求头转发分两种:转化之后传给下游和从下游接收转化之后传给客户端。在Ocelot的配置里面叫做Pre Downstream Request和Post Downstream Request。目前的转化只支持查找和替换。我们用到的配置主要是UpstreamHeaderTransform 和 DownstreamHeaderTransform
1、Pre Downstream Request
"Test": "http://www.bbc.co.uk/, http://ocelot.com/"
比如我们将客户端传过来的Header中的 Test 值改为 http://ocelot.com/之后再传给下游
 "UpstreamHeaderTransform": {
    "Test": "http://www.bbc.co.uk/, http://ocelot.com/"
},
2、Post Downstream Request
而我们同样可以将下游Header中的Test再转为 http://www.bbc.co.uk/之后再转给客户端。
"DownstreamHeaderTransform": {
    "Test": "http://www.bbc.co.uk/, http://ocelot.com/"
},
3.3.9 全局配置
1. {`
2. `  "Routes": [],`
3. `  "Aggregates": [],`
4. `  "GlobalConfiguration": {`
5. `    "RequestIdKey": null,`
6. `    "ServiceDiscoveryProvider": {`
7. `      "Host": "192.168.80.100", // Consul Service IP`
8. `      "Port": 8500 // Consul Service Port`
9. `    },`
10. `    "RateLimitOptions": {`
11. `      "DisableRateLimitHeaders": false, // Http头  X-Rate-Limit 和 Retry-After 是否禁用`
12. `      "QuotaExceededMessage": "你的访问过于频繁请稍后在试", // 当请求过载被截断时返回的消息`
13. `      "HttpStatusCode": 253, // 当请求过载被截断时返回的http status`
14. `      "ClientIdHeader": "client_id" // 用来识别客户端的请求头,默认是 ClientId`
15. `    },`
16. `    "QoSOptions": {`
17. `      "ExceptionsAllowedBeforeBreaking": 3,`
18. `      "DurationOfBreak": 5000,`
19. `      "TimeoutValue": 5000`
20. `    },`
21. `    "BaseUrl": null,`
22. `    "LoadBalancerOptions": {`
23. `      "Type": "LeastConnection",`
24. `      "Key": null,`
25. `      "Expiry": 0`
26. `    },`
27. `    "DownstreamScheme": "http",`
28. `    "HttpHandlerOptions": {`
29. `      "AllowAutoRedirect": false,`
30. `      "UseCookieContainer": false,`
31. `      "UseTracing": false`
32. `    }`
33. `  }`
34. `}`
3.3.10 万能模板
{
      ``"DownstreamPathTemplate": "/{url}",
      ``"DownstreamScheme": "http",
      ``"DownstreamHostAndPorts": [
        ``{
          ``"Host": "localhost",
          ``"Port": 5002
        ``}
      ``],
      ``"UpstreamPathTemplate": "/{url}",
      ``"UpstreamHttpMethod": [ "Get" ]
}
3.3.11 动态路由
   {
 "Routes": [],
 "Aggregates": [],
 "GlobalConfiguration": {
   "ServiceDiscoveryProvider": {
     "Host": "localhost",
     "Port": 8500,
     "Type": "Consul",
     "Token": null,
     "ConfigurationKey": null
   },
   "LoadBalancerOptions": {
     "Type": "LeastConnection",
     "Key": null,
     "Expiry": 0
   },
   "DownstreamScheme": "https"
 }
   }

- 点赞
- 收藏
- 关注作者
评论(0)