SoapUI安装教程【Windows】

Installing SoapUI on Windows
Once you’ve downloaded the installer, the installation is pretty straightforward. Start it by just double-clicking on it. The installer will start immediately.
一旦下载安装程序,安装非常简单。只需双击它即可启动。安装程序将立即启动。
You’ll soon see the starting screen.
您很快就会看到开始屏幕。
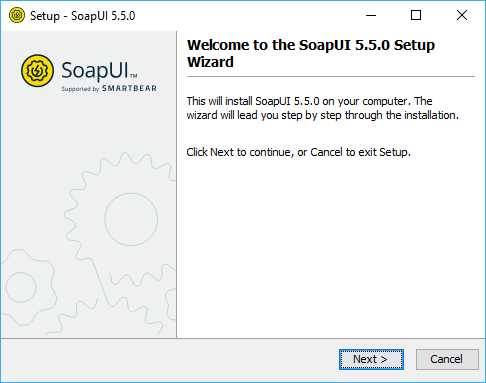
Click Next to continue.
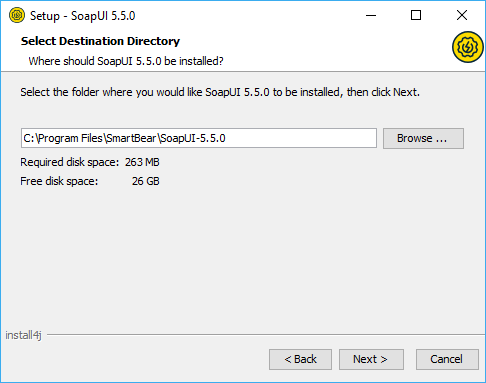
Select the destination folder, which by default is set to C:\Program Files\SmartBear\SoapUI-5.5.0.
单击“下一步”继续。
选择目标文件夹,默认设置为C:\Program Files\SmartBear\SoapUI-5.5.0。
Next step gives you the opportunity to include, as additional components, SoapUI source files, HermesJMS installation and tutorials.
下一步让您有机会将SoapUI源文件、HermesJMS安装和教程作为附加组件包括在内。
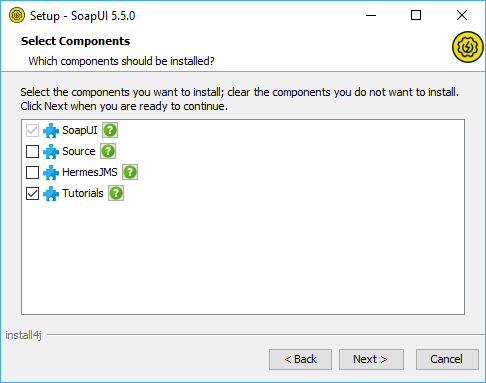
Note: If you choose to install HermesJMS, you will have to accept the HermesJMS license agreement.
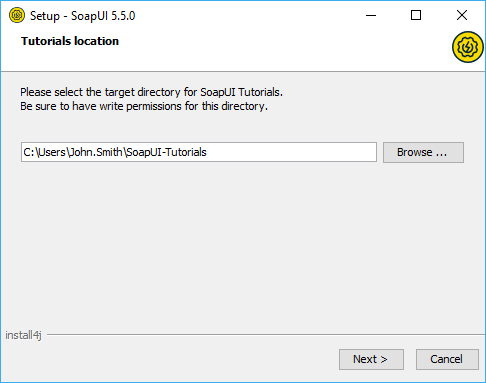
If you choose to install SoapUI tutorials, specify the directory to which you want to install them.
注意:如果选择安装HermesJMS,则必须接受HermesJMS许可协议。
如果选择安装SoapUI教程,请指定要将其安装到的目录。
Then, you’ll be able to select the Start Menu folder where you want the soapUI shortcut to be added
然后,您可以选择要添加soapUI快捷方式的“开始”菜单文件夹
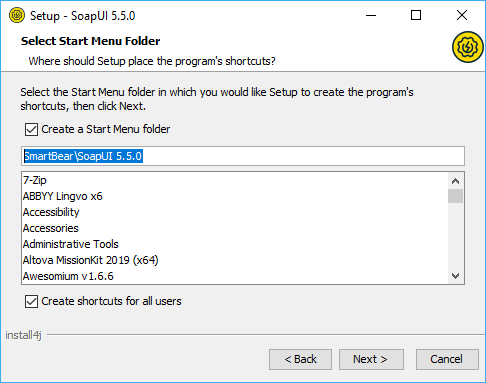
and whether you would like desktop icon added.
以及您是否希望添加桌面图标。
![]()
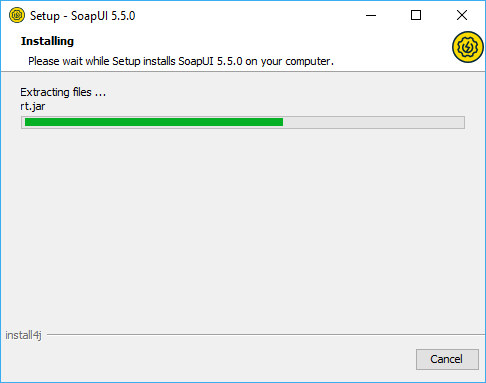
Finally, by clicking Next, the installation starts.
最后,单击下一步,安装开始。
After couple of minutes at most, the installation should be finished and you should see the next screen.
最多几分钟后,安装应该完成,您应该会看到下一个屏幕。
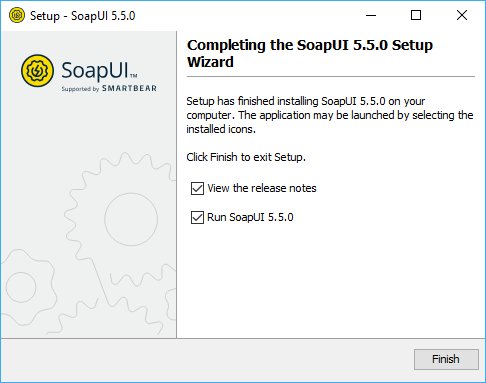
Now you are ready to use soapUI. Good luck!
现在您可以使用soapUI了。祝你好运!

- 点赞
- 收藏
- 关注作者
评论(0)