Flutter 小技巧之 ButtonStyle 和 MaterialStateProperty
今天分享一个简单轻松的内容: ButtonStyle 和 MaterialStateProperty 。
大家是否还记得去年 Flutter 2.0 发布的时候,除了空安全之外 ,还有更新一系列关于控件的 breaking change,其中就有 FlatButton 被标志为弃用,需要替换成 TextButton 的情况。
如今已经 Flutter 3.0 ,不大知道大家对 TextButton 是否已经足够了解,或者说对 MaterialStateProperty 是否已经足够了解?
为什么 TextButton 会和 MaterialStateProperty 扯到一起?
首先,说到 MaterialStateProperty 就不得不提 Material Design ,MaterialStateProperty 的设计理念,就是基于 Material Design 去针对全平台的交互进行兼容。
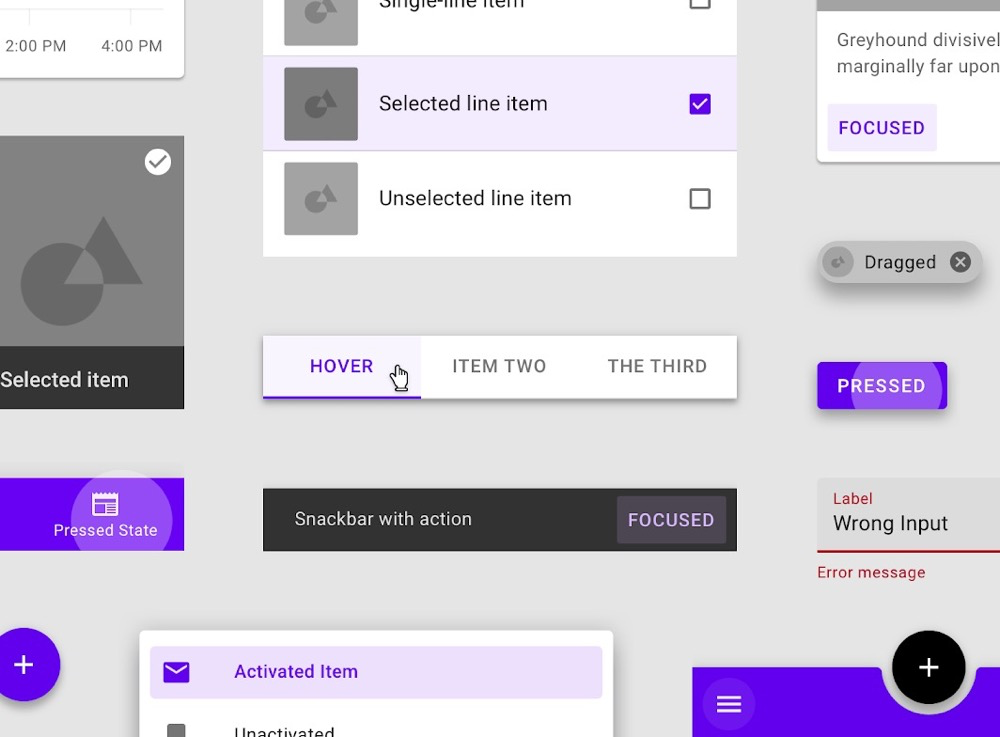
相信大家当初在从 Flutter 1 切换到 Flutter 2 的时候,应该都有过这样一个疑问:
为什么
FlatButton和RaisedButton会被弃用替换成TextButton和RaisedButton?

因为以前只需要使用 textColor 、backgroundColor 等参数就可以快速设置颜色,但是现在使用 ButtonStyle ,从代码量上看相对会麻烦不少。
当然,在后续里官方也提供了类似 styleFrom 等静态方法来简化代码,但是本质上切换到 ButtonStyle 的意义是什么 ?MaterialStateProperty 又是什么?

首先我们看看 MaterialStateProperty ,在 MaterialStateProperty 体系里有一个 MaterialState 枚举,它主要包含了:
- disabled:当控件或元素不能交互性时
- hovered:鼠标交互悬停时
- focused: 在键盘交互中突出显示
- selected:例如 check box 的选定状态
- pressed:通过鼠标、键盘或者触摸等方法发起的轻击或点击
- dragged:用户长按并移动控件时
- error:错误状态下,比如
TextField的 Error
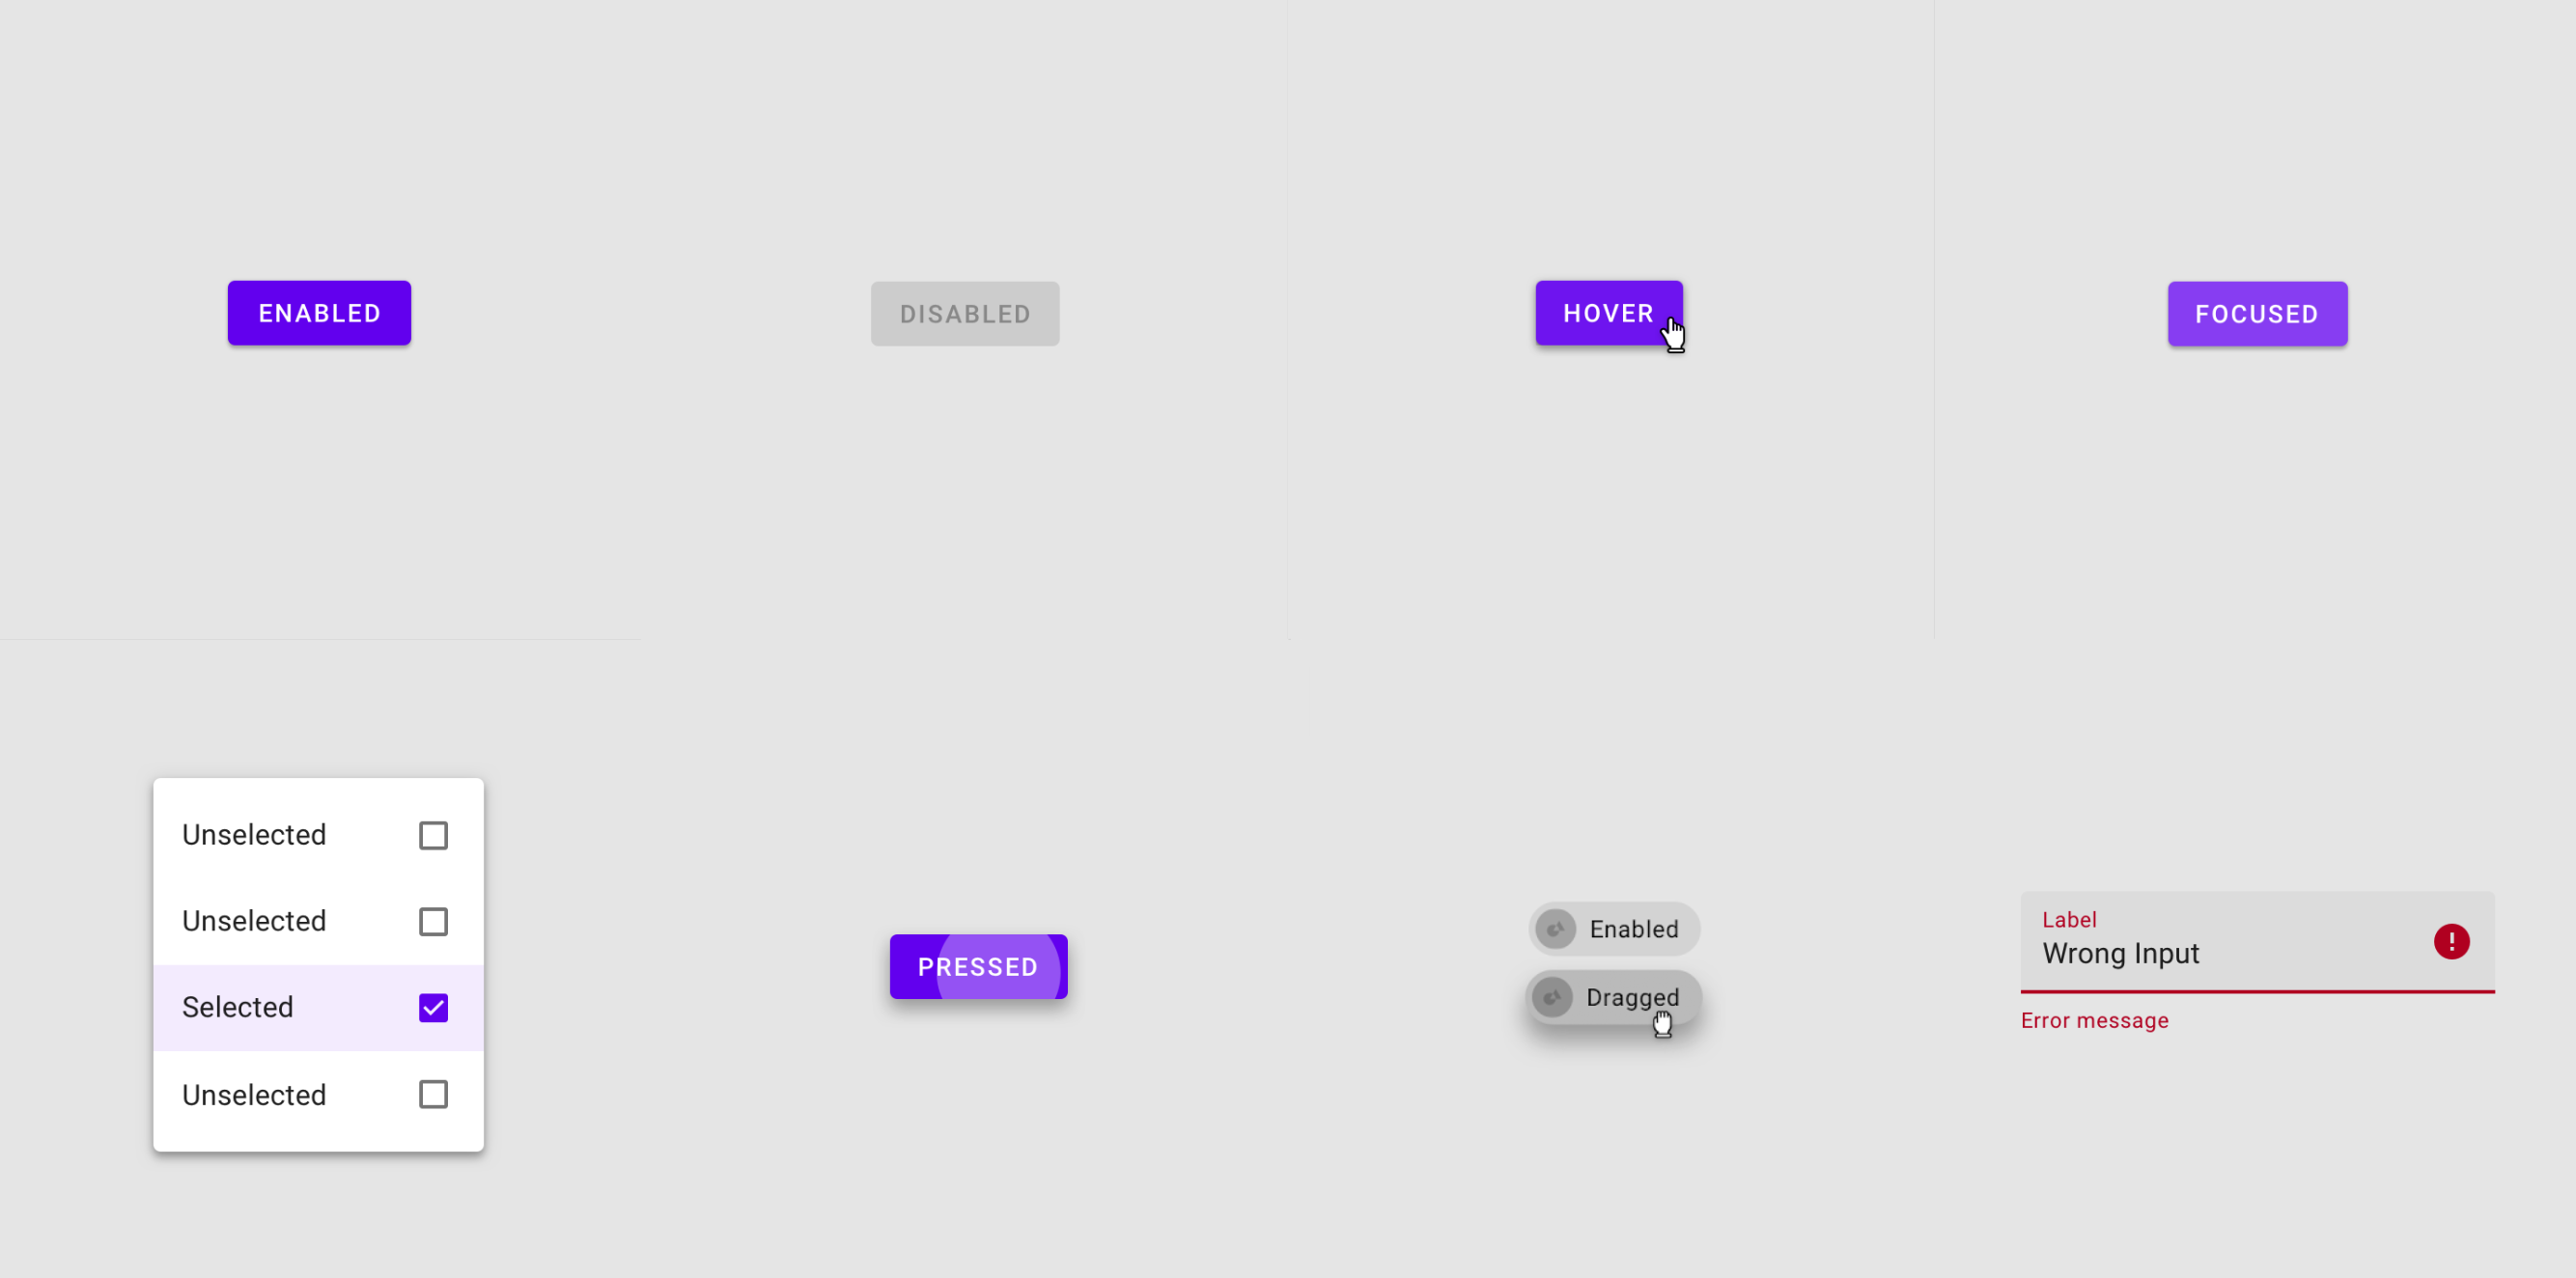
所以现在理解了吧? 随着 Web 和 Desktop 平台的发布,原本的 FlatButton 无法很好满足新的 UI 交互需要,例如键鼠交互下的 hovered ,所以 TextButton 开始使用 MaterialStateProperty 来组成 ButtonStyle 支持不同平台下 UI 的状态展示。
在此之前,如果需要多平台适配你可能会这么写,你需要处理很多不同的状态条件,从而产生无数 if 或者 case :
  getStateColor(Set<MaterialState> states) {
    if (states.contains(MaterialState.hovered)) {
      ///在 hovered 时还 focused 了
      if (states.contains(MaterialState.focused)) {
        return Colors.red;
      } else {
        return Colors.blue;
      }
    } else if (states.contains(MaterialState.focused)) {
      return Colors.yellow;
    }
    return Colors.green;
  }
- 1
- 2
- 3
- 4
- 5
- 6
- 7
- 8
- 9
- 10
- 11
- 12
- 13
但是现在, 你只需要继承 MaterialStateProperty 然后 @override resolve 方法就可以了,例如 TextButton 里的 hovered 效果,在 TextButton 内默认就是通过 _TextButtonDefaultOverlay 实现,对 primary.withOpacity 来实现 hovered 效果。
@immutable
class _TextButtonDefaultOverlay extends MaterialStateProperty<Color?> {
  _TextButtonDefaultOverlay(this.primary);

  final Color primary;

  @override
  Color? resolve(Set<MaterialState> states) {
    if (states.contains(MaterialState.hovered))
      return primary.withOpacity(0.04);
    if (states.contains(MaterialState.focused) || states.contains(MaterialState.pressed))
      return primary.withOpacity(0.12);
    return null;
  }

  @override
  String toString() {
    return '{hovered: ${primary.withOpacity(0.04)}, focused,pressed: ${primary.withOpacity(0.12)}, otherwise: null}';
  }
}
- 1
- 2
- 3
- 4
- 5
- 6
- 7
- 8
- 9
- 10
- 11
- 12
- 13
- 14
- 15
- 16
- 17
- 18
- 19
- 20
其实在 TextButton 的内部,默认同样是通过 styleFrom 来配置所需的 MaterialState 效果,其中有:
_TextButtonDefaultForeground: 用于处理 disabled ,通过onSurface?.withOpacity(0.38)变化颜色;_TextButtonDefaultOverlay: 用于处理 hovered 、 focused 和 pressed ,通过primary.withOpacity变化颜色;_TextButtonDefaultMouseCursor: 用于处理鼠标 MouseCursor 的 disabled;
剩下的参则是通过我们熟悉的 ButtonStyleButton.allOrNull 进行添加,也就是不需要特殊处理的参数。
那 ButtonStyleButton.allOrNull 的作用是什么?
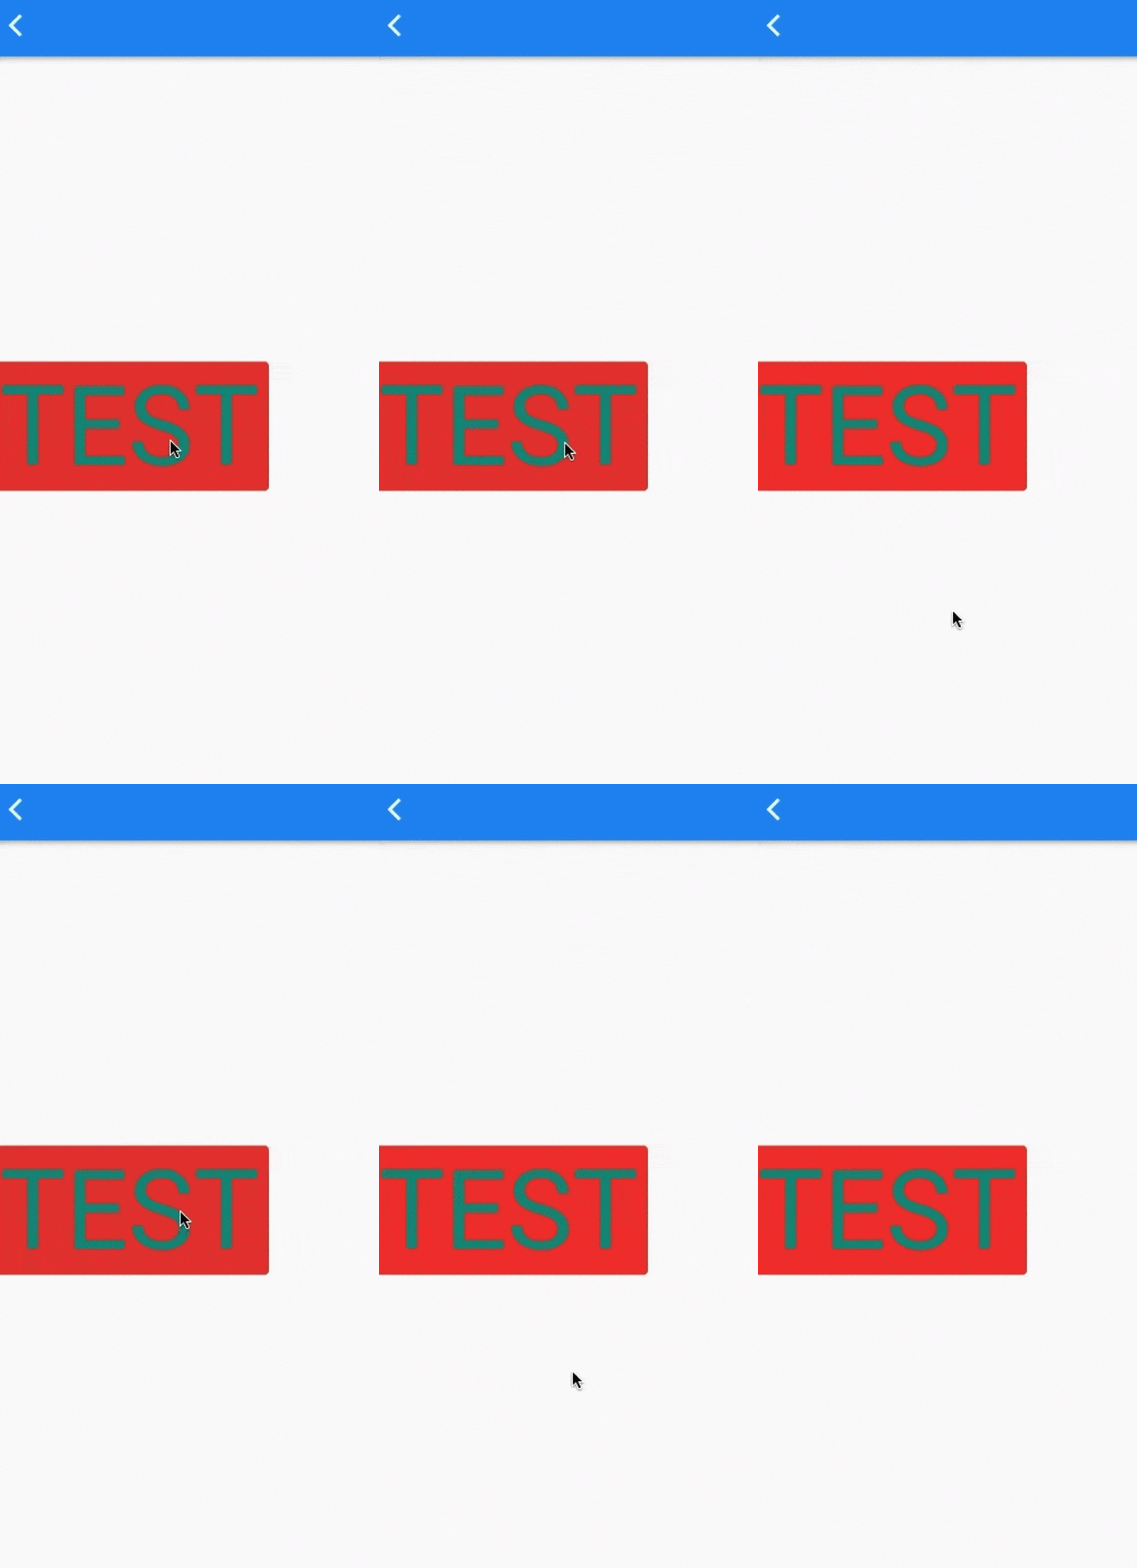
其实 ButtonStyleButton.allOrNull 就是 MaterialStateProperty.all 方法的可 null 版本,对应内部实现最终还是实现了 resolve 接口的 MaterialStateProperty ,所以如果需要支持 null,你也可以做直接使用 MaterialStateProperty.all 。
static MaterialStateProperty<T>? allOrNull<T>(T? value) => value == null ? null : MaterialStateProperty.all<T>(value);
- 1
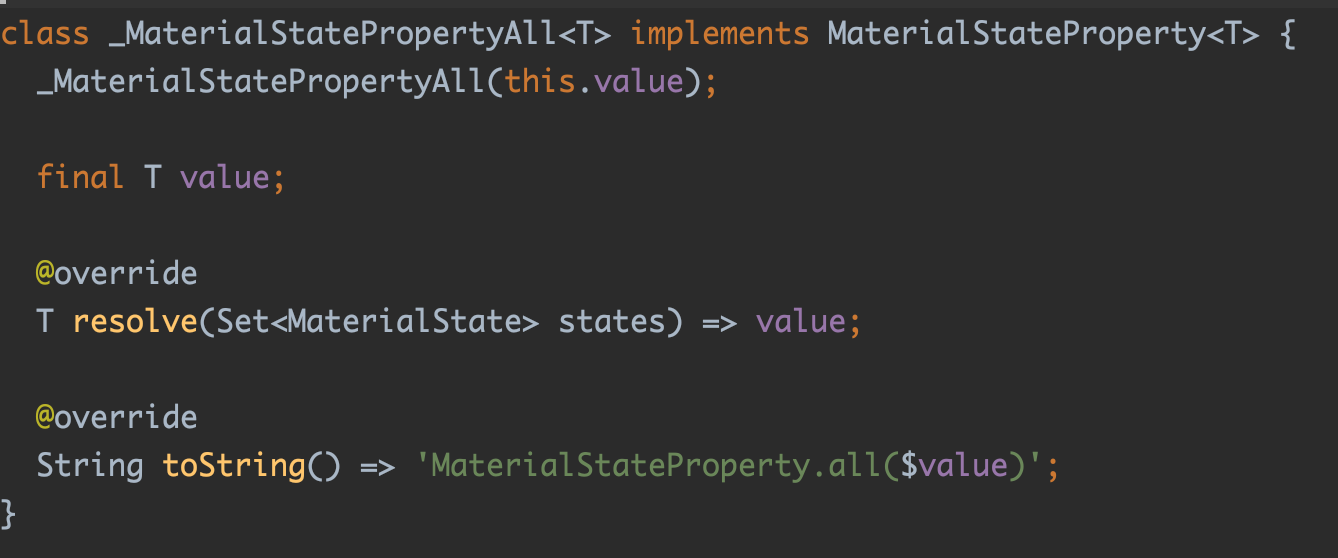
当然,如果不想创建新的 class 但是又想定制逻辑,如下代码所示,那你也可以使用 resolveWith 静态方法:
TextButton(
  style: ButtonStyle(
      backgroundColor: MaterialStateProperty.resolveWith((states) {
    if (states.contains(MaterialState.hovered)) {
      return Colors.green;
    }
    return Colors.transparent;
  })),
  onPressed: () {},
  child: new Text(
    "TEST",
    style: TextStyle(fontSize: 100),
  ),
),
- 1
- 2
- 3
- 4
- 5
- 6
- 7
- 8
- 9
- 10
- 11
- 12
- 13
- 14
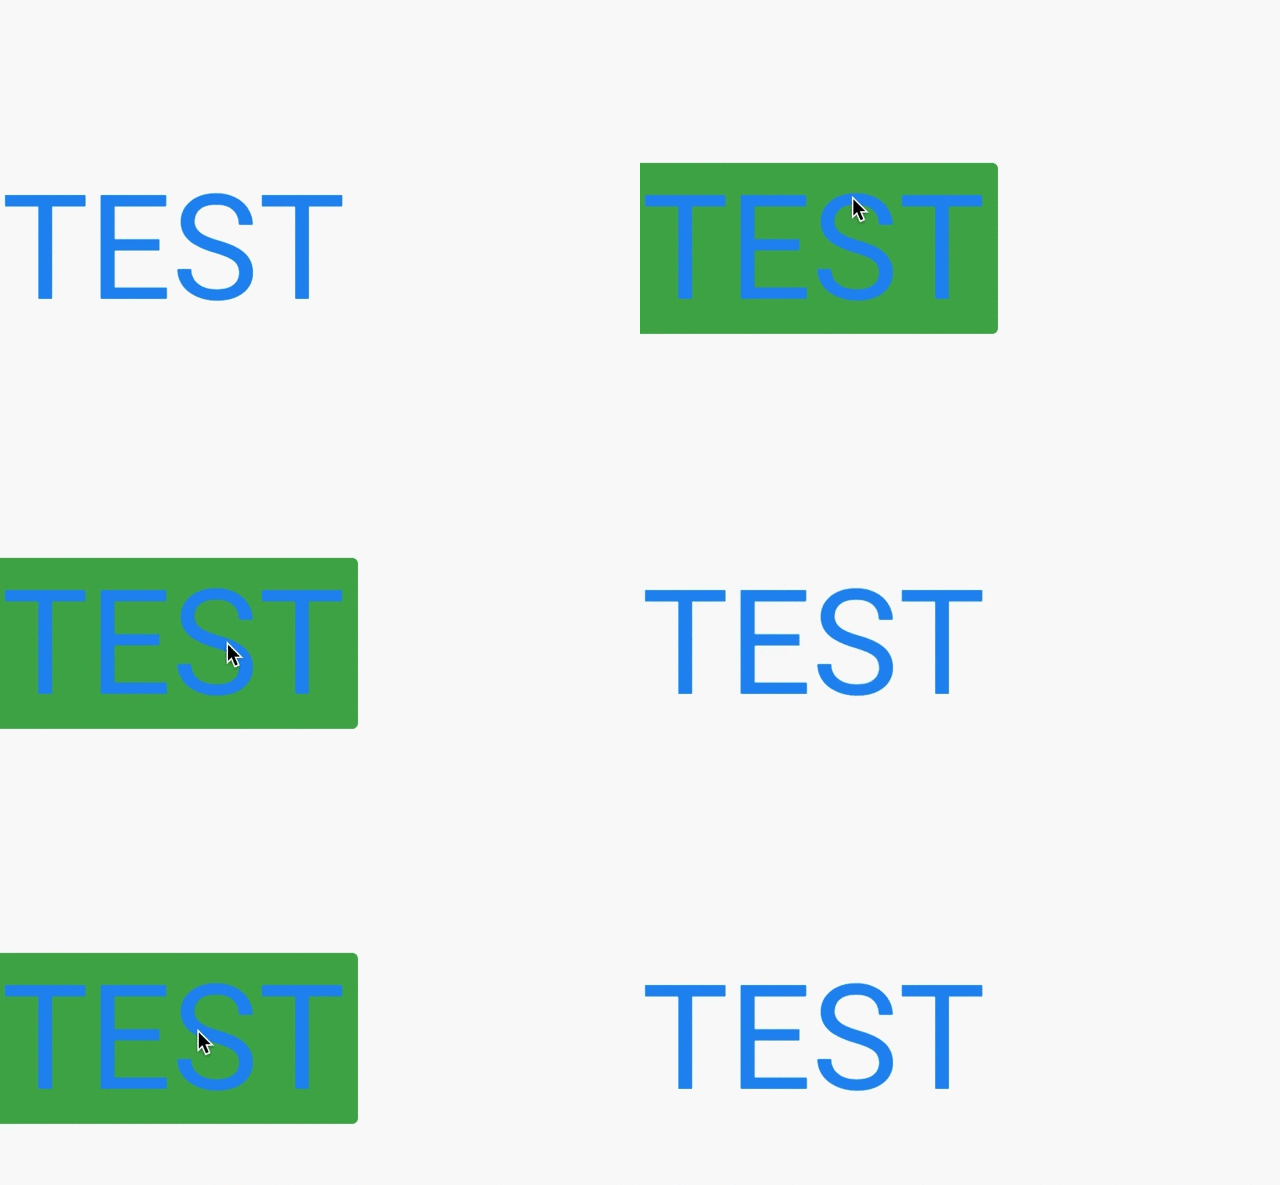
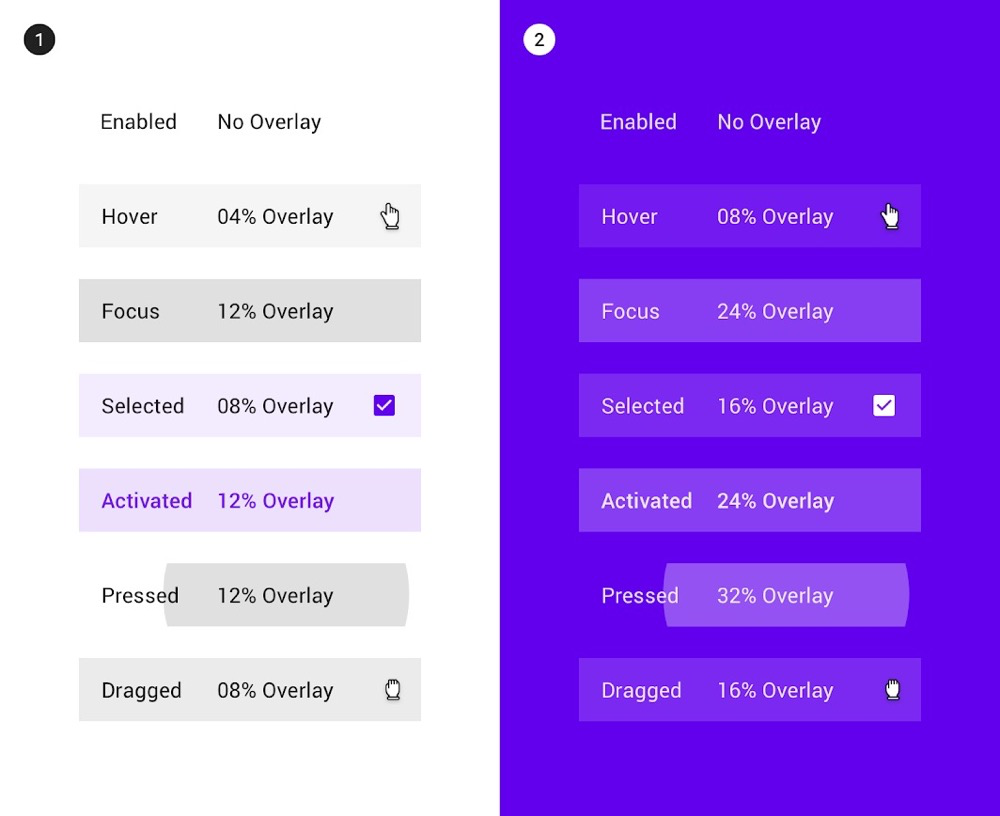
当然,谷歌在对 Flutter 控件进行 MaterialState 的 UI 响应时,也是遵循了 Material Design 的设计规范,比如 Hover 时 primary.withOpacity(0.04); ,所以不管在 TextButton 还是 RaisedButton 内部都遵循类似的规范。
另外,有时候你肯定不希望每个地方单独去配置 Style ,那这时候你就需要配合 Theme 来实现。
事实上 TextButton 、 ElevatedButton 和 OutlinedButton 都是 ButtonStyleButton 的子类,他们都会遵循以下的原则:
    final ButtonStyle? widgetStyle = widget.style;
    final ButtonStyle? themeStyle = widget.themeStyleOf(context);
    final ButtonStyle defaultStyle = widget.defaultStyleOf(context);
    assert(defaultStyle != null);

    T? effectiveValue<T>(T? Function(ButtonStyle? style) getProperty) {
      final T? widgetValue  = getProperty(widgetStyle);
      final T? themeValue   = getProperty(themeStyle);
      final T? defaultValue = getProperty(defaultStyle);
      return widgetValue ?? themeValue ?? defaultValue;
    }
- 1
- 2
- 3
- 4
- 5
- 6
- 7
- 8
- 9
- 10
- 11
也就是 return widgetValue ?? themeValue ?? defaultValue; ,其中:
- widgetValue 就是控件单独配置的样式
- themeValue 就是 Theme 里配置的全局样式
- defaultValue 就是默认内置的样式,也即是
styleFrom静态方法,当然styleFrom里也会用一些ThemeData的对象,例如colorScheme.primary、textTheme.button、theme.shadowColor等
所以,例如当你需要全局去除按键的水波纹时,如下代码所示,你可以修改 ThemeData 的 TextButtonTheme 来实现,因为 TextButton 内的 themeStyleOf 使用的就是 TextButtonTheme 。
theme: ThemeData(
  primarySwatch: Colors.blue,
  textButtonTheme: TextButtonThemeData(
    // 去掉 TextButton 的水波纹效果
    style: ButtonStyle(splashFactory: NoSplash.splashFactory),
  ),
),
- 1
- 2
- 3
- 4
- 5
- 6
- 7

最后做个总结:
- 如果只是简单配置背景颜色,可以直接用
styleFrom - 如果单独配置,可以使用
ButtonStyleButton.allOrNull - 如果需要灵活处理,可以使用
ButtonStyleButton.resolveWith或者实现MaterialStateProperty的resolve接口
文章来源: carguo.blog.csdn.net,作者:恋猫de小郭,版权归原作者所有,如需转载,请联系作者。
原文链接:carguo.blog.csdn.net/article/details/125076824
- 点赞
- 收藏
- 关注作者


评论(0)