Flutter如何一键唤起

如何一键唤起
背景
目前我们的项目有分享功能,想通过分享的链接实现判断用户是否已经下载,如果没有,则下载,下载了的用户则可以跳转到对应的详情页,查看详情
为了方便尽可能的少写代码,在pub上发现openinstall_flutter_plugin插件
openinstall插件封装了openinstall平台原生SDK,集成了 渠道统计,携带参数安装,快速安装与一键拉起 功能,目前渠道支持 H5渠道,广告平台渠道 以及 Apple Search Ads (ASA) 渠道。
接下来我们就介绍如何在自己的项目中使用
第一步,安装
安装方式有两种
1
flutter pub add openinstall_flutter_plugin2
dependencies:
  openinstall_flutter_plugin: ^2.2.1
大家可以看自己的需求进行安装。
在使用的地方
import 'package:openinstall_flutter_plugin/openinstall_flutter_plugin.dart';好的,我现在已经安装完毕,就开始教大家如何使用。
一、配置
前往 创建应用并获取 openinstall 为应用分配的appkey 和 scheme 以及 iOS的关联域名(Associated Domains)
Android 平台配置
配置 appkey
在 /android/app/build.gradle 中添加代码设置appkey:
android: {
  ....
  defaultConfig {
    ...
    manifestPlaceholders = [
        OPENINSTALL_APPKEY : "openinstall为应用分配的appkey",
    ]
  }
}
配置 scheme
修改 /android/app/src/main/AndroidMenifest.xml 文件,在跳转 Activity 标签内添加 intent-filter
<intent-filter>
<action android:name="android.intent.action.VIEW"/>
<category android:name="android.intent.category.DEFAULT"/>
<category android:name="android.intent.category.BROWSABLE"/>
<data android:scheme="openinstall为应用分配的scheme"/>
</intent-filter>
-
Readme
-
-
-
-
-
openinstall flutter plugin
openinstall插件封装了openinstall平台原生SDK,集成了 渠道统计,携带参数安装,快速安装与一键拉起 功能,目前渠道支持 H5渠道,广告平台渠道 以及 Apple Search Ads (ASA) 渠道。 使用openinstall可实现以下多种场景: 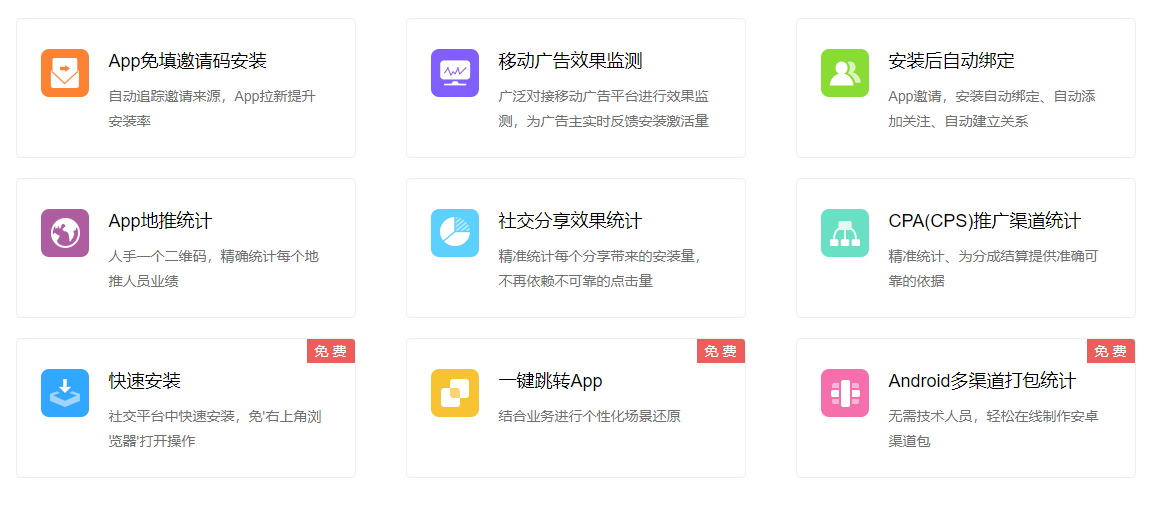
一、配置
前往 创建应用并获取 openinstall 为应用分配的appkey 和 scheme 以及 iOS的关联域名(Associated Domains) 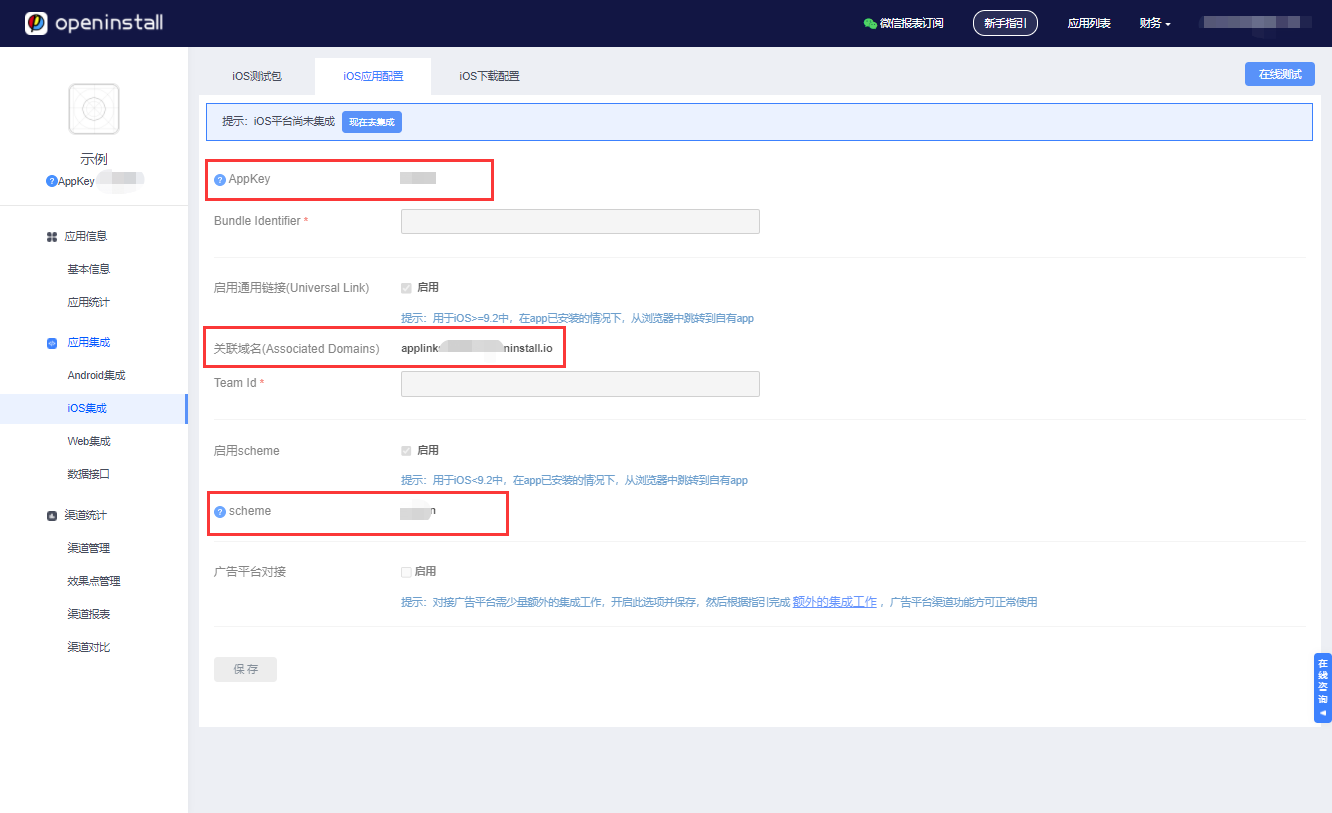
Android 平台配置
配置 appkey
在 /android/app/build.gradle 中添加代码设置appkey:
android: {
  ....
  defaultConfig {
    ...
    manifestPlaceholders = [
        OPENINSTALL_APPKEY : "openinstall为应用分配的appkey",
    ]
  }
}
配置 scheme
修改 /android/app/src/main/AndroidMenifest.xml 文件,在跳转 Activity 标签内添加 intent-filter
<intent-filter>
<action android:name="android.intent.action.VIEW"/>
<category android:name="android.intent.category.DEFAULT"/>
<category android:name="android.intent.category.BROWSABLE"/>
<data android:scheme="openinstall为应用分配的scheme"/>
</intent-filter>如果跳转与启动页面是同一 Activity ,则配置示例如图: 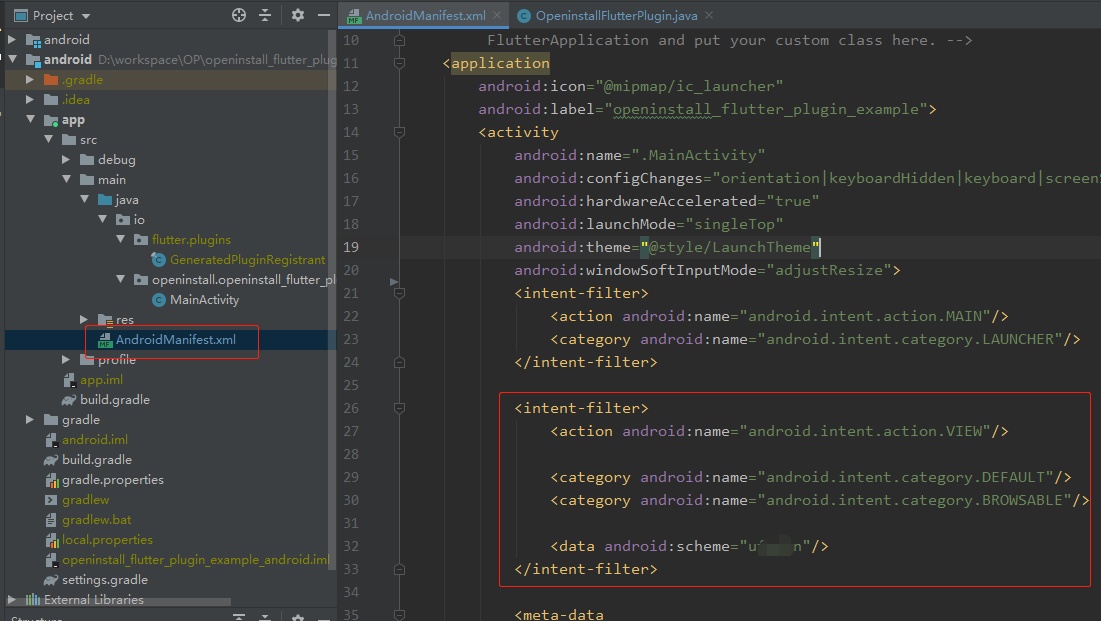
iOS 平台配置
配置 appkey
在Flutter工程下的 ios/Runner/Info.plist 文件中配置 appKey 键值对,如下:
<key>com.openinstall.APP_KEY</key>
<string>openinstall 分配给应用的 appkey</string>
一键拉起配置
universal links 相关配置
-
开启Associated Domains服务
对于iOS,为确保能正常跳转,AppID必须开启Associated Domains功能,请到,选择Certificate, Identifiers & Profiles,选择相应的AppID,开启Associated Domains。
注意:当AppID重新编辑过之后,需要更新相应的mobileprovision证书。
-
配置universal links关联域名(iOS 9以后推荐使用)
关联域名(Associated Domains) 的值请在openinstall控制台获取(openinstall应用控制台->iOS集成->iOS应用配置)
该文件是给iOS平台配置的文件,在 ios/Runner 目录下创建文件名为 Runner.entitlements 的文件,Runner.entitlements 内容如下:
<?xml version="1.0" encoding="UTF-8"?>
<!DOCTYPE plist PUBLIC "-//Apple//DTD PLIST 1.0//EN" "http://www.apple.com/DTDs/PropertyList-1.0.dtd">
<plist version="1.0">
<dict>
    <key>com.apple.developer.associated-domains</key><!--固定key值-->
    <array>
        <!--这里换成你在openinstall后台的关联域名(Associated Domains)-->
        <string>applinks:xxxxxx.openinstall.io</string>
    </array>
</dict>
</plist>
首先我分享出去的链接是这样的
shareUrl =
        "${"https://download" + "?type=" + "${widget.shareType}" + "&target_id=" + "${widget.id}"}";
后面的type和id分别代表分享的类型和对应详情页的id
首先初始化
@override
void initState() {
super.initState();
initPlatformState();
}
Future<void> initPlatformState() async {
if (!mounted) return;
_openinstallFlutterPlugin = new OpeninstallFlutterPlugin();
_openinstallFlutterPlugin.init(wakeupHandler);
setState(() {});
}
Future wakeupHandler(Map<String, dynamic> data) async {
String bindData = data['bindData'].toString();
if (strNoEmpty(bindData)) {
AppWakeupModel model = AppWakeupModel.fromJson(jsonDecode(bindData));
AppConf.wakeupModel = model;
NotificationCenter.post(NotificationChannel.WAKEUP_MESSAGE, model);
}
}class NotificationChannel {
static const String WAKEUP_MESSAGE = "wakeup_message";
}
 _launchProssgess();


  void _launchProssgess() async {
    if (AppConf.wakeupModel != null) {
      _checkWakeupData();
    }
  }


   void _checkWakeupData() {
    if (AppConf.wakeupModel != null) {
      if (AppConf.wakeupModel!.type == 1) {
        //打开活动
        Routes.push(
            ActivityDetails(
              activityid: AppConf.wakeupModel!.targetId,
            ),
            context: context);
      } else if (AppConf.wakeupModel!.type == 2) {}
    }
    AppConf.wakeupModel = null;
  }
里面涉及到的model
import 'dart:convert' show json, jsonEncode;
class AppWakeupModel {
AppWakeupModel({
this.type,
this.targetId,
});
factory AppWakeupModel.fromJson(Map<String, dynamic> json) => AppWakeupModel(
type: int.parse(json['type'].toString()),
targetId: int.parse(json['target_id'].toString()),
);
/**
* 类型,1=活动,2=抽奖,
*/
int? type;
/**
* 对象id
*/
int? targetId;
@override
String toString() {
return jsonEncode(this);
}
Map<String, dynamic> toJson() => <String, dynamic>{
'type': type,
'targetId': targetId,
};
}

- 点赞
- 收藏
- 关注作者
评论(0)