从0开始学Python - 入门篇之Python基础语法

【摘要】 实验介绍了Python(Python3)语言的基础,快速掌握Python编程语言的基本语法和Python中的基础函数的使用
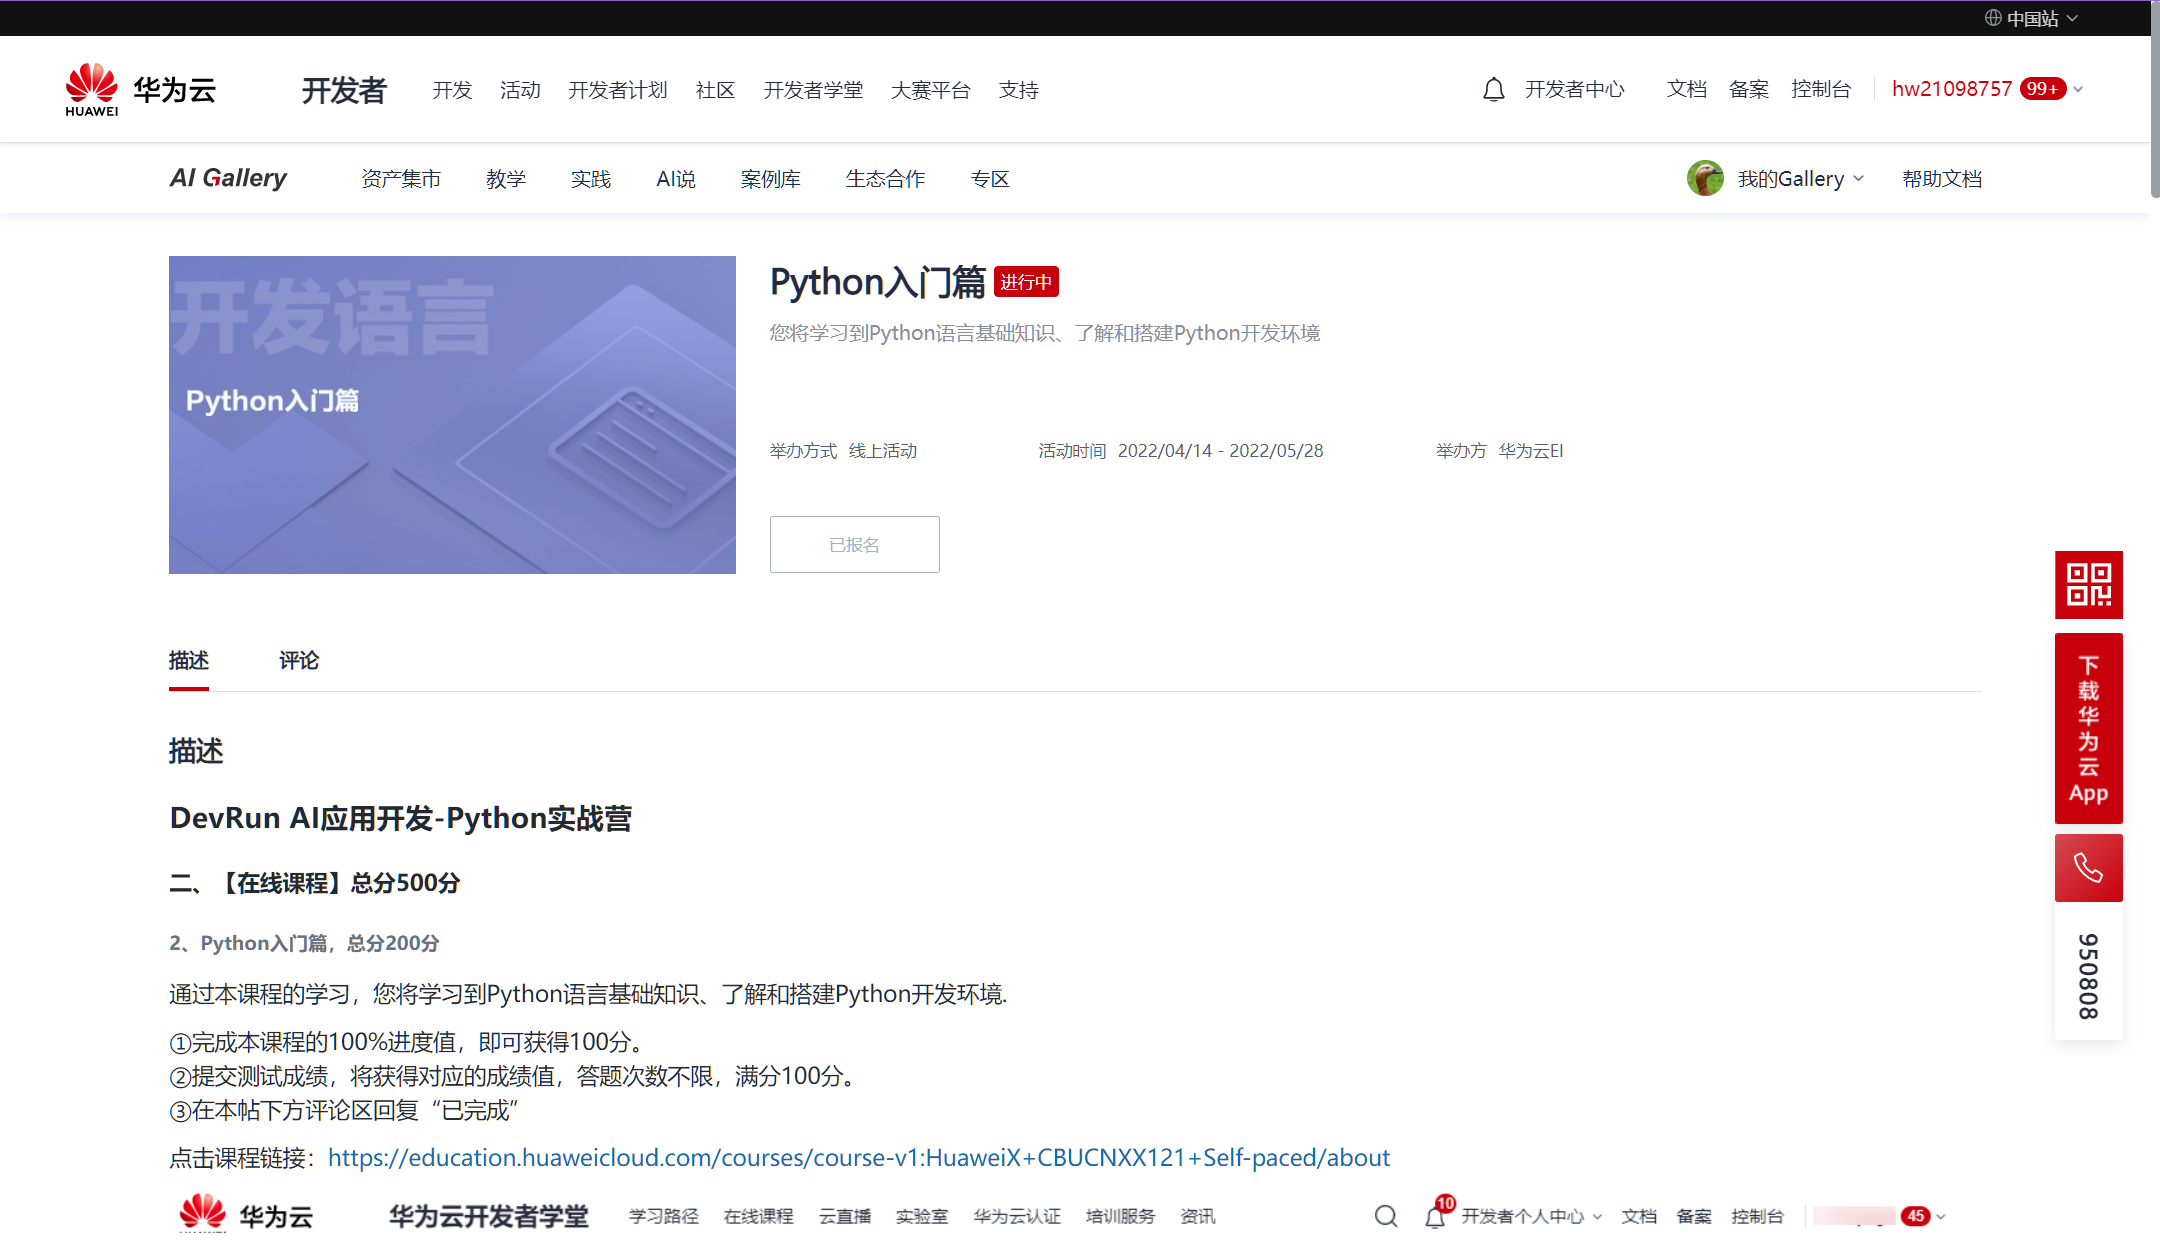
参加了DevRun AI应用开发-Python实战营
第2章 走进Python的世界 - 实验手册练习
★实验目的
”
-
通过以下实验可以帮助我们掌握Python这门编程语言
★资源准备
”
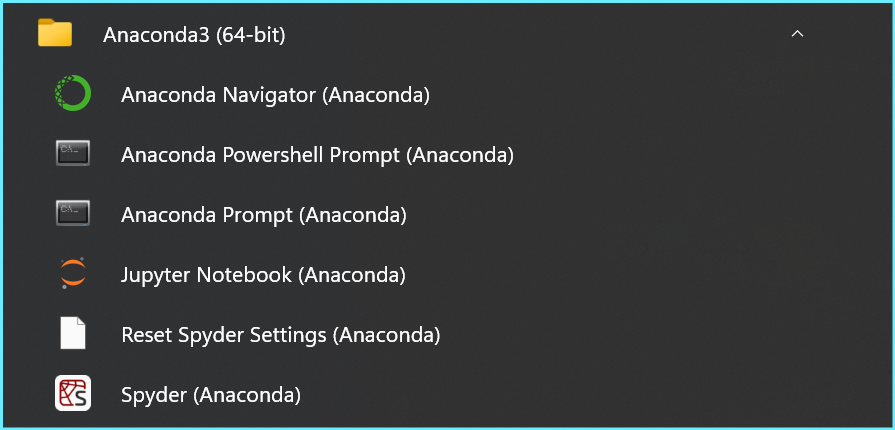
本地环境
-
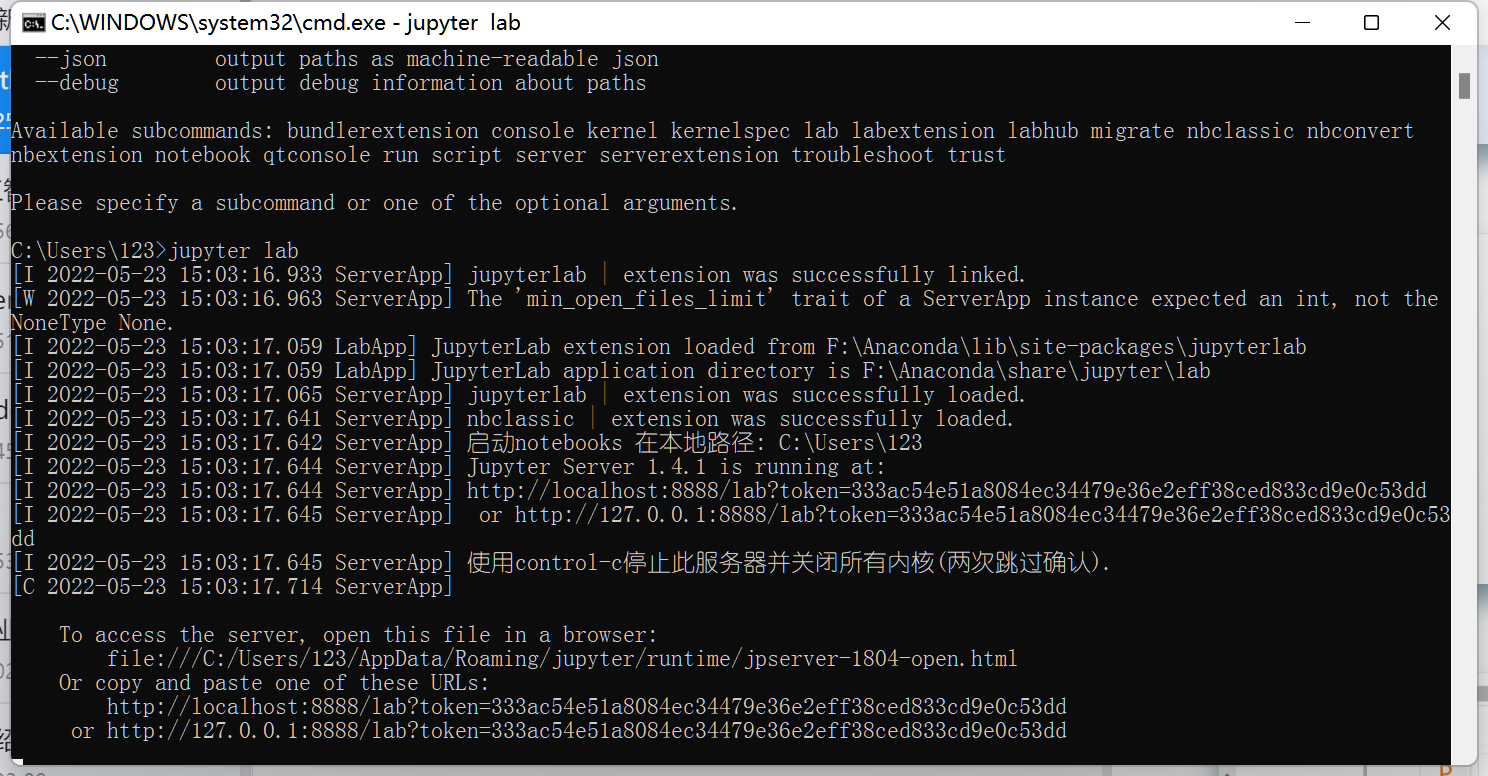
安装 Python 解释器/anaconda -
安装好 jupyter lab
云上环境
-
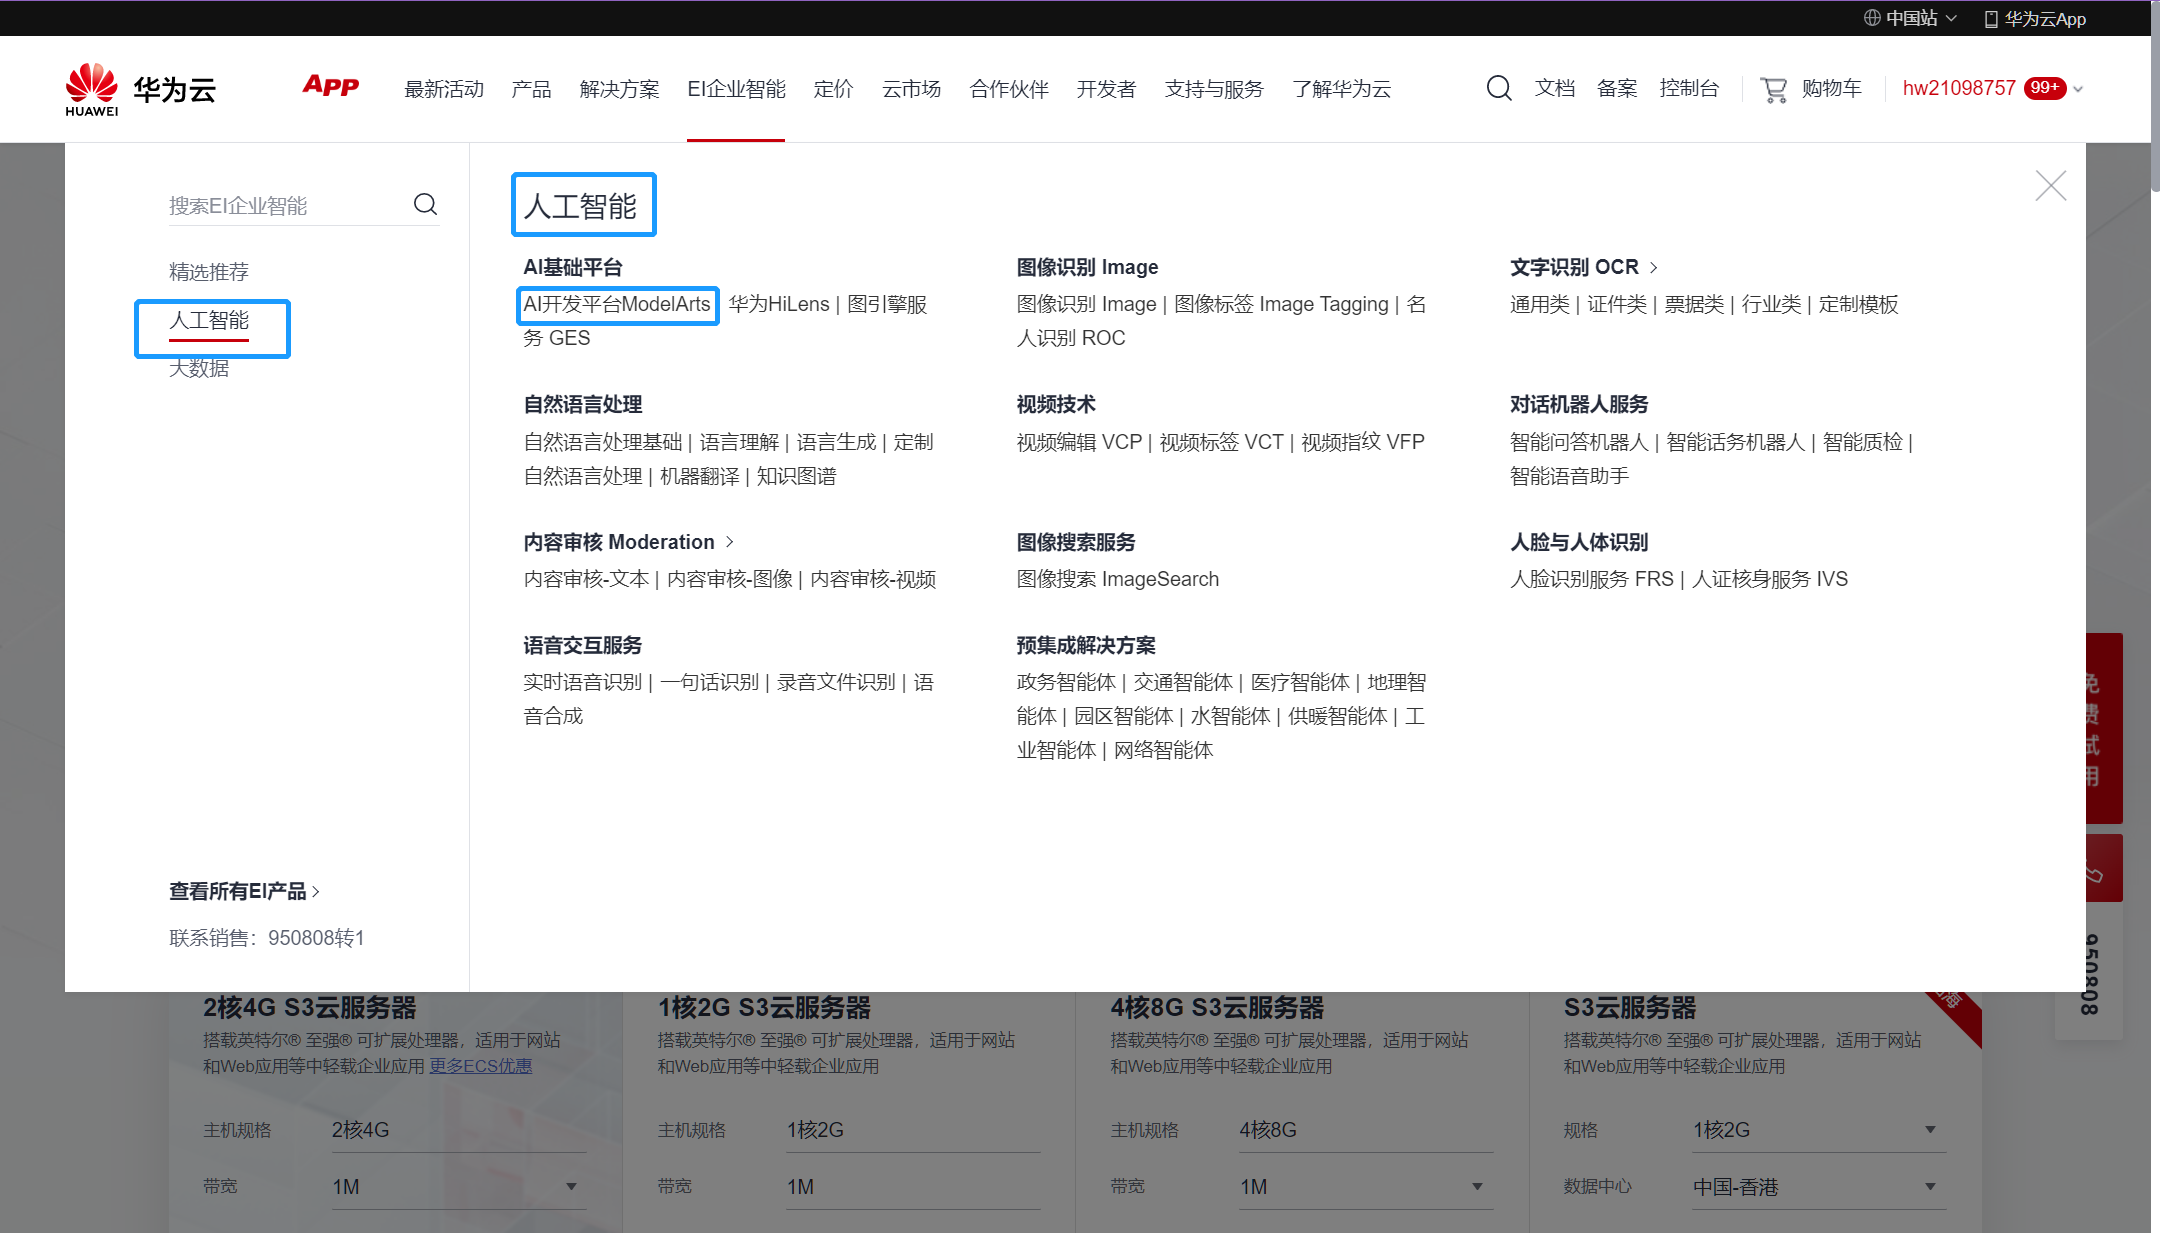
开通Modelarts
步骤1
-
打开浏览器,输入华为云网站地址www.huaweicloud.com在上方菜单栏中点击“登陆”

-
登陆华为云,进入 ModelArts 开发平台

-
选择 EI 企业智能 -> AI 开发平台 ModelArts
-
点击进入控制台


步骤2
-
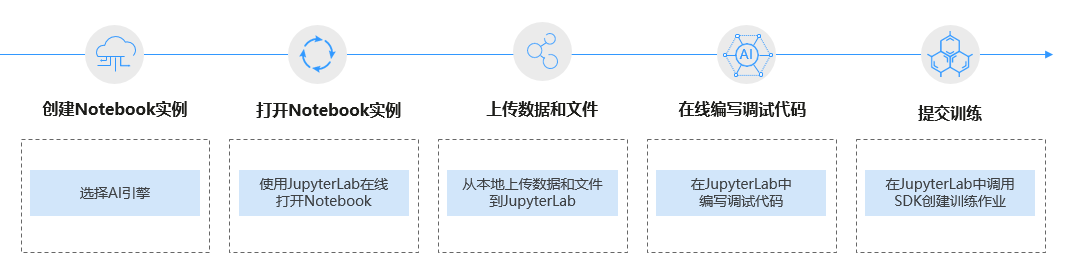
进入云上 notebook 开发环境
-
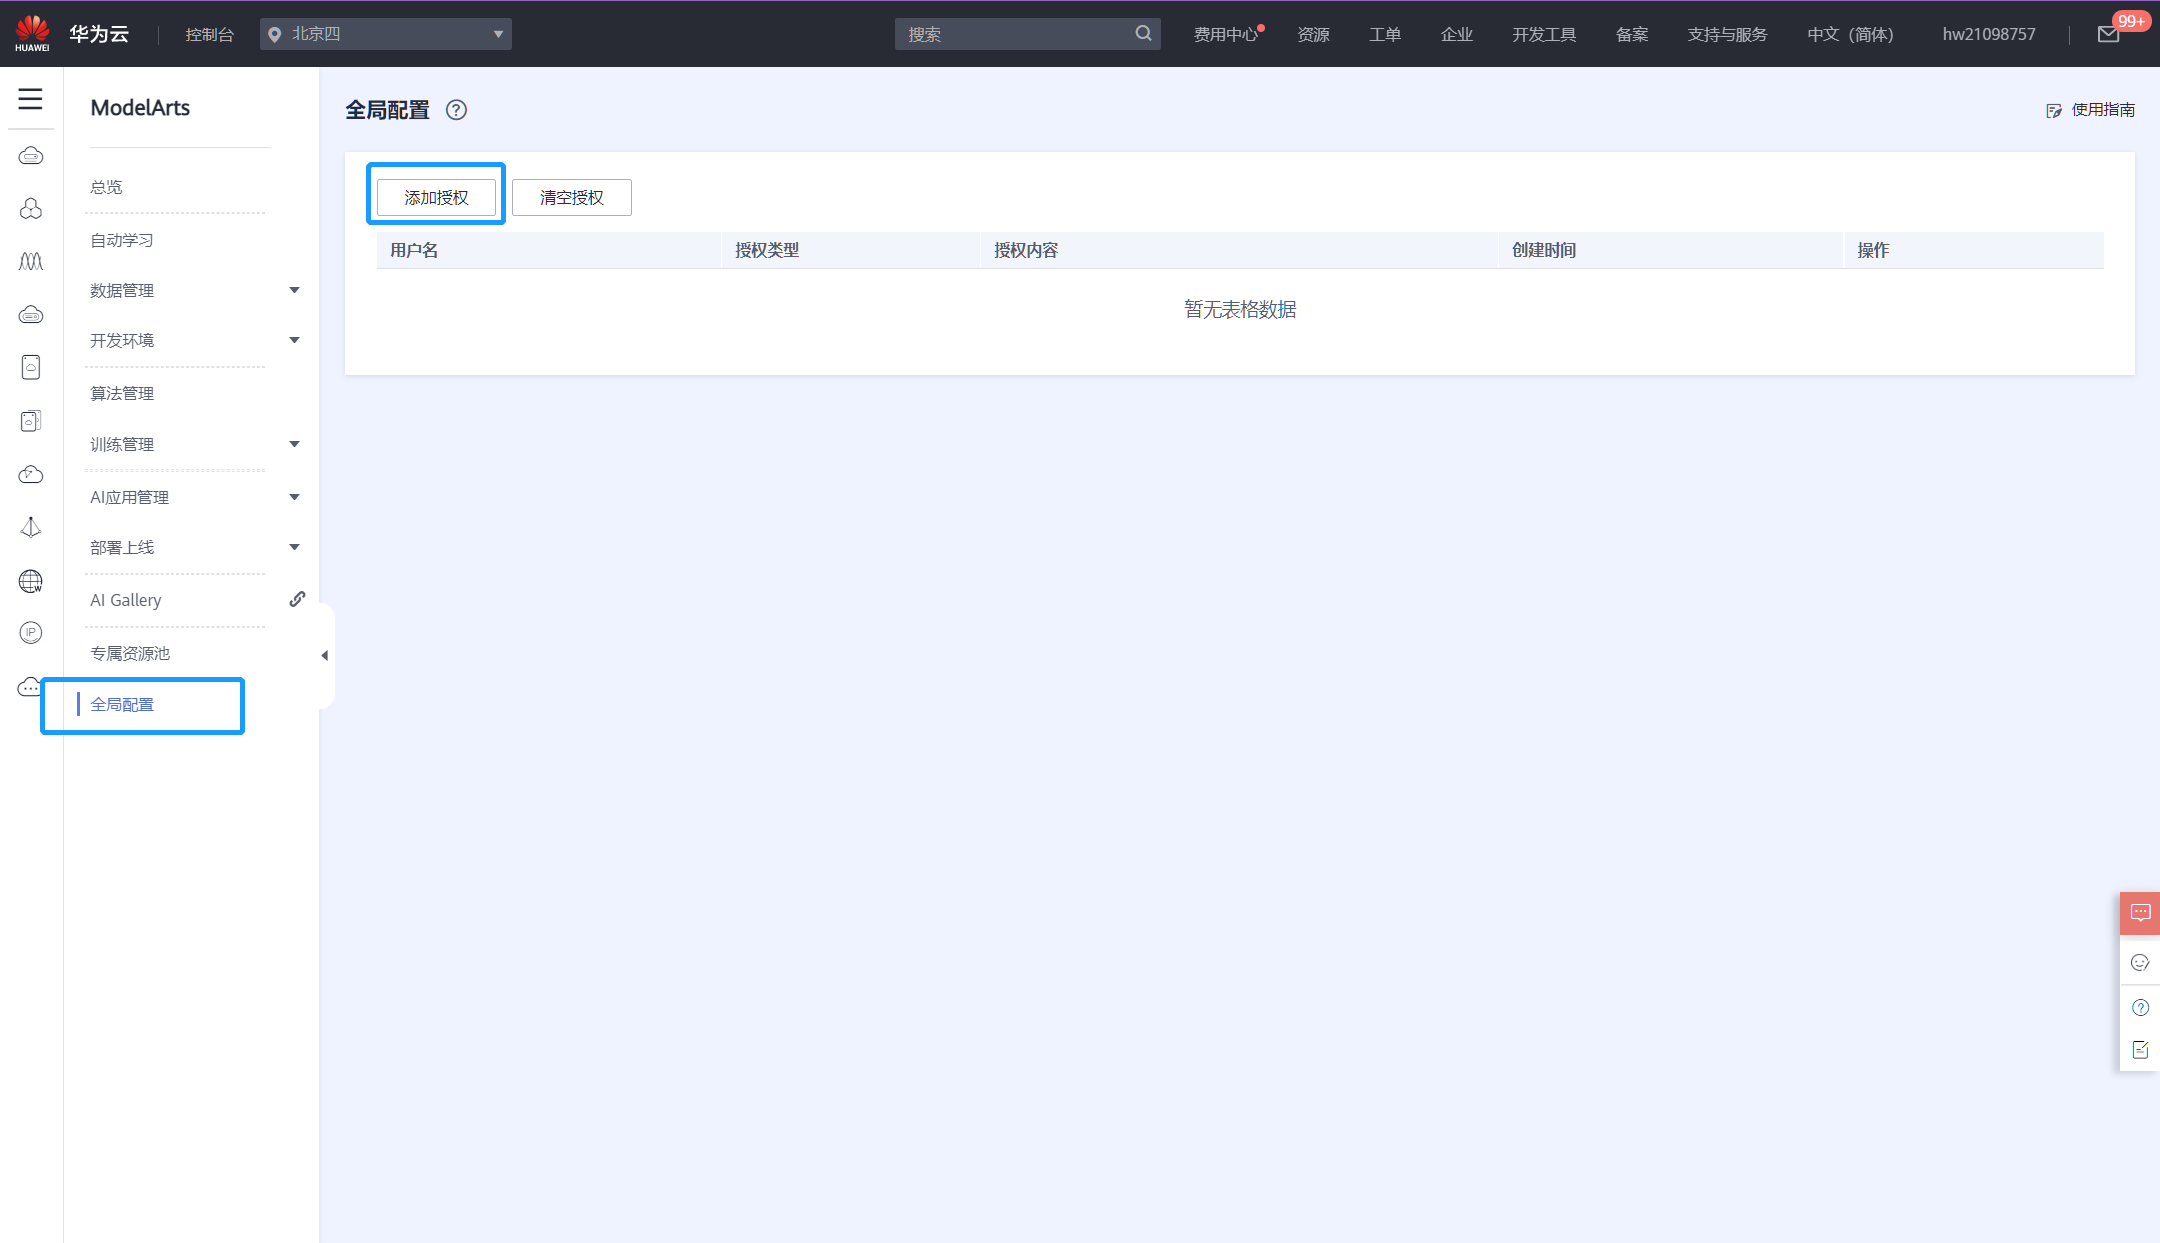
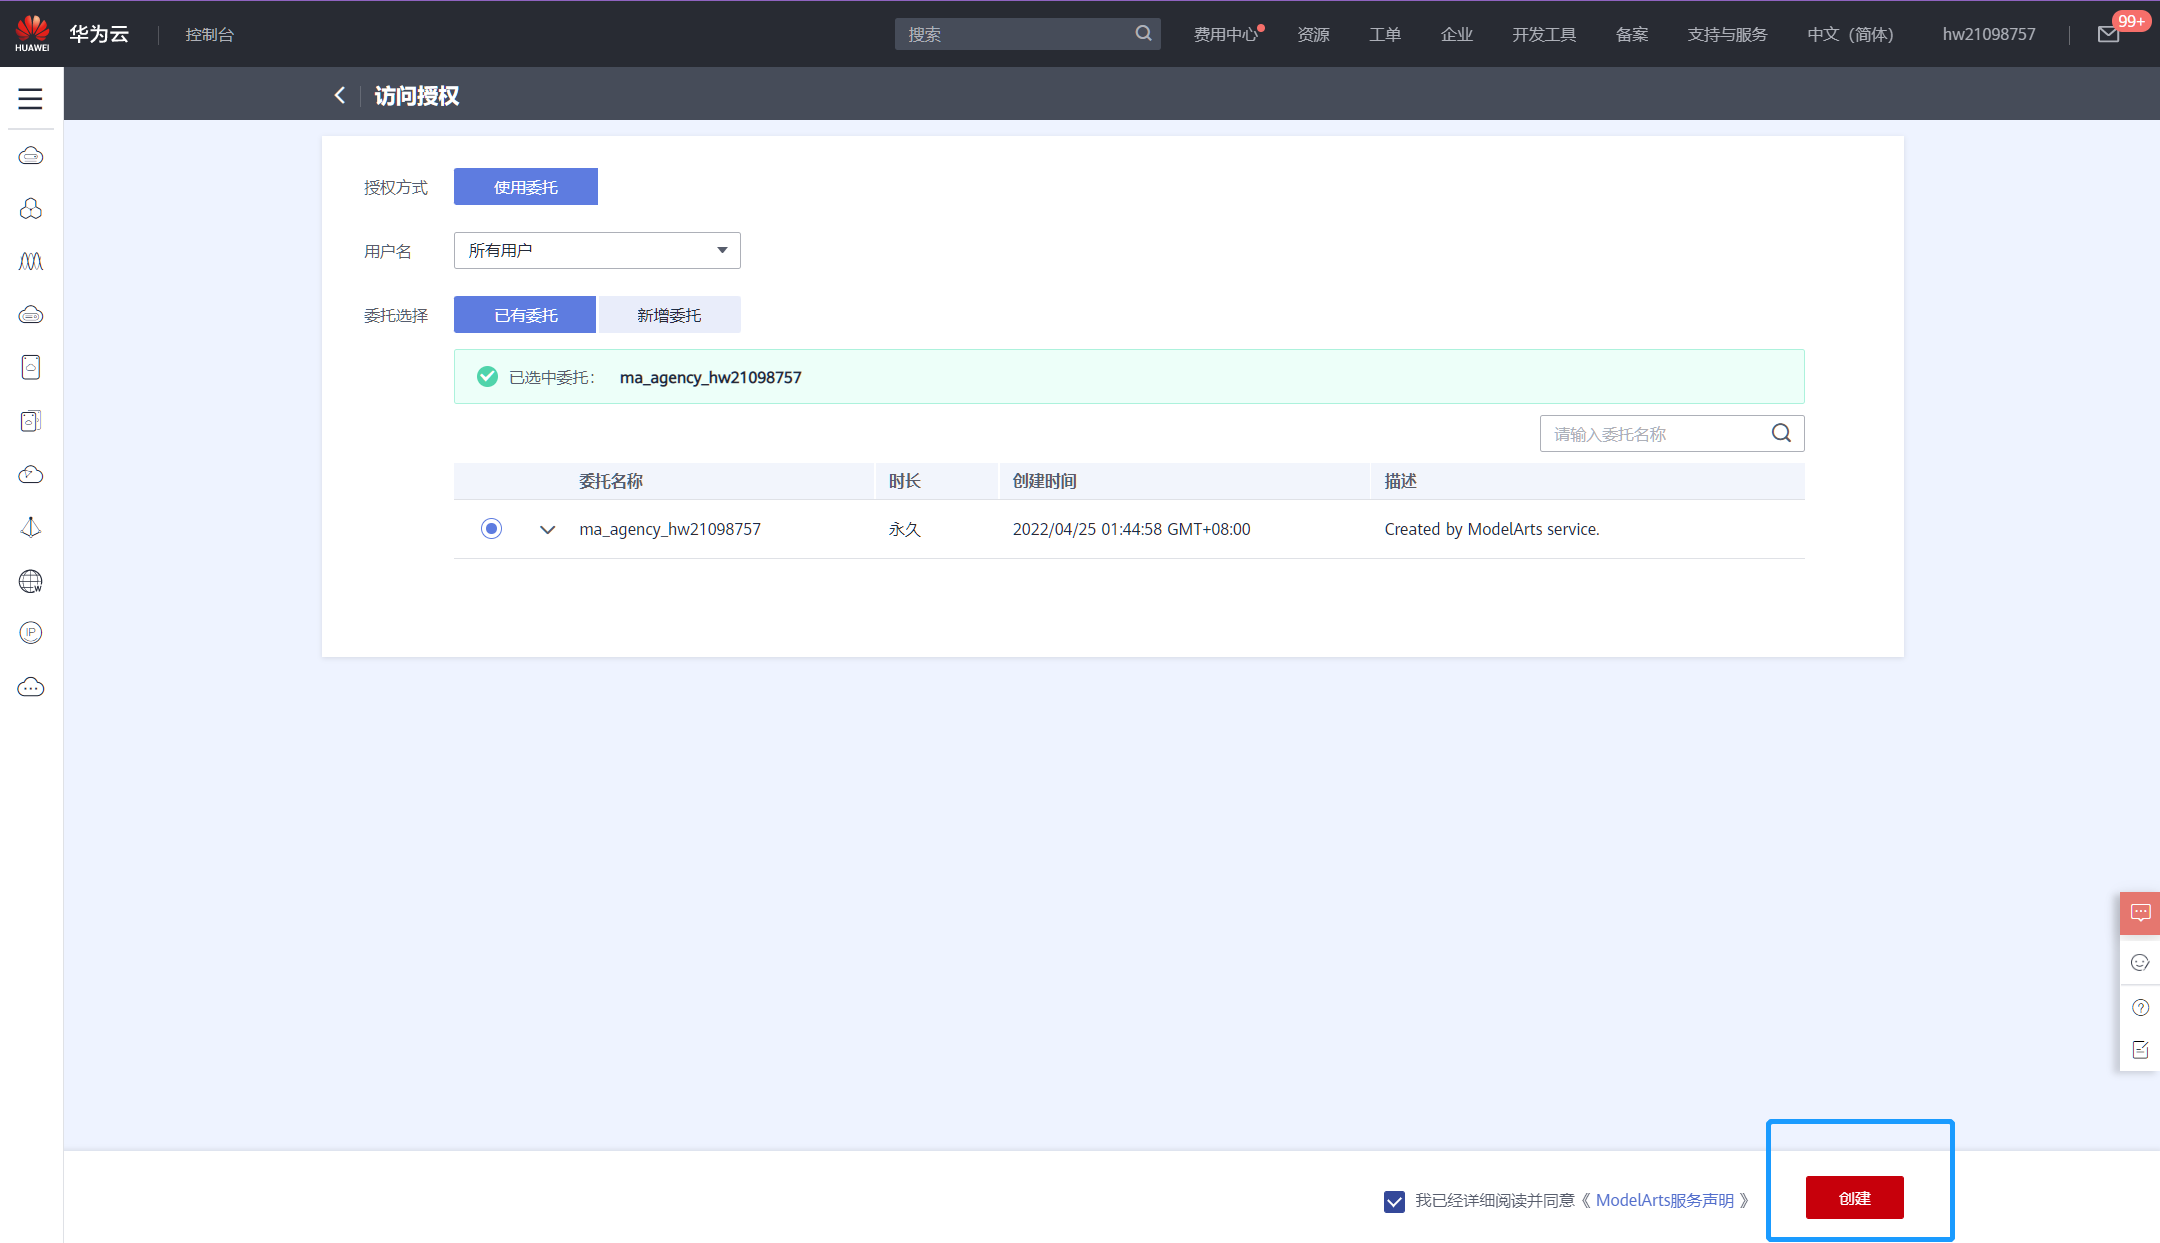
点击全局配置,进行服务授权
管理Notebook实例
https://support.huaweicloud.com/devtool-modelarts/devtool-modelarts_0004.html
JupyterLab操作详细
https://support.huaweicloud.com/devtool-modelarts/devtool-modelarts_0012.html
-
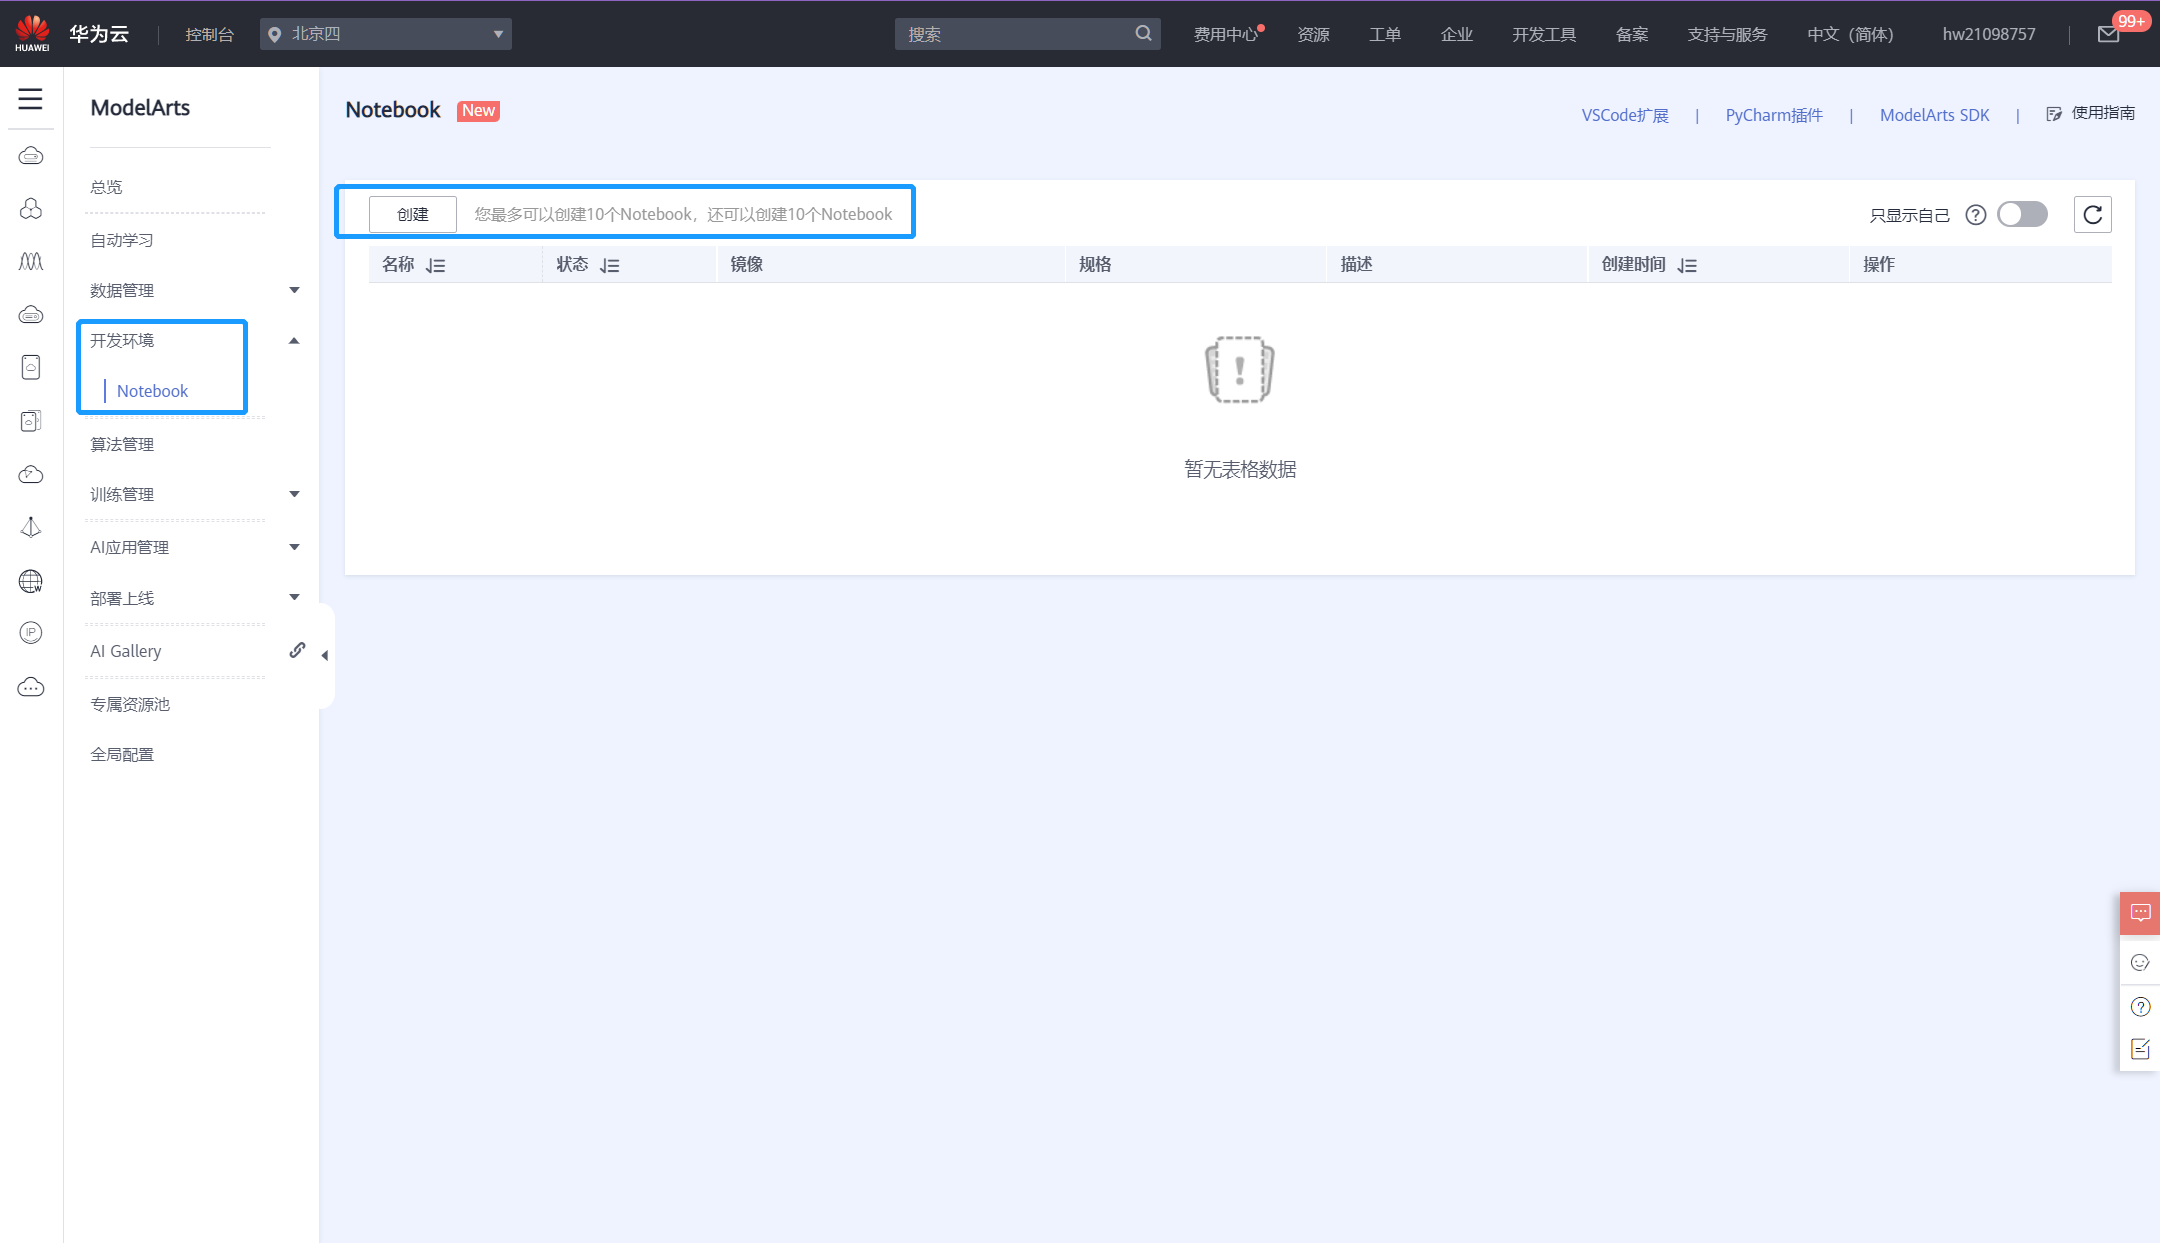
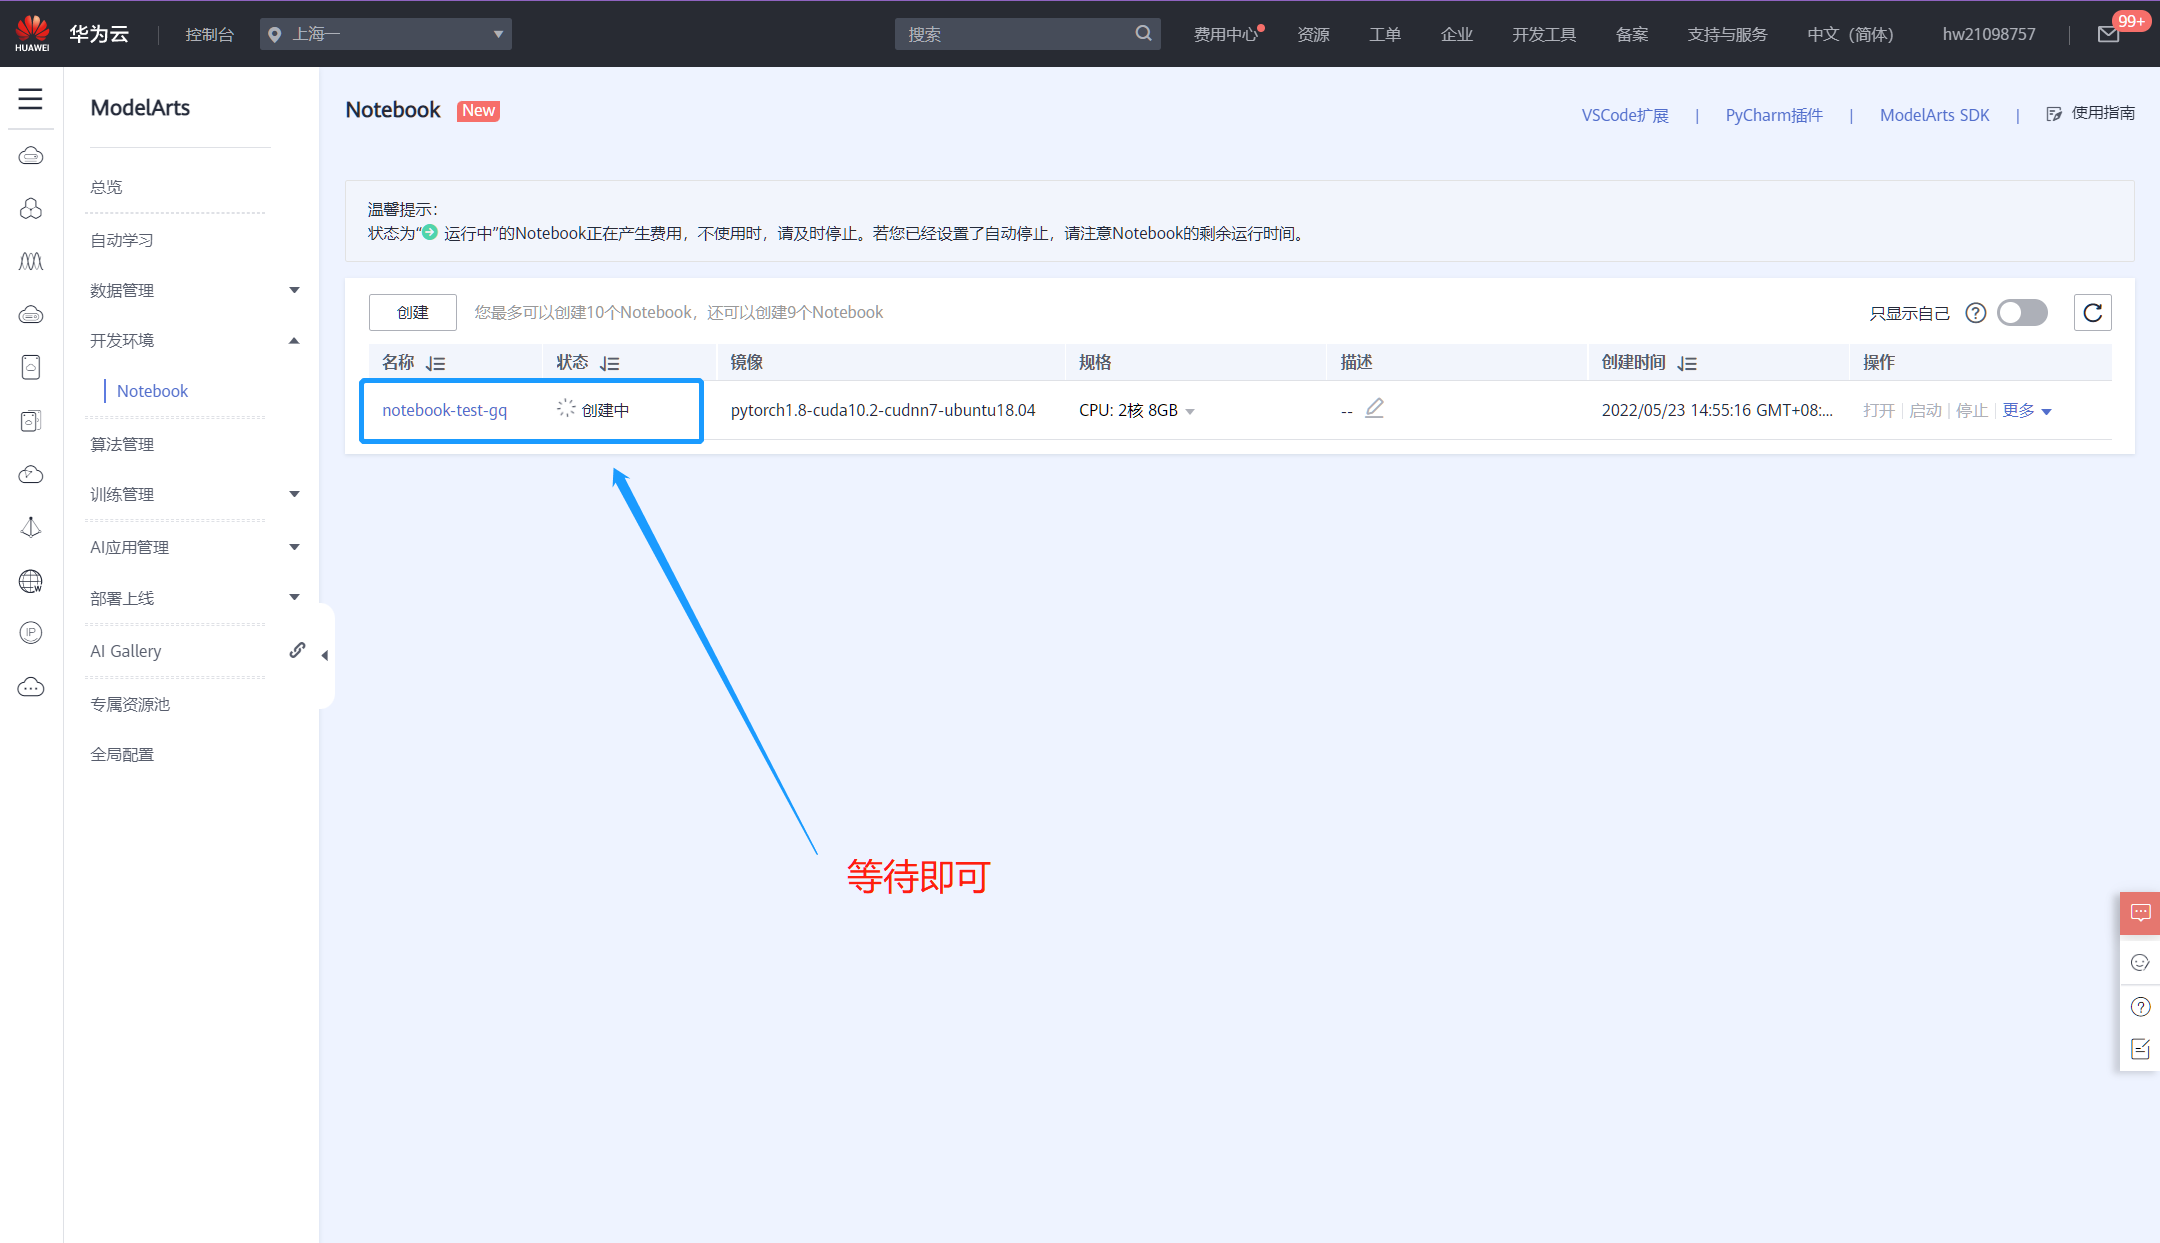
点击开发环境,创建 notebook
-
在界面中选择如下配置
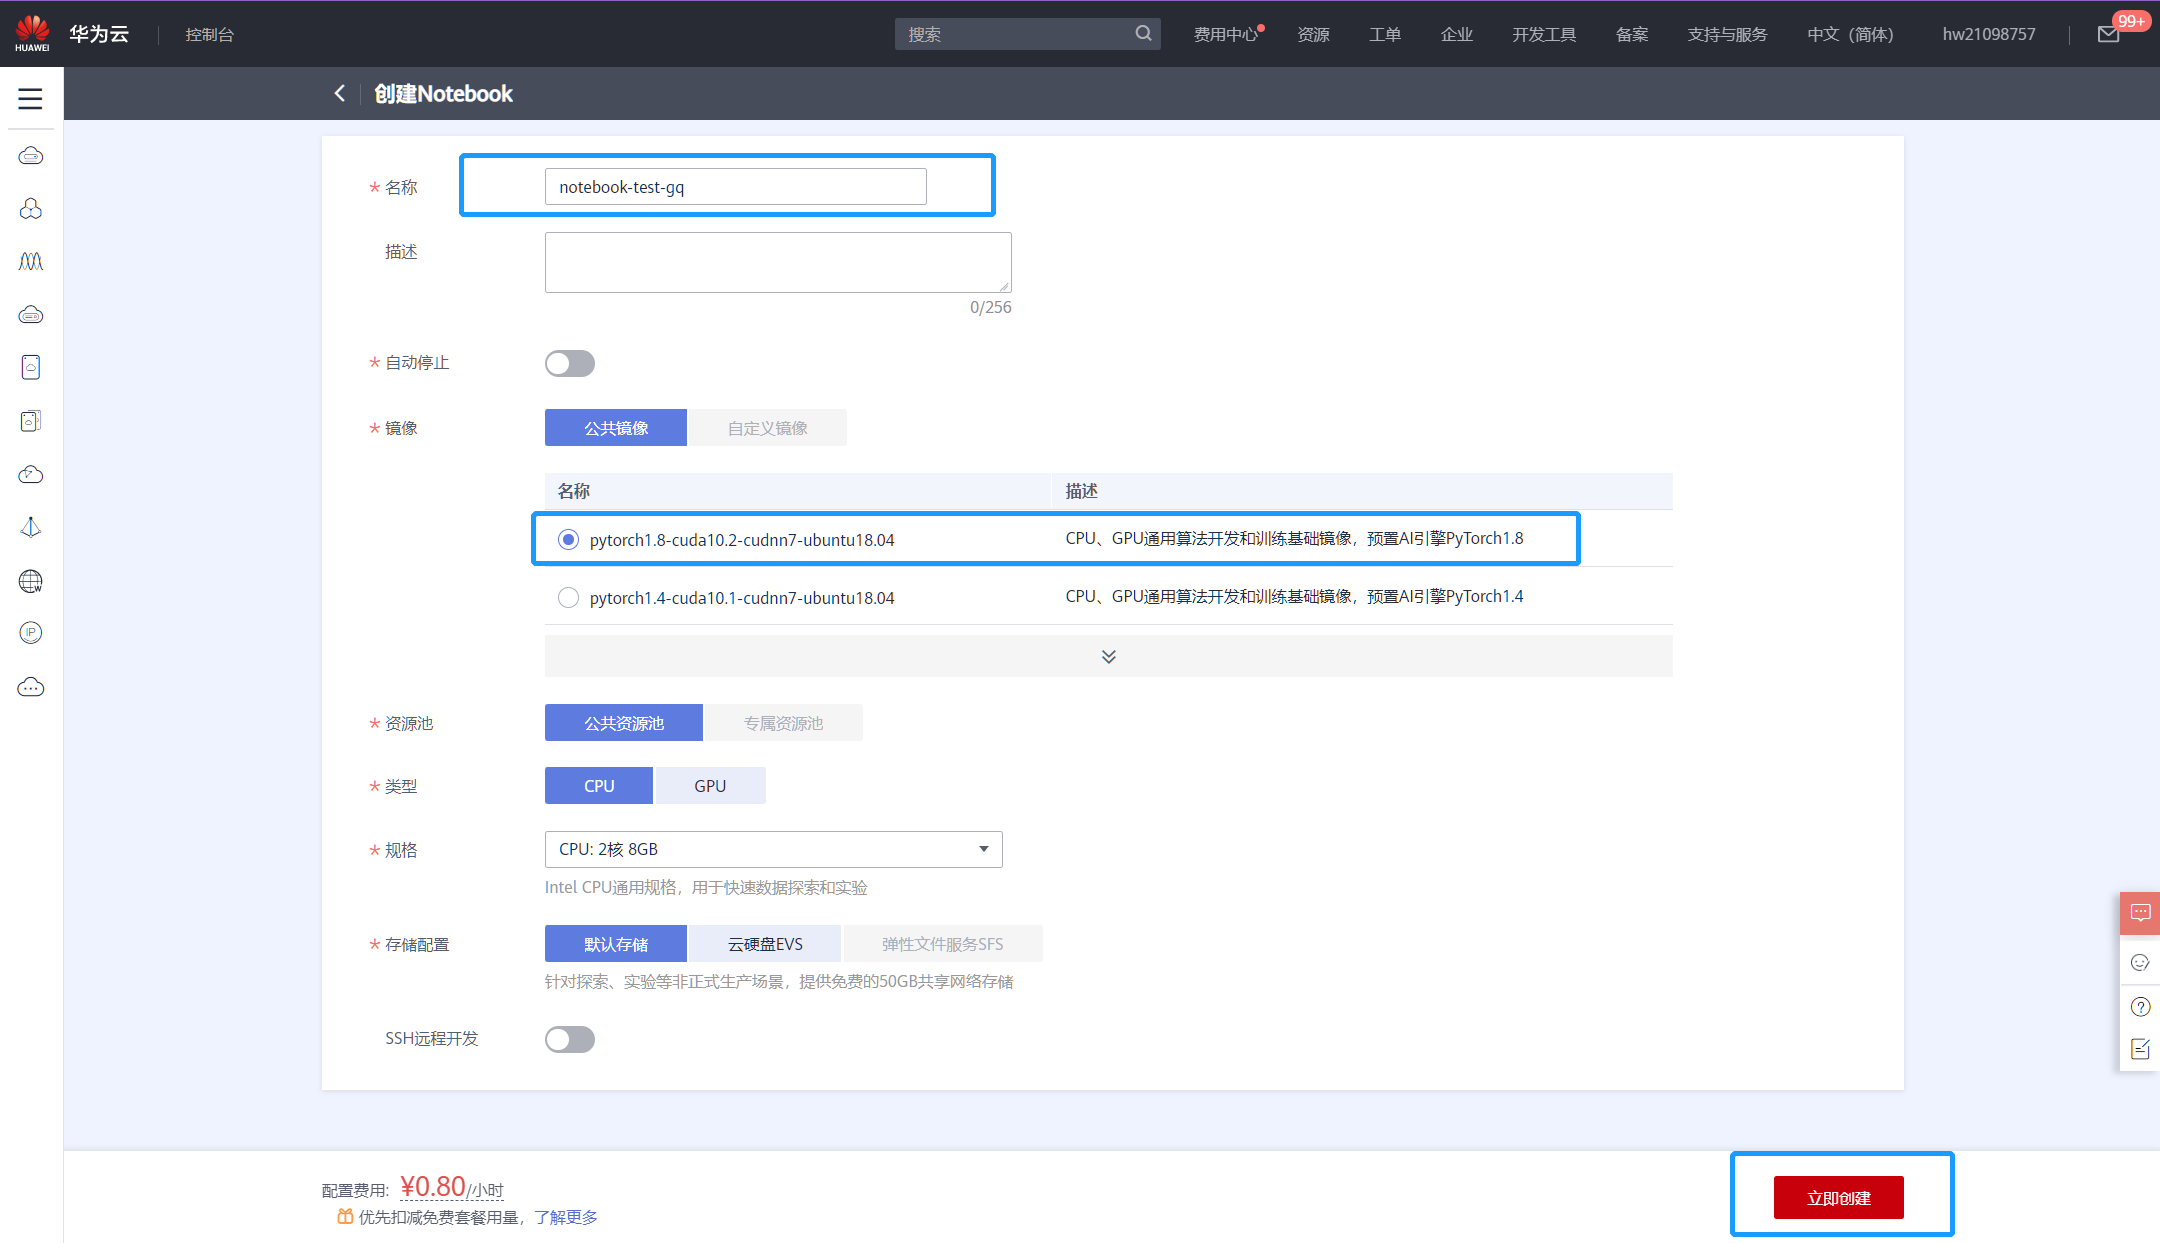 配置可自定义
-
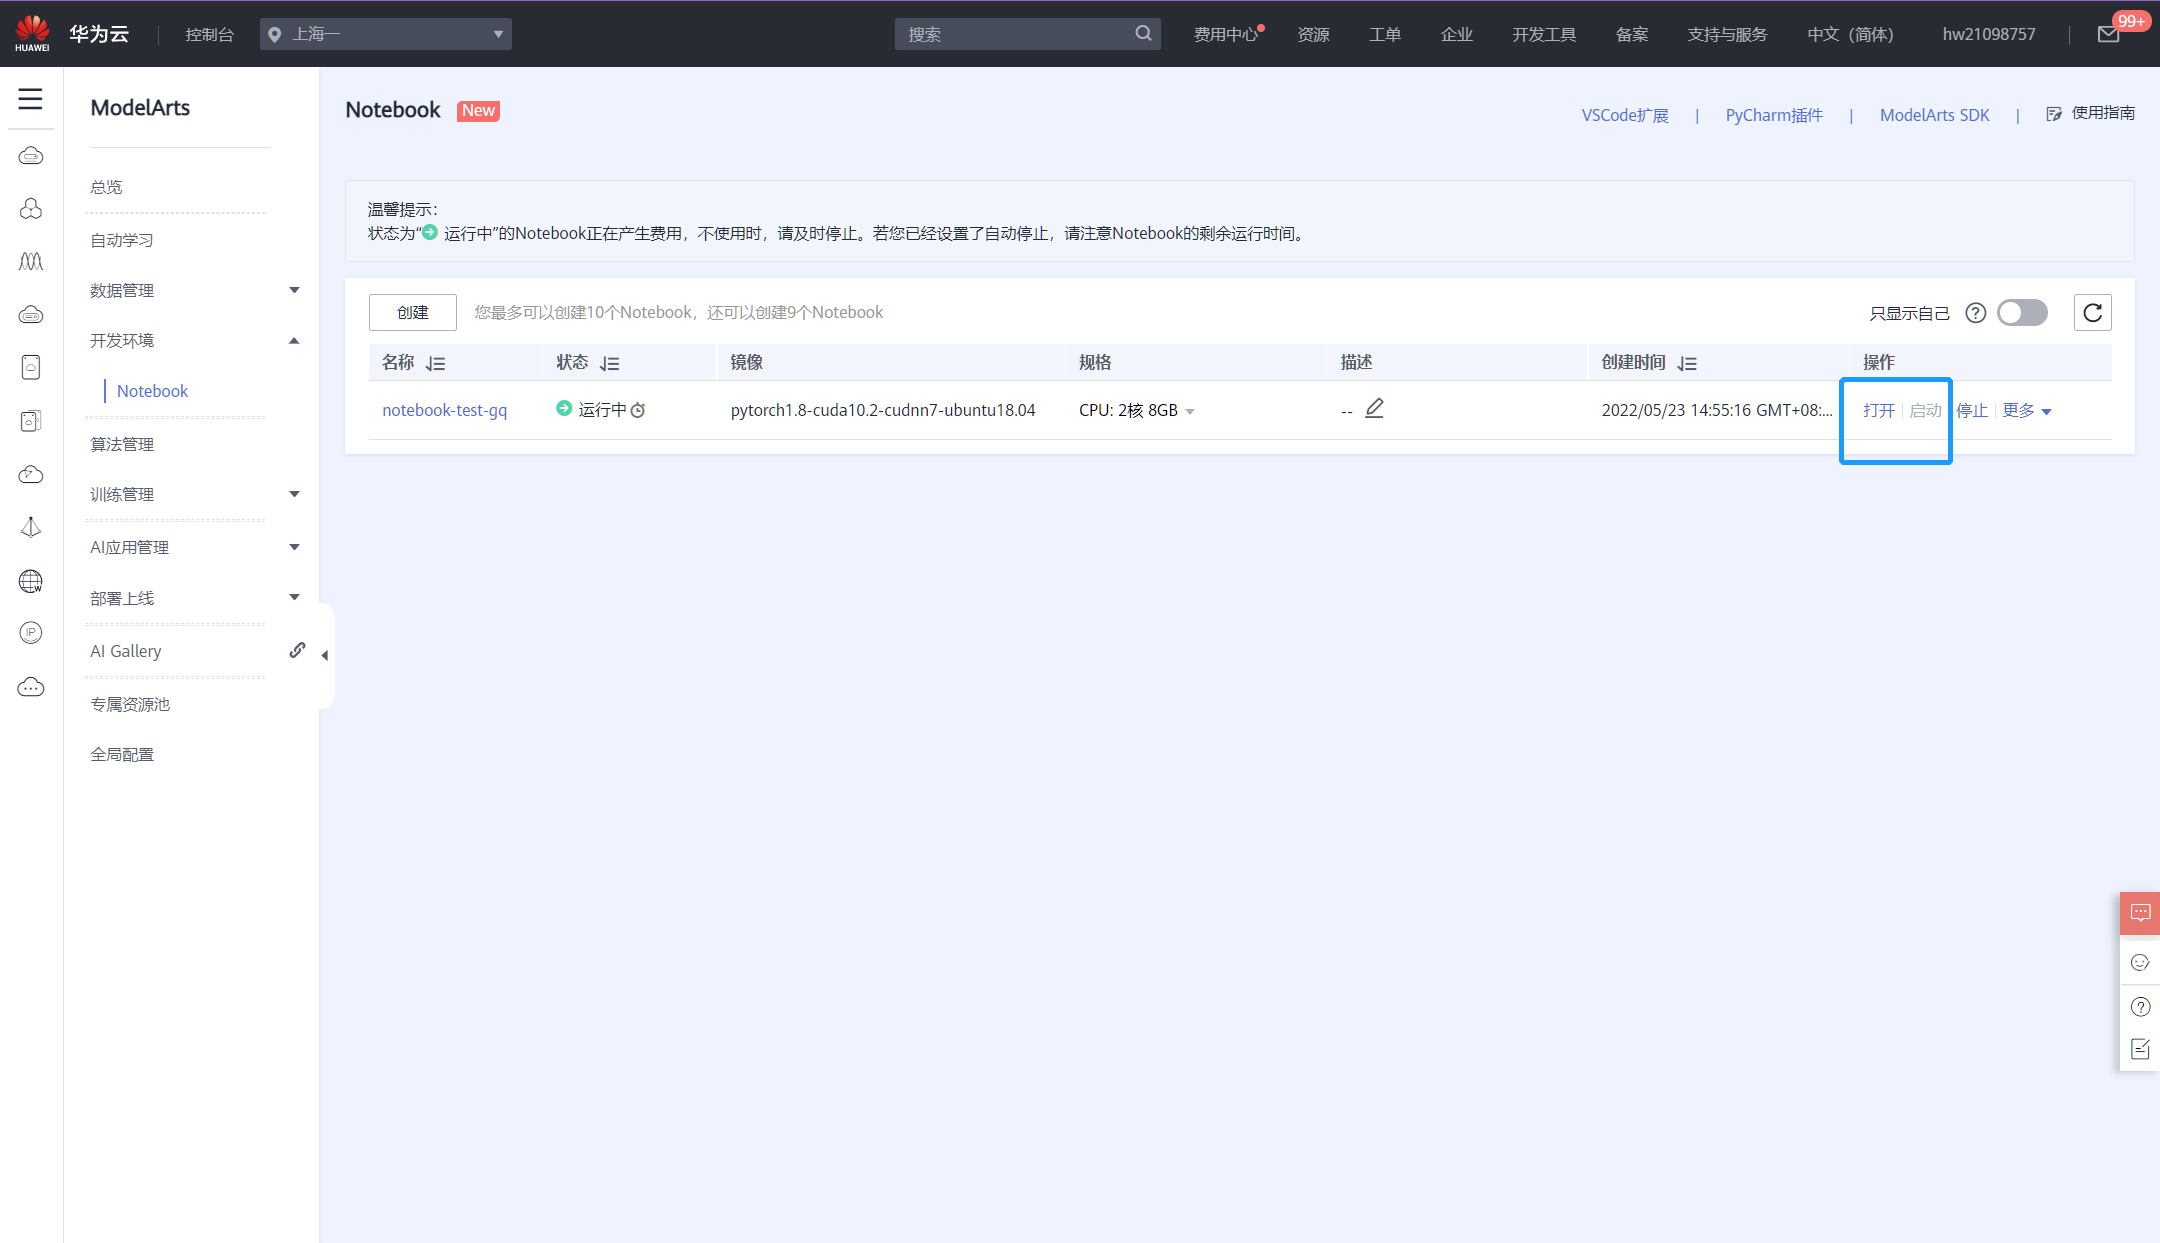
此时和本地开发环境的操作就变得一样了。
本地环境
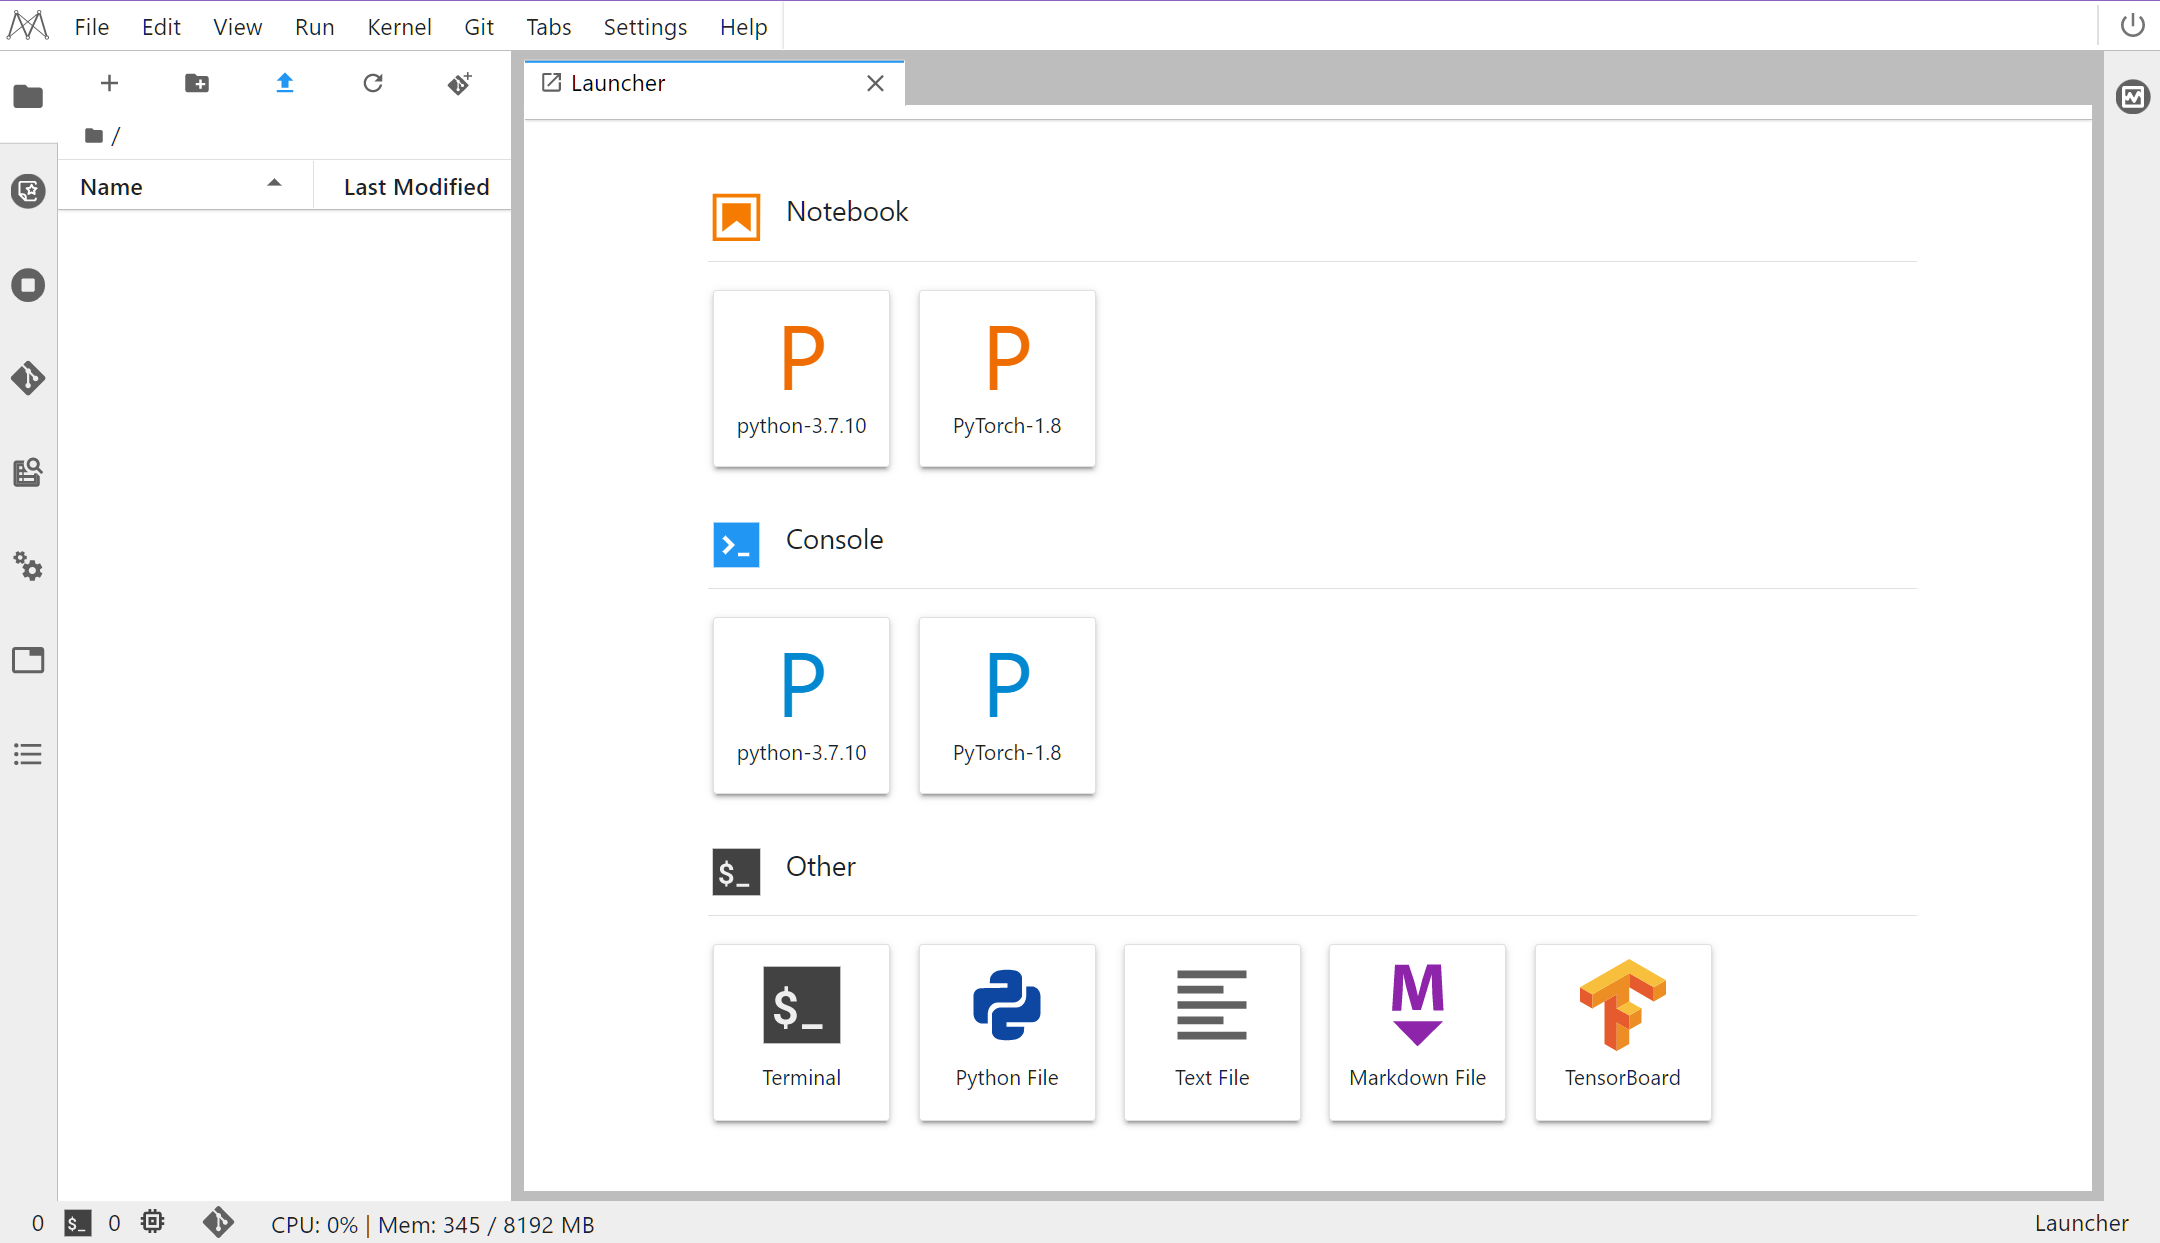
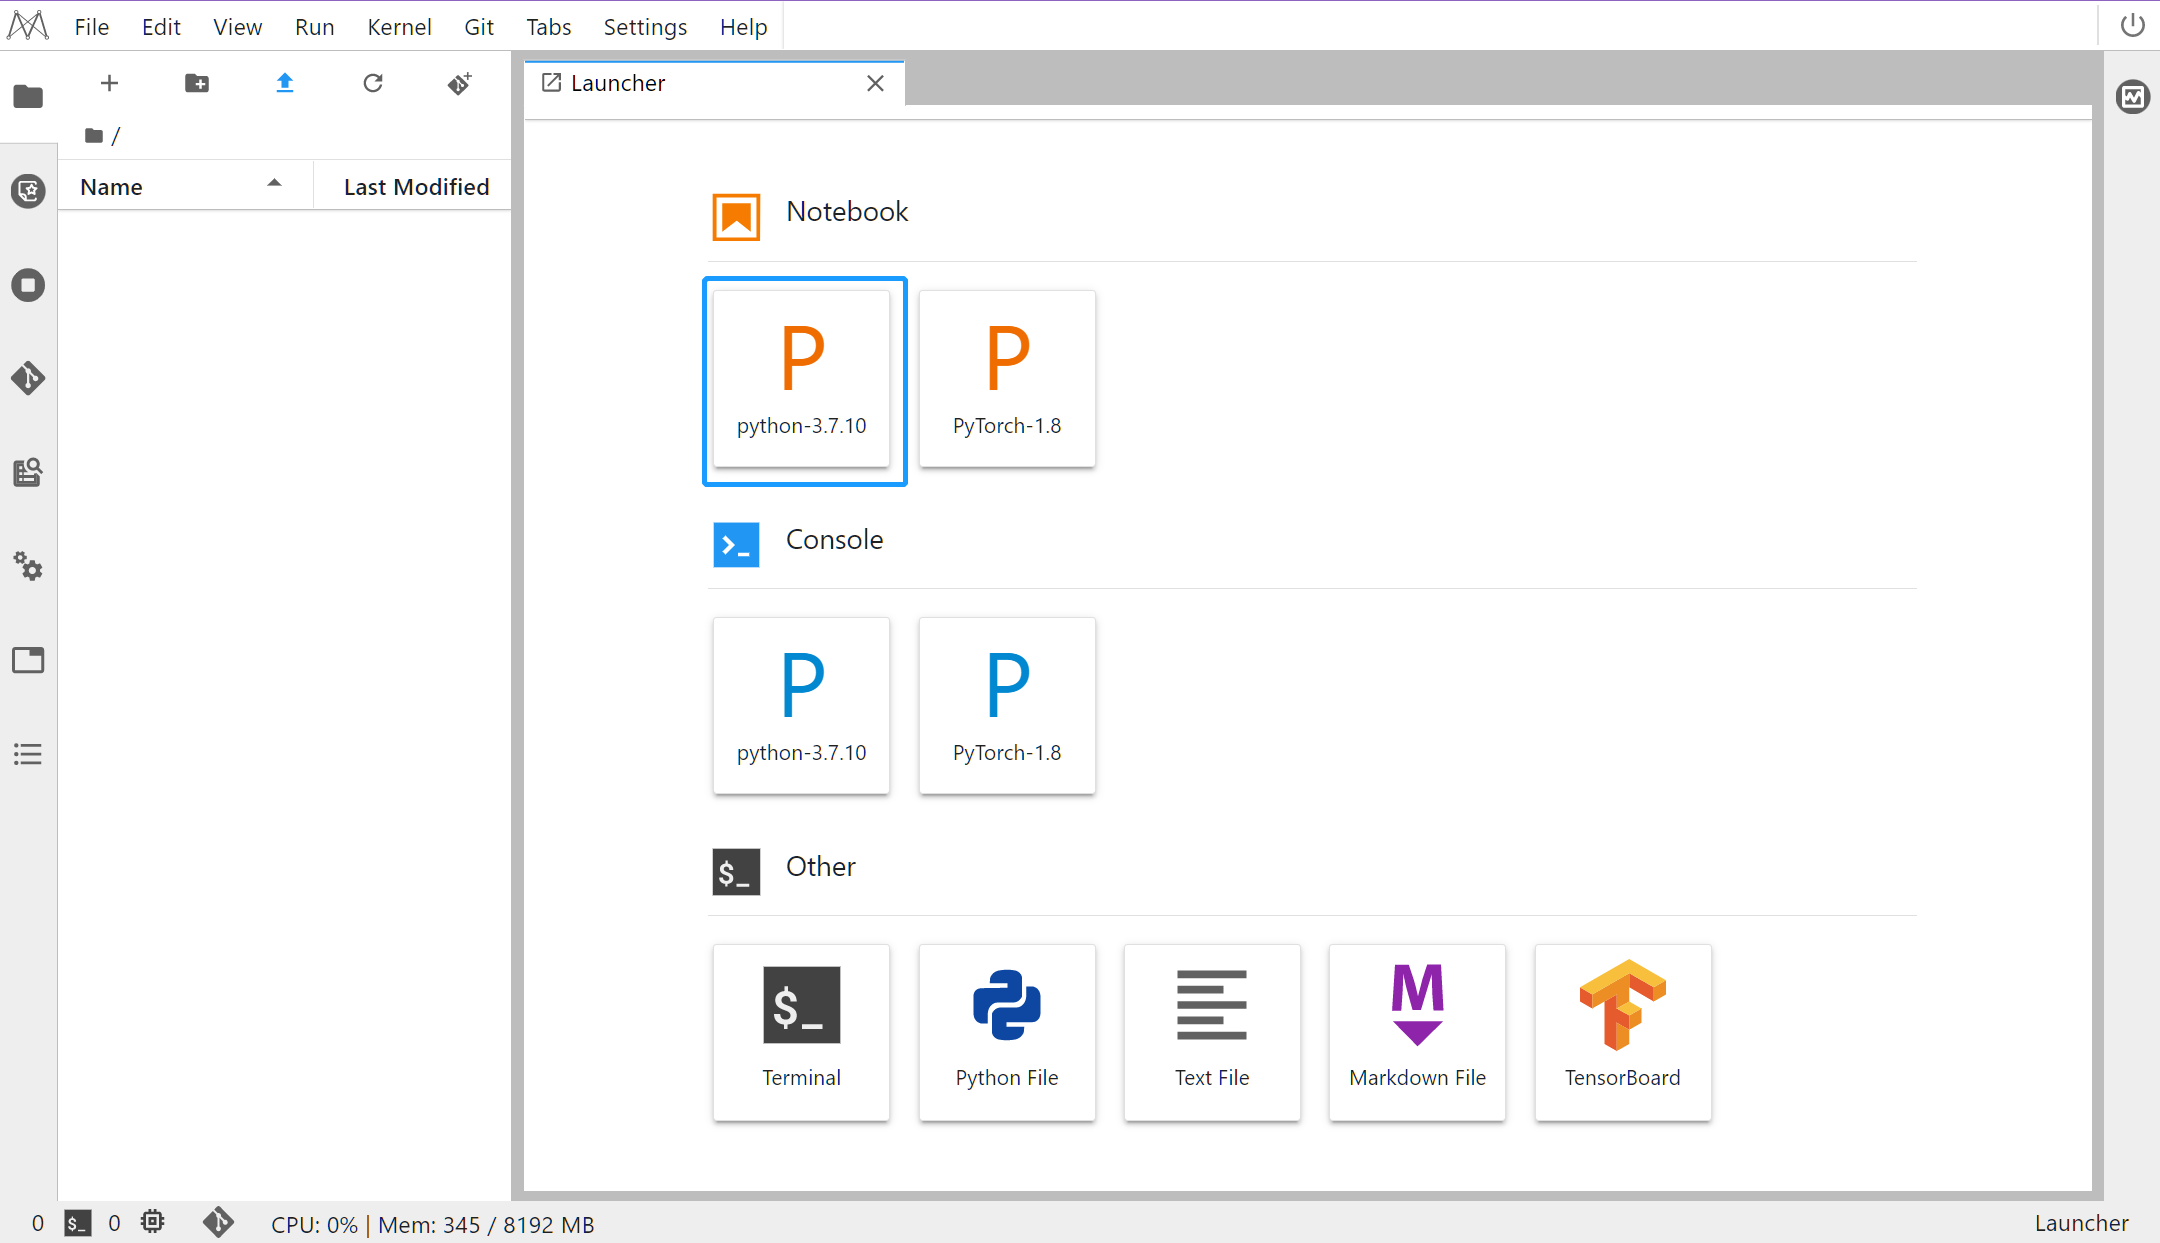
★实验步骤
”
步骤1
-
新建 notebook(python3)文件
-
并修改名称为 Python 基础语法
步骤2
-
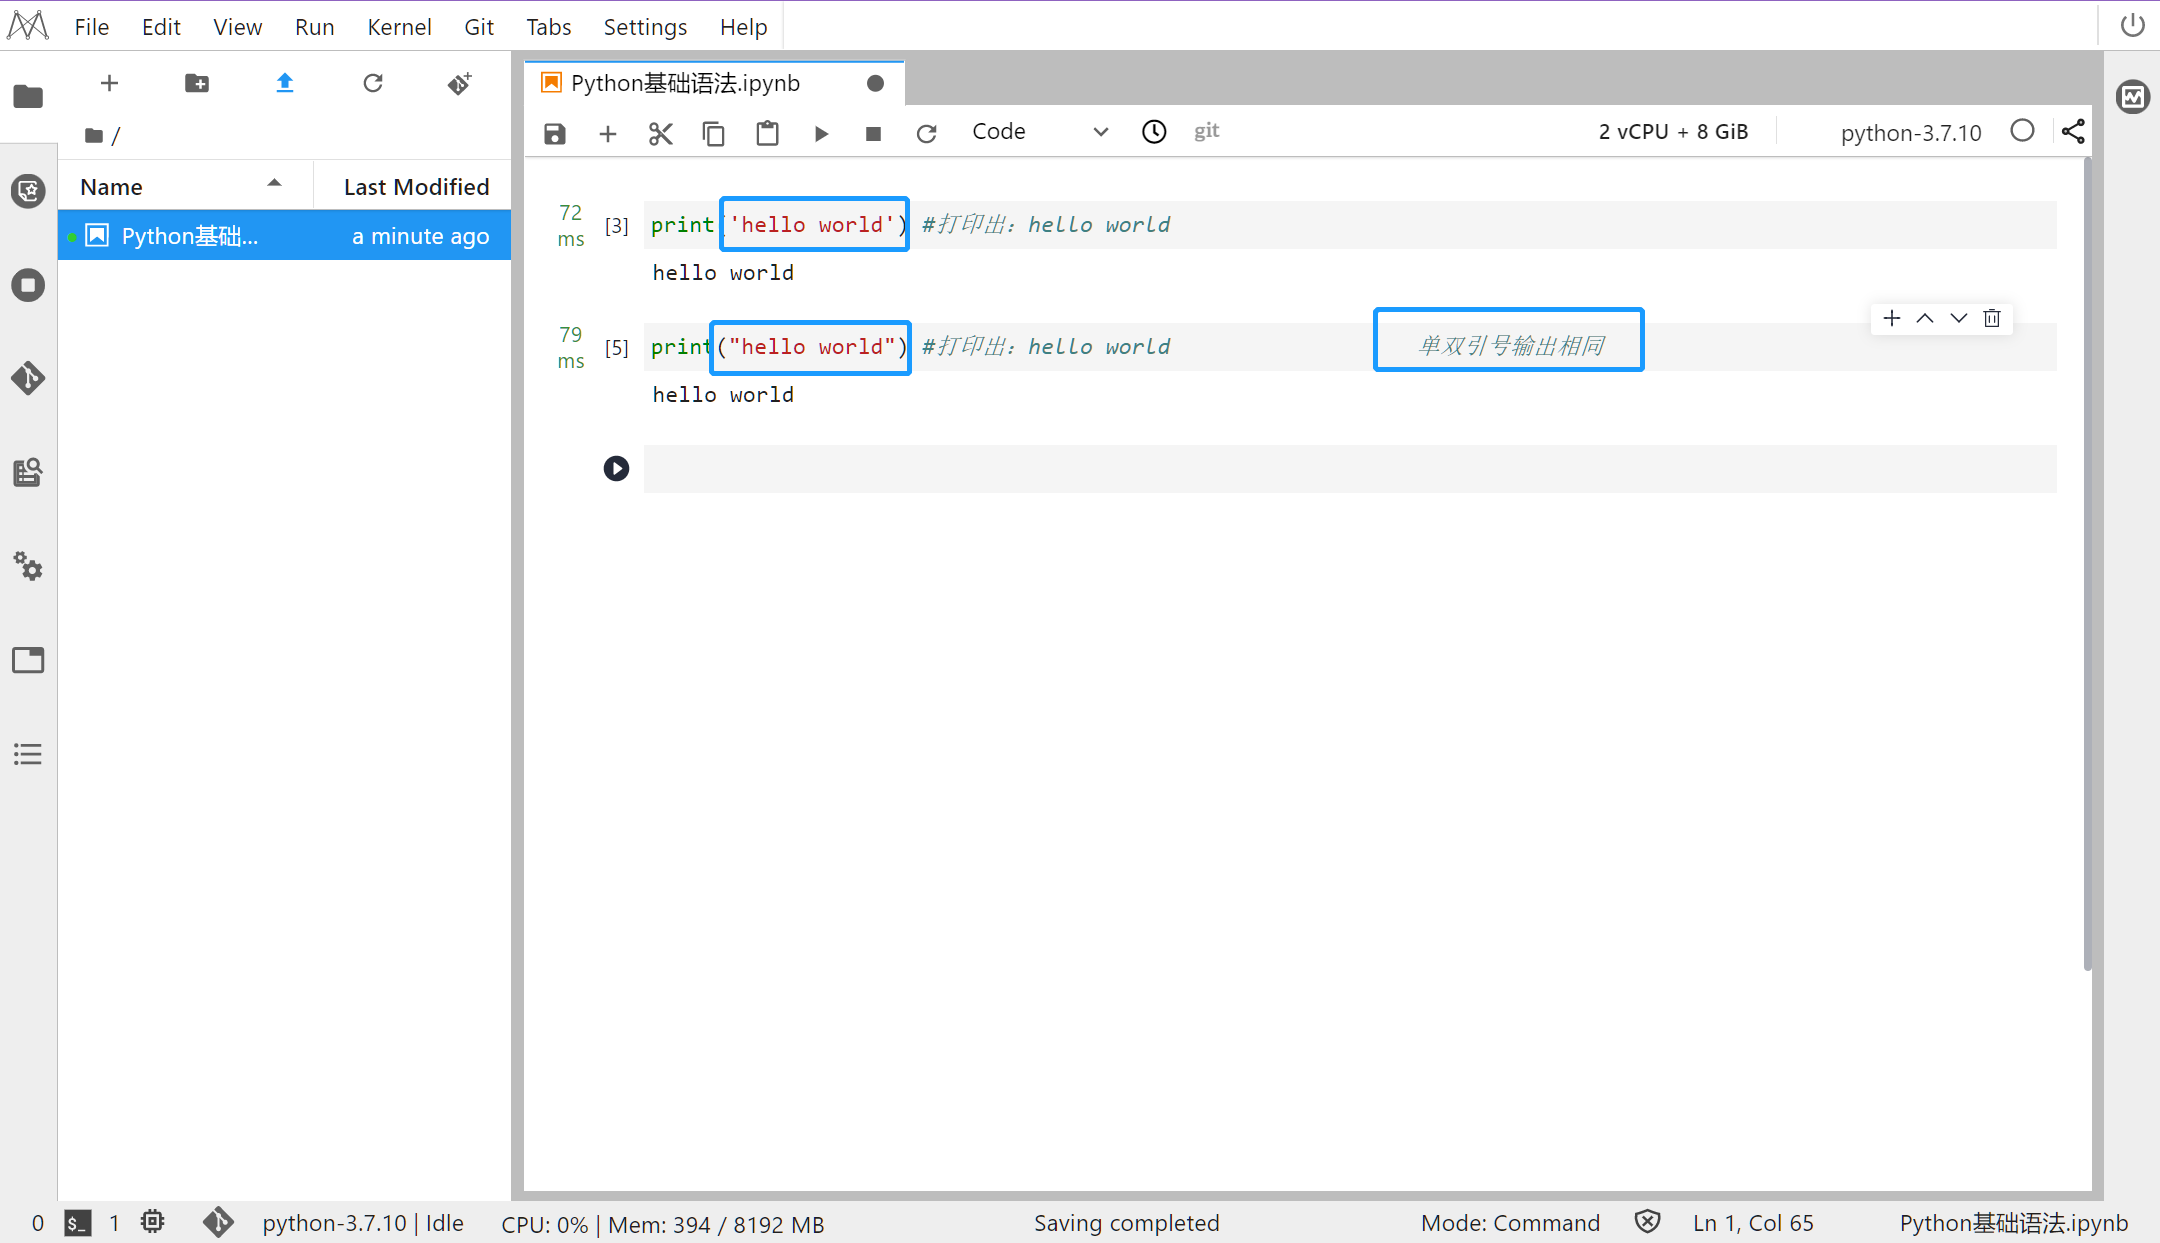
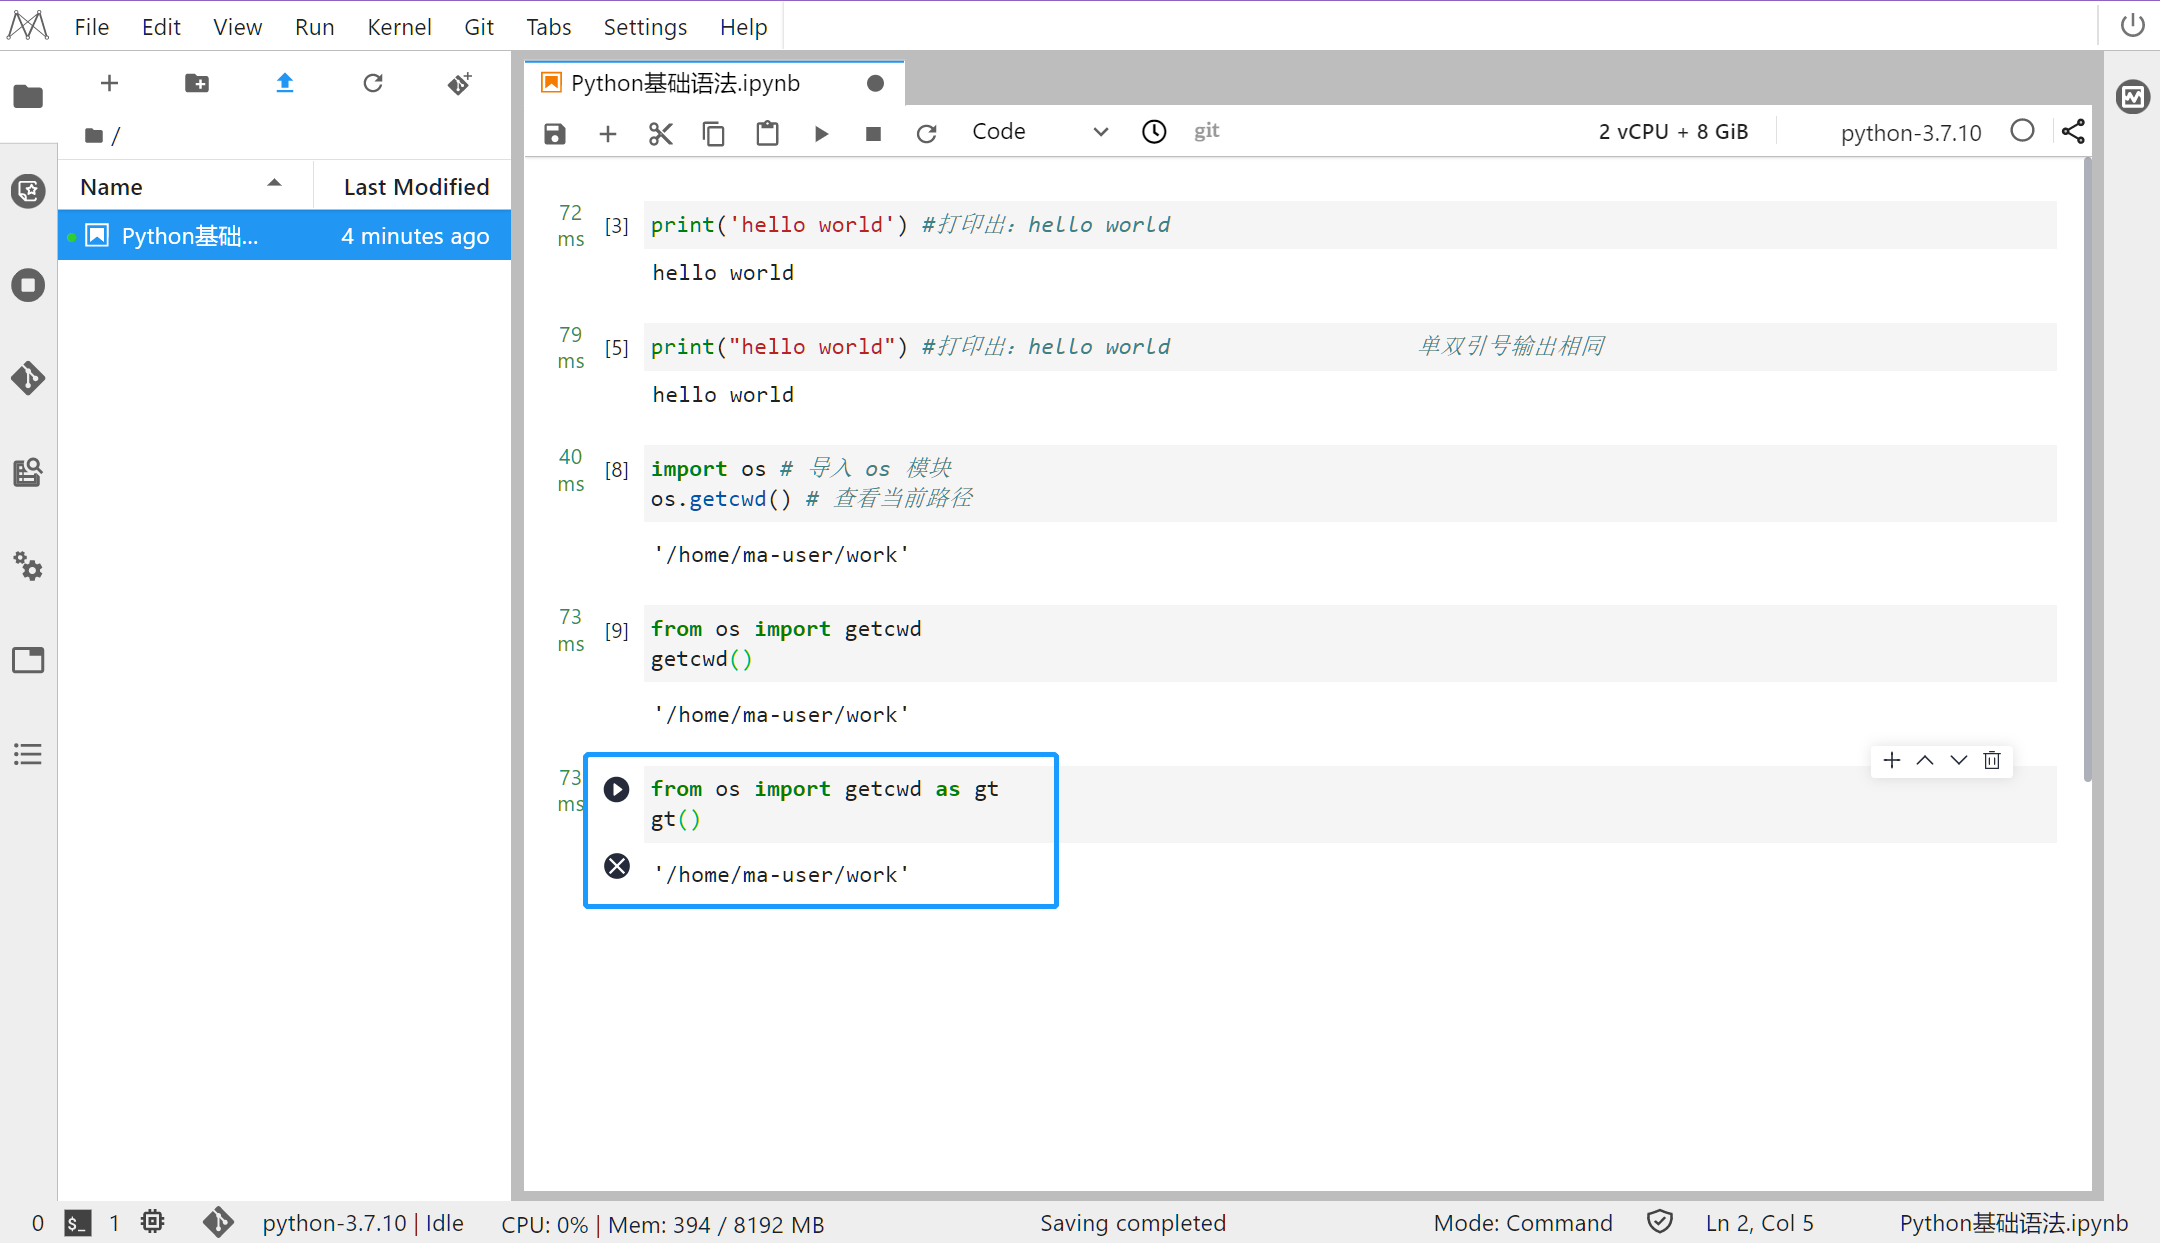
第一个 Python 程序,打印 hello world -
print('hello world') #打印出:hello world -
print("hello world") #打印出:hello world
-
输出
-
单双引号输出相同
-
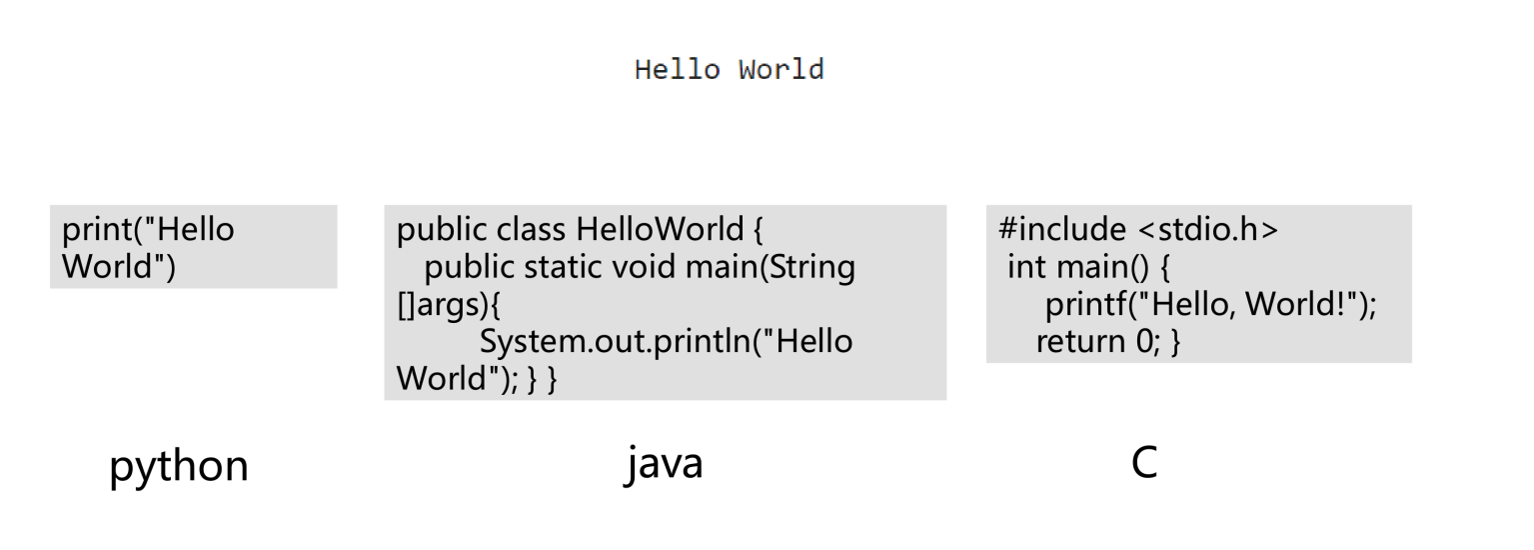
不同开发语言差异对比
步骤3
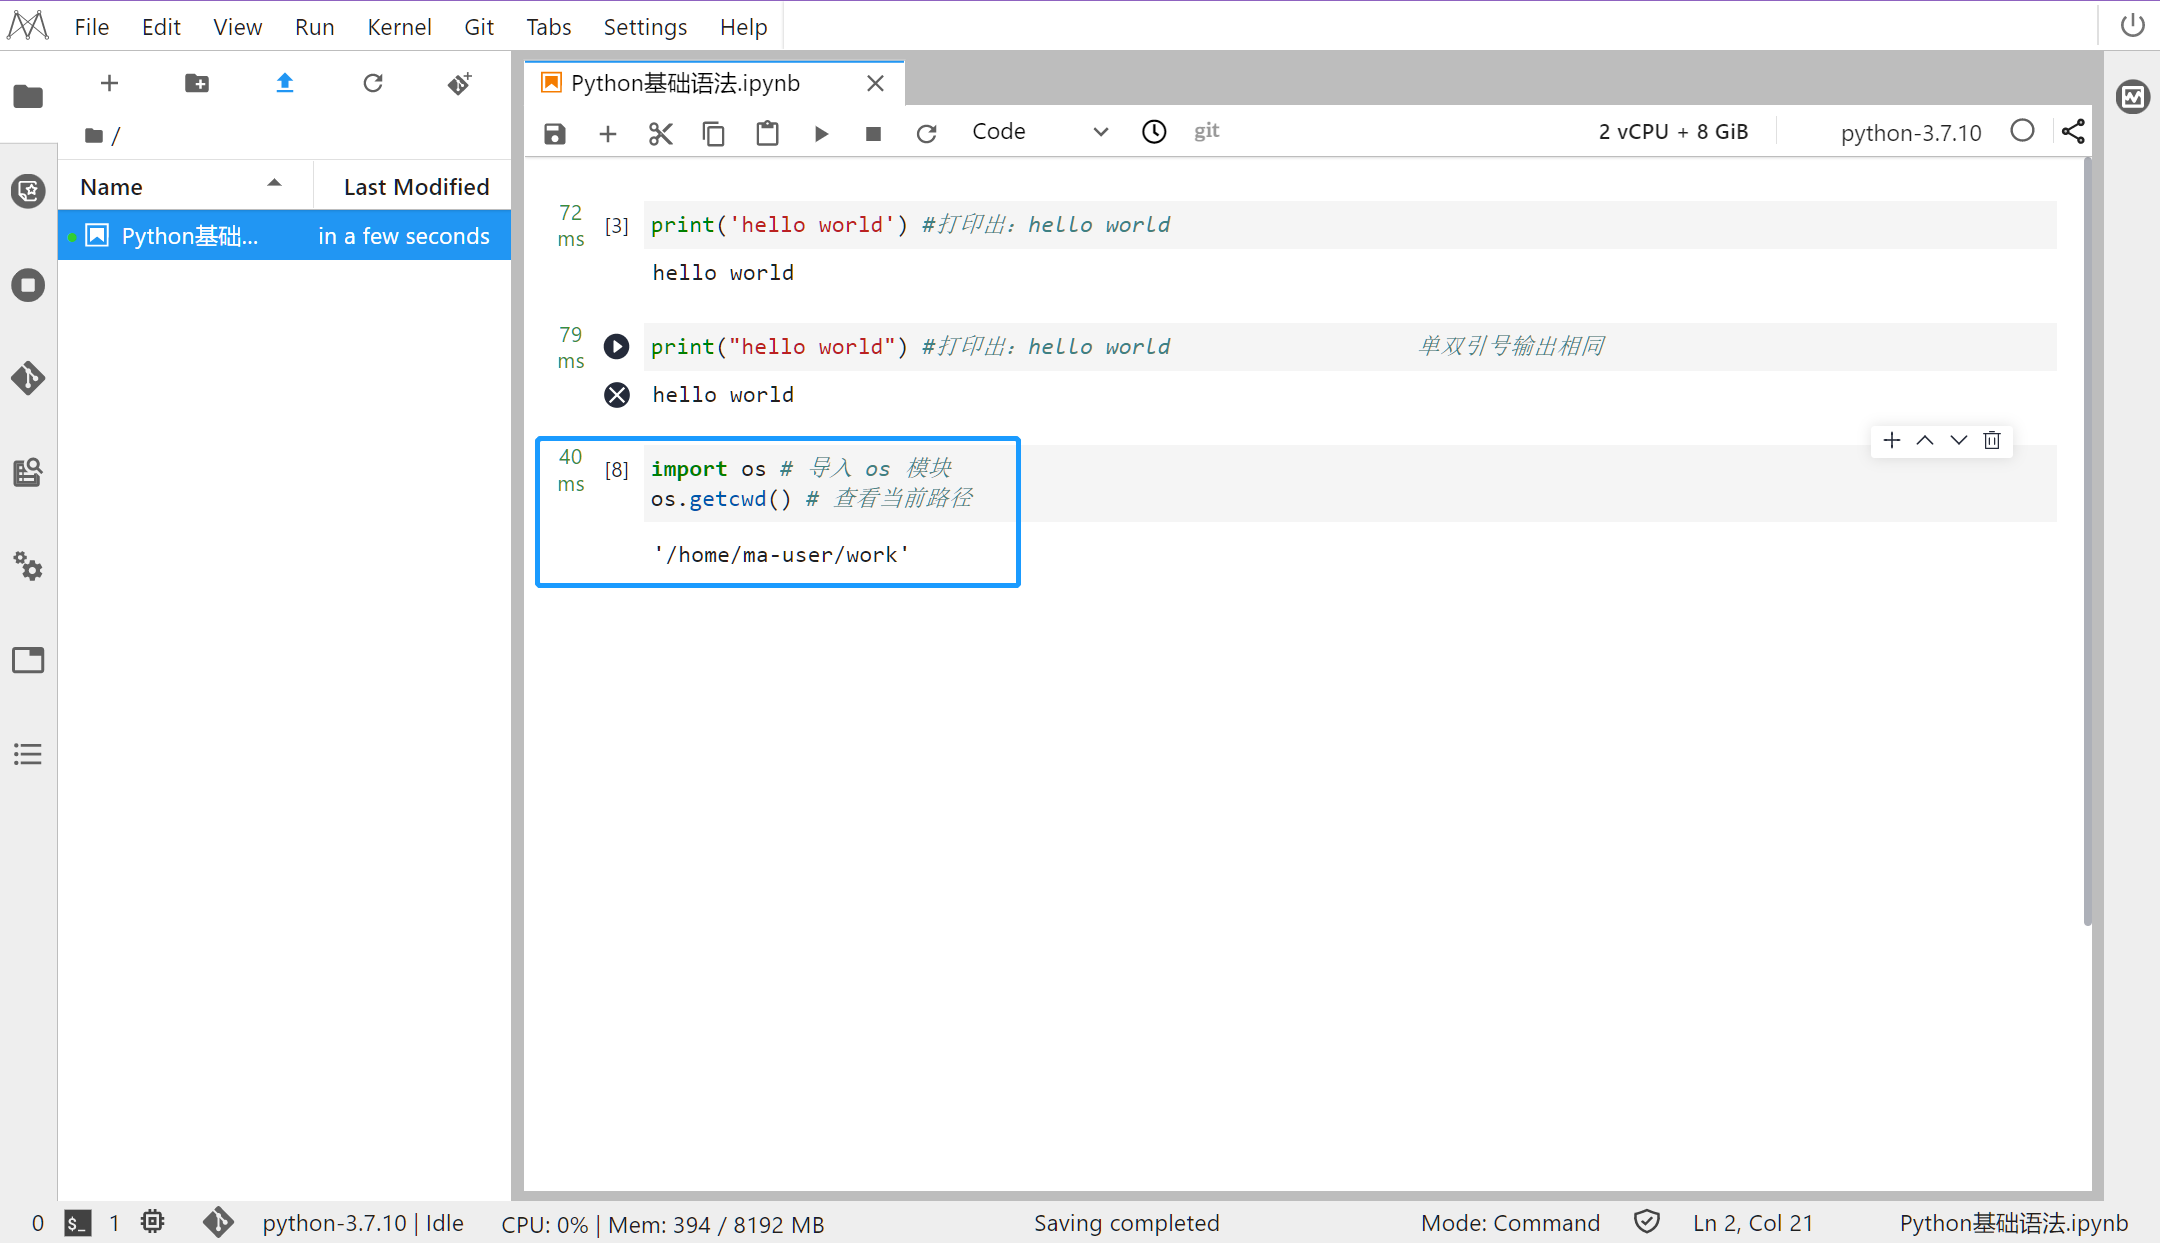
使用不同的方式导入工具包
-
通过 import 导入工具包。 -
import os # 导入 os 模块 -
os.getcwd() # 查看当前路径
-
输出
-
'/home/ma-user/work'
-
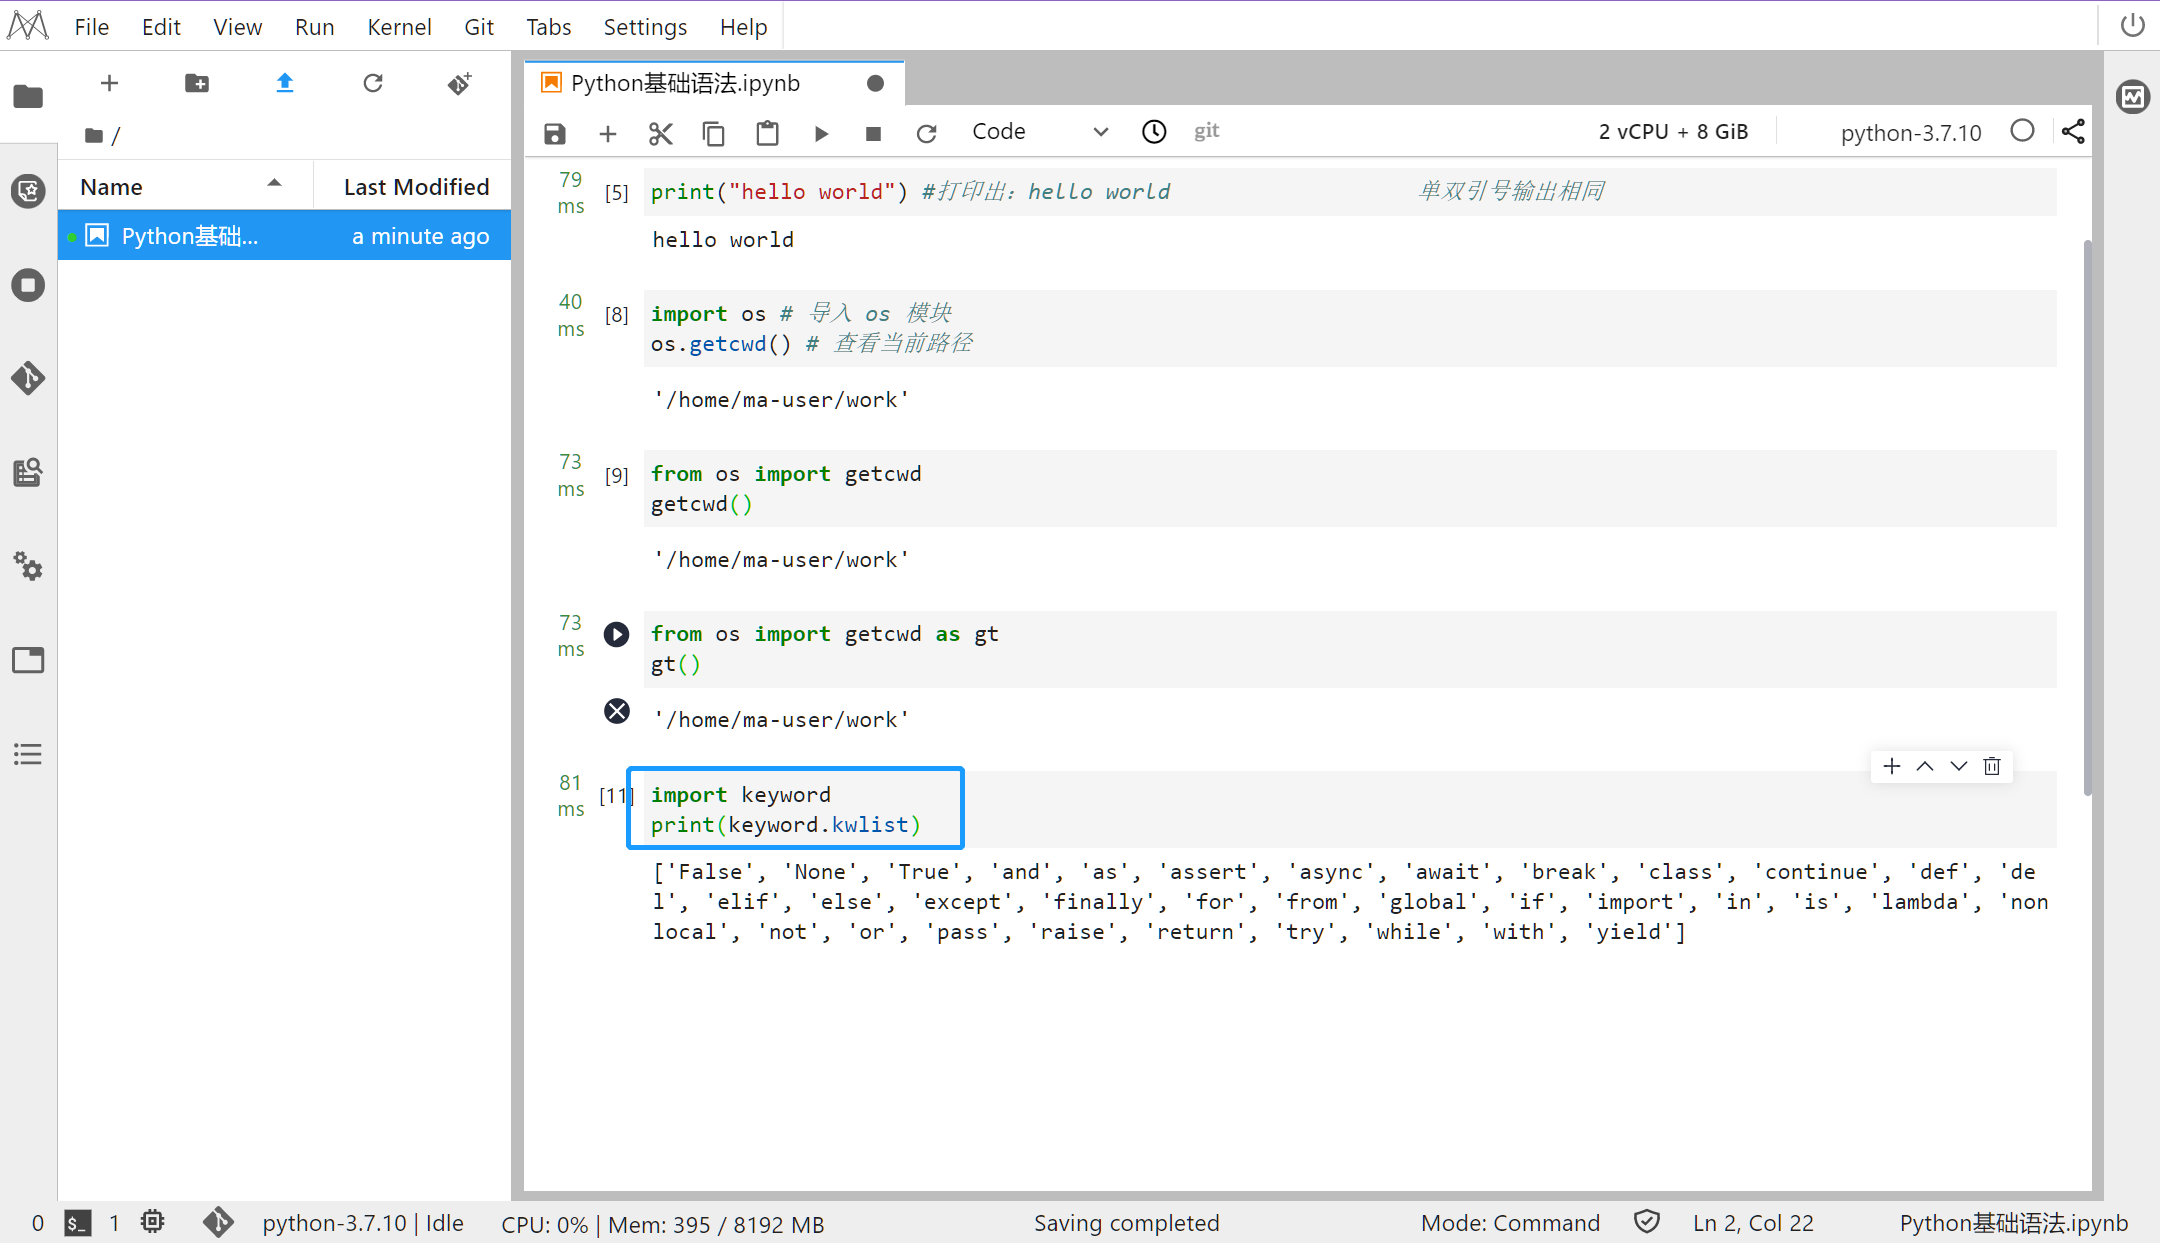
使用 from…import…的方式导入工具包: -
from os import getcwd -
getcwd()
-
输出
-
'/home/ma-user/work'

-
给工具包起个别名: -
from os import getcwd as gt -
gt()
-
输出
-
'/home/ma-user/work'
步骤4
变量的使用和命名
-
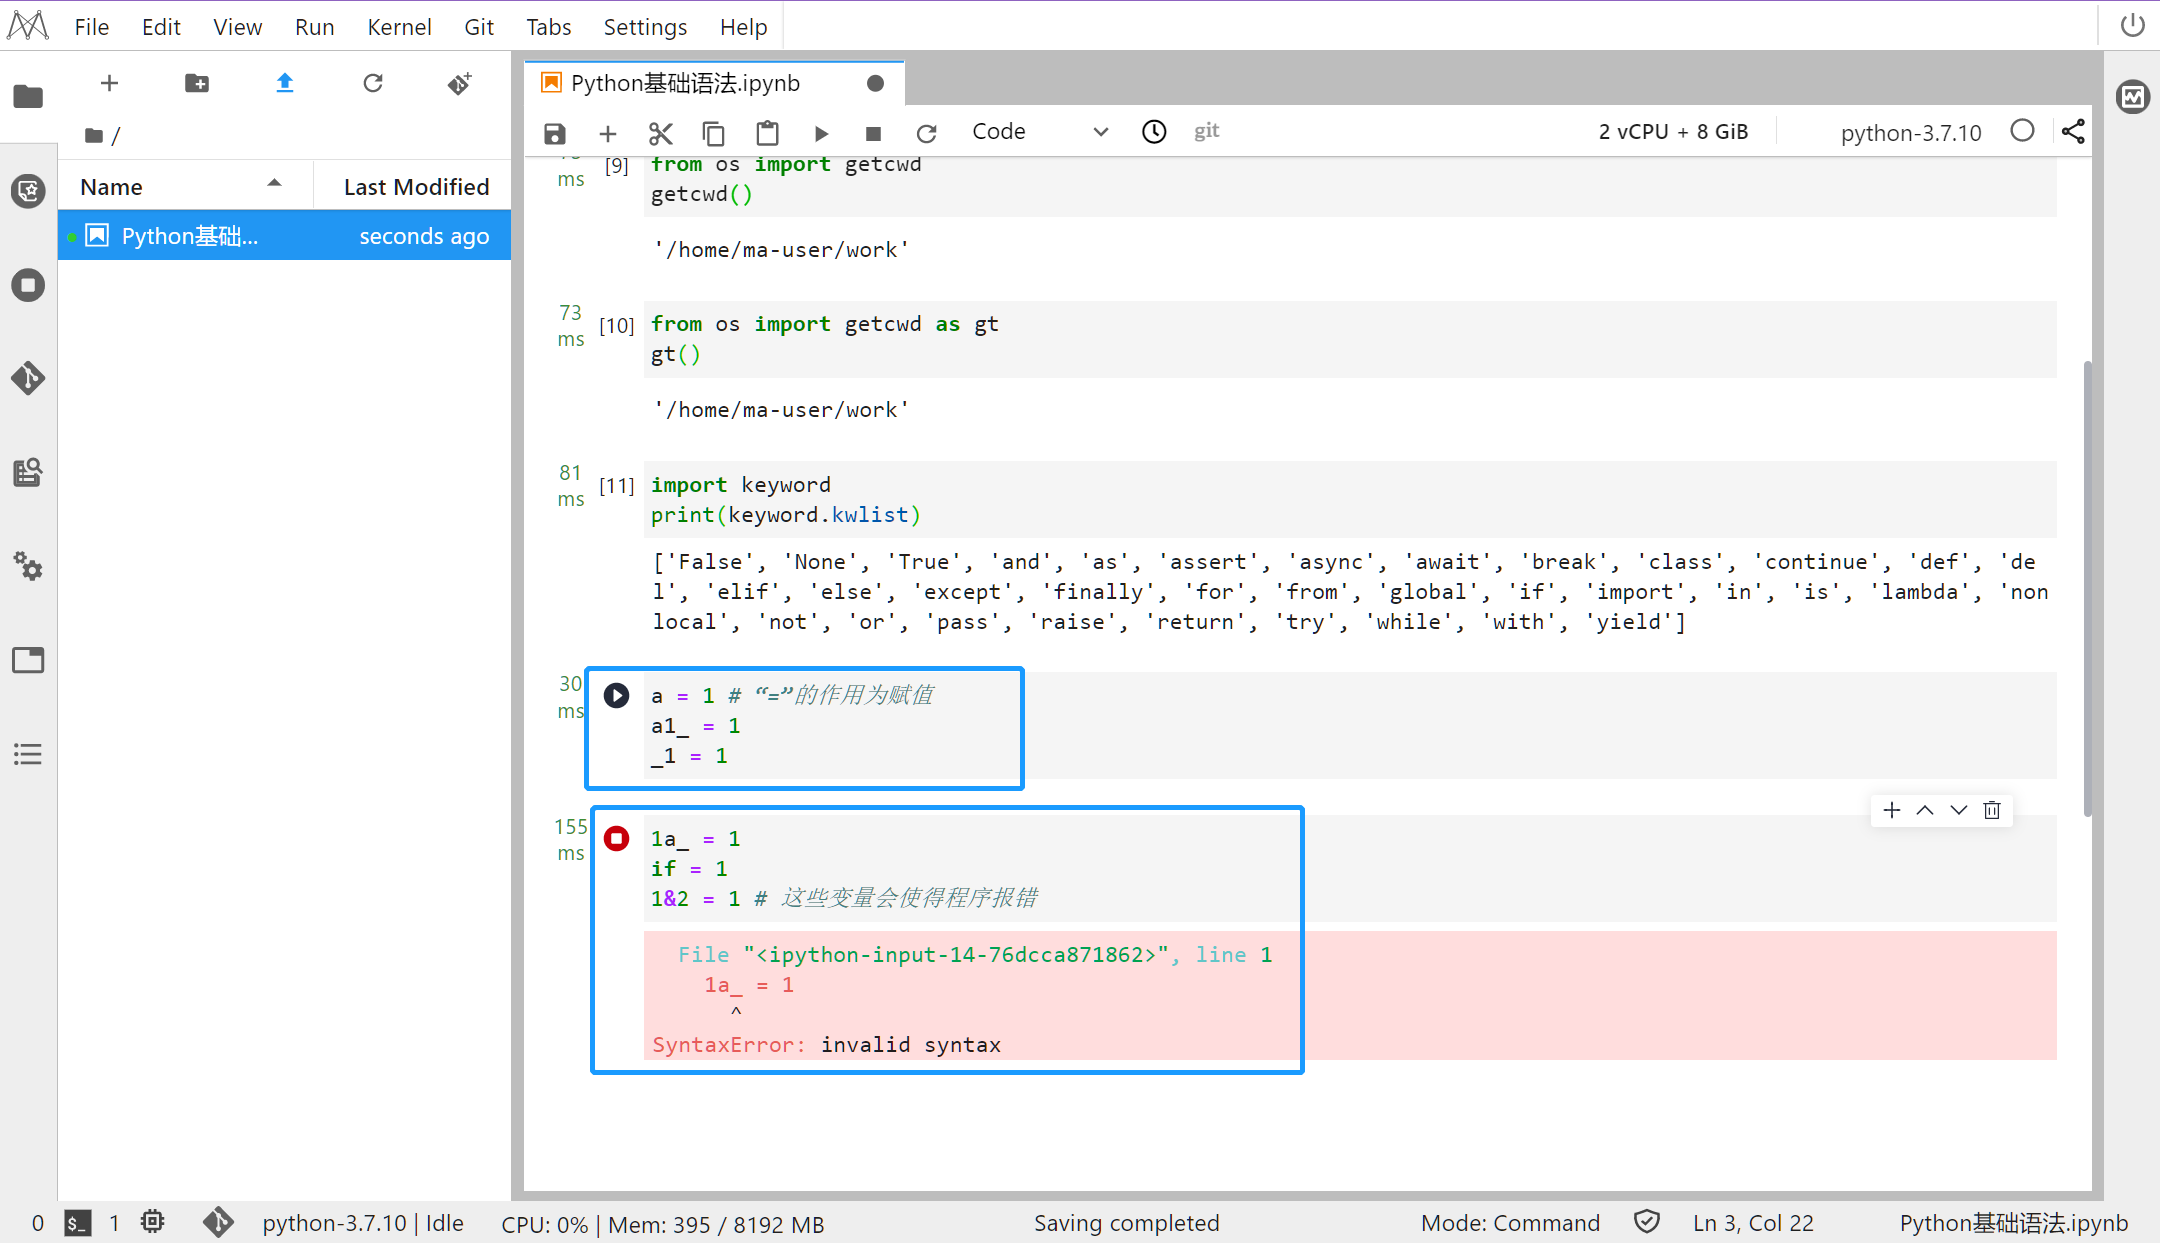
变量使用时需要一个名字-变量名(标识符),这个名字由字母数字下划线组成,并且数字不能开头,不能和关键字重名(已经被定义好拥有特定功能的标识符)
-
查看关键字
-
import keyword -
print(keyword.kwlist)
-
输出
['False', 'None', 'True', 'and', 'as', 'assert', 'break', 'class', 'continue', 'def', 'del', 'elif', 'else', 'except', 'finally', 'for', 'from', 'global', 'if', 'import', 'in', 'is', 'lambda', 'nonlocal', 'not', 'or', 'pass', 'raise', 'return', 'try', 'while', 'with', 'yield']
-
声明变量
-
a = 1 # “=”的作用为赋值 -
a1_ = 1 -
_1 = 1
-
-
错误的变量名
-
1a_ = 1 -
if = 1 -
1&2 = 1 # 这些变量会使得程序报错
-
-
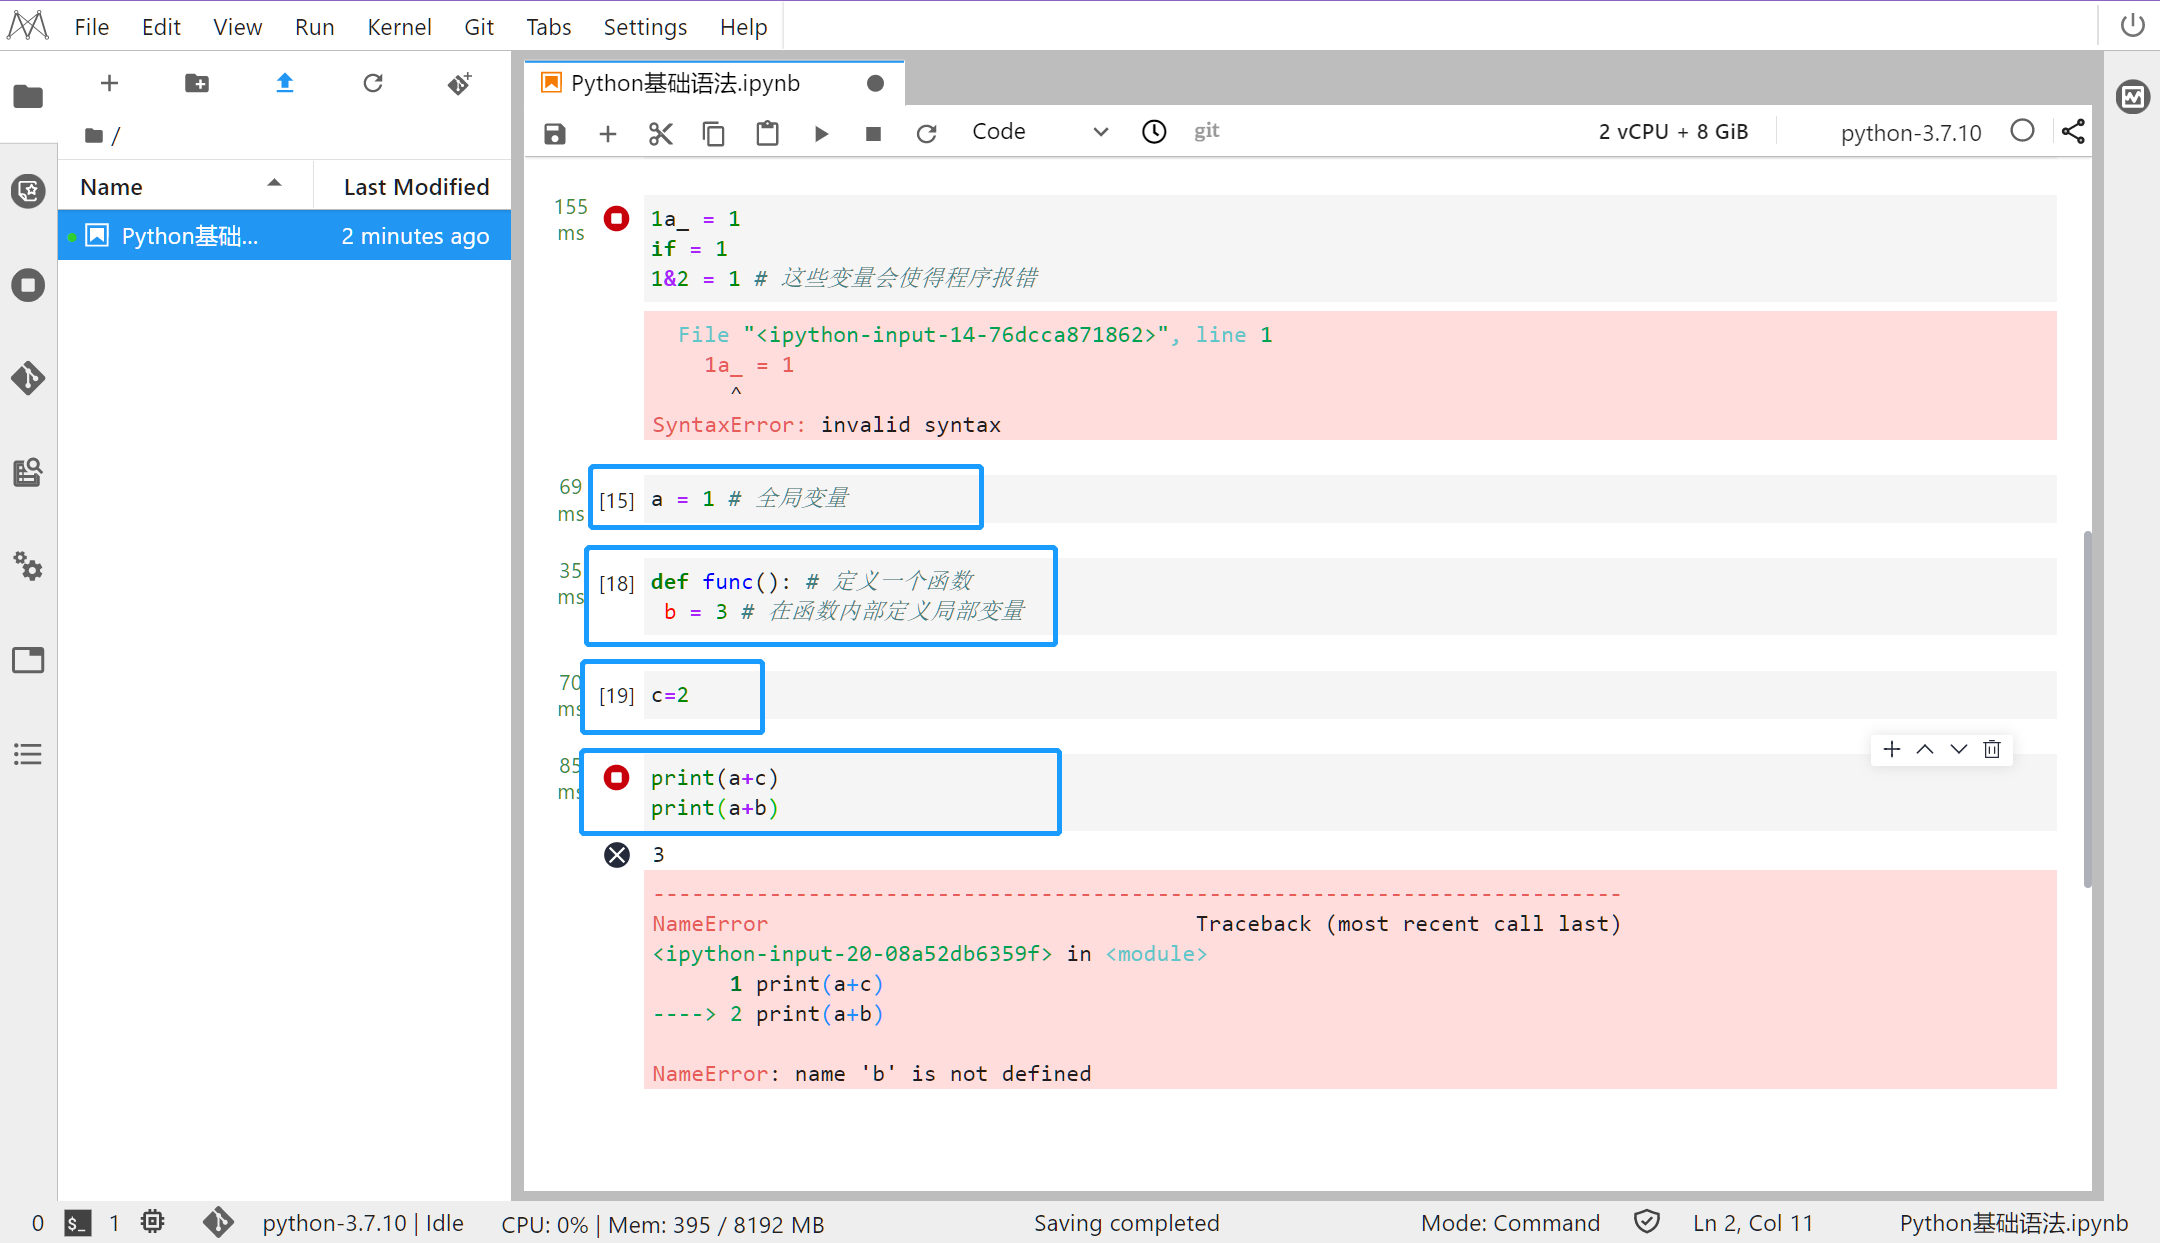
局部变量和全局变量 -
a = 1 # 全局变量 -
def func(): # 定义一个函数 -
b = 3 # 在函数内部定义局部变量 -
c = 2 -
print(a+c) -
print(a+b)
-
输出
步骤5
在程序中使用注释
-
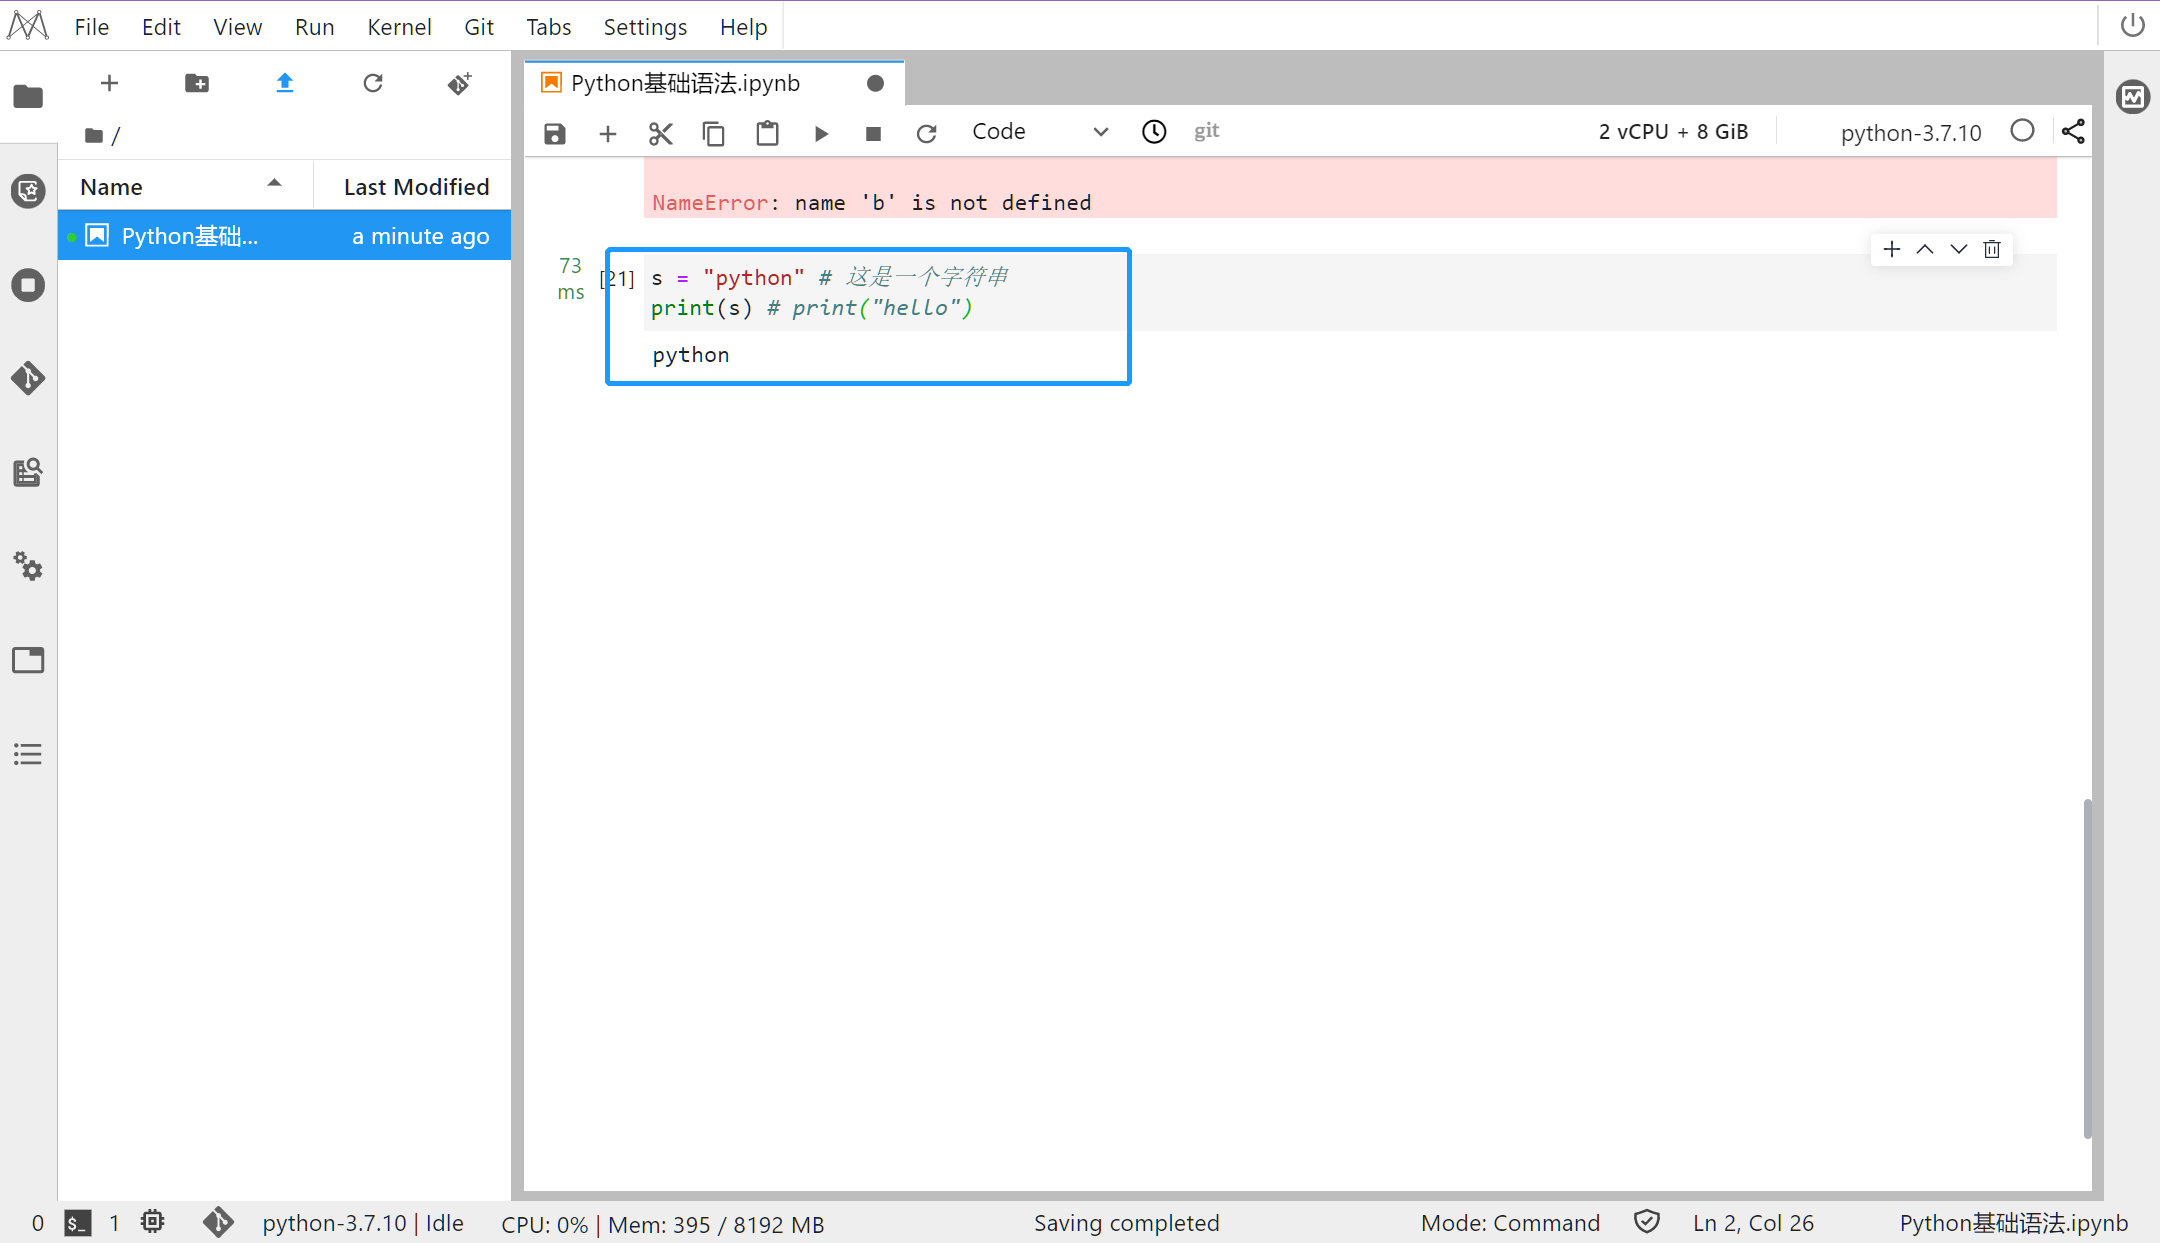
使用单行注释: -
s = "python" # 这是一个字符串 -
print(s) # print("hello")
-
输出 python
-
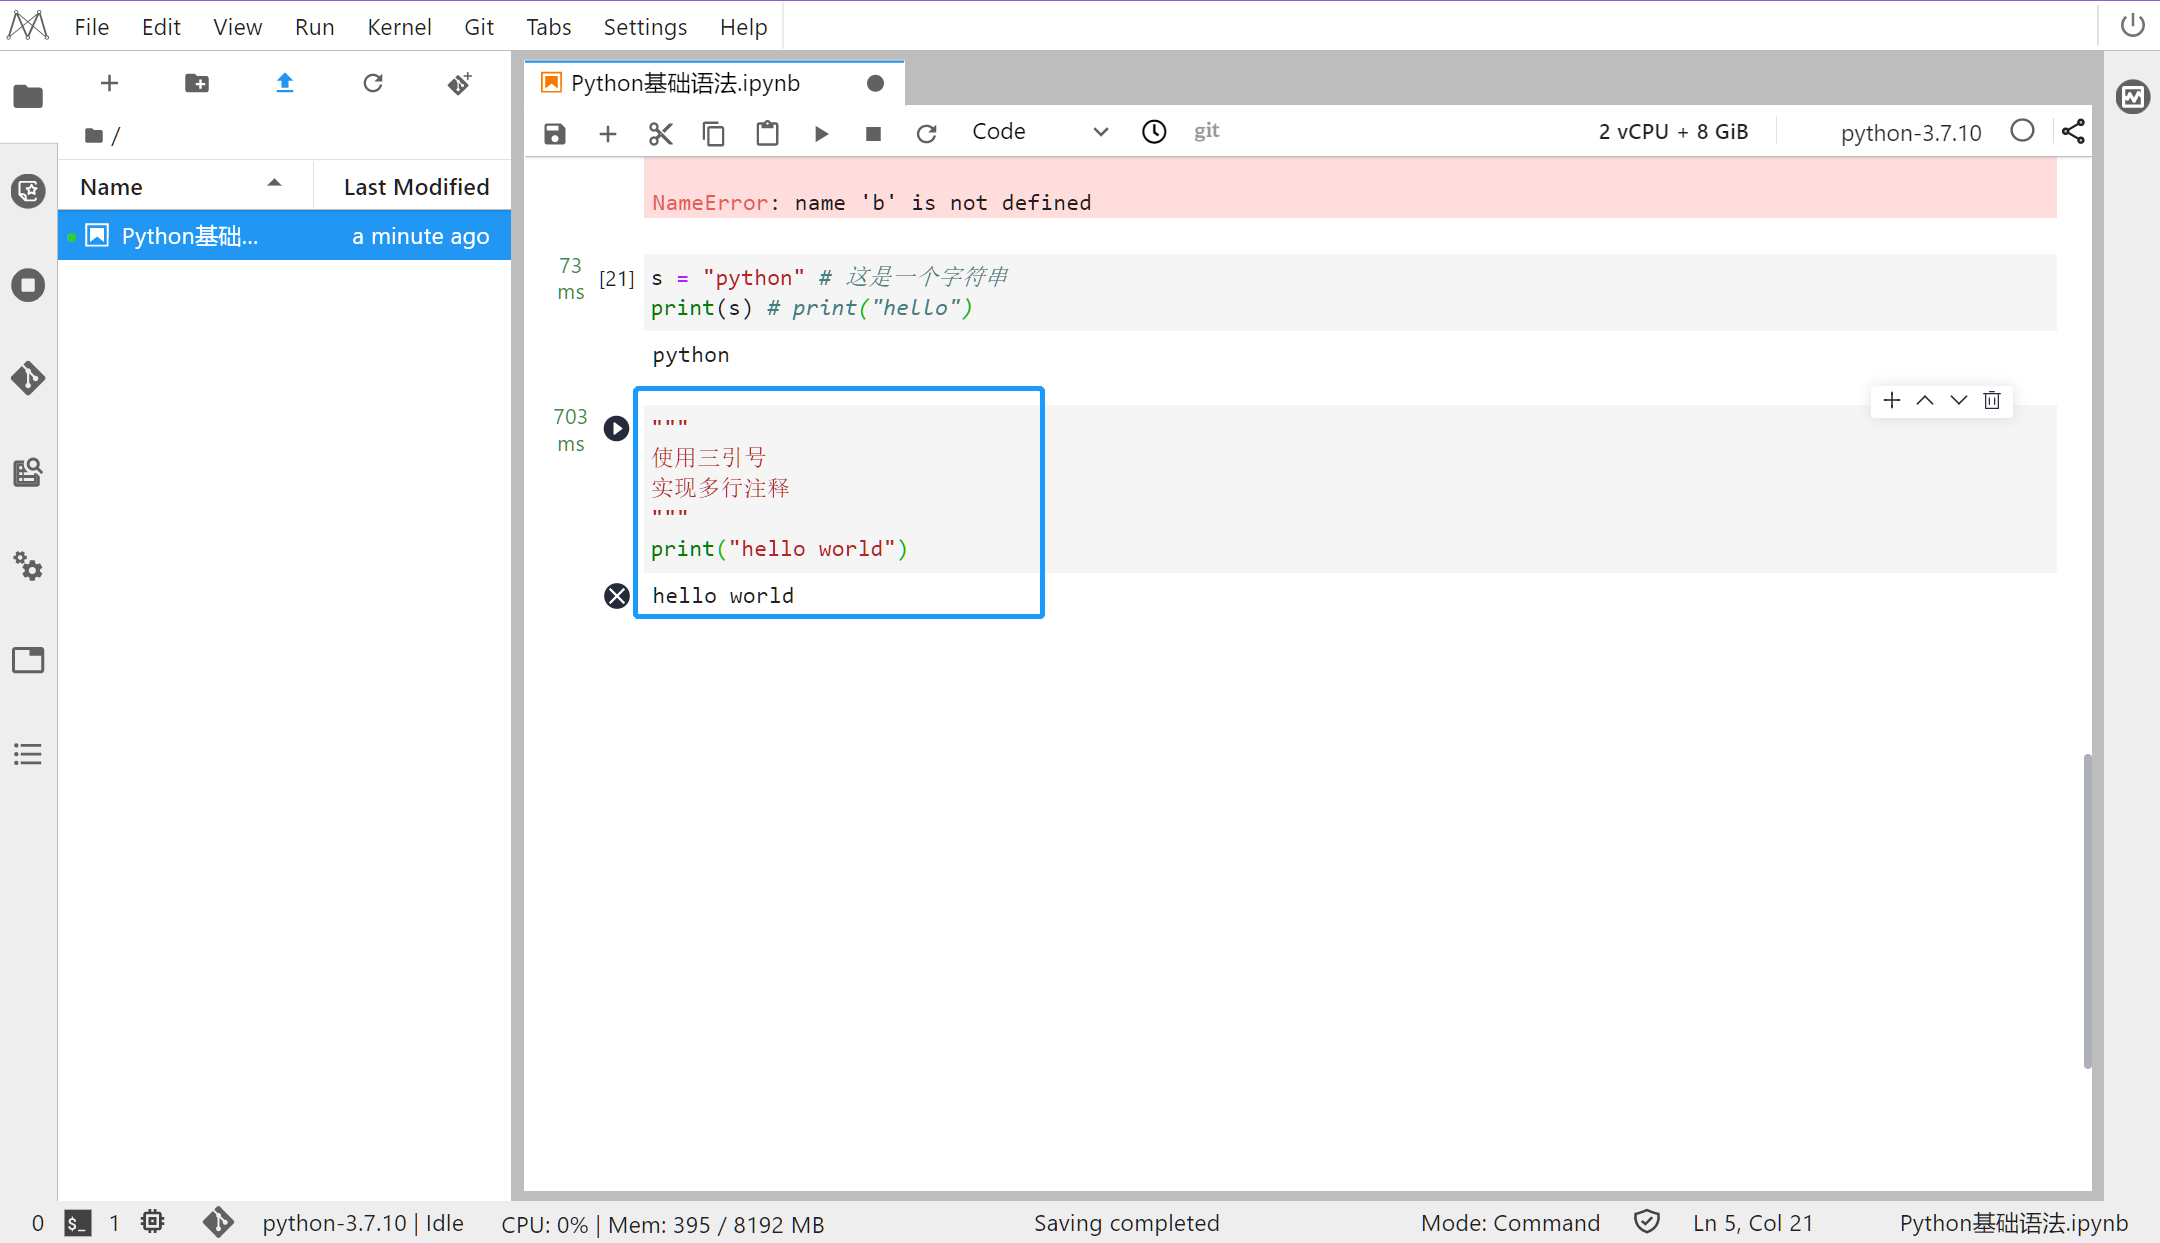
实现多行注释: -
""" -
使用三引号 -
实现多行注释 -
""" -
print("hello world")
-
输出
-
hello world
步骤6
-
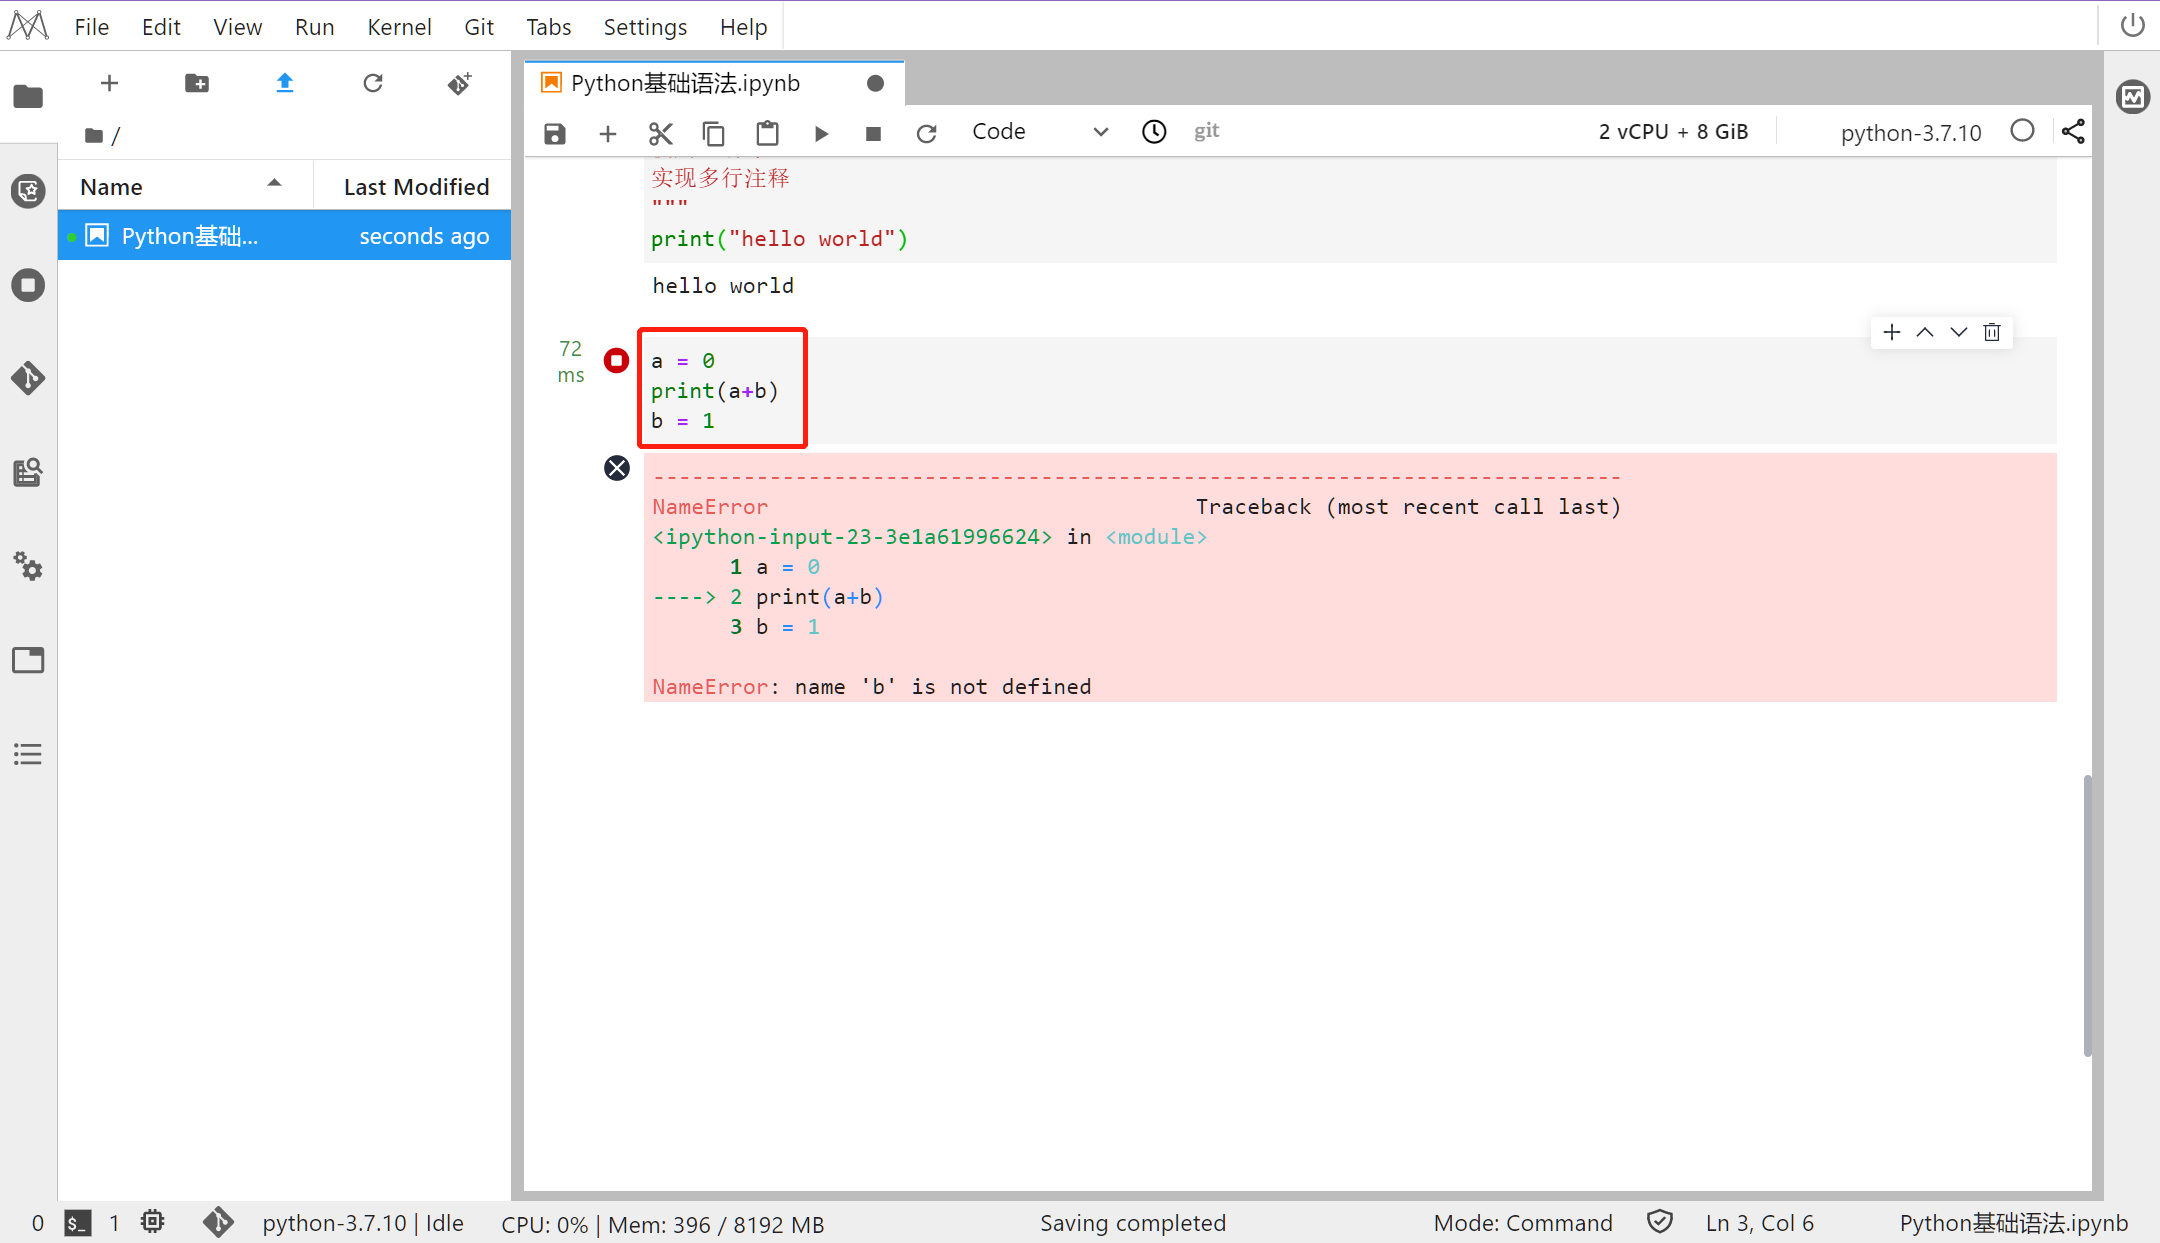
Python 程序的执行顺序 -
Python 语句自上向下执行,变量需要先定义在使用: -
a = 0 -
print(a+b) -
b = 1
-
输出
步骤7
-
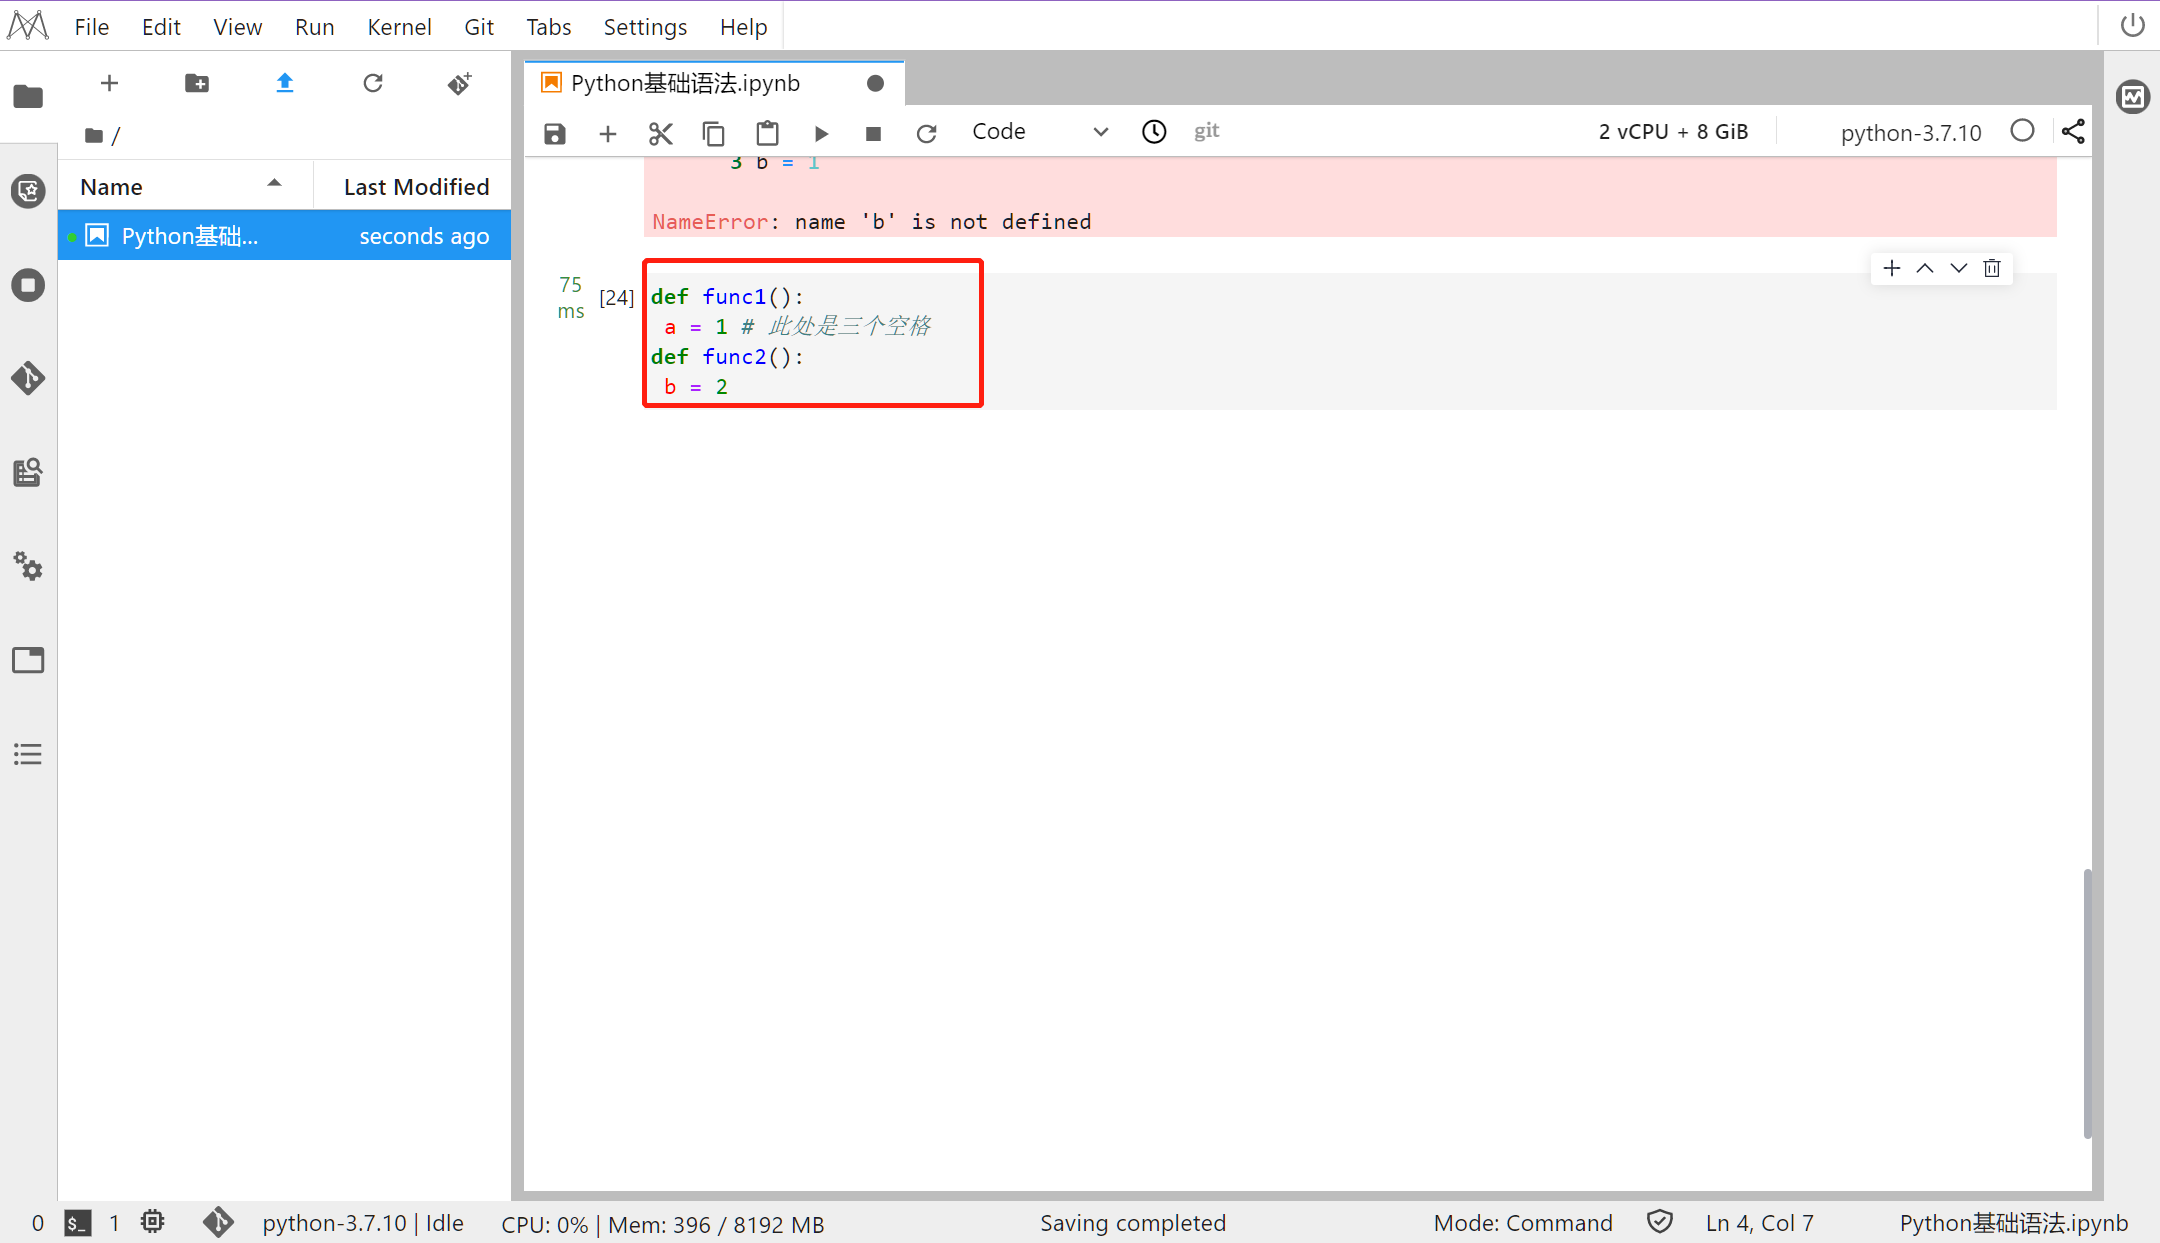
Python 中区分语句块的缩进 -
Python 中的缩进可以是任意多个空格: -
def func1(): -
a = 1 # 此处是三个空格 -
def func2(): -
b = 2
-
输出
步骤8
基础函数的使用
-
使用 help 函数查看对象的帮助信息:
-
help(print) # help 函数查看帮助信息
-
输出
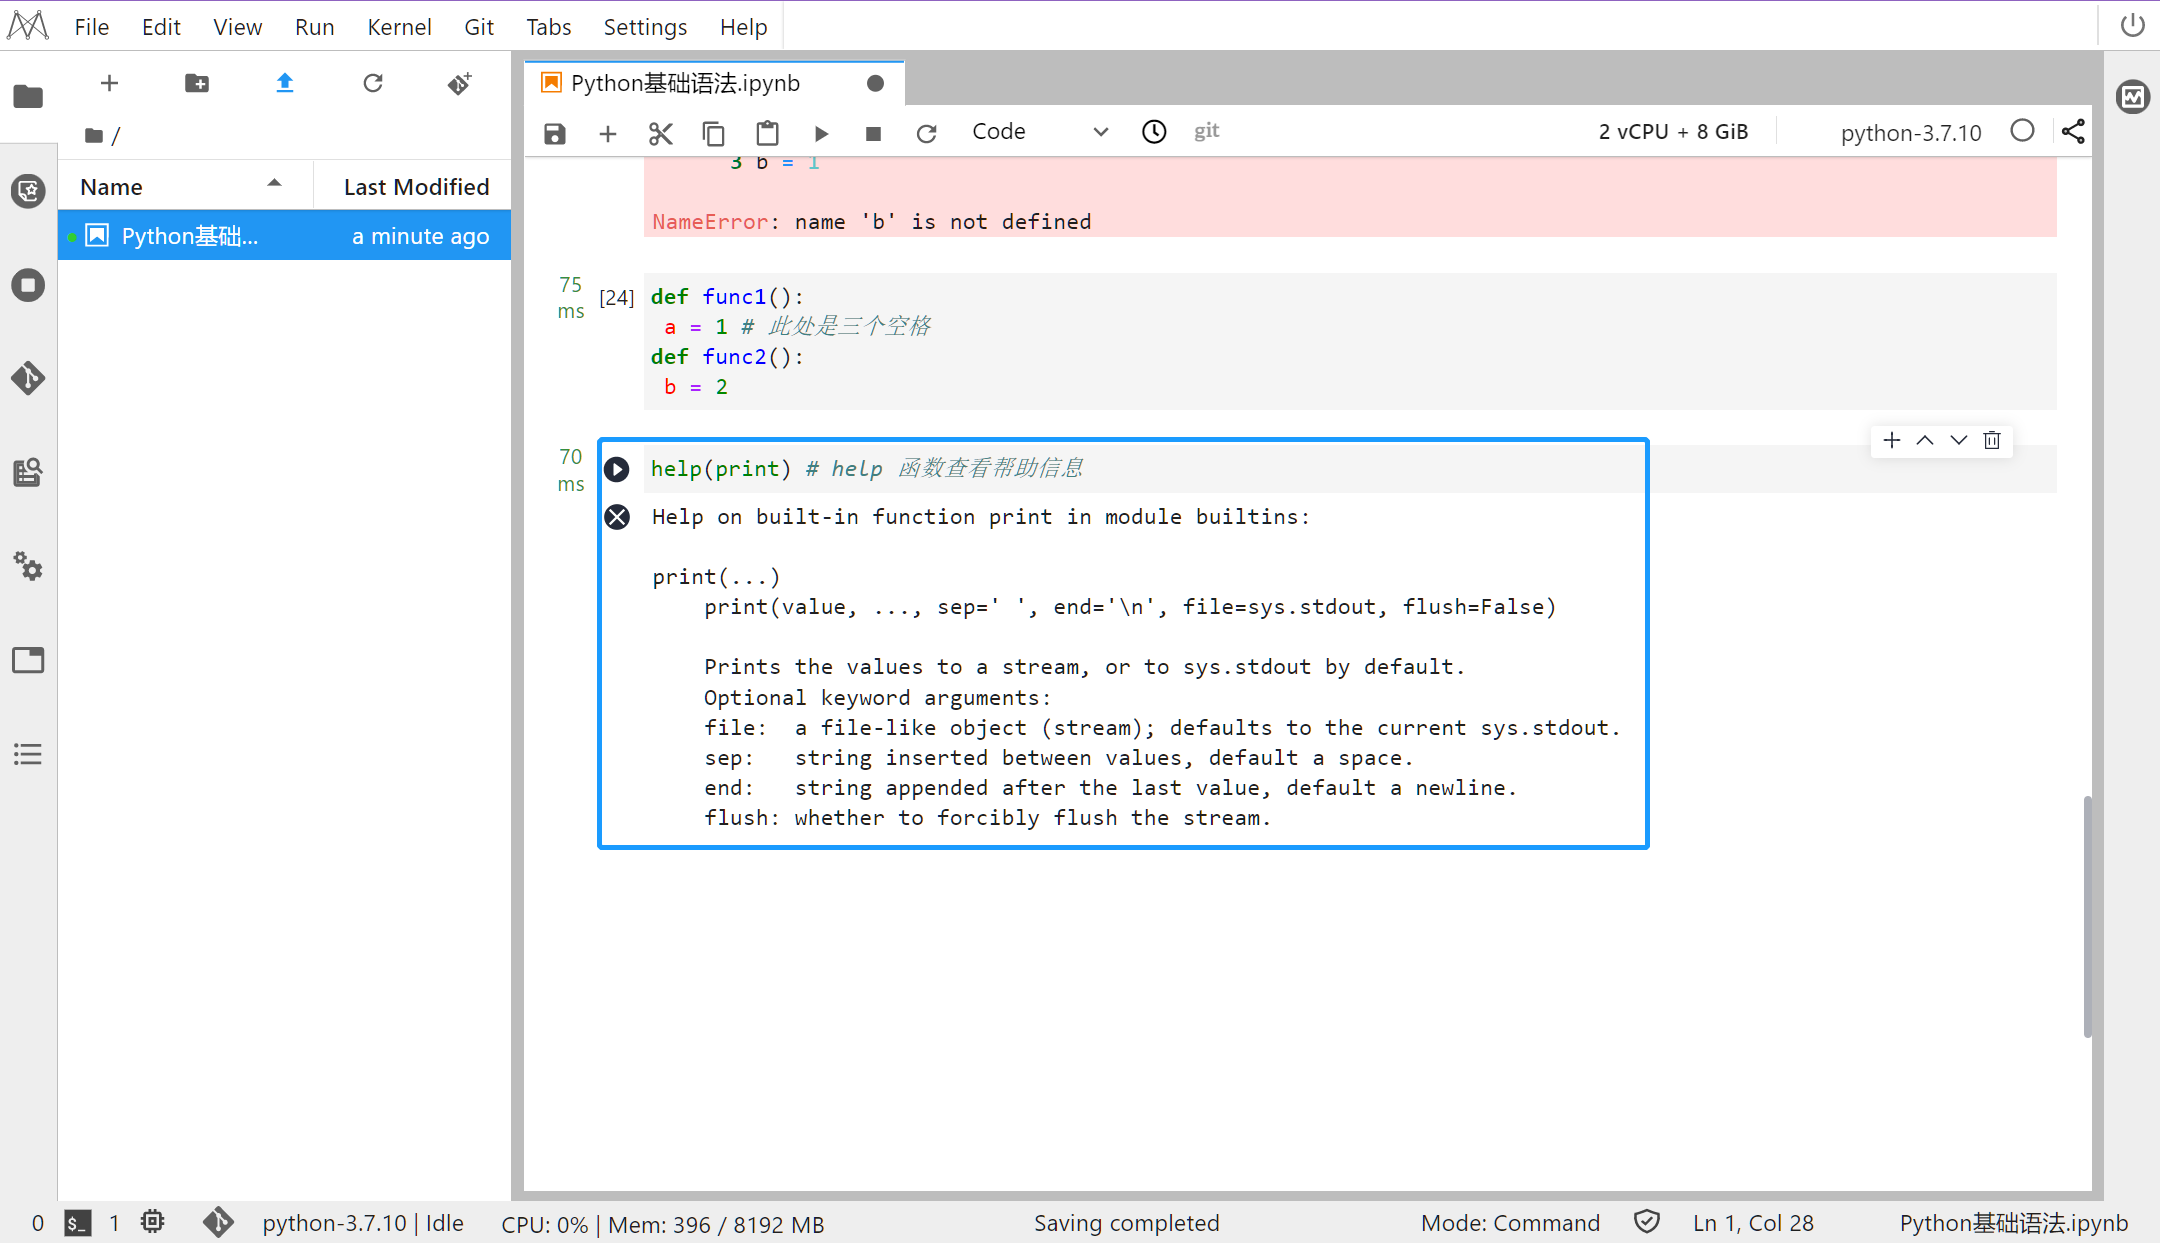
-
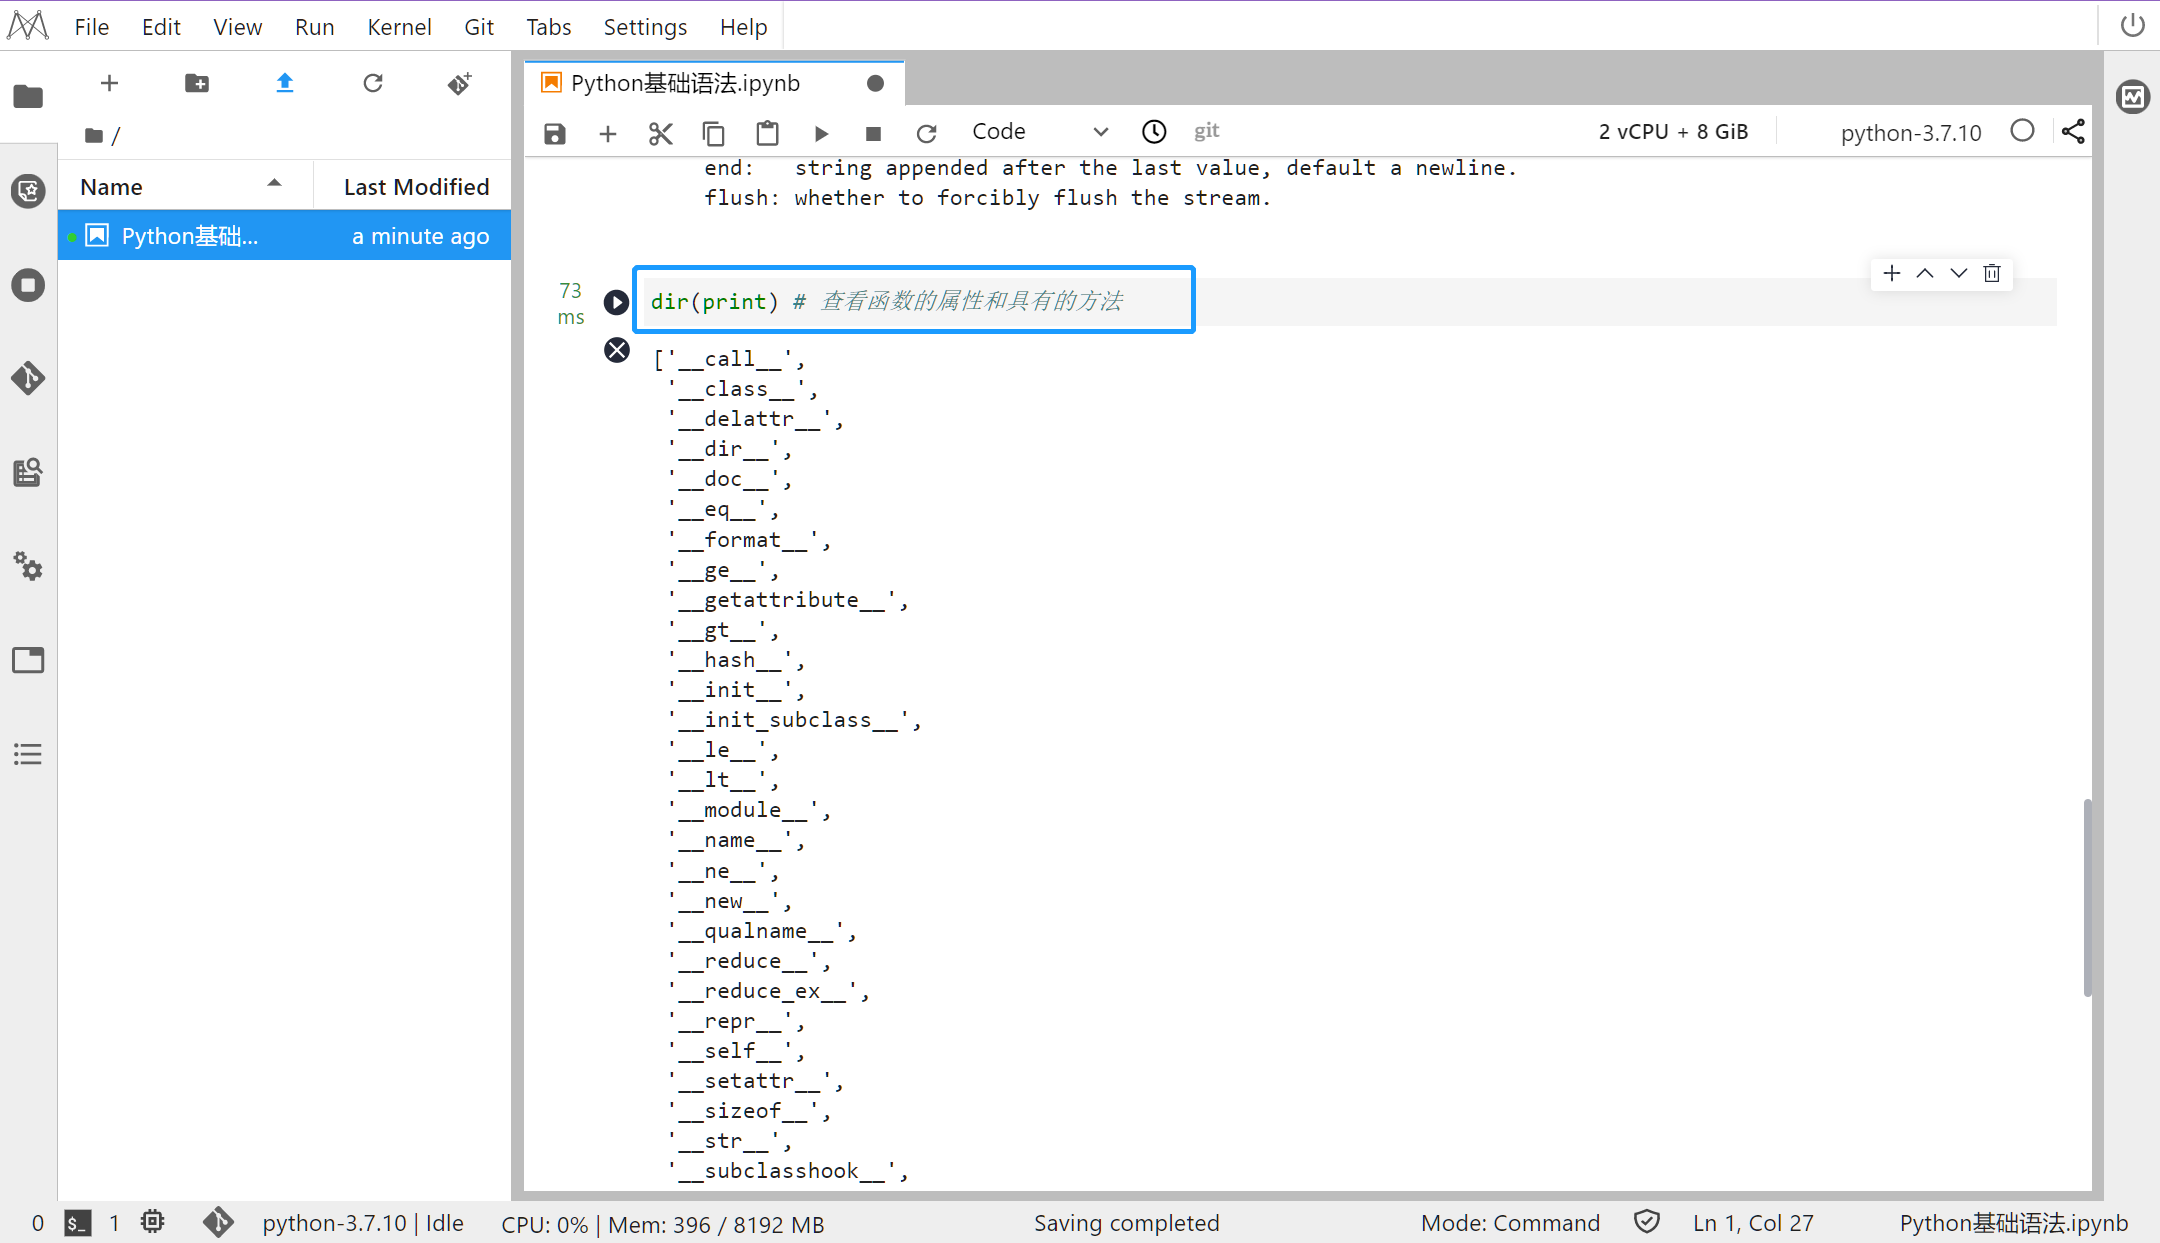
使用 dir 查看对象的属性和具有的方法:
-
dir(print) # 查看函数的属性和具有的方
-
-
输出:
-
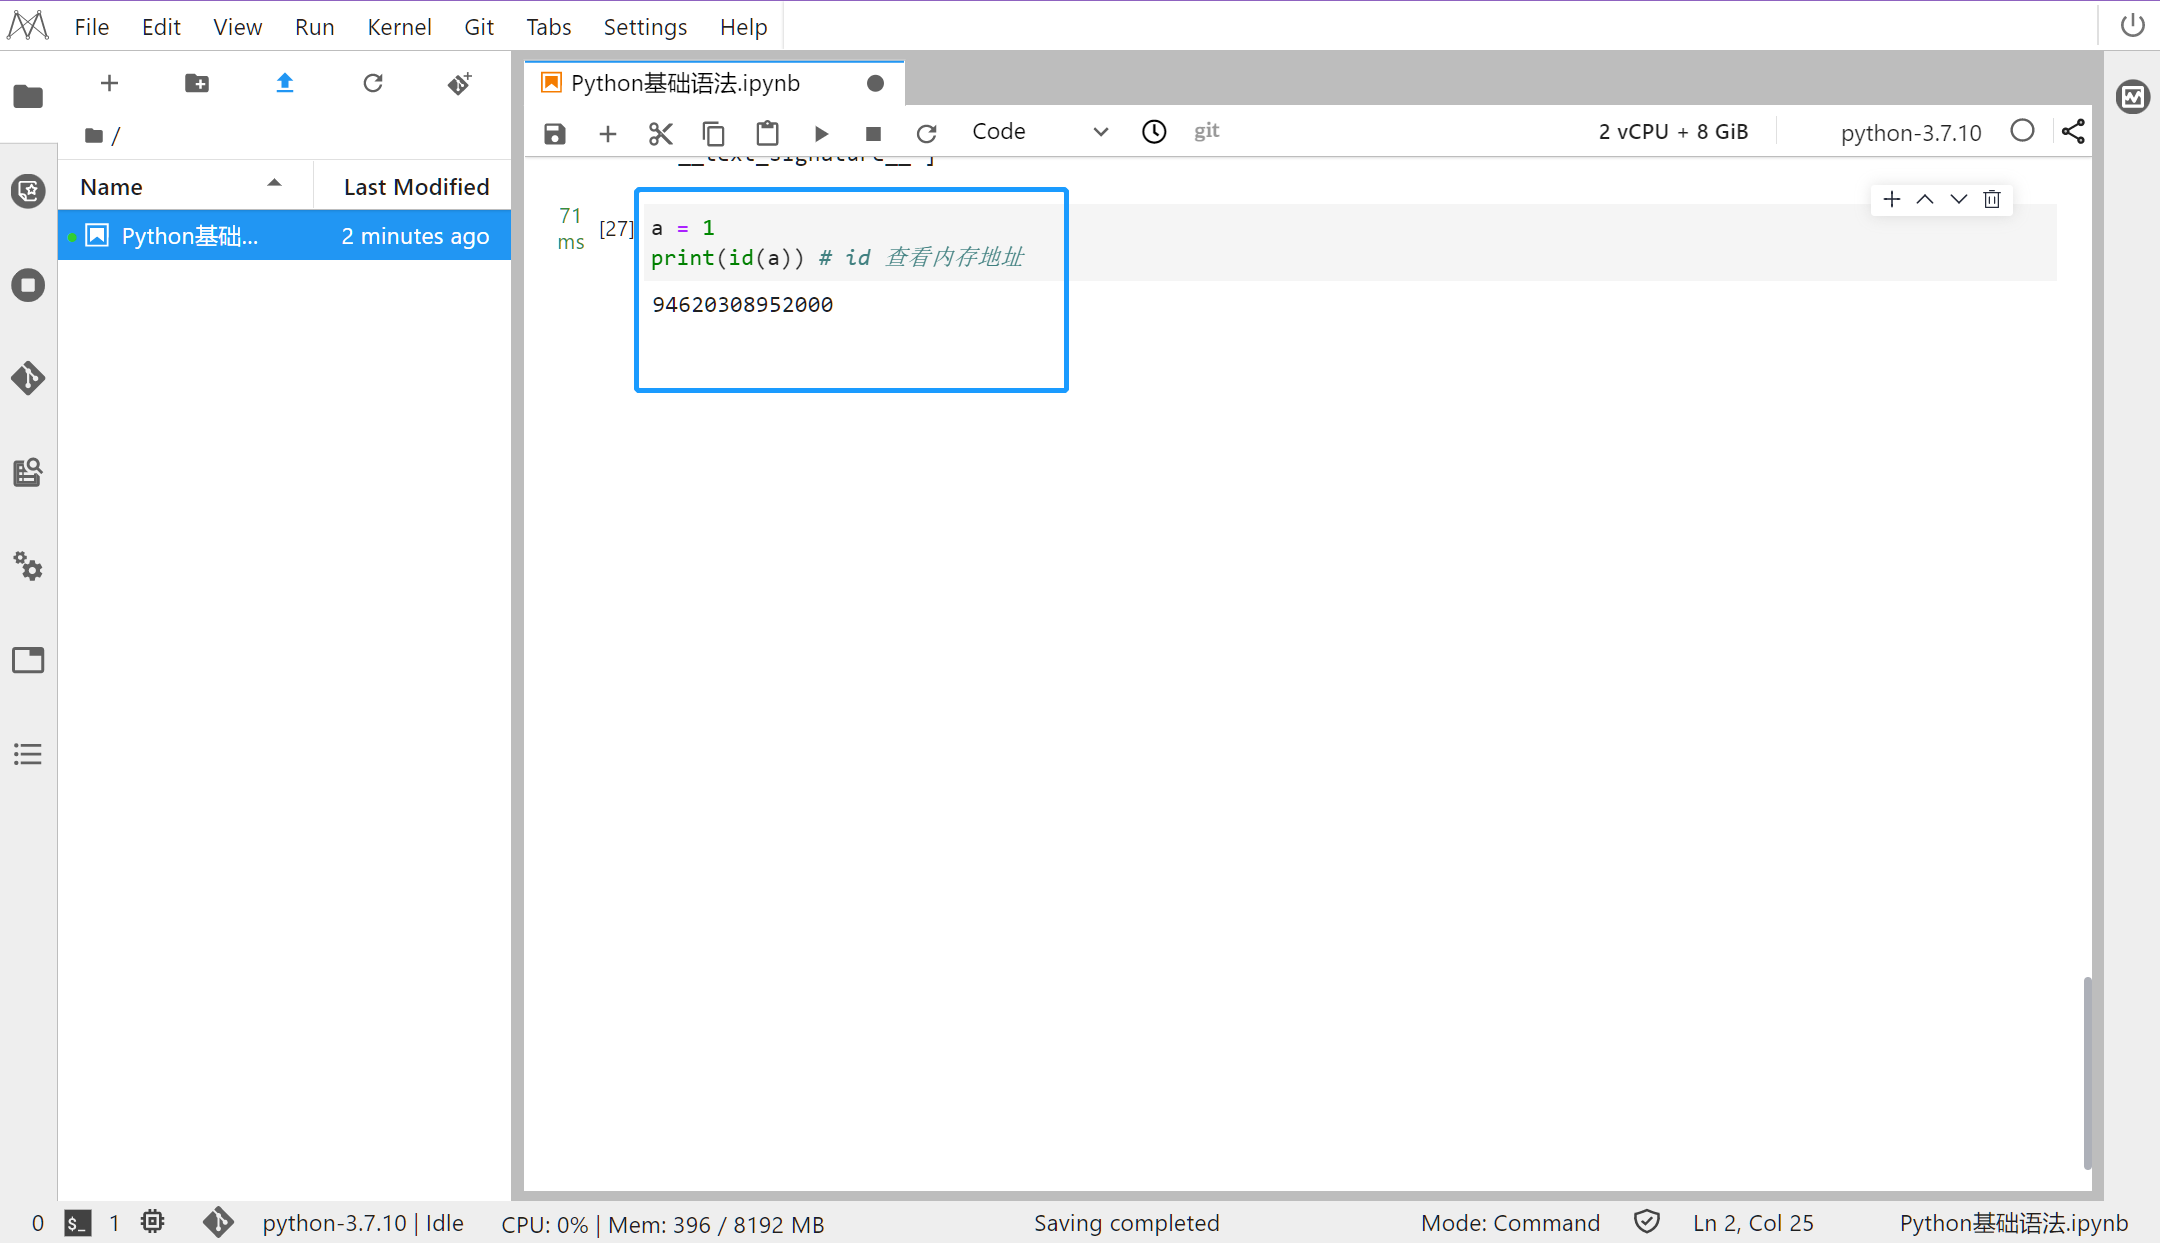
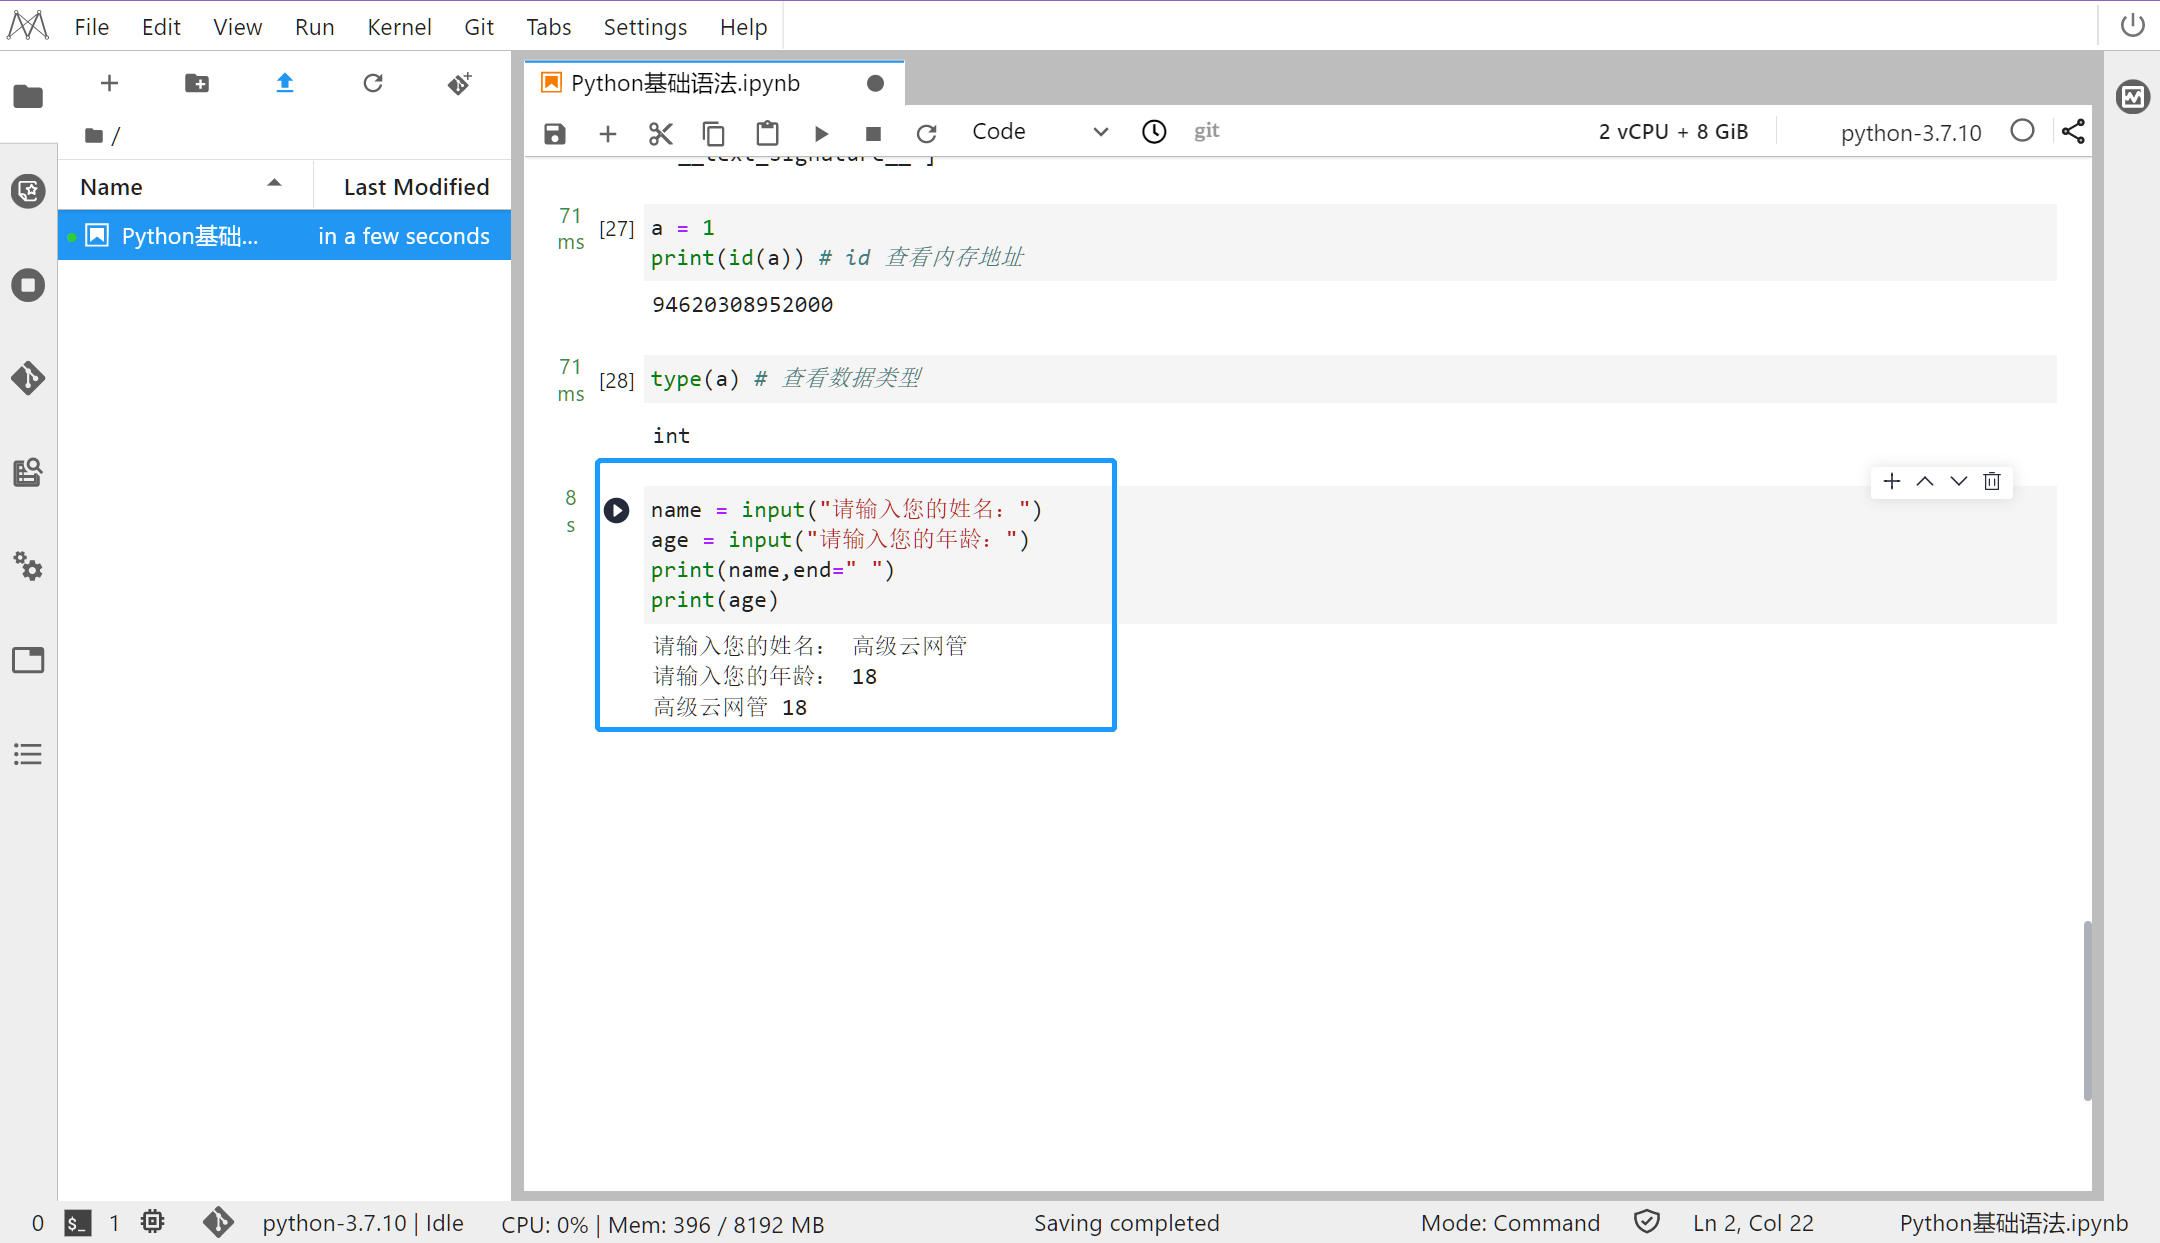
使用 id 函数查看对象的内存地址: -
a = 1 -
print(id(a)) # id 查看内存地址
-
输出
-
94620308952000
-
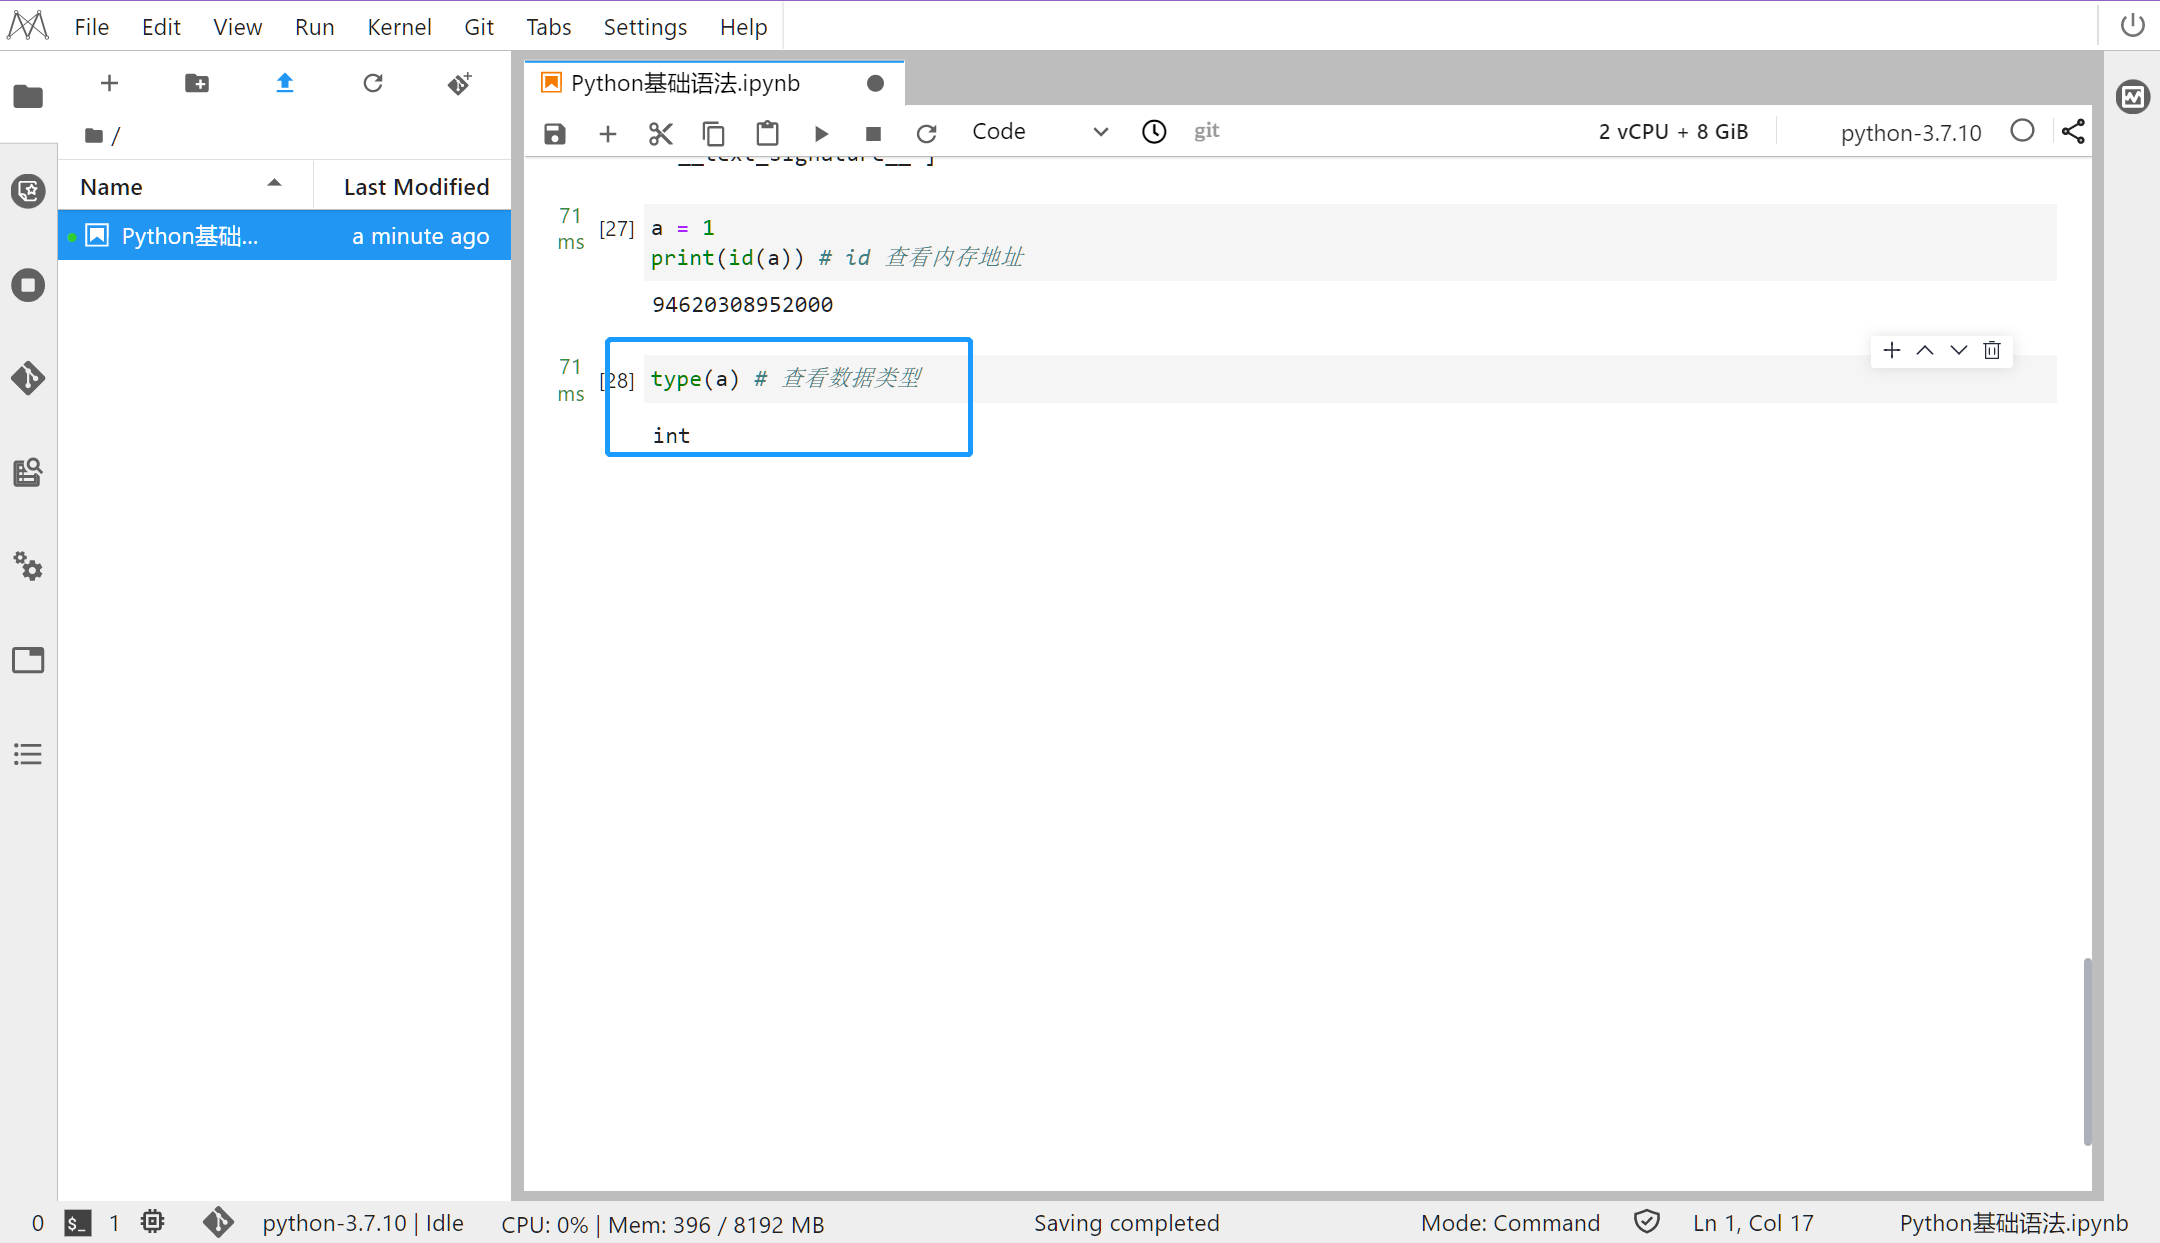
使用 type 函数查看对象的类型: -
type(a) # 查看数据类型
-
输出
-
int
-
输入和输出: -
name = input("请输入您的姓名:") -
age = input("请输入您的年龄:") -
print(name,end=" ") -
print(age)
-
输出
-
使用 del 方法删除内存中的对象: -
b = 10 -
del(b) -
print(b)
-
输出

-
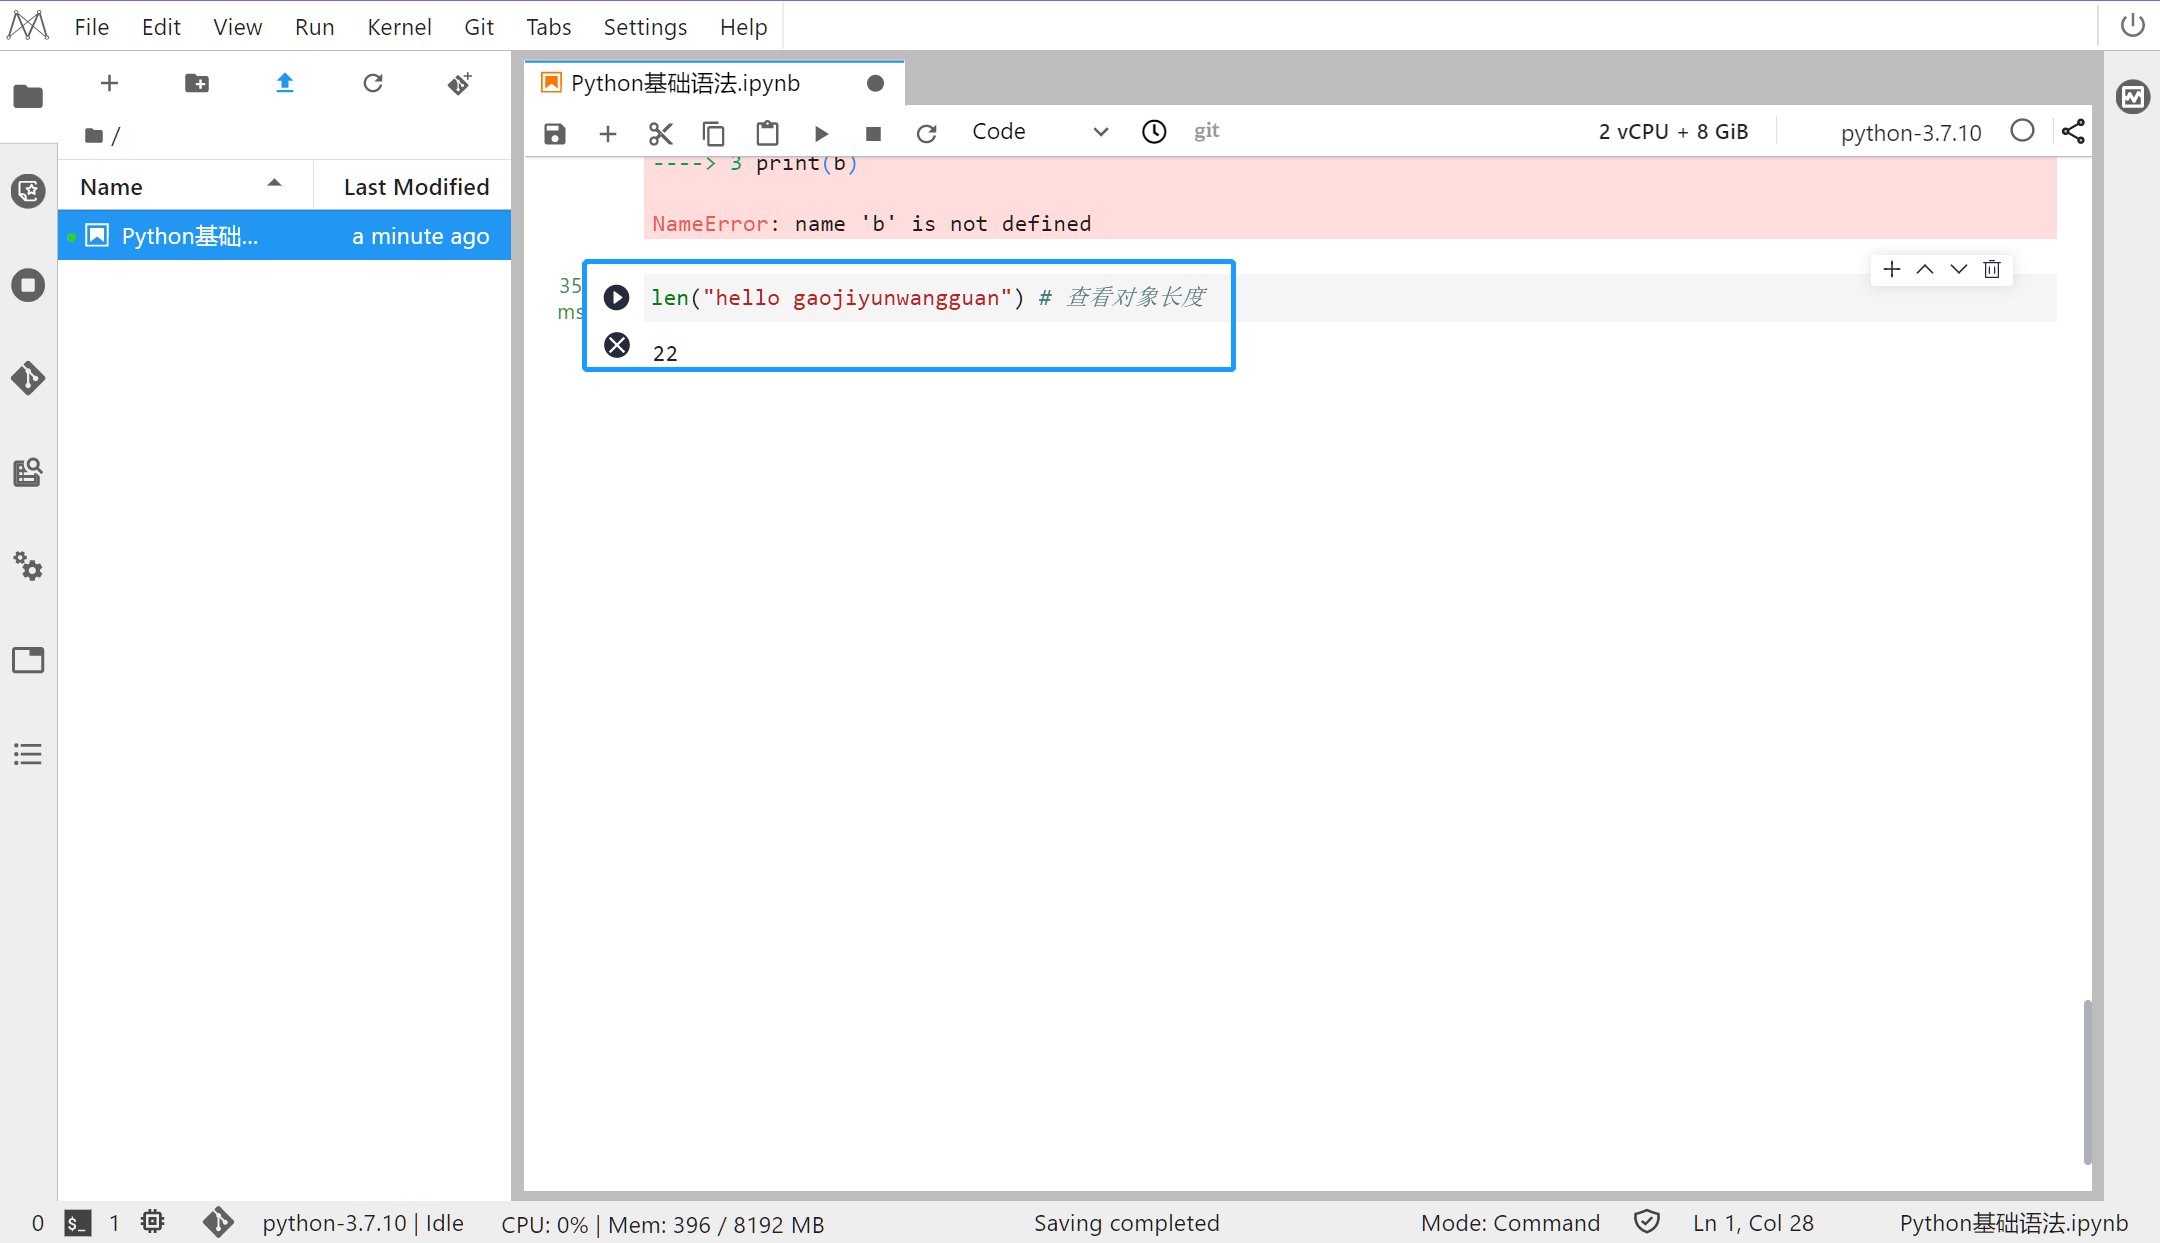
使用 len 函数查看数据的长度
-
len("hello") # 查看对象长度
-
输出
-
22
-
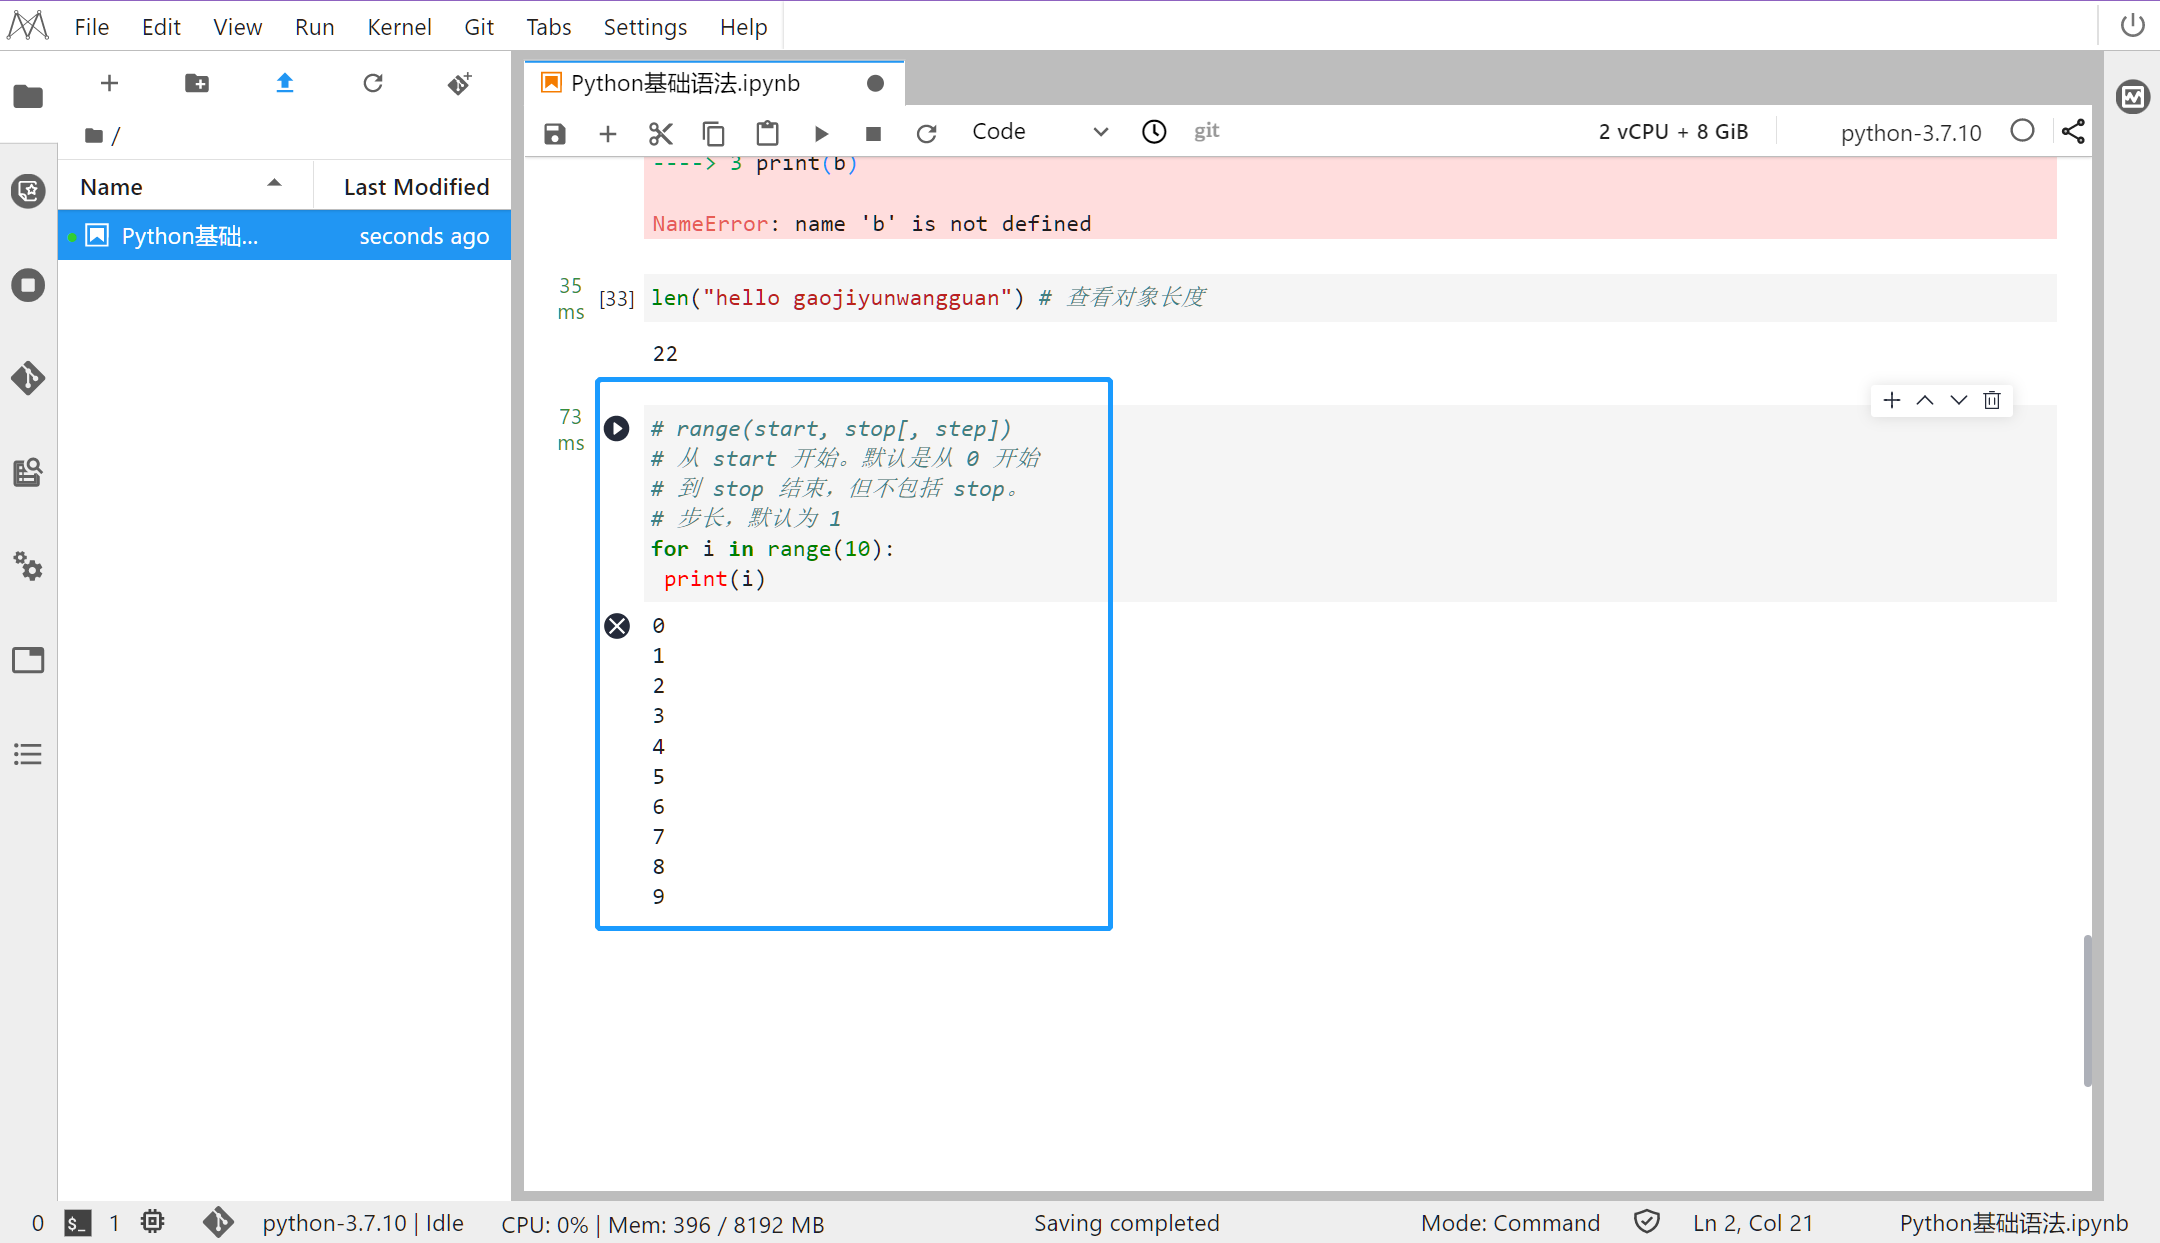
使用 range 函数生成序列: -
range(start, stop[, step]) -
从 start 开始。默认是从 0 开始 -
到 stop 结束,但不包括 stop。 -
步长,默认为 1 -
for i in range(10): -
print(i)
-
输出
-
0 -
1 -
2 -
3 -
4 -
5 -
6 -
7 -
8 -
9
★小结任务
”
-
发挥你的想象力写一段连续的代码(10 行以上),可以正常运行

【声明】本内容来自华为云开发者社区博主,不代表华为云及华为云开发者社区的观点和立场。转载时必须标注文章的来源(华为云社区)、文章链接、文章作者等基本信息,否则作者和本社区有权追究责任。如果您发现本社区中有涉嫌抄袭的内容,欢迎发送邮件进行举报,并提供相关证据,一经查实,本社区将立刻删除涉嫌侵权内容,举报邮箱:
cloudbbs@huaweicloud.com
- 点赞
- 收藏
- 关注作者
评论(0)