Hyperledger Fabric环境搭建(Linux)

前言

fabric二进制文件对linux只支持amd64的,我arm64搞了半天一直不行(老天爷救救我),最后重装系统是不可能重装的,用CSDN的认证优惠免费搞了台一个月的。


如果你用wget从git下载很慢,可以配置一下/etc/hosts,我也把相关包上传至了网盘,也可以直接上传后解压缩。
百度网盘:https://pan.baidu.com/s/1BuZbCZQ50R-zu5SW-smcHw
提取码:kvyf
替换yum源
使用默认的国外源在后续的下载中会很慢,替换为国内的镜像,提高下载速度(不替换也行吧)。
cd /etc/yum.repos.d
mv CentOS-Base.repo CentOS-Base.repo.backup # 备份
- 1
- 2

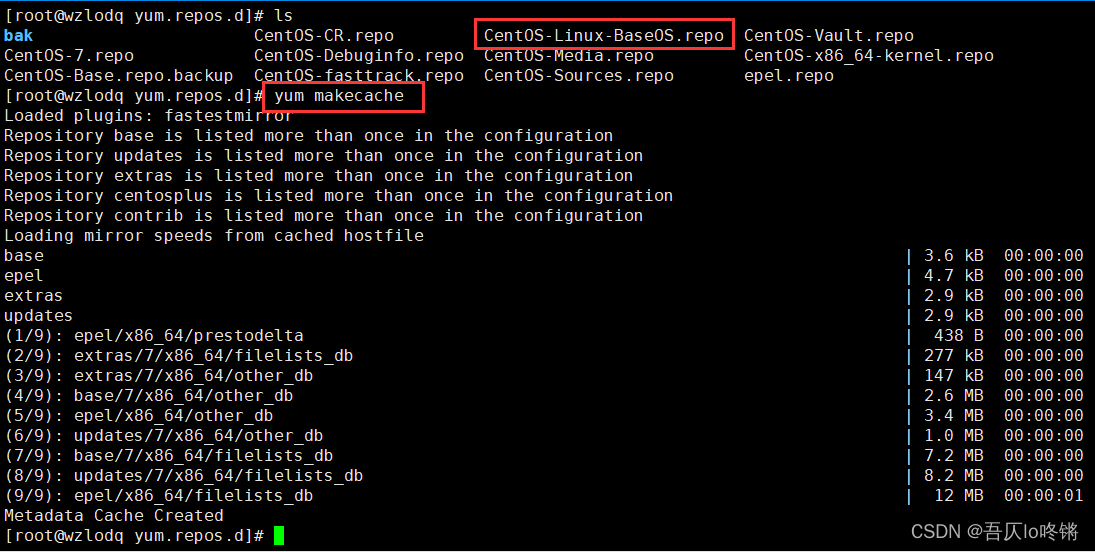
选择阿里云镜像https://mirrors.aliyun.com/repo,具体版本因地制宜,如Centos-7.repo。
#下载阿里云镜像版
wget -O CentOS-Linux-BaseOS.repo https://mirrors.aliyun.com/repo/Centos-7.repo
yum makecache  #刷新缓存
- 1
- 2
- 3
Go
Hyperledger Fabric支持Go、Node.js和Java三种开发语言,安装主流Go语言。
Go安装还可参考Go环境搭建-从安装到Hello World
下载tar包并解压,一定注意选择自己对应版本!
在https://golang.google.cn/dl/选择版本。
cd /usr/local
wget https://golang.google.cn/dl/go1.18.2.linux-amd64.tar.gz
tar -zxvf go1.18.2.linux-amd64.tar.gz
- 1
- 2
- 3

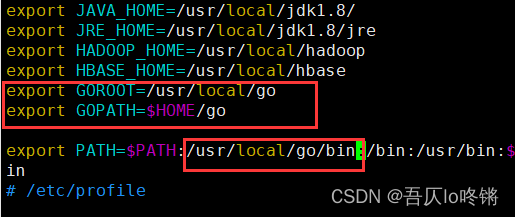
配置环境变量。
vim /etc/profile
#添加一下代码
export GOROOT=/usr/local/go
export GOPATH=$HOME/go
export PATH=$PATH:/usr/local/go/bin
- 1
- 2
- 3
- 4
- 5
source /etc/profile #刷新缓存
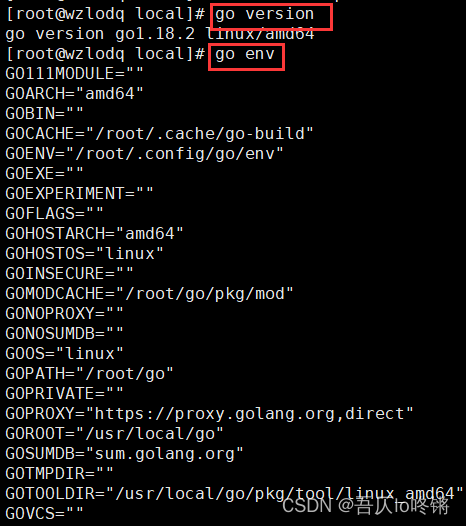
go version #查看版本
go env #查看变量
- 1
- 2
- 3
至此,Go环境搭建成功^o^/。
Docker
链码运行在隔离沙箱环境中,若含有恶意代码或漏掉会直接威胁到区块链节点的安全,使用Docker容器实现沙箱隔离。
Docker使用可参考:使用docker部署hadoop集群-手把手复现
安装Docker:
yum update #更新(询问输入y)

yum install -y yum-utils device-mapper-persistent-data lvm2 #安装依赖

yum-config-manager --add-repo http://mirrors.aliyun.com/docker-ce/linux/centos/docker-ce.repo

yum install -y docker-ce #安装docker

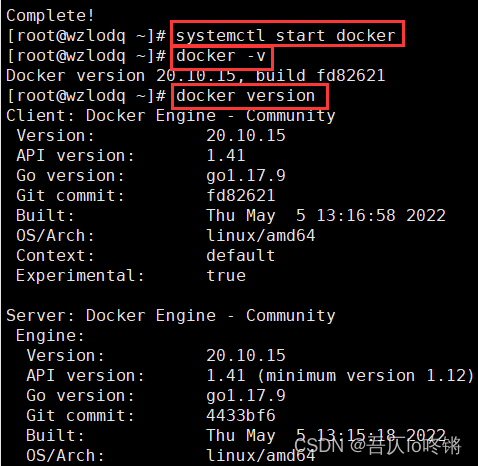
systemctl start docker #启动docker服务

docker -v #查看docker版本
docker version
- 1
- 2
- 3
- 4
- 5
- 6
- 7
- 8
- 9
- 10
- 11
- 12
至此,Docker安装成功( ̄︶ ̄)↗ 。
(
插播反爬信息)博主CSDN地址:https://wzlodq.blog.csdn.net/
Docker-Compose
docker-compose是官方开源项目,定义和运行多个容器工具,实现对集群的快速编排。
先安装curl。
yum -y install curl
- 1
用curl下载docker-compose。
使用的是国内镜像,附github原址:https://github.com/docker/compose
curl -L "https://get.daocloud.io/docker/compose/releases/download/v2.5.0/docker-compose-$(uname -s)-$(uname -m)" -o /usr/local/bin/docker-compose
- 1

sudo chmod +x /usr/local/bin/docker-compose #授权
docker-compose version #查看版本
- 1
- 2

至此,docker-compose安装成功(‾◡◝)。
Git
安装Git为了后面能从github上拉取fabric源代码。
其实不安装Git,直接用压缩包也行吧。
yum -y install git #安装
git --version #查看git版本
- 1
- 2
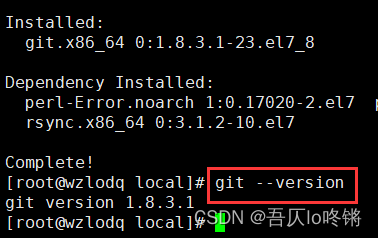
配置git用户名和邮箱。
git config --global user.name "用户姓名" #设置
git config --global user.email "邮箱地址"
git config user.name #查看
git config user.email
- 1
- 2
- 3
- 4

至此,Git安装成功φ(* ̄0 ̄)。
Fabric
创建在Go工作目录下创建文件夹,从github克隆Fabric源码。
mkdir -p $GOPATH/src/github.com/hyperledger/
cd $GOPATH/src/github.com/hyperledger/
git clone https://github.com/hyperledger/fabric.git
- 1
- 2
- 3
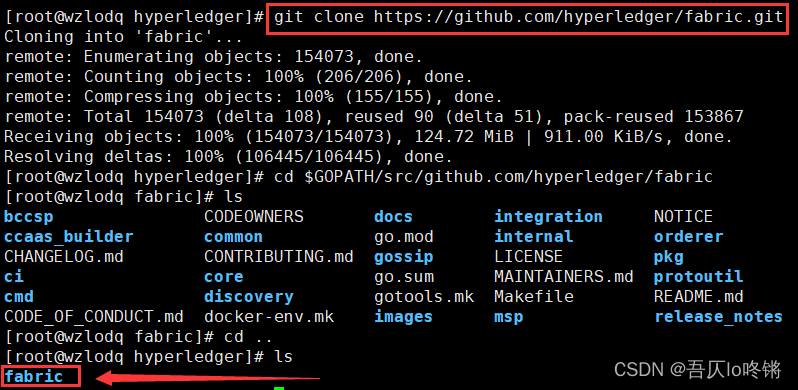
进入fabric文件夹,克隆fabric-samples。
cd $GOPATH/src/github.com/hyperledger/fabric
git clone https://github.com/hyperledger/fabric-samples.git
- 1
- 2
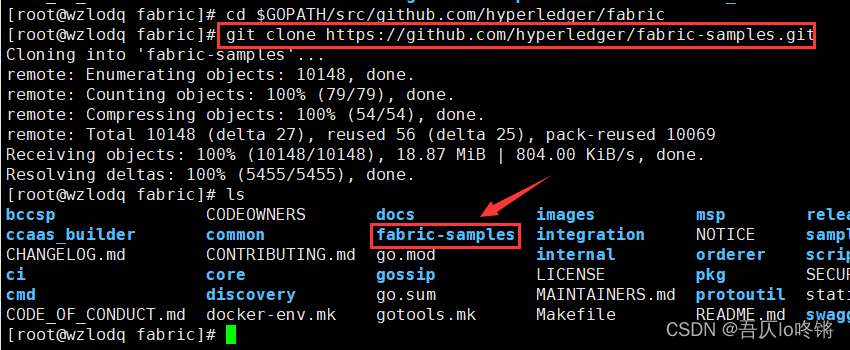
查看bootstrap.sh对应版本。
cd $GOPATH/src/github.com/hyperledger/fabric/scripts
vim bootstrap.sh
- 1
- 2


进入fabric-samples目录下,下载对应版本的tar包,并解压tar包。
或者直接去官网下载再上传:https://github.com/hyperledger/fabric/releases
https://github.com/hyperledger/fabric-ca/releases
cd $GOPATH/src/github.com/hyperledger/fabric/fabric-samples

wget https://github.com/hyperledger/fabric/releases/download/v2.4.3/hyperledger-fabric-linux-amd64-2.4.3.tar.gz
wget https://github.com/hyperledger/fabric-ca/releases/download/v1.5.3/hyperledger-fabric-ca-linux-amd64-1.5.3.tar.gz

tar -zxvf hyperledger-fabric-linux-amd64-2.4.3.tar.gz
tar -zxvf hyperledger-fabric-ca-linux-amd64-1.5.3.tar.gz
- 1
- 2
- 3
- 4
- 5
- 6
- 7
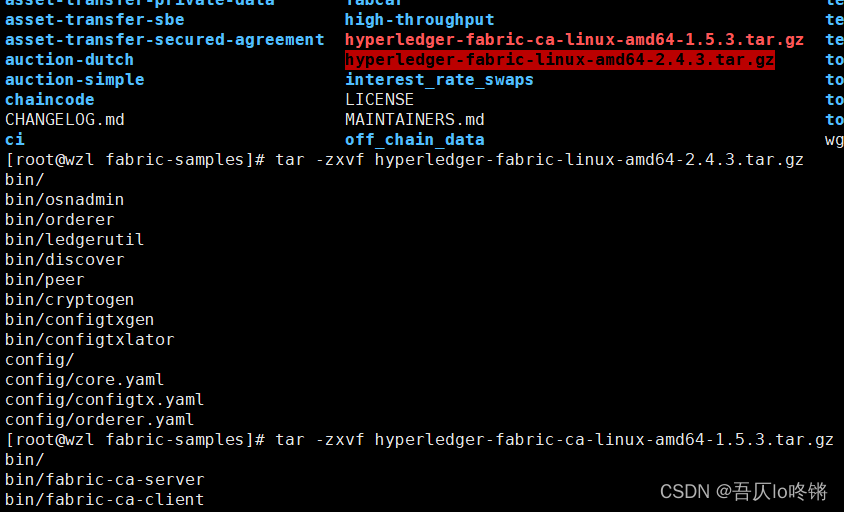
启动bootstrap.sh。
cd $GOPATH/src/github.com/hyperledger/fabric/scripts
./bootstrap.sh -s -b
docker images #测试
- 1
- 2
- 3
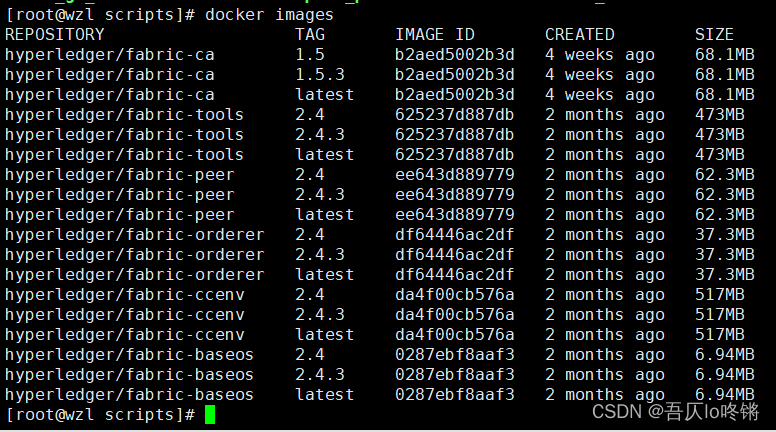
至此,镜像部署成功ヾ(•ω•`)o。
运行
进入test-network目录下
cd $GOPATH/src/github.com/hyperledger/fabric/fabric-samples/test-network
./network.sh up
- 1
- 2
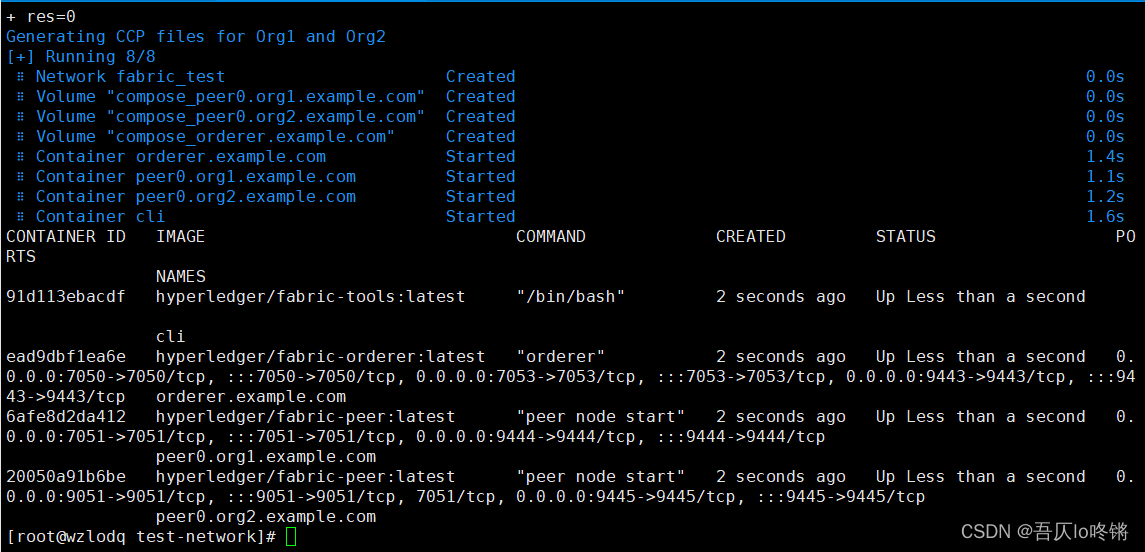
如图,网络由两个peer节点,一个order节点组成。
至此,fabric网络启动成功o(* ̄▽ ̄*)o。
原创不易,请勿转载(
本不富裕的访问量雪上加霜)
博主首页:https://wzlodq.blog.csdn.net/
来都来了,不评论两句吗👀
如果文章对你有帮助,记得一键三连❤
文章来源: wzlodq.blog.csdn.net,作者:吾仄lo咚锵,版权归原作者所有,如需转载,请联系作者。
原文链接:wzlodq.blog.csdn.net/article/details/124707919
- 点赞
- 收藏
- 关注作者


评论(0)