Qt&Vtk-026-QScalarsToColors

【摘要】
摘要
文章目录
1 官方示例展示2 代码搬运2.1 qscalarstocolors.h2.2 qscalarstocolors.cpp
3 运行效果★ 源码 ★
1 官方示例...

摘要
1 官方示例展示
今天我们又来搬运代码了,今天搬运的是官方实例QScalarsToColors,下面看向官方实例演示

2 代码搬运
2.1 qscalarstocolors.h
#ifndef QSCALARSTOCOLORS_H
#define QSCALARSTOCOLORS_H

#include <QWidget>
#include "QVTKOpenGLWidget.h"               //新版本,旧版QVTKWidget
#include "vtkAutoInit.h"

#include "QVTKOpenGLWidget.h"
#include "vtkChartXY.h"
#include "vtkColorTransferFunction.h"
#include "vtkCompositeTransferFunctionItem.h"
#include "vtkContextScene.h"
#include "vtkContextView.h"
#include "vtkFloatArray.h"
#include "vtkGenericOpenGLRenderWindow.h"
#include "vtkMath.h"
#include "vtkNew.h"
#include "vtkPiecewiseFunction.h"
#include "vtkPlot.h"
#include "vtkQtTableView.h"
#include "vtkRenderer.h"
#include "vtkRenderWindowInteractor.h"
#include "vtkTimerLog.h"
#include <QResizeEvent>
namespace Ui {
class QScalarsToColors;
}

class QScalarsToColors : public QWidget
{
    Q_OBJECT

public:
    explicit QScalarsToColors(QWidget *parent = 0);
    ~QScalarsToColors();


    void resizeEvent(QResizeEvent *event)override;

private:
    Ui::QScalarsToColors *ui;

    QVTKOpenGLWidget *qvtkWidget = nullptr;

    vtkNew<vtkGenericOpenGLRenderWindow> renderWindow;

    vtkNew<vtkContextView> view;
};

#endif // QSCALARSTOCOLORS_H
- 1
- 2
- 3
- 4
- 5
- 6
- 7
- 8
- 9
- 10
- 11
- 12
- 13
- 14
- 15
- 16
- 17
- 18
- 19
- 20
- 21
- 22
- 23
- 24
- 25
- 26
- 27
- 28
- 29
- 30
- 31
- 32
- 33
- 34
- 35
- 36
- 37
- 38
- 39
- 40
- 41
- 42
- 43
- 44
- 45
- 46
- 47
- 48
- 49
- 50
- 51
2.2 qscalarstocolors.cpp
#include "qscalarstocolors.h"
#include "ui_qscalarstocolors.h"

QScalarsToColors::QScalarsToColors(QWidget *parent) :
    QWidget(parent),
    ui(new Ui::QScalarsToColors)
{
    ui->setupUi(this);


    qvtkWidget = new QVTKOpenGLWidget(ui->widget);


    qvtkWidget->SetRenderWindow(renderWindow);

    view->SetRenderWindow(qvtkWidget->GetRenderWindow());
    view->SetInteractor(qvtkWidget->GetInteractor());


    vtkNew<vtkChartXY> chart;
    chart->SetTitle("Chart");
    view->GetScene()->AddItem(chart);

    vtkNew<vtkColorTransferFunction> colorTransferFunction;
    colorTransferFunction->AddHSVSegment(0.,0.,1.,1.,0.3333,0.3333,1.,1.);
    colorTransferFunction->AddHSVSegment(0.3333,0.3333,1.,1.,0.6666,0.6666,1.,1.);
    colorTransferFunction->AddHSVSegment(0.6666,0.6666,1.,1.,1.,0.,1.,1.);
    colorTransferFunction->Build();

    vtkNew<vtkPiecewiseFunction> opacityFunction;
    opacityFunction->AddPoint(0.,0.);
    opacityFunction->AddPoint(0.5,0.5);
    opacityFunction->AddPoint(1.,1.);

    vtkNew<vtkCompositeTransferFunctionItem> item3;
    item3->SetColorTransferFunction(colorTransferFunction);
    item3->SetOpacityFunction(opacityFunction);
    item3->SetOpacity(0.2);
    item3->SetMaskAboveCurve(true);
    chart->AddPlot(item3);
}

QScalarsToColors::~QScalarsToColors()
{
    delete ui;
}

void QScalarsToColors::resizeEvent(QResizeEvent *event)
{
    qvtkWidget->resize(ui->widget->size());
}
- 1
- 2
- 3
- 4
- 5
- 6
- 7
- 8
- 9
- 10
- 11
- 12
- 13
- 14
- 15
- 16
- 17
- 18
- 19
- 20
- 21
- 22
- 23
- 24
- 25
- 26
- 27
- 28
- 29
- 30
- 31
- 32
- 33
- 34
- 35
- 36
- 37
- 38
- 39
- 40
- 41
- 42
- 43
- 44
- 45
- 46
- 47
- 48
- 49
- 50
- 51
- 52
3 运行效果

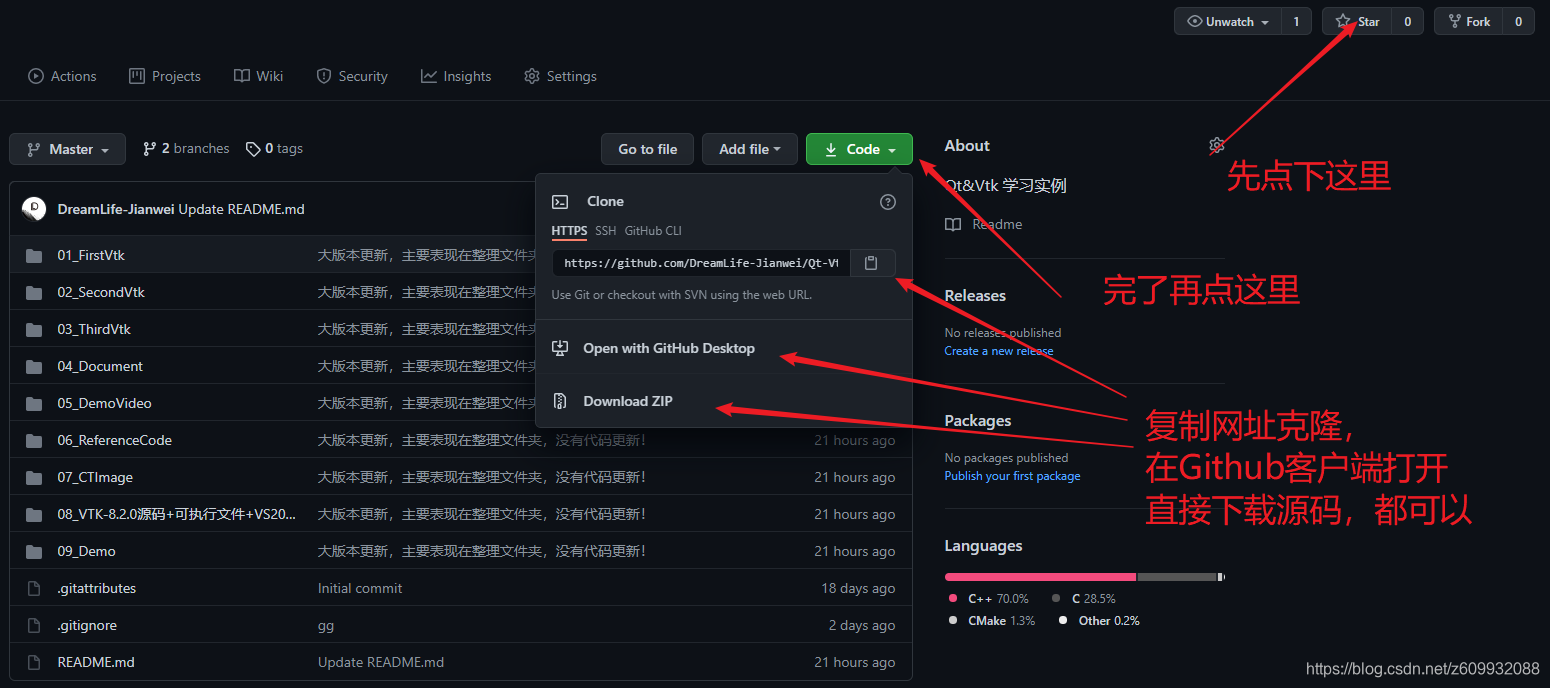
★ 源码 ★
源码分享一时爽,一直分享一直爽, 链接如下:

文章来源: dreamlife.blog.csdn.net,作者:DreamLife.,版权归原作者所有,如需转载,请联系作者。
原文链接:dreamlife.blog.csdn.net/article/details/119633640

【版权声明】本文为华为云社区用户转载文章,如果您发现本社区中有涉嫌抄袭的内容,欢迎发送邮件进行举报,并提供相关证据,一经查实,本社区将立刻删除涉嫌侵权内容,举报邮箱:
cloudbbs@huaweicloud.com
- 点赞
- 收藏
- 关注作者
评论(0)