SpringBoot核心【自定义starter】
为了加深对SpringBoot中自动装配的理解,我们自定义一个starter来实现,具体步骤如下
自定义starter
IDEA中创建maven项目

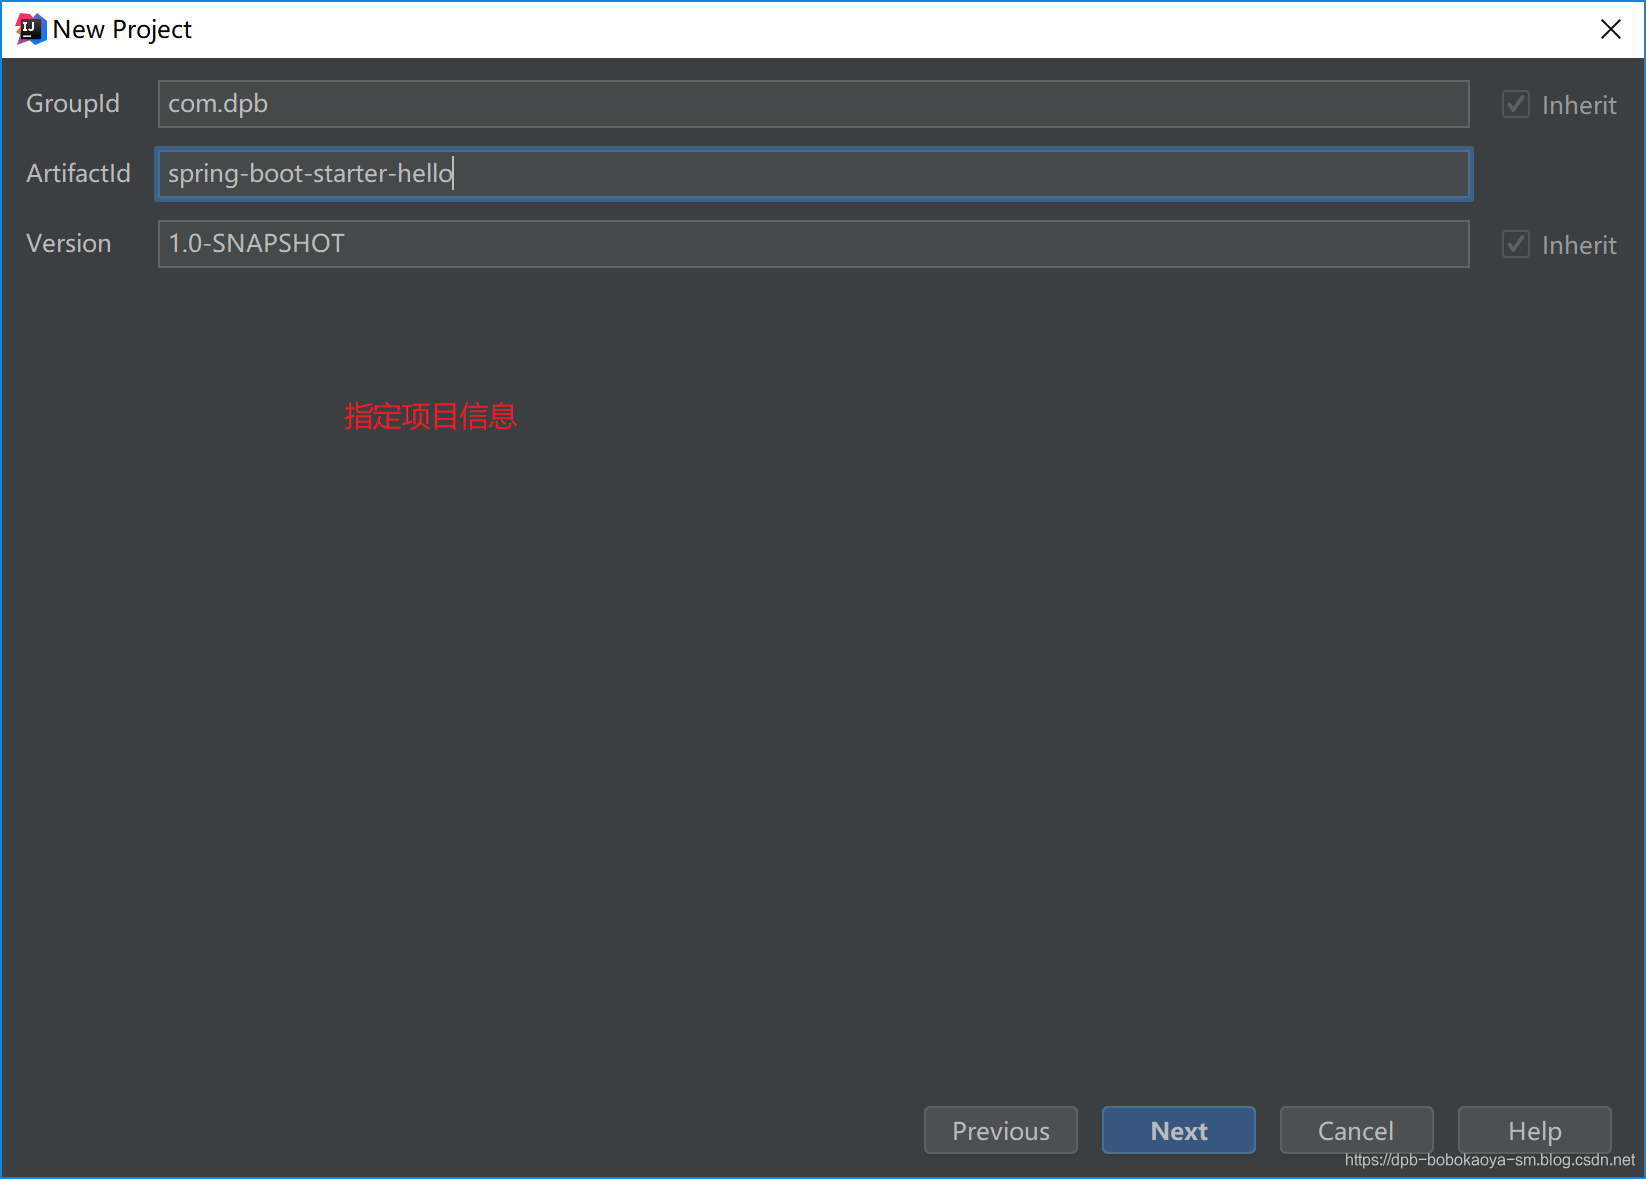
指定项目的坐标信息


项目创建完成~
配置依赖
在pom配置文件中添加如下依赖,增加SpringBoot自身的自动配置作为依赖。
<dependencies>
    <dependency>
        <groupId>org.springframework.boot</groupId>
        <artifactId>spring-boot-autoconfigure</artifactId>
        <version>2.1.4.RELEASE</version>
    </dependency>
    <dependency>
        <groupId>junit</groupId>
        <artifactId>junit</artifactId>
        <version>4.12</version>
    </dependency>
    <dependency>
        <groupId>org.springframework.boot</groupId>
         <artifactId>spring-boot-configuration-processor</artifactId>
         <version>2.1.4.RELEASE</version>
     </dependency>
</dependencies>
- 1
- 2
- 3
- 4
- 5
- 6
- 7
- 8
- 9
- 10
- 11
- 12
- 13
- 14
- 15
- 16
- 17
属性配置类
/**
 * @program: spring-boot-starter-hello
 * @description: 属性配置类
 * @author: 波波烤鸭
 * @create: 2019-05-09 20:52
 */
@ConfigurationProperties(prefix = "hello")
public class HelloServiceProperties {
    private static final String MSG = "world";

    private String msg = MSG;

    public String getMsg() {
        return msg;
    }

    public void setMsg(String msg) {
        this.msg = msg;
    }
}
- 1
- 2
- 3
- 4
- 5
- 6
- 7
- 8
- 9
- 10
- 11
- 12
- 13
- 14
- 15
- 16
- 17
- 18
- 19
- 20
判断依据类
/**
 * @program: spring-boot-starter-hello
 * @description: 判断依据类
 * @author: 波波烤鸭
 * @create: 2019-05-09 20:58
 */
public class HelloService {

    private String msg;

    public String sayHello(){
        return "Hello "+msg;
    }

    public String getMsg() {
        return msg;
    }

    public void setMsg(String msg) {
        this.msg = msg;
    }
}
- 1
- 2
- 3
- 4
- 5
- 6
- 7
- 8
- 9
- 10
- 11
- 12
- 13
- 14
- 15
- 16
- 17
- 18
- 19
- 20
- 21
- 22
根据此类的存在与否来创建这个类的bean
自动配置类
/**
 * @program: spring-boot-starter-hello
 * @description: 自动配置类
 * @author: 波波烤鸭
 * @create: 2019-05-09 21:00
 */
@Configuration
@EnableConfigurationProperties(HelloServiceProperties.class)
@ConditionalOnClass(HelloService.class)
@ConditionalOnProperty(prefix = "hello",value ="enabled",matchIfMissing = true)
public class HelloServiceAutoConfiguration {
    @Autowired
    private HelloServiceProperties helloServiceProperties;

    @Bean
    @ConditionalOnMissingBean(HelloService.class)
    public HelloService helloService(){
        HelloService helloService = new HelloService();
        helloService.setMsg(helloServiceProperties.getMsg());
        return helloService;
    }
}
- 1
- 2
- 3
- 4
- 5
- 6
- 7
- 8
- 9
- 10
- 11
- 12
- 13
- 14
- 15
- 16
- 17
- 18
- 19
- 20
- 21
- 22
根据HelloServiceProperties提供的参数,并通过@ConditionalOnClass判断HelloService这个类在类路径中是否存在,且当容器中没有这个Bean的情况下自动配置这个bean。
注册配置
若想自动配置生效,我们需要注册自动配置类,在src/main/resources下新建META-INF/spring.factories,如下:
org.springframework.boot.autoconfigure.EnableAutoConfiguration=com.dpb.spring_boot_starter_hello.HelloServiceAutoConfiguration
- 1
如果有多个自动配置,则用“,”隔开。
结构如下:

使用自定义的starter
1.创建好SpringBoot项目
创建好一个SpringBoot项目。
2.引入我们自定义的starter
<dependency>
    <groupId>com.dpb</groupId>
    <artifactId>spring-boot-starter-hello</artifactId>
    <version>1.0-SNAPSHOT</version>
</dependency>
- 1
- 2
- 3
- 4
- 5
3.查看引入的具体依赖

4.工具类中使用
/**
 * @program: springboot-hello
 * @description: 自定义starter测试
 * @author: 波波烤鸭
 * @create: 2019-05-09 21:32
 */
@RestController
public class HelloStarterController {
    @Resource
    HelloService helloService;

    @RequestMapping("/")
    public String index(){
        return helloService.sayHello();
    }
}
- 1
- 2
- 3
- 4
- 5
- 6
- 7
- 8
- 9
- 10
- 11
- 12
- 13
- 14
- 15
- 16
5.启动测试
开启查看自动配置的选项和未开启自动配置的信息,在application.properties中加入如下配置即可
debug=true
- 1
在启动选项中我们发现了我们自定义的starter被自动配置了


然后我们在application.properties中配置如下内容
hello.msg=波波烤鸭
- 1
再次启动访问结果如下:

ok~自定义的starter搞定
文章来源: dpb-bobokaoya-sm.blog.csdn.net,作者:波波烤鸭,版权归原作者所有,如需转载,请联系作者。
原文链接:dpb-bobokaoya-sm.blog.csdn.net/article/details/90049562
- 点赞
- 收藏
- 关注作者


评论(0)