SpringBoot【整合Thymeleaf】

【摘要】
SpringBoot中推荐使用的前端模板框架是Thymeleaf,所以本文来介绍下怎样整合Thymeleaf。
整合Thymeleaf
创建项目
1.创建一个maven项目,然后配置相关的内容 ...
SpringBoot中推荐使用的前端模板框架是Thymeleaf,所以本文来介绍下怎样整合Thymeleaf。
整合Thymeleaf
创建项目
1.创建一个maven项目,然后配置相关的内容
2.添加相关的依赖
<!-- 添加父类的依赖 -->
<parent>
    <groupId>org.springframework.boot</groupId>
    <artifactId>spring-boot-starter-parent</artifactId>
    <version>2.1.4.RELEASE</version>
</parent>

<dependencies>
	<!-- 添加相关的启动器 -->
    <dependency>
        <groupId>org.springframework.boot</groupId>
        <artifactId>spring-boot-starter-web</artifactId>
    </dependency>
    <dependency>
        <groupId>org.springframework.boot</groupId>
        <artifactId>spring-boot-starter-thymeleaf</artifactId>
    </dependency>
</dependencies>
- 1
- 2
- 3
- 4
- 5
- 6
- 7
- 8
- 9
- 10
- 11
- 12
- 13
- 14
- 15
- 16
- 17
- 18
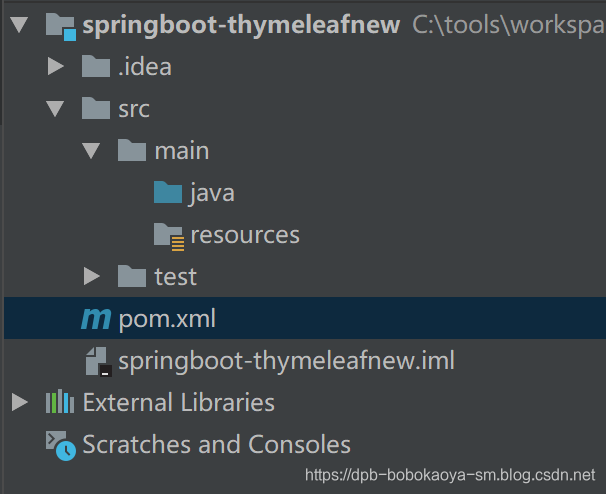
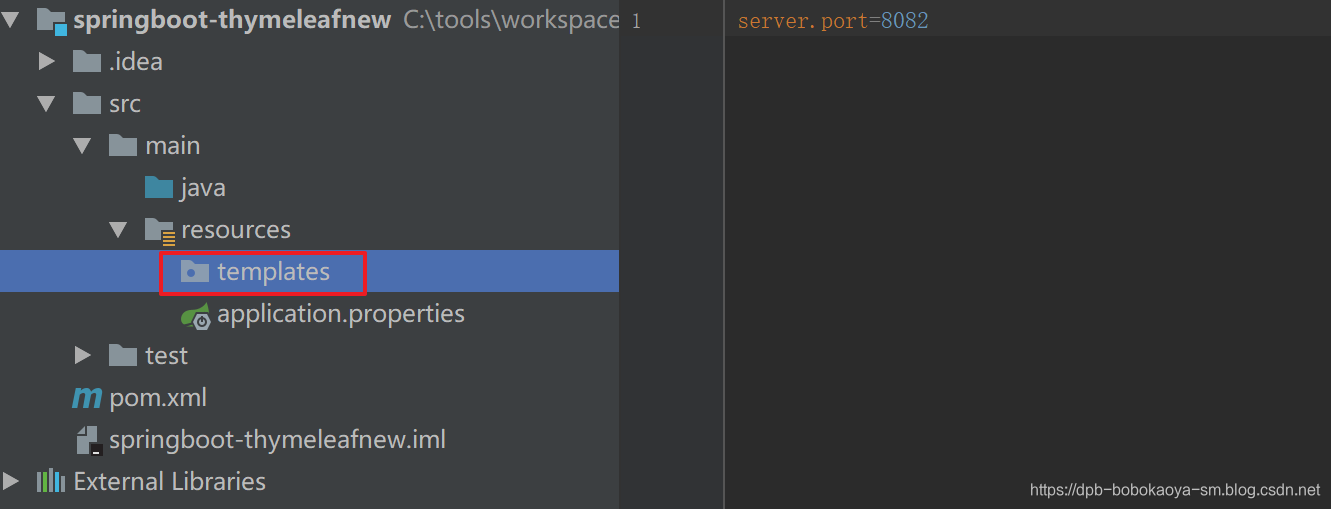
3.创建存放视图的templates目录以及application.properties
目录位置:src/main/resources/templates
templates:该目录是安全的。意味着该目录下的内容是不允许外界直接访问的。
Thymeleaf基本使用
1.Thymeleaf 特点:
thymeleaf是一种模板语言,可以动态或者静态显示文本内容,Thymelaef 是通过他特定语法对 html 的标记做渲染。具体语法介绍下篇文章单独介绍
2.编写controller
/**
 * @program: springboot-thymeleafnew
 * @description: Thymeleaf入门案例
 * @author: 波波烤鸭
 * @create: 2019-05-15 09:52
 */
@Controller
public class DemoController {

    @RequestMapping("/show")
    public String showInfo(Model model){
        model.addAttribute("msg","Thymeleaf入门案例...");
        return "index";
    }
}
- 1
- 2
- 3
- 4
- 5
- 6
- 7
- 8
- 9
- 10
- 11
- 12
- 13
- 14
- 15
3.创建视图页面
在我们刚刚创建的templates目录下创建index.html页面,在头部引入
<html xmlns="http://www.w3.org/1999/xhtml" xmlns:th="http://www.thymeleaf.org">
- 1
内容如下:
<!DOCTYPE html>
<html lang="en" xmlns="http://www.w3.org/1999/xhtml" xmlns:th="http://www.thymeleaf.org" >
<head>
<meta charset="UTF-8">
<title>Thymeleaf入门案例</title>
</head>
<body>
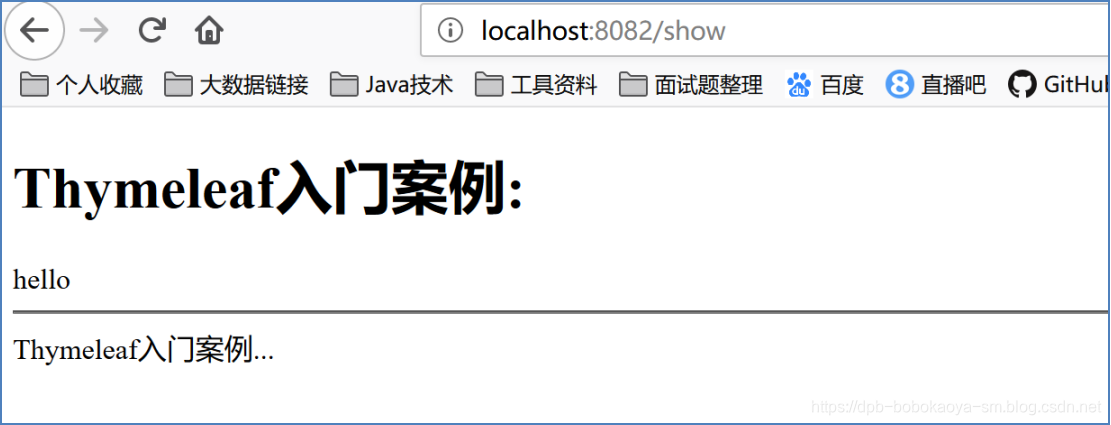
<h1>Thymeleaf入门案例:</h1>
<span th:text="hello"></span>
<hr>
<span th:text="${msg}}"></span>
</body>
</html>
- 1
- 2
- 3
- 4
- 5
- 6
- 7
- 8
- 9
- 10
- 11
- 12
- 13
4.创建启动类
在com.dpb.springboot目录下创建启动类
/**
 * @program: springboot-thymeleafnew
 * @description: 启动类
 * @author: 波波烤鸭
 * @create: 2019-05-15 09:58
 */
@SpringBootApplication
public class Start {

    public static void main(String[] args) {
        SpringApplication.run(Start.class,args);
    }
}
- 1
- 2
- 3
- 4
- 5
- 6
- 7
- 8
- 9
- 10
- 11
- 12
- 13
5.访问测试
搞定~下篇介绍Thymeleaf的具体语法
文章来源: dpb-bobokaoya-sm.blog.csdn.net,作者:波波烤鸭,版权归原作者所有,如需转载,请联系作者。
原文链接:dpb-bobokaoya-sm.blog.csdn.net/article/details/90230403

【版权声明】本文为华为云社区用户转载文章,如果您发现本社区中有涉嫌抄袭的内容,欢迎发送邮件进行举报,并提供相关证据,一经查实,本社区将立刻删除涉嫌侵权内容,举报邮箱:
cloudbbs@huaweicloud.com
- 点赞
- 收藏
- 关注作者
评论(0)