Android进阶之绘制-自定义View完全掌握(三)
【摘要】
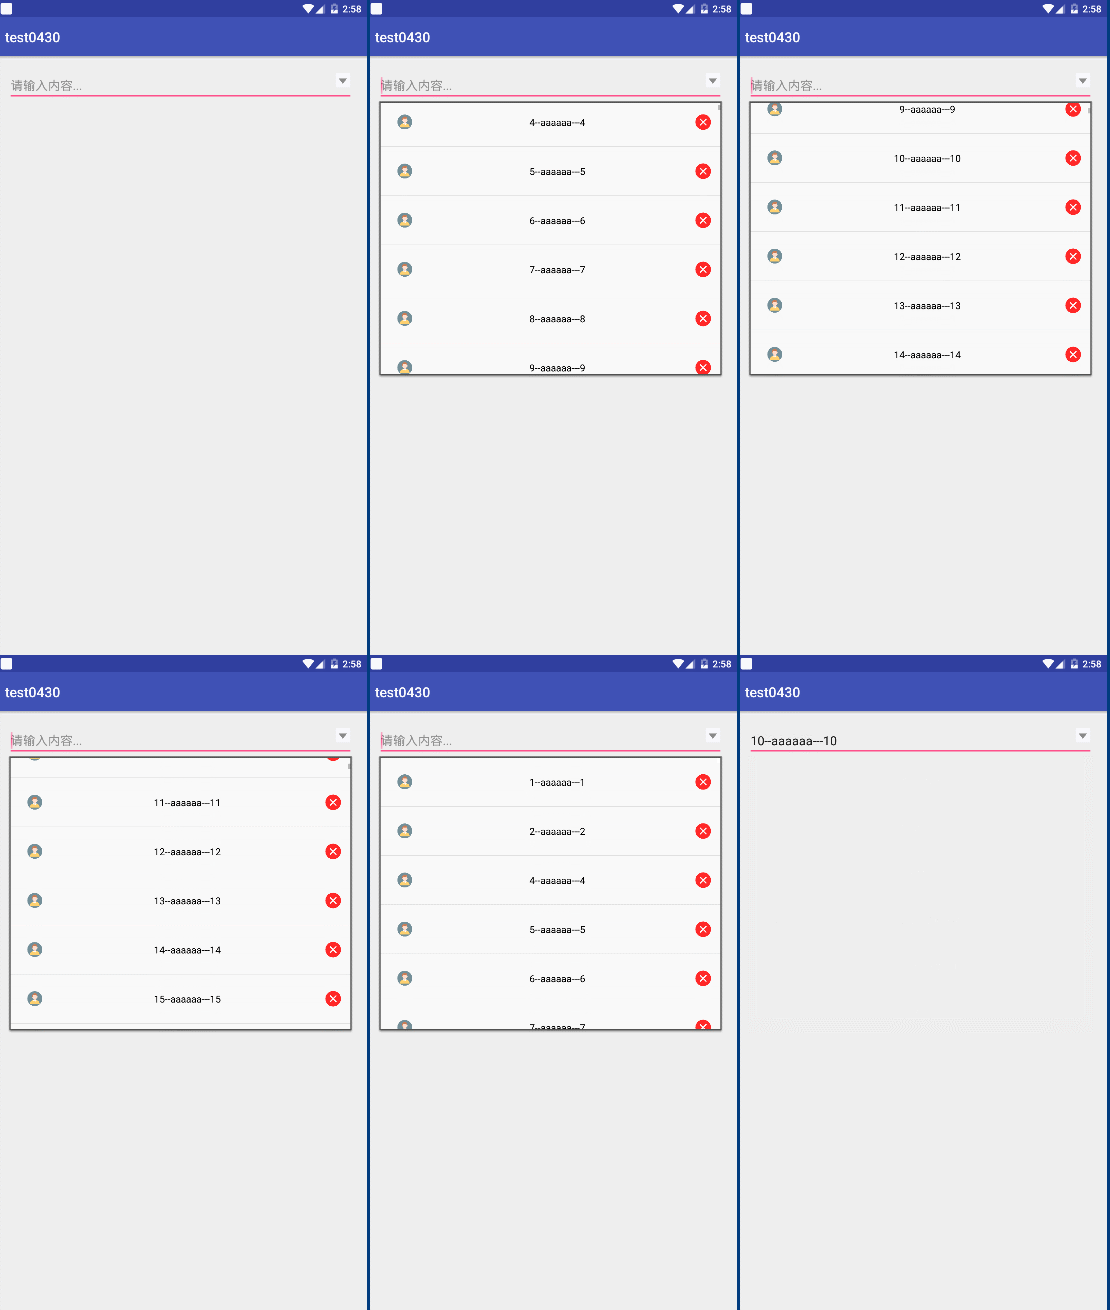
自定义View系列的第三篇博客,我们来学习如何实现自定义下拉框。 今天的程序,我们来实现这样的一个效果。 布局非常简单,我们直接开始编码。 修改activity_main.xml文件的代码。
<...
自定义View系列的第三篇博客,我们来学习如何实现自定义下拉框。
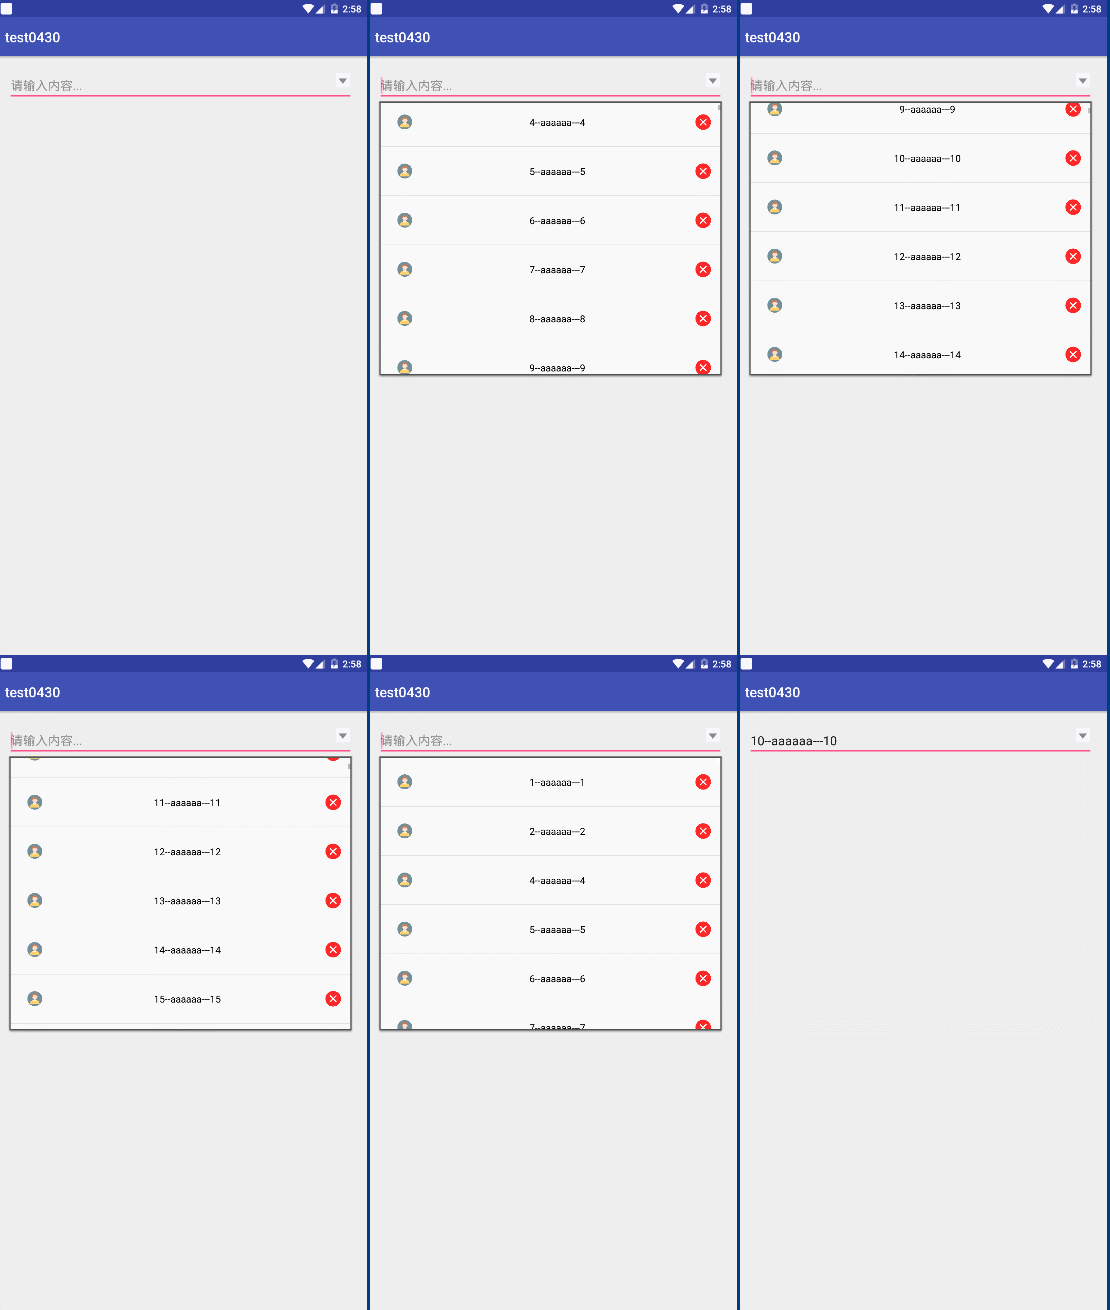
今天的程序,我们来实现这样的一个效果。

布局非常简单,我们直接开始编码。
修改activity_main.xml文件的代码。
<?xml version="1.0" encoding="utf-8"?>
<RelativeLayout xmlns:android="http://schemas.android.com/apk/res/android"
    xmlns:app="http://schemas.android.com/apk/res-auto"
    xmlns:tools="http://schemas.android.com/tools"
    android:layout_width="match_parent"
    android:layout_height="match_parent"
    tools:context="com.itcast.test0430.MainActivity">

    <EditText
        android:id="@+id/et_input"
        android:layout_width="match_parent"
        android:layout_height="wrap_content"
        android:ellipsize="middle"
        android:hint="请输入内容..."
        android:paddingRight="40dp"
        android:singleLine="true" />

    <ImageView
        android:id="@+id/iv_down_arrow"
        android:layout_width="30dp"
        android:layout_height="30dp"
        android:layout_alignRight="@id/et_input"
        android:layout_alignTop="@id/et_input"
        android:padding="5dp"
        android:src="@drawable/down_arrow" />
</RelativeLayout>
- 1
- 2
- 3
- 4
- 5
- 6
- 7
- 8
- 9
- 10
- 11
- 12
- 13
- 14
- 15
- 16
- 17
- 18
- 19
- 20
- 21
- 22
- 23
- 24
- 25
- 26
布局代码非常简单,就是两个控件。
接下来修改MainActivity的代码。
package com.itcast.test0430;

import android.graphics.Color;
import android.os.Bundle;
import android.support.v7.app.AppCompatActivity;
import android.view.View;
import android.view.ViewGroup;
import android.widget.AdapterView;
import android.widget.BaseAdapter;
import android.widget.EditText;
import android.widget.ImageView;
import android.widget.ListView;
import android.widget.PopupWindow;
import android.widget.TextView;

import java.util.ArrayList;

import butterknife.BindView;
import butterknife.ButterKnife;
import butterknife.OnClick;

public class MainActivity extends AppCompatActivity {

    @BindView(R.id.et_input)
    EditText etInput;
    @BindView(R.id.iv_down_arrow)
    ImageView ivDownArrow;

    /**
     *
     */
    private PopupWindow popupWindow;
    private ListView listView;

    private ArrayList<String> msgs;
    private MyAdapter adapter;

    @Override
    protected void onCreate(Bundle savedInstanceState) {
        super.onCreate(savedInstanceState);
        setContentView(R.layout.activity_main);
        ButterKnife.bind(this);

        listView = new ListView(this);
        listView.setBackgroundColor(Color.WHITE);
        //准备数据
        msgs = new ArrayList<>();
        for(int i = 0;i < 500;i++) {
            msgs.add(i + "--aaaaaa---" + i);
        }
        adapter = new MyAdapter();
        listView.setAdapter(adapter);
        listView.setOnItemClickListener(new AdapterView.OnItemClickListener() {
            @Override
            public void onItemClick(AdapterView<?> parent, View view, int position, long id) {
                //1、得到数据
                String msg = msgs.get(position);
                //2、设置到输入框
                etInput.setText(msg);

                if(popupWindow != null && popupWindow.isShowing()){
                    popupWindow.dismiss();
                    popupWindow = null;
                }
            }
        });
    }

    @OnClick(R.id.et_input)
    public void onViewClick(View view){
        if(popupWindow == null){
            popupWindow = new PopupWindow(this);
            popupWindow.setWidth(etInput.getWidth());
            popupWindow.setHeight(400);

            popupWindow.setContentView(listView);
            popupWindow.setFocusable(true);//设置焦点
        }

        popupWindow.showAsDropDown(etInput,0,0);
    }

    class MyAdapter extends BaseAdapter{

        @Override
        public int getCount() {
            return msgs.size();
        }

        @Override
        public Object getItem(int position) {
            return null;
        }

        @Override
        public long getItemId(int position) {
            return 0;
        }

        @Override
        public View getView(int position, View convertView, ViewGroup parent) {
            ViewHolder viewHolder;
            if(convertView == null){
                convertView = View.inflate(MainActivity.this,R.layout.item_main,null);
                viewHolder = new ViewHolder();
                viewHolder.tv_msg = convertView.findViewById(R.id.tv_msg);
                viewHolder.iv_delete = convertView.findViewById(R.id.iv_delete);
                convertView.setTag(viewHolder);
            }else{
                viewHolder = (ViewHolder) convertView.getTag();
            }
            //根据位置得到数据
            final String msg = msgs.get(position);
            viewHolder.tv_msg.setText(msg);

            //设置删除
            viewHolder.iv_delete.setOnClickListener(new View.OnClickListener() {
                @Override
                public void onClick(View v) {
                    //1、从集合删除
                    msgs.remove(msg);
                    //2、刷新UI---也就是 刷新适配器
                    adapter.notifyDataSetChanged();
                }
            });
            return convertView;
        }
    }
    static class ViewHolder{
        TextView tv_msg;
        ImageView iv_delete;
    }
}
- 1
- 2
- 3
- 4
- 5
- 6
- 7
- 8
- 9
- 10
- 11
- 12
- 13
- 14
- 15
- 16
- 17
- 18
- 19
- 20
- 21
- 22
- 23
- 24
- 25
- 26
- 27
- 28
- 29
- 30
- 31
- 32
- 33
- 34
- 35
- 36
- 37
- 38
- 39
- 40
- 41
- 42
- 43
- 44
- 45
- 46
- 47
- 48
- 49
- 50
- 51
- 52
- 53
- 54
- 55
- 56
- 57
- 58
- 59
- 60
- 61
- 62
- 63
- 64
- 65
- 66
- 67
- 68
- 69
- 70
- 71
- 72
- 73
- 74
- 75
- 76
- 77
- 78
- 79
- 80
- 81
- 82
- 83
- 84
- 85
- 86
- 87
- 88
- 89
- 90
- 91
- 92
- 93
- 94
- 95
- 96
- 97
- 98
- 99
- 100
- 101
- 102
- 103
- 104
- 105
- 106
- 107
- 108
- 109
- 110
- 111
- 112
- 113
- 114
- 115
- 116
- 117
- 118
- 119
- 120
- 121
- 122
- 123
- 124
- 125
- 126
- 127
- 128
- 129
- 130
- 131
- 132
- 133
item_main.xml文件的代码如下。
<?xml version="1.0" encoding="utf-8"?>
<LinearLayout xmlns:android="http://schemas.android.com/apk/res/android"
    android:layout_width="match_parent"
    android:layout_height="50dp"
    android:gravity="center_vertical"
    android:orientation="horizontal"
    android:padding="5dp">

    <ImageView
        android:layout_width="50dp"
        android:layout_height="50dp"
        android:layout_gravity="center_vertical"
        android:layout_margin="5dp"
        android:padding="3dp"
        android:src="@drawable/user" />

    <TextView
        android:id="@+id/tv_msg"
        android:layout_width="wrap_content"
        android:layout_height="wrap_content"
        android:layout_gravity="center_vertical"
        android:layout_margin="5dp"
        android:layout_weight="1"
        android:gravity="center"
        android:padding="3dp"
        android:text="三个火枪手"
        android:textColor="#000" />

    <ImageView
        android:id="@+id/iv_delete"
        android:layout_width="30dp"
        android:layout_height="30dp"
        android:layout_gravity="center_vertical"
        android:layout_margin="5dp"
        android:padding="3dp"
        android:src="@drawable/delete" />
</LinearLayout>
- 1
- 2
- 3
- 4
- 5
- 6
- 7
- 8
- 9
- 10
- 11
- 12
- 13
- 14
- 15
- 16
- 17
- 18
- 19
- 20
- 21
- 22
- 23
- 24
- 25
- 26
- 27
- 28
- 29
- 30
- 31
- 32
- 33
- 34
- 35
- 36
- 37
这里的代码也很简单,所以不作过多解释,代码的每个地方都有注释。唯一需要注意的地方就是,因为我们的PopupWindow类是设置了宽为200,而只要是在代码中设置的控件属性,它的单位均为px(像素),而像素是没有适配功能的,所以为了使我们的程序能够在任意分辨率的手机上正确运行,我们应该把像素转换为dp。
提供给大家一个工具类,用于dp与px之间的转换。
package com.itcast.test0430;

import android.content.Context;

public class DensityUtil {
    /**
     * 根据手机的分辨率从dip的单位转换为px(像素)
     */
    public static int dipToPx(Context context,float dpValue){
        final float scale = context.getResources().getDisplayMetrics().density;
        return (int) (dpValue * scale + 0.5f);
    }

    /**
     * 根据手机的分辨率从px(像素)的单位转换为dip
     */
    public static int pxToDip(Context context,float pxValue){
        final float scale = context.getResources().getDisplayMetrics().density;
        return (int) (pxValue * scale + 0.5f);
    }
}
- 1
- 2
- 3
- 4
- 5
- 6
- 7
- 8
- 9
- 10
- 11
- 12
- 13
- 14
- 15
- 16
- 17
- 18
- 19
- 20
- 21
所以,我们把popupWindow.setHeight(400);改为
int height = DensityUtil.dipToPx(this,400);
popupWindow.setHeight(height);
- 1
- 2
即可。
现在运行项目,预览一下效果。

这样,我们的下拉框也就实现了。现在有了dp和px之间转换的工具类,我们就可以在需要屏幕适配的地方使用它了,包括我们之前练习的一些项目。
文章来源: blizzawang.blog.csdn.net,作者:·wangweijun,版权归原作者所有,如需转载,请联系作者。
原文链接:blizzawang.blog.csdn.net/article/details/89709750
【版权声明】本文为华为云社区用户转载文章,如果您发现本社区中有涉嫌抄袭的内容,欢迎发送邮件进行举报,并提供相关证据,一经查实,本社区将立刻删除涉嫌侵权内容,举报邮箱:
cloudbbs@huaweicloud.com
- 点赞
- 收藏
- 关注作者


评论(0)