什么是WebSocket?
👏👏👏
哈喽!大家好,我是【学无止境小奇】,一位热爱分享各种技术的博主!😍😍😍
⭐【学无止境小奇】的创作宗旨:每一条命令都亲自执行过,每一行代码都实际运行过,每一种方法都真实实践过,每一篇文章都良心制作过。✊✊✊
⭐【学无止境小奇】的博客中所有涉及命令、代码的地方,除了提供图片供大家参考,另外会在图片下方提供一份纯文本格式的命令或者代码方便大家粘贴复制直接执行命令或者运行代码。🤝🤝🤝
⭐如果你对技术有着浓厚的兴趣,欢迎关注【学无止境小奇】,欢迎大家和我一起交流。😘😘😘
❤️❤️❤️感谢各位朋友接下来的阅读❤️❤️❤️
一、什么是WebSocket?
1、什么是WebSocket?
1.1、概述
WebSocket是一种在单个TCP连接上进行全双工通信的协议。WebSocket通信协议于2011年被IETF定为标准RFC 6455,并由RFC7936补充规范。WebSocket API也被W3C定为标准。
WebSocket使得客户端和服务器之间的数据交换变得更加简单,允许服务端主动向客户端推送数据。在WebSocket API中,浏览器和服务器只需要完成一次握手,两者之间就直接可以创建持久性的连接,并进行双向数据传输。
1.2、特点
它的最大特点就是,服务器可以主动向客户端推送信息,客户端也可以主动向服务器发送信息,是真正的双向平等对话,属于服务器推送技术的一种。
2、怎么使用WebSocket?
2.1、引入依赖

        <!-- websocket 依赖 -->
        <dependency>
            <groupId>org.springframework.boot</groupId>
            <artifactId>spring-boot-starter-websocket</artifactId>
        </dependency>
- 1
- 2
- 3
- 4
- 5
2.2、配置连接点和消息代理


package com.xiaoqi.server.config;/**
 * @ProjectName: yeb
 * @Package: com.xiaoqi.server.config
 * @ClassName: WebSocketConfig
 * @Author: LiShiQi
 * @Description: ${description}
 * @Date: 2022/2/25 20:39
 * @Version: 1.0
 */

import com.xiaoqi.server.config.security.component.JwtTokenUtil;
import org.springframework.beans.factory.annotation.Autowired;
import org.springframework.beans.factory.annotation.Value;
import org.springframework.context.annotation.Configuration;
import org.springframework.messaging.Message;
import org.springframework.messaging.MessageChannel;
import org.springframework.messaging.simp.config.ChannelRegistration;
import org.springframework.messaging.simp.config.MessageBrokerRegistry;
import org.springframework.messaging.simp.stomp.StompCommand;
import org.springframework.messaging.simp.stomp.StompHeaderAccessor;
import org.springframework.messaging.support.ChannelInterceptor;
import org.springframework.messaging.support.MessageHeaderAccessor;
import org.springframework.security.authentication.UsernamePasswordAuthenticationToken;
import org.springframework.security.core.context.SecurityContextHolder;
import org.springframework.security.core.userdetails.UserDetails;
import org.springframework.security.core.userdetails.UserDetailsService;
import org.springframework.util.StringUtils;
import org.springframework.web.socket.config.annotation.EnableWebSocketMessageBroker;
import org.springframework.web.socket.config.annotation.StompEndpointRegistry;
import org.springframework.web.socket.config.annotation.WebSocketMessageBrokerConfigurer;

/**
 * @Description
 * @Author LiShiQi
 * @Date 2022/2/25 20:39
 * @Version 1.0
 */
@Configuration
@EnableWebSocketMessageBroker
public class WebSocketConfig implements WebSocketMessageBrokerConfigurer {

    @Value("${jwt.tokenHead}")
    private String tokenHead;
    @Autowired
    private JwtTokenUtil jwtTokenUtil;
    @Autowired
    private UserDetailsService userDetailsService;

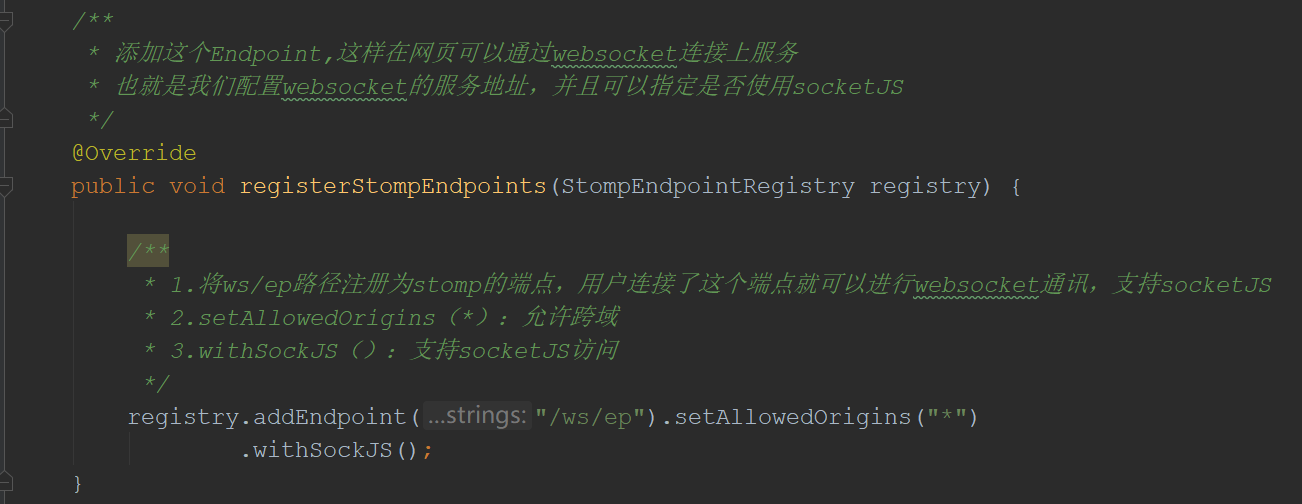
    /**
     * 添加这个Endpoint,这样在网页可以通过websocket连接上服务
     * 也就是我们配置websocket的服务地址,并且可以指定是否使用socketJS
     */
    @Override
    public void registerStompEndpoints(StompEndpointRegistry registry) {

        /**
         * 1.将ws/ep路径注册为stomp的端点,用户连接了这个端点就可以进行websocket通讯,支持socketJS
         * 2.setAllowedOrigins(*):允许跨域
         * 3.withSockJS():支持socketJS访问
         */
        registry.addEndpoint("/ws/ep").setAllowedOrigins("*")
                .withSockJS();
    }

    /**
     * 输入通道参数配置
     */
    @Override
    public void configureClientInboundChannel(ChannelRegistration registration) {

        registration.interceptors(new ChannelInterceptor() {
            @Override
            public Message<?> preSend(Message<?> message, MessageChannel channel) {

                StompHeaderAccessor accessor = MessageHeaderAccessor.getAccessor(message, StompHeaderAccessor.class);
                //判断是否为连接,如果是,需要获取token,并且设置用户对象
                if(StompCommand.CONNECT.equals(accessor.getCommand())){
                    String token = accessor.getFirstNativeHeader("Auth-Token");
                    if(!StringUtils.isEmpty(token)){
                        String authToken = token.substring(tokenHead.length());
                        String username = jwtTokenUtil.getUserNameFromToken(token);
                        //token中存在用户名
                        if(!StringUtils.isEmpty(username)){
                            //登录
                            UserDetails userDetails = userDetailsService.loadUserByUsername(username);
                            //验证token是否有效,重新设置用户对象
                            if(jwtTokenUtil.validateToken(authToken,userDetails)){
                                UsernamePasswordAuthenticationToken authenticationToken =
                                        new UsernamePasswordAuthenticationToken(userDetails, null, userDetails.getAuthorities());
                                SecurityContextHolder.getContext().setAuthentication(authenticationToken);
                                accessor.setUser(authenticationToken);
                            }
                        }
                    }
                }
                return message;
            }
        });
    }

    /**
     * 配置消息代理
     */
    @Override
    public void configureMessageBroker(MessageBrokerRegistry registry) {

        //配置代理域,可以配置多个,配置代理目的地前缀为/queue,可以在配置域上向客户端推送消息
        registry.enableSimpleBroker("/queue");
    }
}
- 1
- 2
- 3
- 4
- 5
- 6
- 7
- 8
- 9
- 10
- 11
- 12
- 13
- 14
- 15
- 16
- 17
- 18
- 19
- 20
- 21
- 22
- 23
- 24
- 25
- 26
- 27
- 28
- 29
- 30
- 31
- 32
- 33
- 34
- 35
- 36
- 37
- 38
- 39
- 40
- 41
- 42
- 43
- 44
- 45
- 46
- 47
- 48
- 49
- 50
- 51
- 52
- 53
- 54
- 55
- 56
- 57
- 58
- 59
- 60
- 61
- 62
- 63
- 64
- 65
- 66
- 67
- 68
- 69
- 70
- 71
- 72
- 73
- 74
- 75
- 76
- 77
- 78
- 79
- 80
- 81
- 82
- 83
- 84
- 85
- 86
- 87
- 88
- 89
- 90
- 91
- 92
- 93
- 94
- 95
- 96
- 97
- 98
- 99
- 100
- 101
- 102
- 103
- 104
- 105
- 106
- 107
- 108
- 109
- 110
- 111
2.3、创建消息实体

package com.xiaoqi.server.pojo;/**
 * @ProjectName: yeb
 * @Package: com.xiaoqi.server.pojo
 * @ClassName: ChatMsg
 * @Author: LiShiQi
 * @Description: ${description}
 * @Date: 2022/2/25 21:16
 * @Version: 1.0
 */

import lombok.Data;
import lombok.EqualsAndHashCode;
import lombok.experimental.Accessors;

import java.time.LocalDateTime;

/**
 * @Description
 * @Author LiShiQi
 * @Date 2022/2/25 21:16
 * @Version 1.0
 */
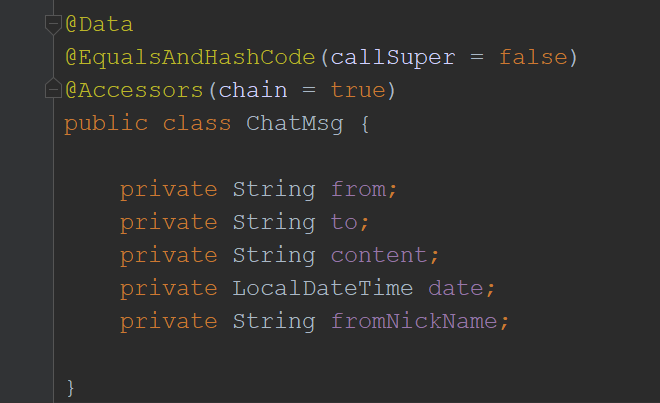
@Data
@EqualsAndHashCode(callSuper = false)
@Accessors(chain = true)
public class ChatMsg {

    private String from;
    private String to;
    private String content;
    private LocalDateTime date;
    private String fromNickName;

}
- 1
- 2
- 3
- 4
- 5
- 6
- 7
- 8
- 9
- 10
- 11
- 12
- 13
- 14
- 15
- 16
- 17
- 18
- 19
- 20
- 21
- 22
- 23
- 24
- 25
- 26
- 27
- 28
- 29
- 30
- 31
- 32
- 33
- 34
- 35
2.4、创建接收消息Controller

package com.xiaoqi.server.controller;/**
 * @ProjectName: yeb
 * @Package: com.xiaoqi.server.controller
 * @ClassName: WsController
 * @Author: LiShiQi
 * @Description: ${description}
 * @Date: 2022/2/25 21:18
 * @Version: 1.0
 */

import com.xiaoqi.server.pojo.Admin;
import com.xiaoqi.server.pojo.ChatMsg;
import org.springframework.beans.factory.annotation.Autowired;
import org.springframework.messaging.handler.annotation.MessageMapping;
import org.springframework.messaging.simp.SimpMessagingTemplate;
import org.springframework.security.core.Authentication;
import org.springframework.stereotype.Controller;

import java.time.LocalDateTime;

/**
 * @Description
 * @Author LiShiQi
 * @Date 2022/2/25 21:18
 * @Version 1.0
 */
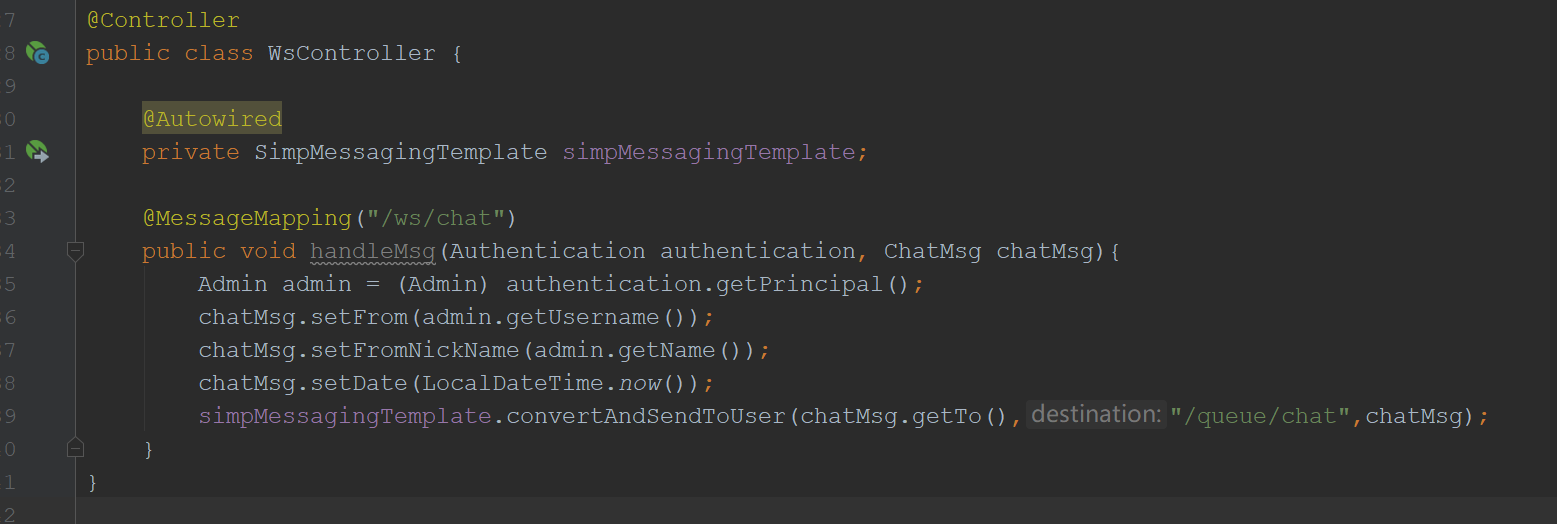
@Controller
public class WsController {

    @Autowired
    private SimpMessagingTemplate simpMessagingTemplate;

    @MessageMapping("/ws/chat")
    public void handleMsg(Authentication authentication, ChatMsg chatMsg){
        Admin admin = (Admin) authentication.getPrincipal();
        chatMsg.setFrom(admin.getUsername());
        chatMsg.setFromNickName(admin.getName());
        chatMsg.setDate(LocalDateTime.now());
        simpMessagingTemplate.convertAndSendToUser(chatMsg.getTo(),"/queue/chat",chatMsg);
    }
}
- 1
- 2
- 3
- 4
- 5
- 6
- 7
- 8
- 9
- 10
- 11
- 12
- 13
- 14
- 15
- 16
- 17
- 18
- 19
- 20
- 21
- 22
- 23
- 24
- 25
- 26
- 27
- 28
- 29
- 30
- 31
- 32
- 33
- 34
- 35
- 36
- 37
- 38
- 39
- 40
- 41
- 42
3、总结
WebSocket大部分是前端的一种技术,后端只是做了一个代理,例如前端先根据连接点连接上后端,然后前端调用后端的接收消息的Controller,后端接收到消息后将消息放入一个代理域中,前端再连接这个代理域就可以获取消息。
例如在线聊天功能,A给B发送消息,首先A连接上后端的连接点,然后A调用后端接收消息的接口将消息发送过来,然后后端将消息放入代理域中,并指定消息要发送给B,然后B监听后端的代理域,监听到消息后直接获取到消息。
文章来源: xiaoqijava.blog.csdn.net,作者:学无止境小奇,版权归原作者所有,如需转载,请联系作者。
原文链接:xiaoqijava.blog.csdn.net/article/details/123223482
- 点赞
- 收藏
- 关注作者


评论(0)