使用Google JS api 创建 文档

【摘要】
需要配置 ApiKey 与YOUR_CLIENT_ID
<script src="https://apis.google.com/js/api.js"></script><script> /** * Sample JavaScript code for docs.documents....
需要配置 ApiKey 与YOUR_CLIENT_ID
-
<script src="https://apis.google.com/js/api.js"></script>
-
<script>
-
/**
-
* Sample JavaScript code for docs.documents.create
-
* See instructions for running APIs Explorer code samples locally:
-
* https://developers.google.com/explorer-help/guides/code_samples#javascript
-
*/
-
-
function authenticate() {
-
return gapi.auth2.getAuthInstance()
-
.signIn({scope: "https://www.googleapis.com/auth/documents https://www.googleapis.com/auth/drive https://www.googleapis.com/auth/drive.file"})
-
.then(function() { console.log("Sign-in successful"); },
-
function(err) { console.error("Error signing in", err); });
-
}
-
function loadClient() {
-
gapi.client.setApiKey("YOUR_API_KEY");
-
return gapi.client.load("https://content.googleapis.com/discovery/v1/apis/docs/v1/rest")
-
.then(function() { console.log("GAPI client loaded for API"); },
-
function(err) { console.error("Error loading GAPI client for API", err); });
-
}
-
// Make sure the client is loaded and sign-in is complete before calling this method.
-
function execute() {
-
return gapi.client.docs.documents.create({
-
"resource": {}
-
})
-
.then(function(response) {
-
// Handle the results here (response.result has the parsed body).
-
console.log("Response", response);
-
},
-
function(err) { console.error("Execute error", err); });
-
}
-
gapi.load("client:auth2", function() {
-
gapi.auth2.init({client_id: "YOUR_CLIENT_ID"});
-
});
-
</script>
-
<button onclick="authenticate().then(loadClient)">authorize and load</button>
-
<button onclick="execute()">execute</button>


-
<script src="https://apis.google.com/js/api.js"></script>
-
<script>
-
/**
-
* Sample JavaScript code for docs.documents.batchUpdate
-
* See instructions for running APIs Explorer code samples locally:
-
* https://developers.google.com/explorer-help/guides/code_samples#javascript
-
*/
-
-
function authenticate() {
-
return gapi.auth2.getAuthInstance()
-
.signIn({scope: "https://www.googleapis.com/auth/documents https://www.googleapis.com/auth/drive https://www.googleapis.com/auth/drive.file"})
-
.then(function() { console.log("Sign-in successful"); },
-
function(err) { console.error("Error signing in", err); });
-
}
-
function loadClient() {
-
gapi.client.setApiKey("YOUR_API_KEY");
-
return gapi.client.load("https://content.googleapis.com/discovery/v1/apis/docs/v1/rest")
-
.then(function() { console.log("GAPI client loaded for API"); },
-
function(err) { console.error("Error loading GAPI client for API", err); });
-
}
-
// Make sure the client is loaded and sign-in is complete before calling this method.
-
function execute() {
-
return gapi.client.docs.documents.batchUpdate({
-
"resource": {}
-
})
-
.then(function(response) {
-
// Handle the results here (response.result has the parsed body).
-
console.log("Response", response);
-
},
-
function(err) { console.error("Execute error", err); });
-
}
-
gapi.load("client:auth2", function() {
-
gapi.auth2.init({client_id: "YOUR_CLIENT_ID"});
-
});
-
</script>
-
<button onclick="authenticate().then(loadClient)">authorize and load</button>
-
<button onclick="execute()">execute</button>
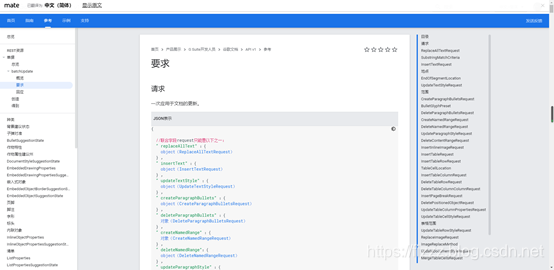
使用 batchUpdate 更新文档
传入 resource 一个json对象 参数如下
https://developers.google.com/docs/api/reference/rest/v1/documents/request#Request
文章来源: fizzz.blog.csdn.net,作者:拿我格子衫来,版权归原作者所有,如需转载,请联系作者。
原文链接:fizzz.blog.csdn.net/article/details/103130030

【版权声明】本文为华为云社区用户转载文章,如果您发现本社区中有涉嫌抄袭的内容,欢迎发送邮件进行举报,并提供相关证据,一经查实,本社区将立刻删除涉嫌侵权内容,举报邮箱:
cloudbbs@huaweicloud.com
- 点赞
- 收藏
- 关注作者
评论(0)