vue 中的多级路由器介绍

在本篇我会给大家介绍一下关于vue中多级路由器,那么这个多级路由也叫嵌套路由,它那就是在原本的一级路由中嵌套多次路由就是在该在的路由中添加`children`属性里面内容大致和父级相同唯一需要注意的就是在子路由中的`path`属性的路径问题。它是不需要带`/`的,下面看我写的应该路由文件的写法:
```js
// 该文件专门用于创建整个应用的路由器
import VueRouter from 'vue-router'
//引入组件
import About from '../pages/About'
import Home from '../pages/Home'
import News from '../pages/News'
import Message from '../pages/Message'
//创建并暴露一个路由器
export default new VueRouter({
routes:[
{
path:'/about',
component:About
},
{
path:'/home',
component:Home,
children:[
{
path:'news',
component:News,
},
{
path:'message',
component:Message,
}
]
}
]
})
```
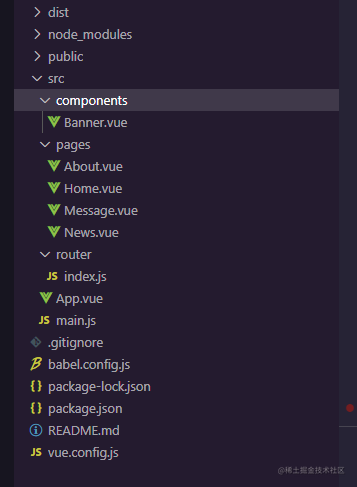
在之前我就说过了在我们平时写项目的时候大家通常会将路由组件和普通组件区分开如将路由控制的组件放在src文件夹中的`pages`文件夹里面把普通组件放在`components`文件夹里面所以在后面的代码演示中的组件我也会对其进行区分。
当我在使用路由组件时,路由给我们配了一个标签`router-link`我们不需要在使用`a`标签进行跳转,a标签使用的时候会对页面进行刷新不利于用户体验所以选择放弃。也不算数放弃这是在路由中我们在使用`router-link`的时候最后也是会转变是`a`标签这相当于我们调了一个路由封装好的方法来用。
```js
<template>
<div>
<h2>Home组件内容</h2>
<div>
<ul class="nav nav-tabs">
<li>
<router-link class="list-group-item" active-class="active" to="/home/news">News</router-link>
</li>
<li>
<router-link class="list-group-item" active-class="active" to="/home/message">Message</router-link>
</li>
</ul>
<router-view></router-view>
</div>
</div>
</template>
<script>
export default {
name:'Home',
}
</script>
```
### 多级路由(多级路由)
1. 配置路由规则,使用children配置项:
```js
routes:[
{
path:'/about',
component:About,
},
{
path:'/home',
component:Home,
children:[ //通过children配置子级路由
{
path:'news', //此处一定不要写:/news
component:News
},
{
path:'message',//此处一定不要写:/message
component:Message
}
]
}
]
```
2. 跳转(要写完整路径):
```vue
<router-link to="/home/news">News</router-link>
```

- 点赞
- 收藏
- 关注作者
评论(0)