Flutter实现地图导航
【摘要】 Flutter怎么实现地图导航功能?大家好,我是坚果,我的公众号“坚果前端”,引子一个app 咋能没有导航功能呢,我们在应用开发中经常需要用到地图定位或导航的功能,而集成该功能的方式总的来说分为两类:第 1 类:App 集成导航功能这种方式的优点是可以进行深度地图定制,比如出行或外卖软件会有自己的定制,上面会有司机或骑手的小图标,但是集成开发成本也是比较高的。所以很大程度上不太使用第 2 类...
大家好,我是坚果,我的公众号“坚果前端”,
引子
一个app 咋能没有导航功能呢,我们在应用开发中经常需要用到地图定位或导航的功能,而集成该功能的方式总的来说分为两类:
第 1 类:App 集成导航功能
这种方式的优点是可以进行深度地图定制,比如出行或外卖软件会有自己的定制,上面会有司机或骑手的小图标,但是集成开发成本也是比较高的。所以很大程度上不太使用
第 2 类:跳转第三方地图软件
这种方式是比较简单的一种,把目的地传给第三方导航软件,比如高德地图,它会为你提供导航功能。这种方式开发成本低,可快速提供导航功能。
那么对于Flutter来说如何实现呢,我提供了一种解决方案,大家可以参考一下,
第一步引入插件
  flutter_svg: ^0.19.1  ##只在使用图标的使用导入,不用可以不导入
  map_launcher: ^1.1.3+1
对于 iOS,在 Info.plist 文件中添加 url 方案
<key>LSApplicationQueriesSchemes</key>
<array>
    <string>comgooglemaps</string>
    <string>baidumap</string>
    <string>iosamap</string>
    <string>waze</string>
    <string>yandexmaps</string>
    <string>yandexnavi</string>
    <string>citymapper</string>
    <string>mapswithme</string>
    <string>osmandmaps</string>
    <string>dgis</string>
    <string>qqmap</string>
    <string>here-location</string>
</array>
用法
获取已安装地图的列表并首先启动
import 'package:map_launcher/map_launcher.dart';
final availableMaps = await MapLauncher.installedMaps;
print(availableMaps);
await availableMaps.first.showMarker(
coords: Coords(28, 120),
title: "Ocean Beach",
);检查地图是否安装并启动它
import 'package:map_launcher/map_launcher.dart';
if (await MapLauncher.isMapAvailable(MapType.google)) {
await MapLauncher.showMarker(
mapType: MapType.google,
coords: coords,
title: title,
description: description,
);
}封装
import 'package:flutter/material.dart';
import 'package:flutter_svg/flutter_svg.dart';
import 'package:map_launcher/map_launcher.dart';
class MapsSheet {
static show({
@required BuildContext context,
@required Function(AvailableMap map) onMapTap,
}) async {
final availableMaps = await MapLauncher.installedMaps;
for (var map in availableMaps) {
map.mapName = getLocalName(amap: map);
}
showModalBottomSheet(
context: context,
backgroundColor: Colors.transparent,
builder: (BuildContext context) {
return SafeArea(
child: Container(
decoration: BoxDecoration(
color: Colors.white,
borderRadius: BorderRadius.all(Radius.circular(20)),
),
child: Column(
children: <Widget>[
Expanded(
child: SingleChildScrollView(
child: Container(
child: Wrap(
children: <Widget>[
for (var map in availableMaps)
ListTile(
onTap: () => onMapTap(map),
title: Text(map.mapName),
leading: SvgPicture.asset(
map.icon,
height: 50.0,
width: 50.0,
),
),
],
),
),
),
),
],
),
),
);
},
);
}
}
String getLocalName({AvailableMap amap}) {
switch (amap.mapType) {
case MapType.amap:
return '高德地图';
case MapType.baidu:
return '百度地图';
case MapType.tencent:
return '腾讯地图';
case MapType.google:
return '谷歌地图';
case MapType.apple:
return '苹果地图';
default:
return amap.mapName;
}
}
使用
 MapsSheet.show(
                context: context,
                onMapTap: (map) {
                  map.showMarker(
                    coords: Coords(_local.lat, _local.lng),
                    title: _local.addr,
                    zoom: 20,
                  );
                },
              );
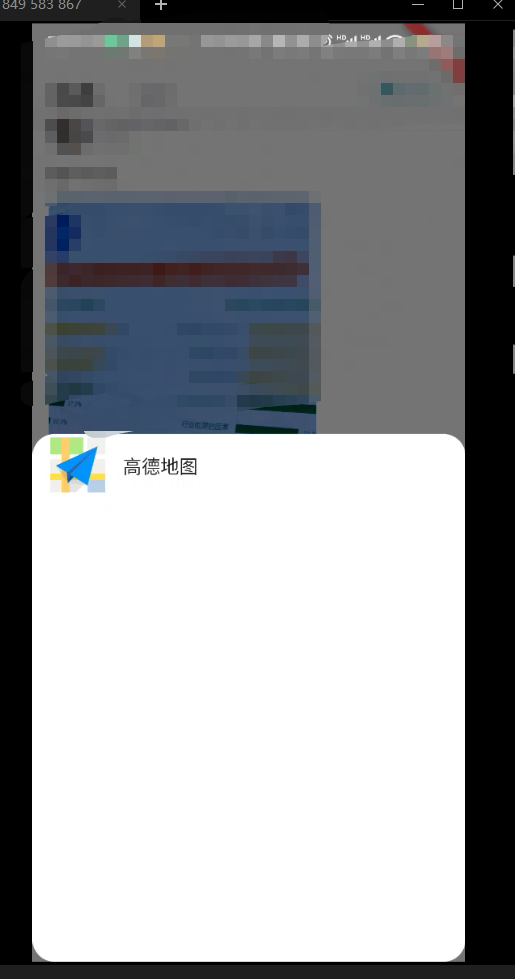
效果展示

以上就是今天的分享内容,也欢迎与大家一起学习,交流Flutter的使用。
【声明】本内容来自华为云开发者社区博主,不代表华为云及华为云开发者社区的观点和立场。转载时必须标注文章的来源(华为云社区)、文章链接、文章作者等基本信息,否则作者和本社区有权追究责任。如果您发现本社区中有涉嫌抄袭的内容,欢迎发送邮件进行举报,并提供相关证据,一经查实,本社区将立刻删除涉嫌侵权内容,举报邮箱:
cloudbbs@huaweicloud.com
- 点赞
- 收藏
- 关注作者


评论(0)