【EventBus】EventBus 使用示例 ( 最简单的 EventBus 示例 )

【摘要】
文章目录
一、导入依赖二、注册 EventBus三、发送 EventBus 事件四、完整代码示例五、源码地址
一、导入依赖
在 Module 下的 build.gr...
一、导入依赖
在 Module 下的 build.gradle 中导入 EventBus 依赖 ;
implementation 'org.greenrobot:eventbus:3.2.0'
- 1
二、注册 EventBus
在 onCreate 注册 EventBus ;
    @Override
    protected void onCreate(Bundle savedInstanceState) {
        super.onCreate(savedInstanceState);
        setContentView(R.layout.activity_main);

        // 首先注册订阅 EventBus
        EventBus.getDefault().register(this);
    }
- 1
- 2
- 3
- 4
- 5
- 6
- 7
- 8
在 onDestory 中 取消注册 EventBus ;
    @Override
    protected void onDestroy() {
        super.onDestroy();

        // 取消注册
        EventBus.getDefault().unregister(this);
    }
- 1
- 2
- 3
- 4
- 5
- 6
- 7
三、发送 EventBus 事件
点击按钮 , 通过 EventBus 发送消息 ;
        textView = findViewById(R.id.textView);
        // 设置点击事件, 点击后发送消息
        textView.setOnClickListener((View view)->{
            EventBus.getDefault().post("Hello EventBus !");
        });
- 1
- 2
- 3
- 4
- 5
四、完整代码示例
package com.eventbus_demo;

import androidx.appcompat.app.AppCompatActivity;

import android.os.Bundle;
import android.view.View;
import android.widget.TextView;

import org.greenrobot.eventbus.EventBus;
import org.greenrobot.eventbus.Subscribe;

public class MainActivity extends AppCompatActivity {

    private TextView textView;

    @Override
    protected void onCreate(Bundle savedInstanceState) {
        super.onCreate(savedInstanceState);
        setContentView(R.layout.activity_main);

        textView = findViewById(R.id.textView);
        // 设置点击事件, 点击后发送消息
        textView.setOnClickListener((View view)->{
            EventBus.getDefault().post("Hello EventBus !");
        });

        // 首先注册订阅 EventBus
        EventBus.getDefault().register(this);
    }

    /**
     * 使用 @Subscribe 注解修饰处理消息的方法
     *      该方法必须是 public void 修饰的
     *      只有一个参数 , 参数类型随意
     *      调用 EventBus.getDefault().post 即可发送消息到该方法进行处理
     * @param msg
     */
    @Subscribe
    public void onMessgeEvent(String msg){
        textView.setText(msg);
    }

    @Override
    protected void onDestroy() {
        super.onDestroy();

        // 取消注册
        EventBus.getDefault().unregister(this);
    }
}
- 1
- 2
- 3
- 4
- 5
- 6
- 7
- 8
- 9
- 10
- 11
- 12
- 13
- 14
- 15
- 16
- 17
- 18
- 19
- 20
- 21
- 22
- 23
- 24
- 25
- 26
- 27
- 28
- 29
- 30
- 31
- 32
- 33
- 34
- 35
- 36
- 37
- 38
- 39
- 40
- 41
- 42
- 43
- 44
- 45
- 46
- 47
- 48
- 49
- 50
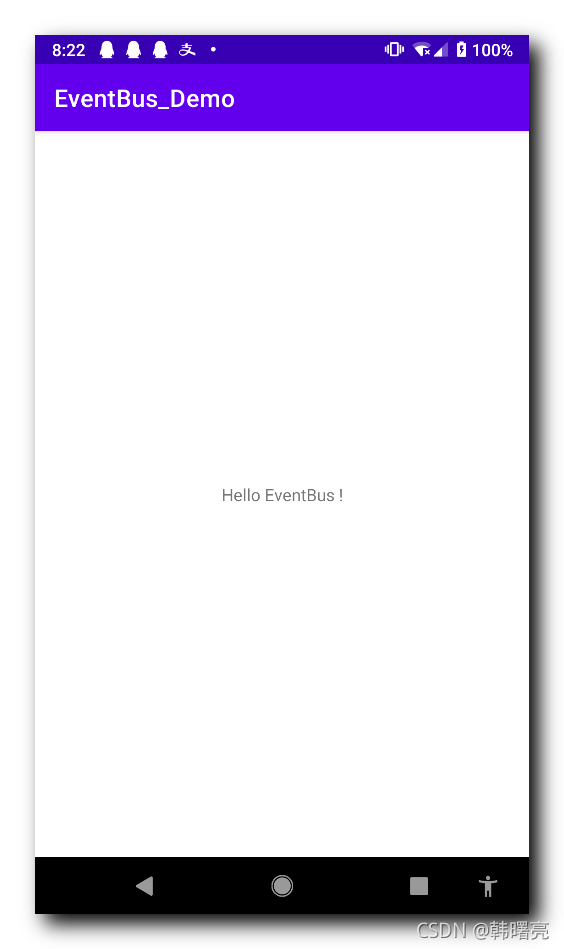
运行效果 : 点击按钮后发送消息 , 处理消息的 onMessgeEvent 方法中 , 接收到消息 , 将按钮文本变为 “Hello EventBus !” ;
五、源码地址
GitHub : https://github.com/han1202012/EventBus_Demo
文章来源: hanshuliang.blog.csdn.net,作者:韩曙亮,版权归原作者所有,如需转载,请联系作者。
原文链接:hanshuliang.blog.csdn.net/article/details/120427356

【版权声明】本文为华为云社区用户转载文章,如果您发现本社区中有涉嫌抄袭的内容,欢迎发送邮件进行举报,并提供相关证据,一经查实,本社区将立刻删除涉嫌侵权内容,举报邮箱:
cloudbbs@huaweicloud.com
- 点赞
- 收藏
- 关注作者
评论(0)