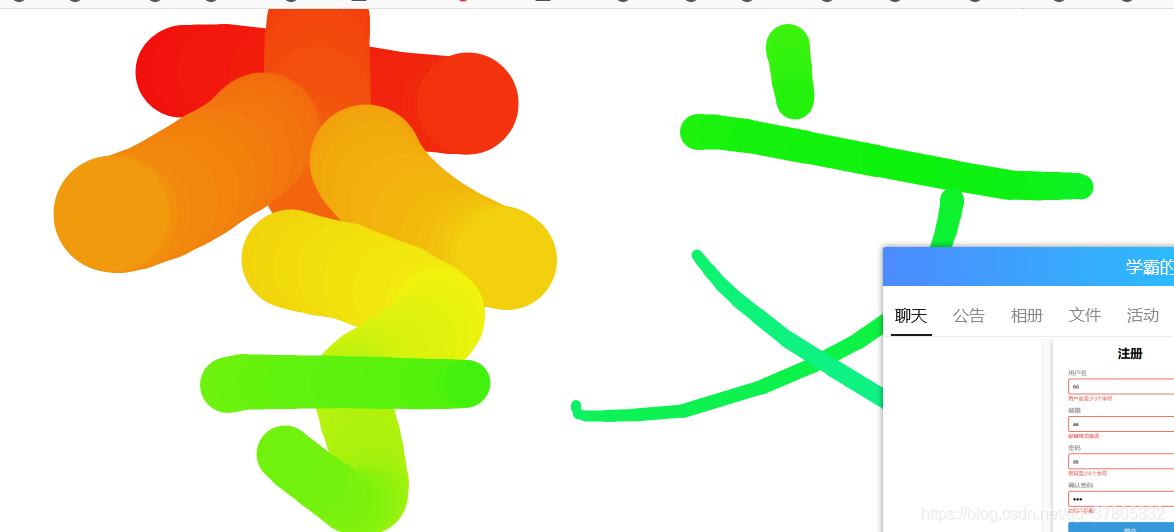
h5逐步实现 <<canvas系统>>(html逻辑 css逻辑 js逻辑)

【摘要】
<!DOCTYPE html>
<html lang="en">
<head>
<meta charset="UTF-8">
<meta na...
<!DOCTYPE html>
<html lang="en">
<head>
	<meta charset="UTF-8">
	<meta name="viewport" content="width=device-width, initial-scale=1.0">
	<title>Document</title>
	<style type="text/css">
		*{padding: 0px;margin: 0px;}
		body
		{
			overflow: hidden;
		}
	</style>
</head>
<body>
	<canvas id="draw" ></canvas>
	<script type="text/javascript">
		//获取canvas.
		const canvas=document.querySelector("#draw");
		if(canvas.getContext)
		{
			var ctx=canvas.getContext("2d");
			console.log("支持666");
		}
		else
		{
			console.log("不支持");
		}
		/*支持就执行余下的语句能够用起来,不支持的话,页面上会什么效果都没有。*/
		canvas.width=window.innerWidth;
		canvas.height=window.innerHeight;
		ctx.lineWidth=90;//线条的颜色.
		ctx.lineCap="round";/*线条结束时的形状*/
		ctx.lineJoin="round";/*当两条线条相交时.*/
		ctx.strokeStyle="red";
		let isDrawing=false;//还没开始画
		let x=0;let y=0;
		let lastX = 0;
    	let lastY = 0;
    	let hue = 0;
    	let direction = true;
		function draw(e)
		{
			if(!isDrawing)
			{
				return;
			}

			x=e.offsetX;//获取移动后停下的坐标点.
			y=e.offsetY;//获取移动后停下的坐标点.
			//彩虹效
			ctx.strokeStyle=`hsl(${hue},90%,50%)`;
			if(hue>360)hue=0;
			hue++;
			//		控制笔触大小
			if(ctx.lineWidth>120||ctx.lineWidth<10)
			{
				direction=!direction;
			}
			if(direction)
			{
				ctx.lineWidth++;
			}
			else
			{
				ctx.lineWidth--;
			}
			/*这段思路时:开始direction = true,++到大于120就direction=!direction;,为false,就else--到小于10时就	direction=!direction;,true,就++至此循环.*/
			ctx.beginPath();
			ctx.moveTo(lastX,lastY);//开始画了
			ctx.lineTo(x,y);
			ctx.stroke();
			[lastX,lastY]=[x,y]
		}
		canvas.addEventListener('mousedown',e=>
		{
			isDrawing=true;//开始画.
			[lastX,lastY]=[e.offsetX,e.offsetY];//获取按下的开始xy坐标点
		});
		canvas.addEventListener("mousemove",draw);
		canvas.addEventListener('mouseup',()=>isDrawing=false);//这两个都false
		canvas.addEventListener('mouseout',()=>isDrawing=false);
	</script>
</body>
</html>
- 1
- 2
- 3
- 4
- 5
- 6
- 7
- 8
- 9
- 10
- 11
- 12
- 13
- 14
- 15
- 16
- 17
- 18
- 19
- 20
- 21
- 22
- 23
- 24
- 25
- 26
- 27
- 28
- 29
- 30
- 31
- 32
- 33
- 34
- 35
- 36
- 37
- 38
- 39
- 40
- 41
- 42
- 43
- 44
- 45
- 46
- 47
- 48
- 49
- 50
- 51
- 52
- 53
- 54
- 55
- 56
- 57
- 58
- 59
- 60
- 61
- 62
- 63
- 64
- 65
- 66
- 67
- 68
- 69
- 70
- 71
- 72
- 73
- 74
- 75
- 76
- 77
- 78
- 79
- 80
- 81
- 82
- 83
- 84
- 85
第一:写一个canvas对象,用canvas来做.

```javascript
<canvas id="draw" ></canvas>
- 1
- 2
- 3
- 4
- 5
注意一下:它默认宽300 高150。
<!DOCTYPE html>
<html lang="en">
<head>
	<meta charset="UTF-8">
	<meta name="viewport" content="width=device-width, initial-scale=1.0">
	<title>Document</title>

</head>
<body>
	<canvas id="canvas"></canvas>
	<script type="text/javascript">
		console.log(canvas.offsetWidth,canvas.offsetHeight);
	</script>
</body>
</html>
- 1
- 2
- 3
- 4
- 5
- 6
- 7
- 8
- 9
- 10
- 11
- 12
- 13
- 14
- 15

第二·:判断所用的浏览器是否支持canvas.
const canvas=document.querySelector("#draw");
		if(canvas.getContext)
		{
			var ctx=canvas.getContext("2d");
			console.log("支持666");
		}
		else
		{
			console.log("不支持");
		}
- 1
- 2
- 3
- 4
- 5
- 6
- 7
- 8
- 9
- 10

第三:让canvas绘图可以画整个body.并且要设置线条的宽度+线条结束时候的形状+两天线条相交时的形状.+线条的颜色.
canvas.width=window.innerWidth;
		canvas.height=window.innerHeight;
		ctx.lineWidth=90;
		ctx.lineCap="round";
		ctx.lineJoin="round";
		ctx.strokeStyle="red";
- 1
- 2
- 3
- 4
- 5
- 6
第四;当点击body某一处的时候就开始作画.然后是获取按下去时候的xy坐标点.
canvas.addEventListener('mousedown',e=>
		{
			isDrawing=true;
			[lastX,lastY]=[e.offsetX,e.offsetY];
		});
- 1
- 2
- 3
- 4
- 5
第五:移动的时候触发draw函数,
canvas.addEventListener("mousemove",draw);
- 1
第六:记录移动完毕后的xy坐标.
x=e.offsetX;
y=e.offsetY;
- 1
- 2
第七;多姿多彩的效果:
ctx.strokeStyle=`hsl(${hue},90%,50%)`;
			if(hue>360)hue=0;
			hue++;
- 1
- 2
- 3
第八:控制笔触的宽.(口诀;太大了就小,太小了就大)
if(ctx.lineWidth>120||ctx.lineWidth<10)
			{
				direction=!direction;
			}
			if(direction)
			{
				ctx.lineWidth++;
			}
			else
			{
				ctx.lineWidth--;
			}
- 1
- 2
- 3
- 4
- 5
- 6
- 7
- 8
- 9
- 10
- 11
- 12
第九:开始绘制
ctx.beginPath();
			ctx.moveTo(lastX,lastY);
			ctx.lineTo(x,y);
			ctx.stroke();
			[lastX,lastY]=[x,y]//核心
- 1
- 2
- 3
- 4
- 5
注意一下·;lastx与lasty是down的时候的xy坐标,x,y是move完毕后的坐标.
有一个问题
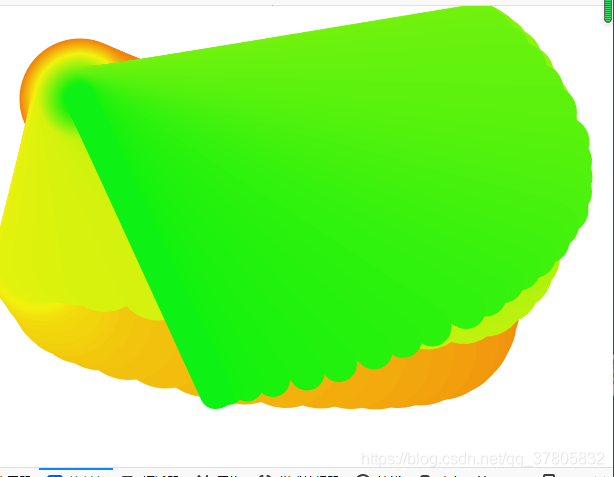
第十:怎么办?[lastX,lastY]=[x,y]
就行了,代表按下了一直移动能够完美续接.
不然的话,会按下然后移动会像上面的图一样。
这里解决了上面的图片的问题.
文章来源: blog.csdn.net,作者:贵哥的编程之路(陈业贵),版权归原作者所有,如需转载,请联系作者。
原文链接:blog.csdn.net/qq_37805832/article/details/109020236

【版权声明】本文为华为云社区用户转载文章,如果您发现本社区中有涉嫌抄袭的内容,欢迎发送邮件进行举报,并提供相关证据,一经查实,本社区将立刻删除涉嫌侵权内容,举报邮箱:
cloudbbs@huaweicloud.com
- 点赞
- 收藏
- 关注作者
评论(0)