Rageframe安装
【摘要】 安装全流程
第一步,下载phpstudy;
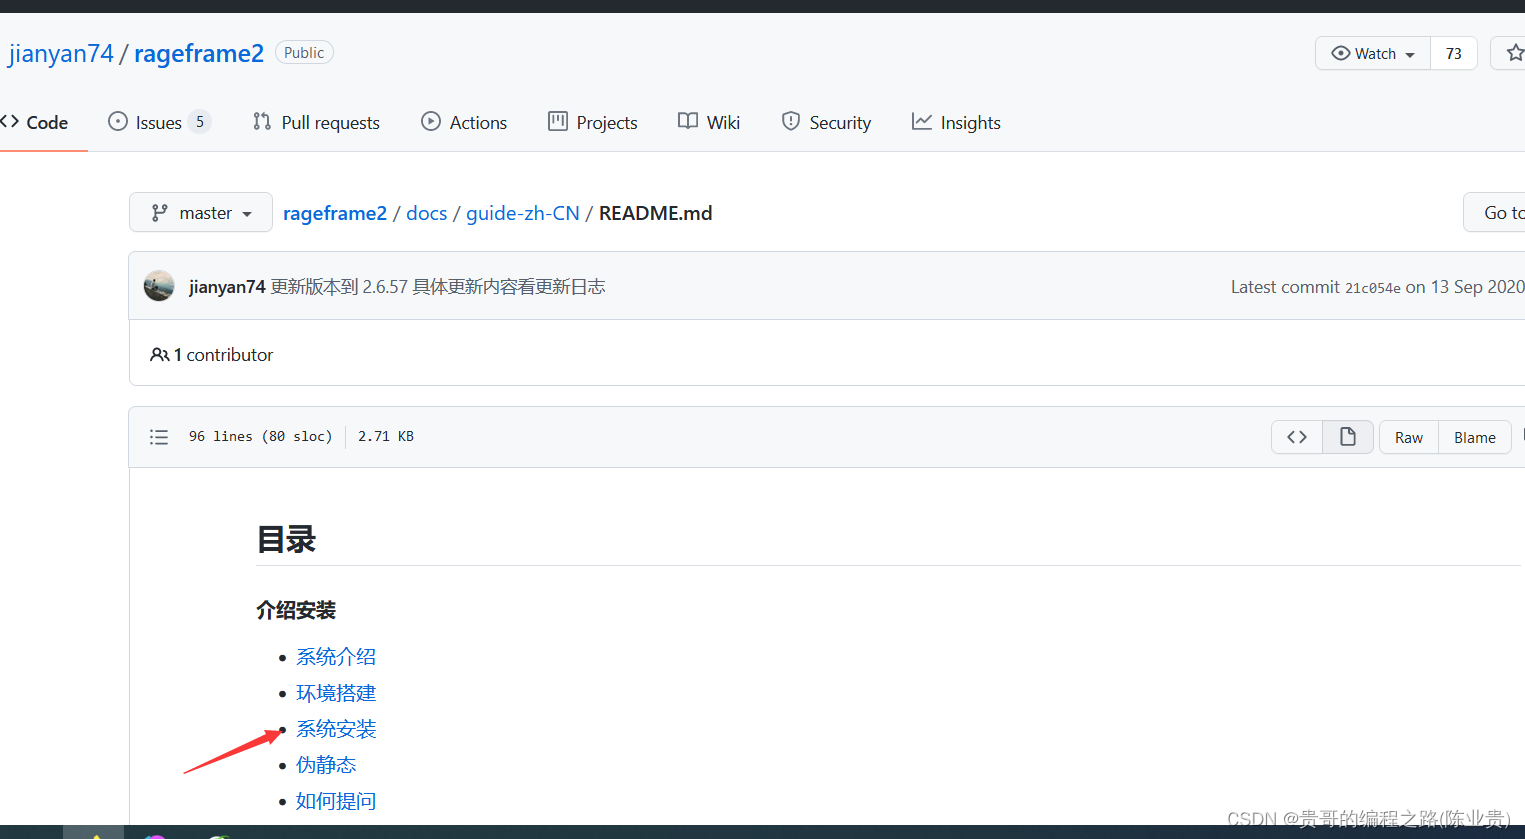
第二步:百度搜索rageframe进入官网.
第三步:
第四步:
第五步:
克隆:在哪里克隆呢?git界面化工具中克隆出来rageframe2安装包.
git clone https://github.com/jianyan74/rageframe2.git

第六步:
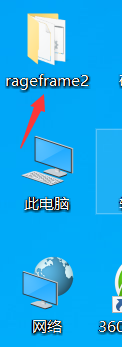
把
这个文件放到phpstudy的www目录下面.
第七步:
第七步:打开phpstudy中的composer界面化工具。


最后,安装伪静态就行了.
location / {
    try_files $uri $uri/ /index.php$is_args$args;
}
location /backend {
    try_files $uri $uri/ /backend/index.php$is_args$args;
}
location /api {
    try_files $uri $uri/ /api/index.php$is_args$args;
}
location /merchant {
    try_files $uri $uri/ /merchant/index.php$is_args$args;
}
location /merapi {
    try_files $uri $uri/ /merapi/index.php$is_args$args;
}
location /html5 {
    try_files $uri $uri/ /html5/index.php$is_args$args;
}
location /oauth2 {
    try_files $uri $uri/ /oauth2/index.php$is_args$args;
}

location ~* ^/attachment/.*\.(php|php5)$
{
    deny all;
}

安装步骤:

git clone https://github.com/jianyan74/rageframe2.git
cd rageframe2
php composer.phar install
php init // 然后输入0回车,再输入yes回车
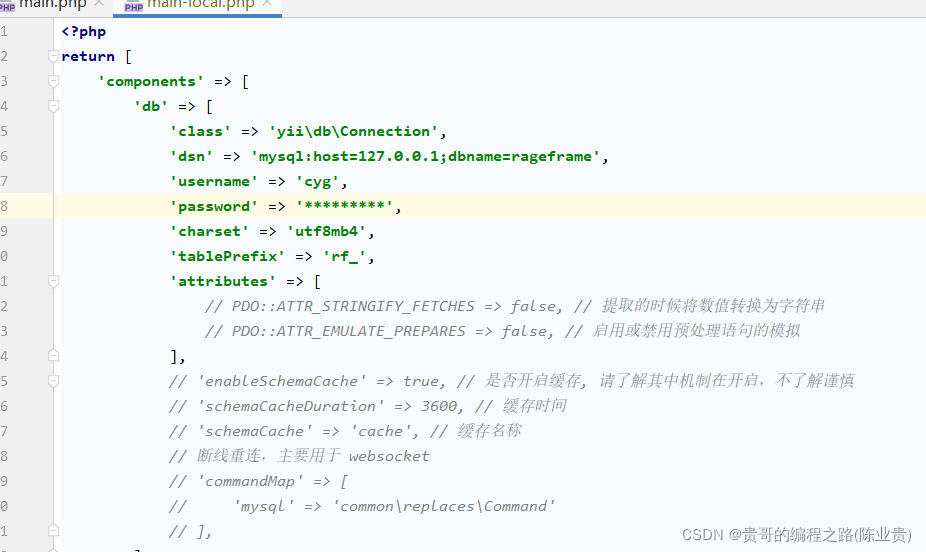
找到 common/config/main-local.php 并配置相应的信息, 注意要先创建好数据库
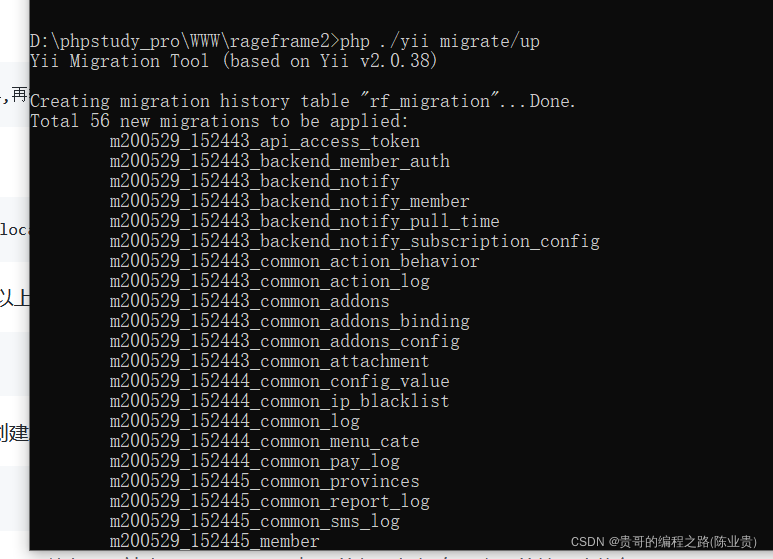
php ./yii migrate/up
php ./yii password/init
php composer.phar update


【版权声明】本文为华为云社区用户原创内容,未经允许不得转载,如需转载请自行联系原作者进行授权。如果您发现本社区中有涉嫌抄袭的内容,欢迎发送邮件进行举报,并提供相关证据,一经查实,本社区将立刻删除涉嫌侵权内容,举报邮箱:
cloudbbs@huaweicloud.com
- 点赞
- 收藏
- 关注作者


评论(0)