手动部署 OceanBase 单节点集群

【摘要】 本文介绍手动部署OceanBase 集群单节点。只有一个zone1,副本数量为1.1,系统版本信息[root@db01 ~]# cat /etc/redhat-releaseCentOS Linux release 7.8.2003 (Core)#系统空间要求内存不低于10G磁盘空间不低于100G2,OB软件下载https://open.oceanbase.com/softwareCente...
本文介绍手动部署OceanBase 集群单节点。
只有一个zone1,副本数量为1.
1,系统版本信息
[root@db01 ~]# cat /etc/redhat-release
CentOS Linux release 7.8.2003 (Core)
#系统空间要求
内存不低于10G
磁盘空间不低于100G
2,OB软件下载
https://open.oceanbase.com/softwareCenter/community

[root@db01 ob]# ls
libobclient-2.0.0-2.el7.x86_64.rpm
ob-deploy-1.0.0-1.el7.x86_64.rpm
oceanbase-ce-3.1.0-1.el7.x86_64.rpm
obclient-2.0.0-1.el7.x86_64.rpm
obproxy-3.1.0-1.el7.x86_64.rpm
oceanbase-ce-libs-3.1.0-1.el7.x86_64.rpm
3,软件安装
rpm -ivh oceanbase-ce-*
rpm -ivh obclient-2.0.0-1.el7.x86_64.rpm
4,主机环境设置
/etc/sysctl.conf

net.core.somaxconn = 2048
net.core.netdev_max_backlog = 10000
net.core.rmem_default = 16777216
net.core.wmem_default = 16777216
net.core.rmem_max = 16777216
net.core.wmem_max = 16777216

net.ipv4.ip_local_port_range = 3500 65535
net.ipv4.ip_forward = 0
net.ipv4.conf.default.rp_filter = 1
net.ipv4.conf.default.accept_source_route = 0
net.ipv4.tcp_syncookies = 0
net.ipv4.tcp_rmem = 4096 87380 16777216
net.ipv4.tcp_wmem = 4096 65536 16777216
net.ipv4.tcp_max_syn_backlog = 16384
net.ipv4.tcp_fin_timeout = 15
net.ipv4.tcp_max_syn_backlog = 16384
net.ipv4.tcp_tw_reuse = 1
net.ipv4.tcp_tw_recycle = 1
net.ipv4.tcp_slow_start_after_idle=0

vm.swappiness = 0
vm.min_free_kbytes = 2097152
vm.max_map_count=655360
fs.aio-max-nr=1048576

/etc/security/limits.conf

* soft nofile 655360
* hard nofile 655360
* soft nproc 655360
* hard nproc 655360
* soft core unlimited
* hard core unlimited
* soft stack unlimited
* hard stack unlimited


systemctl disable firewalld
systemctl stop firewalld
systemctl status firewalld

/etc/selinux/config

# This file controls the state of SELinux on the system.
# SELINUX= can take one of these three values:
#     enforcing - SELinux security policy is enforced.
#     permissive - SELinux prints warnings instead of enforcing.
#     disabled - No SELinux policy is loaded.
SELINUX=disabled

setenforce 0
#新建admin用户
# 新增普通用户 admin
useradd admin

# 改用户密码
passwd admin

# 或下面命令指定密码,密码修改为自己的。

echo 'admin:adminPWD123' | chpasswd
5,启动OBSERVER
#建立相关数据目录
su - admin
echo 'export LD_LIBRARY_PATH=$LD_LIBRARY_PATH:~/oceanbase/lib' >> ~/.bash_profile
. ~/.bash_profile
mkdir -p ~/oceanbase/store/obdemo  /data/obdemo/{sstable,etc3} /redo/obdemo/{clog,ilog,slog,etc2}
for f in {clog,ilog,slog,etc2}; do ln -s /redo/obdemo/$f ~/oceanbase/store/obdemo/$f ; done
for f in {sstable,etc3}; do ln -s /data/obdemo/$f ~/oceanbase/store/obdemo/$f; done
#启动observer
cd ~/oceanbase
bin/observer -i ens192 -p 2881 -P 2882 -z zone1 -d ~/oceanbase/store/obdemo -r '192.168.5.200:2882:2881' -c 20210912 -n obdemo -o "memory_limit=8G,cache_wash_threshold=1G,__min_full_resource_pool_memory=268435456,system_memory=3G,memory_chunk_cache_size=128M,cpu_count=16,net_thread_count=4,datafile_size=50G,stack_size=1536K,config_additional_dir=/data/obdemo/etc3;/redo/obdemo/etc2"
#进程状态检查

6,初始化集群
#root 密码登陆2881,密码为空
obclient -h 192.168.5.200 -u root -P 2881 -p -c -A
set session ob_query_timeout=1000000000; alter system bootstrap ZONE 'zone1' SERVER '192.168.5.200:2882';
7,登陆集群
OceanBase 集群的超级管理员 root@sys 的密码,默认是空,建议设置复杂的密码。
#登陆集群
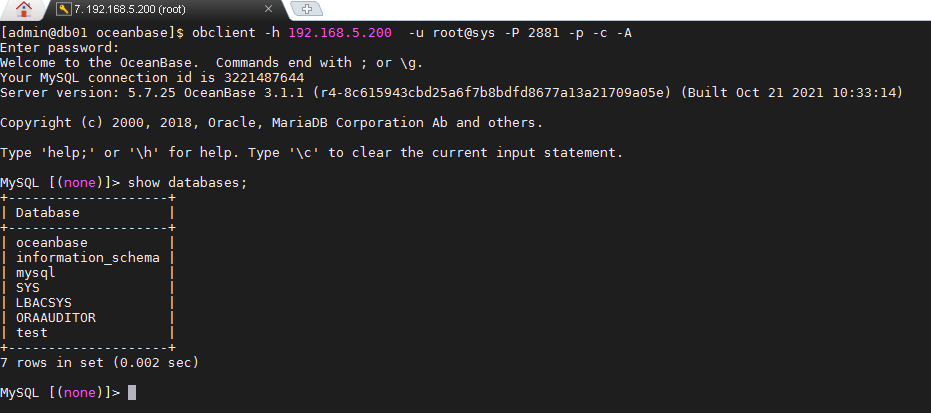
obclient -h 192.168.5.200 -u root@sys -P 2881 -p -c -Aobclient -h 192.168.5.200 -u root@sys -P 2881 -p -c -A

【声明】本内容来自华为云开发者社区博主,不代表华为云及华为云开发者社区的观点和立场。转载时必须标注文章的来源(华为云社区)、文章链接、文章作者等基本信息,否则作者和本社区有权追究责任。如果您发现本社区中有涉嫌抄袭的内容,欢迎发送邮件进行举报,并提供相关证据,一经查实,本社区将立刻删除涉嫌侵权内容,举报邮箱:
cloudbbs@huaweicloud.com
- 点赞
- 收藏
- 关注作者
评论(0)