Java批量创建测试水印图片和GIF动图
【摘要】 Java批量创建测试水印图片和GIF动图
Java 批量创建水印测试图片
使用介绍
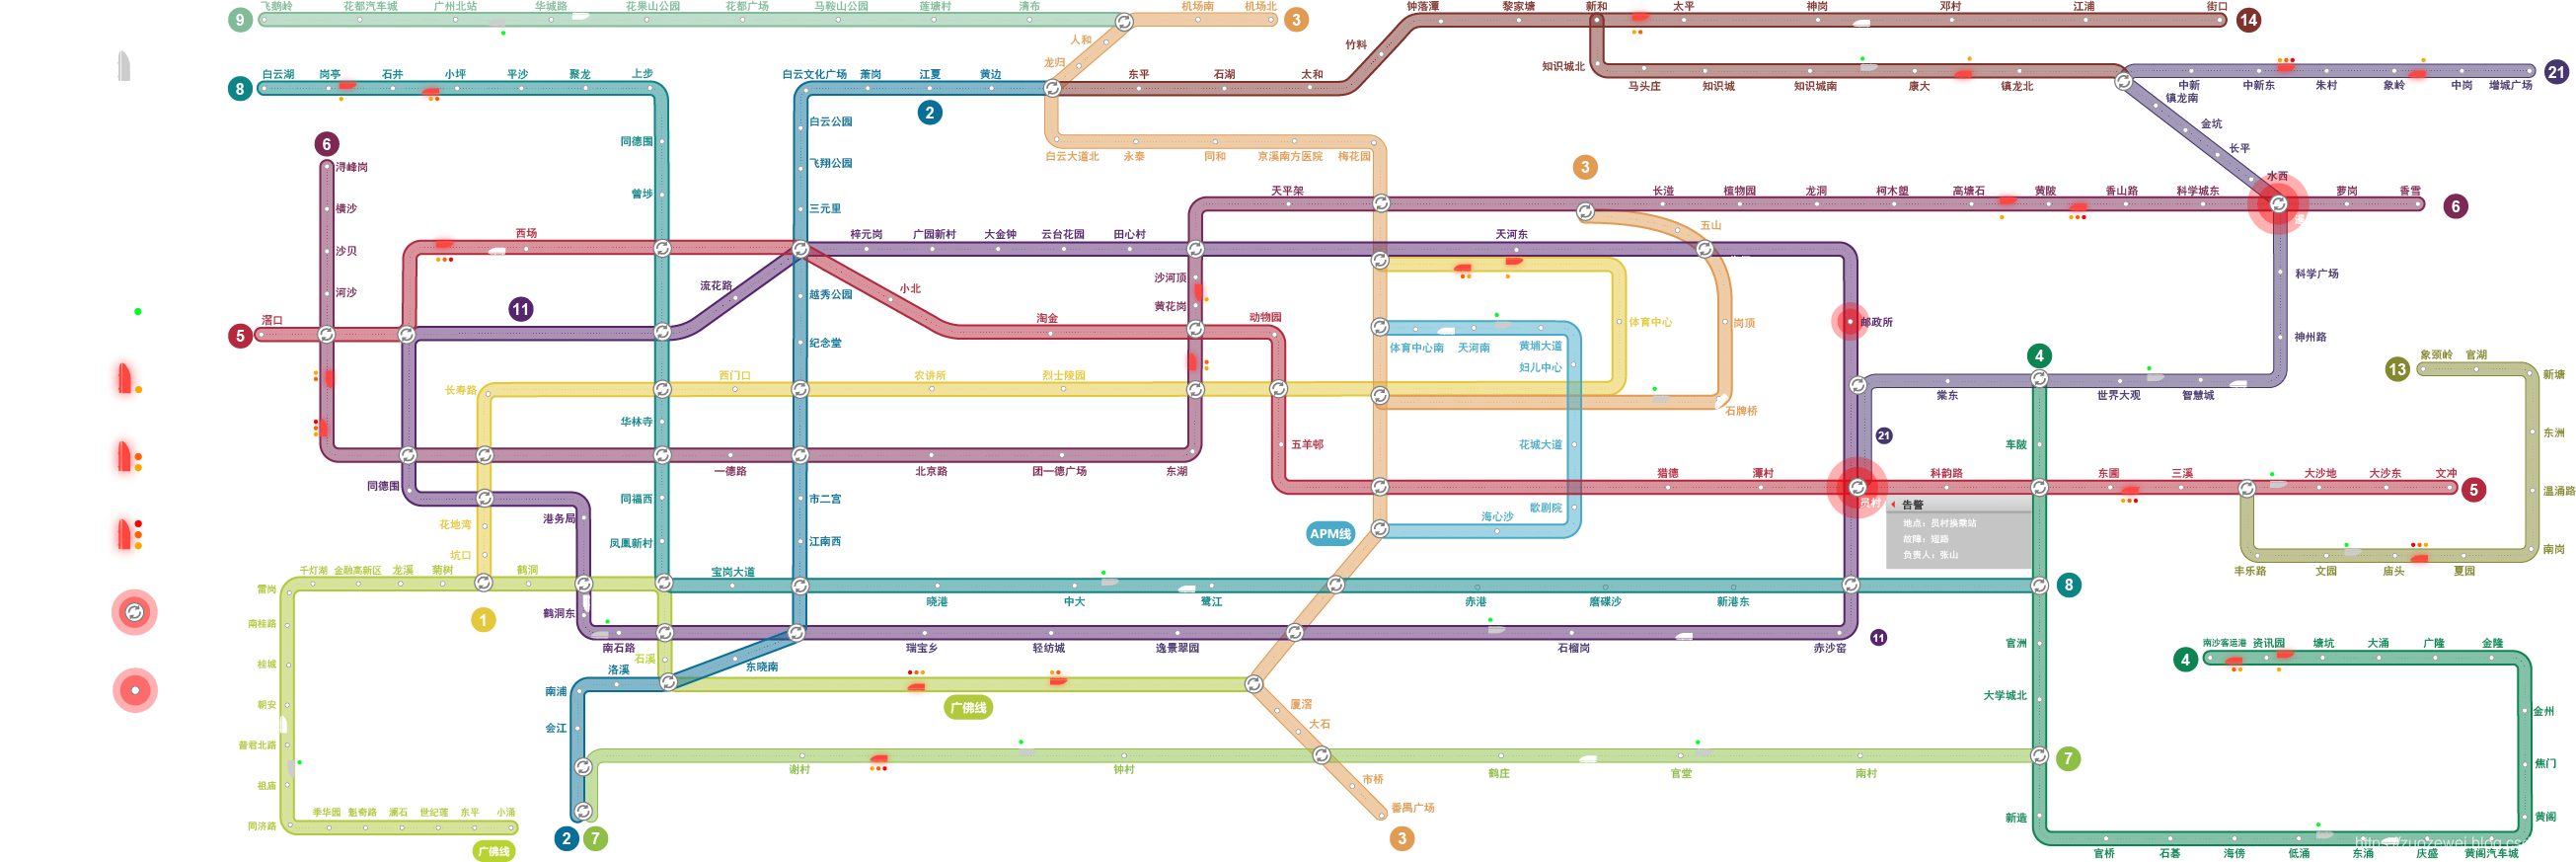
首先把原始图片放到指定路径,这里我们演示的原图如下

源代码如下:
import javax.imageio.ImageIO;
import javax.naming.Name;
import java.awt.*;
import java.awt.font.FontRenderContext;
import java.awt.geom.Rectangle2D;
import java.awt.image.BufferedImage;
import java.io.File;
import java.io.FileInputStream;
import java.io.IOException;

public class CreateRandomPicture {
    /***
     * 	 * 创建一张图片
     * 	 * 图片存放路径:D:\VBI5\testpictures\image.png
     * 	 * 1.循环创建批量图片
     * 	 * 2.将图片写到磁盘里
     * 	 * @author zuozewei
     * 	 * @throws IOException
     * 	 * @date 2018-8-16
     * 	 *
     */
    public static void main(String[] args) throws IOException {
        //图片文字
        String s = "测试图片";
        for (int x = 1; x <= 300; x++) {
            creatPicture(s + x, x);
        }
    }

    public static void creatPicture(String s, int num) throws IOException {
        int width;  //图片宽度
        int height; //图片高度

        //图片存储目录
        File file = new File("D:\\VBI5\\testpictures\\test\\image" + num + ".png");
        //设置文字属性
        Font font = new Font("Serif", Font.BOLD, 10);
        //BufferedImage bi = new BufferedImage(width, height, BufferedImage.TYPE_INT_RGB);
        //获取本地原图
        File picture = new File("D:\\VBI5\\testpictures/广州地铁.png");
        BufferedImage sourceImg = ImageIO.read(new FileInputStream(picture));

        width = sourceImg.getWidth();  //原图宽度
        height = sourceImg.getHeight(); //原图高度

        Graphics2D g2 = (Graphics2D) sourceImg.getGraphics();
        //g2.setBackground(Color.ORANGE);
        //g2.clearRect(0, 0, width, height);
        //设置文字颜色
        g2.setPaint(Color.yellow);
        FontRenderContext context = g2.getFontRenderContext();
        Rectangle2D bounds = font.getStringBounds(s, context);
        double x = (width - bounds.getWidth()) / 2;
        double y = (height - bounds.getHeight()) / 2;
        double ascent = -bounds.getY();
        double baseY = y + ascent;

        g2.drawString(s, (int) x, (int) baseY);
        //文件流写入磁盘
        ImageIO.write(sourceImg, "png", file);
    }

}
测试结果
生成了 300 张测试图片

抽样一张看看效果

可以看见最中间黄色的文字即是我们加上的水印。
批量创建动态GIF动图
GIF4J介绍
GIF4J是一个开源的软件包,其Light版本可以免费下载使用,但这是一个非常好的Java语言用来处理GIF图像的工具包,网上流行了不少破解。
操作步骤
首先我们需要附件的GIF4J Jar包加入我们的classpath环境中,IDEA中如下图所示

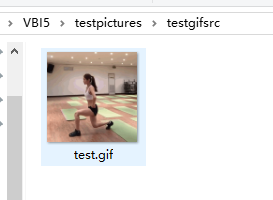
同样我们需要新建一个目录,放入原始的GIF图片

源代码如下:
import com.gif4j.*;

import java.awt.*;
import java.awt.image.BufferedImage;
import java.io.File;
import java.io.IOException;

public class CreateRandomGifPicture {
    /***
     * 	 * 创建一张带水印的GIF图片
     * 	 * 图片存放路径:D:\VBI5\testpictures\testgif\image.gif
     * 	 * 1.循环创建批量GIF图片
     * 	 * 2.将GIF图片写到磁盘里
     * 	 * @author zuozewei
     * 	 * @throws IOException
     * 	 * @date 2018-8-16
     * 	 *
     */
    public static void main(String[] args) throws IOException {
        //图片文字
        String s = "测试图片";

        //需要添加水印的图片路径
        String path = "D:\\VBI5\\testpictures\\testgifsrc\\test.gif";
        File file = new File(path);

        //循环调用加水印方法
        for (int x=1;x<=20;x++){
            addTextWatermarkToGif(file, s+x, new File("D:\\VBI5\\testpictures\\testgif\\" +"testgif"+x+".gif"));
        }

    }


    public static void addTextWatermarkToGif(File src, String watermarkText, File dest)throws IOException {

        //水印初始化、设置(字体、样式、大小、颜色)
        TextPainter textPainter = new TextPainter(new Font("黑体", Font.ITALIC, 12));
        textPainter.setOutlinePaint(Color.WHITE);
        BufferedImage renderedWatermarkText = textPainter.renderString(watermarkText, true);

        //图片对象
        GifImage gf = GifDecoder.decode(src);

        //获取图片大小
        int iw = gf.getScreenWidth();
        int ih = gf.getScreenHeight();

        //获取水印大小
        int tw = renderedWatermarkText.getWidth();
        int th = renderedWatermarkText.getHeight();

        //水印位置
        Point p = new Point();
        p.x = iw - tw - 5;
        p.y = ih - th - 4;

        //加水印
        Watermark watermark = new Watermark(renderedWatermarkText, p);
        gf = watermark.apply(GifDecoder.decode(src), true);

        //输出
        GifEncoder.encode(gf, dest);
    }

}
测试结果
这里我们生成了 20 张

生成的水印GIF图如下所示

我们可以看到右下角生加了水印
本文源码:
https://github.com/zuozewei/blog-example/tree/master/Performance-testing/02-testdata/picturetools
【声明】本内容来自华为云开发者社区博主,不代表华为云及华为云开发者社区的观点和立场。转载时必须标注文章的来源(华为云社区)、文章链接、文章作者等基本信息,否则作者和本社区有权追究责任。如果您发现本社区中有涉嫌抄袭的内容,欢迎发送邮件进行举报,并提供相关证据,一经查实,本社区将立刻删除涉嫌侵权内容,举报邮箱:
cloudbbs@huaweicloud.com
- 点赞
- 收藏
- 关注作者


评论(0)